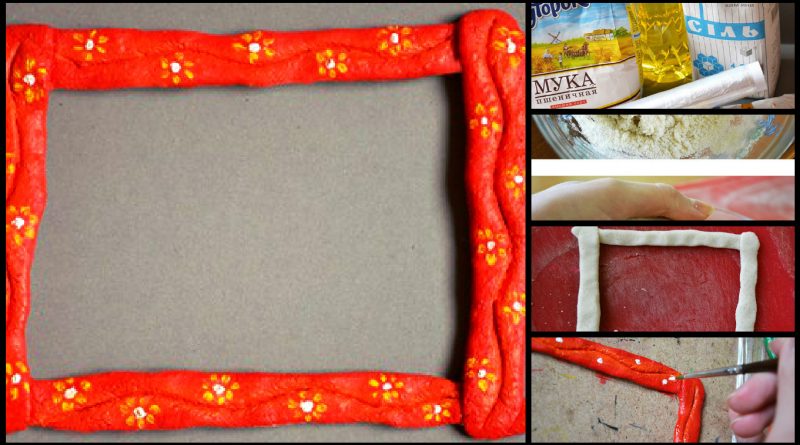
Posted onJanuary 28, 2017inDIY, Home Decor, Kids Crafts, Step by step, Tutorial How to make frame of salt dough
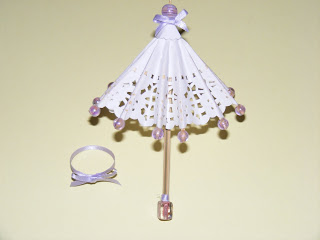
Posted onJanuary 27, 2017inDIY, Home Decor, Kids Crafts, Paper Crafts, Step by step, Tutorial Beautiful butterflies in a spring decor
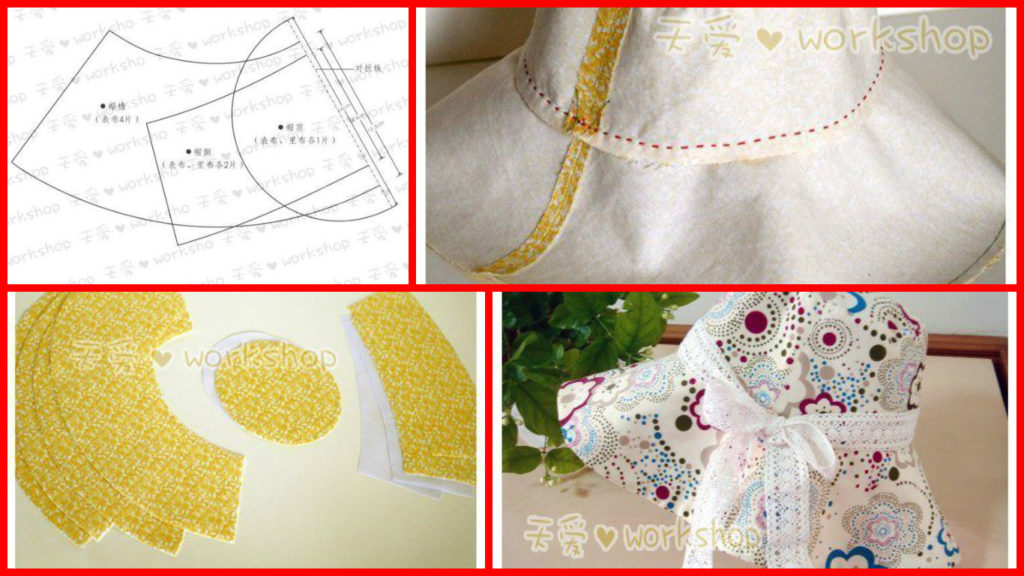
Posted onJanuary 25, 2017inPatchwork Crafts, Step by step, Tutorial How to Make Kids Backpack Step by Step
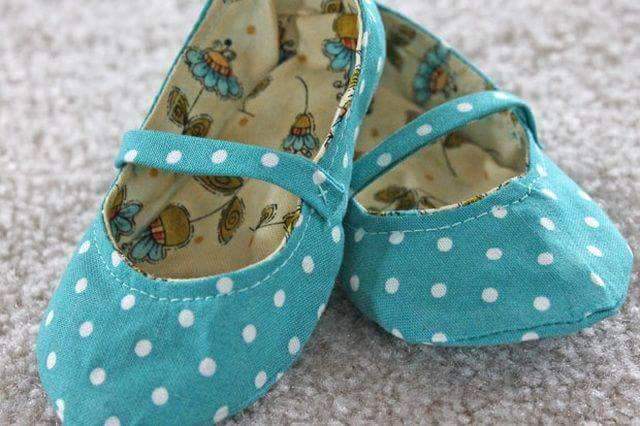
Posted onJanuary 25, 2017January 25, 2017inPatchwork Crafts, Step by step, Tutorial DIY: Handmade Fabric Baby Shoes
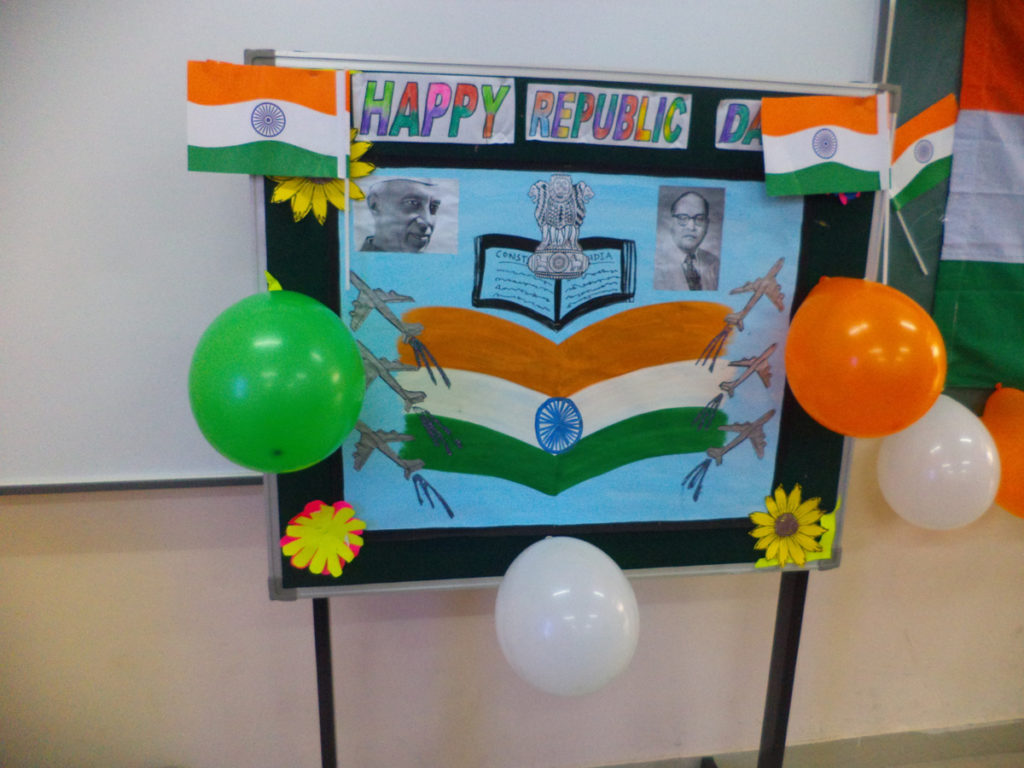
Posted onJanuary 24, 2017inKids Crafts, Republic Day 40+ Republic Day Art and Crafts for kids to make
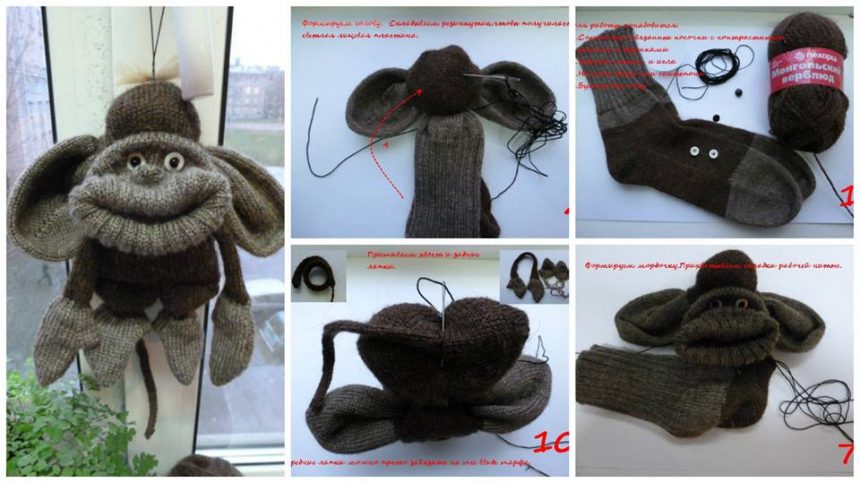
Posted onJanuary 20, 2017inBest out of Waste, Step by step, Tutorial Funny Monkey made from socks and yarn – Step By Step