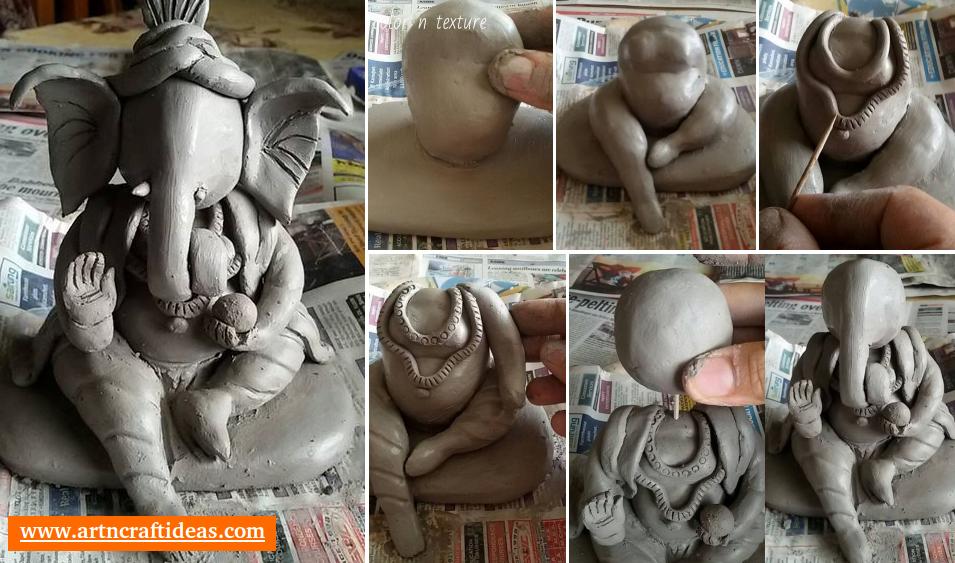
Posted onAugust 24, 2017August 21, 2025inCelebrations, Clay, DIY, Ganesh Chaturthi, Step by step, Tutorial How to make Eco-friendly Ganesh Idol at Home – Step by Step Image Tutorial
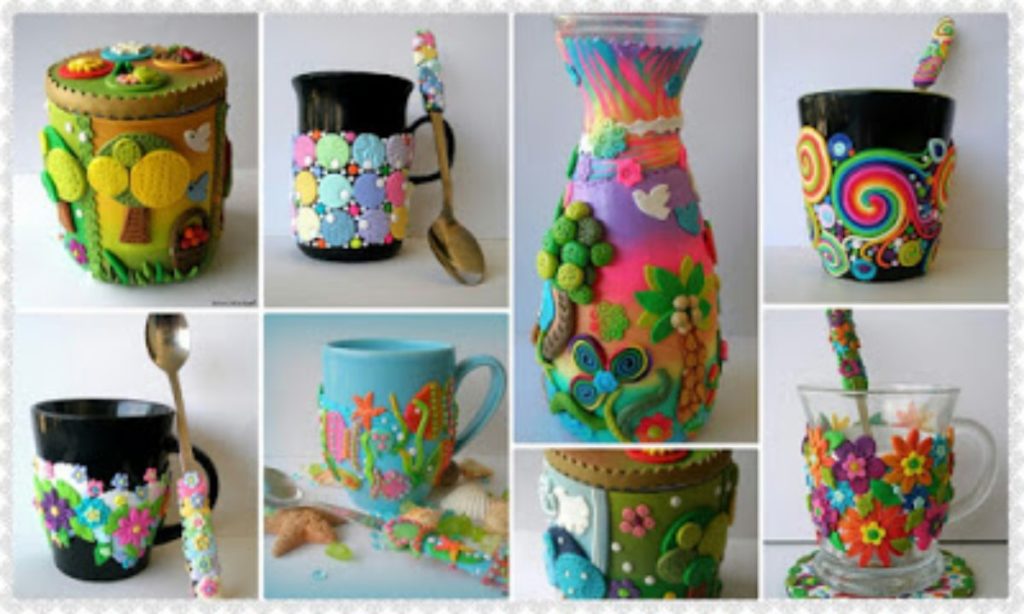
Posted onApril 1, 2017May 11, 2017inClay, Tutorial, Video How to decorate the vases, boxes elements of cold porcelain
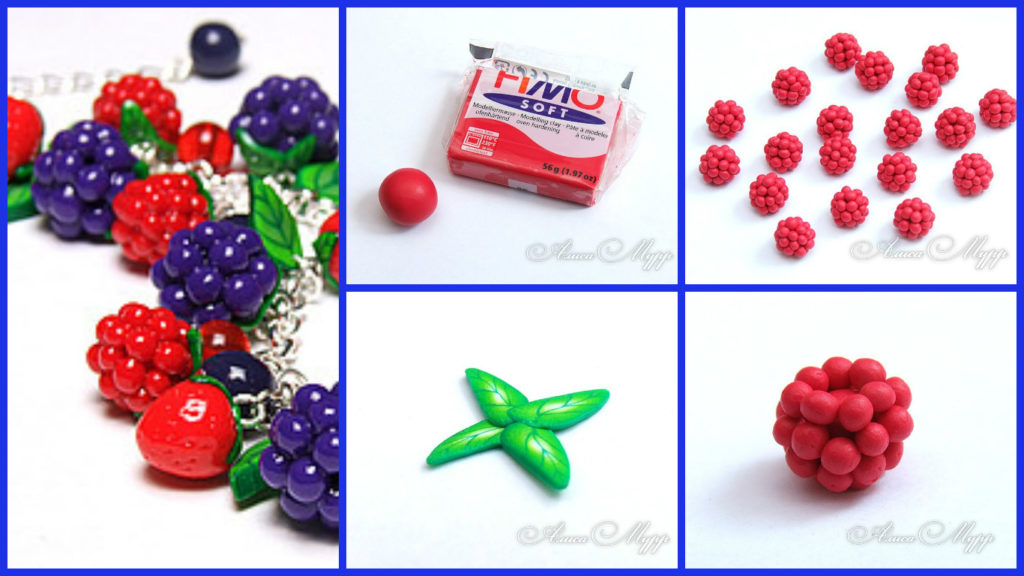
Posted onFebruary 1, 2017inClay, Jewellery, Step by step, Tutorial How to make raspberries from polymer clay
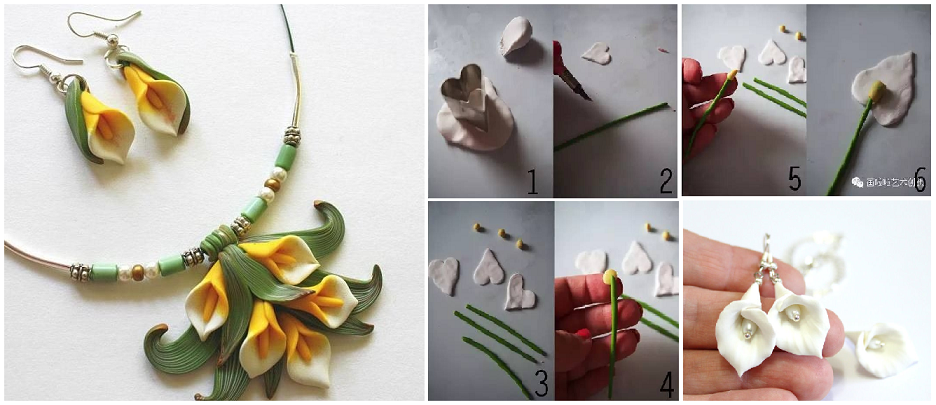
Posted onJanuary 23, 2017November 19, 2022inClay, Flower Crafts, Step by step, Tutorial 20+ DIY Beautiful Polymer Clay Flower Step By Step Image Tutorial
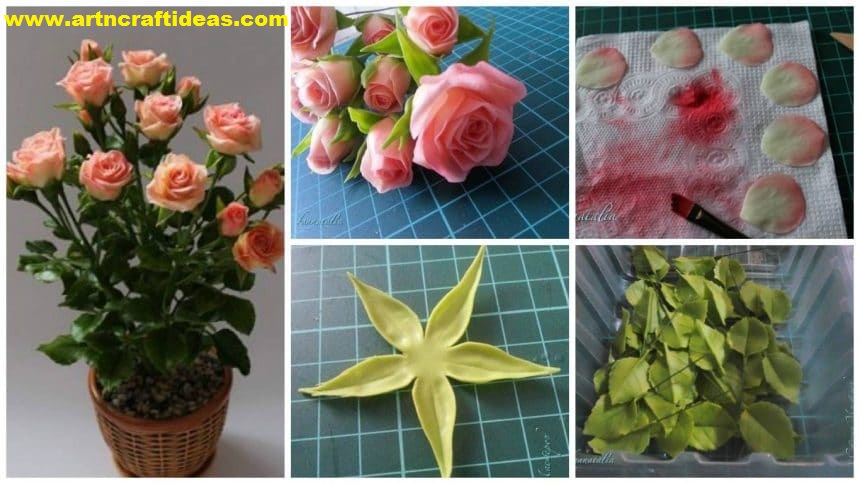
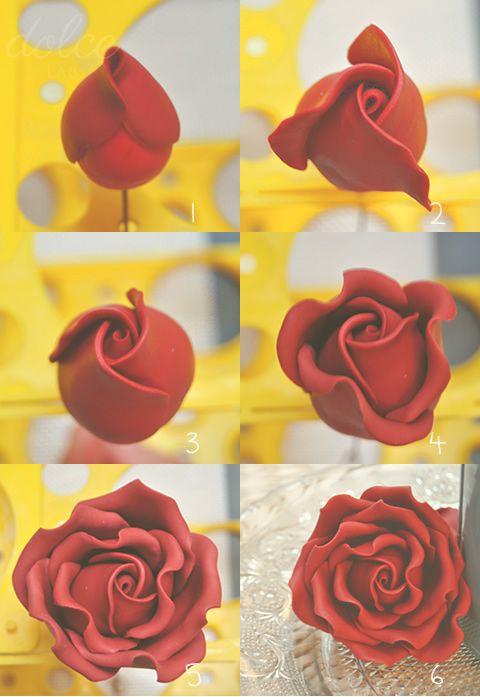
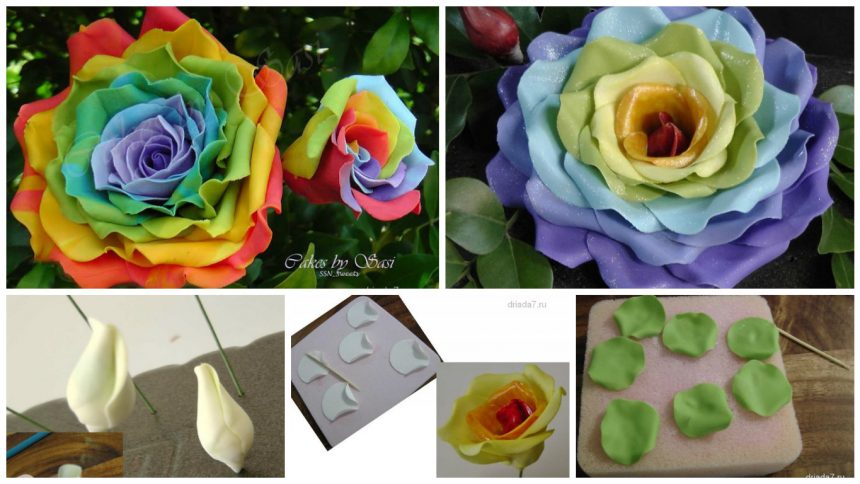
Posted onJanuary 15, 2017inClay, Step by step, Tutorial How to make beautiful clay rose of all colors