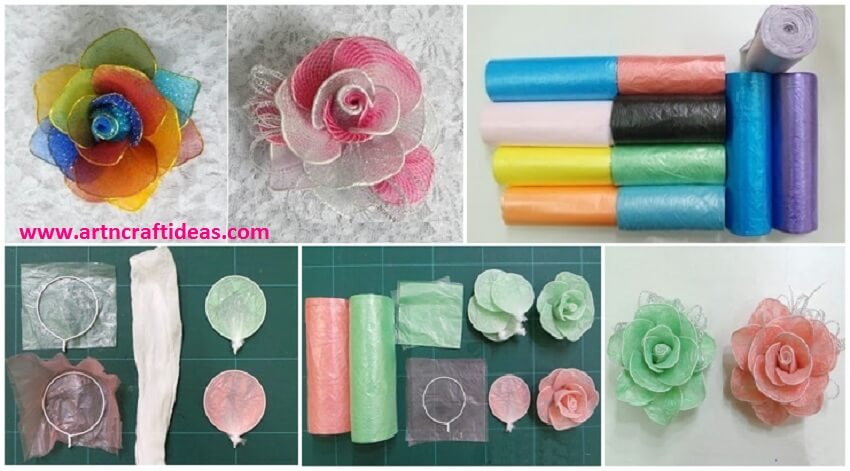
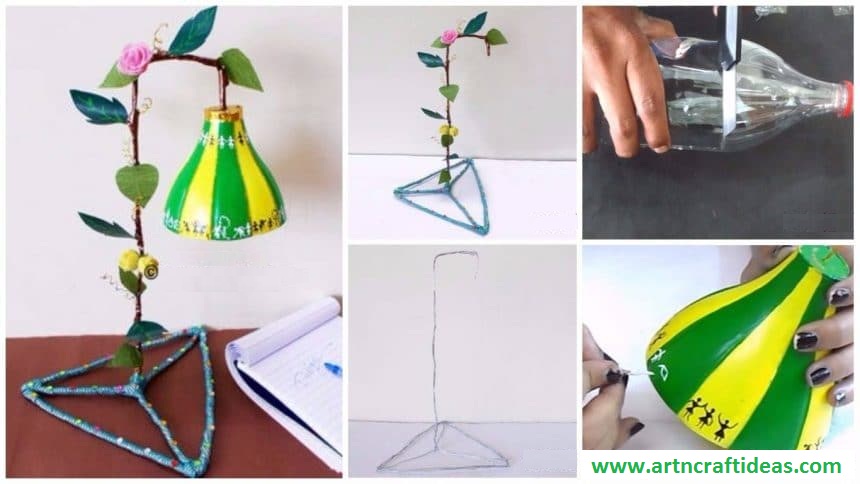
Posted onJuly 10, 2017inBest out of Waste, Craft, Flower Crafts, Tutorial How To Make Rose Using The Plastic Bag
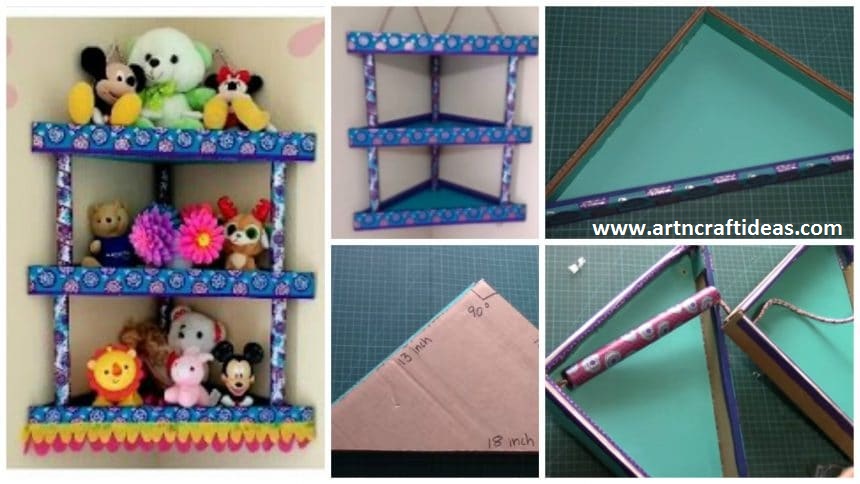
Posted onJuly 9, 2017inBest out of Waste, Cardboard Crafts, Craft, DIY, Home Decor, Tutorial, Video How to Make Cardboard Corner Shelf / Rack
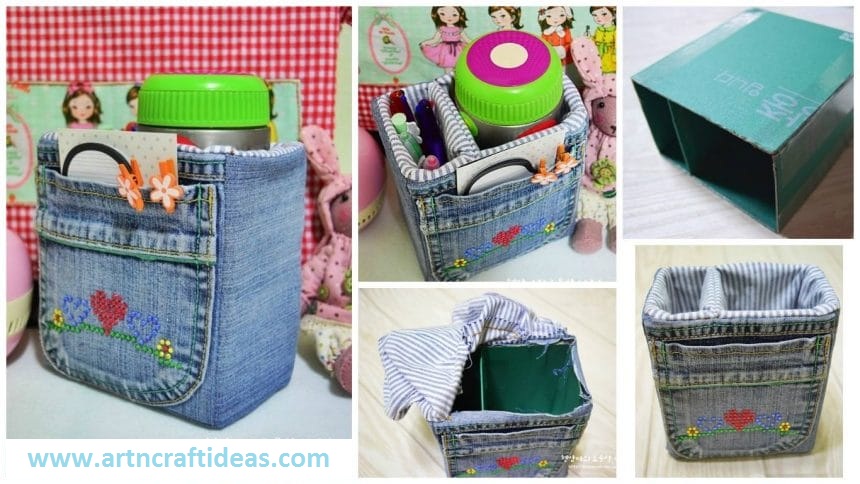
Posted onJuly 9, 2017inBest out of Waste, Craft, Tutorial How to make denim storage bags from old jeans
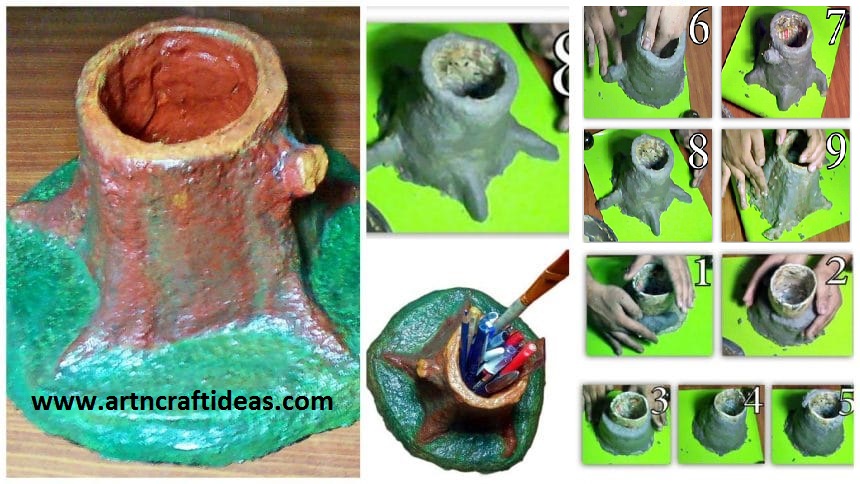
Posted onJuly 8, 2017July 8, 2017inBest out of Waste, Craft, Newspaper Crafts, Tutorial, Video DIY: Handmade Paper Mache Pencil Holder
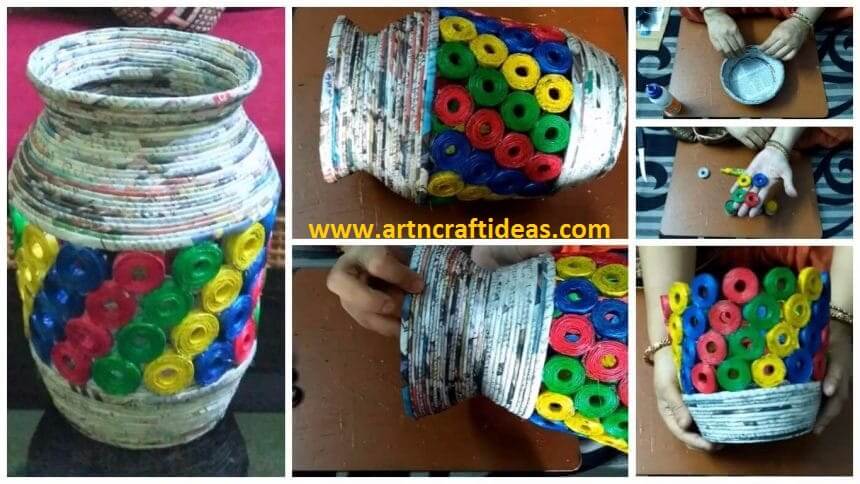
Posted onJuly 8, 2017inBest out of Waste, Craft, Newspaper Crafts, Tutorial How to make a newspaper tubes jar or vase
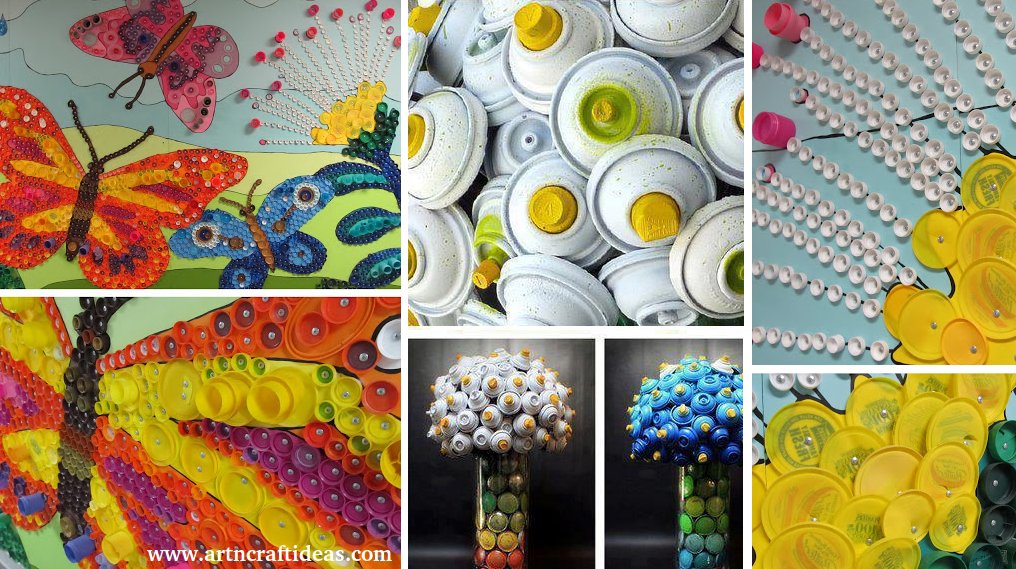
Posted onJuly 7, 2017July 7, 2017inBest out of Waste, Ideas, Kids Activities KIDS CRAFT: Artistic Ways to Recycle Bottle Caps
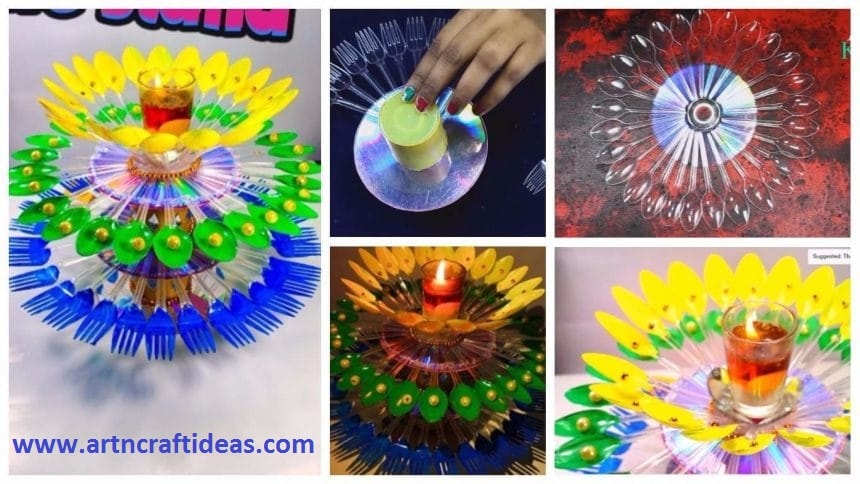
Posted onJuly 6, 2017July 6, 2017inBest out of Waste, Christmas, Craft, Diwali, DIY, Home Decor, Tutorial How to Decorate Candle Holder/Stand from Plastic Spoons
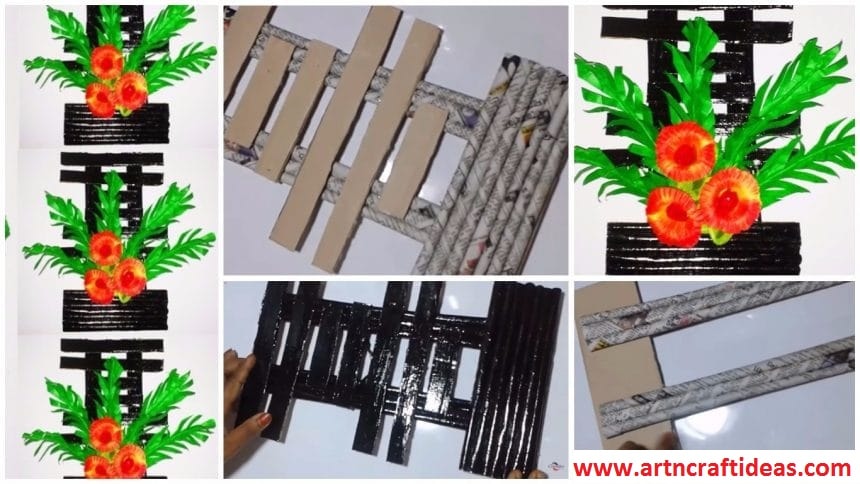
Posted onJuly 6, 2017inBest out of Waste, Craft, Home Decor, Newspaper Crafts, Tutorial How to Make Handmade Newspaper Wall Hanging