How to create a hot air balloon lamp
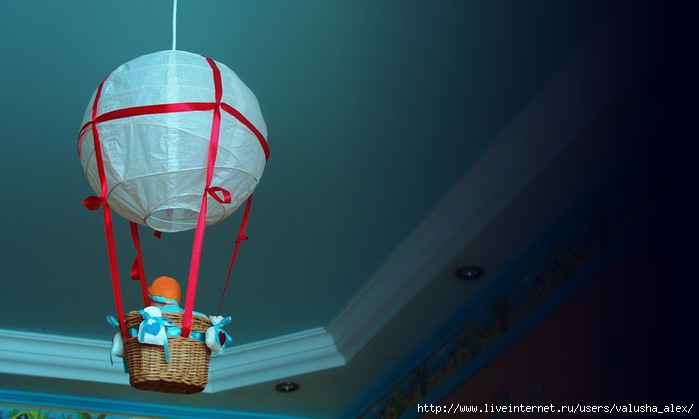
The idea came after a trip to the store with the chandeliers and the like. I saw there a beautiful ceiling lamp in the form of a balloon for children’s, everything would be fine, but that’s standing is a miracle as much as 2.5 thousand. Although it was clear that to create something like that would be very difficult not to! Since then he lit up and slowly began to buy all you need for a chandelier.
Materials:
– Shade Regola for IKEA pendant lamps
– Cord suspension Hemmi from IKEA white
– A small basket, for example, a basket for writing utensils from IKEA
– Small linen white cloth
– Satin ribbons: turquoise thin (1.5 m) wide turquoise (1 m) and red wide (3.5 m).
– Multicolored felt thin (4 colors)
Instruments:
– Sewing machine (optional)
– Scissors
– Glue gun
– Stapler
– Matches
Getting creative.
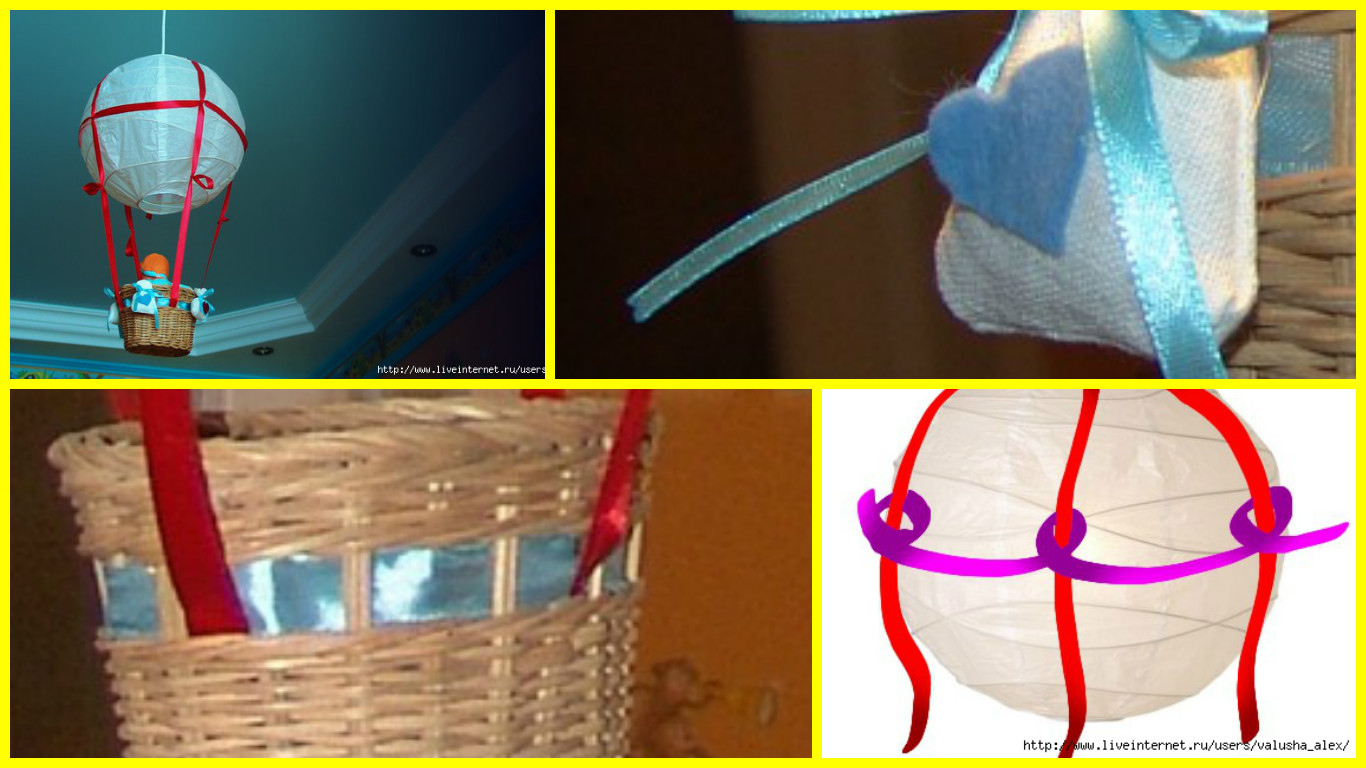
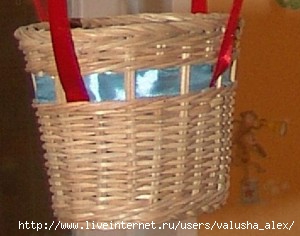
1. Basket: Since I took the basket from the IKEA (she is a decorative line of the holes on the top edge), I decided to decorate its broad ribbon of turquoise color. Just slipped the ribbon through the holes on the top edge of the basket. The end of the tape led to the basket and secure the adhesive gun.
 2. Bags: fabric cut into 4 rectangles 12×5 cm – and sew them from plain bags under the scheme:
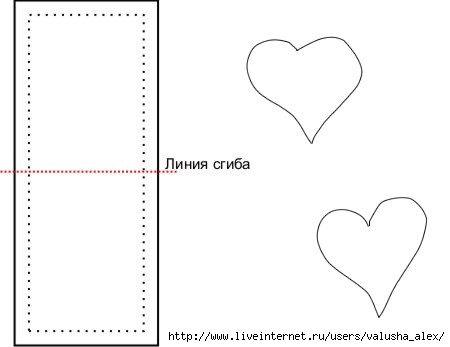 Once the bags are sewn, fill them with filler (wool or pieces of fabric). Slicing thin turquoise ribbon into equal segments always burns the tips of using matches and tying the bags on the bow. Then, cut out of felt 4 freeform heart for every heart the color of felt. Hearts glued to the finished pouches using the glue gun. Something like this, you should get:
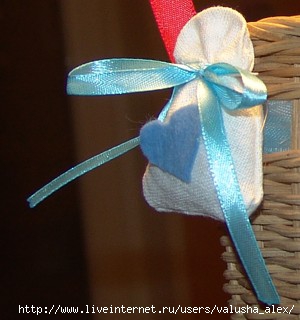
Then the bags to be glued to the basket in a circle.
3. Shade and bands: For starters, you need to measure out 4 lanes wide red ribbon, it will be the main holders of our baskets, ribbons length to suit your taste. You can estimate, putting the tape one end to the upper point of the lampshade, and the other to the basket and thereby decide which length suits you. Do not forget to burn the edges of the tape! In the eyes divide the upper opening of the lampshade into 4 pieces and put a notch, take a tape edge and Bends it to resection short tip inside the lampshade and a stapler (preferably the smallest), attach the ribbon to the paper lampshade. Repeat the operation with the remaining three segments of the tape.
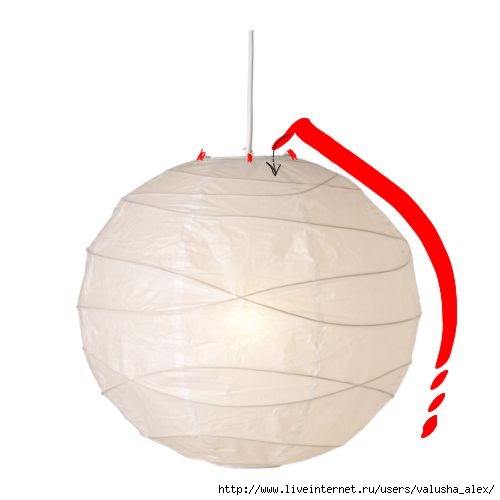
The lower edge of the Ribbon Factory inside (as shown in the first figure) of the basket at the 4th parties and secured by a glue gun.
Then, take the tape equal to the circumference of our lampshade + 25-40 cm. Additional centimeters will go to the bow and nodules. In the middle of the eye we define our “lampshade-ball” and Tinea his belt, as follows:
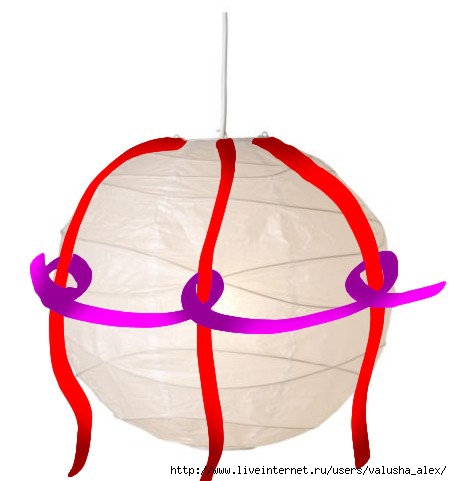 On the ground, with vertical ribbons crossing do nodules, nodules will be 4:
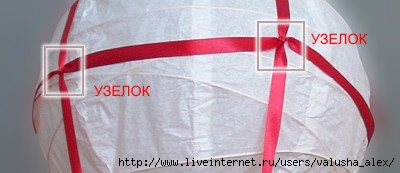
Tape ends are strung together in a beautiful bow.
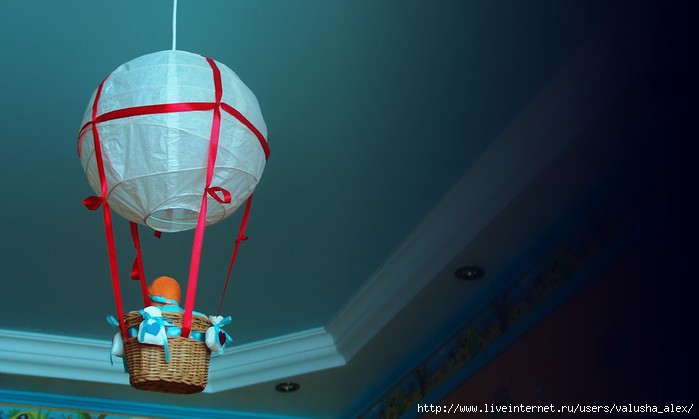
Actually, that’s all we get as a result of a wonderful lamp for the nursery, with his own hands:
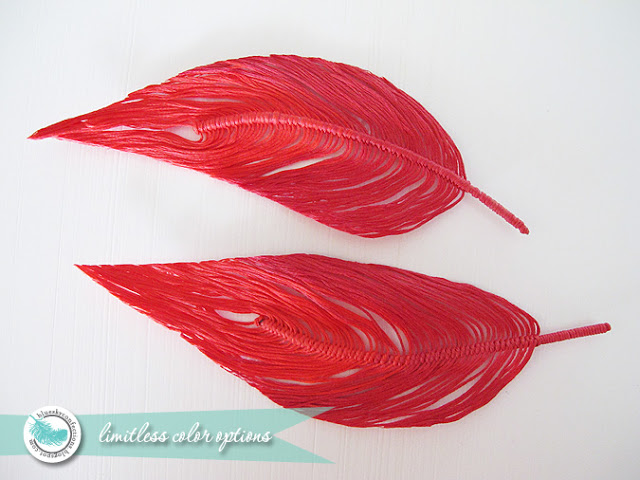
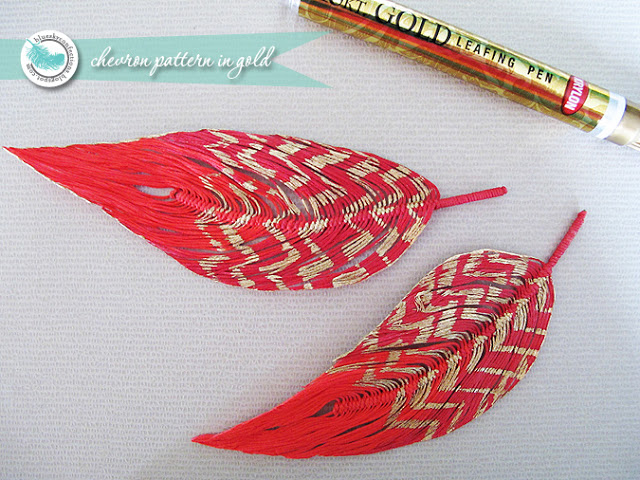
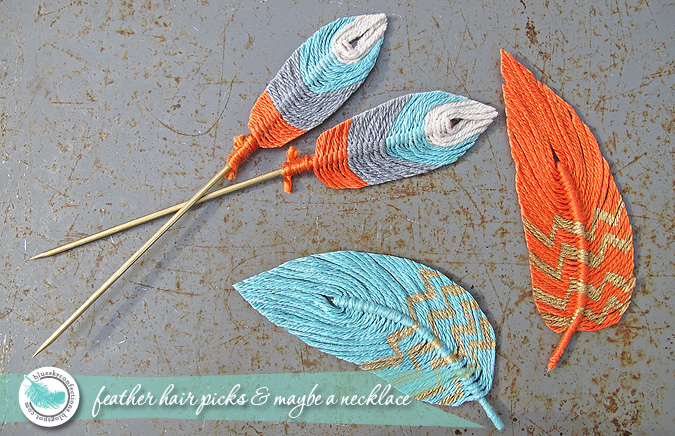
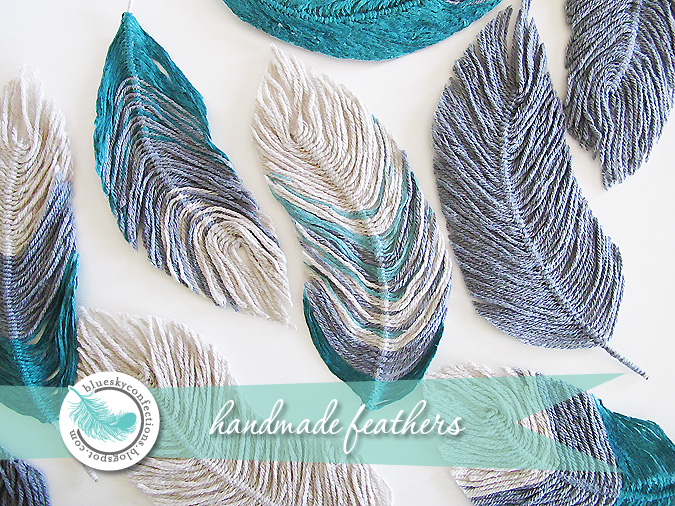
DIY: Handmade Feathers with Thread
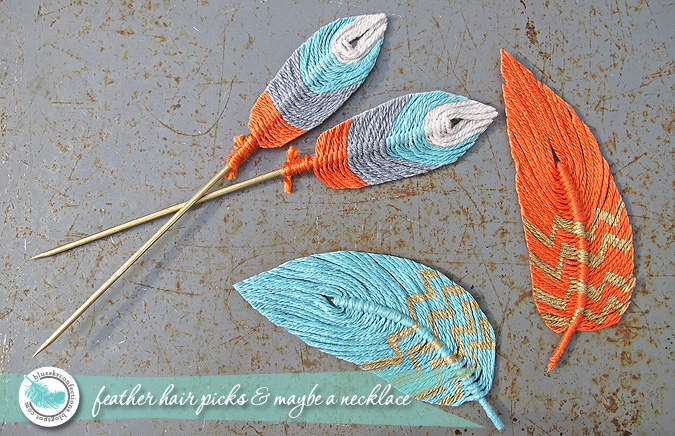
Now I’ll show you how to make handmade feathers.
For we used threads, but you can c / b twine or wool. Colour threads of your choice.
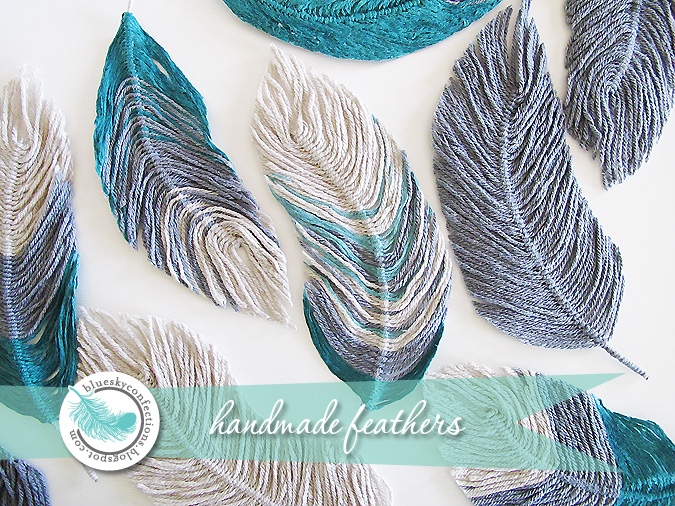
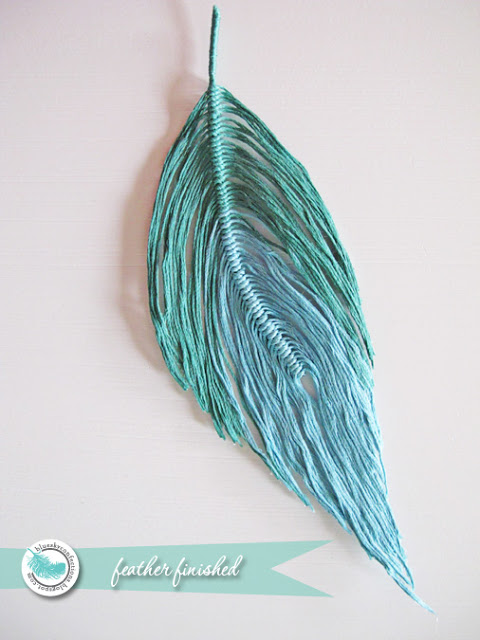
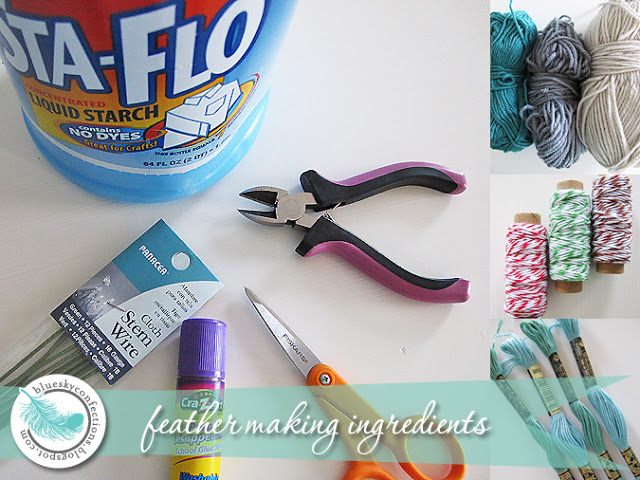
What you will need:
- Floral wire midway pen
- Liquid Starch – To convert the strings in the pen
- Cutters
- Glue Pencil
- Sharp scissors
- Yarn, twine or jute yarn
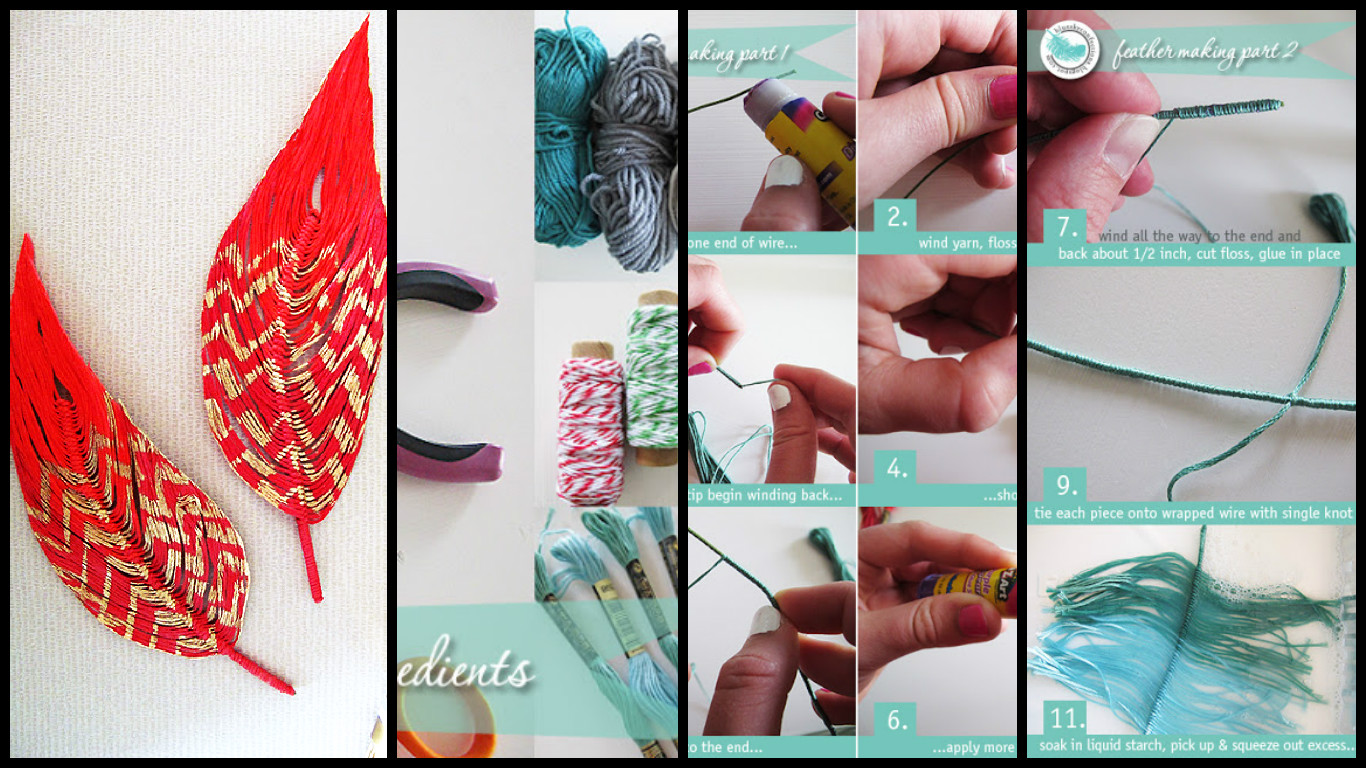
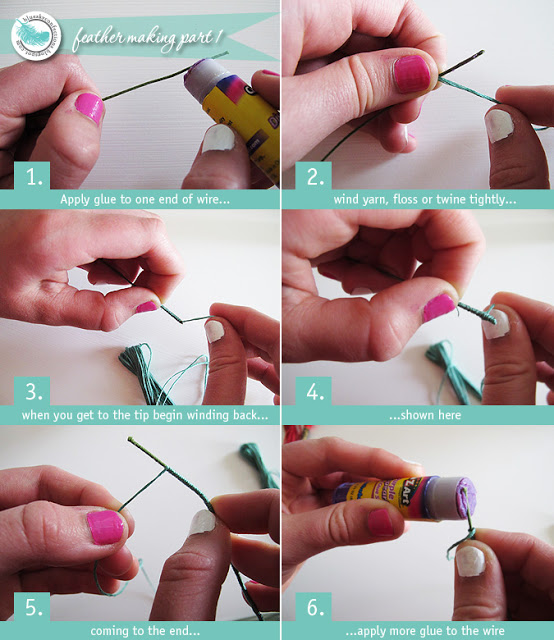
1. In the wire-based, pre-wire smeared with glue, and retreated about a centimeter from the edge, beginning to wind the thread.
And when they came to the edge, we turn and shakes to the other end. We got to the other, turned and wound another centimeter in the opposite direction. So we hide the ends of the thread. The tip of the wire and the tip of the thread good sizing.
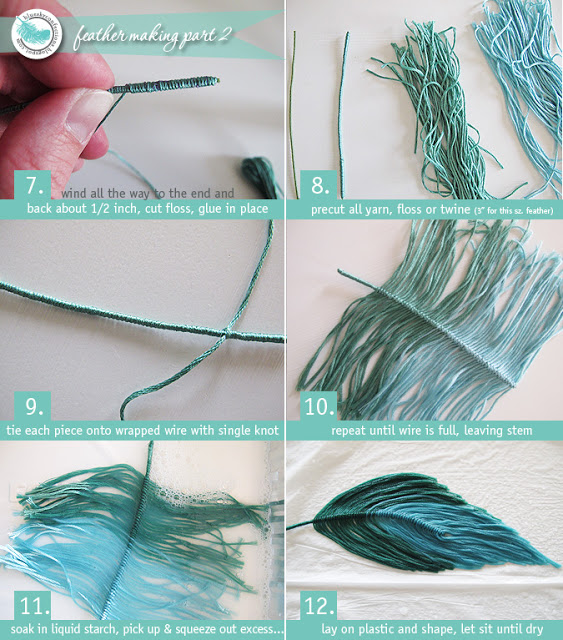
Next of selected thread is cut into pieces about 3 cm long
On the basis of a feather are starting to impose our segments close to each other in the usual single-node
Now cook the starch
That proportion: half tablespoon topless on a cup of water (~ 250 ml)
For those who are not on the subject: first dissolved starch in cold water, then put on a small fire and bring to a boil/transparency / thickening, well you understand – get jelly)
Next, in the resulting “jelly” intensively we bathe our feather to thoroughly wet the threads.
We take out a feather from starch, squeeze, and spread on any smooth surface.
Then gently straighten the skin, smoothing them with your finger. Optionally, you can bend the wire to give the pen an arc shape.
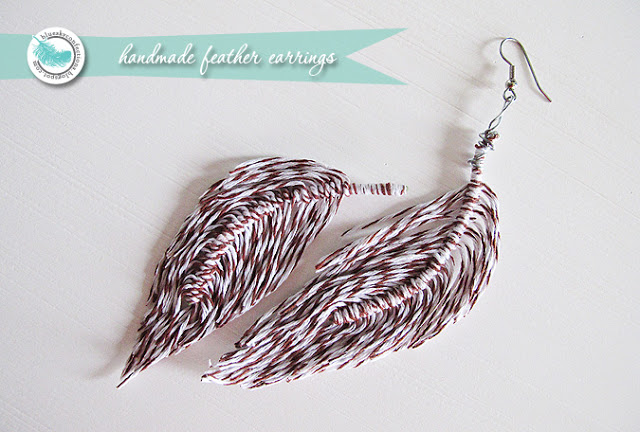
When the pen is dry, Let us give him a neat appearance. Make a haircut with scissors.
Now, our pen is ready and can be used in various design compositions.
How to make beautiful doll umbrella
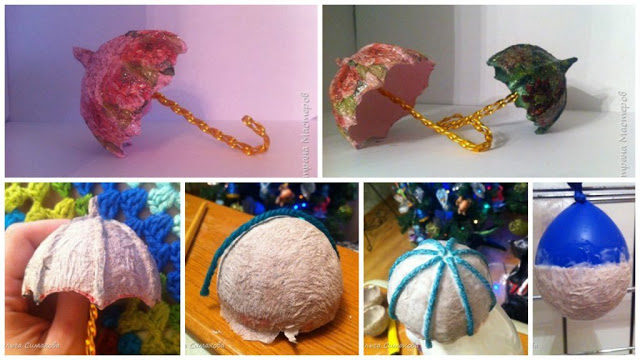
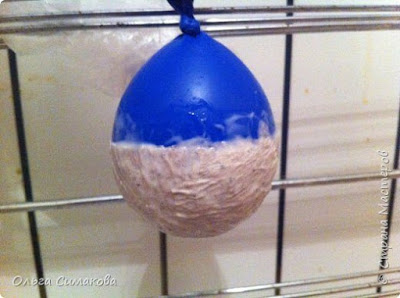
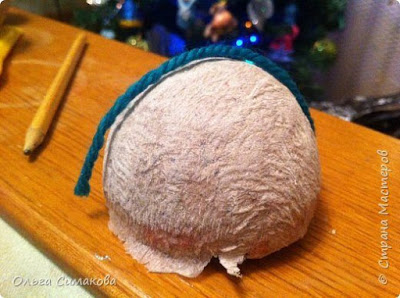
I hope I have not bored you. Just now, when I’m trying to make something, I take pictures of the process. Sometimes it works, sometimes more or less something out. So today- umbrella. Hopefully useful.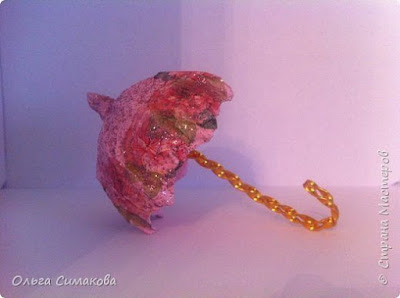
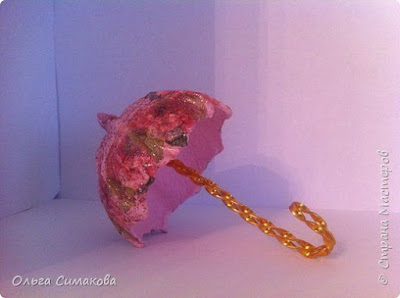
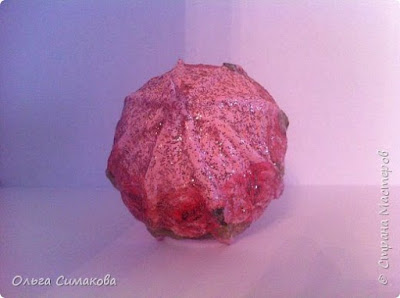
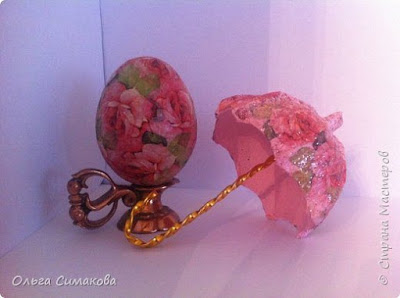
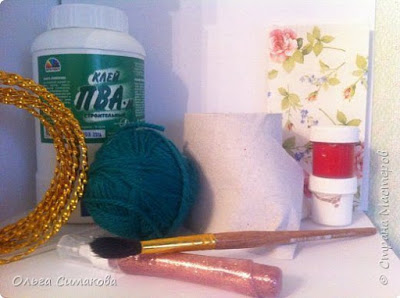
Required Materials:
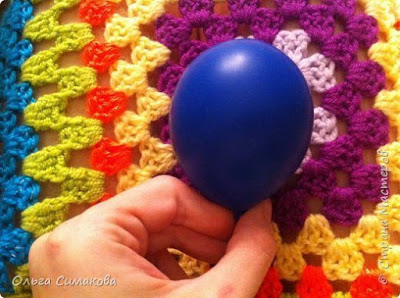
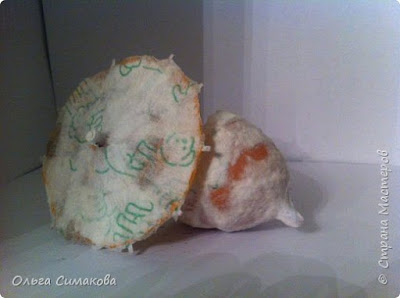
- Airball (pictured him there, the cat dragged after I took it out of the umbrella),
- PVA glue,
- toilet paper,
- brush,
- thread,
- paint,
- glitter,
- napkin for decoupage (not necessarily),
- the wire
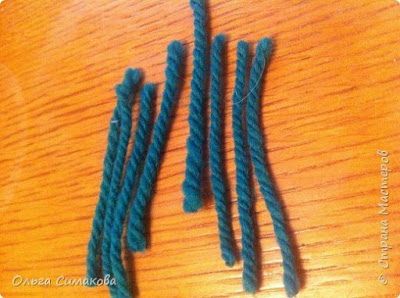
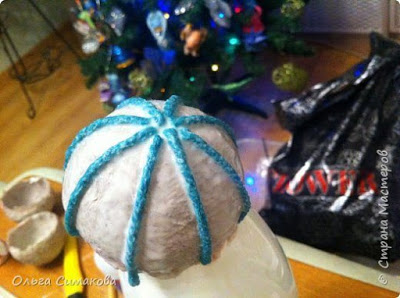
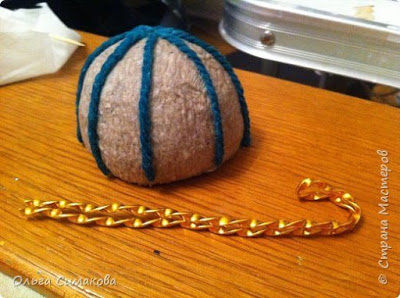
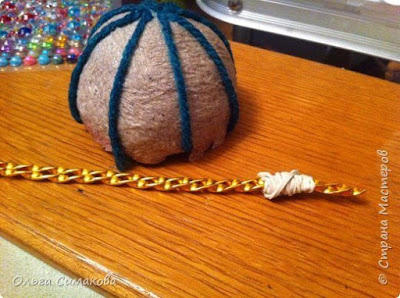
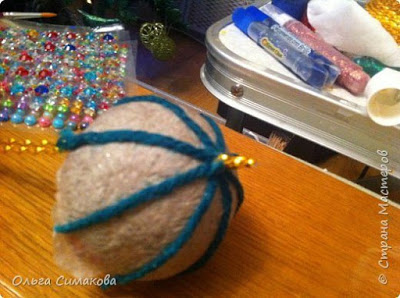
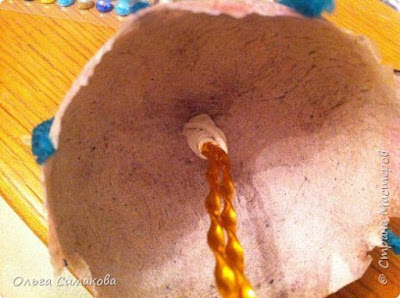
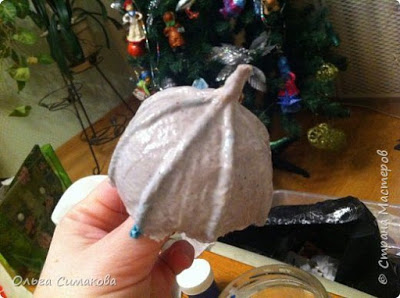
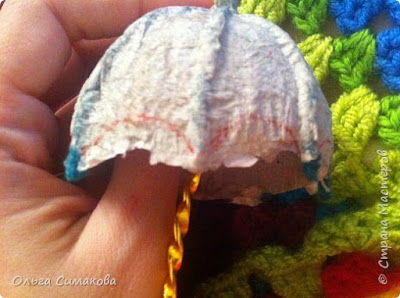
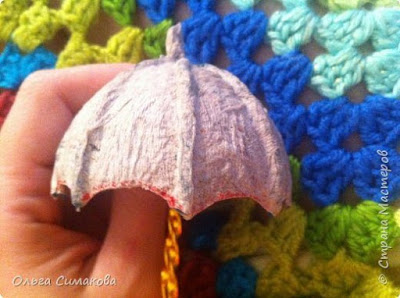
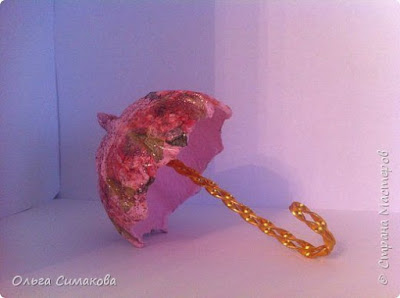
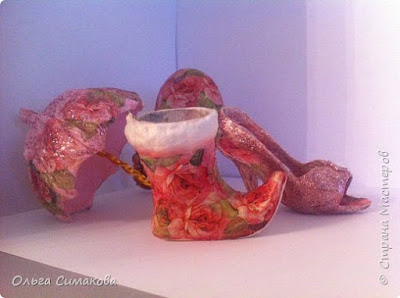
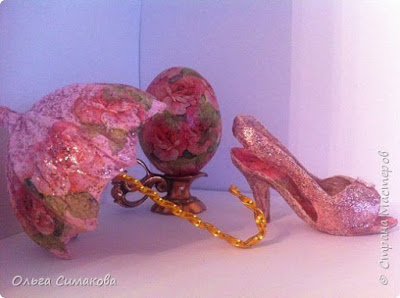
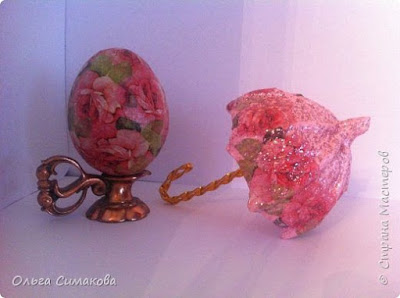
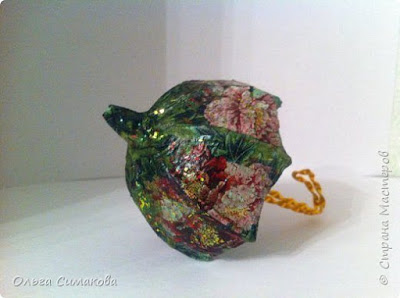
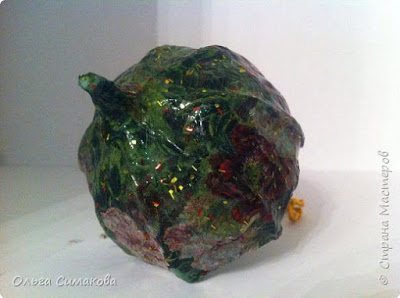
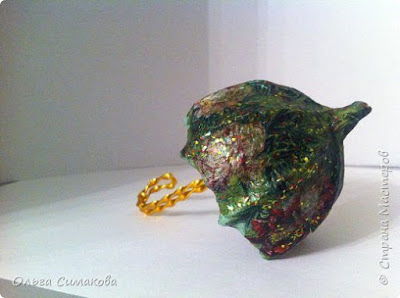
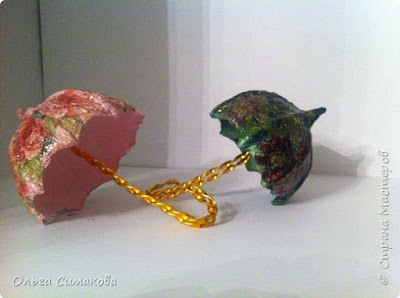
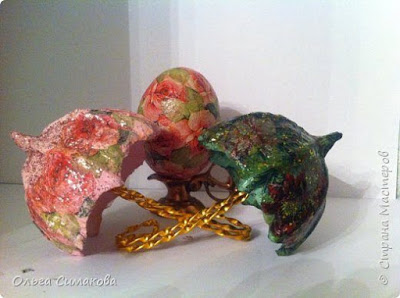
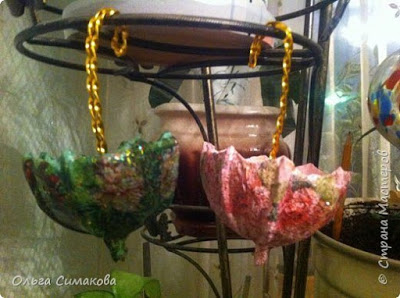
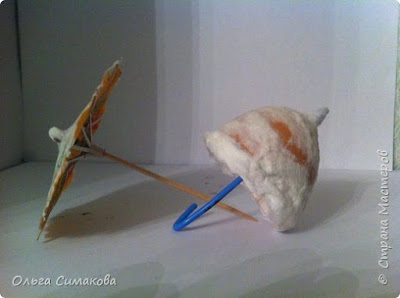
DIY: Beautiful Clocks “Fire Flower”
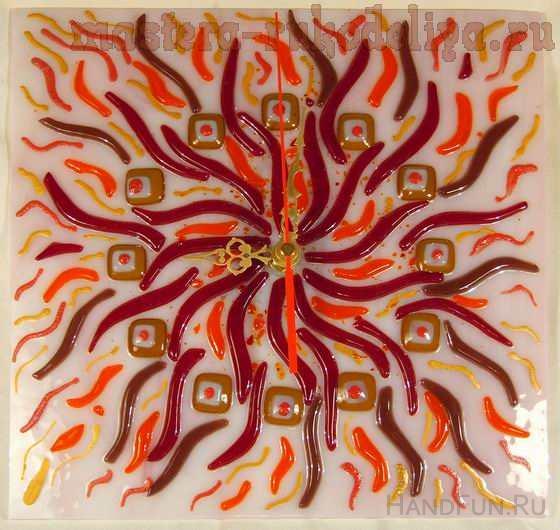
clocks “Fire Flower” by fusing.
As always, the main task of this master class to show everybody passionate about the beautiful products made of colored glass, which, as they say, “no gods pots”, “the devil is not so terrible as his baby”: -), and so on …
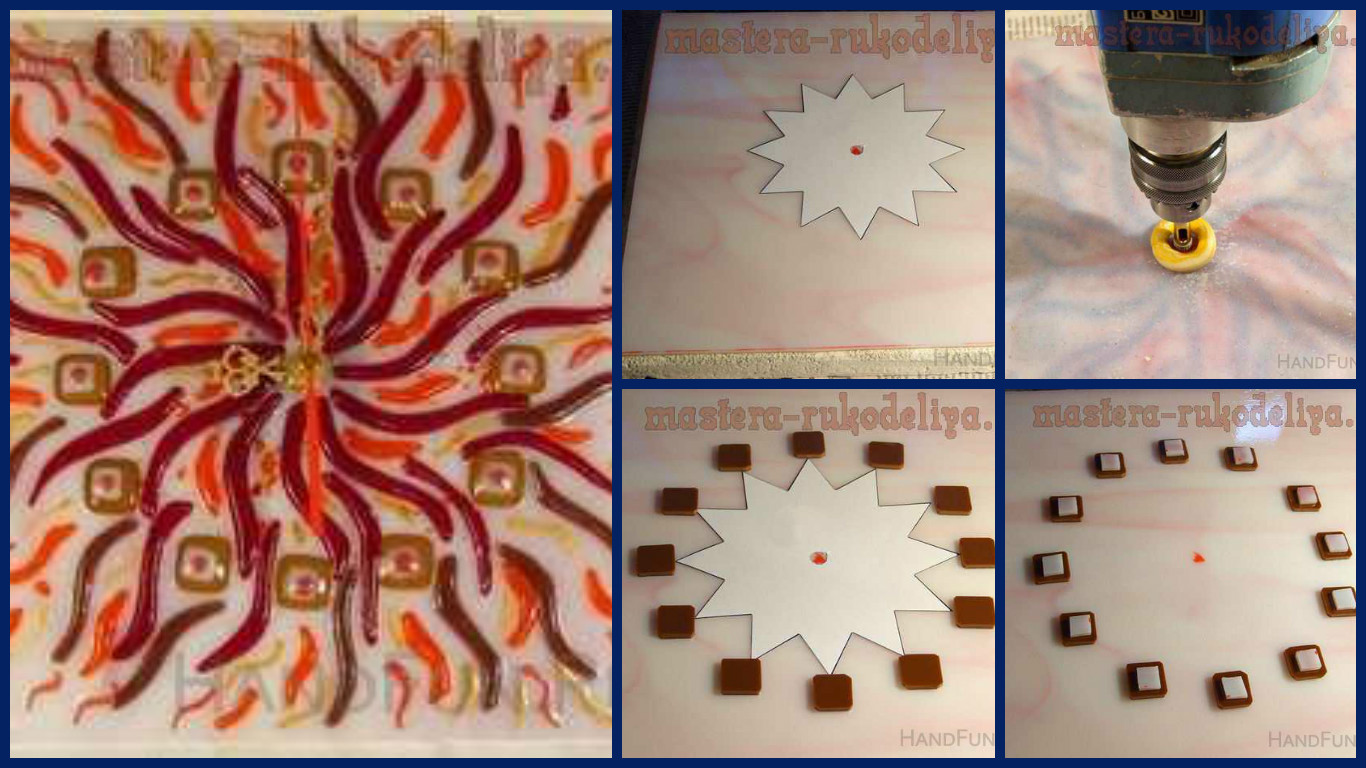
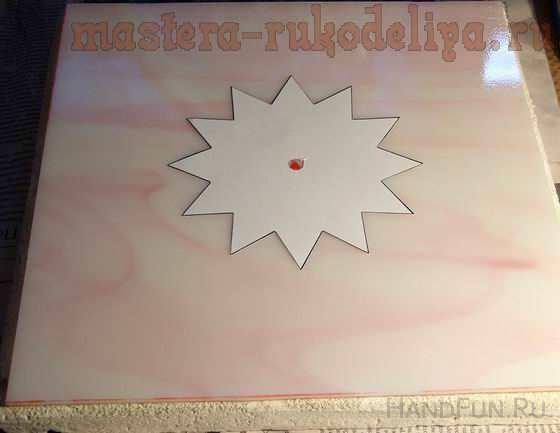
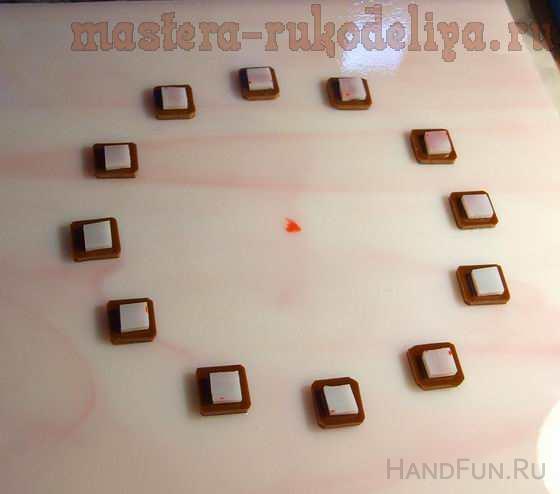
At this time, I wanted to do something summer, bright, fiery … So the idea of “Fire Flower”. Especially that all elements of the product are quite simple. To begin, I cut square billets (size 27 x 27 cm) of a pale pink glass with a pattern. He outlined the center of the square a permanent marker and put a twelve-pointed star, which indicates the position of the rays squares tags, symbolizing the number of hours.
 The next step, I stuck a transparent glue “Moment” cut squares of deaf brown glass about the size of 15×15 mm. Clay lot of smear is not necessary. A single tiny droplet on the element.
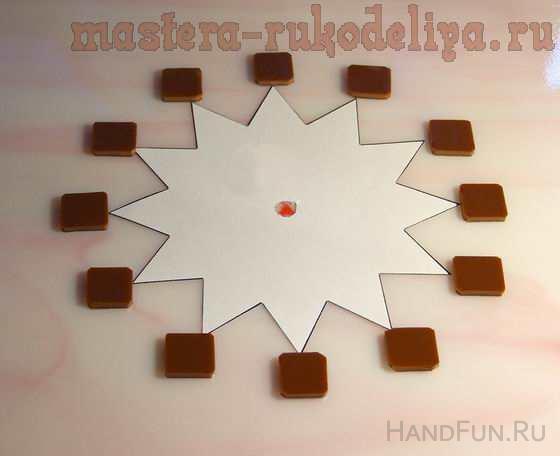 For better visibility in the future-digit squares on top of brown squares, I have pasted squares of white deaf glass about the size of 1×1 cm., Too, for each drop of glue on.
 Now came the turn of “Ray-petals” fire flower. They are made of red, purple and orange transparent glasses. Since this is not an ordinary flower, while still “fire”, the rays, I cut the petals slightly curved and pointed to looked like tongues of fire.
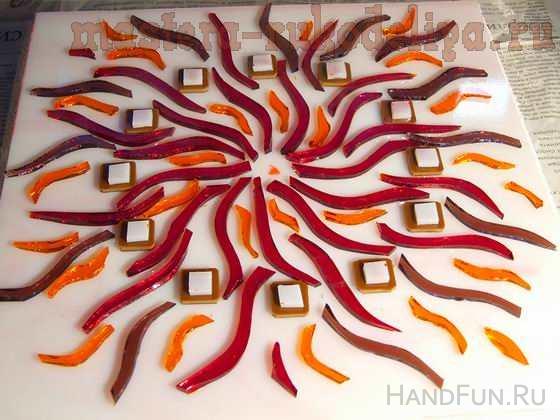 I also added a bit of gold and pink colors of light. Special paints intended for firing in a furnace. In my personal view of the ink-rays additionally, fill the blank space background and a few animated picture … If someone from the “masters” wants this step to criticize, it is appropriate to recall that “the artist can offend everyone” and, in general, “I see” – -). Well, here in the evening so I wanted to …
 Here’s what happened after the six-hour sintering oven in my favorite “UPFM-005.” Rather 6:00 went slow heating to the glass is cracked. It goes after the sintering in an oven at maximum temperature for about 10 minutes went That was enough.
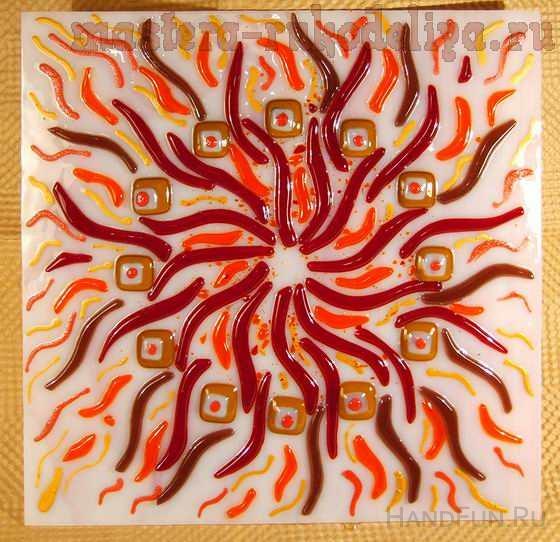 This time I decided to drill a hole 8 mm under the clockwork after glass sintering. So, purely from- there is a difference. The differences to be found.
Turned workpiece bottom up, stuck in place drilling ring of plasticine, I poured some water there. Water is necessary to diamond drill work properly, it does not overheat and prematurely does not crumble. I, accordingly, was not breathing glass dust, which, by a strange coincidence, health does not add …: -)
Perhaps there should be added, he cut glass process glass cutter glass dust does not produce harmful is not. But we have to work with glasses, so that when the glass breaking of the possible fine particles is not flown into the eye. If you do not wear glasses, you can use the operating safety glasses with regular glass, which you can buy at any hardware store (or store tools) for 20 to 30 rubles.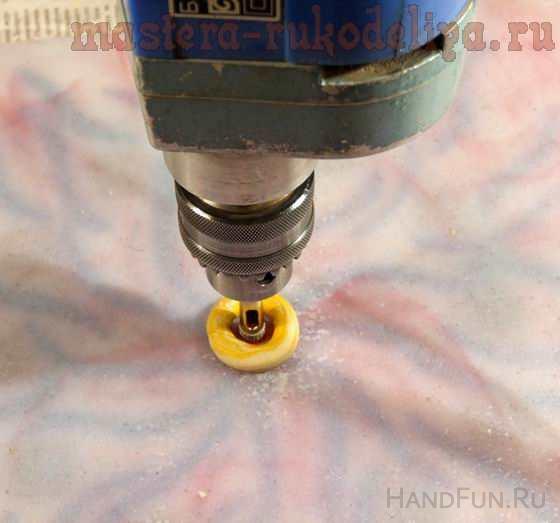 That’s the end result. It remains only to insert the clock mechanism.
Since the composition of hours there is a lot of bright shades of red, black clock hands (hour and minute) “lost,” so I have them painted in yellow gold color from spray cans.
For those who still do not know: stained glass is necessary for any item on the fusing technology used with the same coefficient of linear expansion, so that when the cooling of the product is not cracked due to the reduction in the size of different items in different products.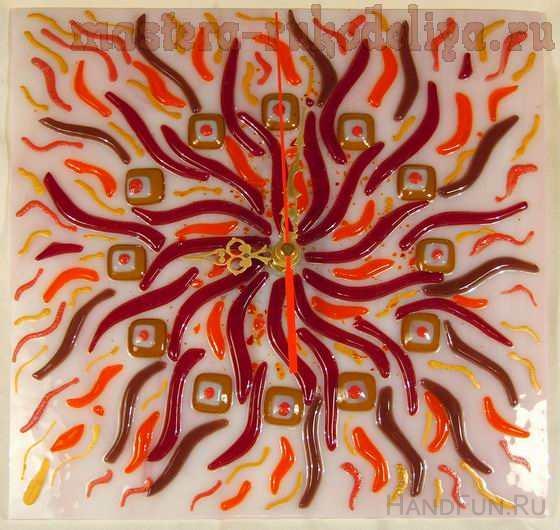 That’s all. How it worked – to judge you, but I can only say that the manufacture of such products did not seem very complicated …
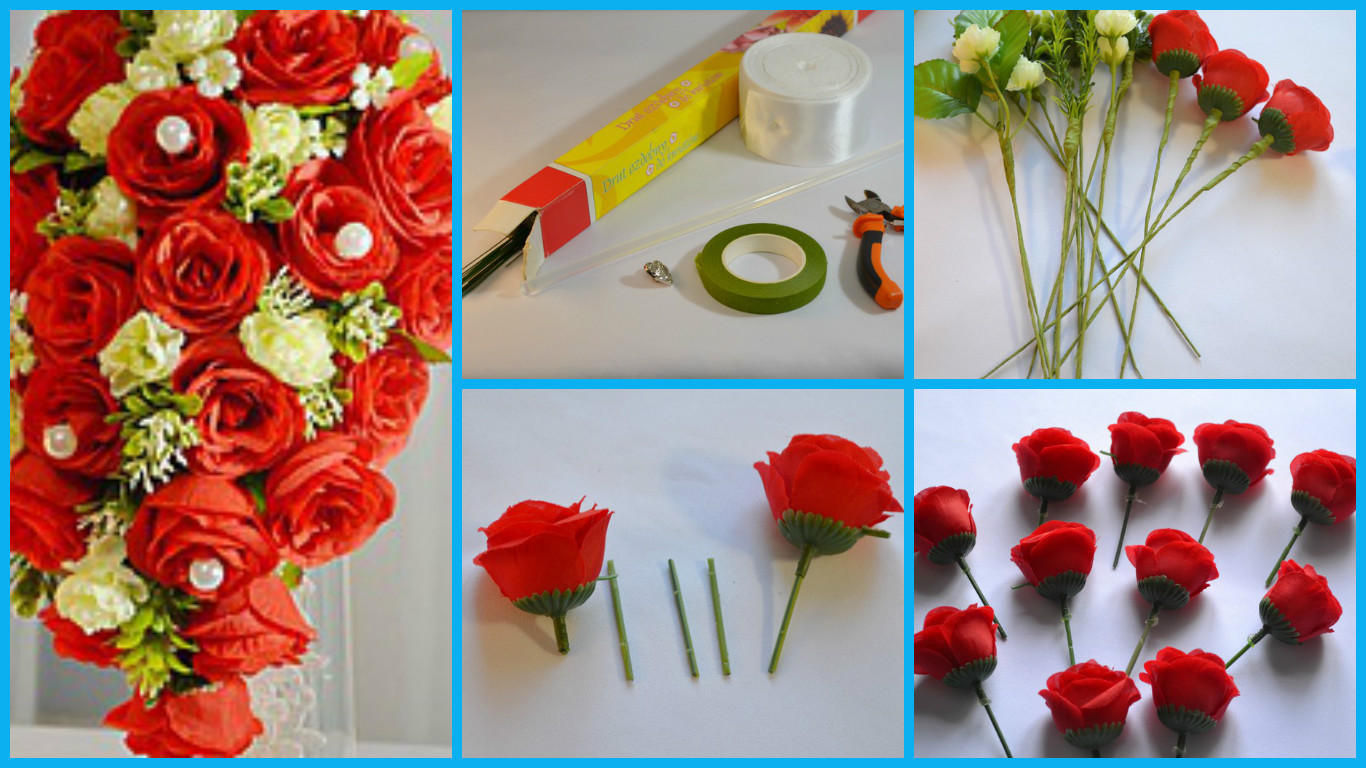
How to create a cascading bouquet of artificial flowers
This small master class, I decided to show you how to make a cascading bouquet, understudy in taping technique. I do not know, does anyone still doubles so this technique and I like the fact that it allows you to create absolutely any bouquet shape, whether ordinary hemisphere or “waterfall” to the floor.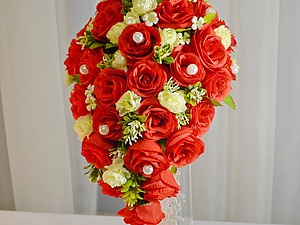
Necessary materials:
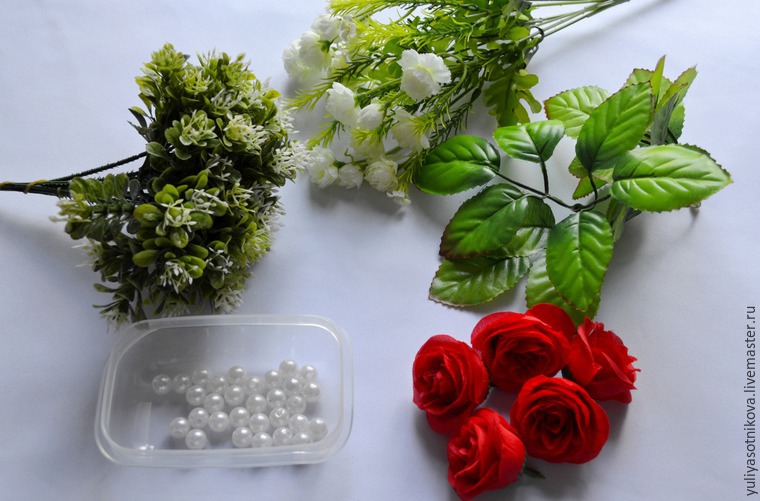
– small head rose (on the job took them 40 pieces)
– Rose leaves 10 pieces
– a pair of white carnation bushes
– a few sprigs of greens with tiny leaves
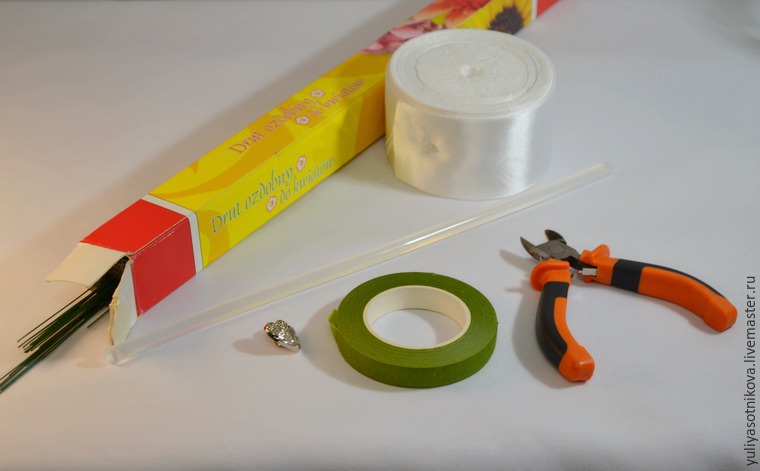
– Floral wire is 0.7 mm thick
– Teip tape
– Hot air and hot melt adhesive
– Scissors
– Wire cutters
– Satin tape 4 cm wide and 2.5 cm (2 m)
– Lace 50 cm
– Beads (15 pieces)
– Decorative buttons
Getting Started. Cropped bushes with branches carnation so that we stayed on them “legs”. In order to collect a bouquet of roses in the head, you must first create them stems. Here we need the one wire that was left of carnations.
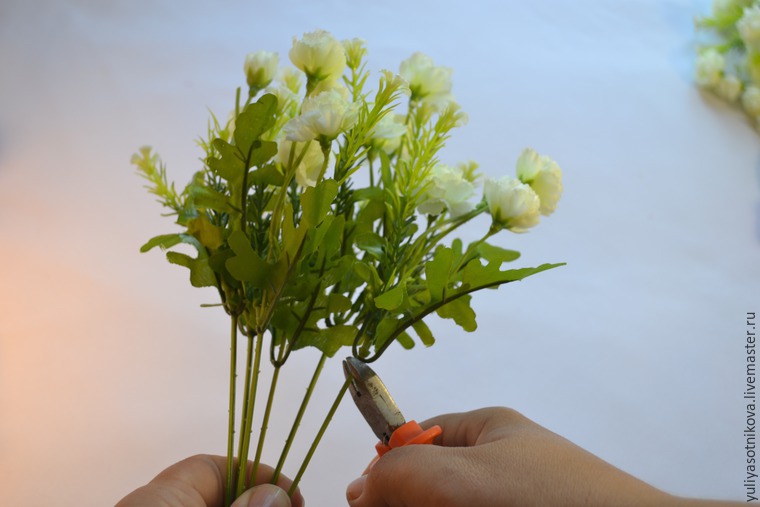
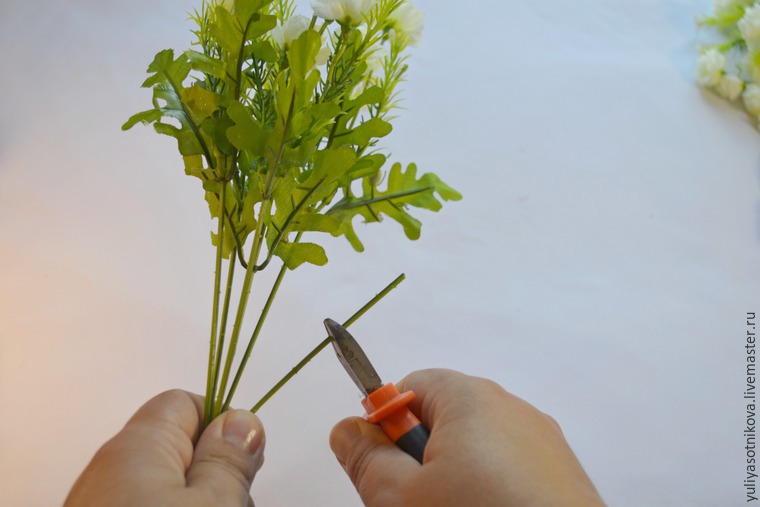 Cut it into pieces, centimetre 4-5. Such pieces will need as much as the heads of roses we’ll use.
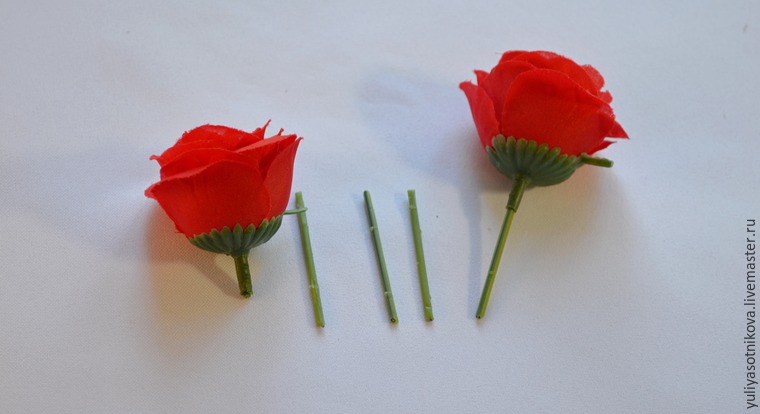 Next, we need to put on the head of the wire segments roses. To do this, we are on the tip of the wire we put a drop of glue and put on our roses. It looks as follows:
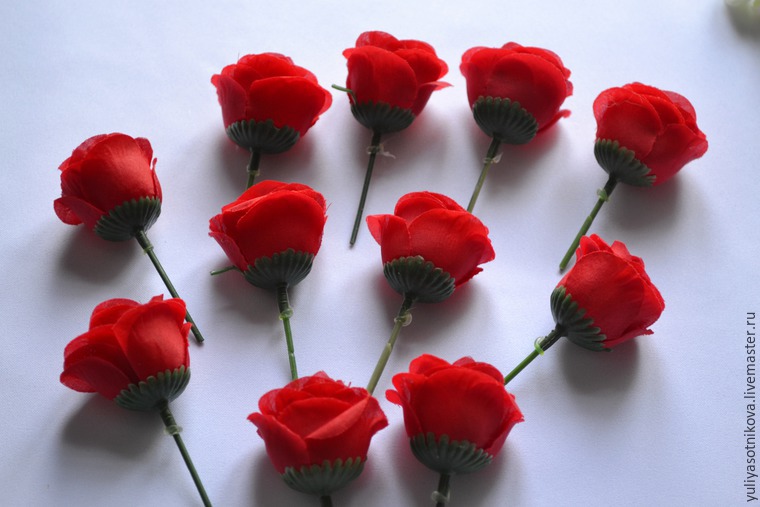 We continue to form stems. Take the wire and florist primate it to our legs so that the ends of the wires were down, prolonging the existing legs. In the same way we do with the rest of the flowers and greenery.
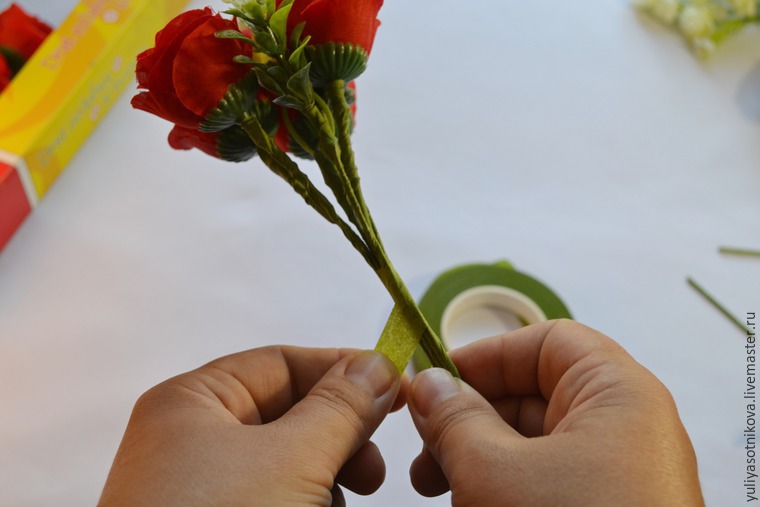
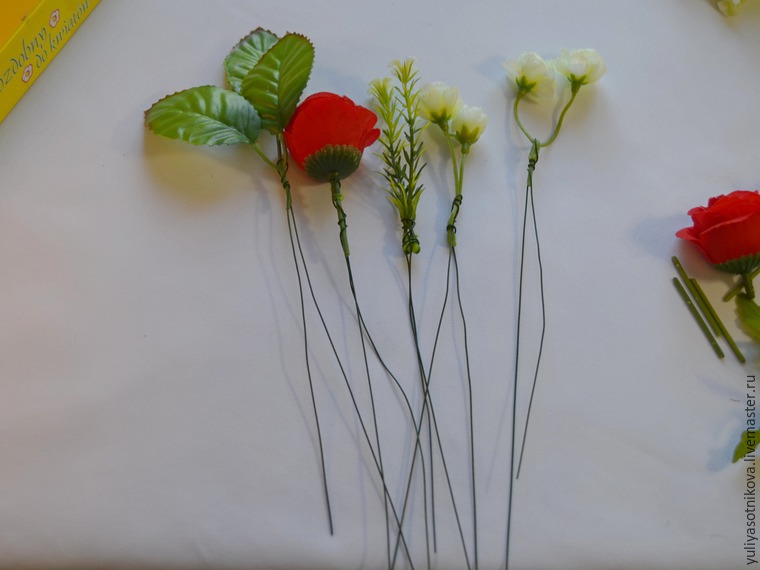 Now we need to wire propitiate. To do this, take the tape and from top to bottom, a little stretching her tight and carefully amalgamate she ends our wire. That’s legs and ready. At first glance, someone who has not worked in the technique of taping, the process may seem long, but when “the hand is already packed,” it is done quickly.
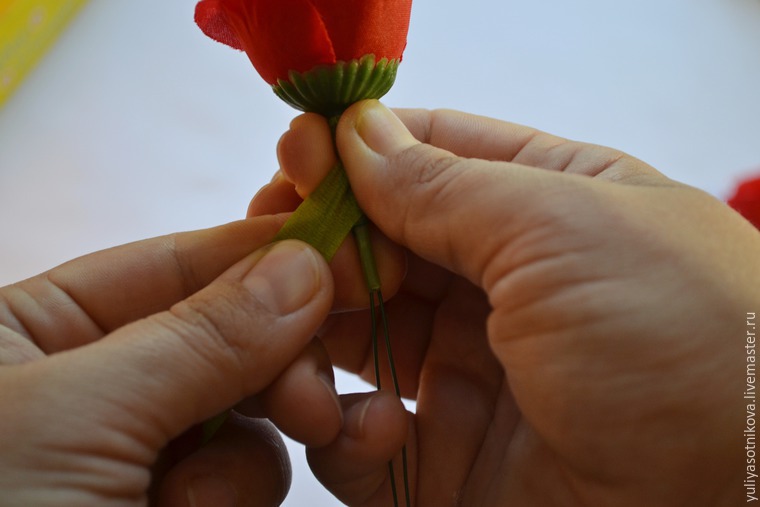
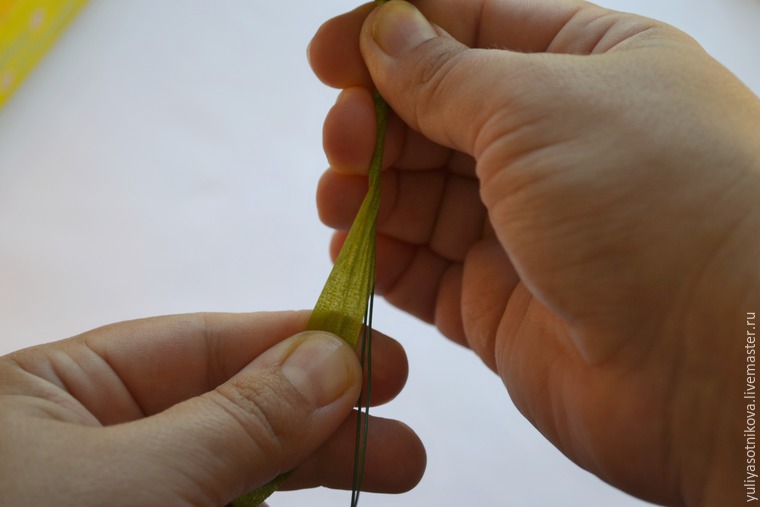
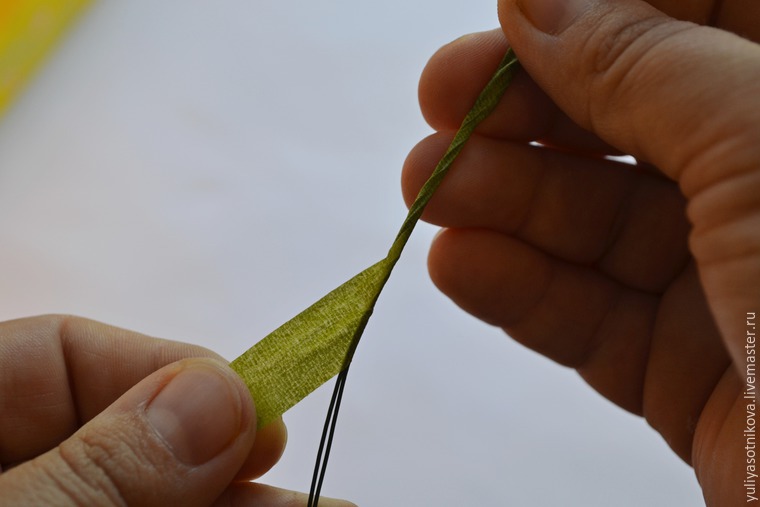
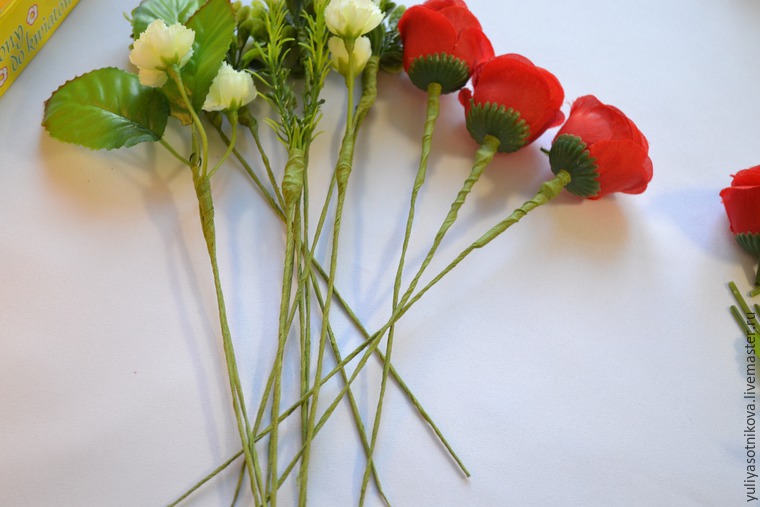 Now you are ready to assemble. Take one at the flower and begin to put them together to form a “cap” of the bouquet.
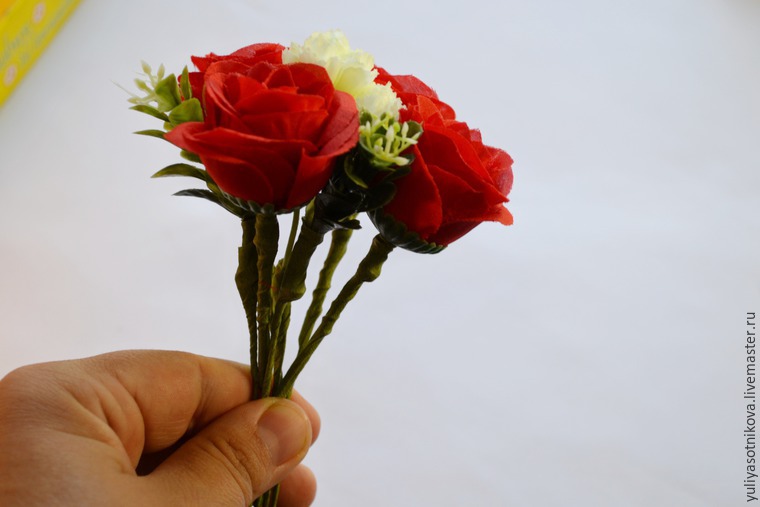 It is better to do so: lay down a few stalks, tap-recorded tape. Then added another and again recorded.
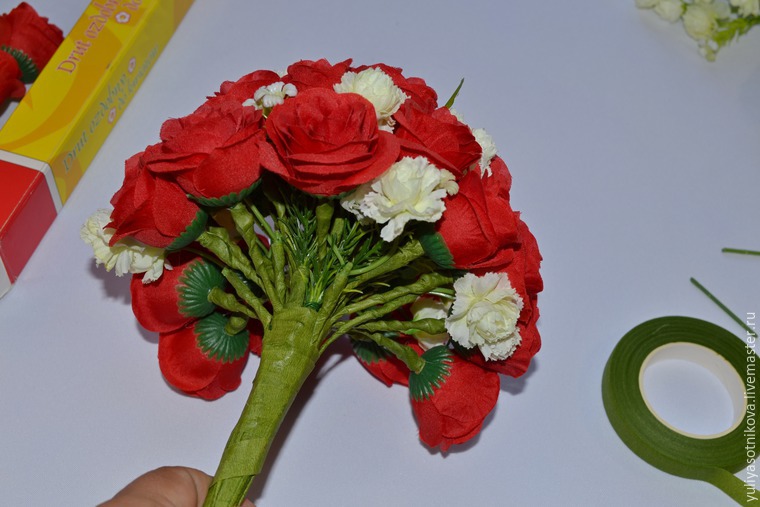
 So we continue to put a flower in the flower, alternating red and white and adding a small green, trying to give the bouquet shape of a hemisphere.
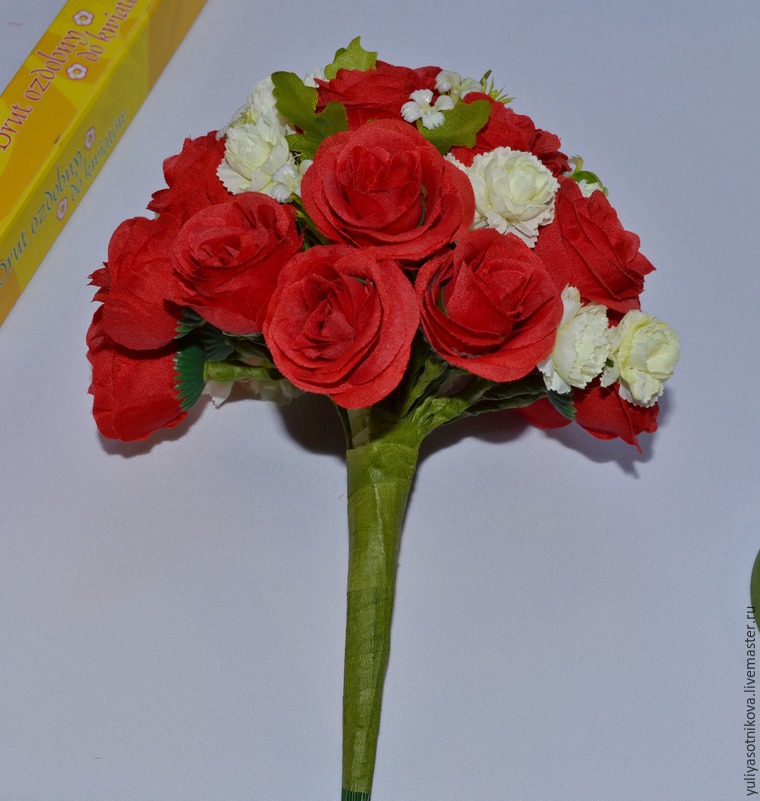 Here it was possible to stay and start to decorate the handle of the bouquet, but as he we should be cascaded, we will form a part of its drop down. To do this, take in hand a rose, then, below (below the height of the head), are putting two other roses. Below them three pieces. In between, do not forget to insert a carnation and greens. And since several rows depending on how long we want to make the cascade. In form it resembles a Christmas tree.
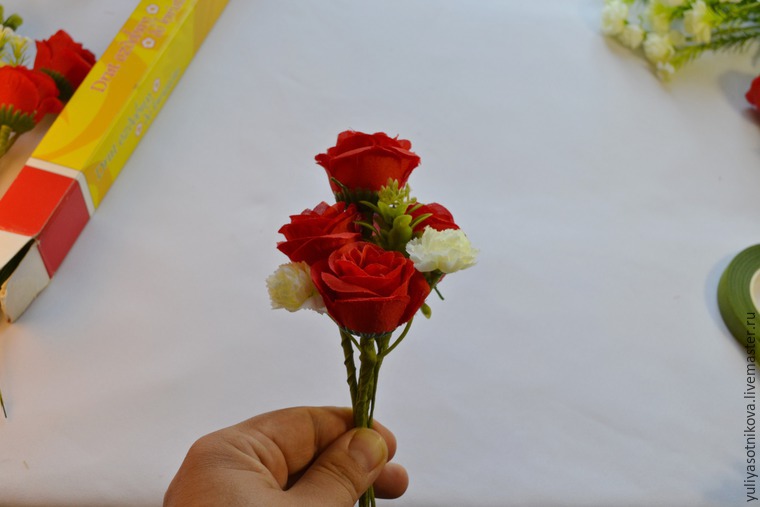
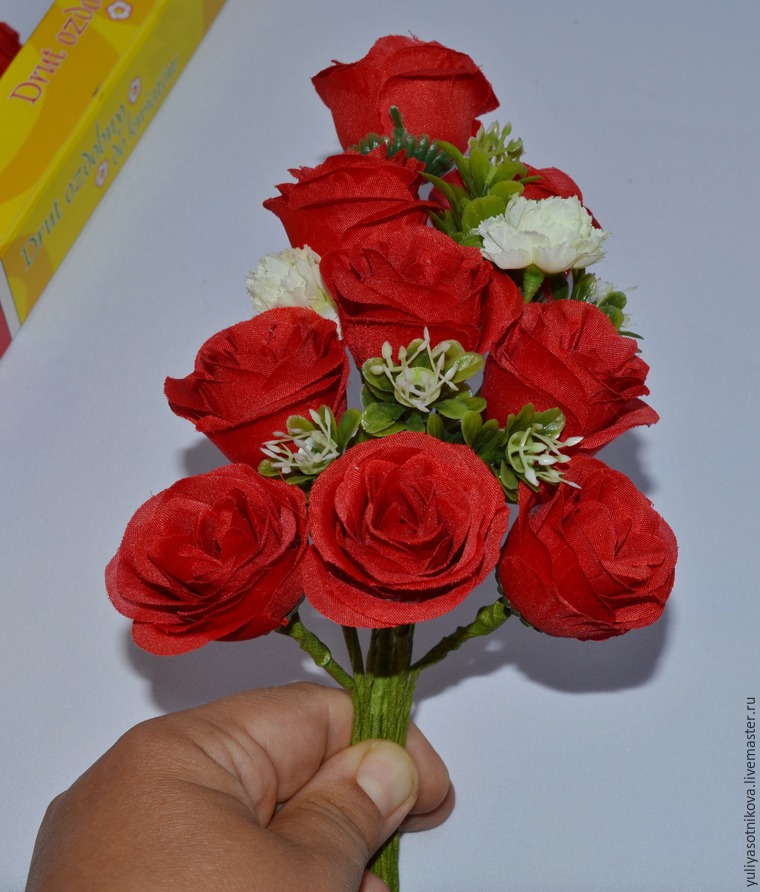 Next, you need to connect the top and bottom of the bouquet. To do this, we bending the lower part and are putting it to the top so that together they constituted a single unit. We fix tap-tape.
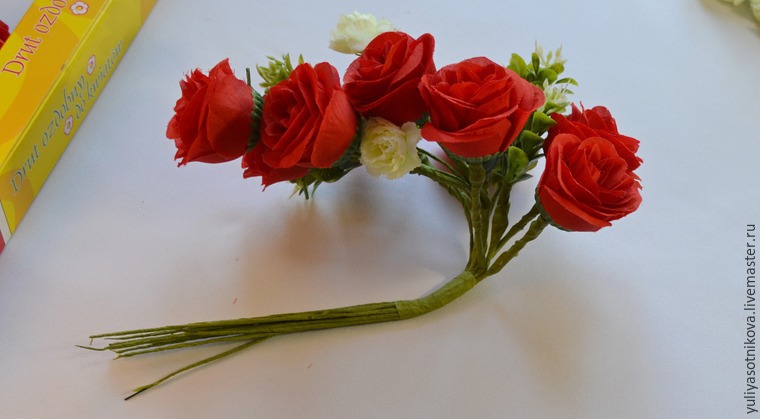
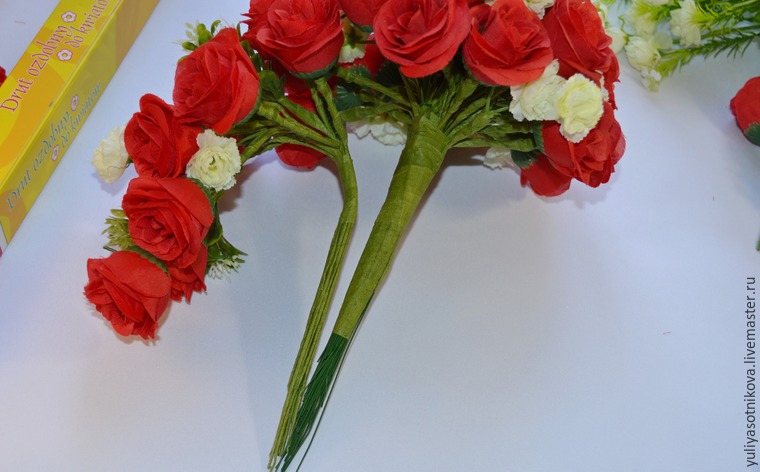
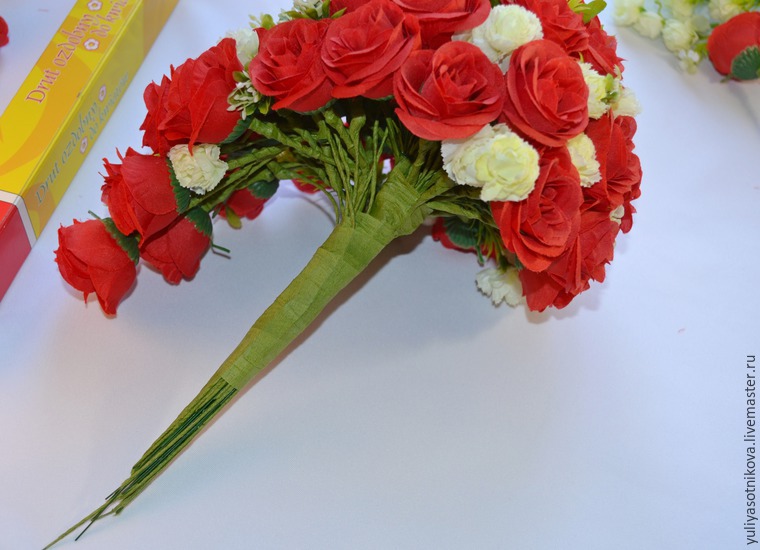
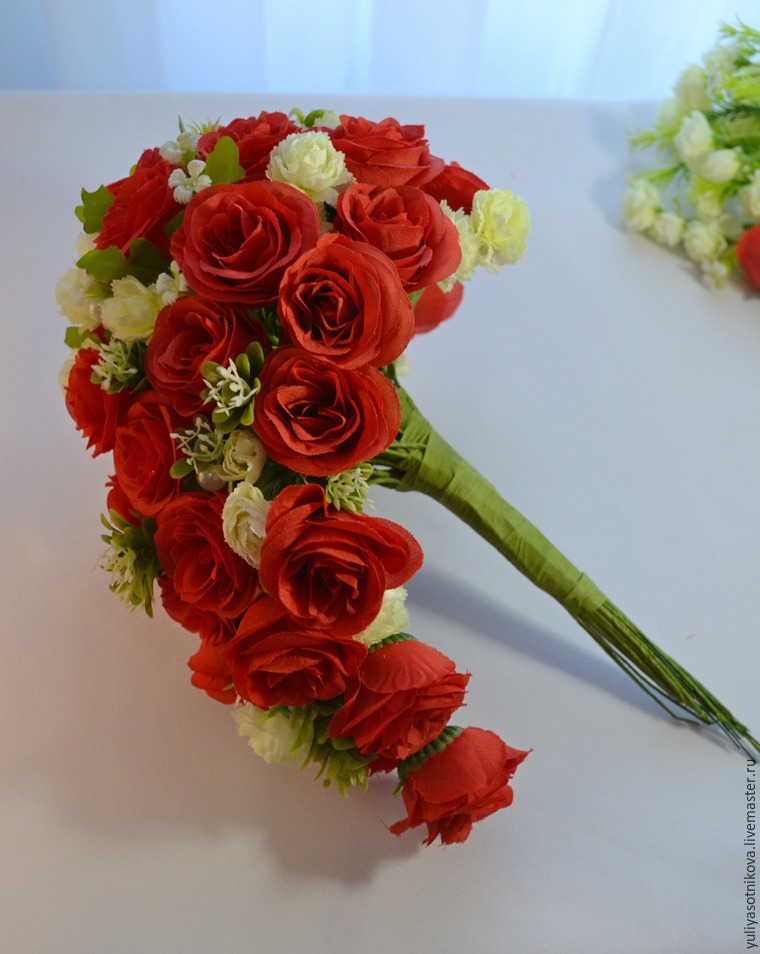 Now start to decorate the stem of the bouquet. First, on the edges of the leaves of roses surrounded by cushioning the foot and again fix tap-tape.
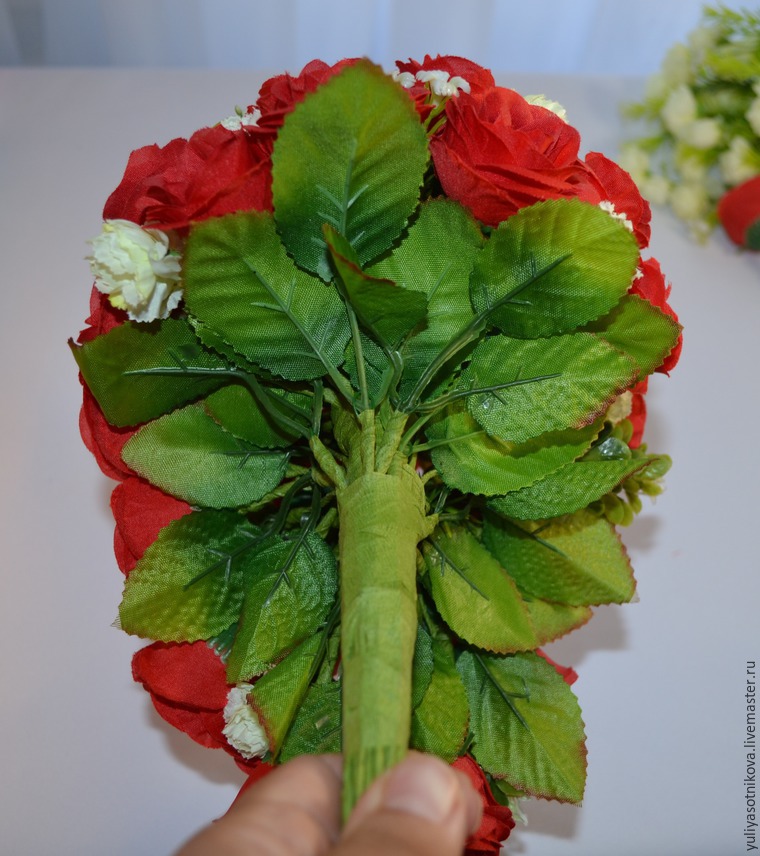 Satin ribbon width 4 cm cut into 8 pieces of 10-12 cm. Each leg folded in half are bent, as shown in the photo and fix with glue.
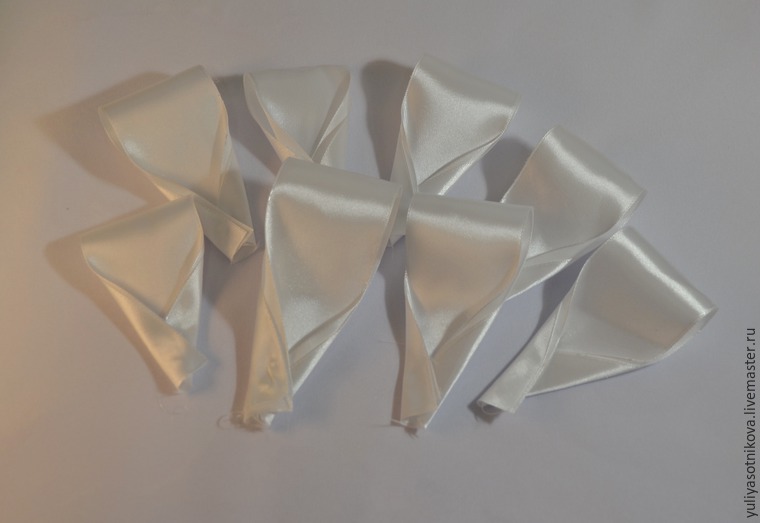 These blanks around the perimeter of foot paste bouquet.
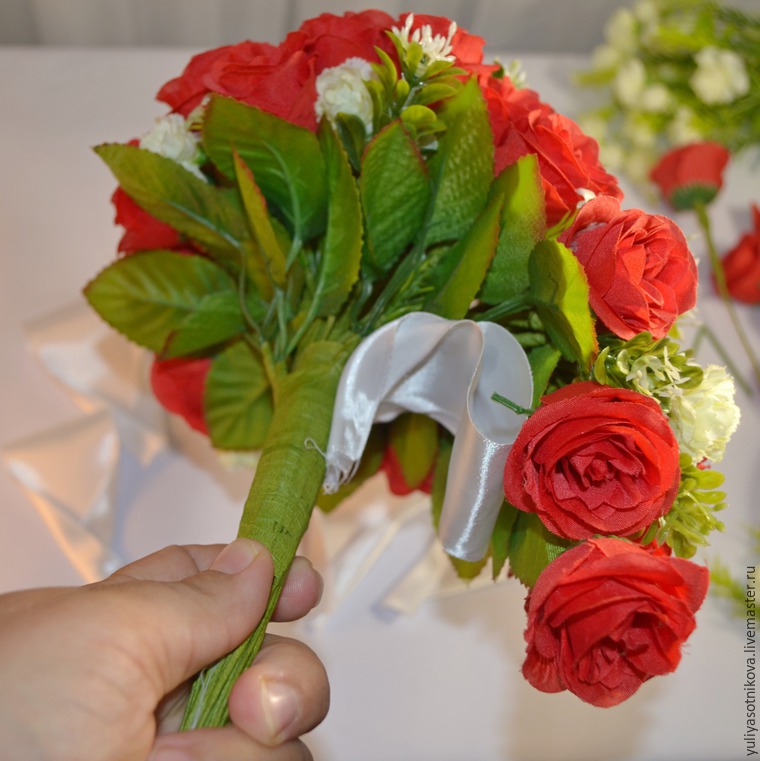
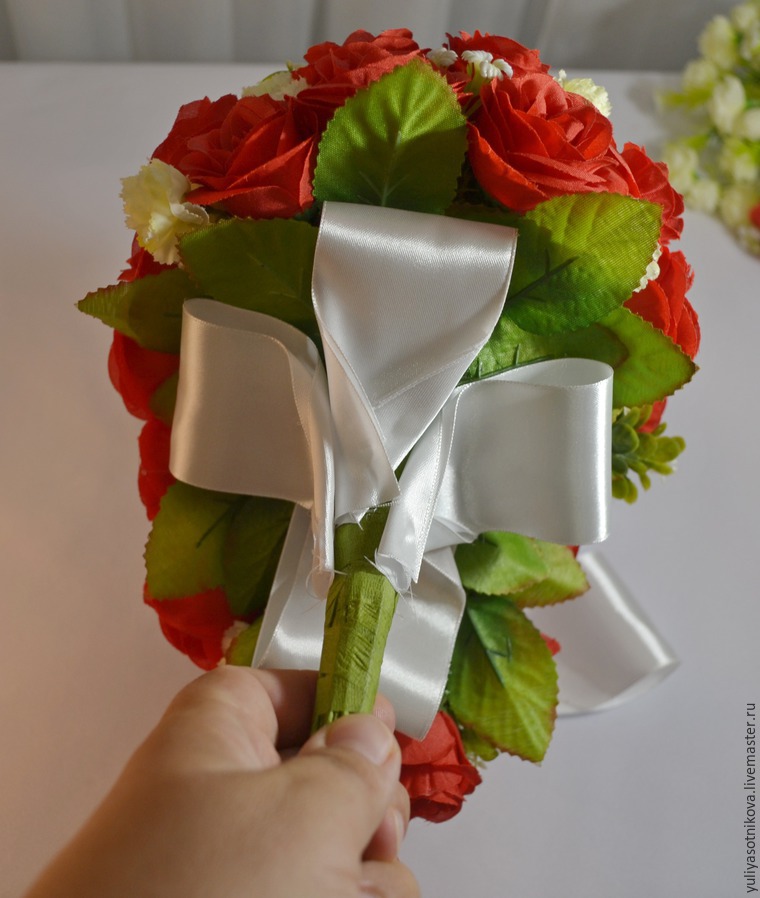
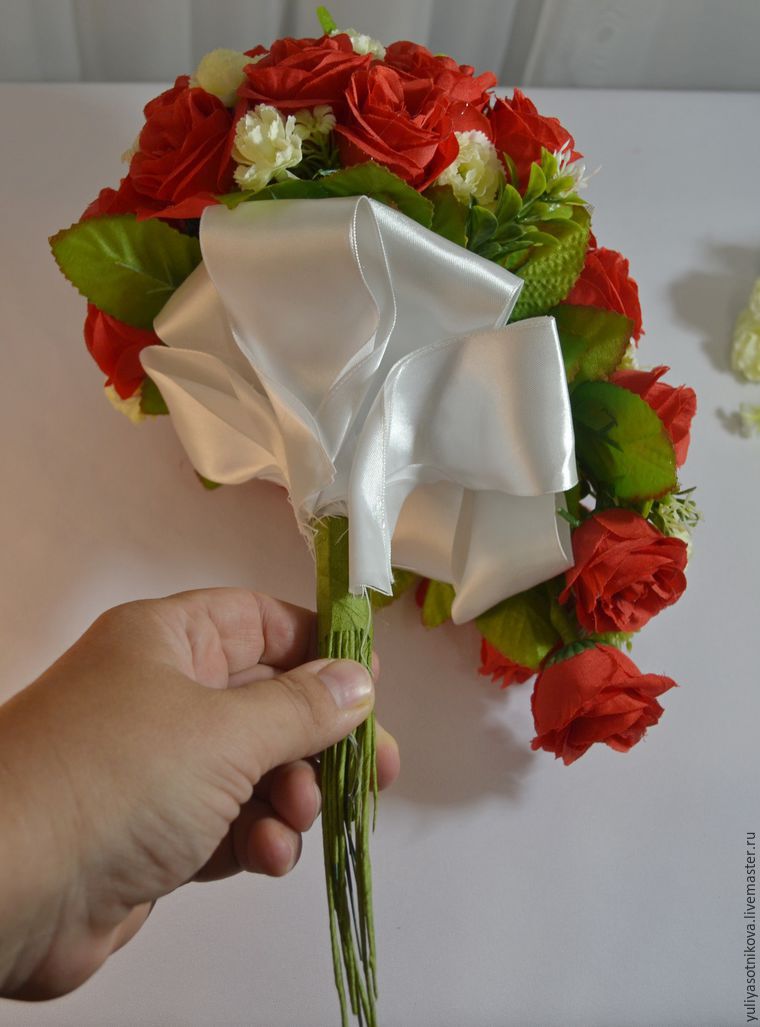 Determine how long we want to leave the leg and cut the excess stems clippers. Again, fix their tap-tape.
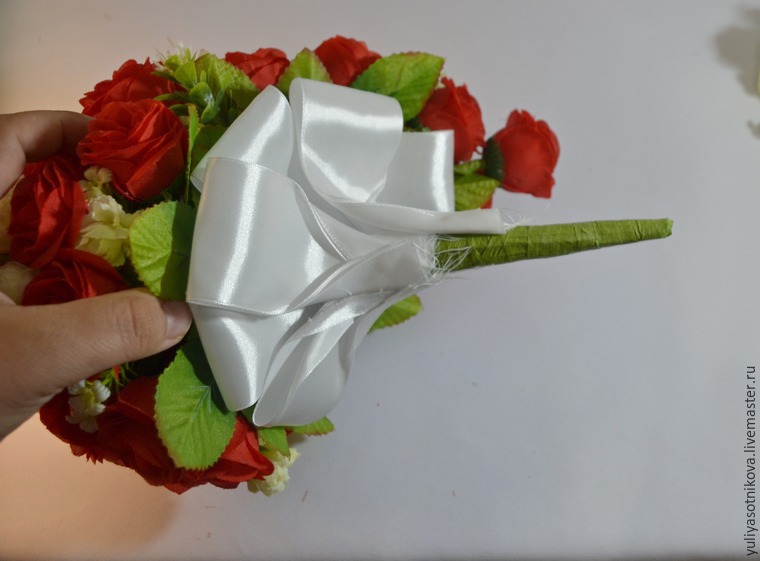 Then decorate the leg across the length of the ribbon width of 2.5 cm.
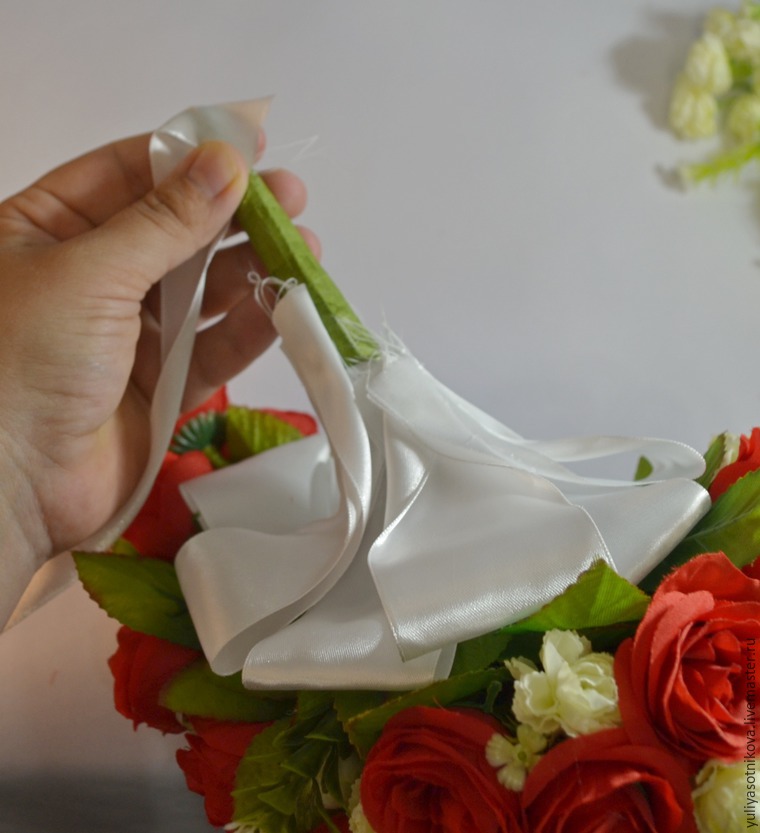
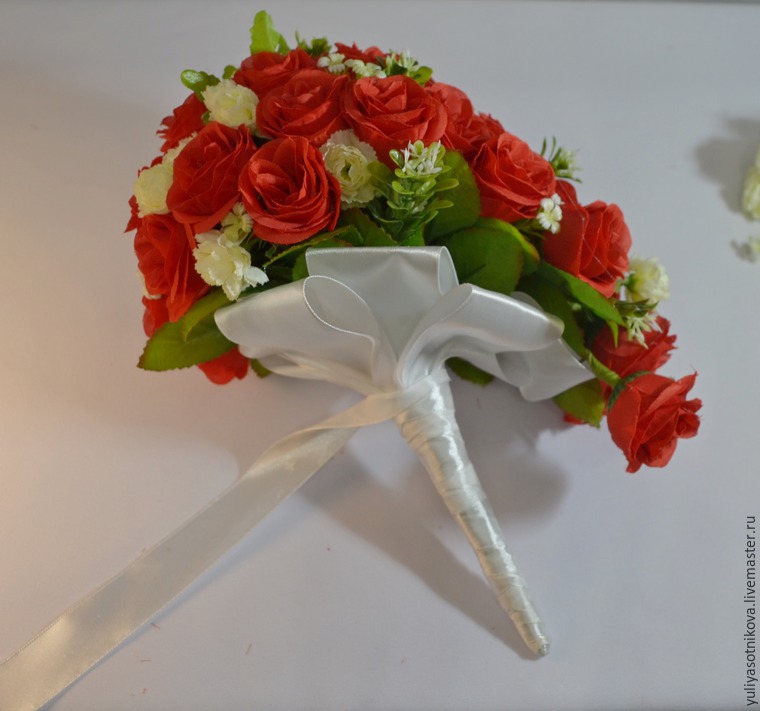

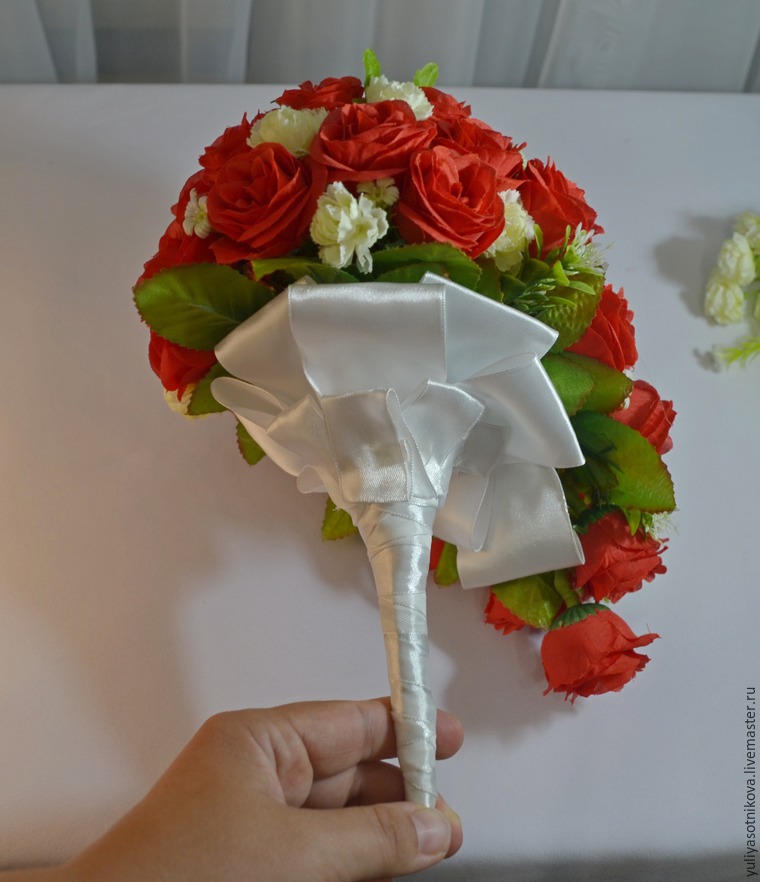 In the centre of some of the glue in beads roses. On foot, the top we tie or glue lace ribbon and decorate with decorative buttons.
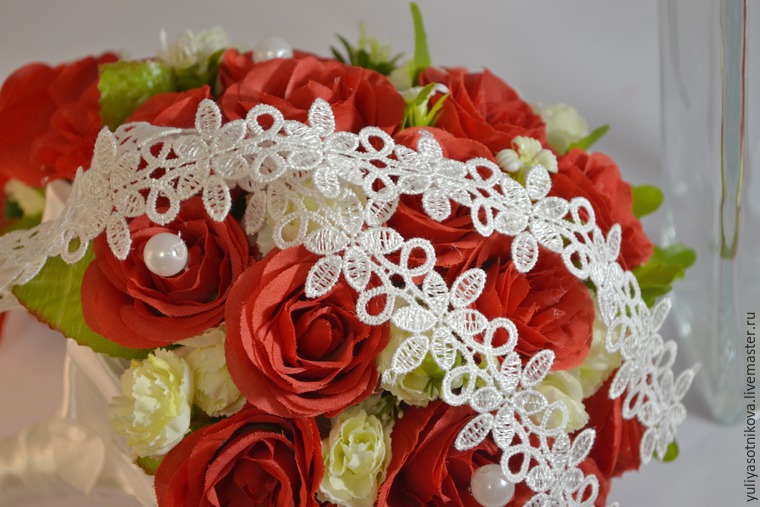
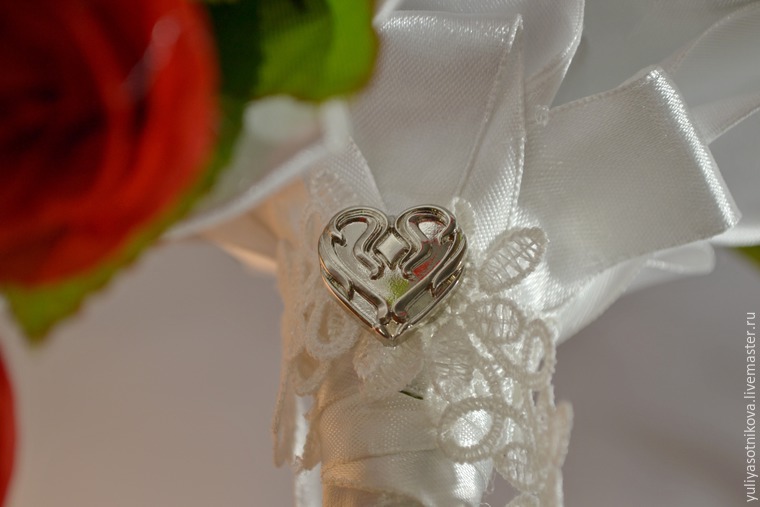
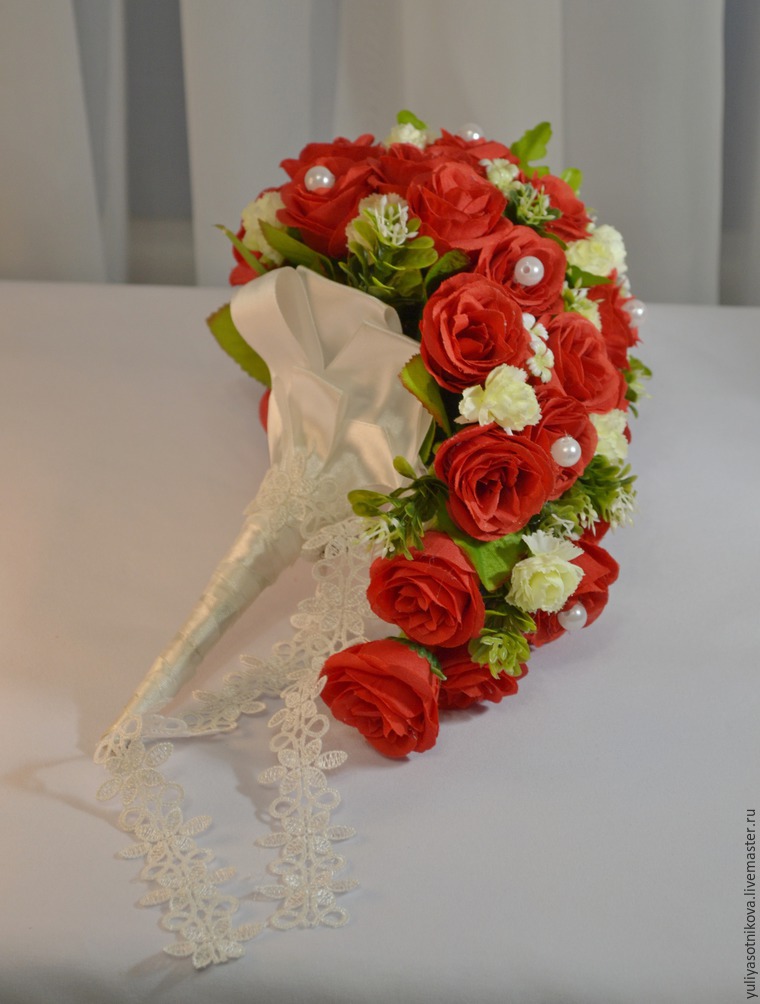 Well that’s all, our bouquet is ready! If my master class you like, or you find it for yourself something useful, please click ‘like’, because he is involved in the competition.
DIY: Beautiful bag making tutorial
Prepare a casket next to pieces of paper and write on them the happiest moments of your life,
which will take place this year.
They will be so much. Individuals in a family where the young children – those happy moments happen every day.
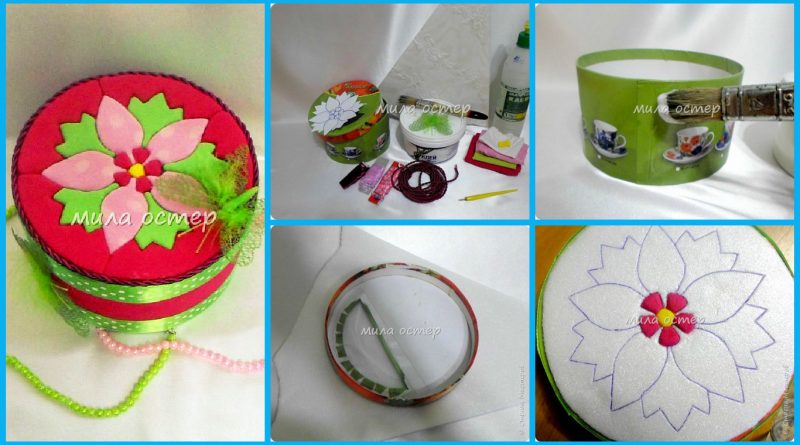
You just need to write them down on a piece of paper and lay down in the box.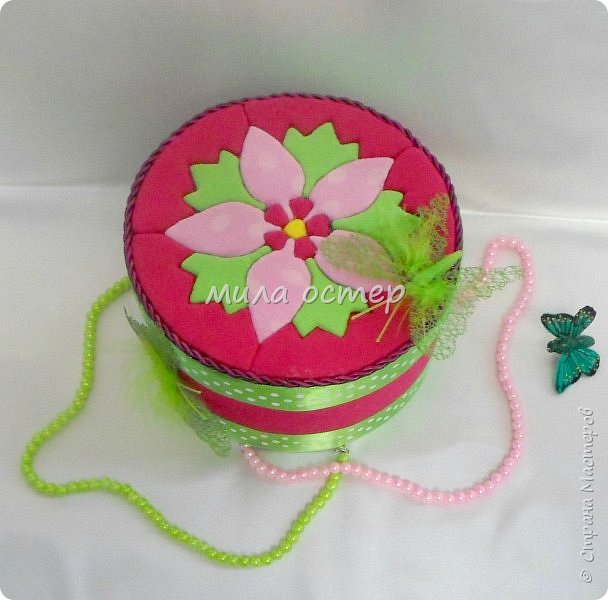 Required Materials:
– box
– PVA glue
– glue Master (can be titanium, time, hot gun)
– cloth
– a piece of tile ceiling
– Ribbon
– Cord
– Stationery knife
– acrylic paint
– decoration “butterfly”
– a drawing or printout
– stick from the children’s prints (to work in the art I use this particular device – it is sold complete with engraving,
I tried to work and nail file and knife, but I prefer to put the cloth in the slot of the rod).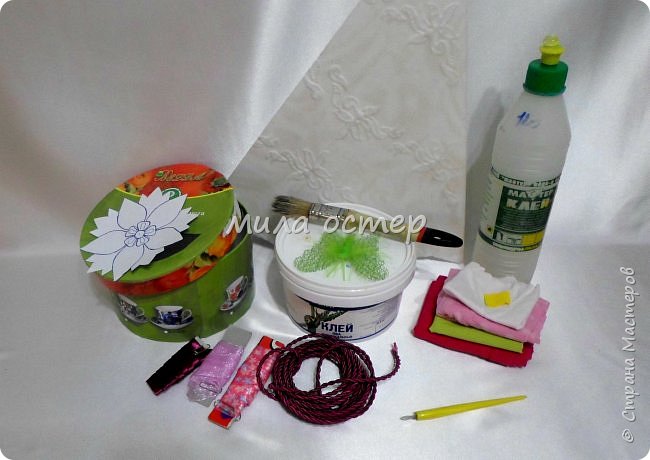 Encircles the lid on the tile. But I made a circle on the tile smaller diameter. Somewhere on 5 mm less than that than to stick the cord.
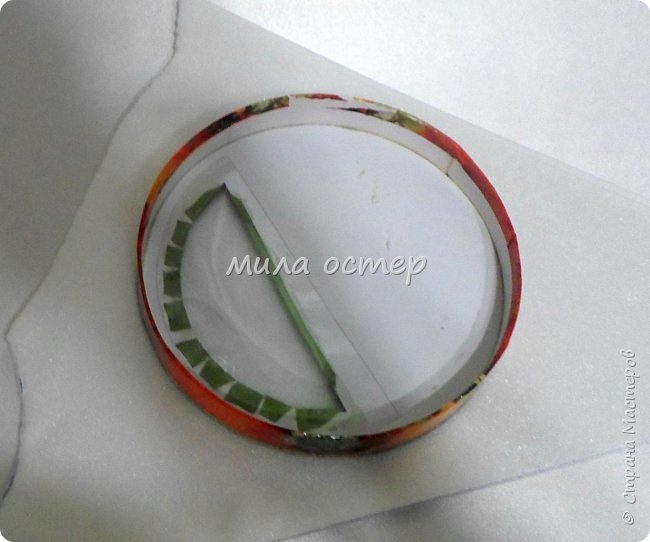 Draw drawing. Here we see that the circle cut from a tile smaller than the lid.
 Prikleevaem tiles to the lid.
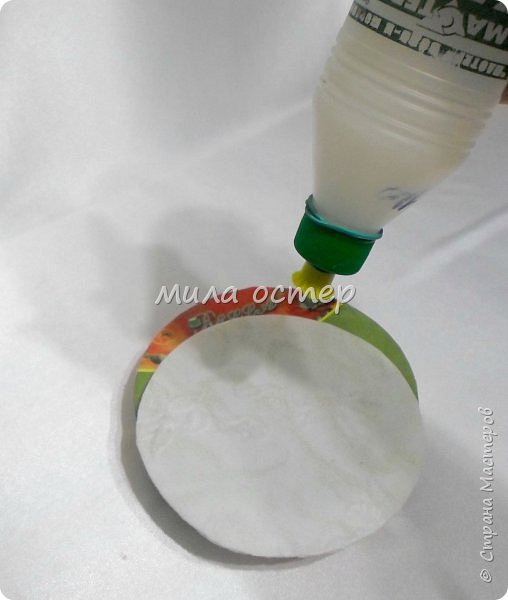 Pressed down and wait until skeleta.
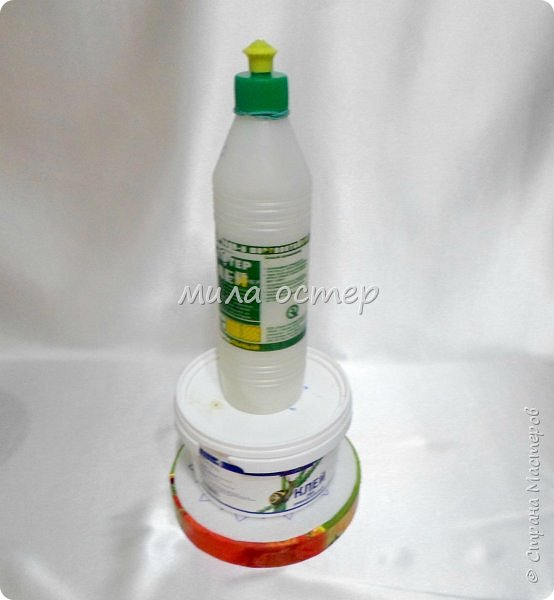 In the meantime, you can future casket. Clay PVA glue.
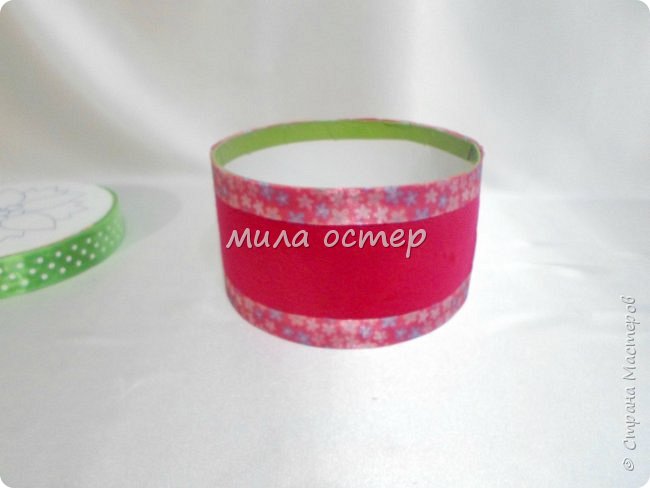
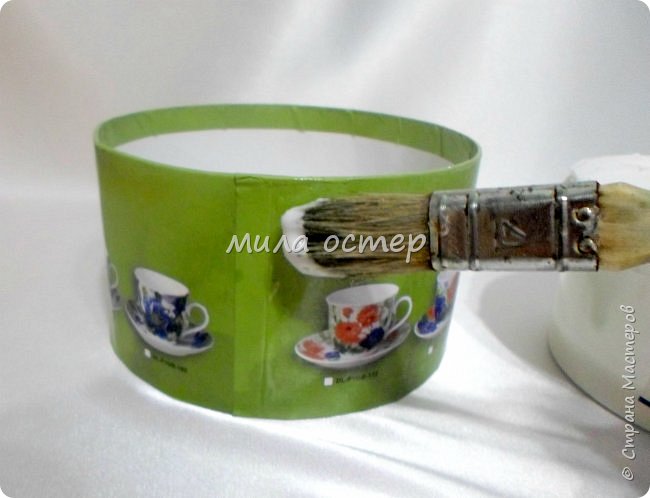 Here the selected piece of fabric already glued at the edges and the adhesive tape to close the fabric roughness.
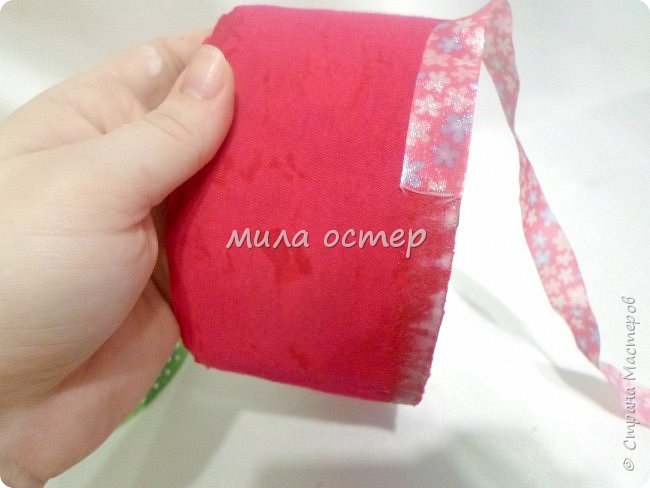 But here there was. Tape planned to cover the same as on the box – pink. But it turned out to be less than the width. And I had to run faster and look at their holdings something suitable. It was found so that’s light green polka dots and went perfectly in size and color.
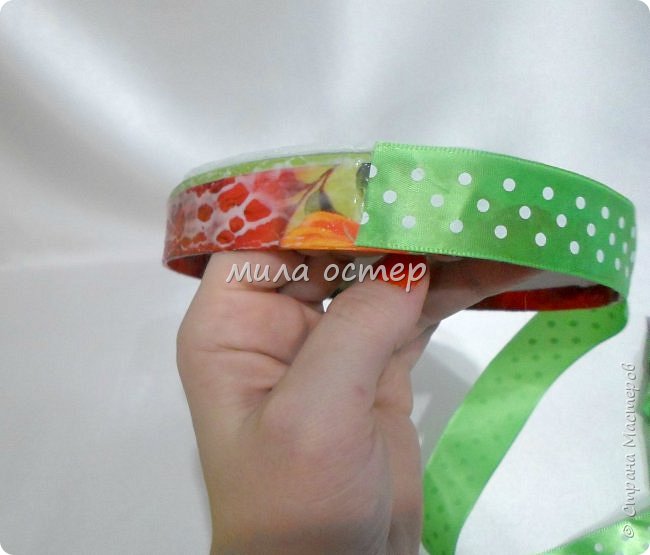
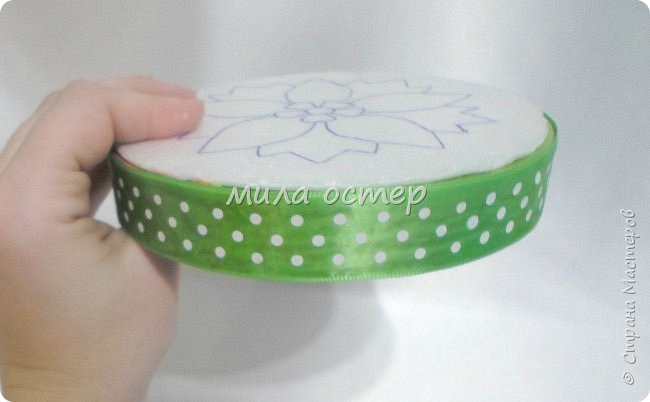 And that box …
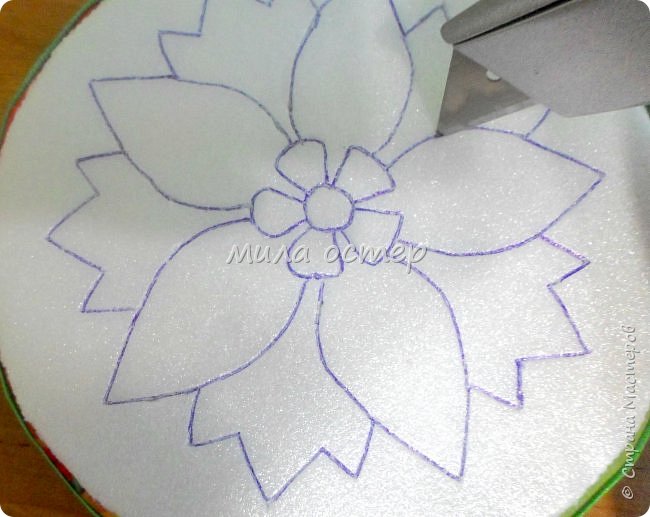
 The stationery knife cuts through all over the picture.
 And we begin to tissue slices to cover our drawing.
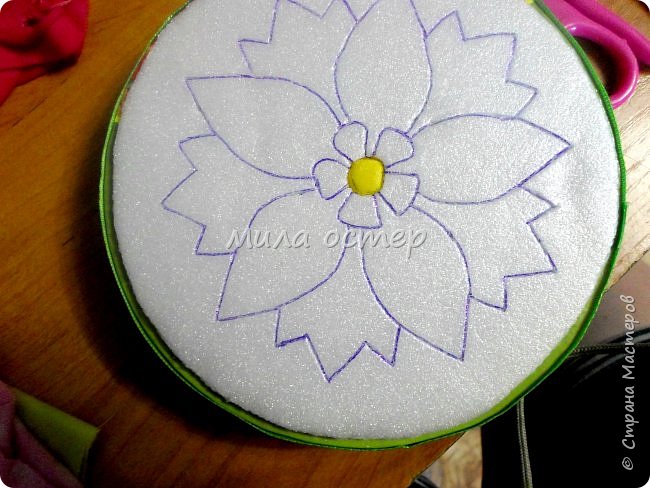 Cut off about a planned Circuits appropriately sized piece of cloth.
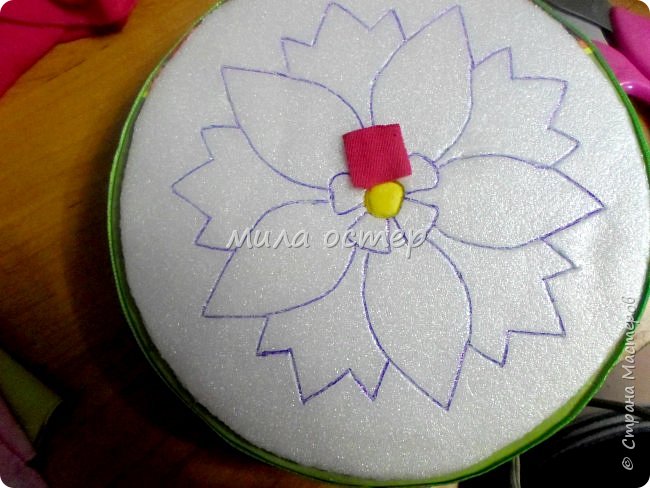 And with the help of sticks in the slots put cloth. Cut away the excess fabric.
And then rising above the remnants of fabric to hide in the slot with the help of sticks.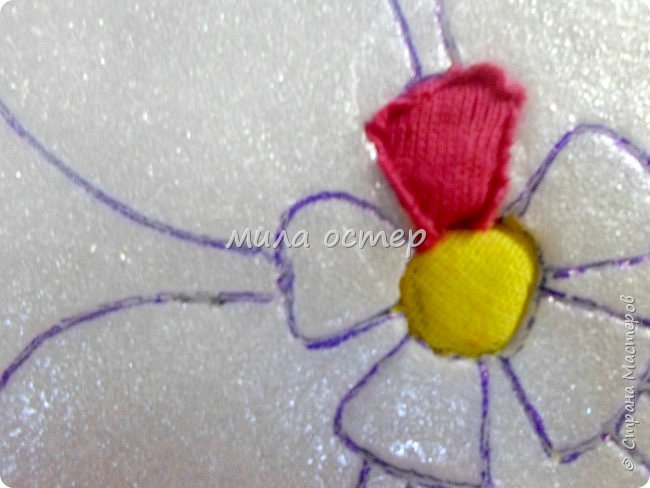 Like this.
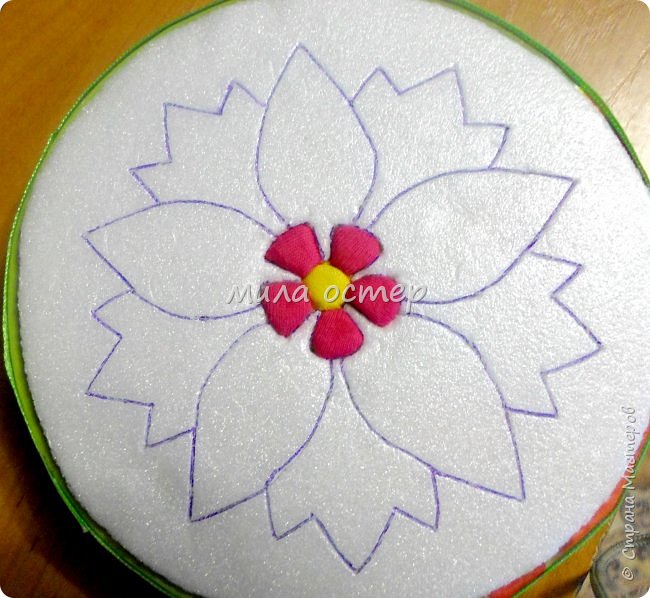 And then I got carried away and forgot much work still to do at least a couple of photos.
The background that is crimson, I wanted to make a solid beginning.
But in the process in the field of acute leaves gathered pleats and had to save the image by five additional slots.
After the end of the circle cord.
And decorate a butterfly.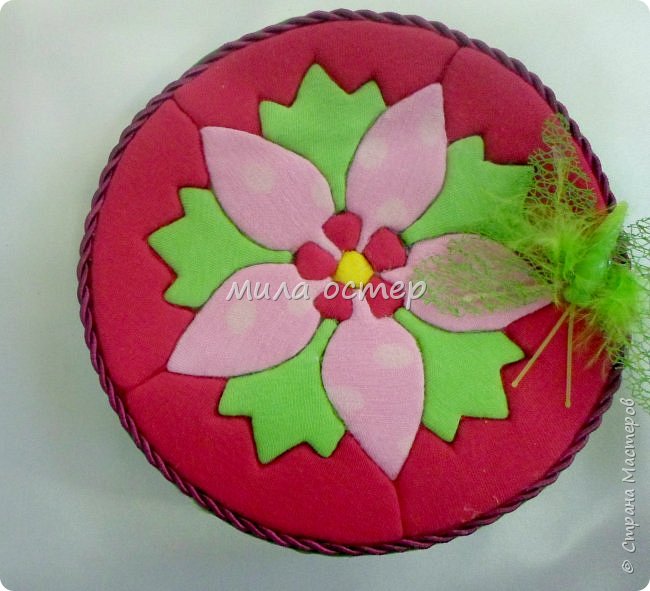 Inside painted with acrylic paints.
Well, here you have also noticed that at the bottom is glued another tape. Initially, I pink.
And when dressed cap, the upper band is not seen it, not promptness pink and light green tape immediately struck.
I immediately corrected this case)))))))
And on the side seam of the cloth to hide it a too butterfly.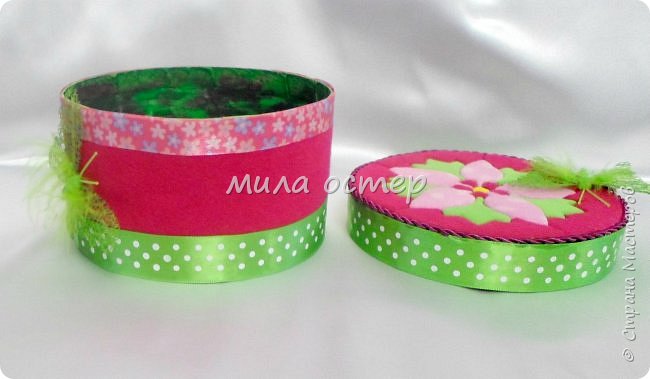 I like and I am very happy.
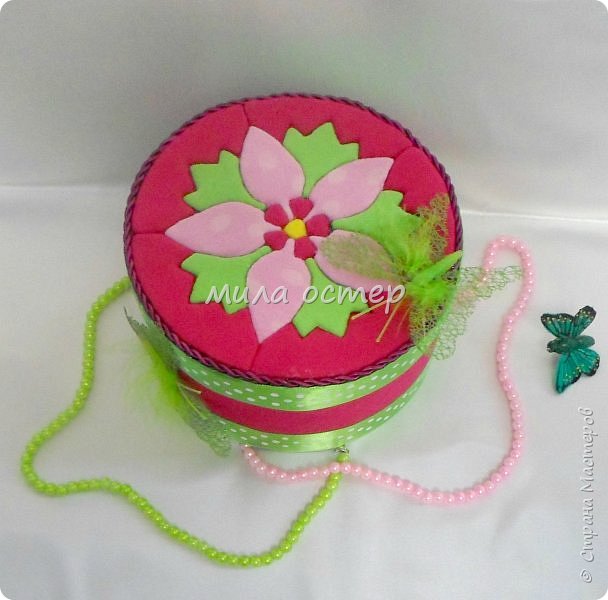 Lids certainly not perfect and master this technique will notice the flaws, but I and forgive me)))))))))
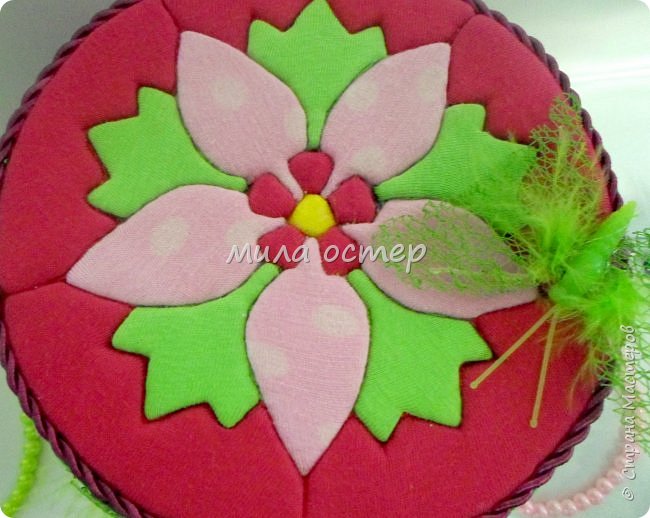 on the other hand
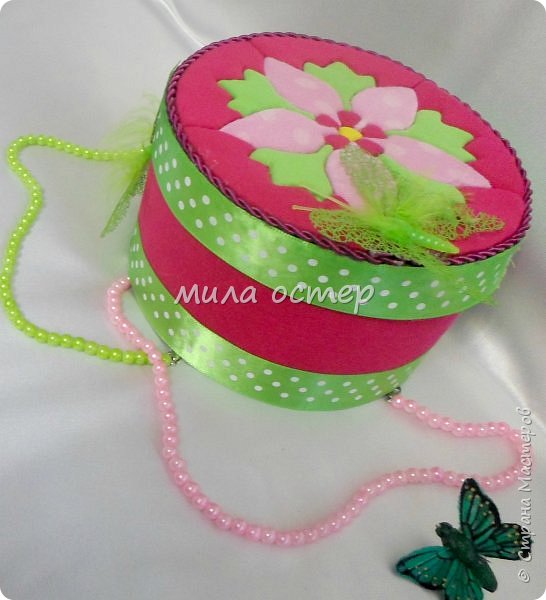 Our two lucky moment already went to wait on December 31 !!!!!!
After reading the “happy moments” of the outgoing year the leaves can be folded into an envelope and mark the year of the memories!
A casket continue to fill with new highlights!
And so every year!
I think this is a great family tradition!
Help happiness be with you!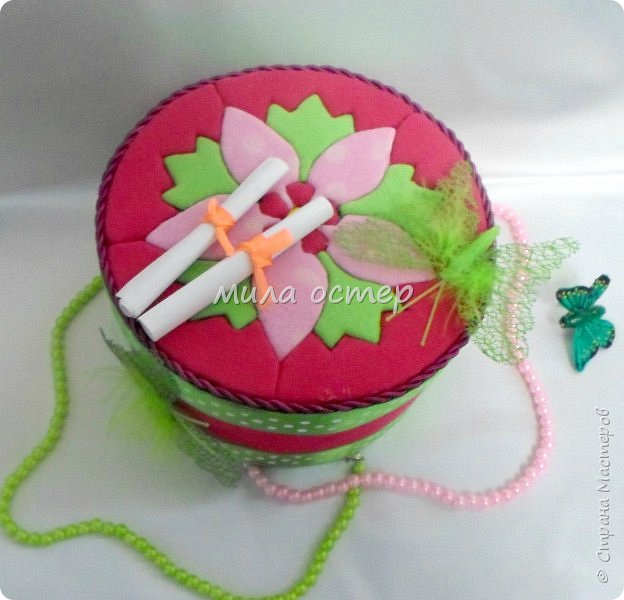 That’s it. Thanks to everyone who has paid his attention and looked at
And a special thank you to those who leave your comments!
They are very important to me!
Be happy and do not forget to give happiness to their loved ones !!
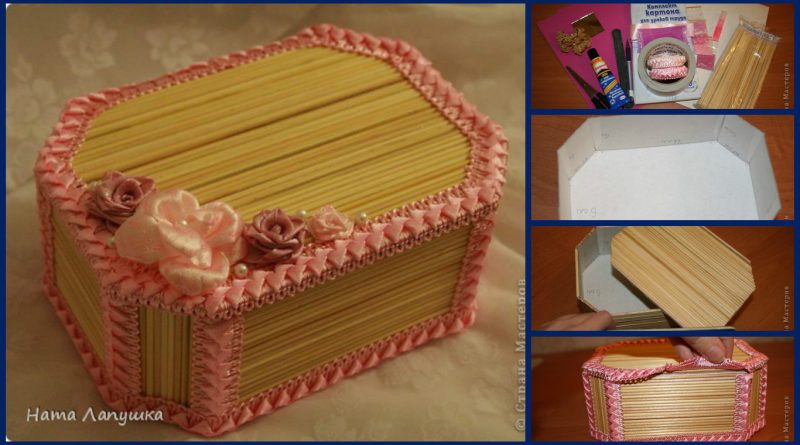
How to make wooden box
 Materials needed:
Thick cardboard, scissors, ruler, pencil, simple, glue, double-sided tape, wooden skewers, velvet paper, plain white paper, acrylic paint, brush, sandpaper, mirror, decorative silk ribbons, beads.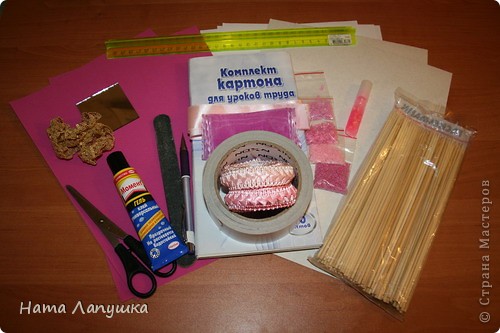 Choose form boxes and cardboard. For this drawing a box. The cover for the box I’m doing later.
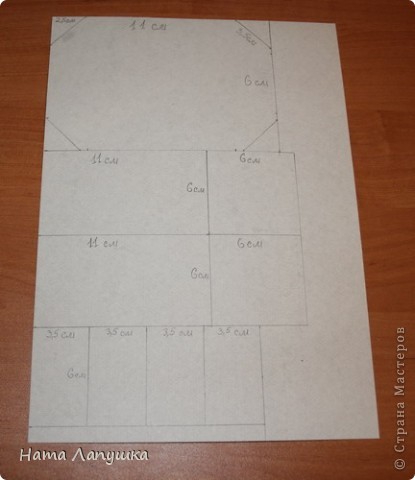 Cut cardboard I paste on a white sheet of paper in this way. Between the cartons must be done in a short distance of 2 mm.
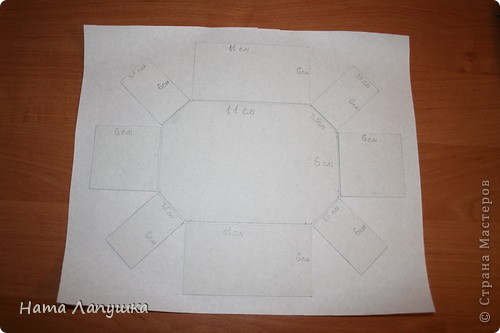 I then crop the everything like that, and all the edges are bent.
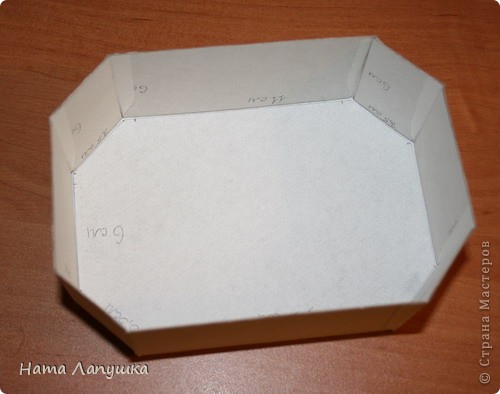
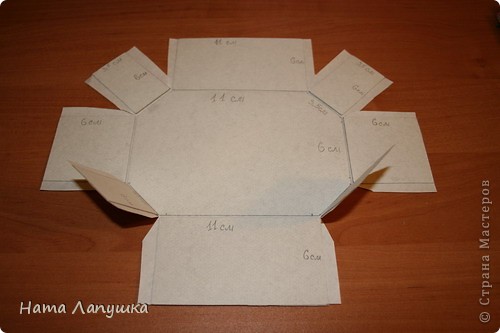 Once all the kinks are glued together. For gluing paper, I often use two-sided adhesive tape (get smoother).
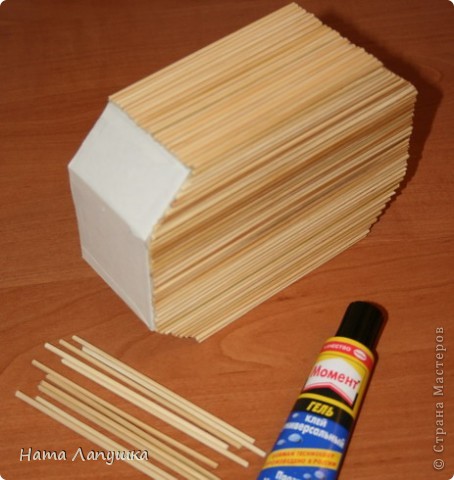
 I cut into sticks (good scissors suit) and papered of all parties, starting from the bottom.
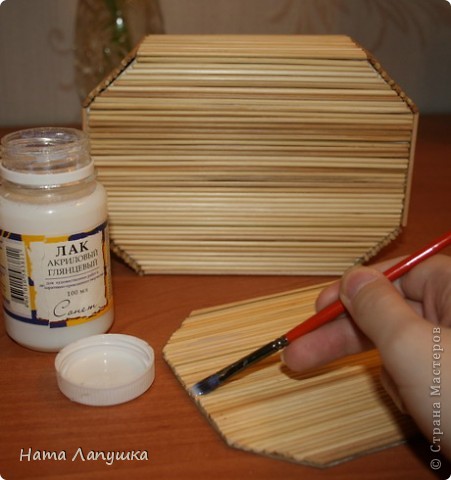
 Then I cut out the cover a little more than the bottom (gain somewhere in the 2-3 mm on each side). Stripping sandpaper edge of the box.
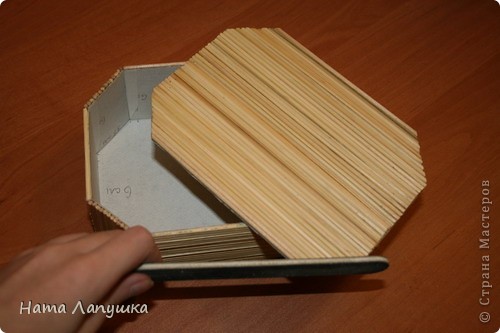 Box covers varnish layer 2 and gives it to dry.
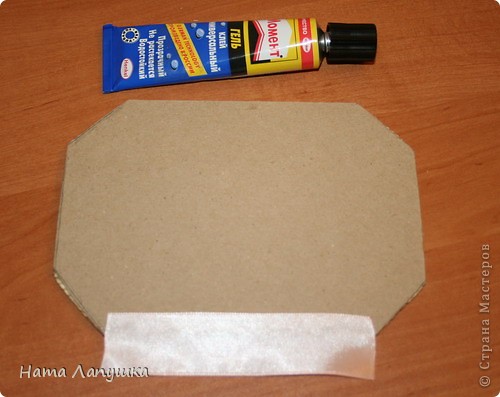
 On the lid (where it will be opened) on the reverse side satin tape pasting.
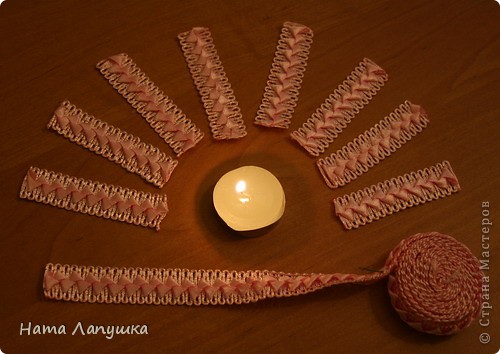
 Cut in strips into pieces and burned the edges.
 First pasting marginalia.
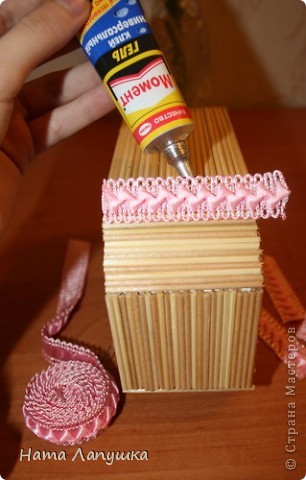 Then I adhered to the bottom.
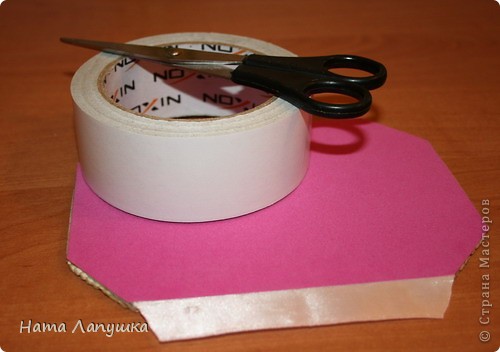
 Wallpapers velvet paper cover.
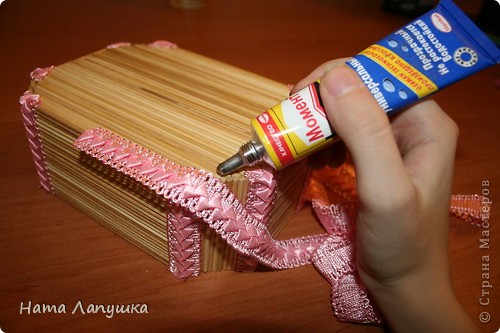
 Ribbon Wallpapers cover. Where the cover is attached to the box, tape pasting like this.
 Satin ribbon glued to the lid to the box. The tape must be pulling.
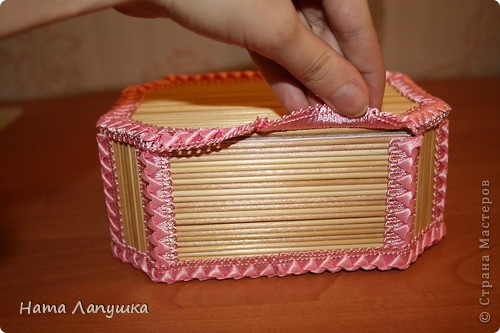
 While the glue is not dried up completely, check whether or not to hold the cover in position. If the cover does not hold, it is necessary to tighten the belt stronger.
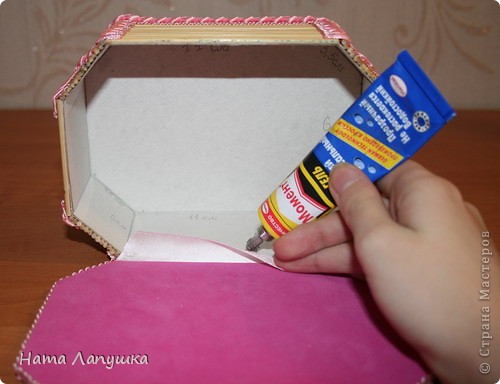
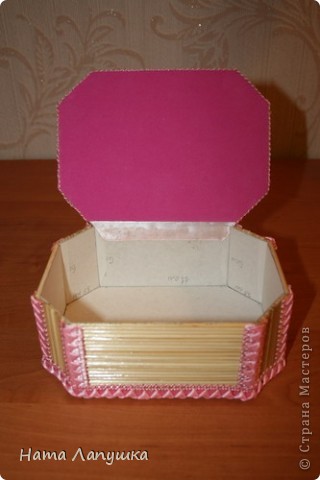 Velvet paper papered inside the box. Glued mirror.
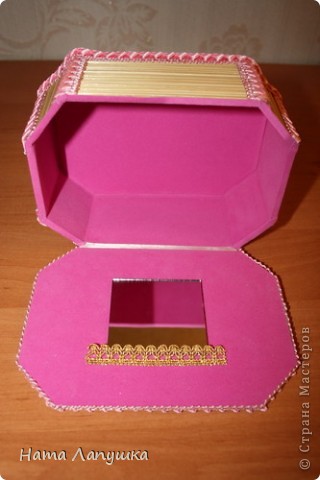
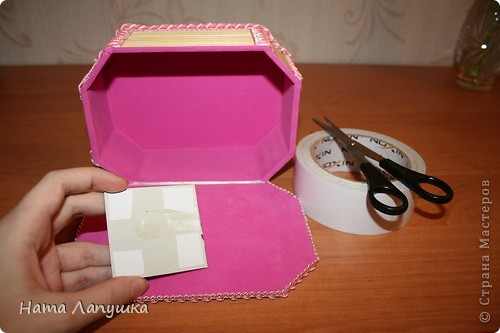 To the edge of the mirror does not hurt, glue around the perimeter tight braid.
 Here is what you should have.
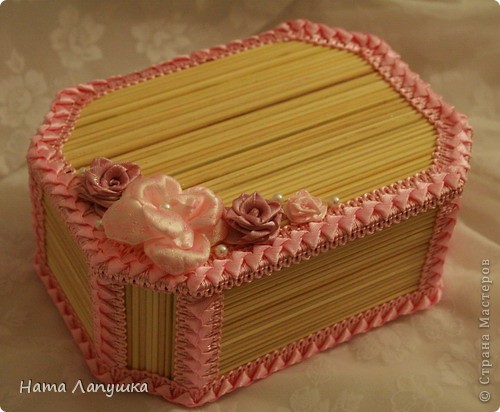
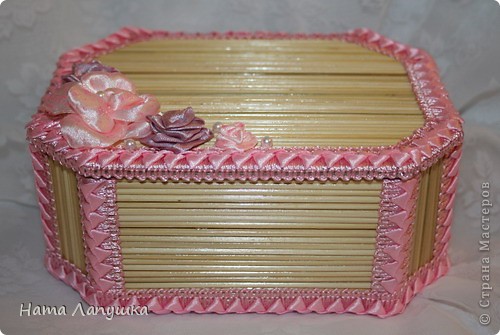
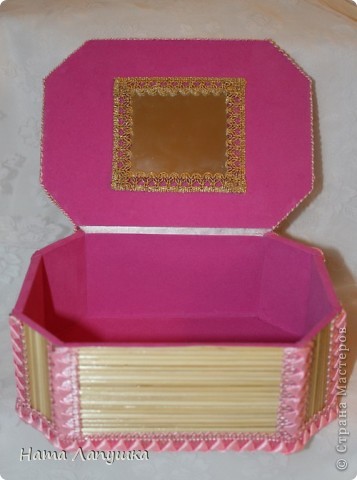 It remains only to decorate the cover. In this case, I made a rose of satin ribbons and sticking little beads.
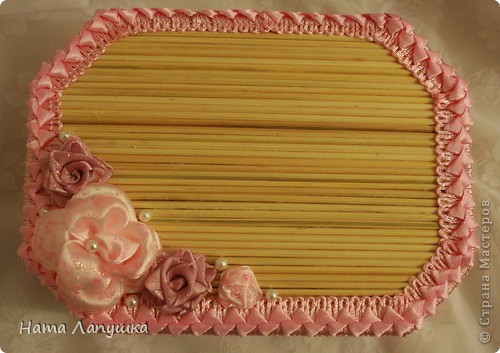 Here it is what it is. In this photo, the color is more natural.
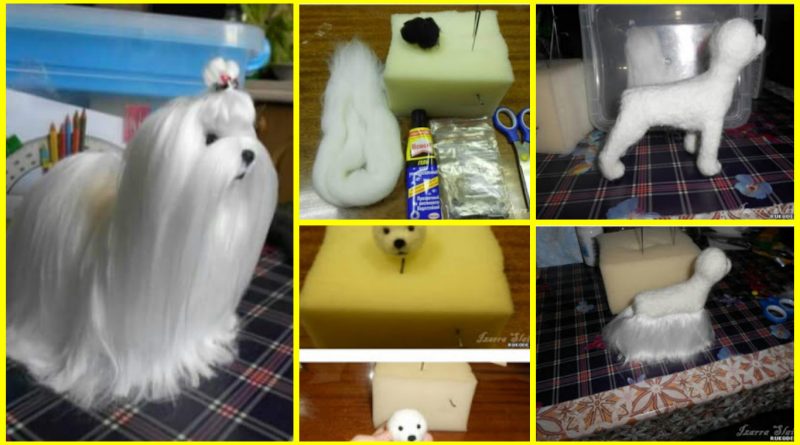
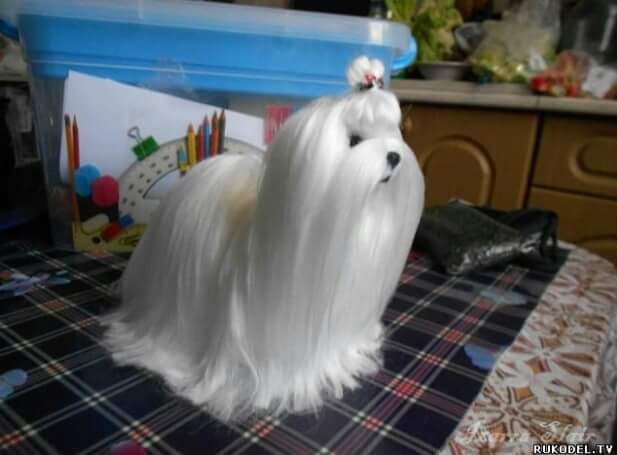
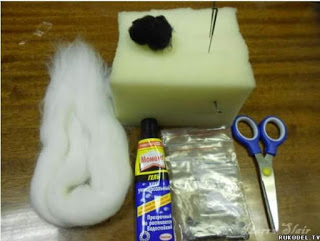
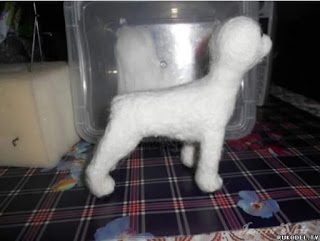
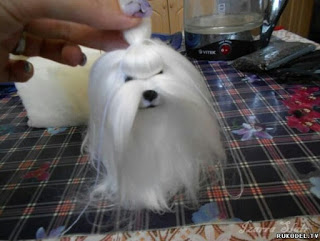
How to make needle felted puppy step by step
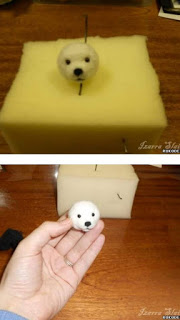
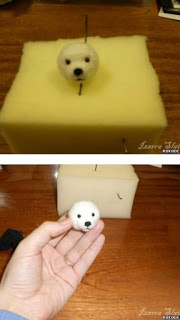
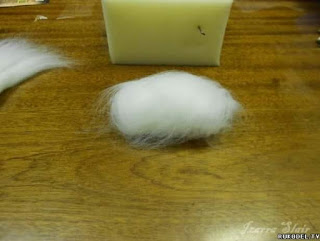
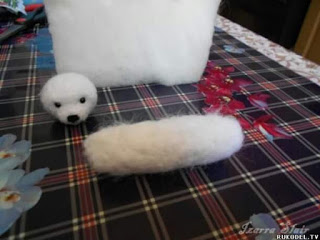
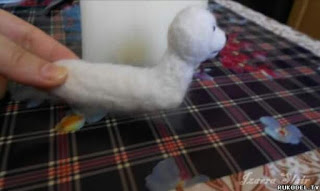
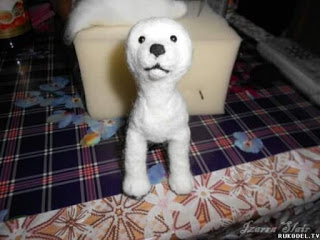
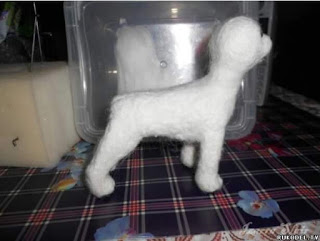
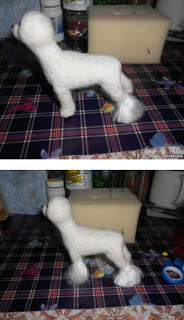
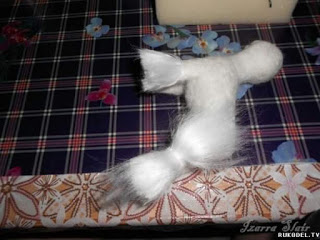
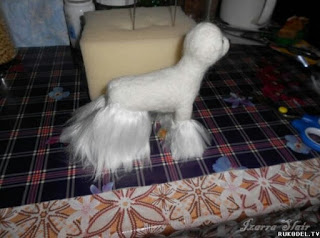
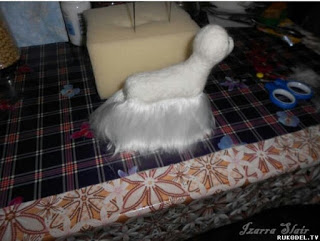
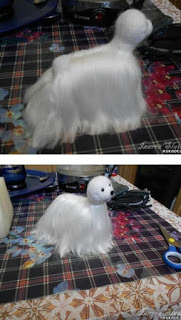
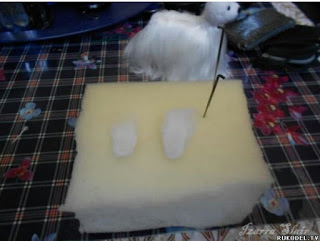
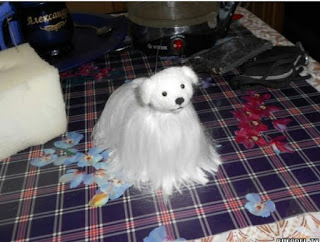
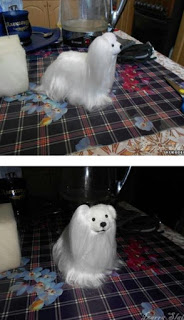
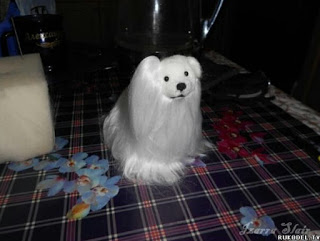
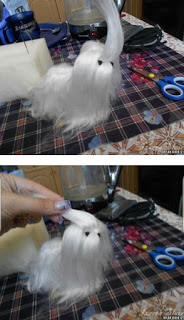
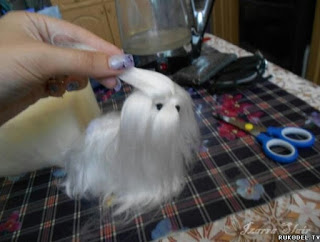
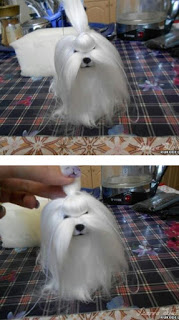
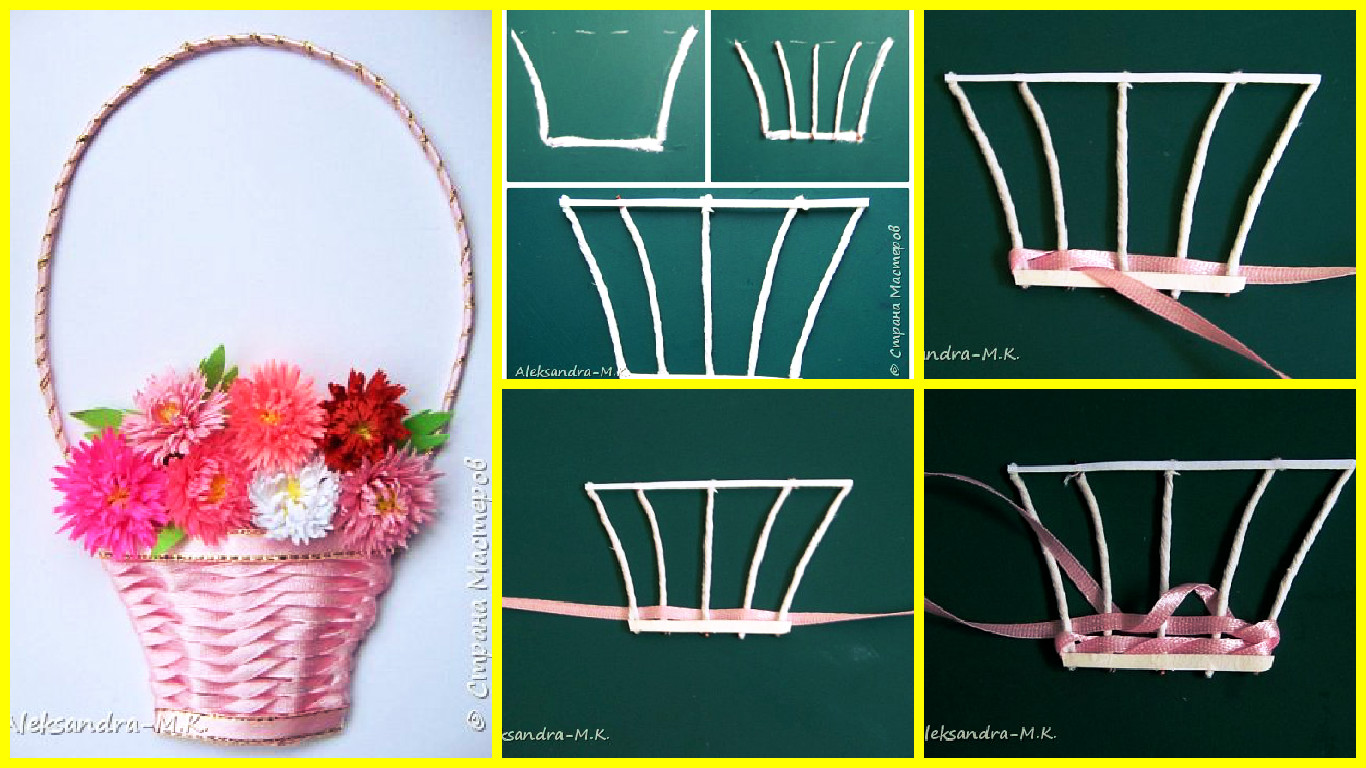
How to make ribbon basket
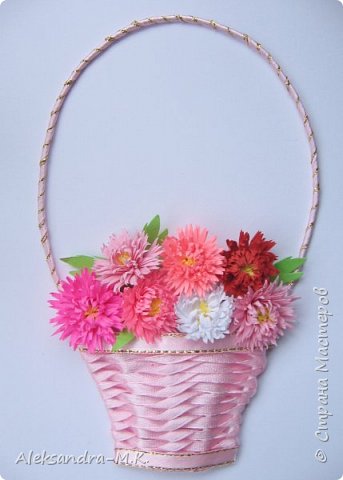 Tools and materials:
- cardboard
- wire
- narrow strip
- corrugated paper
- needle
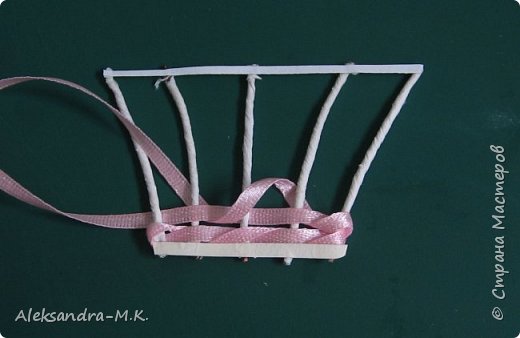
Draw the desired shape of the basket, twigs do (I have this wire, wrapped with corrugated paper) and glue the top and bottom of the narrow strips of cardboard for binding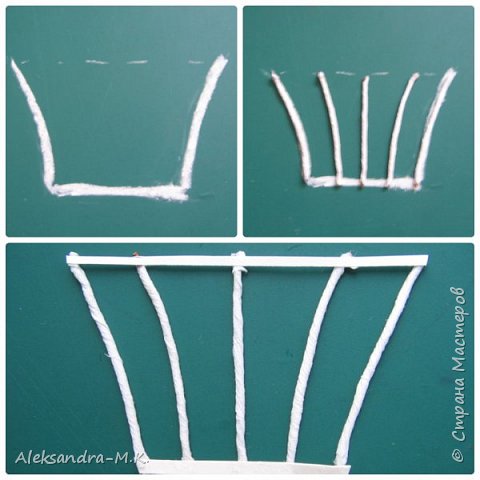 Now we need ribbon
one end inserted into our frame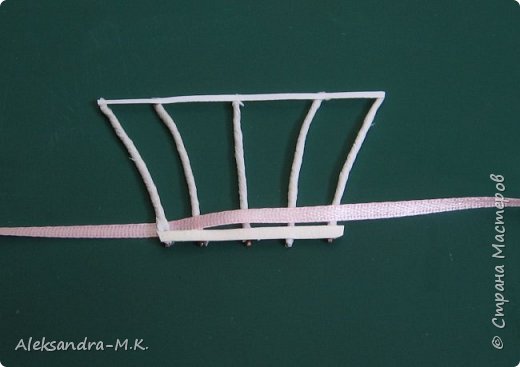 And weave as in the photo
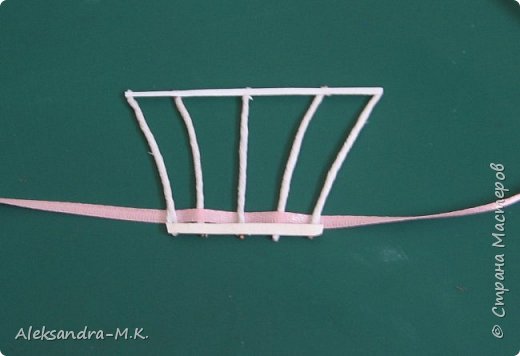 Then take the other end of the ribbon and weave as in the photo
For better convenience, insert the needle ribbon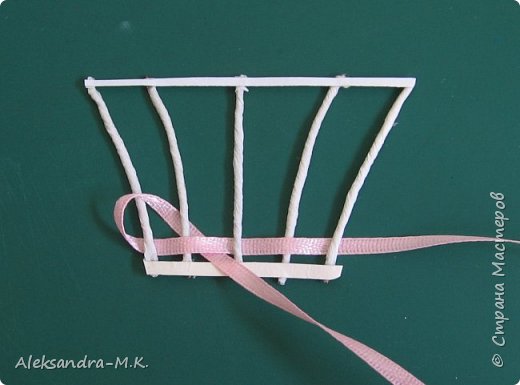 protract
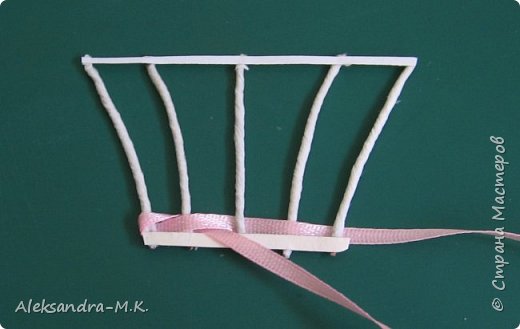 Then in the same way: enter the ribbon on the first tape to the riser and display them at the bottom of the tape
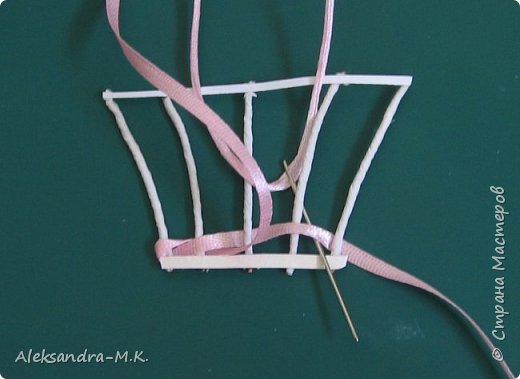 Gently tighten the ends of the
start of the second series, and now the same end of the weave as well as that over, then under the riser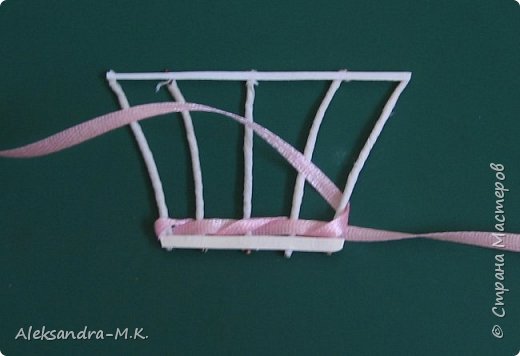
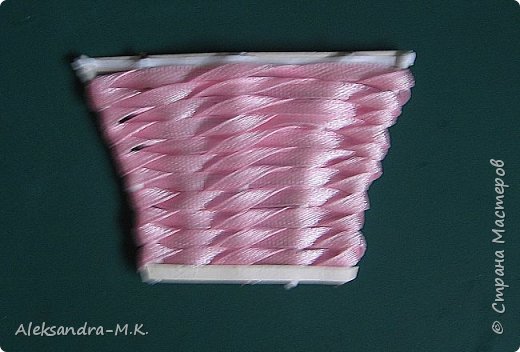
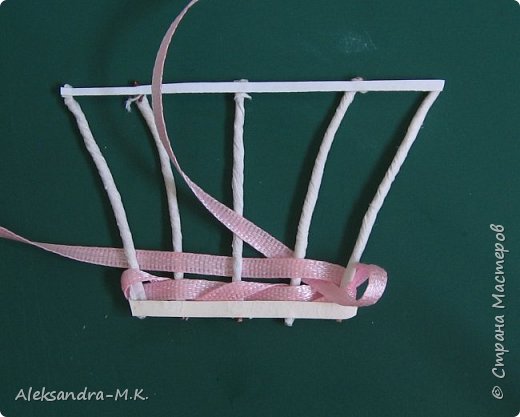 So weave until the end
 Dopest last row and carefully cover their tracks on the wrong side
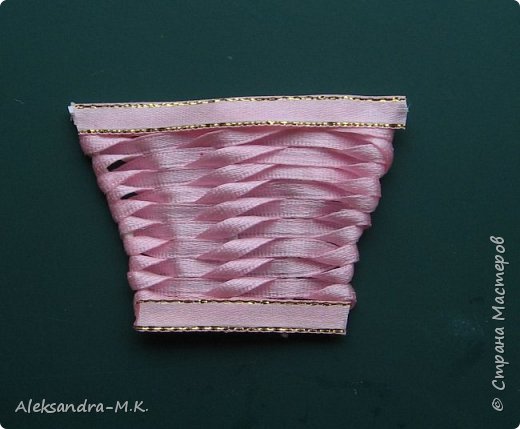
 Next, you need to decorate the top and bottom baskets
 To look basket volume it needs to be stuck on a piece of cardboard in several layers
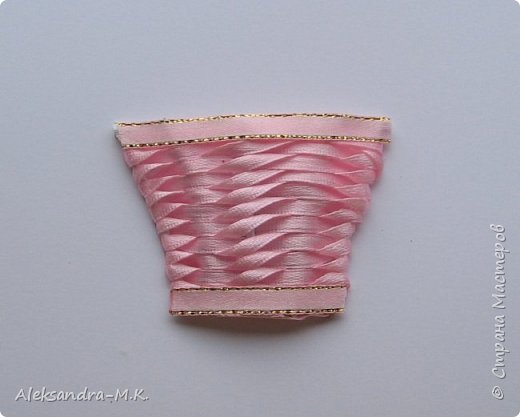 Adding wire Tape
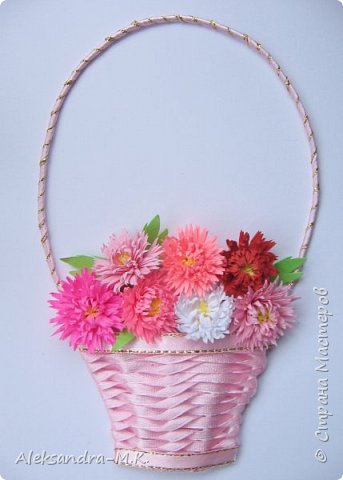
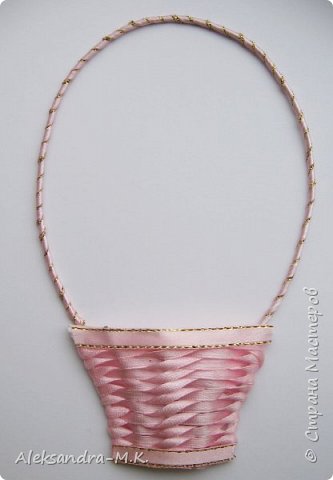 Basket ready and it can be filled with flowers
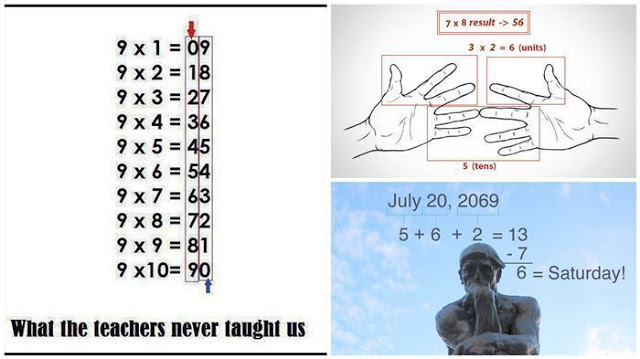
 2.How to Multiply Large Numbers in Your Head:
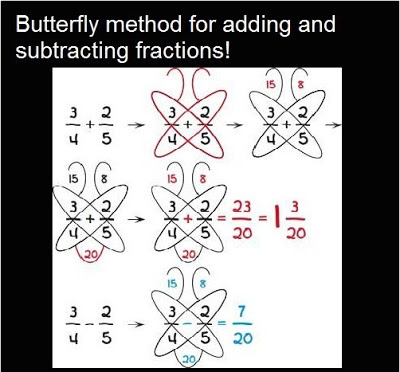
 3.Butterfly Method for Adding and Subtracting Fraction:
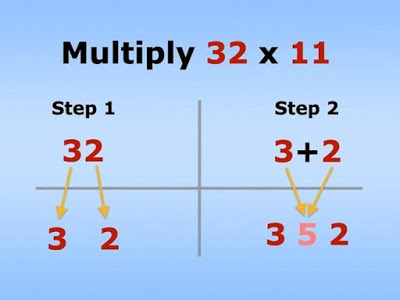 5.How To Figure Out Multiples Of Nine:
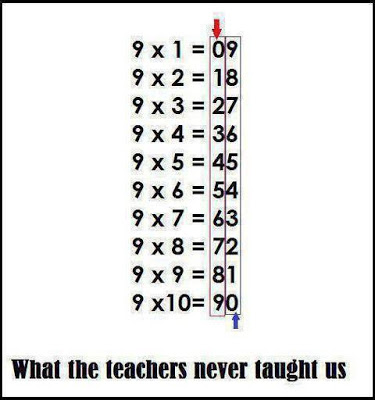 6.Secret To Remembering The Numbers In Pi:
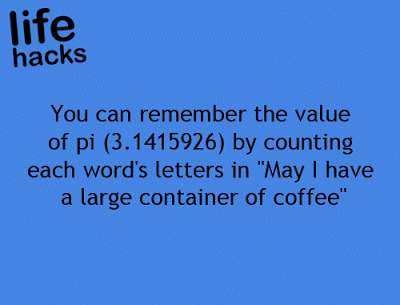 7.How To Find Fractions Of Whole Numbers:
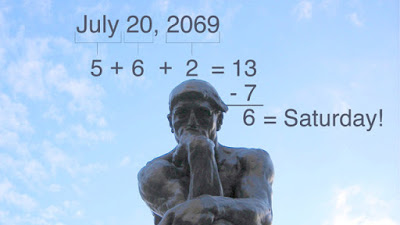
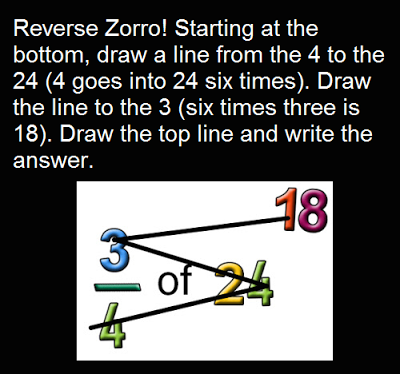 8.Know what date will fall on what day of the week any time:
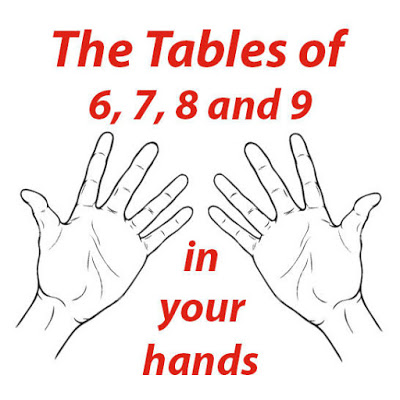
 9.The Tables of 6, 7, 8, and 9 in Your hands:
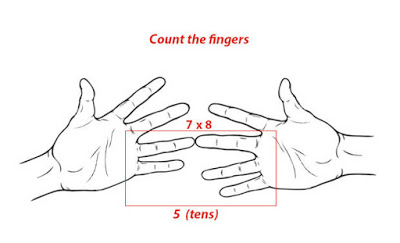
 Count the Fingers:
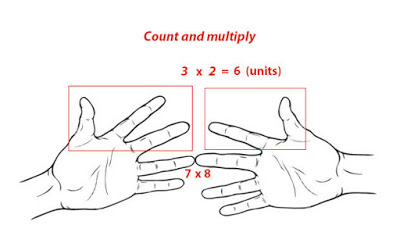
 Count and Multiply:
 10.How To Figure Out Percentages:
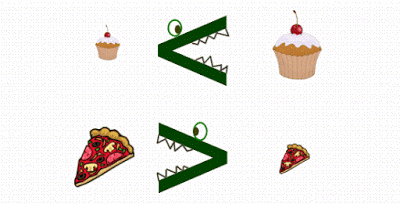
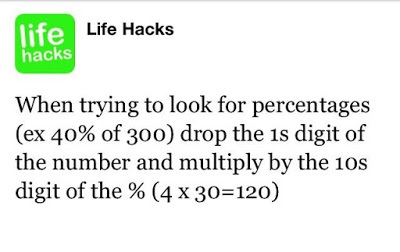 11.How To Remember Which Sign is Greater Than And Which Is Less Than:
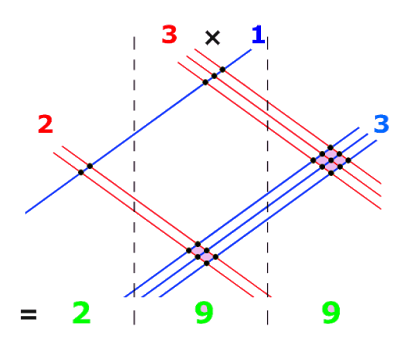
 12.Learn the Japanese method of multiplying by using lines:
 Useful Math Hacks That They Didn’t Teach You In School