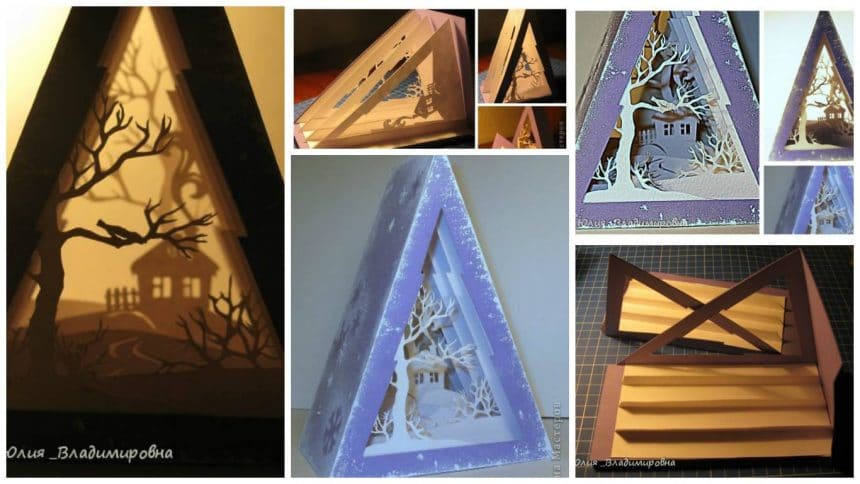
Posted onSeptember 14, 2017September 8, 2025inHome Decor, Paper Crafts, Step by step, Tutorial How to make herringbone tunnel – Step By Step
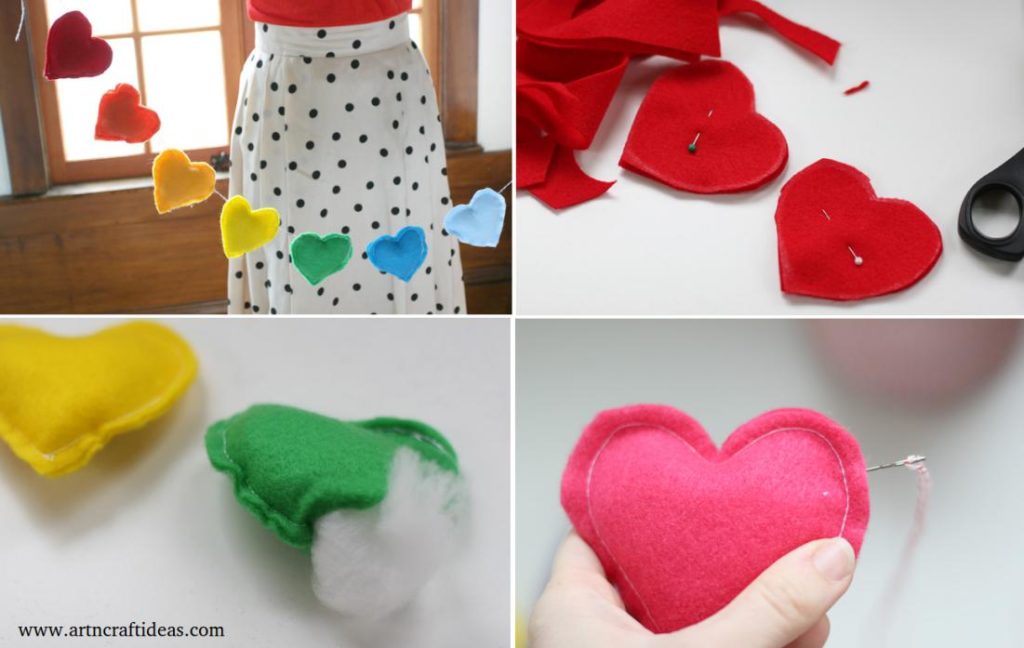
Posted onJuly 17, 2017inCelebrations, Decorations, DIY, Home Decor, Tutorial, Valentine’s Day DIY: Valentine’s Day Rainbow Banner
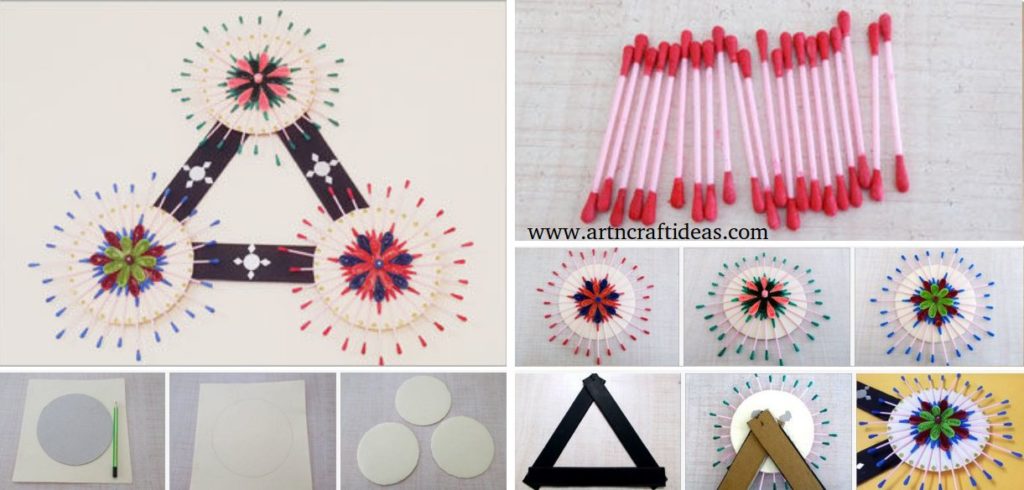
Posted onJuly 13, 2017July 13, 2017inDIY, Home Decor, Paper Crafts, Quilling, Tutorial How to Make Quilling & Earbud Wall Hanging
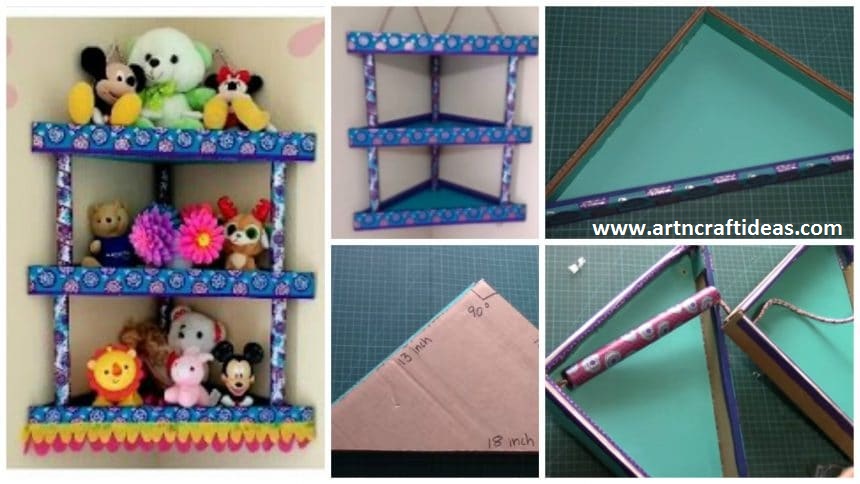
Posted onJuly 9, 2017inBest out of Waste, Cardboard Crafts, Craft, DIY, Home Decor, Tutorial, Video How to Make Cardboard Corner Shelf / Rack
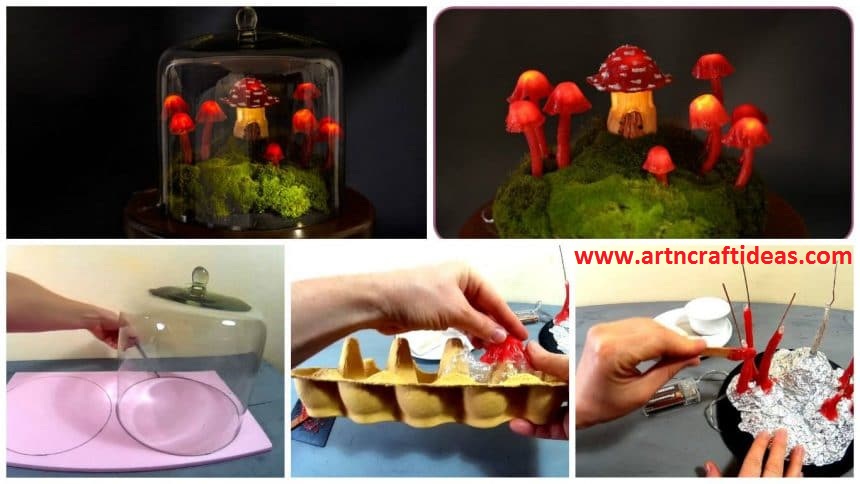
Posted onJuly 8, 2017inCraft, DIY, Home Decor, Tutorial DIY Miniature Fairy Garden Terrarium – Enchanted Mushroom Lights
Posted onJuly 7, 2017inHome Decor, PVC Crafts, Tutorial How to make PVC Bathroom Shelf for indoor plants
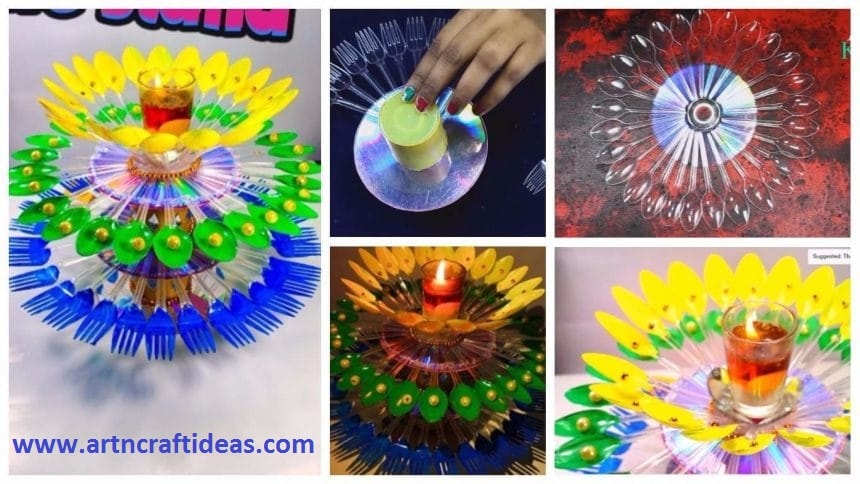
Posted onJuly 6, 2017July 6, 2017inBest out of Waste, Christmas, Craft, Diwali, DIY, Home Decor, Tutorial How to Decorate Candle Holder/Stand from Plastic Spoons
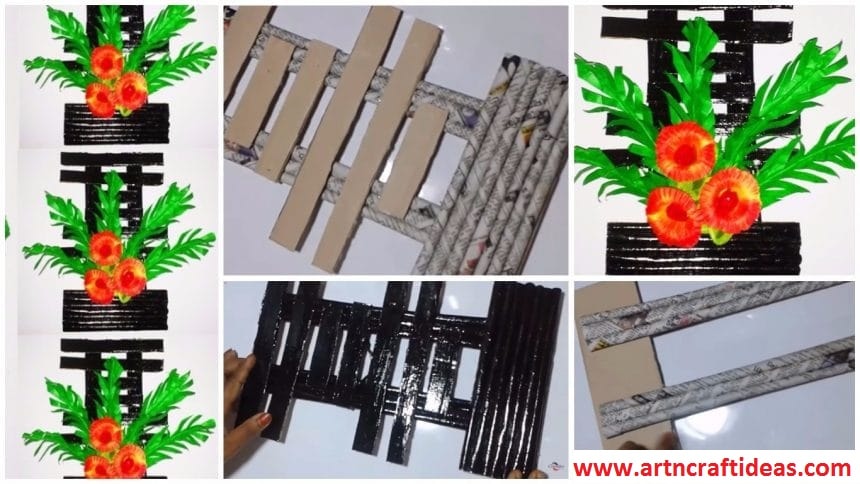
Posted onJuly 6, 2017inBest out of Waste, Craft, Home Decor, Newspaper Crafts, Tutorial How to Make Handmade Newspaper Wall Hanging