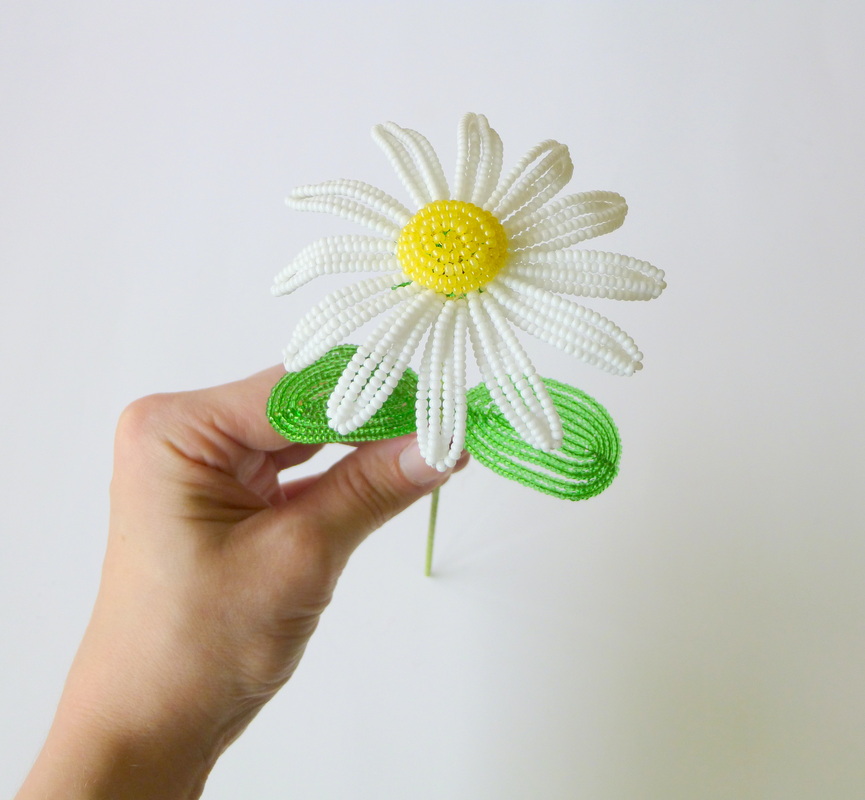
How to Make Pumpkin Seeds Bouquet

Crafts from natural materials are perhaps the most favorite form of creativity in children of all ages. Working with natural materials retains heat and hands of the master and always carries a positive energy. Very beautiful crafts can be made from seashells, acorns, chestnuts, dried leaves, etc. But the most original, and at the same time easy to manufacture work can be obtained from the usual pumpkin seeds.

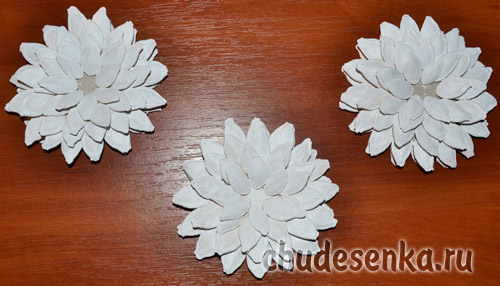
Pumpkin seeds – this is an easily accessible natural material to work with which it is possible at any time of the year. Pumpkin seeds can produce a wide variety of original crafts, such as floral bouquet. I bring to your attention a master class on making flowers of pumpkin seeds. These flowers turn out very beautiful and original, and most importantly – they are easy to make and do not require great physical and financial costs.
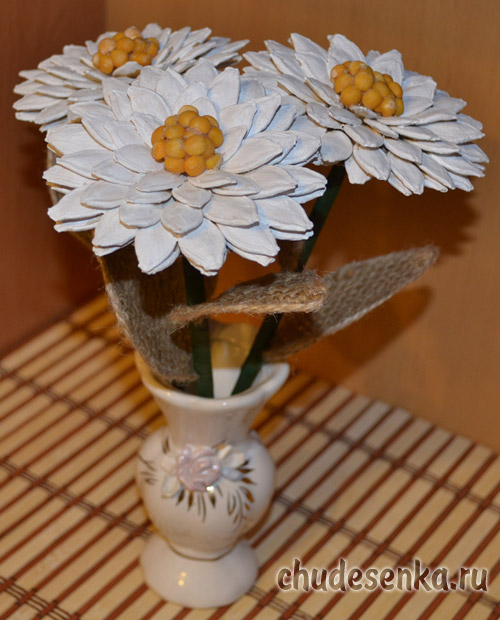
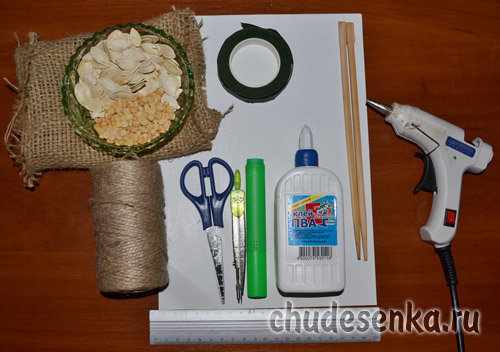
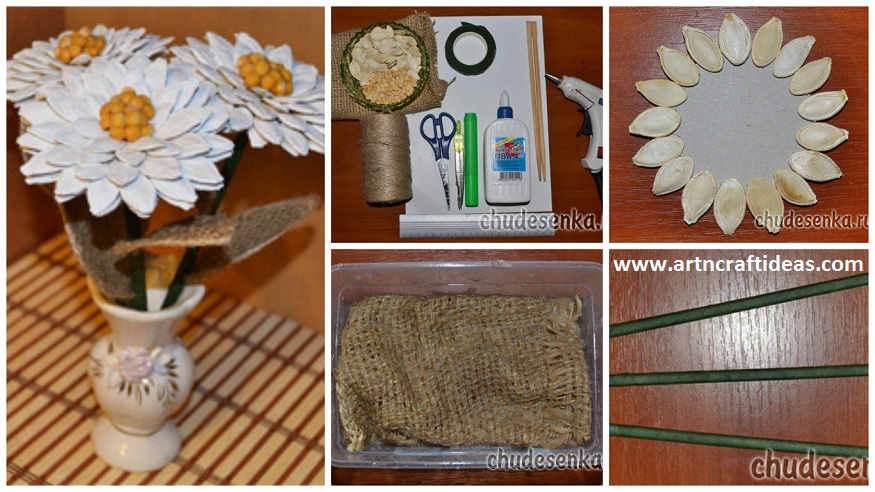
Required Material:

1. Pumpkin seeds;
2. Peas;
3. Silicone adhesive;
4. PVA glue;
5. Floral tape;
6. Hessian;
7. Wooden sticks;
8. cardboard sheet;
9. Jute yarn;
10. The compass;
11. Simple pencil;
12. Scissors;
13. Acrylic paint white;
14. Brush;
15. Ruler.
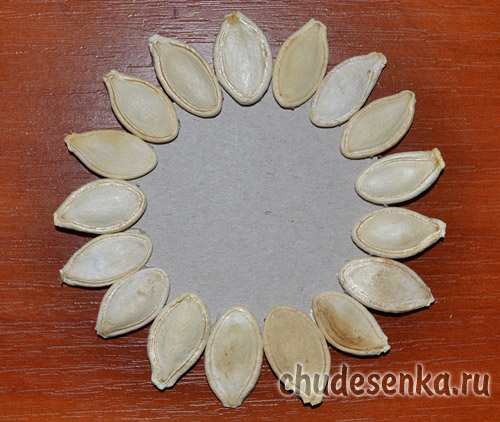
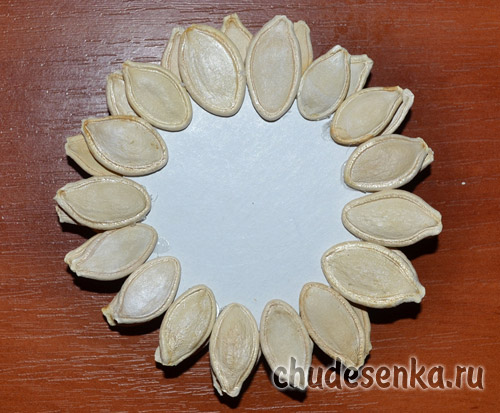
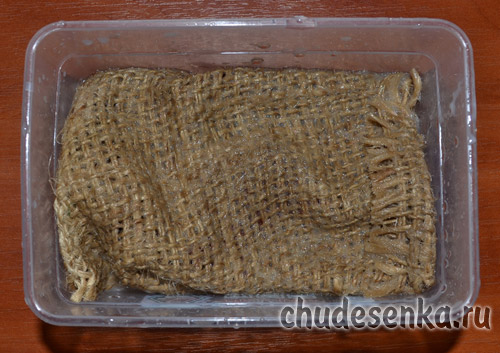
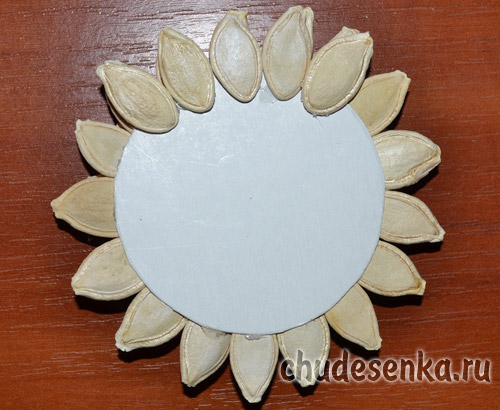
Before you begin, you must treat the burlap so that it becomes rigid and does not crumble. To this mix of PVA glue and water in a proportion of 50 to 50 and fully put in the sack solution. After that, the fabric should be dried and ironed. While dried burlap, let us direct manufacturer flowers. The basis for the colors to be a circle of cardboard. Using a compass draw a circle on the cardboard with a diameter of 6 cm., And cut it. Now take the pumpkin seeds and using a silicone adhesive or glue “Moment”, pasted them in a circle. Paste the seeds so that their sharp edge was on top. The first row of seeds prepared. Now just glue the seeds of the second row. Sunflower seeds in the second row should be staggered and overlapping with respect to the first row. Also, do the third and fourth rows of seeds.
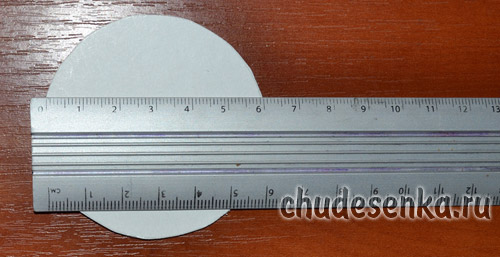
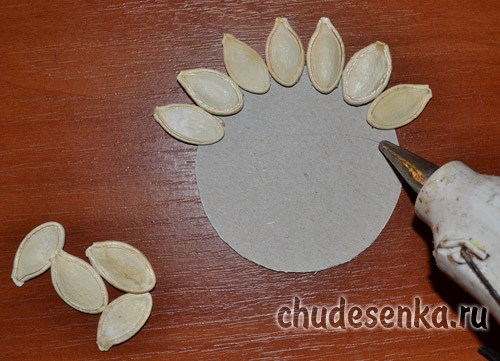
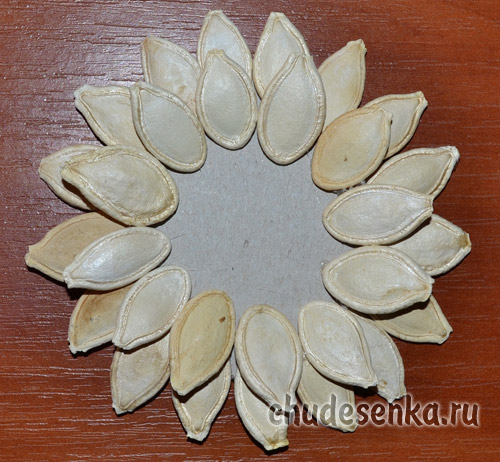
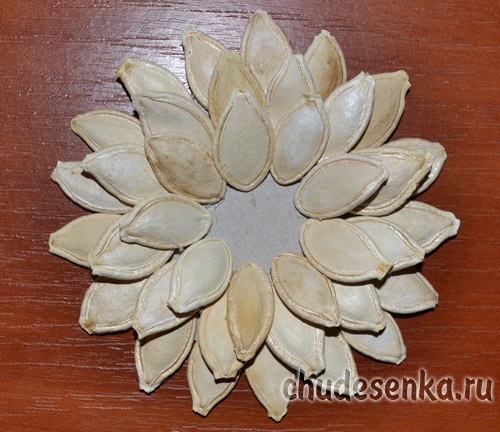
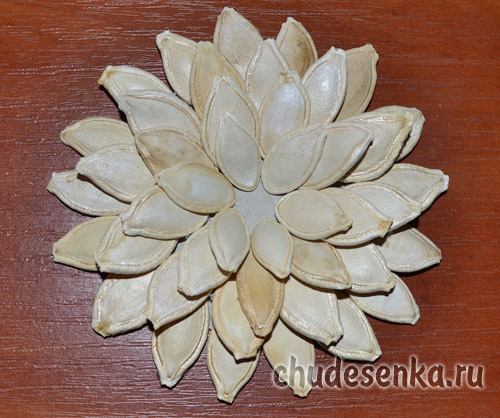
The middle of the flower reserve not glued.

Now we turn over our flowered on the back side and glue have to this side of a row of seeds.
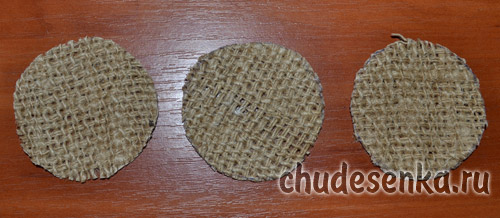
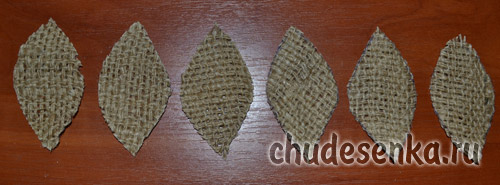
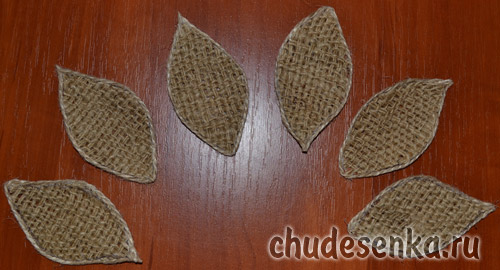
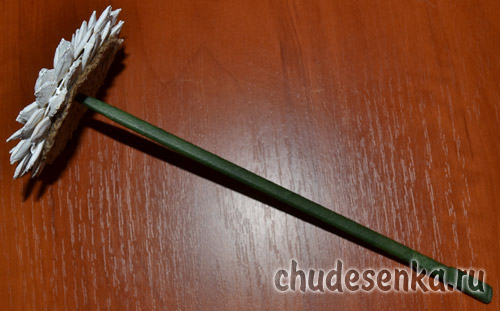
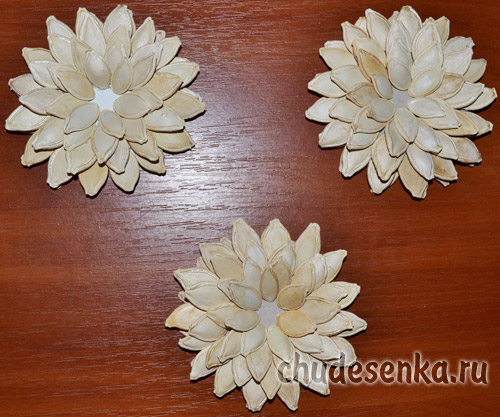
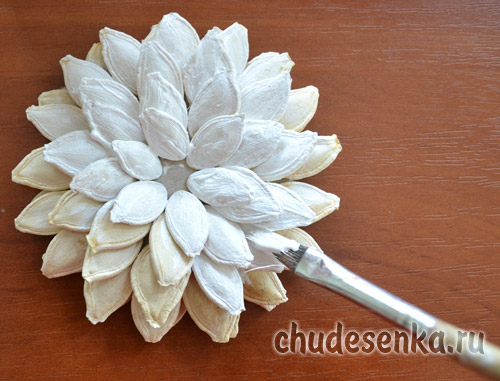
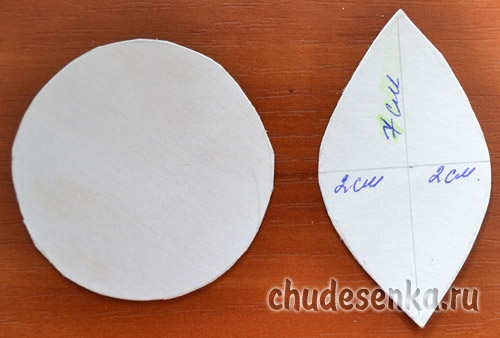
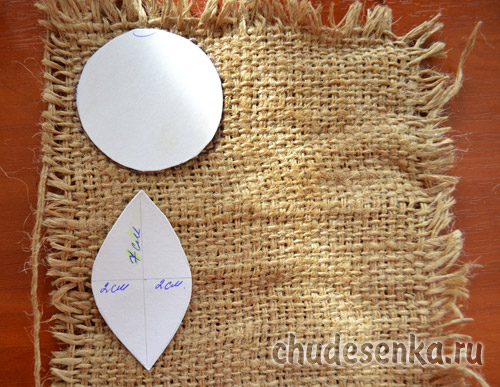
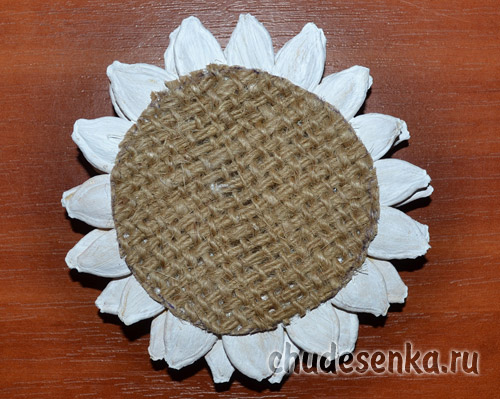
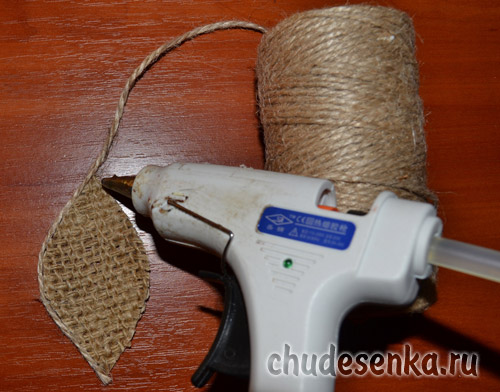
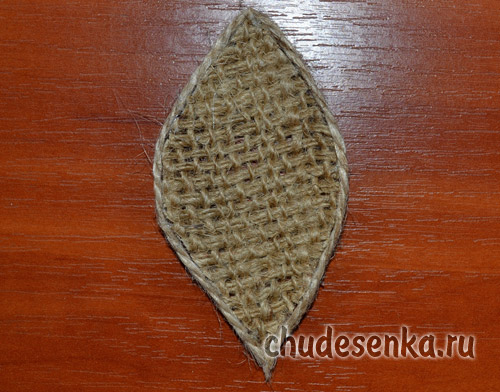
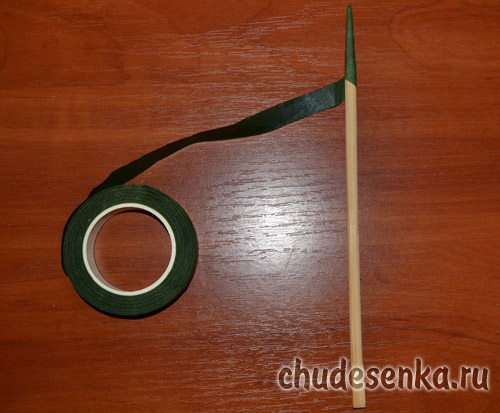
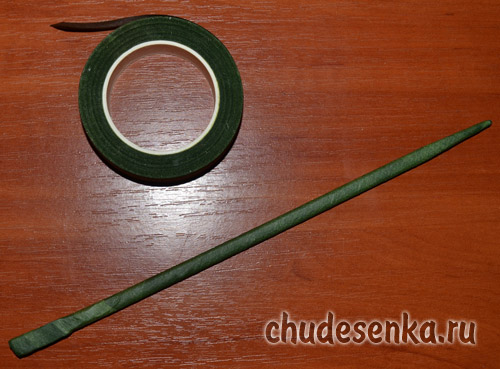
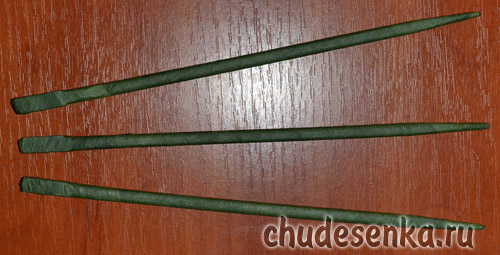
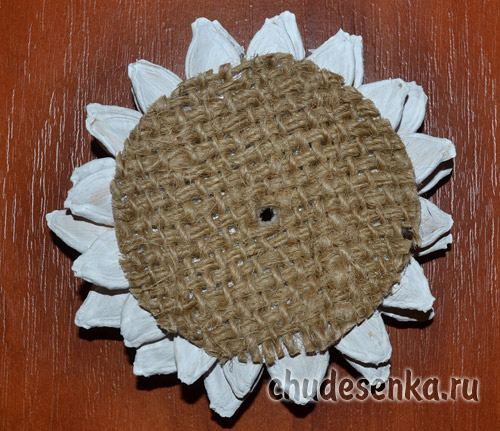
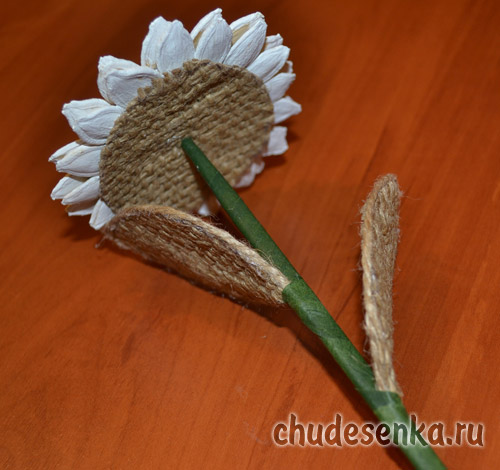
Since our bouquet will consist of three colors, then make three for flowers. Pumpkin seeds, which we used for the flower petals are not very beautiful yellowish tint, so we using white acrylic paint, paint them white. We leave flowers alone until they are completely dry. Until the paint is dry, we do not lose time in vain and will prepare two cardboard parts: a circle with a diameter of 6 cm, and lepestochek, the height of 7 cm, and width – 4 cm… The carton blanks are put on the pressed and dried burlap and encircle their contours. Circles will need to cut 3 pieces, and petals – 6 pieces.Next a burlap circle glue on the reverse side of a flower preform. And along the contour cut petals from burlap, we stuck jute thread. And now it’s time to prepare for the stems of flowers. To stem can be used straight branches of the tree, we took advantage of chopsticks for sushi. Take floristic tape green and completely wrapped with it every wand. If you do not have floral tape, you can use the corrugated paper. We make three identical stems. Now we collect our flowers. In the middle of the flower Do the workpiece hole and insert the stem into it ready. In the middle of the flower glue yellow peas, which for strength from above abundantly watered with white glue.
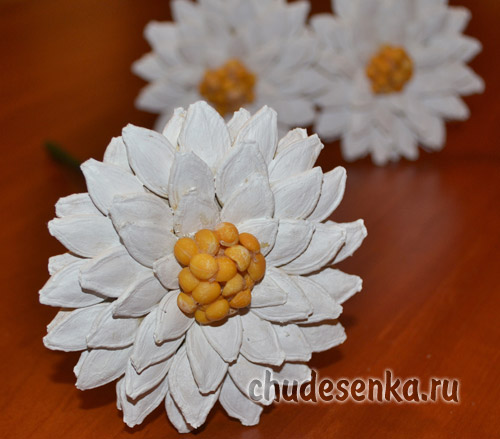
Also, instead of peas can be used dried corn kernels, buckwheat or grains of pepper.

And finally left to attach the petals to our flowers. Fasten them using floral tape or corrugated paper.
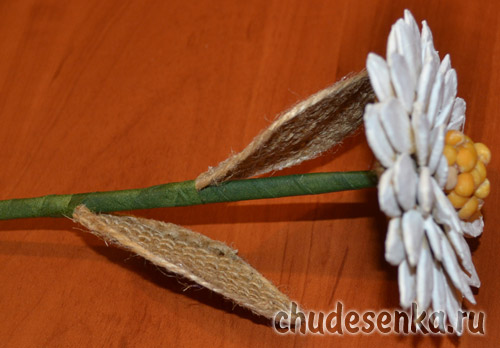
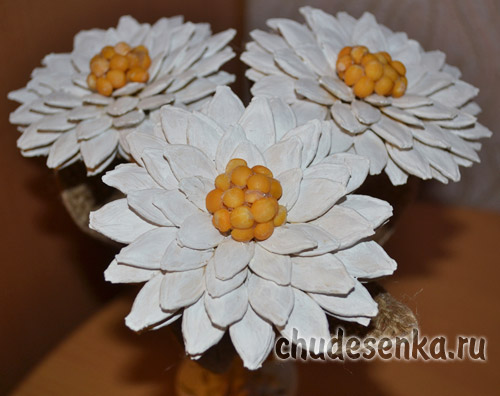
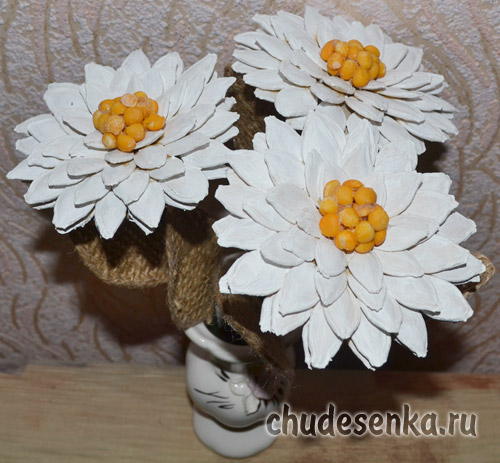
That’s all – flowers ready! It remains to put our bouquet in a vase. This original bouquet decorates any space, especially natural corner in the school or in kindergarten. Good luck and success!
Source: Chudesenka

Thank you for visiting our website. We seek to always bring the best for you.

Did you like the Tutorial ? Leave your comment.
How To Make Rose Using The Plastic Bag

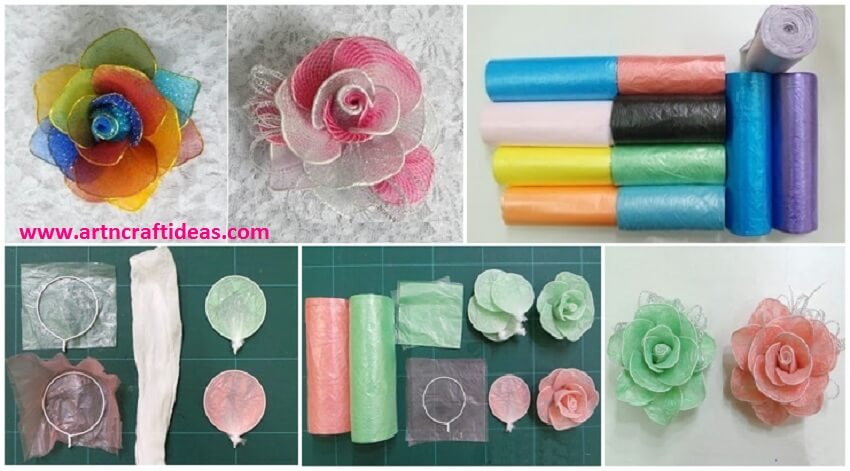
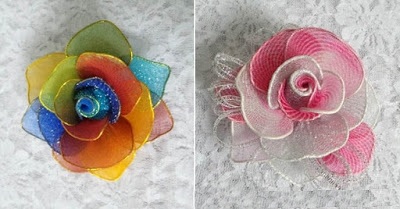
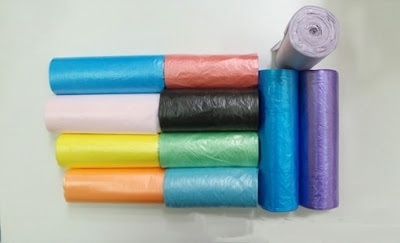
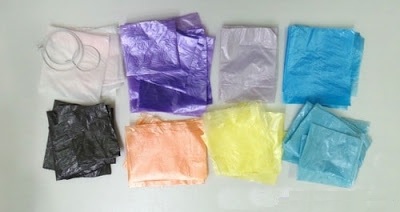
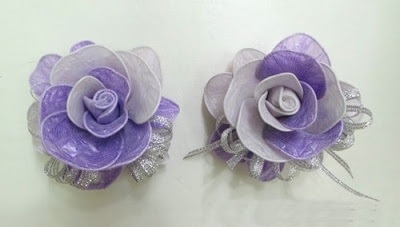
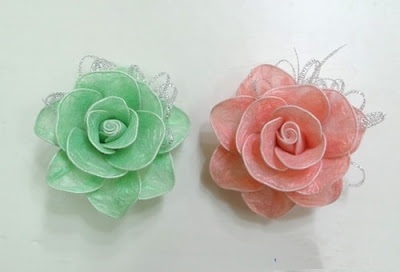
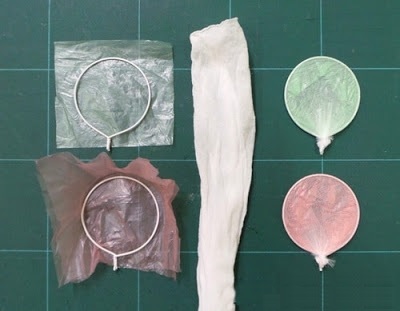
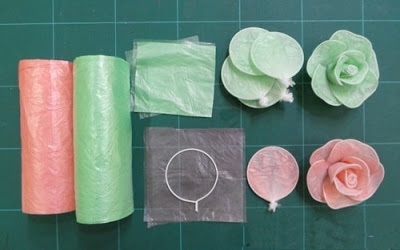
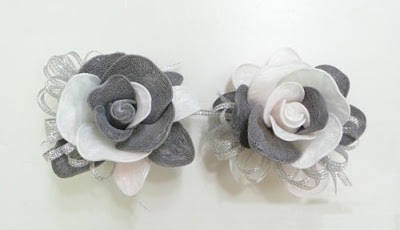
If you love roses handmade, in this activity we will offer how to make it a wonderful roses using things that are available daily and are the plastic bag and various colors and is very easy and simple way

Required Material:

  • plastic bags different colors.
  • Metal wire mesh.
  • Threading.
  • A circular template.
  • Tape cloth for decorating.

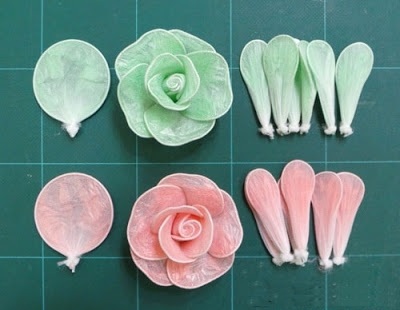
Cut into pieces cut as follows Packaging in the circular start racing wire Giving those coated wire forms and a variety of well-connected strings at the bottom. Continue to prepare all kinds of formats After you finish you get the following figure These are some suggested formats
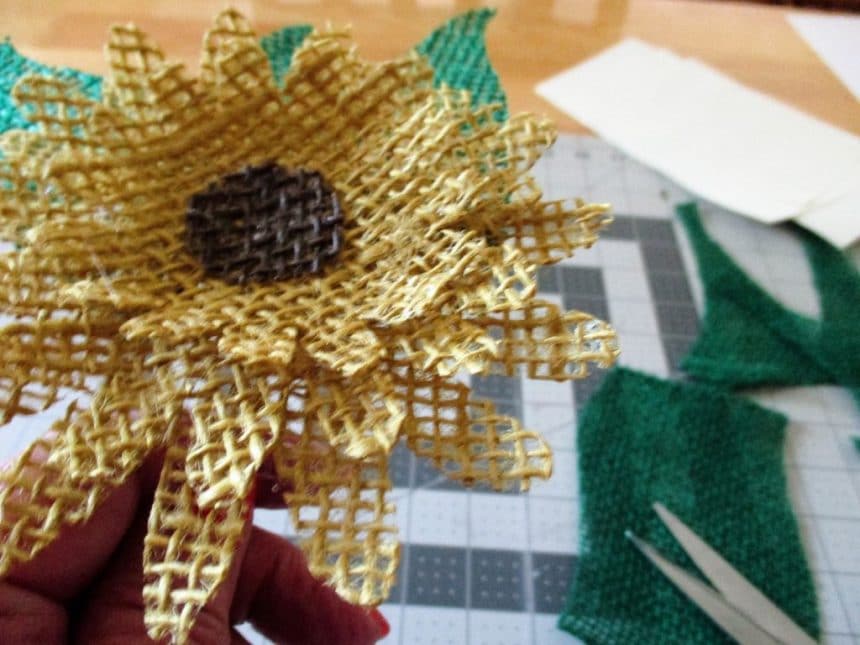
How to make a burlap sunflower

Beautiful Sunflower pick for fall wreaths. You can make any color you like. I hope you have fun making this flower. Step 1: Required Material 

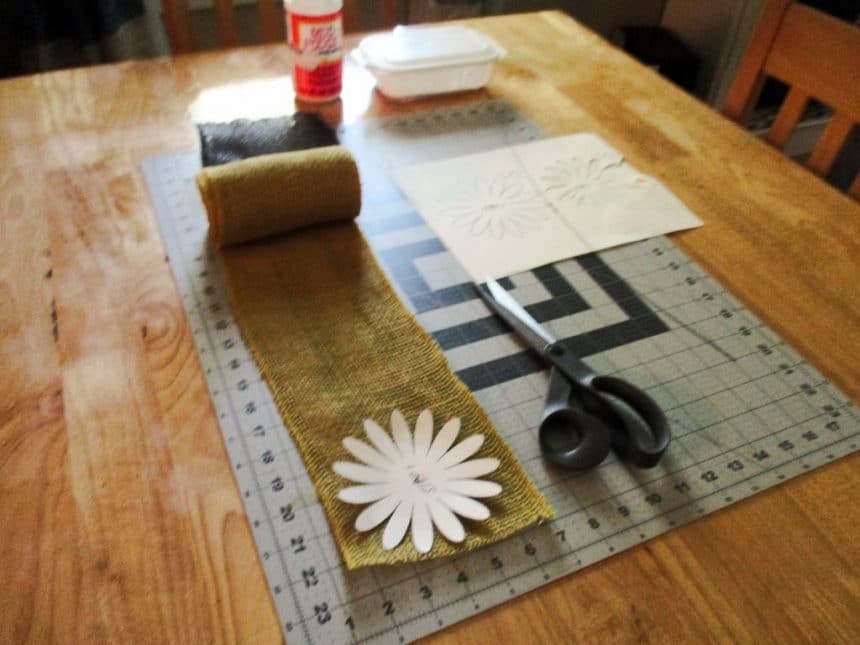
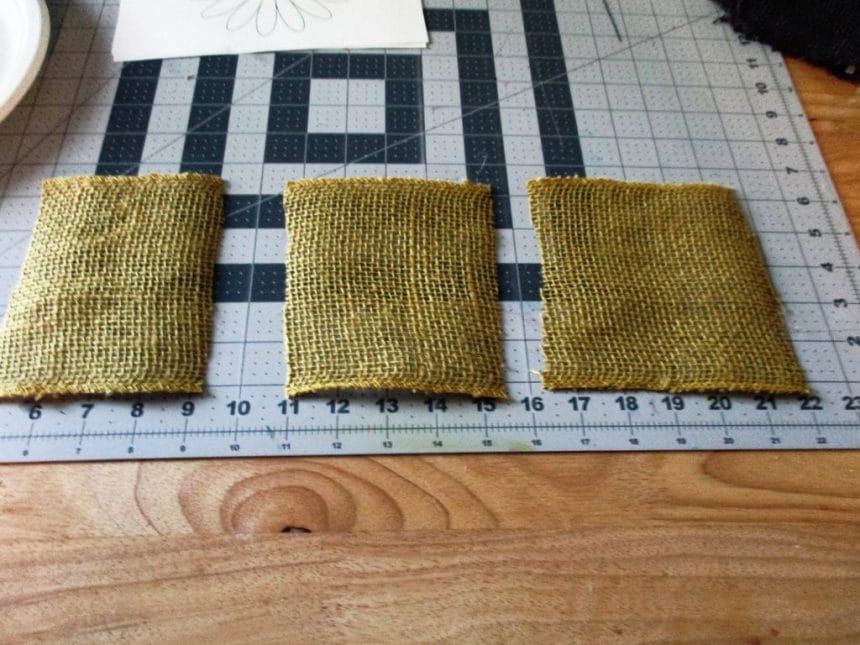
15″ of 5 1/2 wide burlap – color of your flower

5″ of 5 1/2 wide burlap – green for your leaves

Scrap piece of brown burlap for the center

Cutting mat

Decoupage

wide sponge brush

1 fine gauge wire

Scissors

Flower template mine came from http://www.freekidscrafts.com

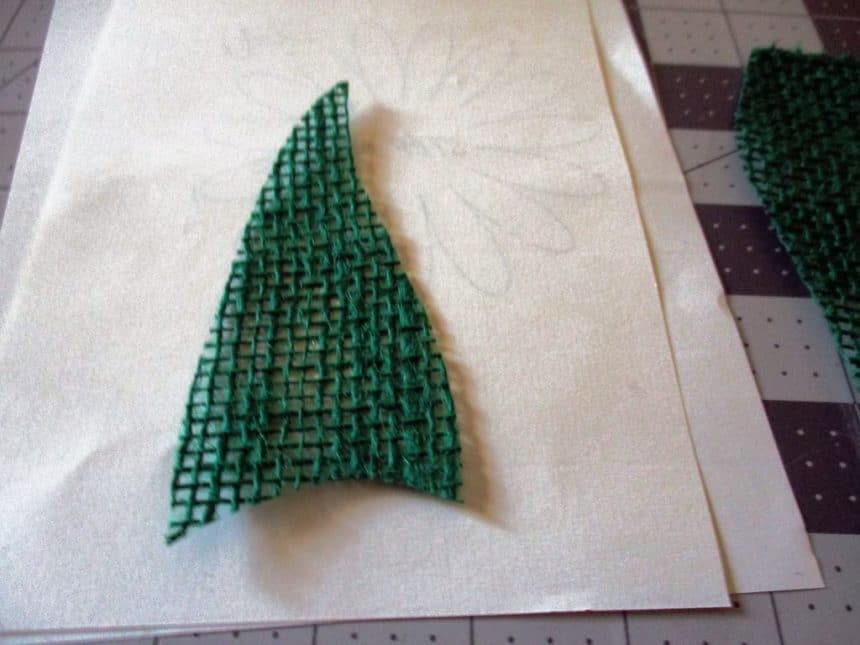
I could not find a leaf template so I have included a picture of what I free hand cut

2 paper plates

one plastic rectangular bowl

Straight pins with the heads on them

Step 2: Decoupage

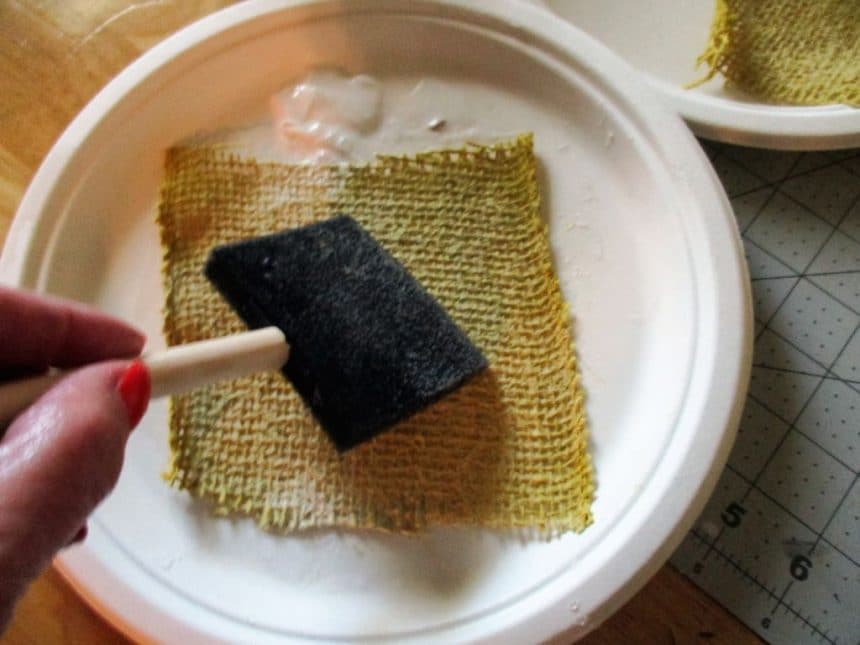
Pour about a half of a cup of your decoupage into the plastic bowl.

then pour enough water into the decoupage to make it thin. You will know it is thin enough when it drips off your brush.

Use your first paper plate and lay your burlap piece down and start brushing until you have covered the whole piece.

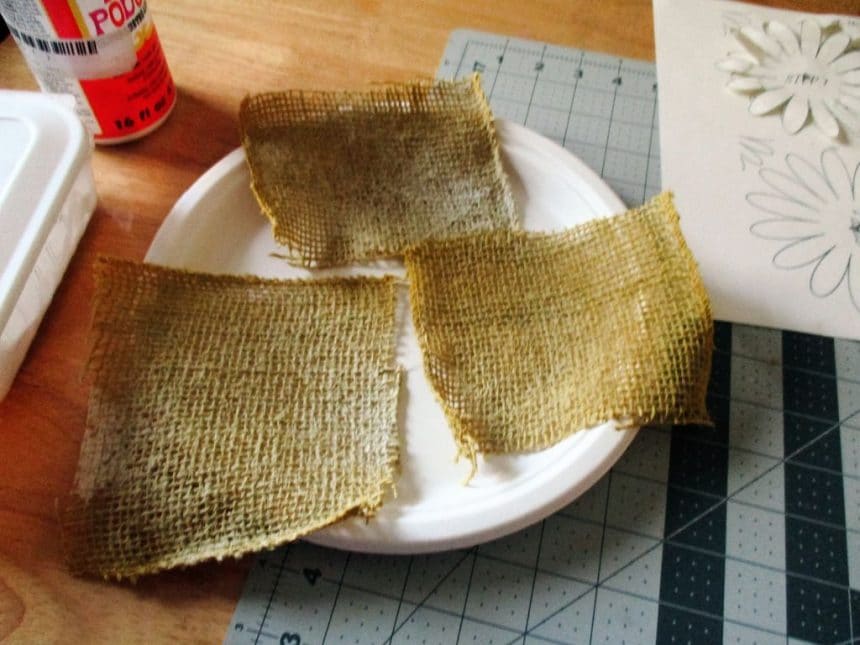
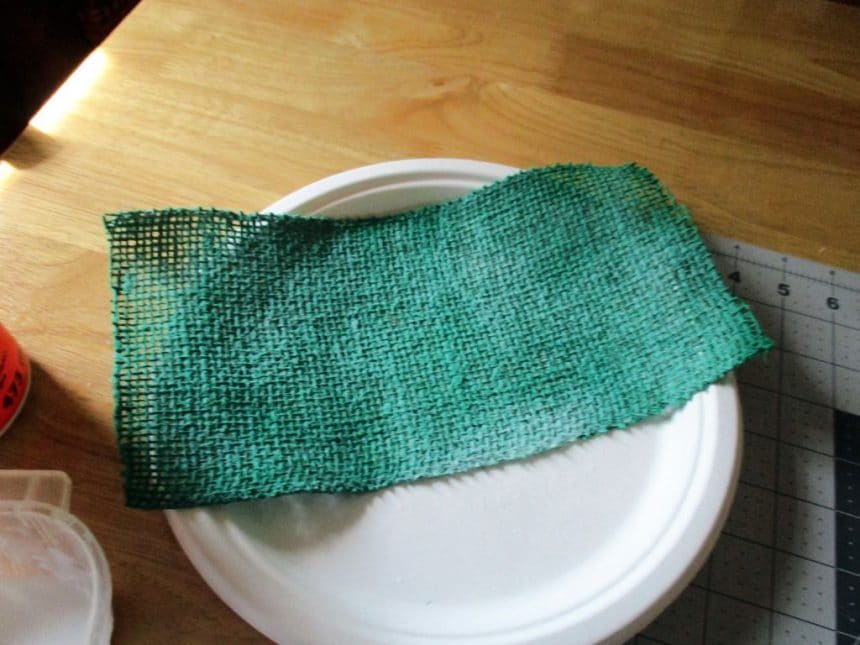
Place the piece on the clean paper plate and repeat. I did take another plate for the 6″ of the green burlap.

I let my dry overnight.

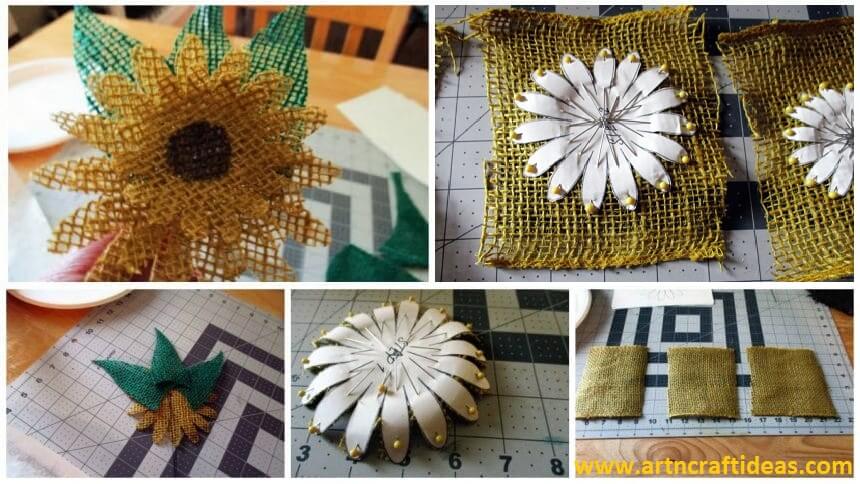
Step 3: Pin and Cut Flowers Out

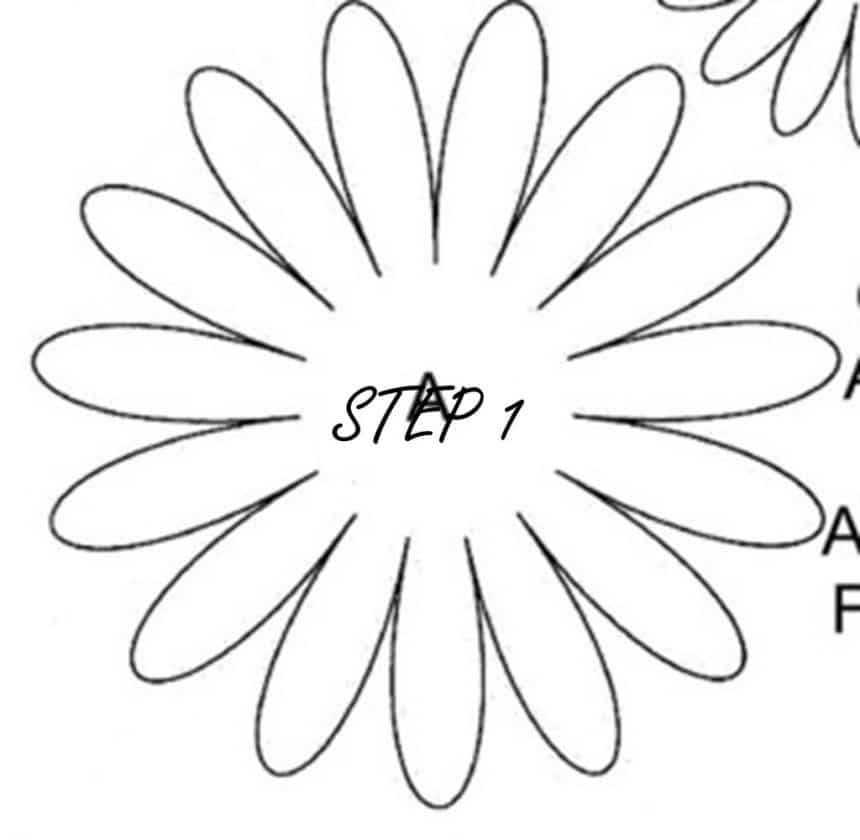
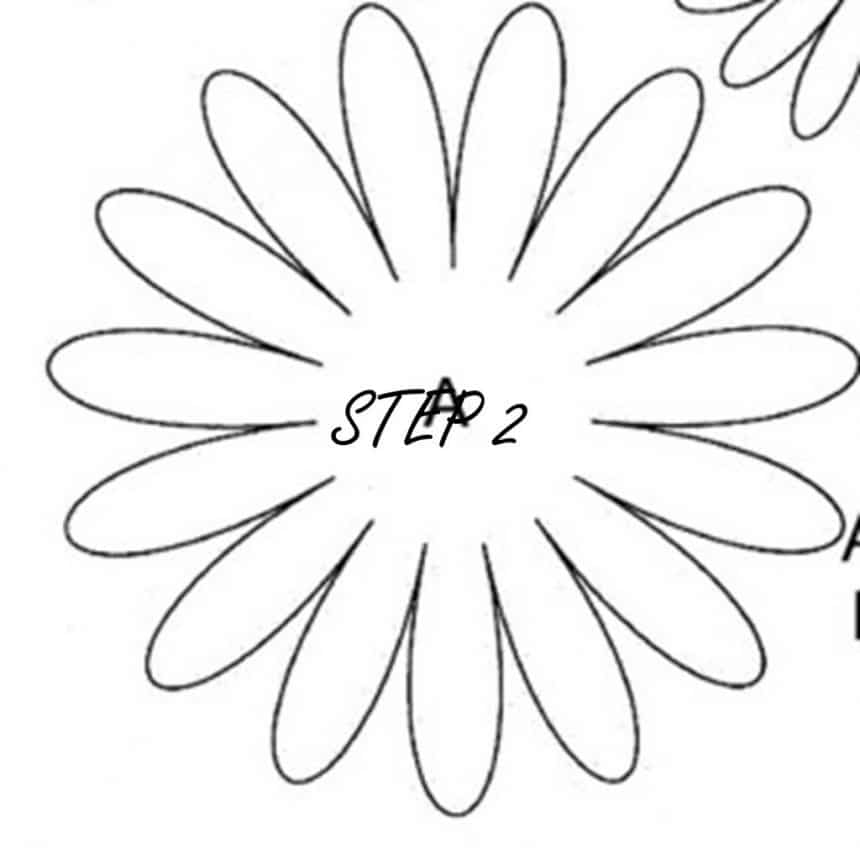
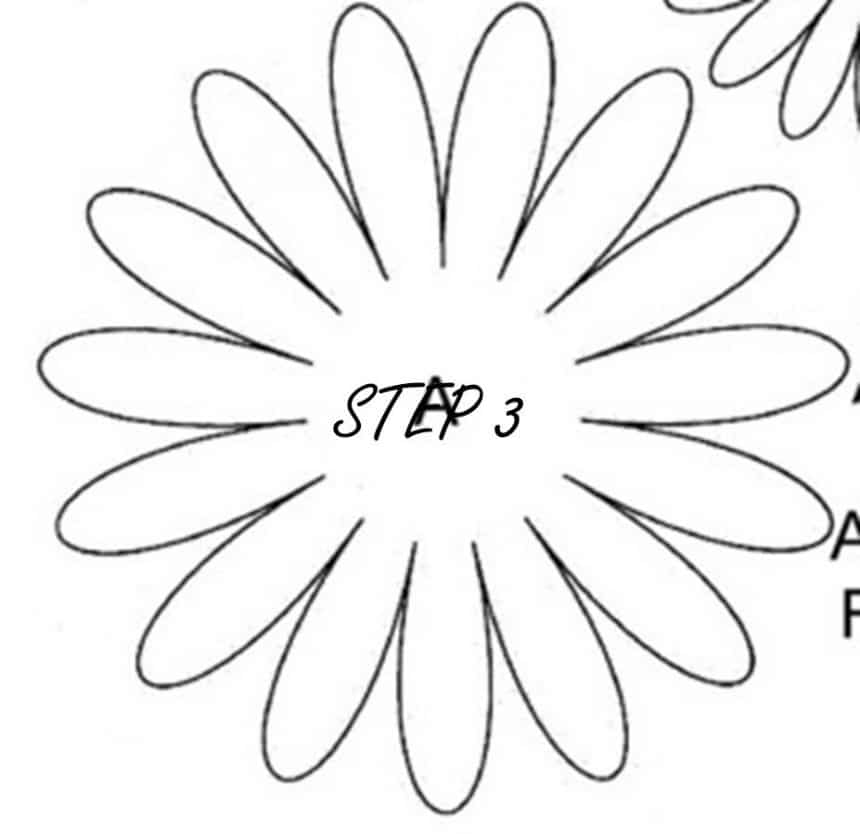
You will need to cut your flower templates out. I downloaded the flowers and then resized them to 5″, 4″, and 3″.

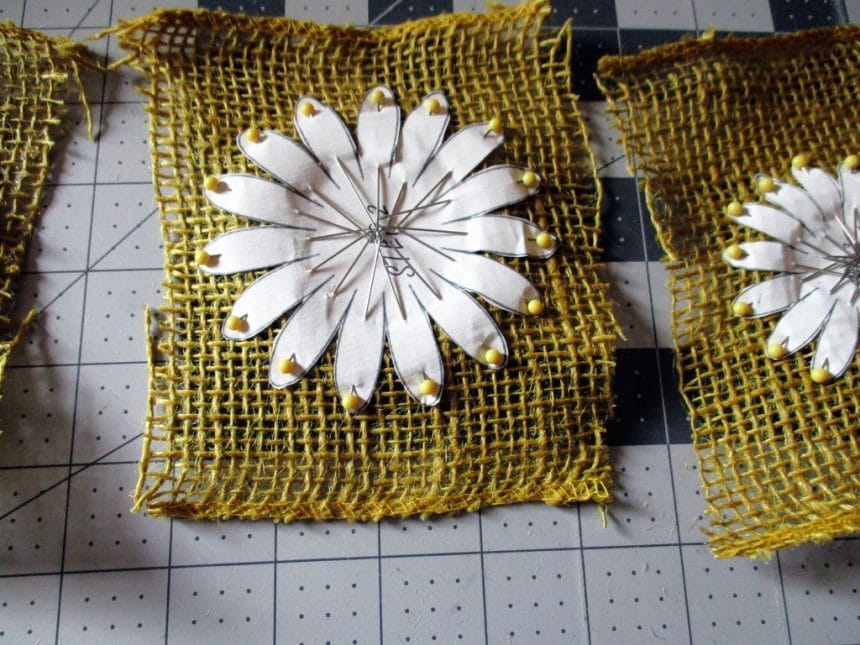
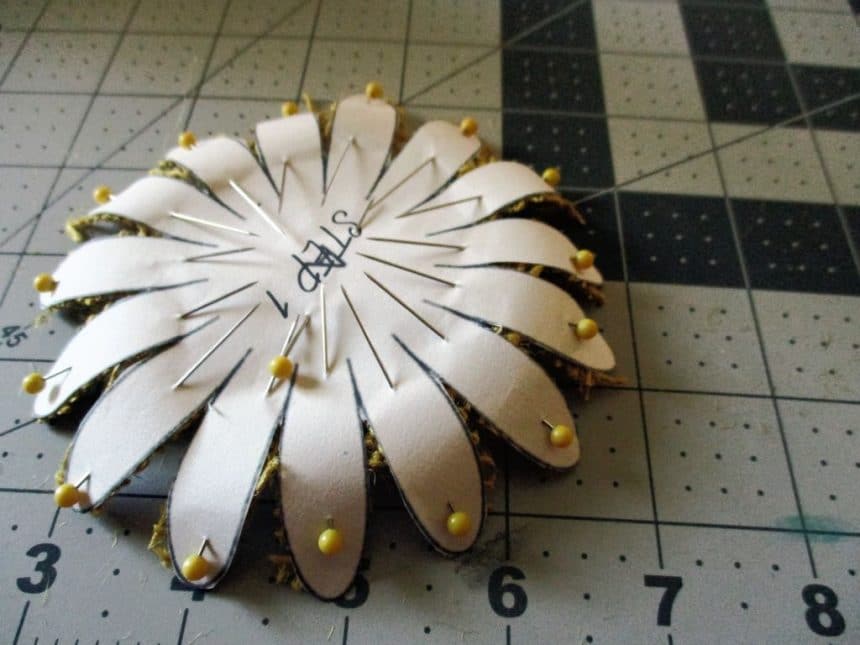
Take your straight pins, I use the ones with the heads on them, and pin from the top of the peddles to the center.

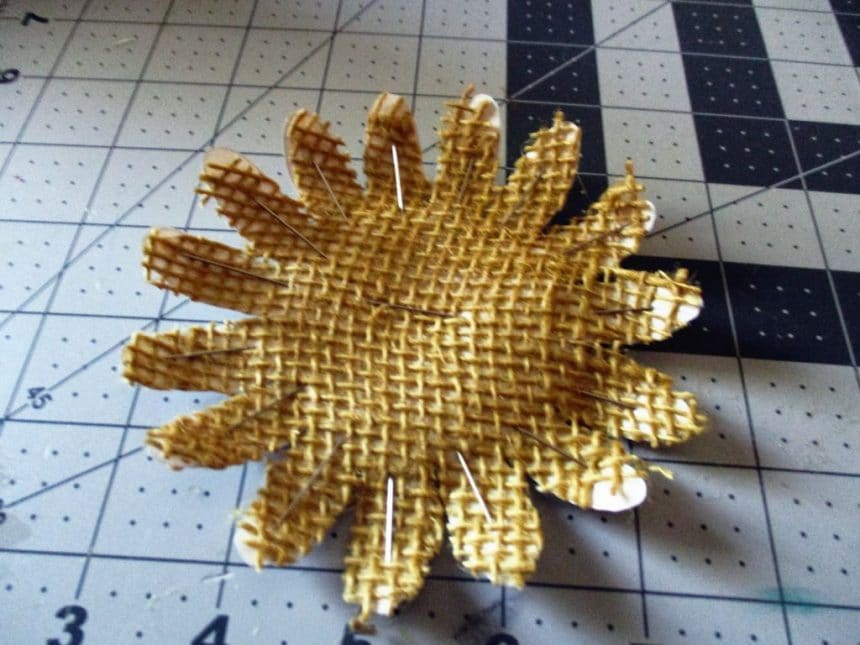
Now a trick I use is to start with a paddle and cut around the top then do the same thing with each peddle until you have gone all the way around. I then turn over the paddle and cut the opposite side of each paddle. Look at the picture of the front and back of the peddles and you will see this gives you a clean cut.

Now take your pins out and you will be ready to assemble.

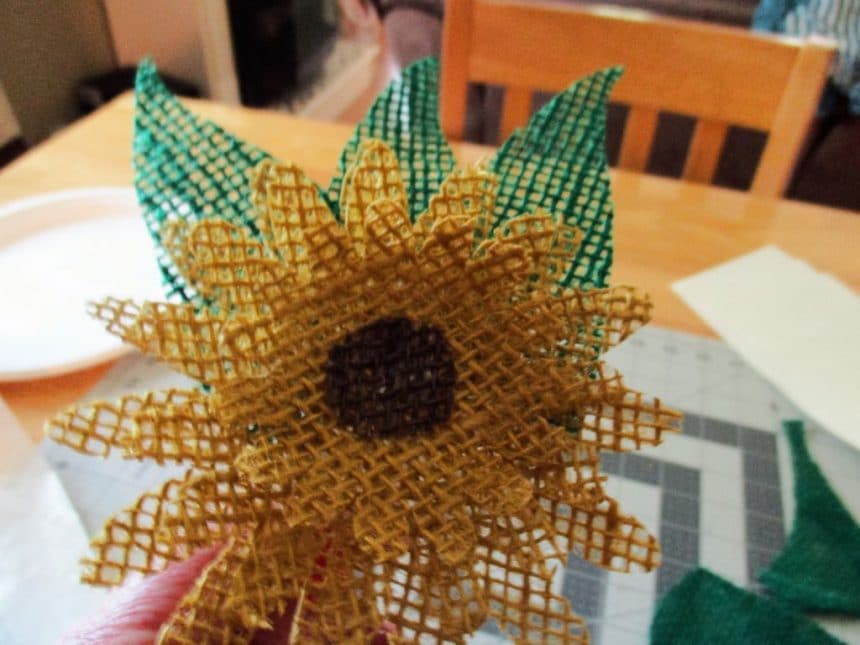
Step 4: Putting Your Flower Together

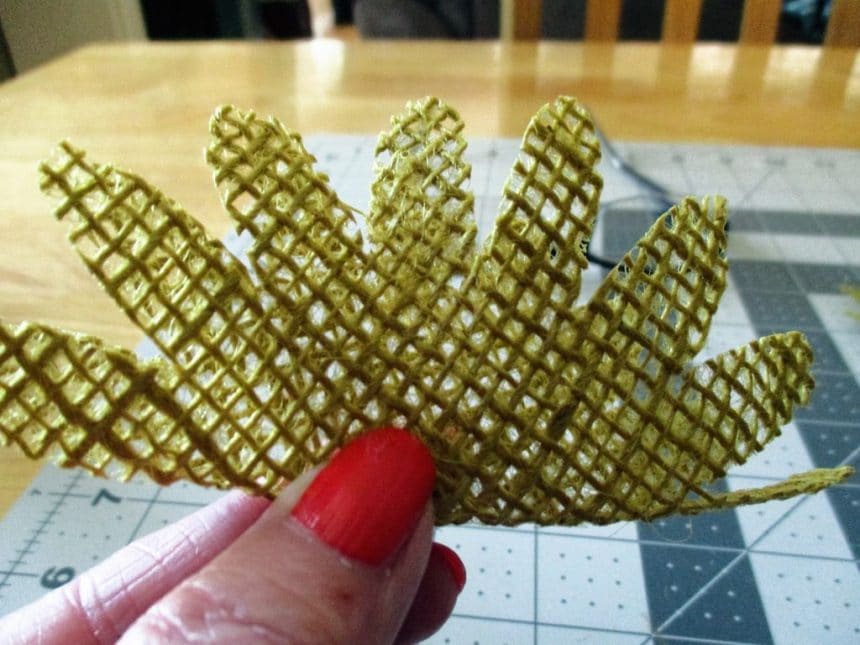
In the first picture you will see I am using my fingers to fold the flower in haft, I will do this on both sides of the flower to find the center.

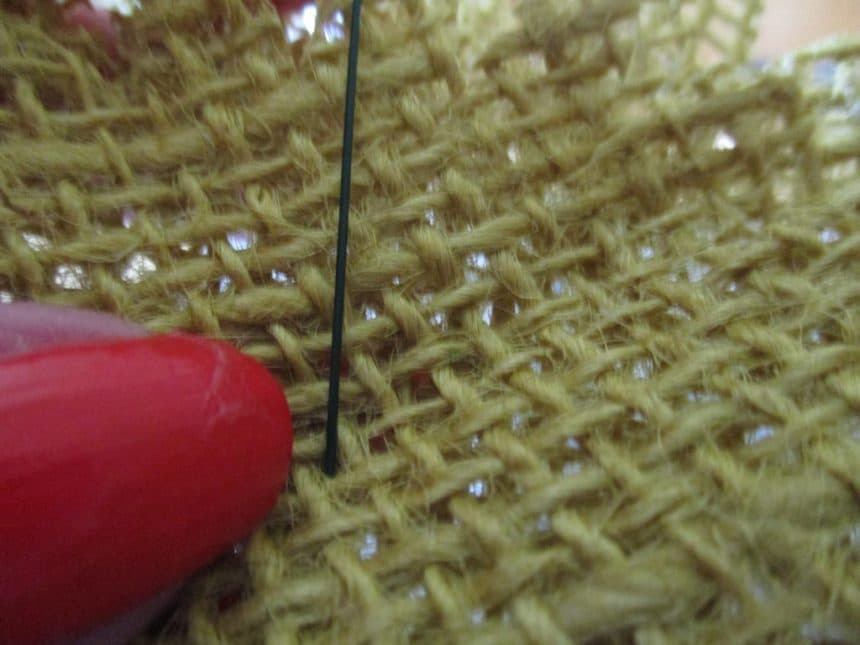
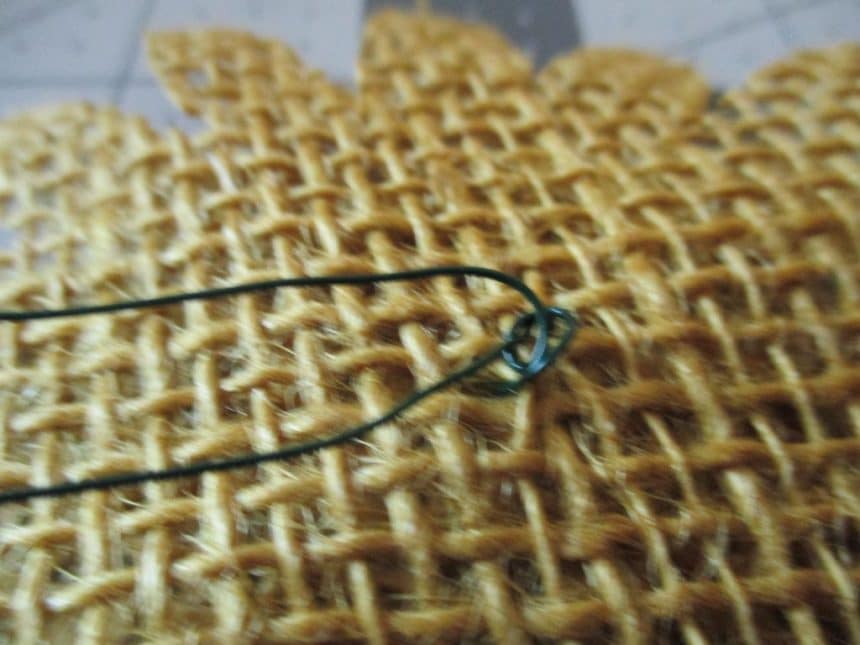
Now stack each of your flowers and turn over to slide the wire through the center. If you do not want to use the flower for a pick skip this step and glue each one in the center.

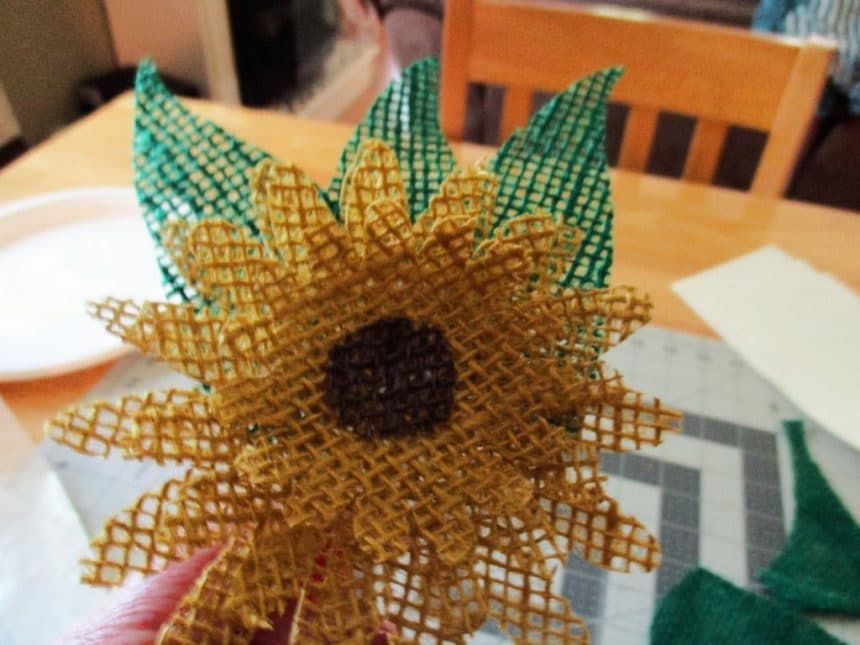
Turn over and glue your center circle of brown burlap in the center.

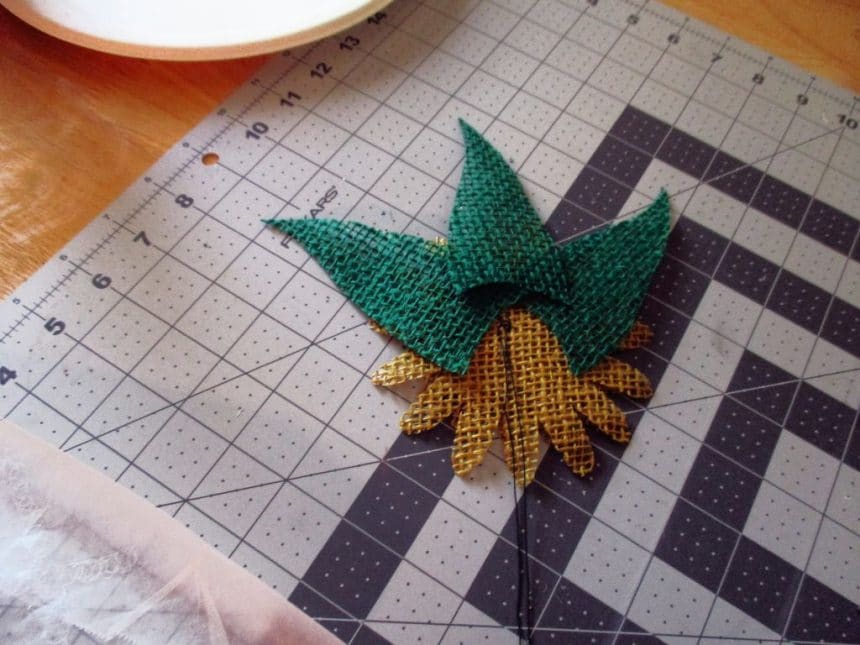
Turn back over and lay your leaves, you can use as many or little as you like, to the back of the flower.

Glue the leaves on.

That is it and now you have your burlap flower as a pick or you can make and use on hats, headband, anything you like.

Hope you enjoyed this.

courtesy: toj66

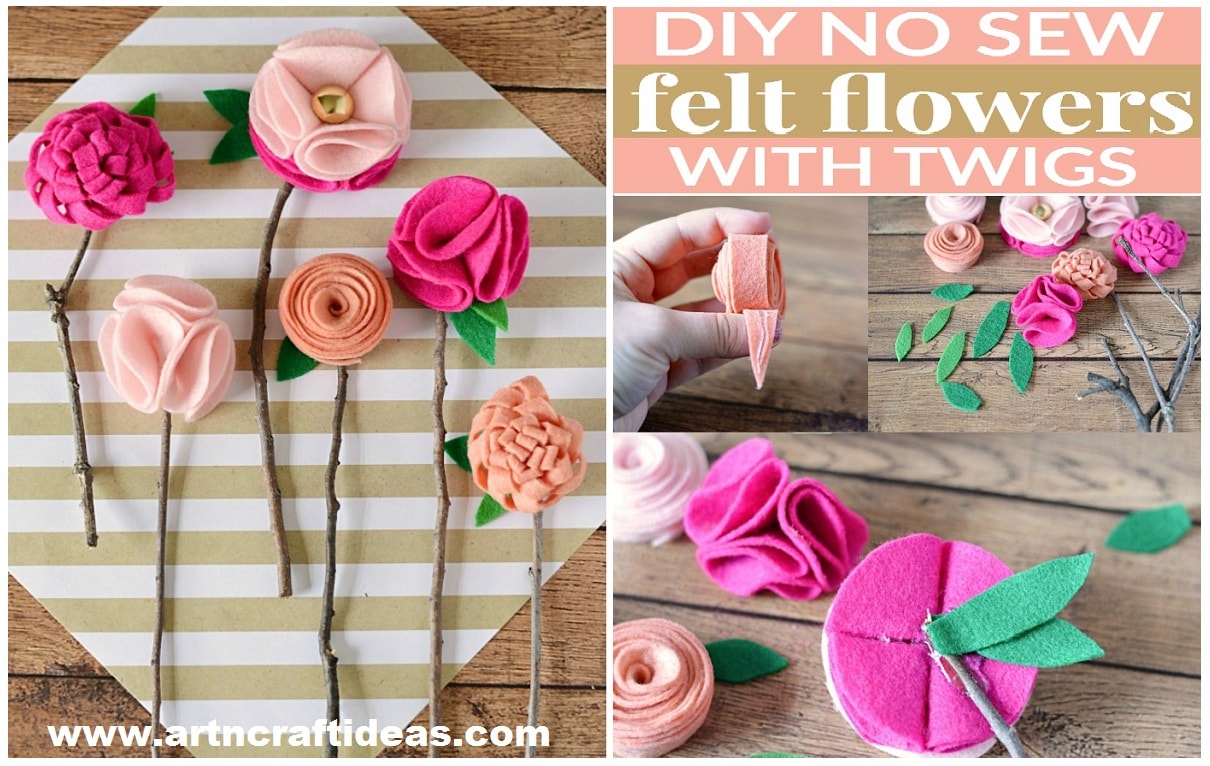
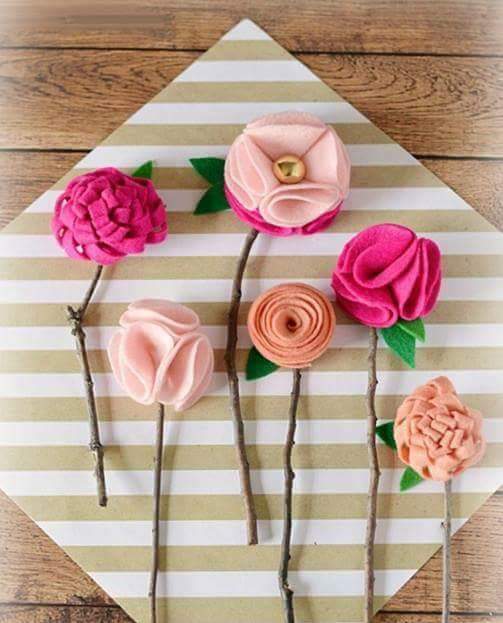
DIY Handmade No Sew Felt Flowers With Twigs

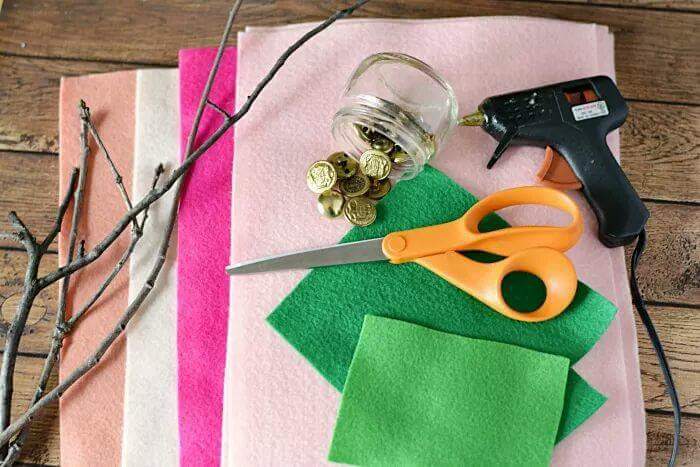
These DIY no sew felt flowers are the perfect homemade Mother’s Day gift – and the best part is, is that they’ll never wilt or die! Required Material:

  • Felt in various colors for the flowers
  • Green Felt
  • Twigs
  • hot glue gun
  • hot glue
  • scissors
  • pencil
  • buttons
  • lids or a circle template — we used 3″ and 6″ in diameter


DIRECTIONS:

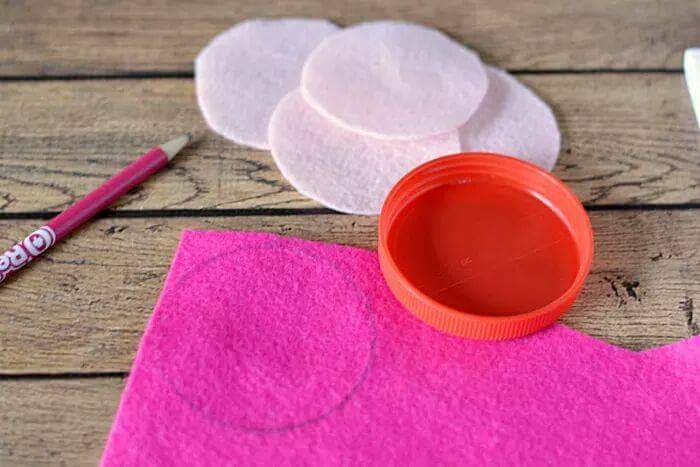
To make a flower with button: Cut 8 round 3″ circles out of felt – 4 of one color and 4 of another color.

Fold the circle in half and in half again to create a quarter circle. Apply hot glue to the folded edges of one circle and attach it to the folded edge of another circle. Repeat until all four quarter circles are connected to create one circle.
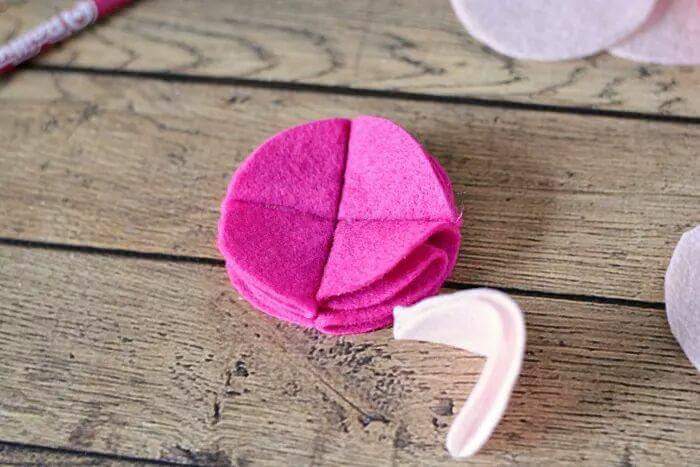
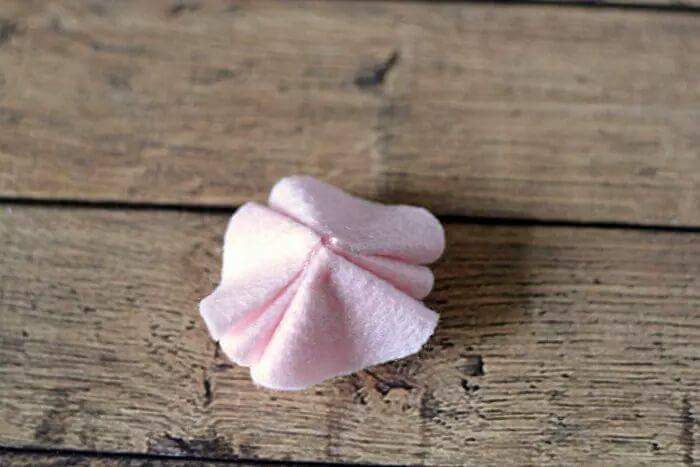
Do the same with the second color of felt, and glue the two flowers together. Attach a gold button in the center of the flower with hot glue

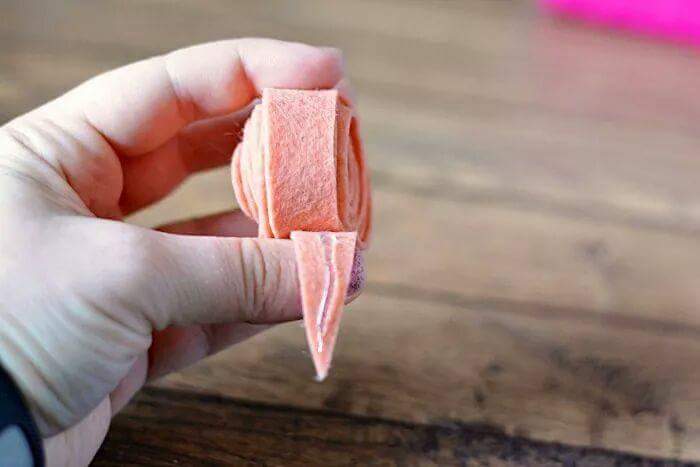
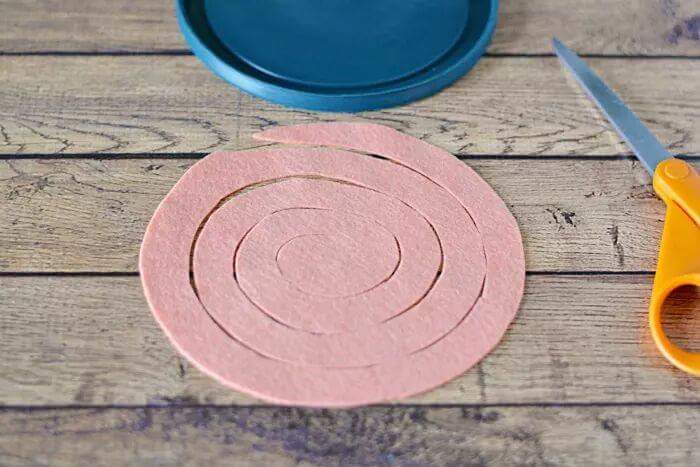
To make a rose, cut a 6″ diameter circle out of felt. Spiral cut the felt about 3/8″ wide. Roll up the felt from the center outward. Affix with hot glue at the end.

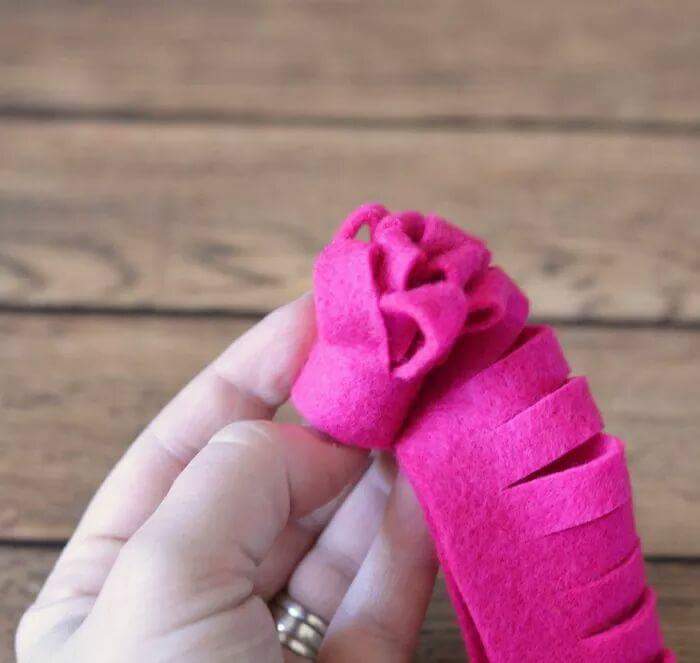
To make the “mum” flowers, Cut a piece of felt 12″ x 2.5″ and fold in half. Secure the seam if necessary with little dabs of hot glue. Cut slits at the fold about 1/2″ apart. Being careful not to cut through the entire flower. Roll from one end, and hot glue together as you go.

To make small buds: Cut 3-3″ circles and fold into quarters. Glue the three quarters together into a triangle like shape.

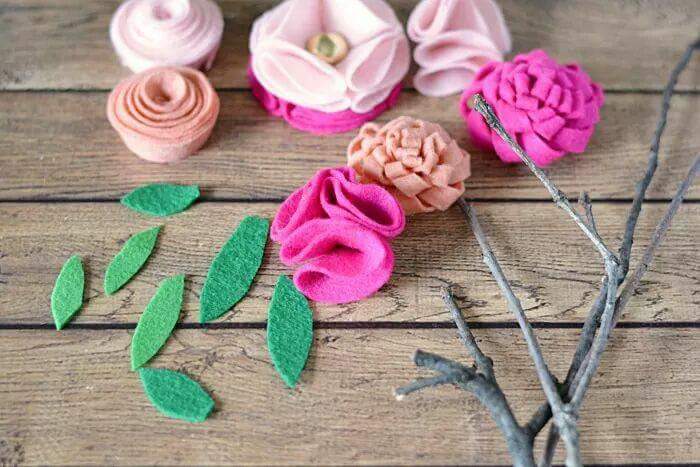
Fold 9×2 or 12×2.5 rectangle in half lengthwise. Like a hot dog bun. Cut slits into the fold. About 3/8″ apart but not going all the way through the fold. Kind of like making fringe. But it’s on the fold. When finished making flowers, cut out leaf shapes. Affix to flowers with hot glue.  Add stick stems.
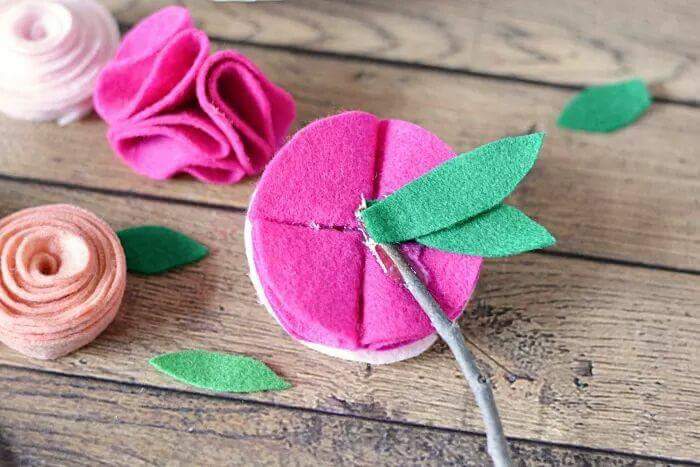
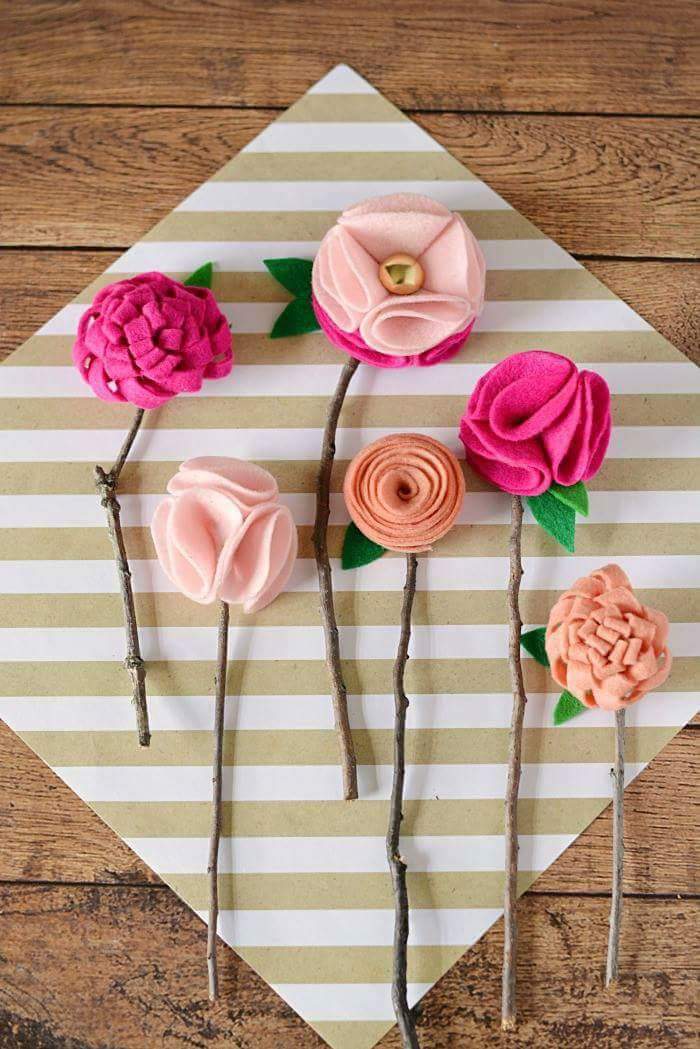
courtesy: Mommy Moment

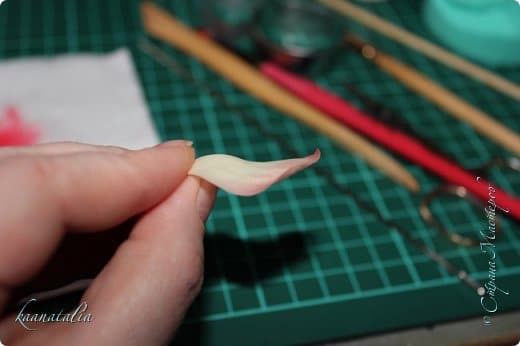
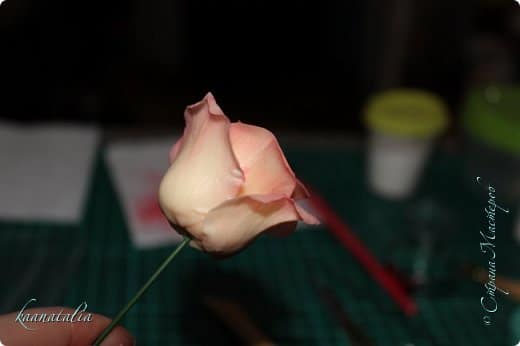
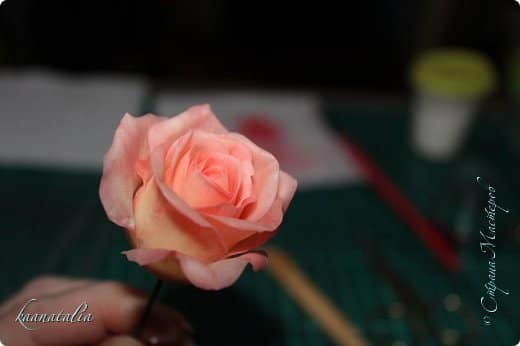
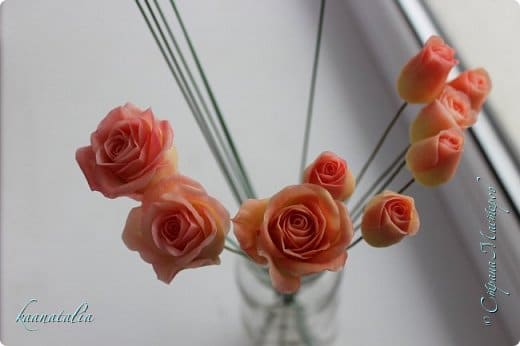
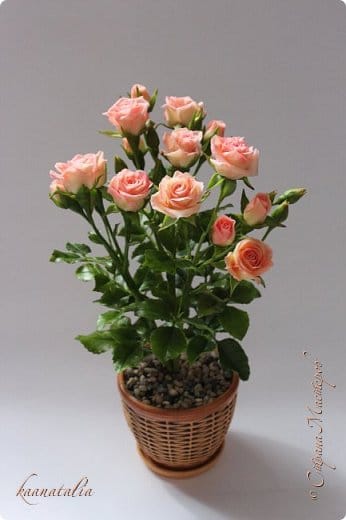
How to make beautiful rose flower

First, little ready roses

because I mold slowly doing to 6 petals

Do the same thing a few times

I am trying to do the ass

now, I already like it

pasta machine I did not take

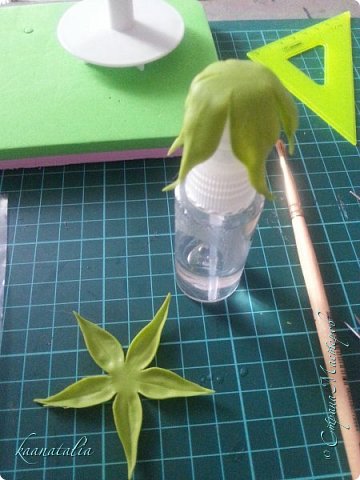
land on a stand for Easter eggs

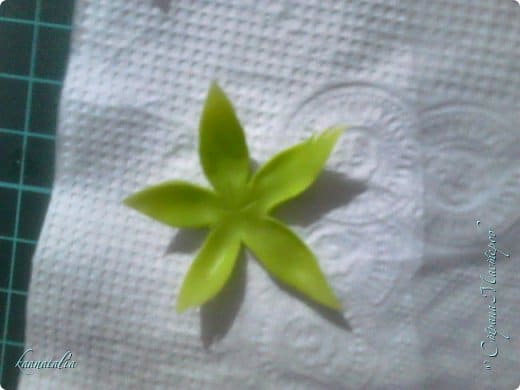
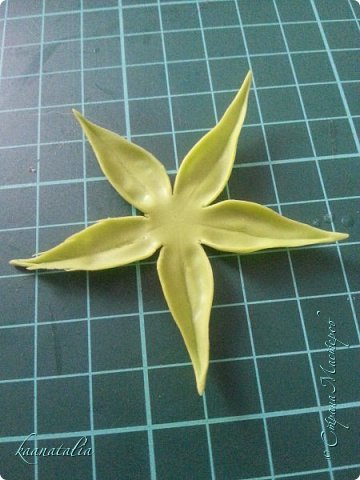
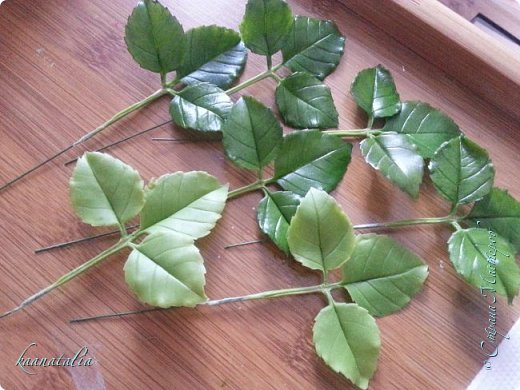
sepals before assembling twigs

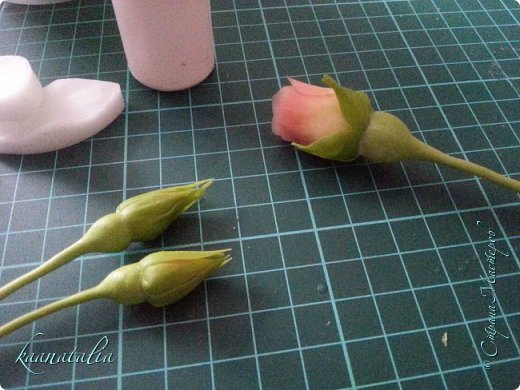
All the work is done, it remains only to collect

That rosette ready. The height of 40 cm.

I would be very glad if someone will come in handy.
courtesy: stranamasterov

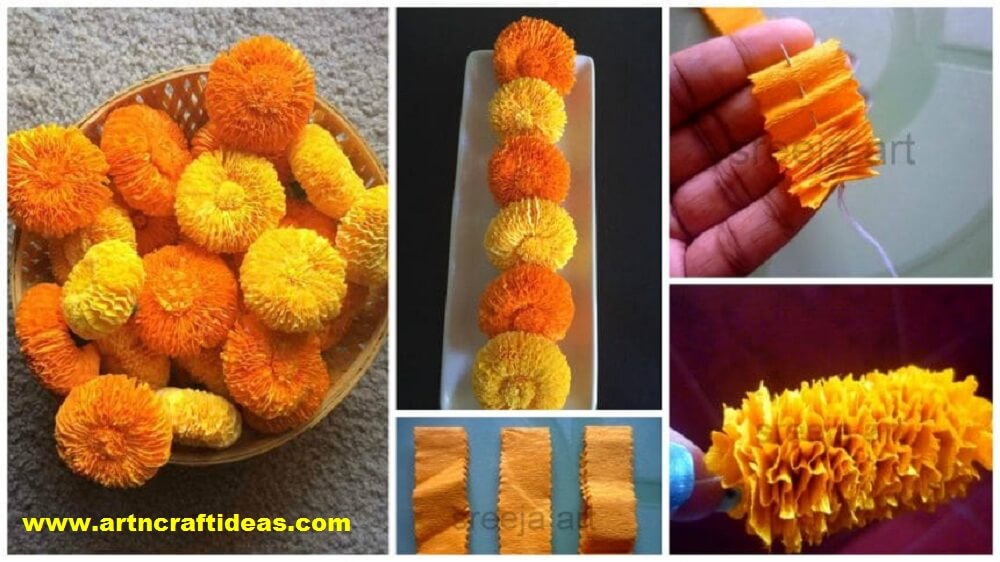
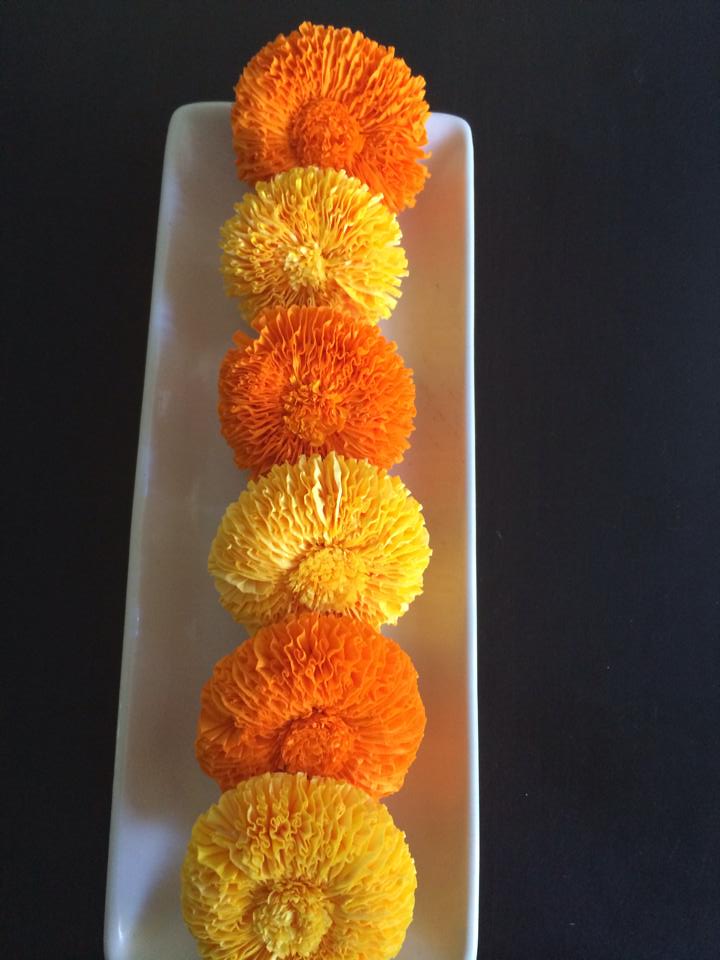
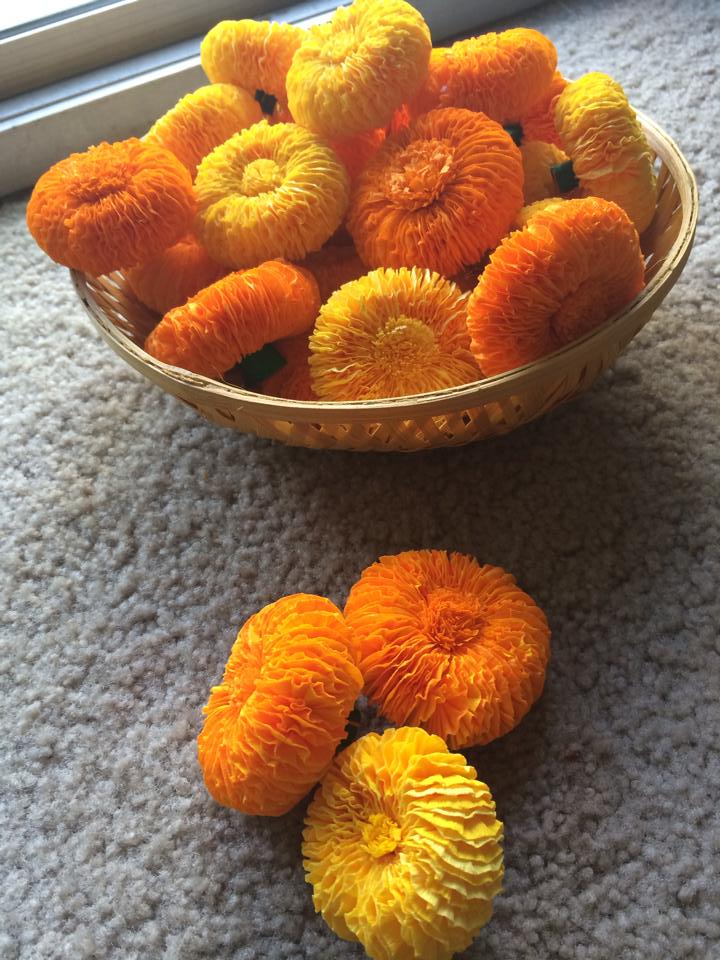
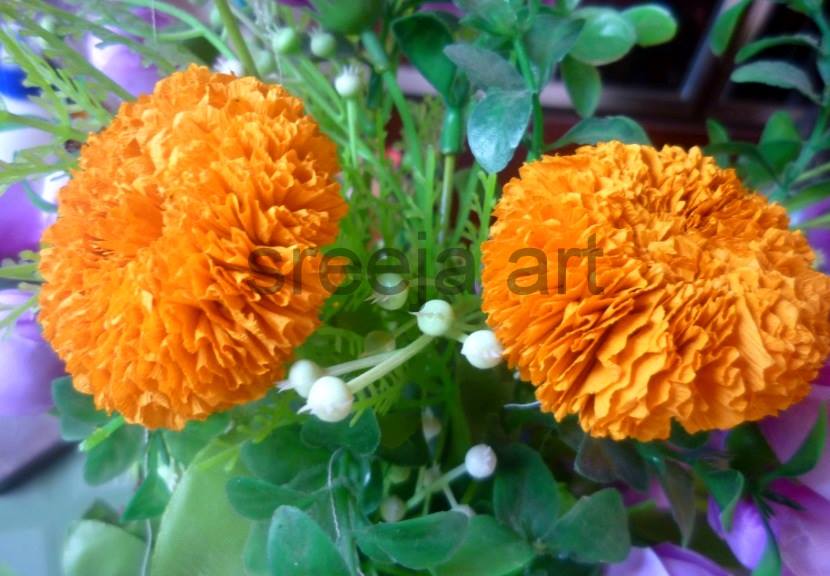
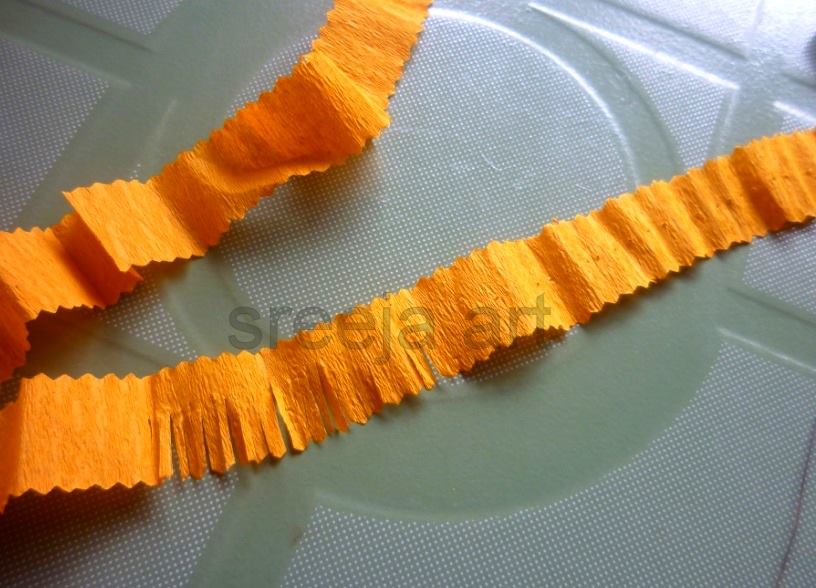
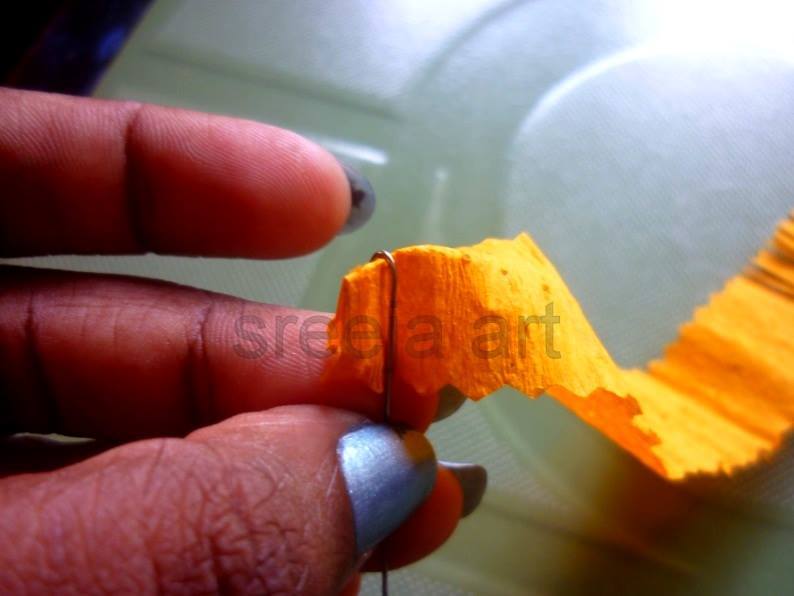
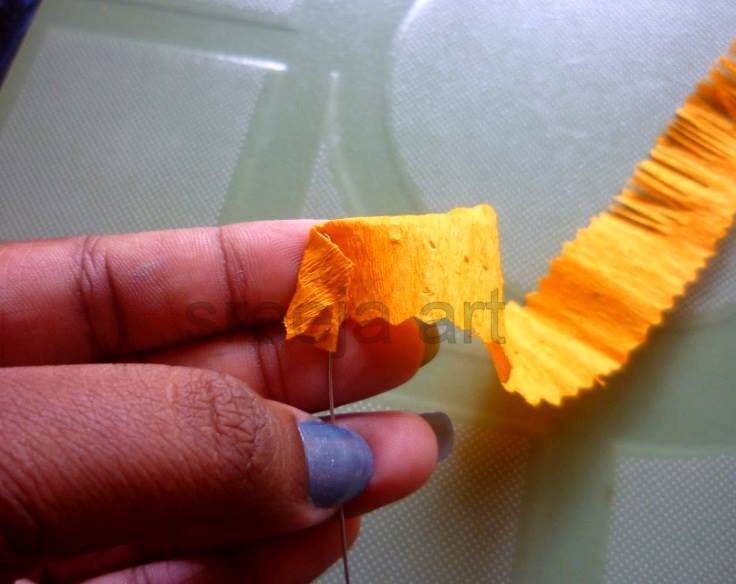
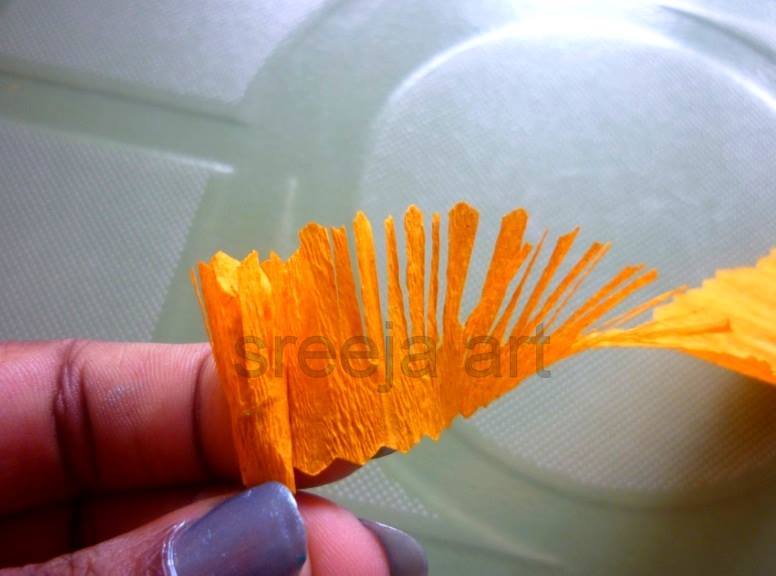
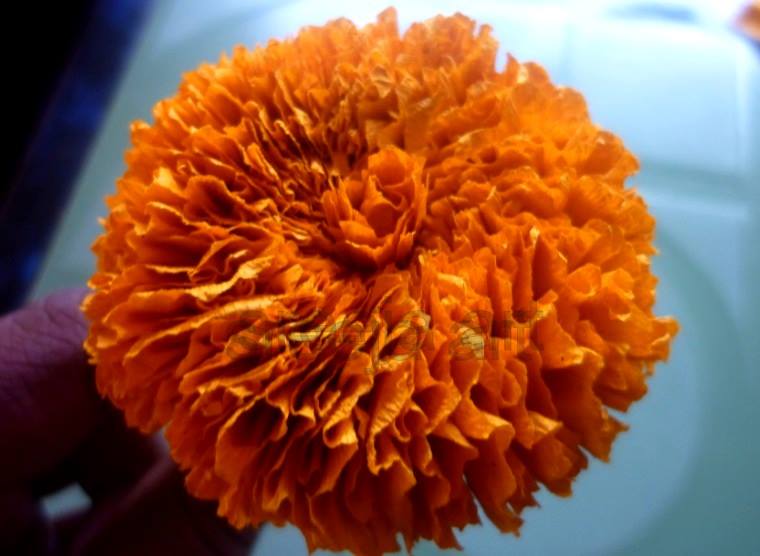
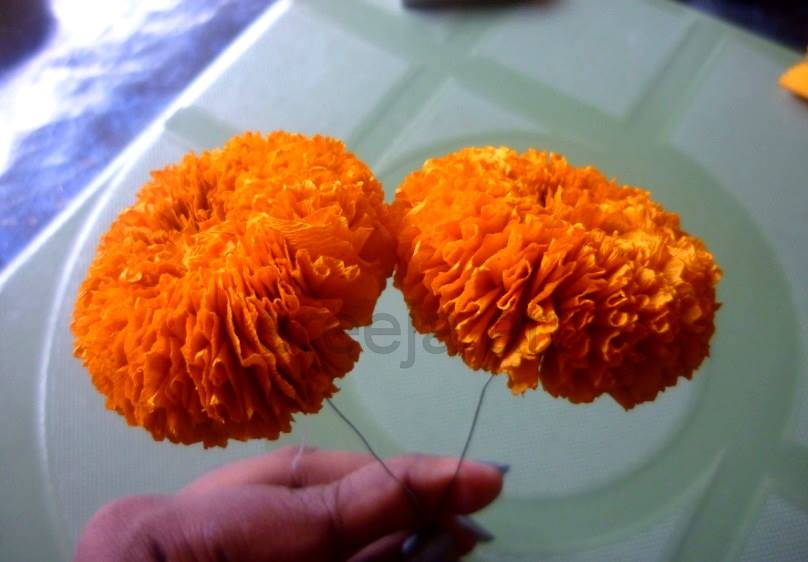
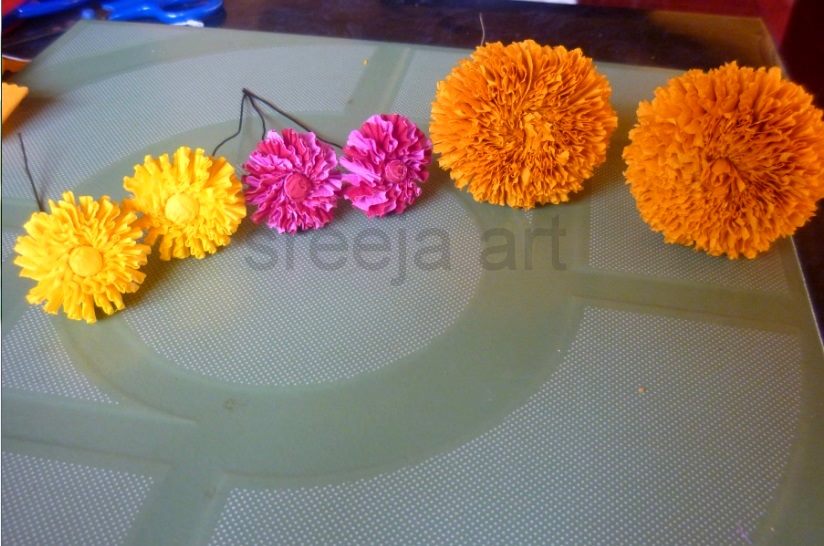
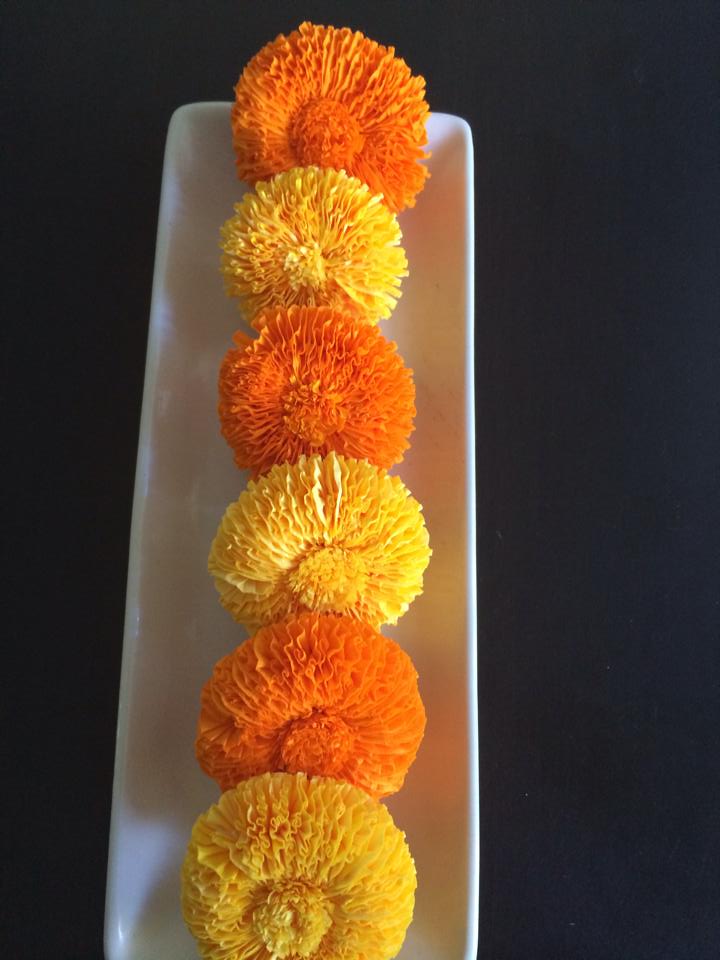
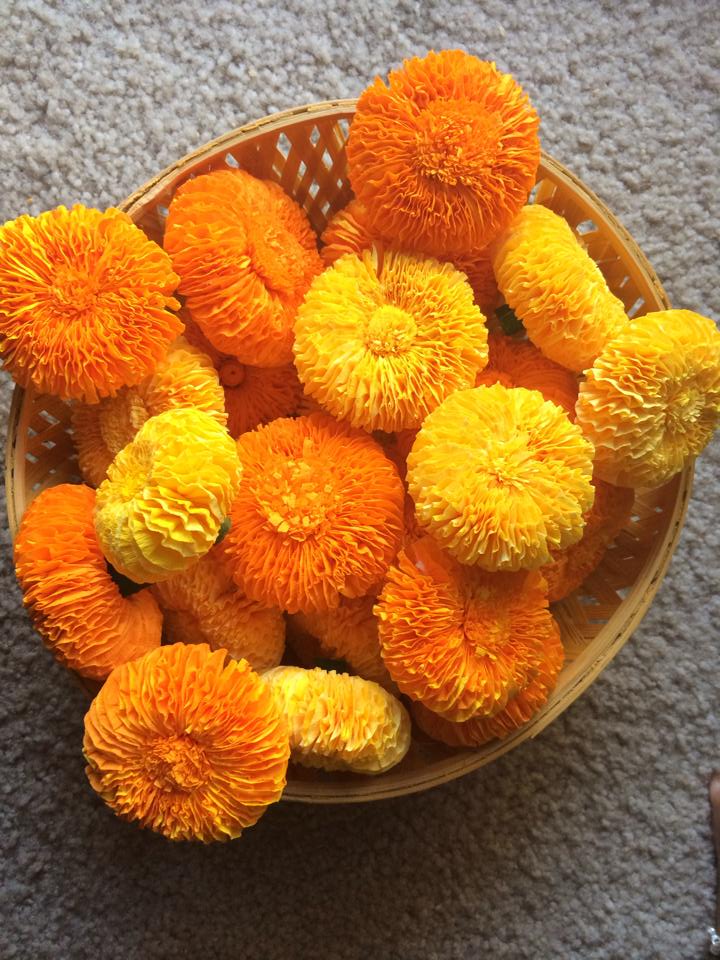
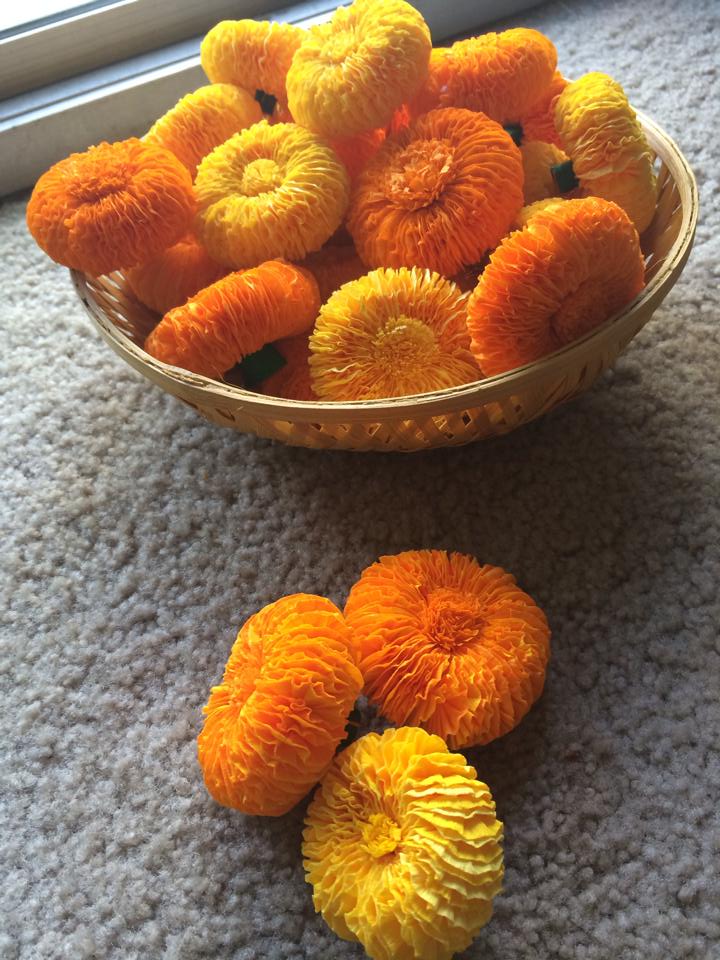
How to make marigold flower with crepe paper

How to make marigold flower with crepe paper

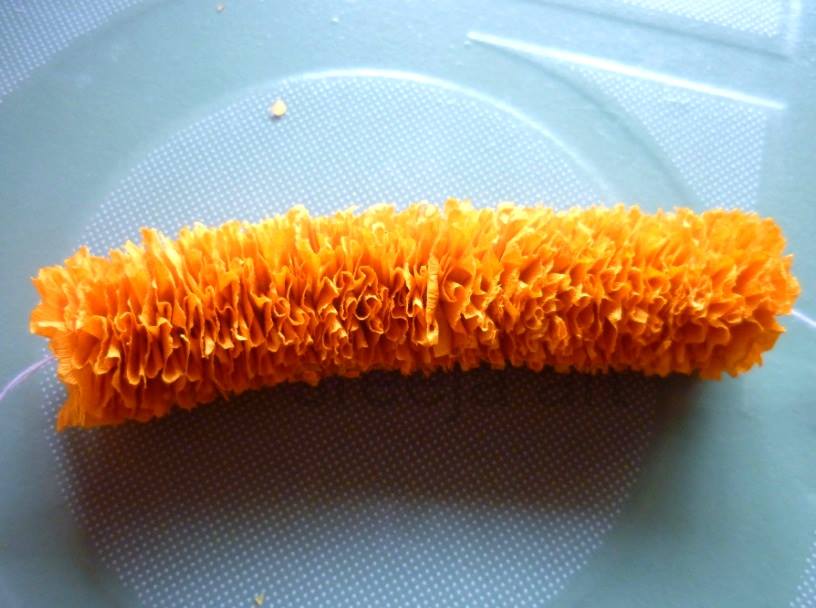
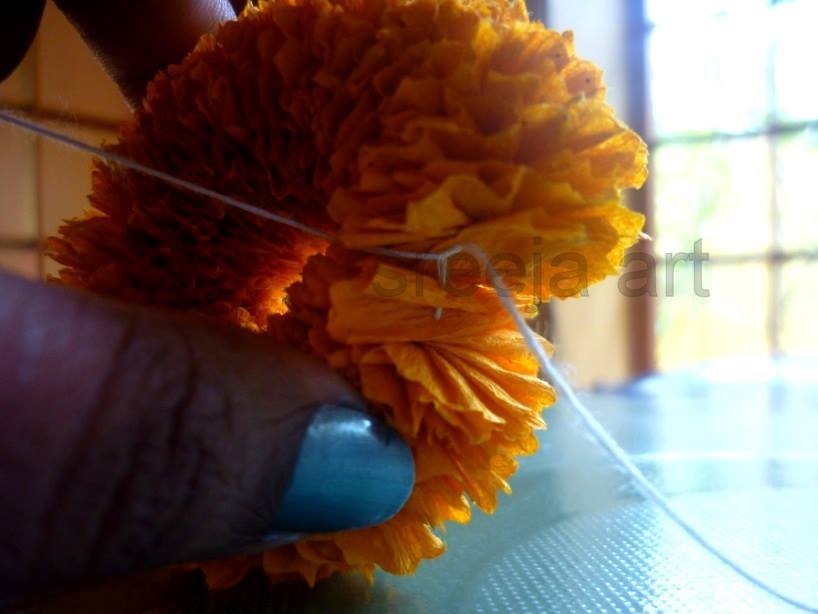
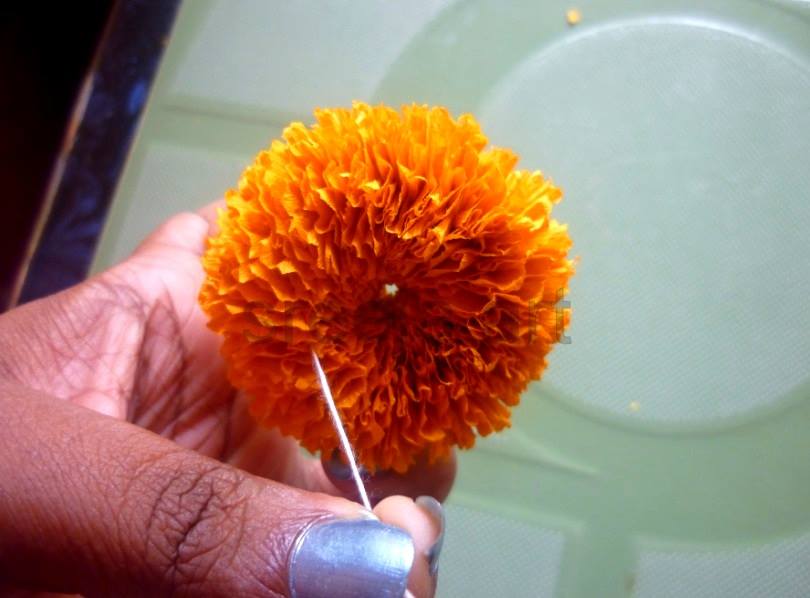
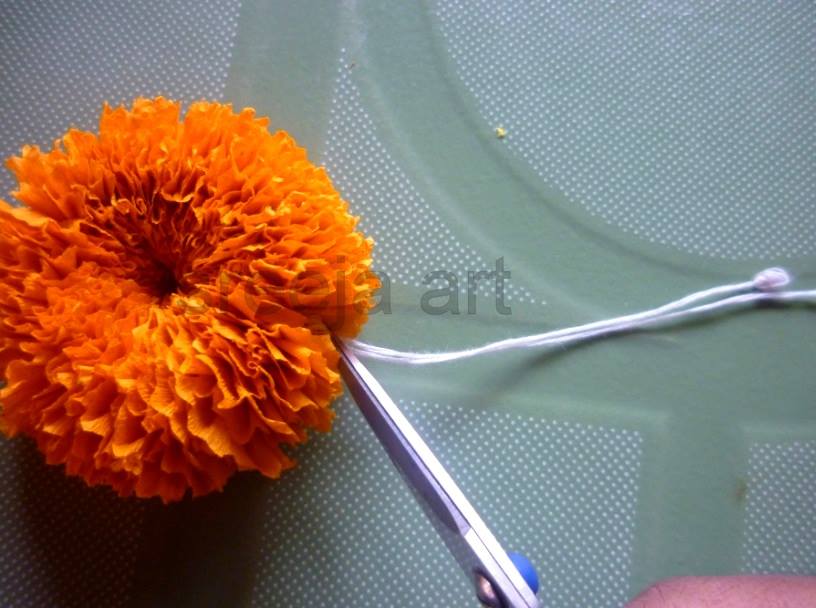
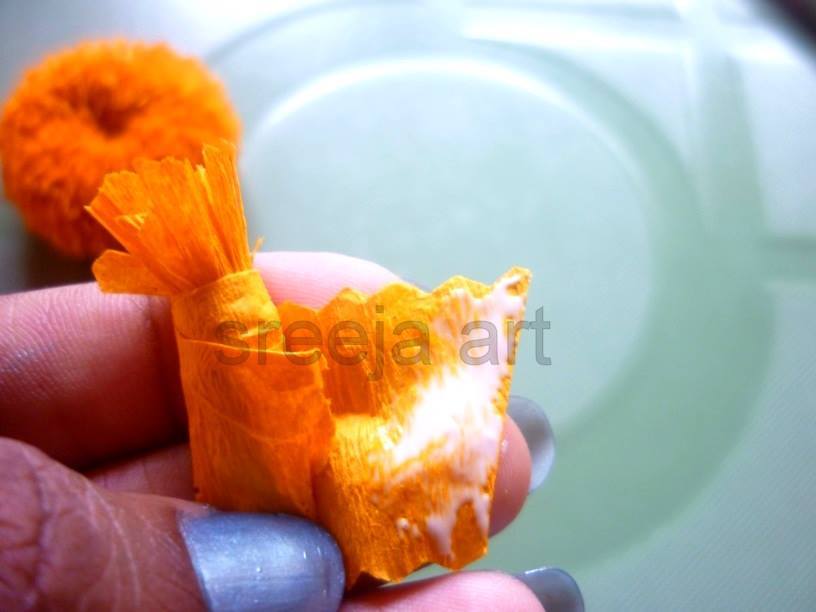
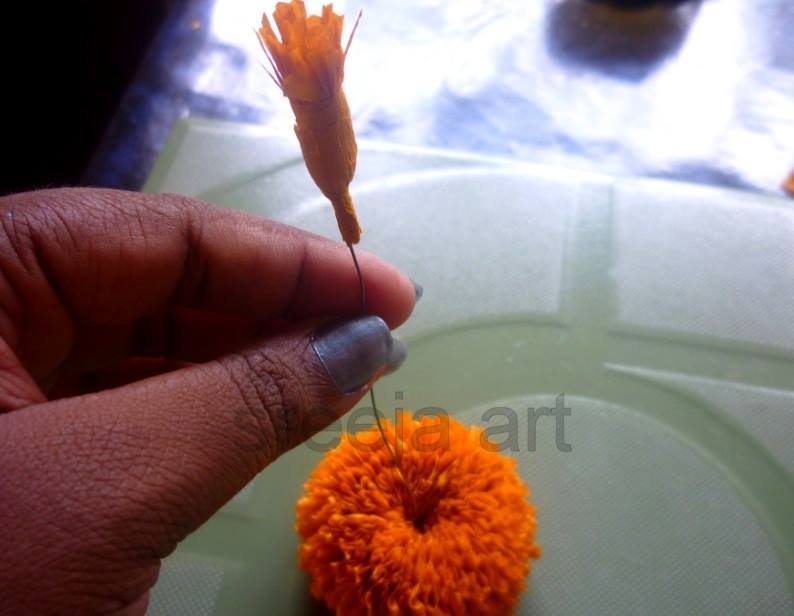
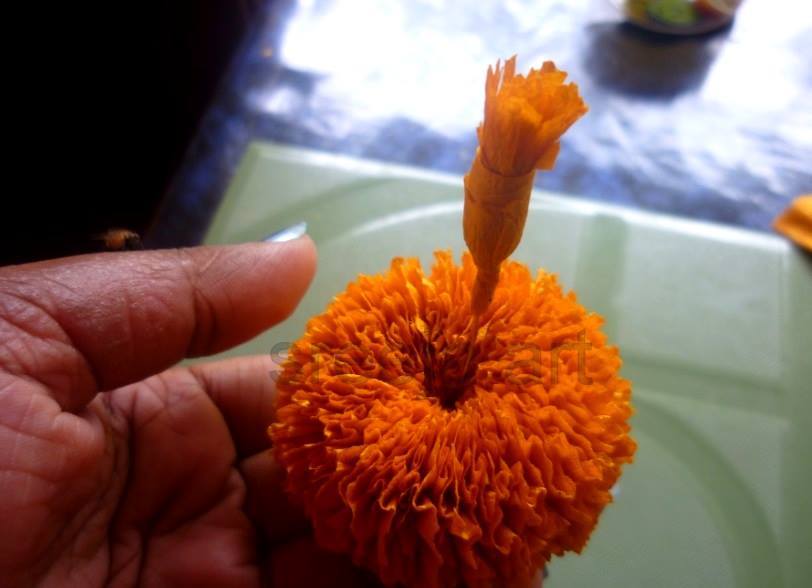
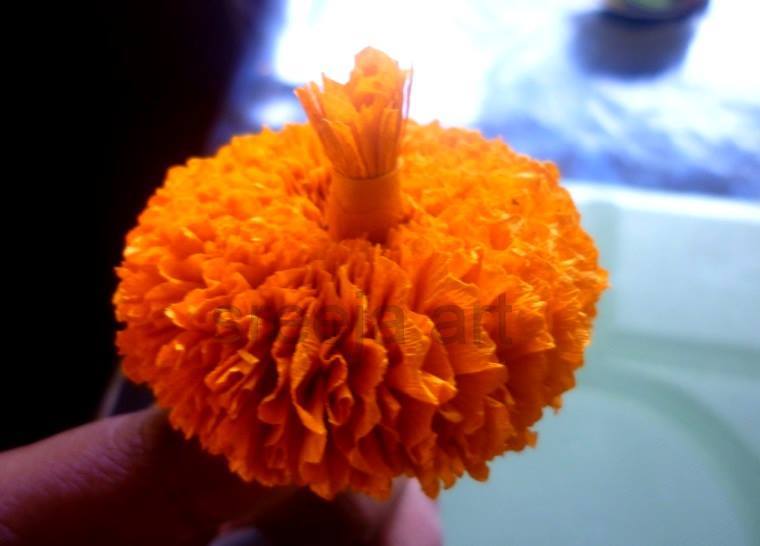
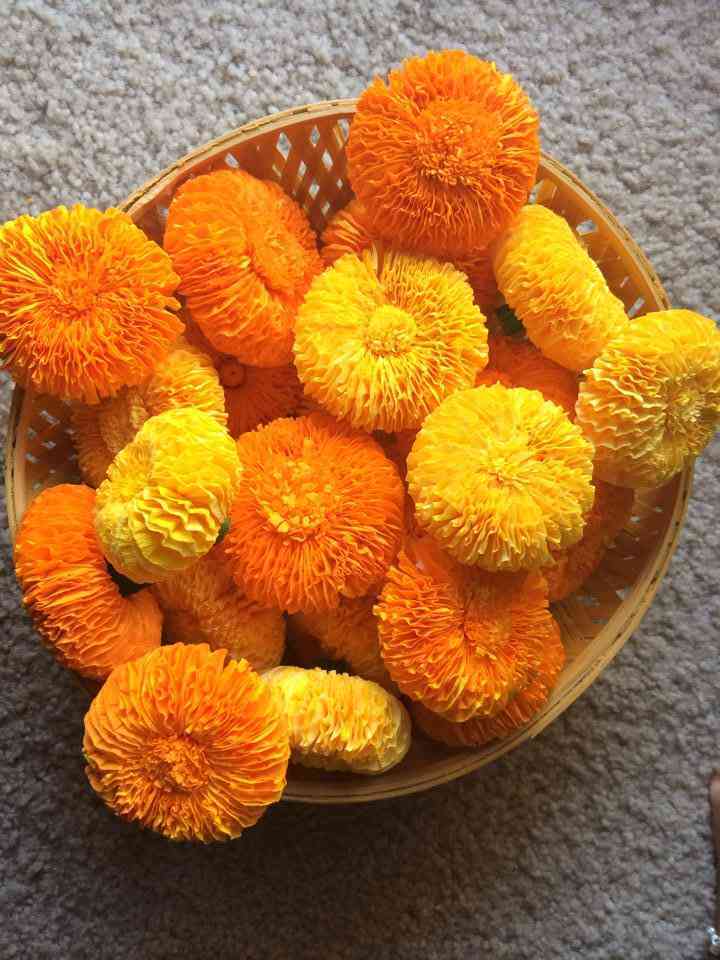
Marigolds are one of the most popular flowers used in weddings and other celebrations. In this tutorial, we’ll show you how to create a beautiful marigold bouquet using crepe paper. Crepe paper is a type of paper that is often used for making crafts. It is a thin paper that is easy to fold and has a slightly crinkled texture. Crepe paper is available in a wide range of colors, so it is a good choice for many different projects.

About Marigold flower

The marigold flower is a beautiful flower that is often used in decorative displays. The flower is native to North America and is a member of the Asteraceae family. The marigold flower is available in a variety of colors, including yellow, orange, and red. The flower has a long history of use in traditional medicine and is thought to have a variety of health benefits.

Beautiful marigold flower with crepe paper

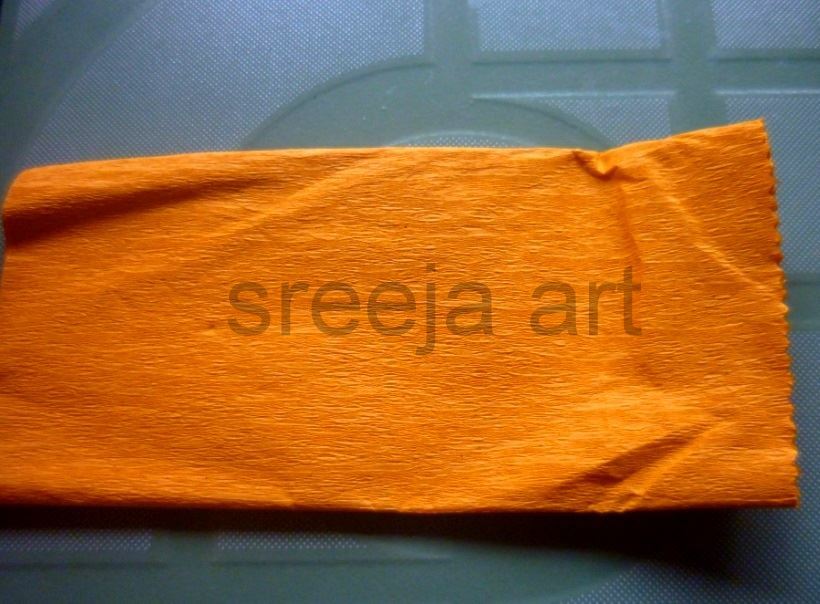
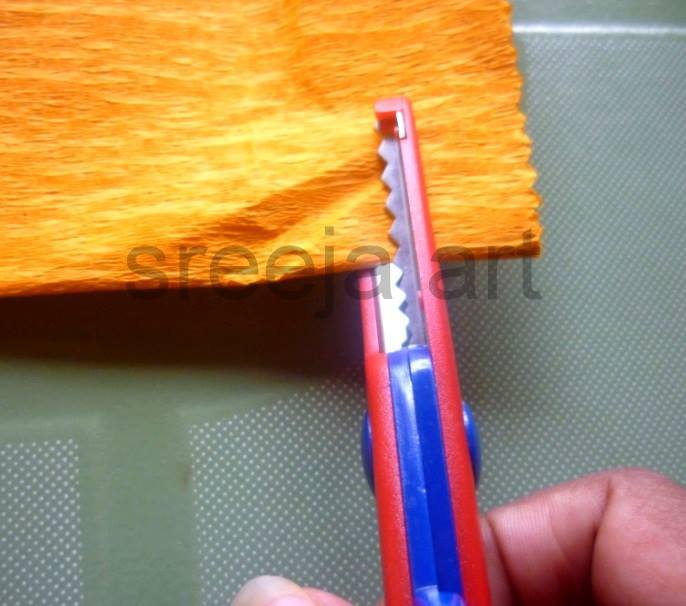
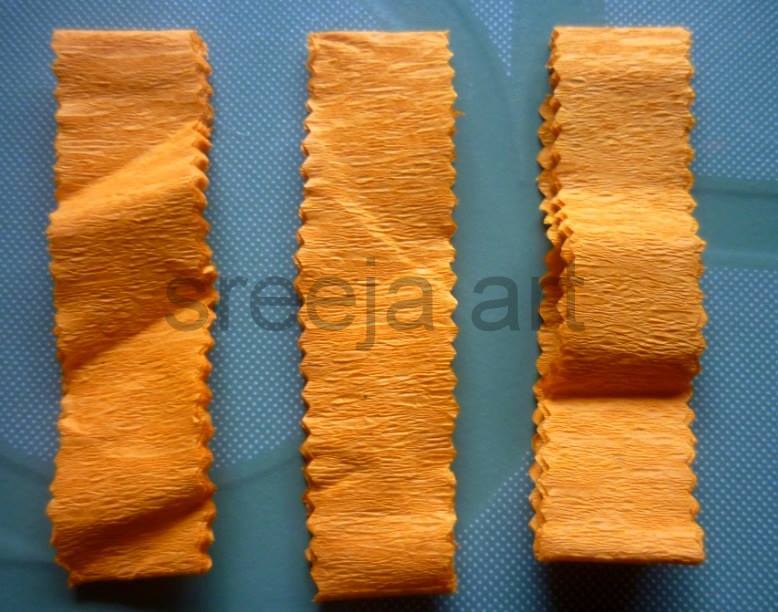
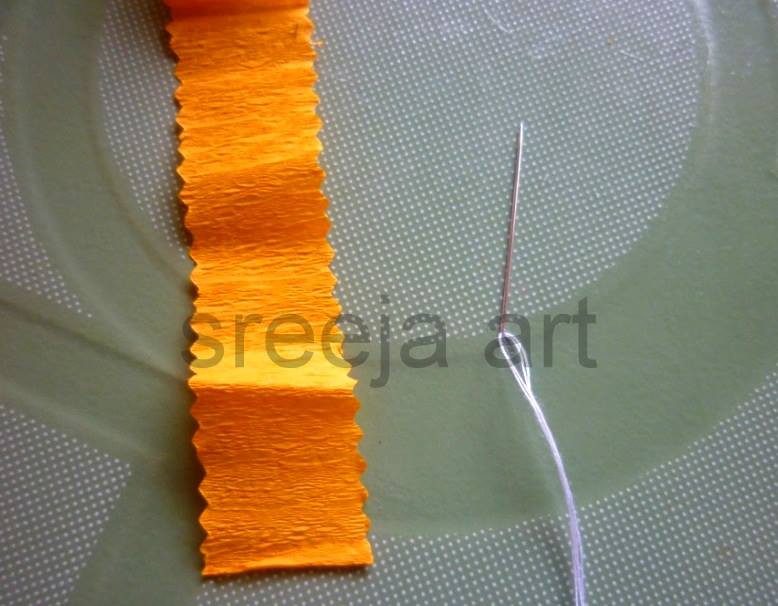
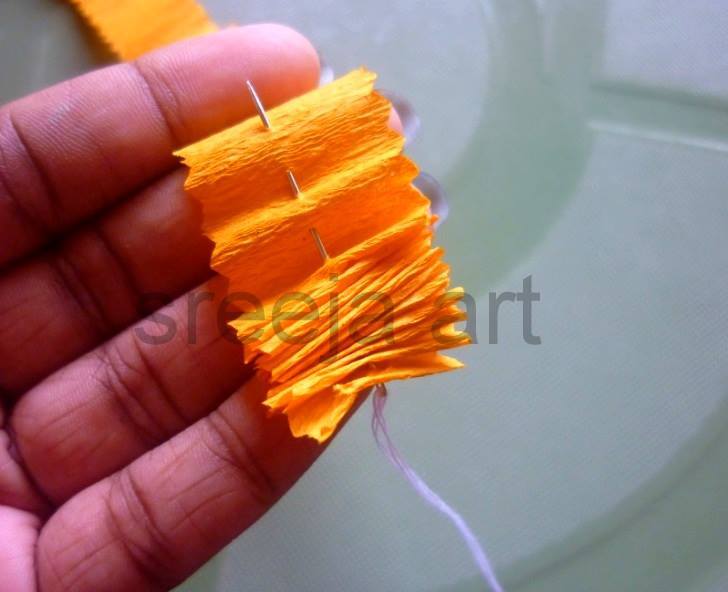
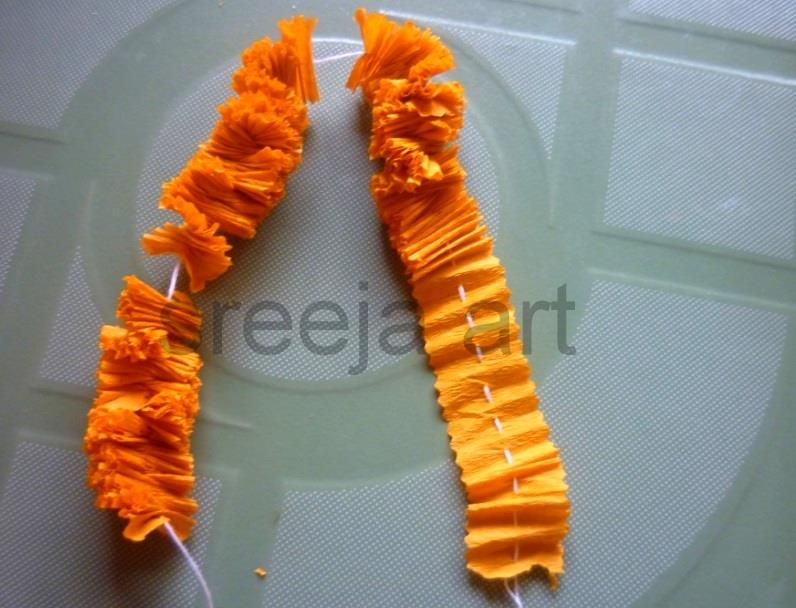
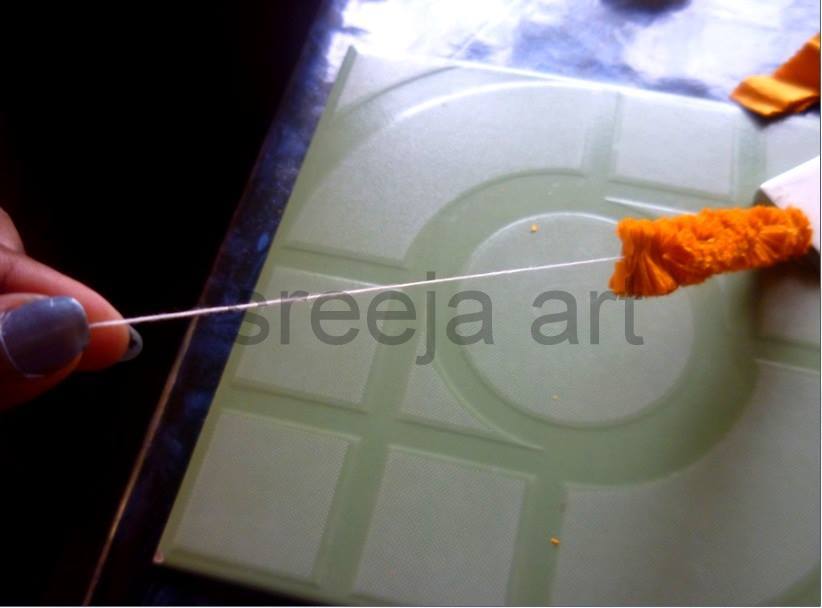
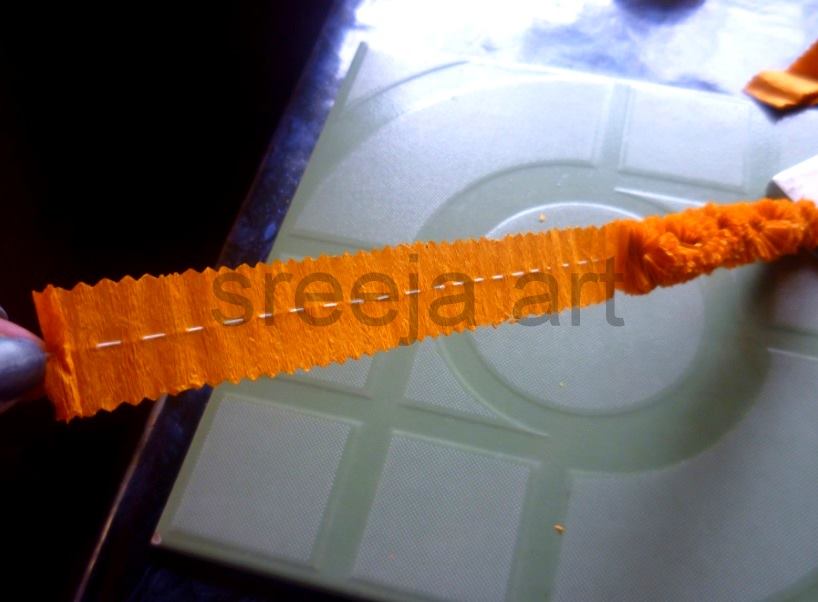
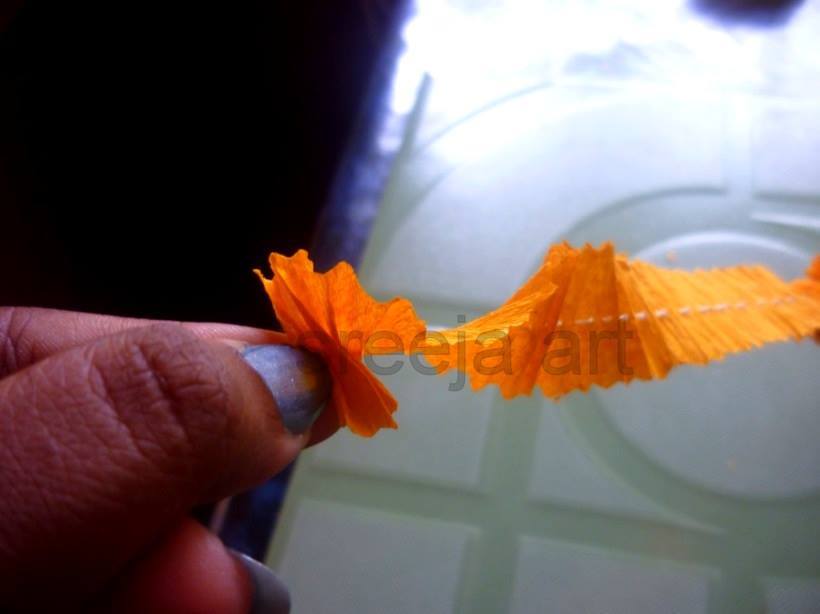
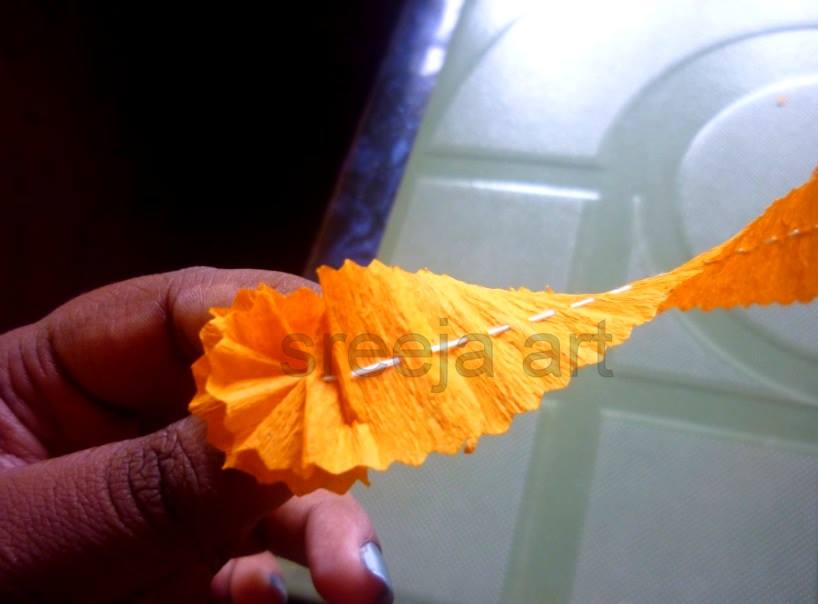
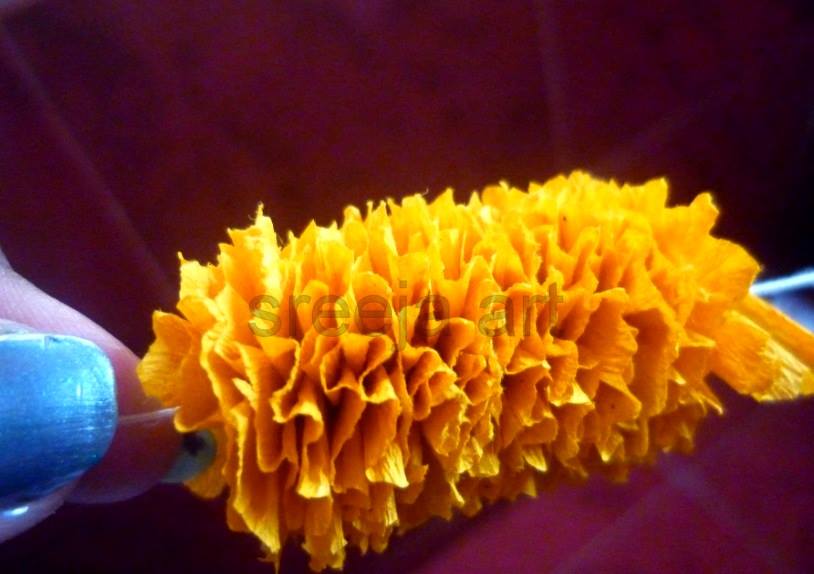
The Marigold flower is often associated with the crepe paper. This is because the Marigold flower is often used as a decoration for crepe paper. The Marigold flower is also used in other decorations, such as in bouquets. To make a marigold flower out of paper, you will need a sheet of orange construction paper, a sheet of yellow construction paper, a stapler, scissors, and a green pipe cleaner. First, cut the orange paper into a 6-inch by 6-inch square. Next, cut the yellow paper into a 6-inch by 6-inch square. Fold the orange paper in half, and then in half again. Next, do the same with the yellow paper. Staple the two folded pieces of paper together at the center. Once stapled, cut each side of the orange paper into a triangle, stopping about an inch from the center. Unfold the paper, and then refold it so the triangles are pointing inwards. Once again, staple the two pieces of paper together at the center. Next, cut the yellow paper into eight strips, each about an inch wide. Take four of the strips and staple them together at the center to create a cross. Repeat this step with the remaining four strips of yellow paper. Attach the yellow cross to the center of the orange flower. Finally, twist the green pipe cleaner around the center of the flower to create the stem. Courtesy- Sreeja K Achyuthan

FAQs

What flower looks like crepe paper?

The flower that looks like crepe paper is the poppy. The poppy is a beautiful flower that is often used in bouquets and other arrangements. The poppy has a delicate appearance and its petals are thin and fragile.

How long do crepe paper flowers last?

Crepe paper flowers are a beautiful and unique decoration for any event. They are also relatively easy to make. But how long do they last? Assuming they are made correctly and stored properly, crepe paper flowers can last quite a long time. They won’t wilt like real flowers, so you don’t have to worry about them drooping. However, the colors may fade over time if they are exposed to sunlight. Overall, crepe paper flowers are a great option if you’re looking for something that will last. Just be sure to keep them out of direct sunlight, and they should retain their beauty for many months.

Beautiful Leaf Craft Ideas for Kids

Useful Resources

K4 Craft Kidpid Kids Art & Craft K4 Fashion

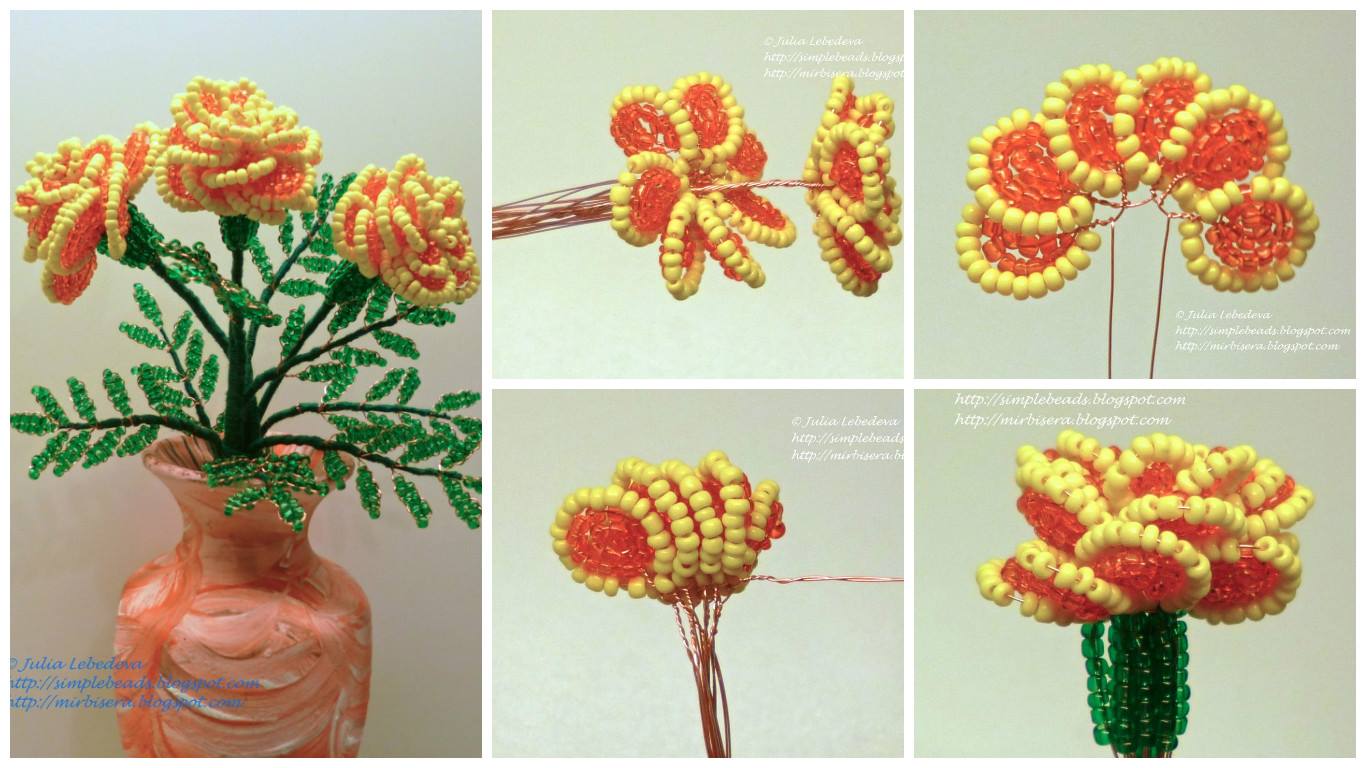
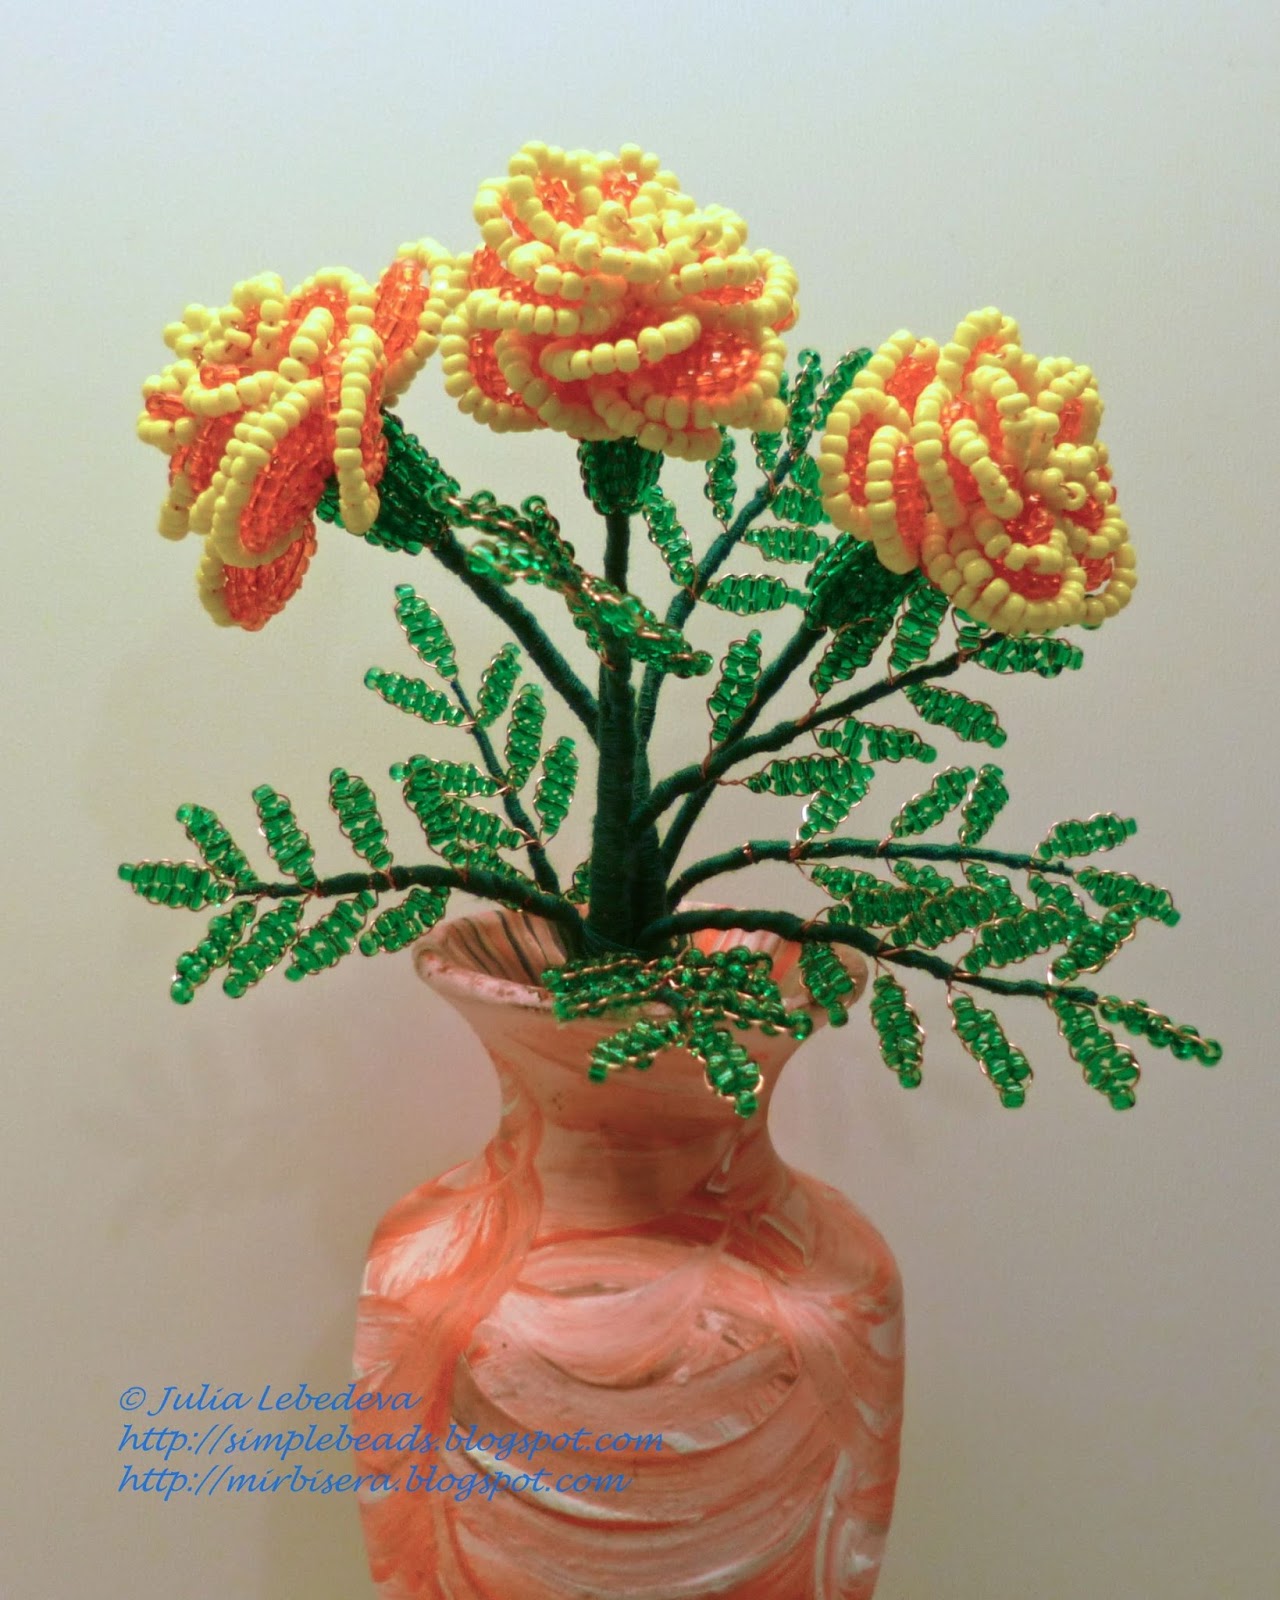
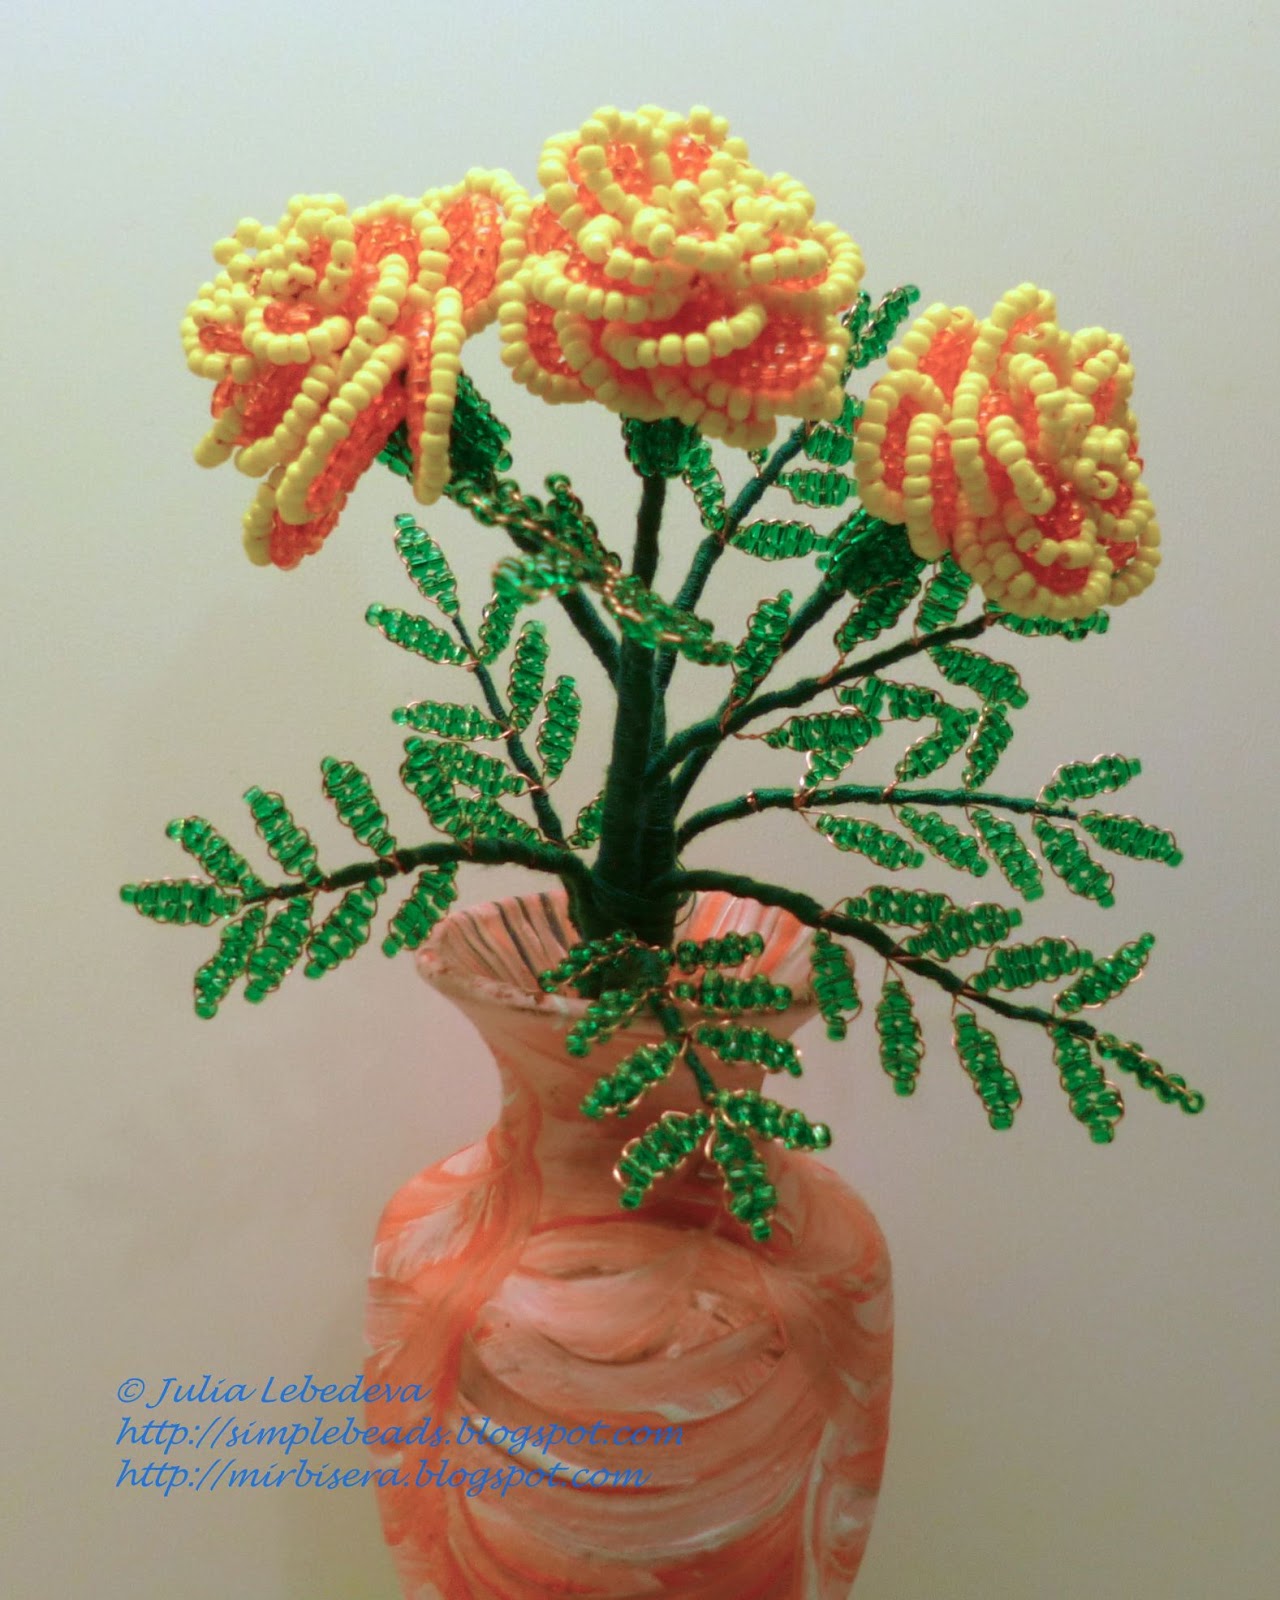
How to make a Bead of Marigold Flowers

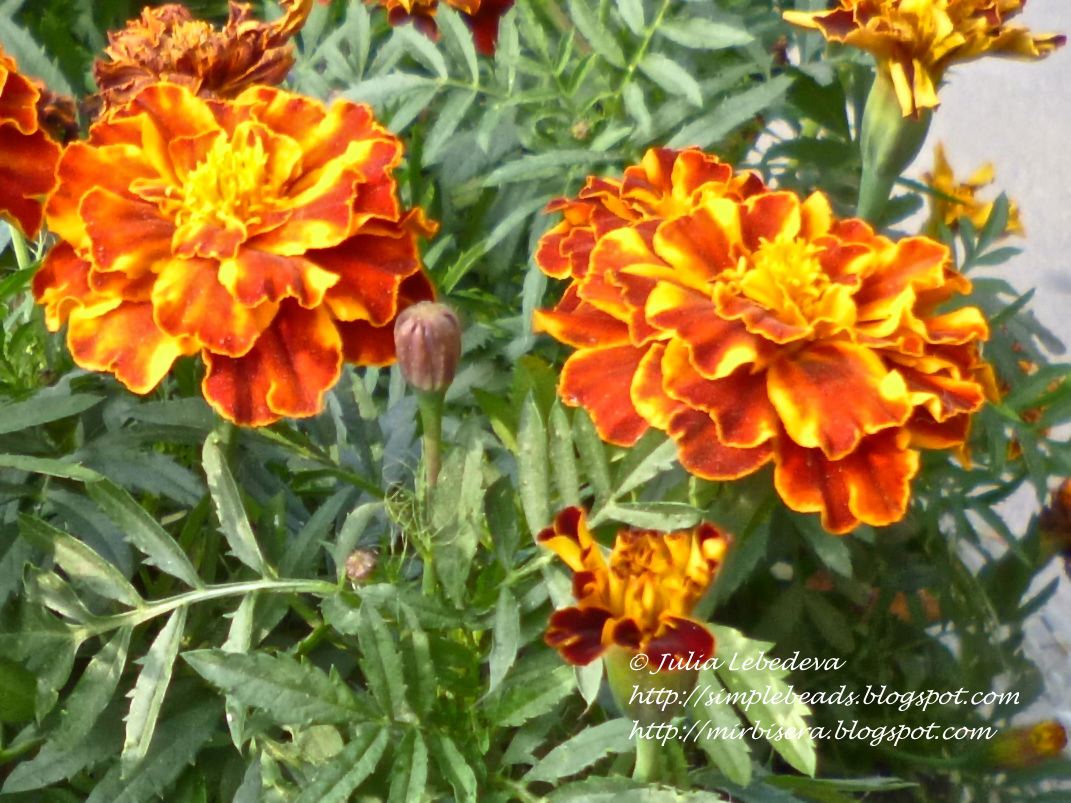
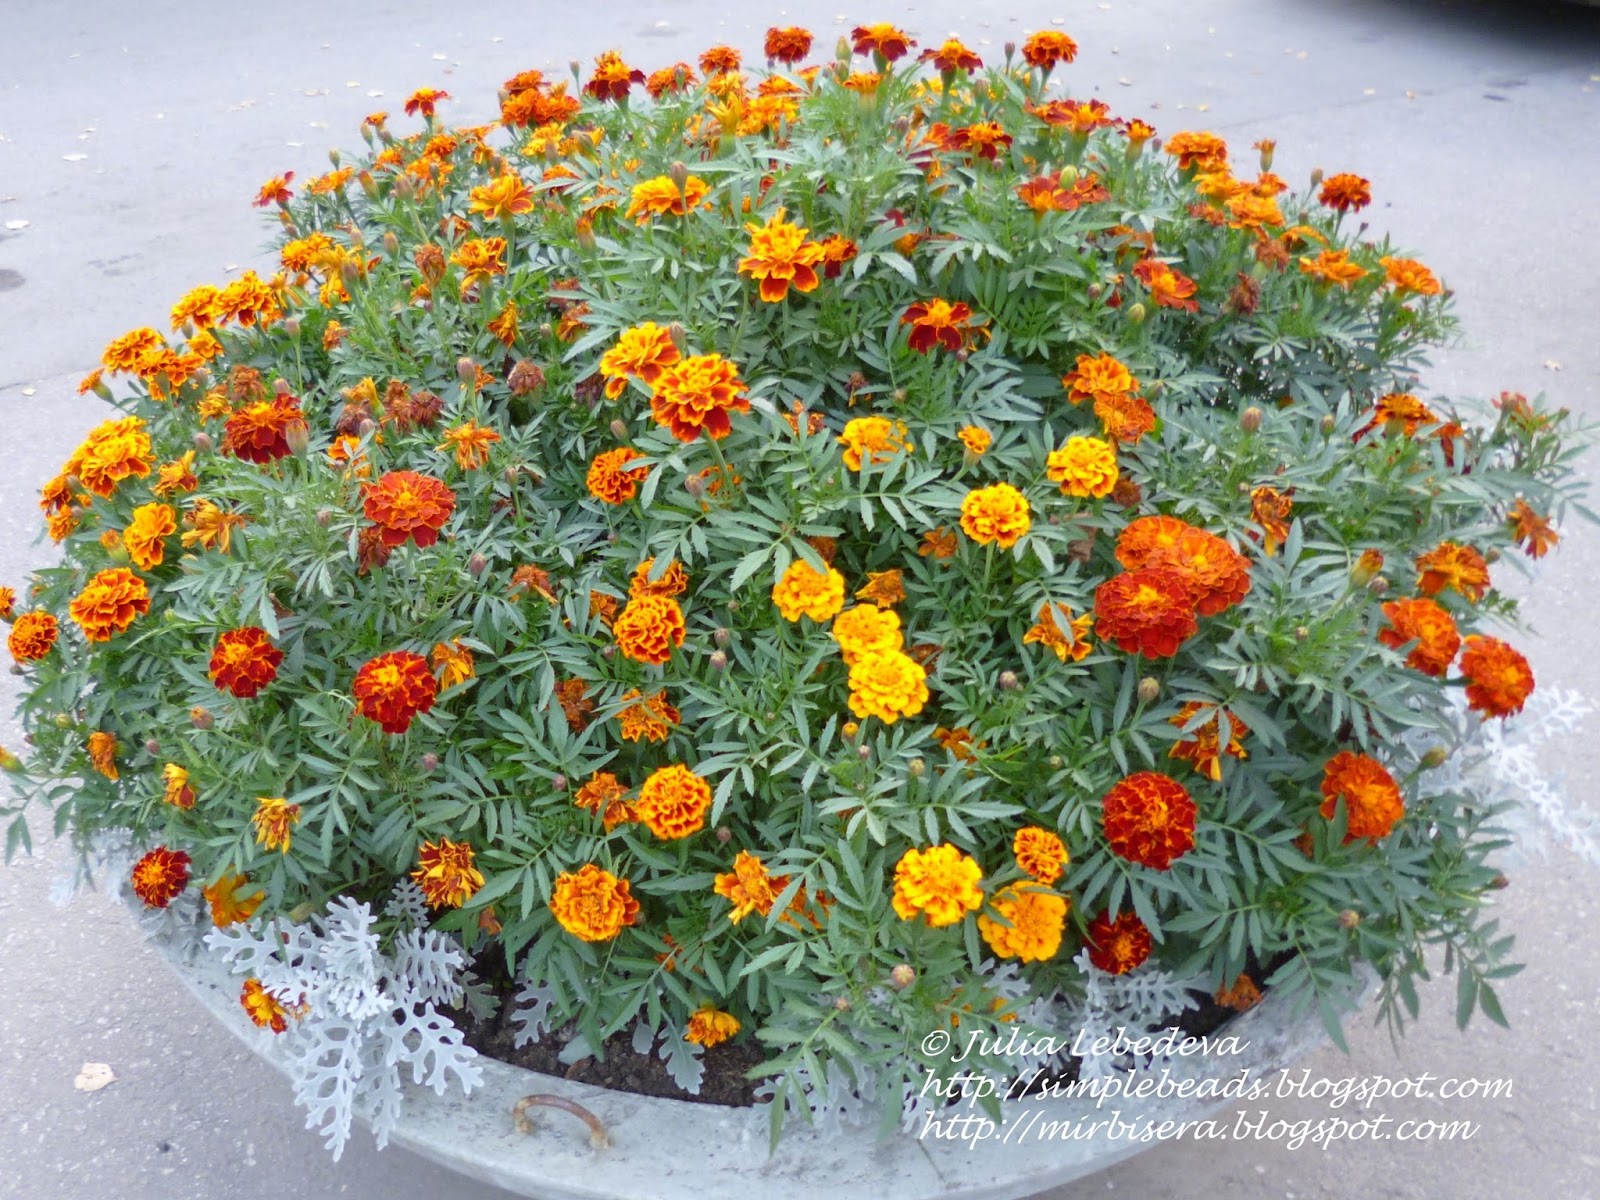
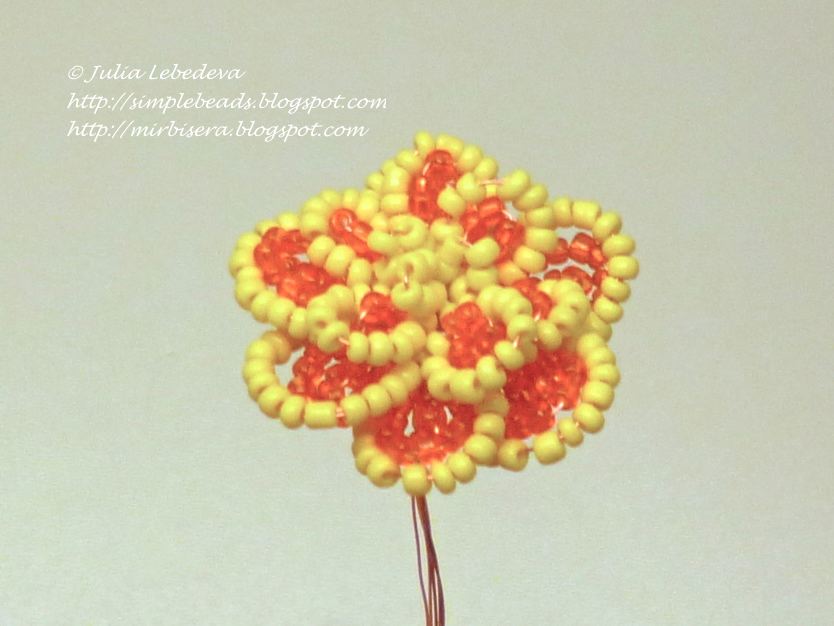
Summer has come to an end, many flowers have faded, and therefore saving the variety of natural colors gradually subsides. But as long as the fall is not fully come into its own, you can still enjoy the latest colors of the season. One of the few flowers that still we are pleased – it marigolds. So what exactly it today and we’ll weave.
We need:
– beads № 11: orange, yellow and green,
– wire diameter 0.2 mm
– green thread for winding leaves flowers and stems.
As a model for the production of marigold Bead here I took the flowers, which are now in full bloom in our yard.

Each of our flower buds will consist of 4 petals series.
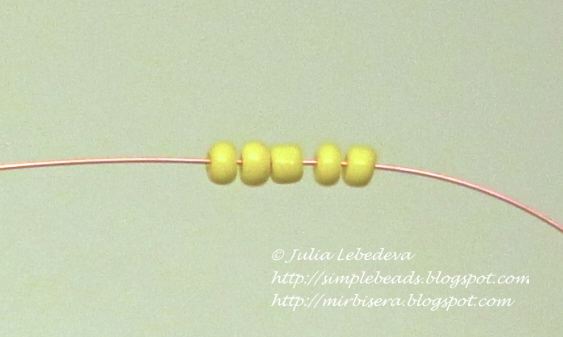
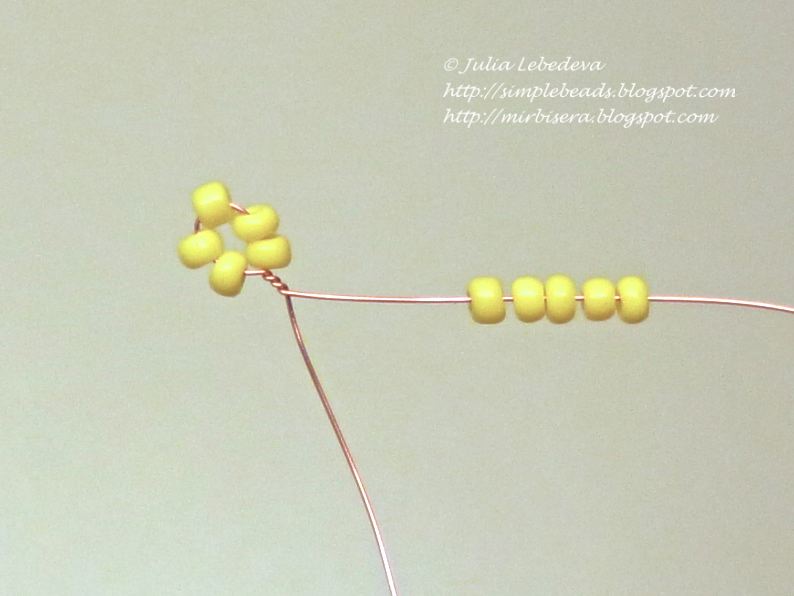
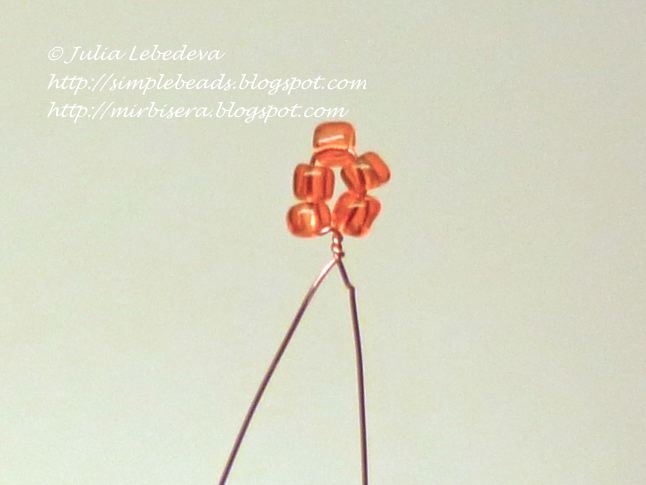
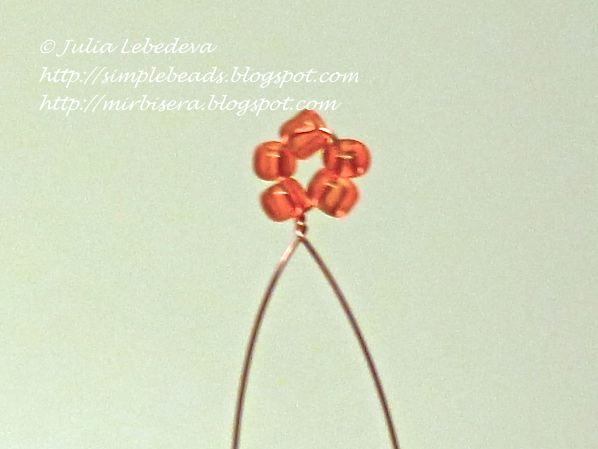
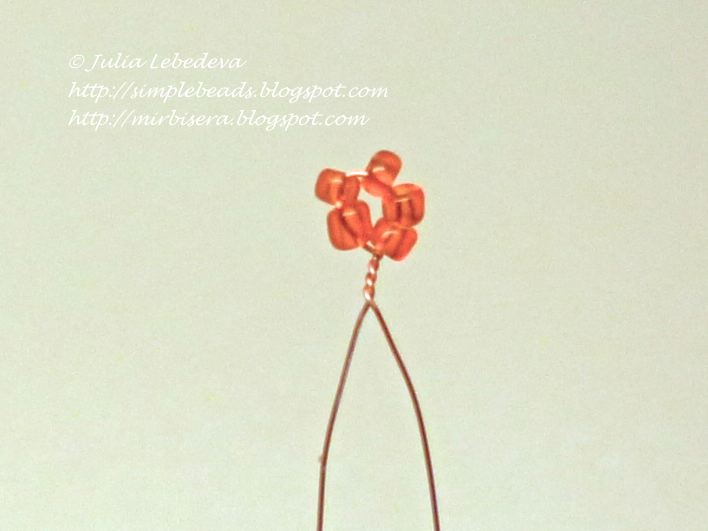
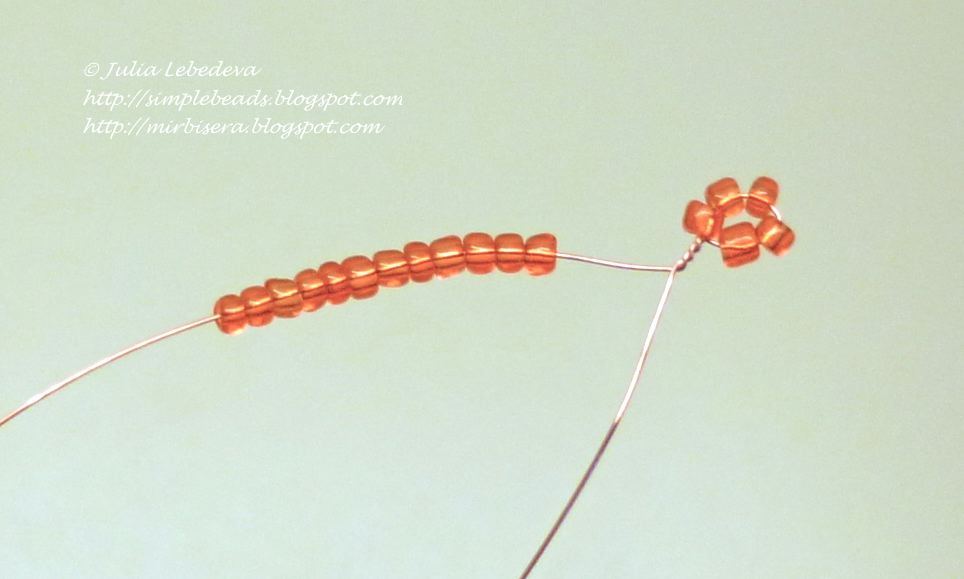
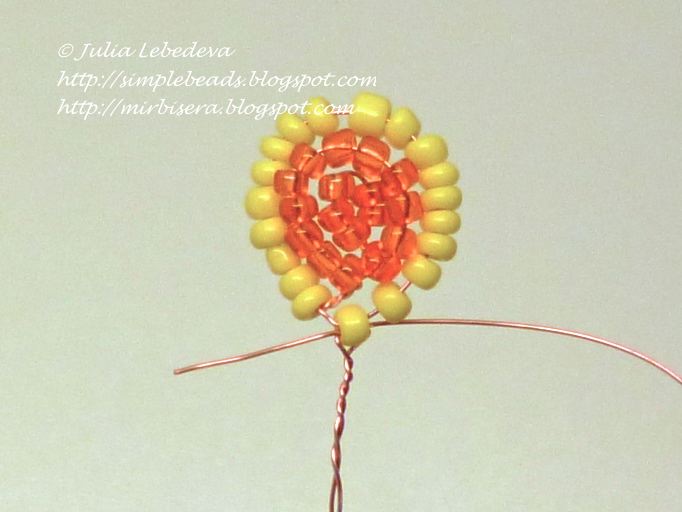
The first row will be the smallest petals. To take them 35 cm long, and the wire is first typed on it 5 yellow beads.

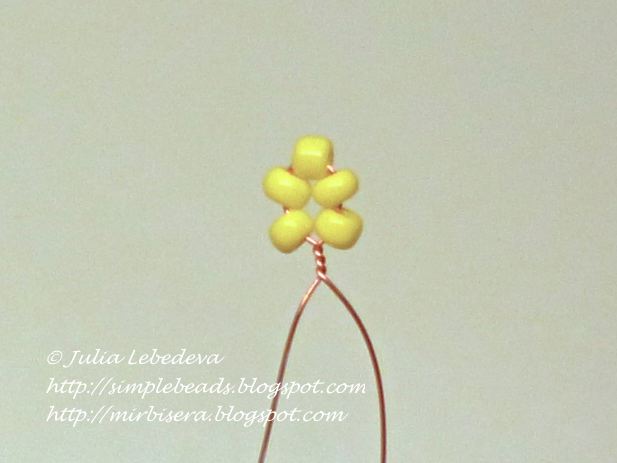
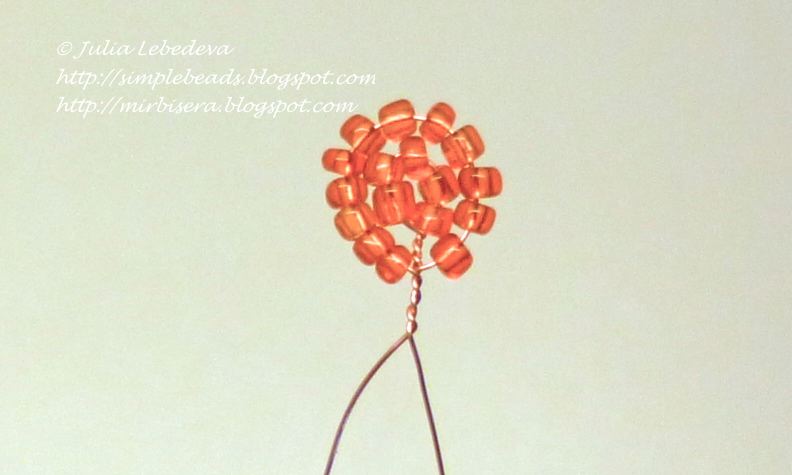
We place the beads in the middle of the wire, and then the loop consists of beads and twisting the wire underneath 2-3 turns. Thus it is necessary to loop of beads turned around in the middle of the wire.

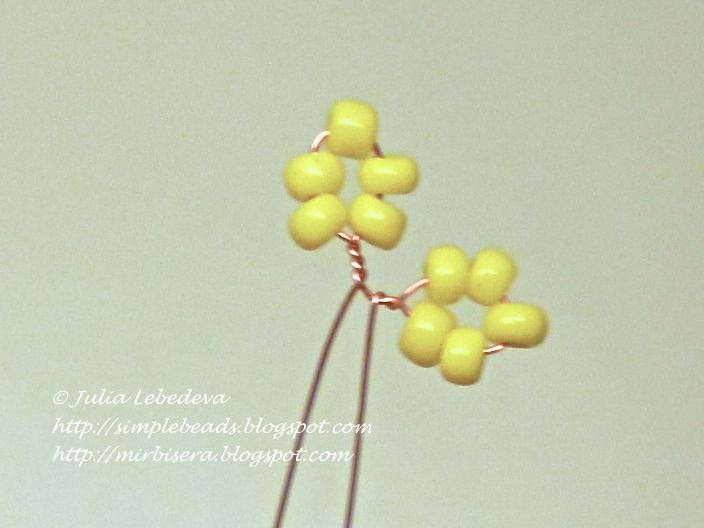
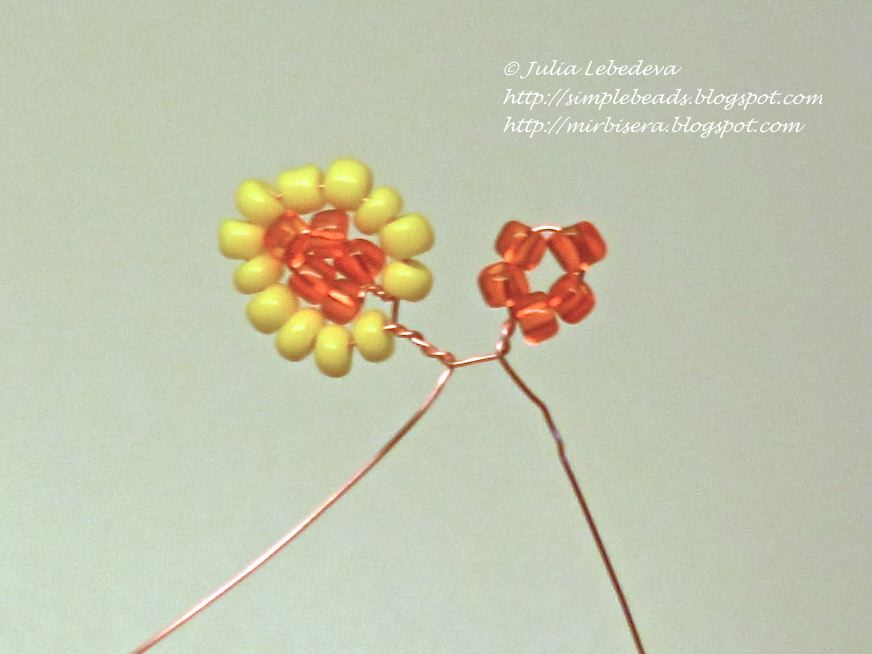
Further, at each end of the wire adjacent to the first loop should be done even for one the same eyelet of the beads. Choose any of the ends of the wire, we collect it 5 yellow beads

and twisting one loop, placing it almost came to the first eyelet.

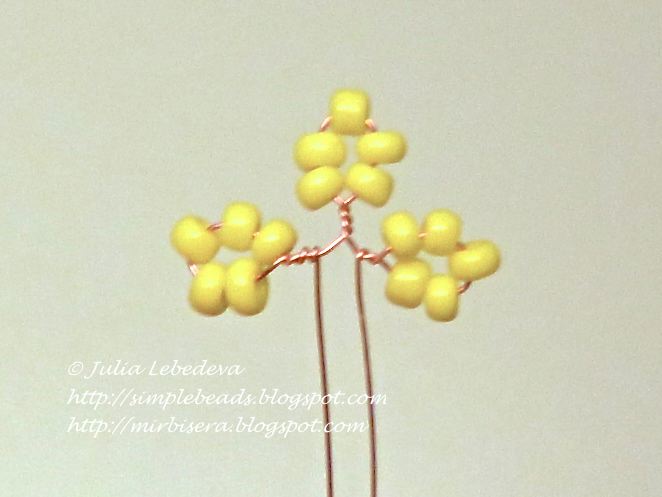
After that, another exactly the same loop of the 5 yellow beads do at the second end of the wire.

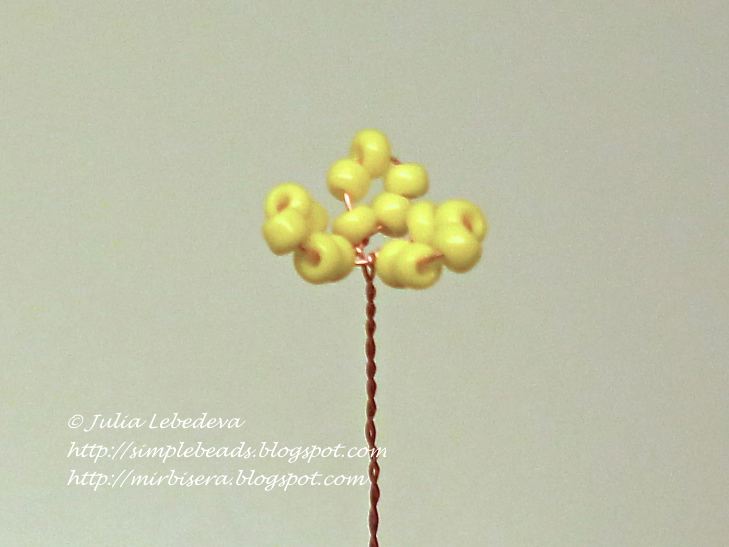
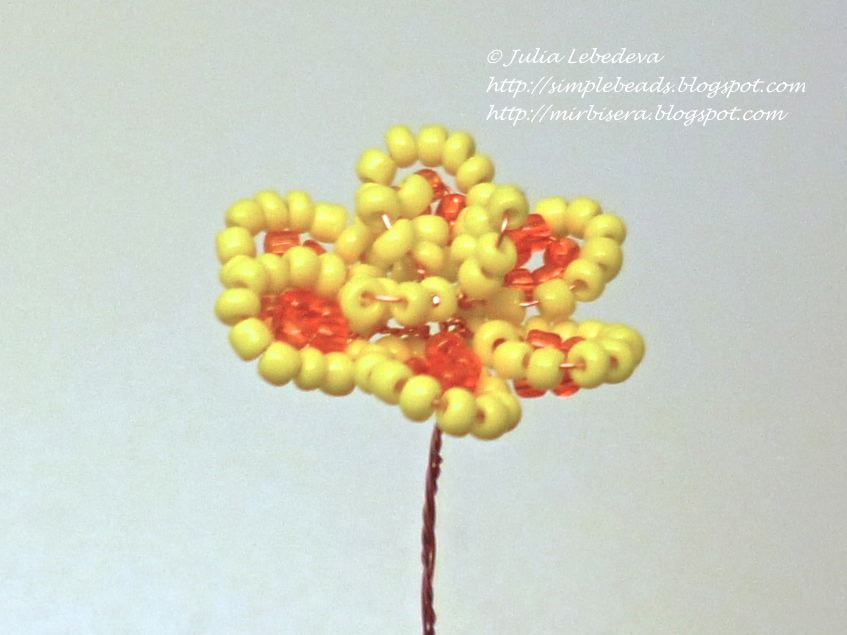
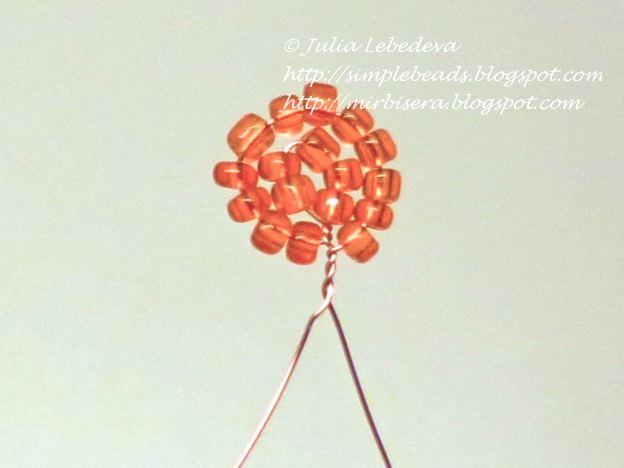
It remains to twist together the two ends of the wire – the first series of petals ready to bud.

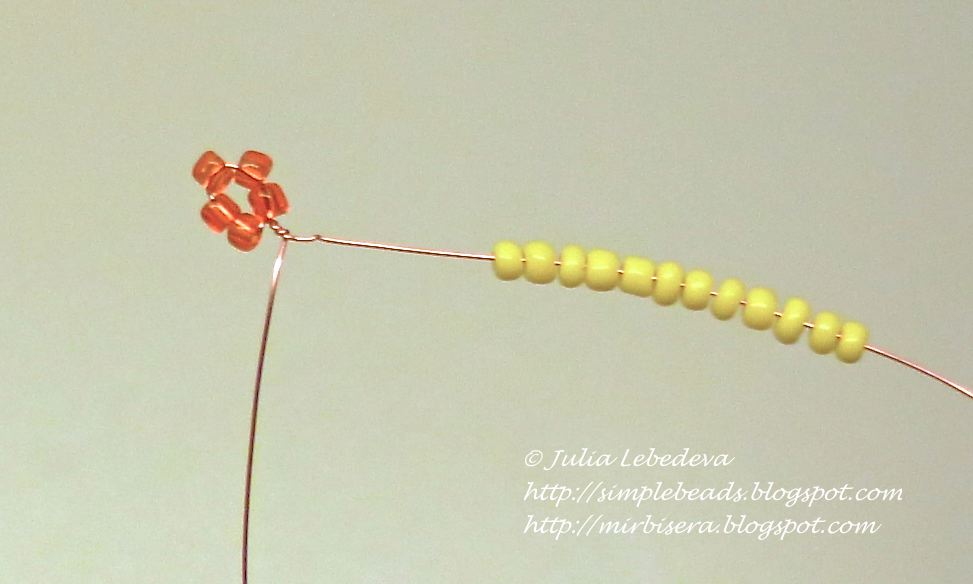
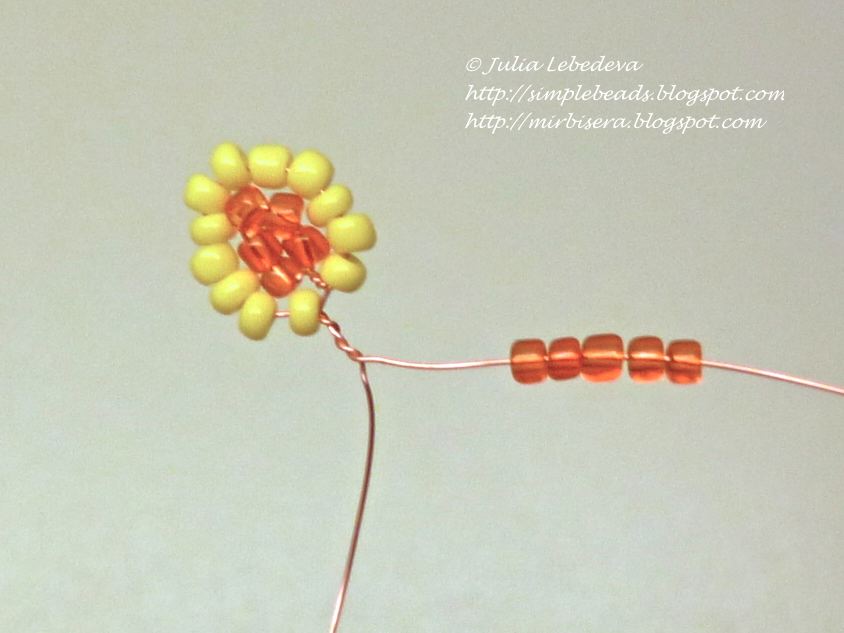
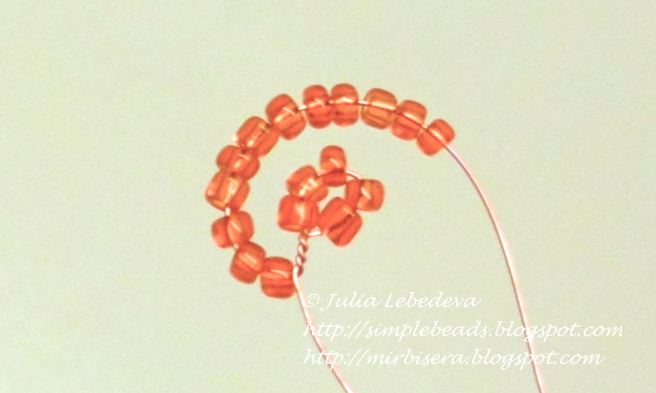
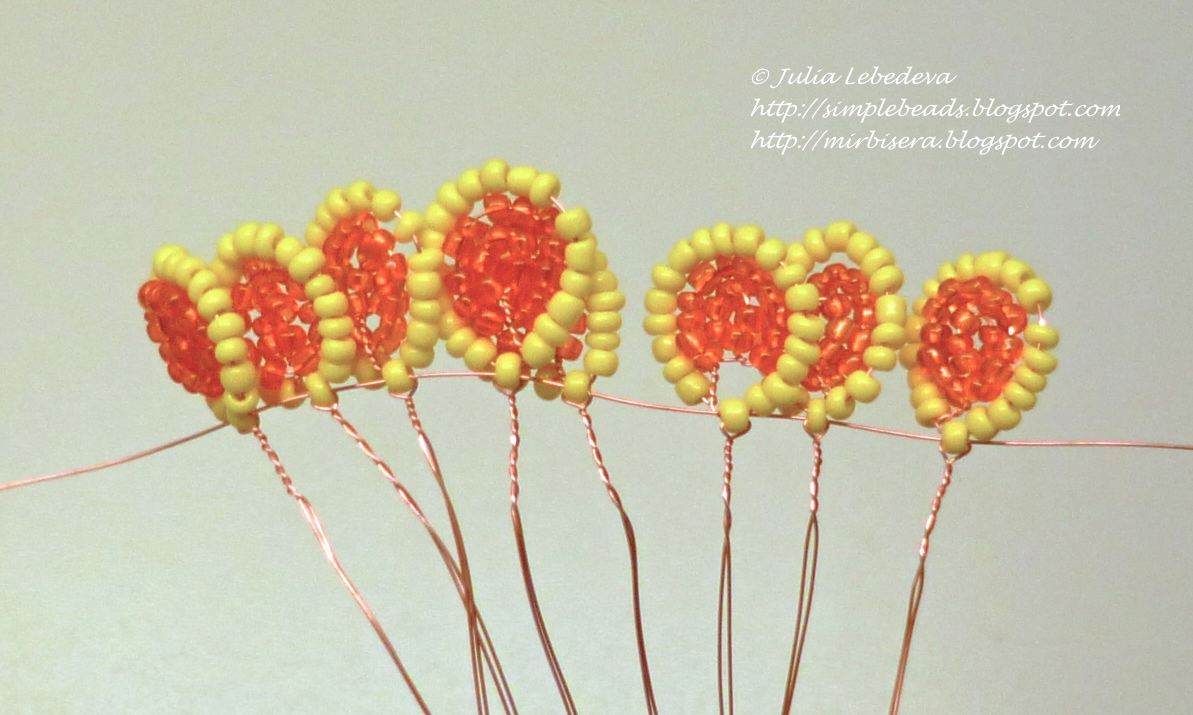
For the second series of petals take the wire length 60 cm. First, the wire 5 recruit orange beads and twisting of this loop, placing it at about 15 cm from one end of the wire.

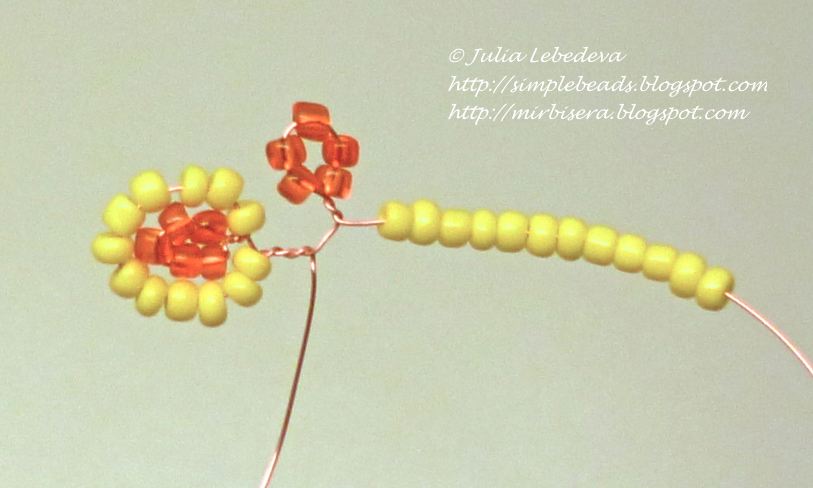
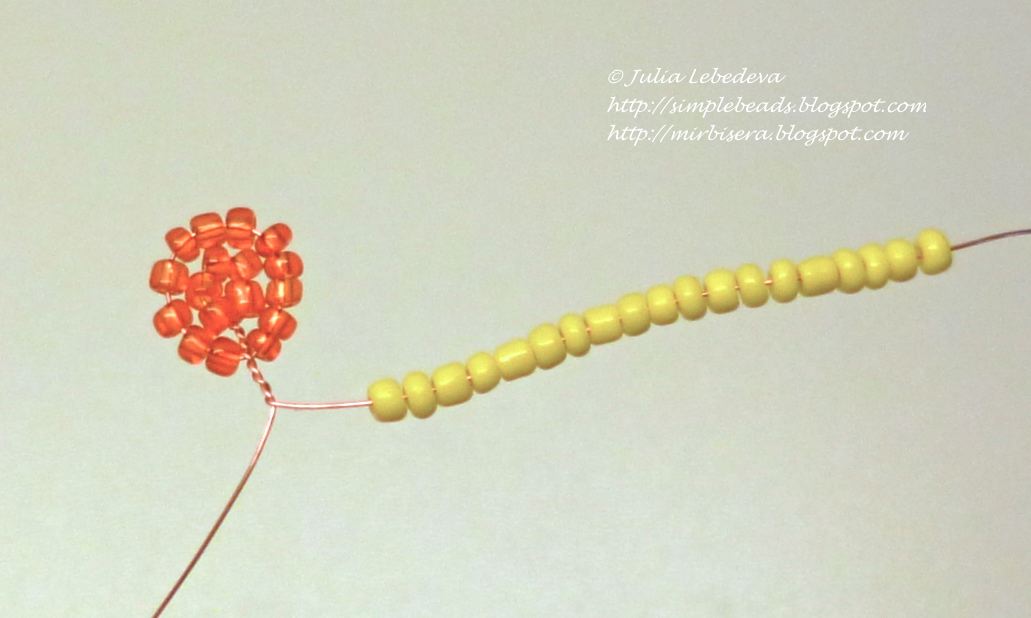
All further weaving are conducting only at the long end of the wire. We recruited him 12 yellow beads,

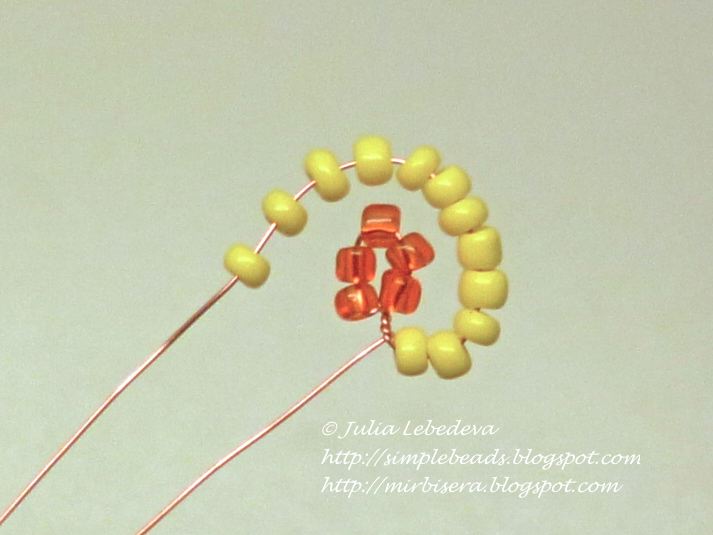
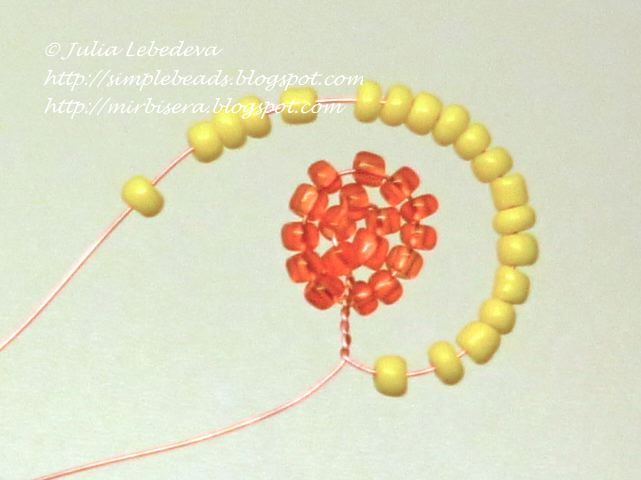
we add these beads arc over the first loop,

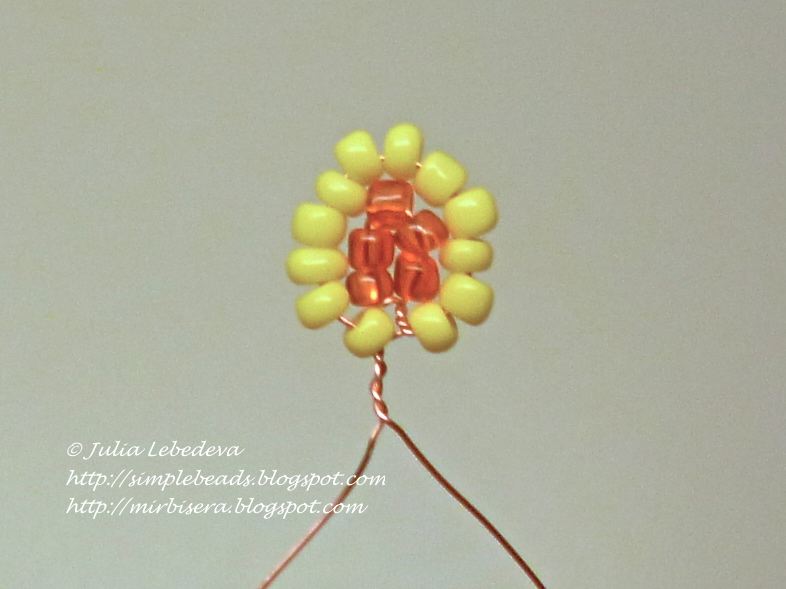
We pull a wire to the beads formed close to the first eyelet and twist the wire 2-3 turns. We get a second loop, located on the first flush. These two loops will form a first flap of the second row.

Next, in the same – long – the end of the wire is necessary to weave more of the same 5 petals. For the first tabs of the second tab is typed on a wire 5 orange beads

and twisting one loop, placing it at a distance of about 5-7 mm from the first petal.

Then, the wire 12 is typed yellow beads,

We add up these beads arc closely above the first lobe and the second loop wire twisting 2-3 turns. The second petal ready.

Similarly, we are continuing to weave at the long end of the wire the same pitch. Note: Because the beads may vary slightly in size from each other, it is possible for the upper loops must be taken not exactly 12 beads, and a little more or, on the contrary, a slightly smaller number of beads. The exact number of beads is not critical; but it is important to make sure that the loops in one lobe are disposed closely to each other, wherein the petal to look smooth, and that the upper eyelets on the wire were not visible voids.

Gradually, as the number of petals intertwined, we can see that the petals start to like “crawl” on the edges of each other – this is normal; With this arrangement, the petals of the flower bud will collect much simpler than when there is a distance between the petals.

Total for the second row has to weave on a single wire, 6 petals.

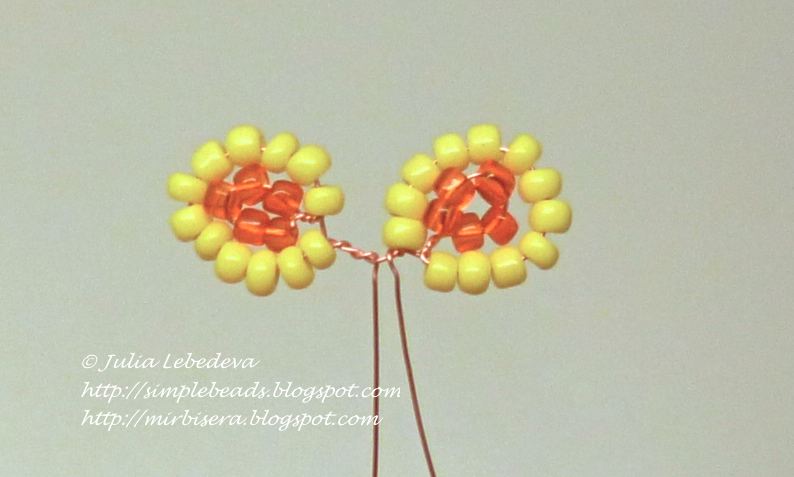
To petals woven series are not lost, just join them. Take the first row of petals, insert it into the middle of the second row of petals

and twisting together the ends of the wire. In this case, the pitch of the second series of circumferentially uniformly distribute that between any adjacent petals was the same distance.

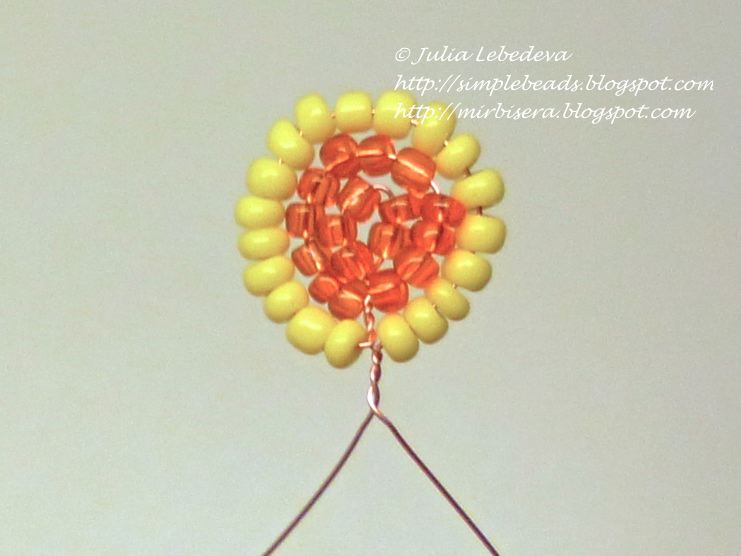
We leave for some time to get part of the bud and proceed to the weaving of the third row of petals. To take it a wire length of 80 cm. 6 petals must weave on this wire. Petals weaving technique – is the same one we used to weave the petals of the second row, but only one lobe of the third row will consist not of two but of three loops.
Making the first petal: its first loop consists of 5 orange beads. This loop, as in the second series weaving beams, in place of 15 cm from one end of the wire, and further braiding are conducting only at the long end of the wire.

The second loop lobe consists of 12 orange beads.

The third eyelet 19 comprises a petal of yellow beads.

The remaining petals similarly. The first loop of each next lobe (5 orange beads) are placed approximately 7-9 mm from the previous one lobe.

The second loop in each petal of this series consists of orange beads. A number of beads, as I noted earlier, is approximately equal to 12, but may be slightly different.

The third loop in each lobe of the current series consists of yellow beads (standard – 19 beads).

Thus only this wire 6 petals for the third row of the bud.

After the completion of the third row of weaving petals attach it to Bud: take already joined together the first two rows of petals, insert them into the middle of the third row

and twisting together the ends of the wire. The pitch of the third row, as usual, is uniformly distributed over the circumference.

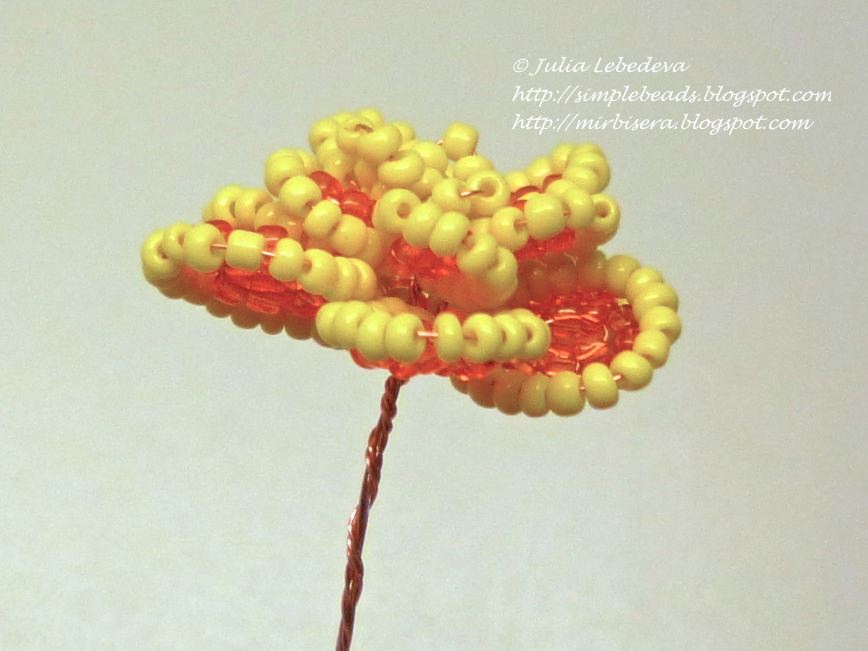
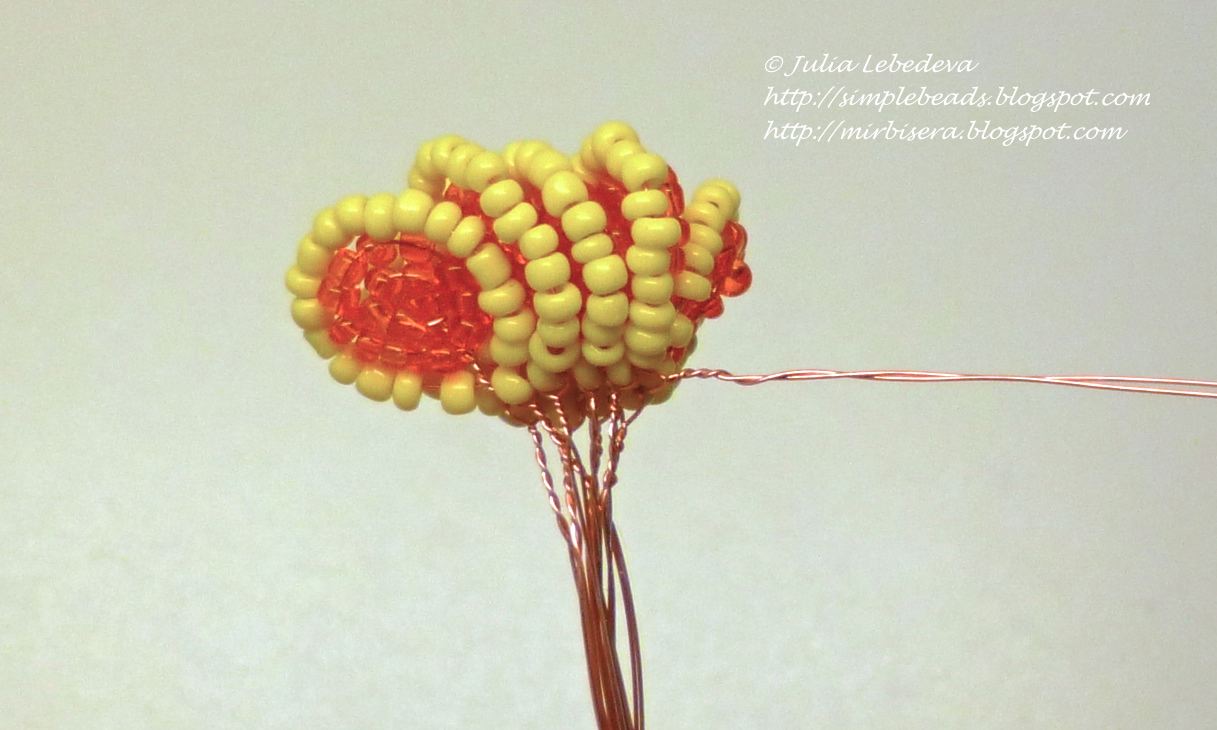
Side view of the bud at this stage:

Next, we do the fourth row of petals. In this series, all the petals are also the same, but they are lagging individually, so each petal take the wire length of 40 cm. The petals of the 4th series are very similar to the petals of the third series, the difference between them is very small.
First, we make the first loop – it consists of 5 orange beads. As each petal separately, the first place on the middle of the loop wire.

For the second loops to choose from two ends of the wire shorter (if both ends of the wire exactly the same, then choose any of them), and recruited him 12 orange beads.

As usual, we add these beads arc closely over the first loop

and twisting the wire by 2-3 turns.

For the third loops, select the longer end of the wire and recruit him 19 yellow beads.

Bend the end of the wire with beads of arc recruited over the second loop,

and tolerate the other end of the wire through the last dialed bead.

Tighten the wire making sure that the yellow beads formed the third loop of the previous two,

and then twisting together the two ends of the wire. Petal ready.

Total for the 4th series bud needs to weave these 8 petals.

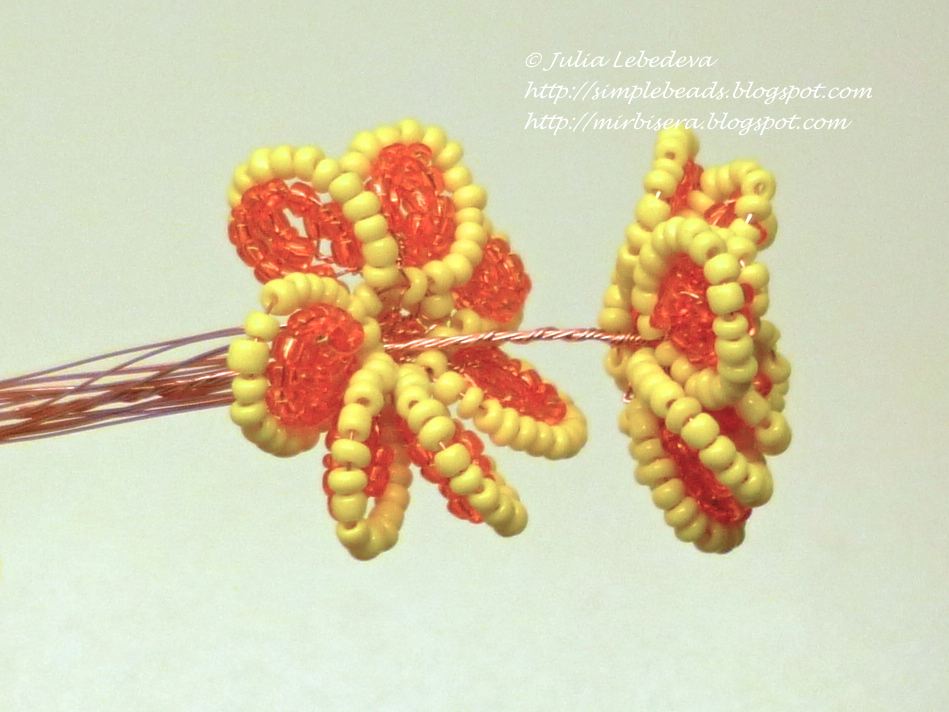
After all 8 petals are ready, we collect them together. To do this, take the length of wire 30 cm long and consistently “stringing” him all the petals of the 4th row, passing this piece of wire through the yellow bead, located at the base of each petal.

We pull all the petals close together, align the ends of the additional wire and twisting them together with a few turns. Please note: we now only curl the ends of the additional wire; the ends of the wires coming from the petals until all together do not twist!

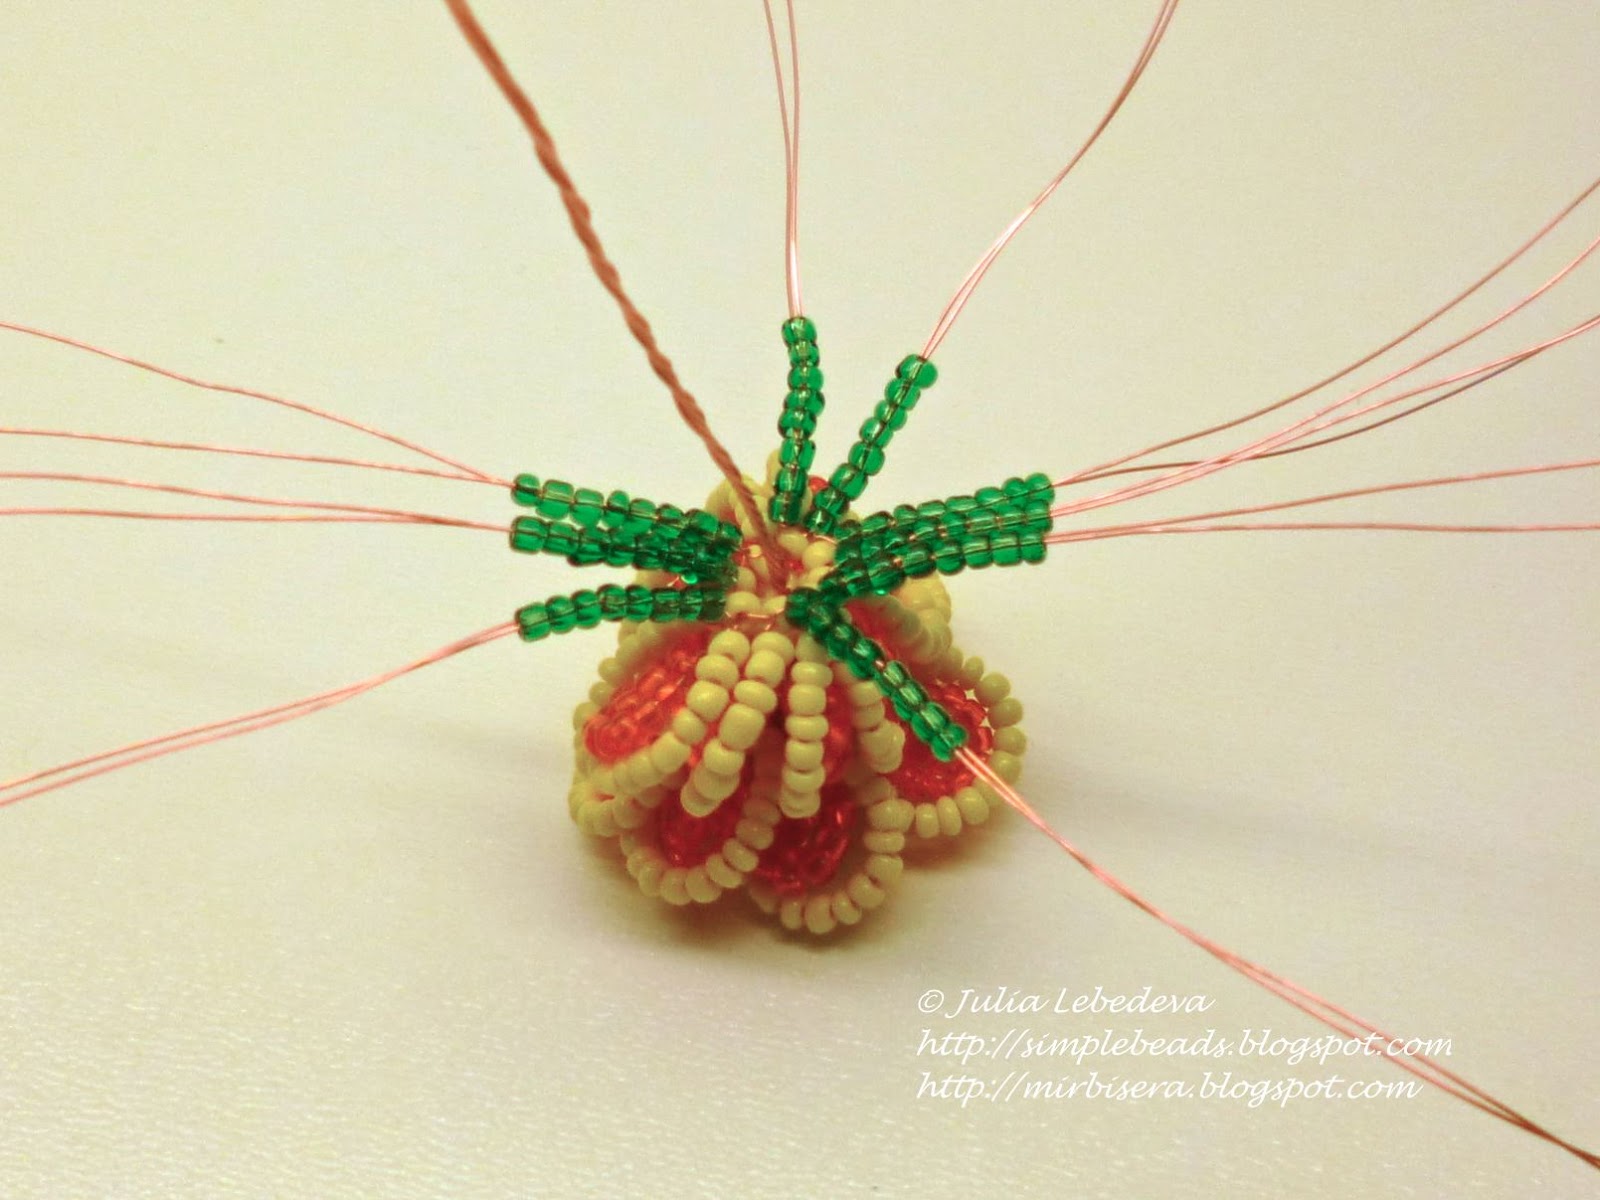
Next, we place a bud on the desktop so that the upper part of the bed was directed to a table and straighten towards the end of the wire coming from the petals of the 4th series (of each petal there is a two twisted with each other end of the wire – to untwist them is not necessary). On each such pair of ends of the wire extending from the petal, dial 8 green beads. Similarly, we proceed with an additional wire, which collected the petals of the 4th row. Total for each of the 9 pairs of wire ends need to dial 8 green beads.

Putting it all ends of the wire together and pulls all the green beads close to the bud.

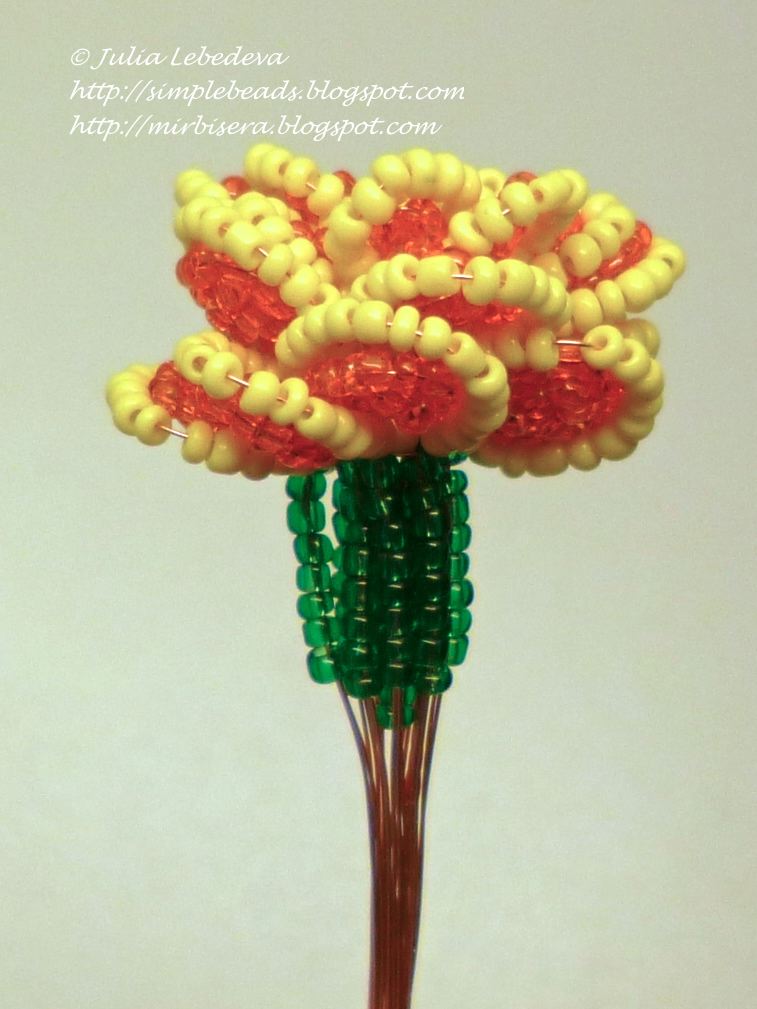
Check to the fourth row of petals was a close 3rd near the petals, and then twisted together all the ends of the wire from the bottom of the flower.

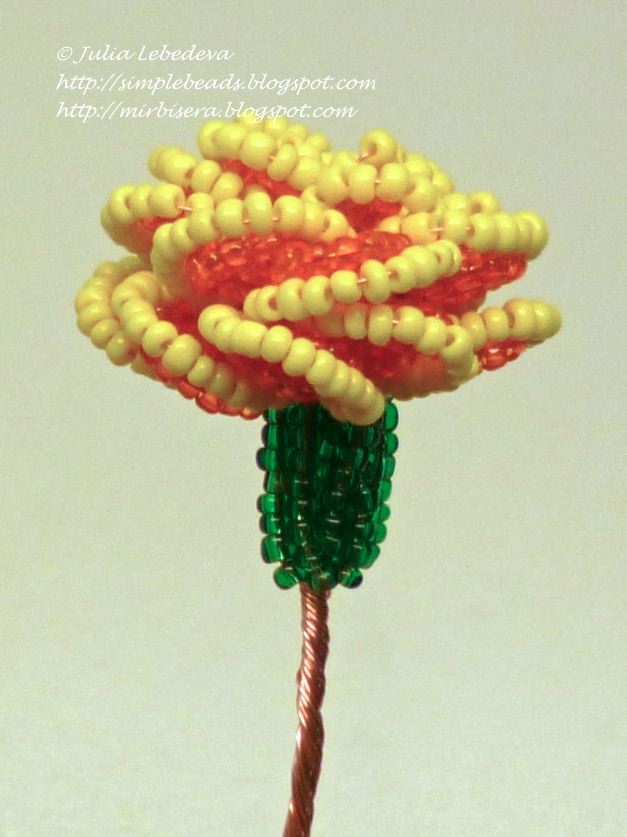
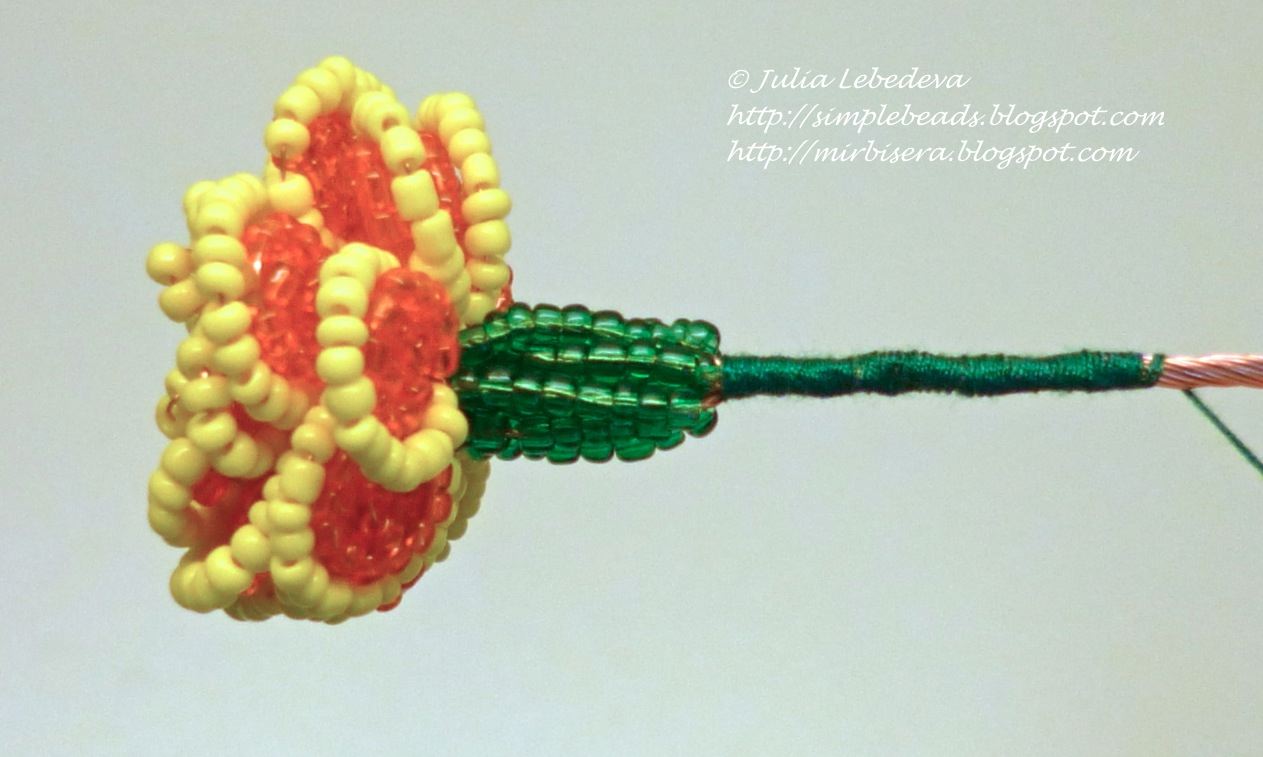
Flower bud ready. We leave it for a while and move on to the production of leaves.
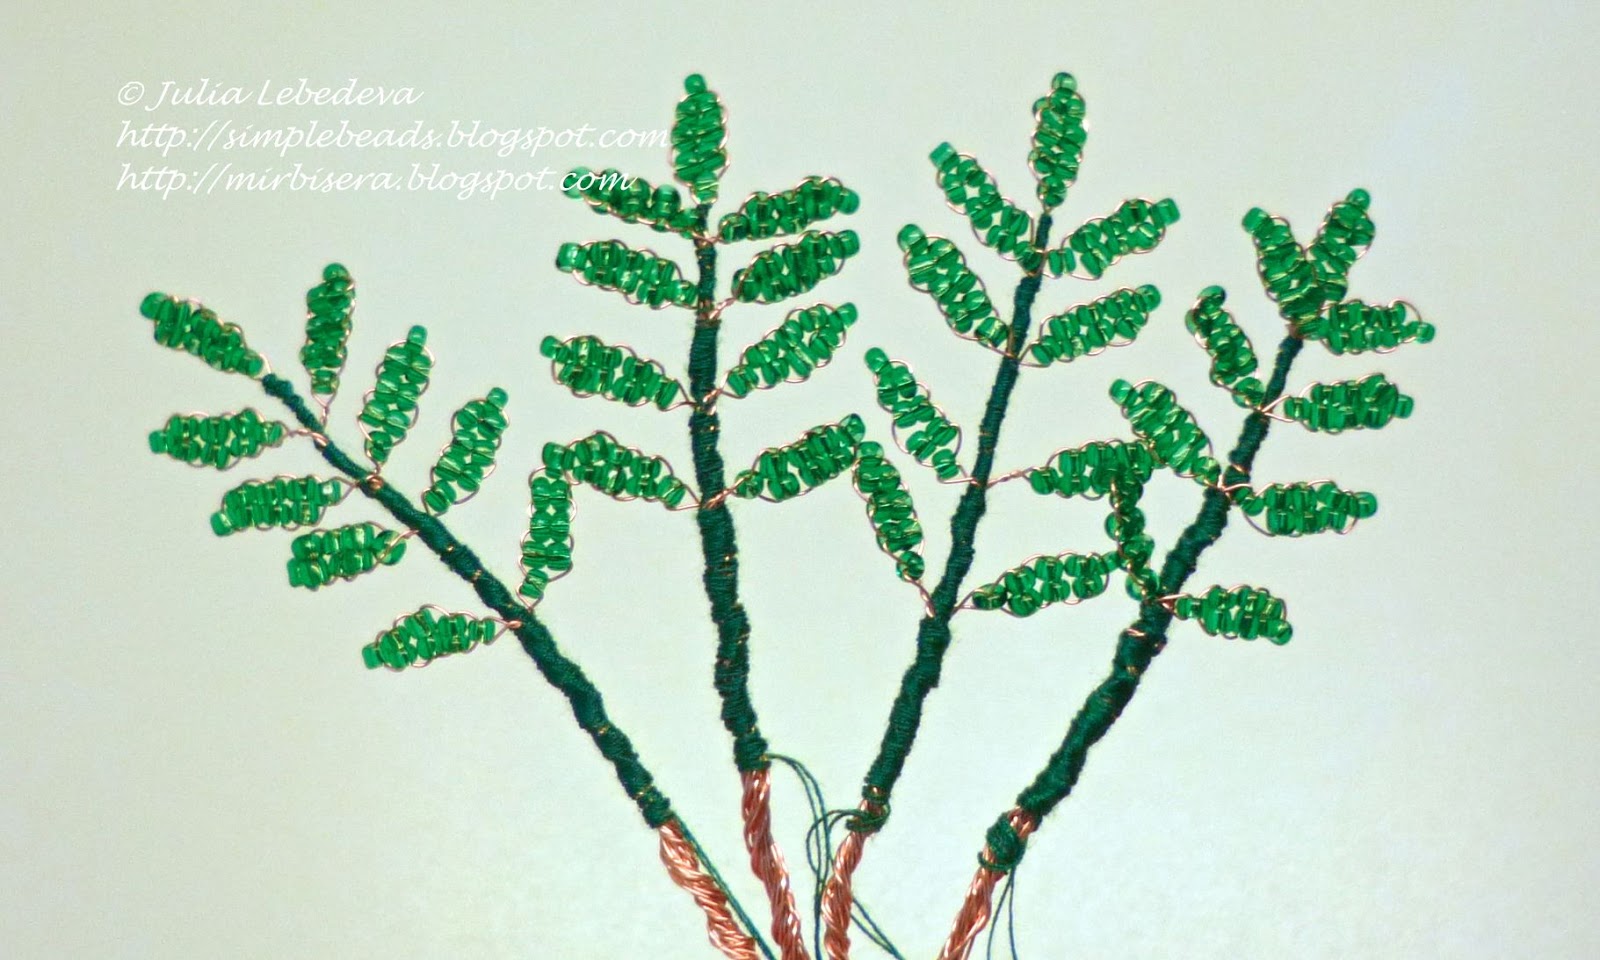
The leaves of marigolds – components; Each sheet consists of numerous narrow leaves: central and located them pairwise multiple rows of the same leaves. In appearance marigolds leaves are very similar to the leaves of mountain ash. Since our website is already a master class in weaving rowan beads, then we will do the leaves of marigolds on the already known scheme. So we go here on this link (master-class will be opened in a new tab) and make the necessary us the number of leaves. Note:. For every little leaf rowan we take the wire length of 25 cm for leaves marigold same will be enough to take the wire length of 20 cm (you can even slightly less, but in a very short wire is inconvenient to weave).
The number of leaves that need to weave for each flower, depends on your desire. The more leaves, the will be more lush look ready bouquet of marigolds. I recommend for each flower to make 3 or 4 sheets.

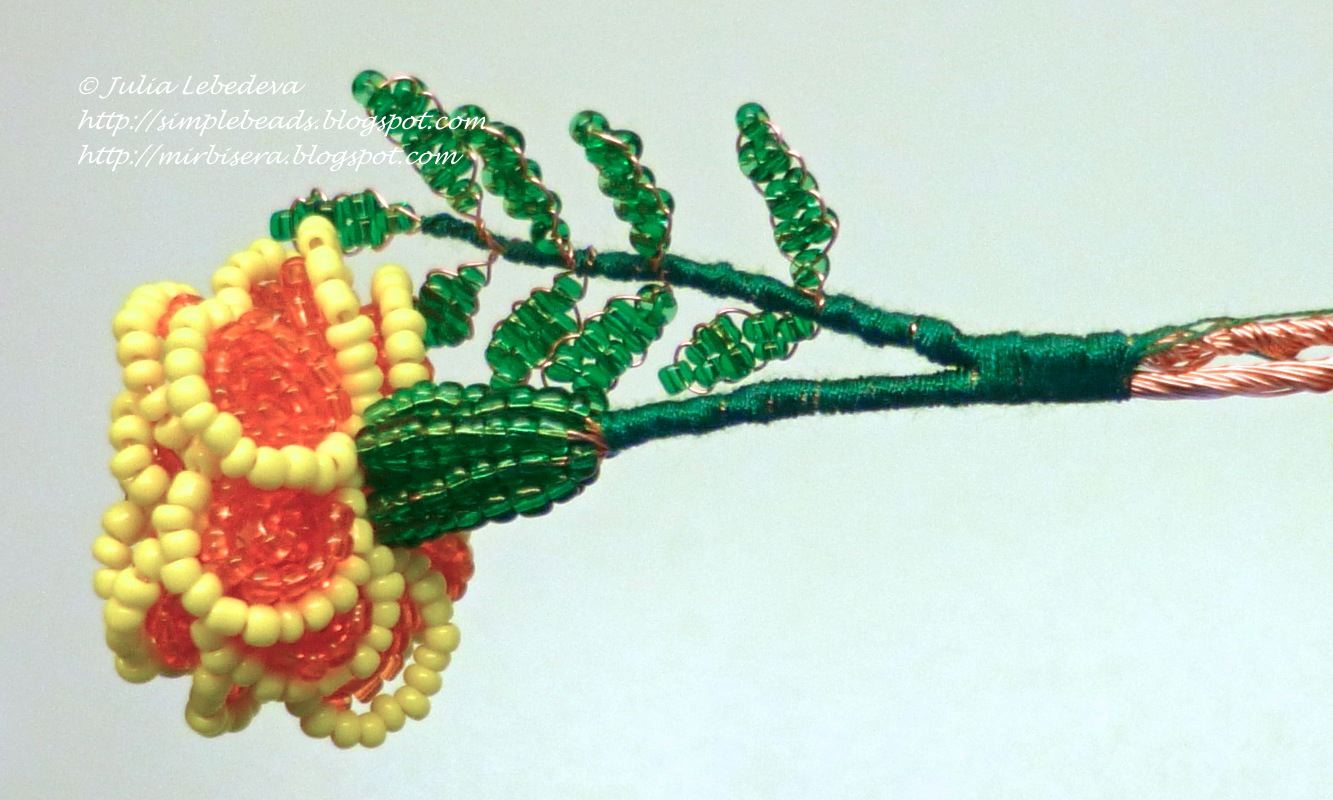
After all the leaves are ready, we proceed to the final assembly of the flower. First we take the green thread and winding them petiole of each leaf in between and still leaves about 2 cm after leaves.

Then, the same green thread winding stem of the flower bud under approximately 3 cm in length.

Now we take one sheet and attach it to the stalk by the same thread.

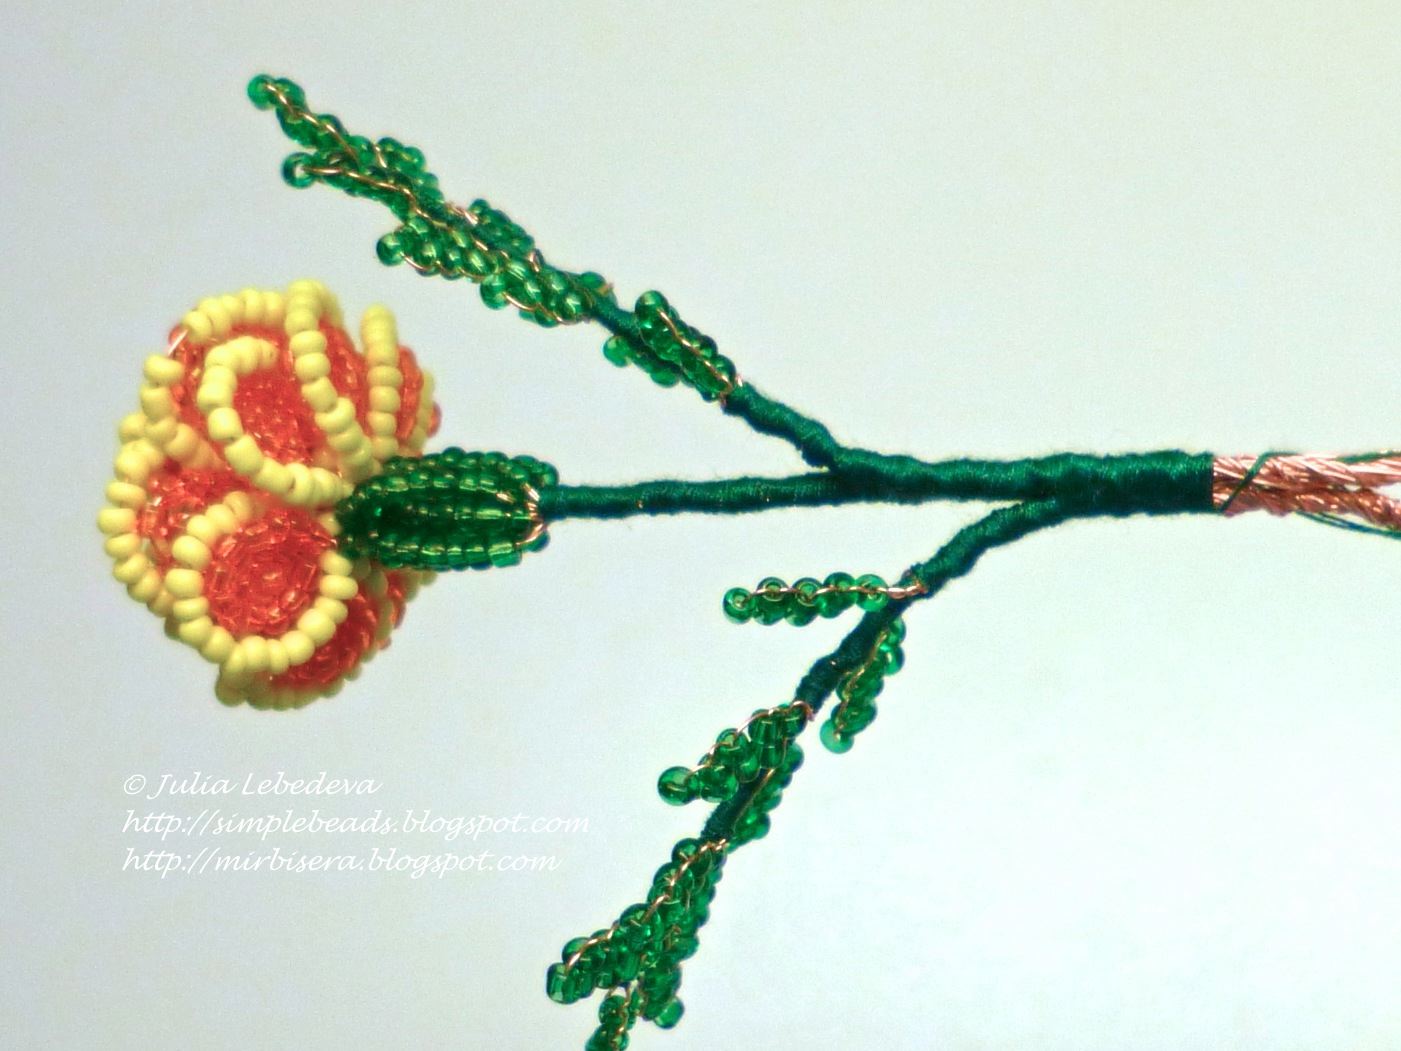
Continue winding stem thread More approximately 2-3 cm, and then using the same thread to attach the stem another sheet.

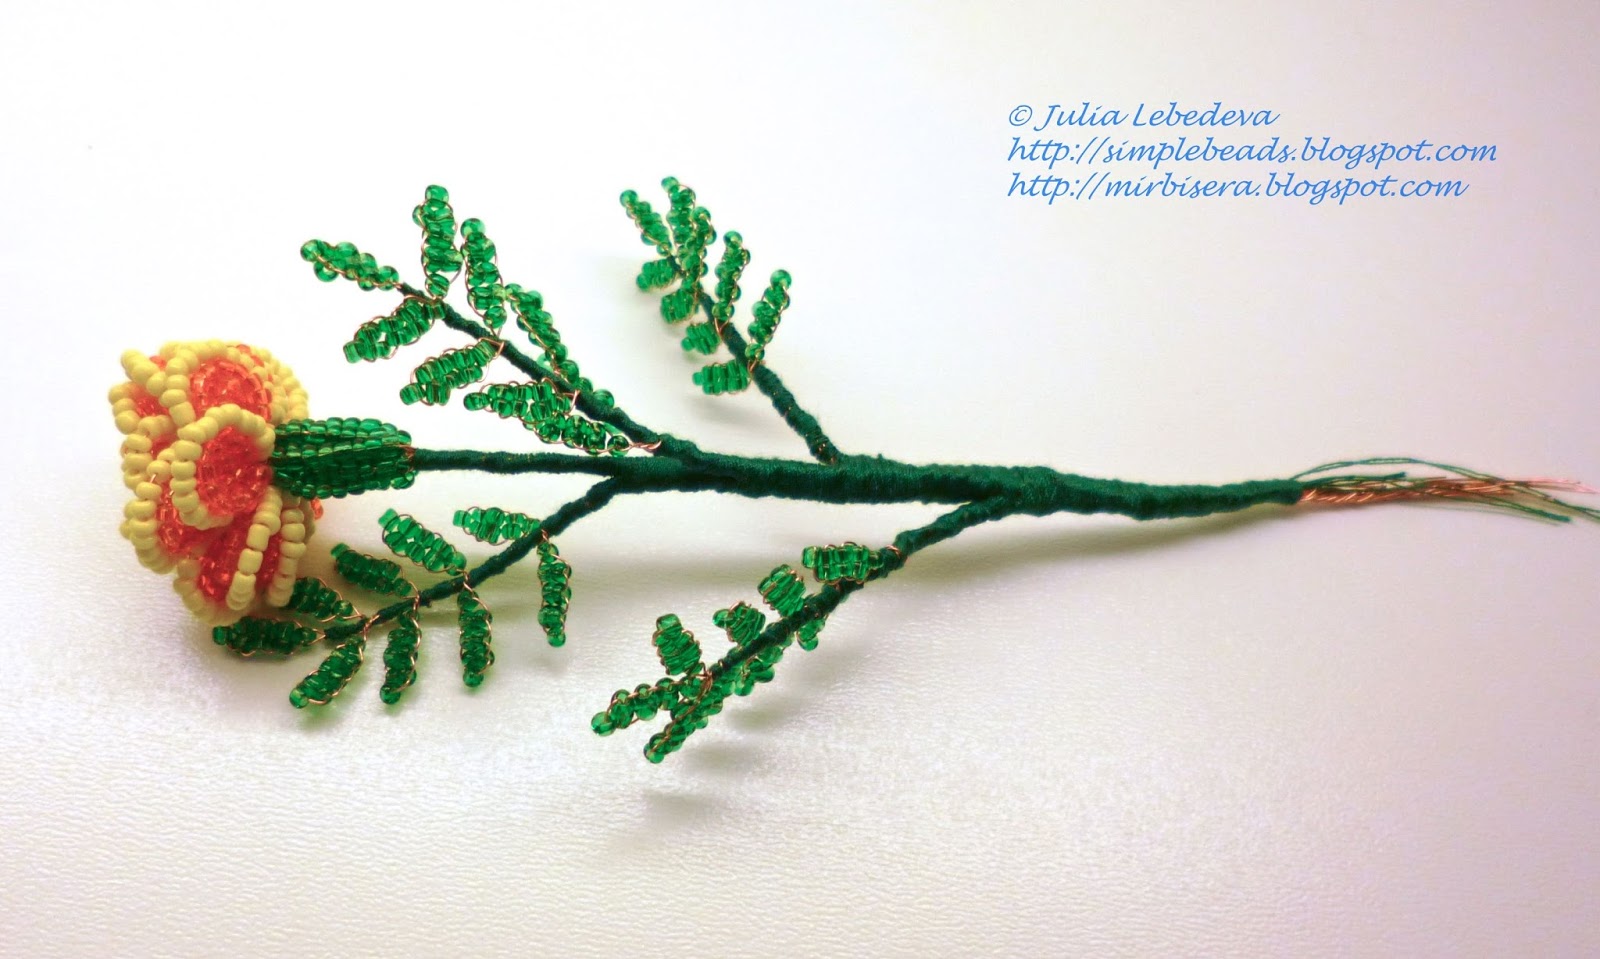
Thus gradually attach to the stem all the leaves (this implies that the leaves were placed on the stem circumferentially) and the winding stem green thread over the entire length.
To thread not dissolve, tying them for a couple of knots. If necessary, trimmed at the bottom left of the stem ends of the wire.

One flower is ready! I made three of the flower and the resulting bouquet of marigold put in a vase.

courtesy: mirbisera

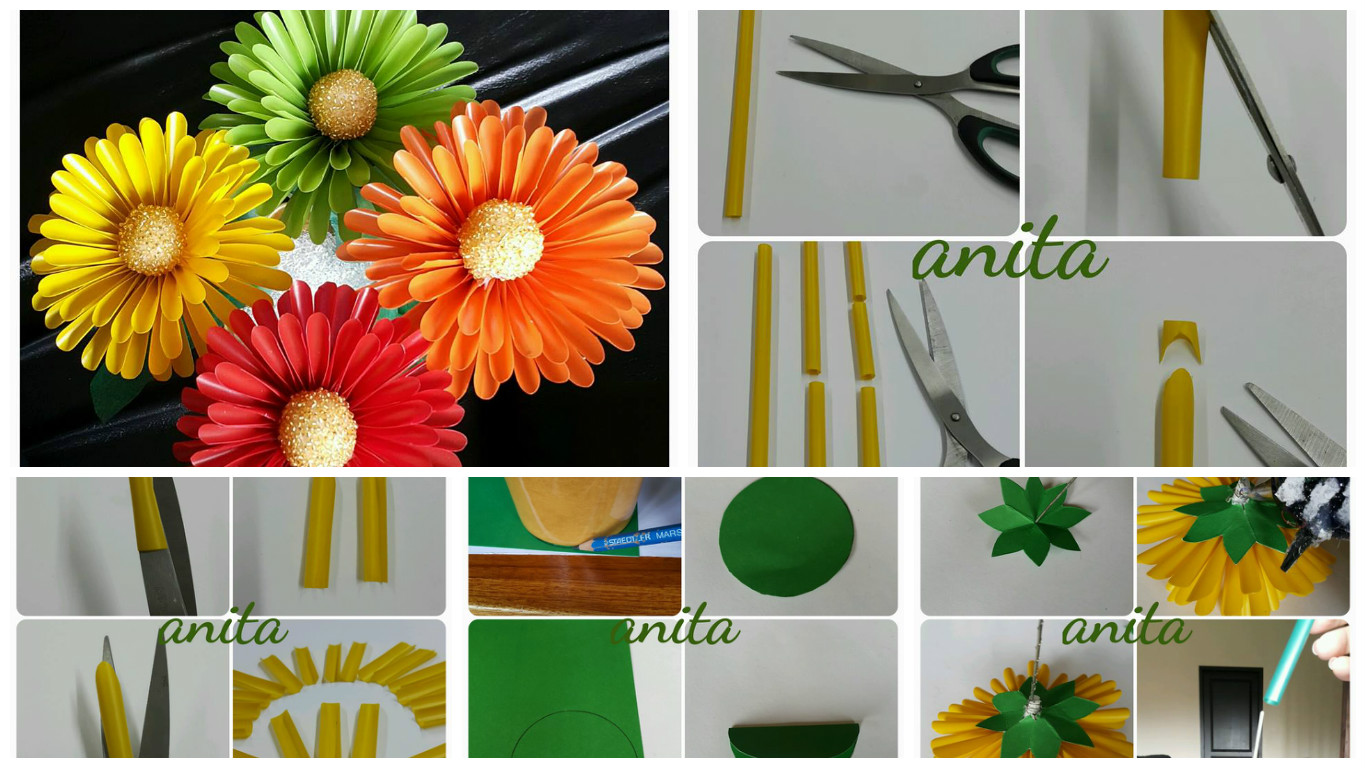
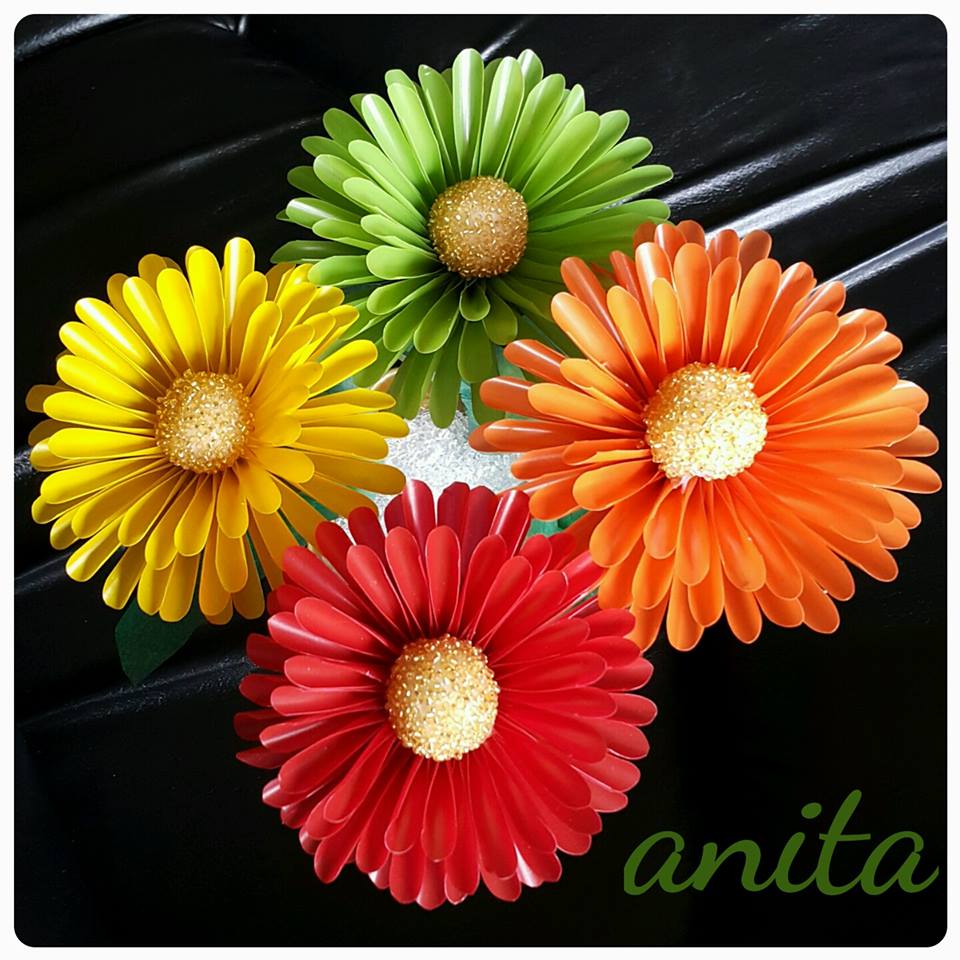
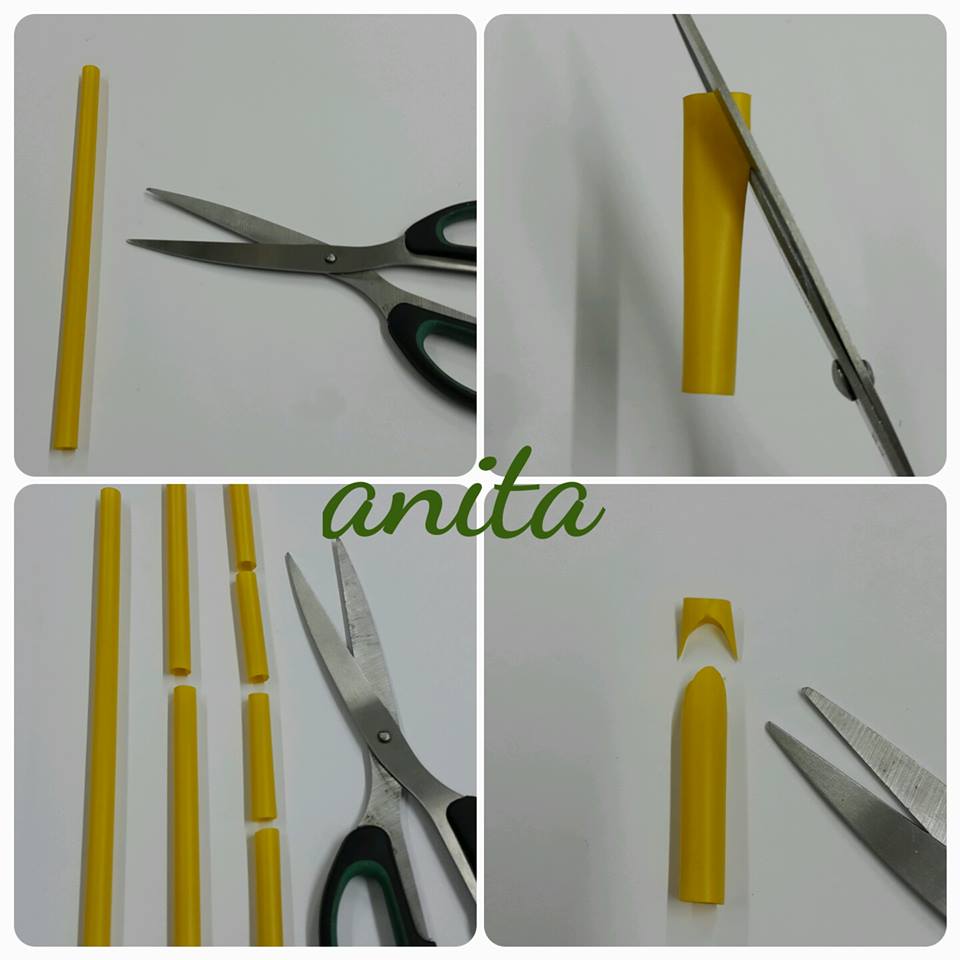
DIY Easy Straw Flower (Tutorial)

Straw flower crafts and Straw weaving. … at Family Fun.

Required Materials:

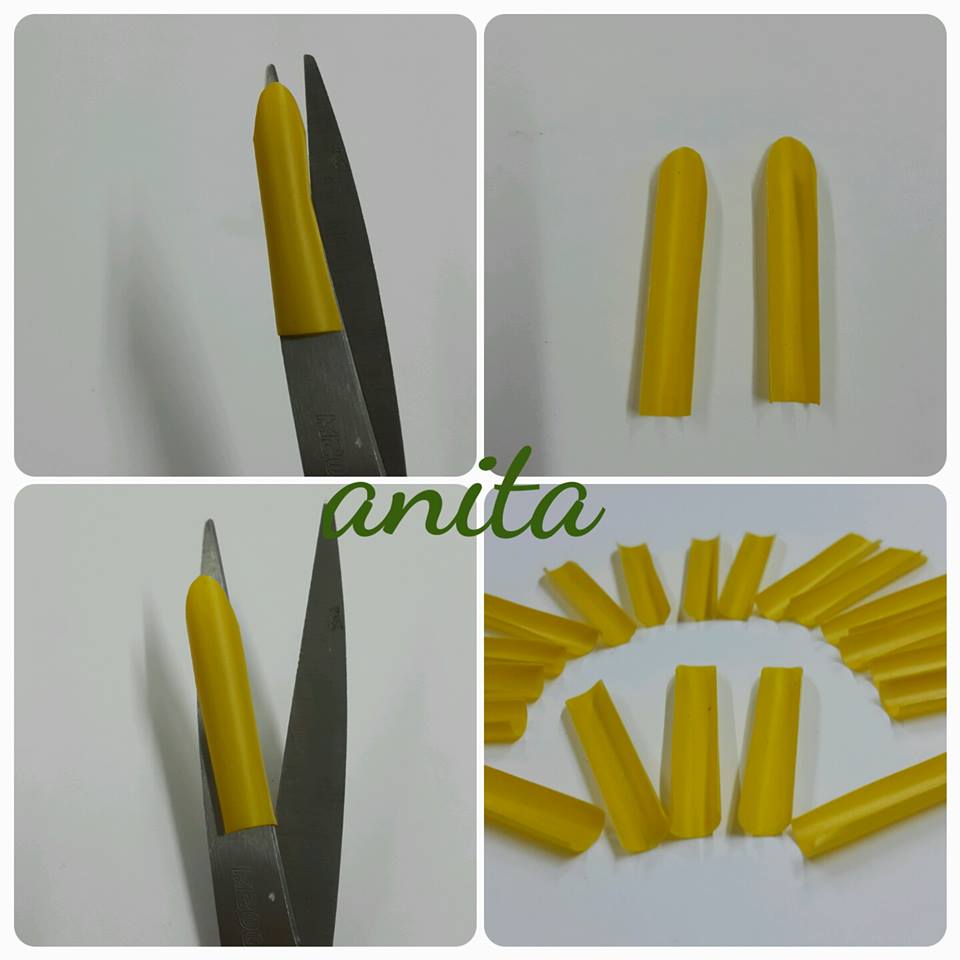
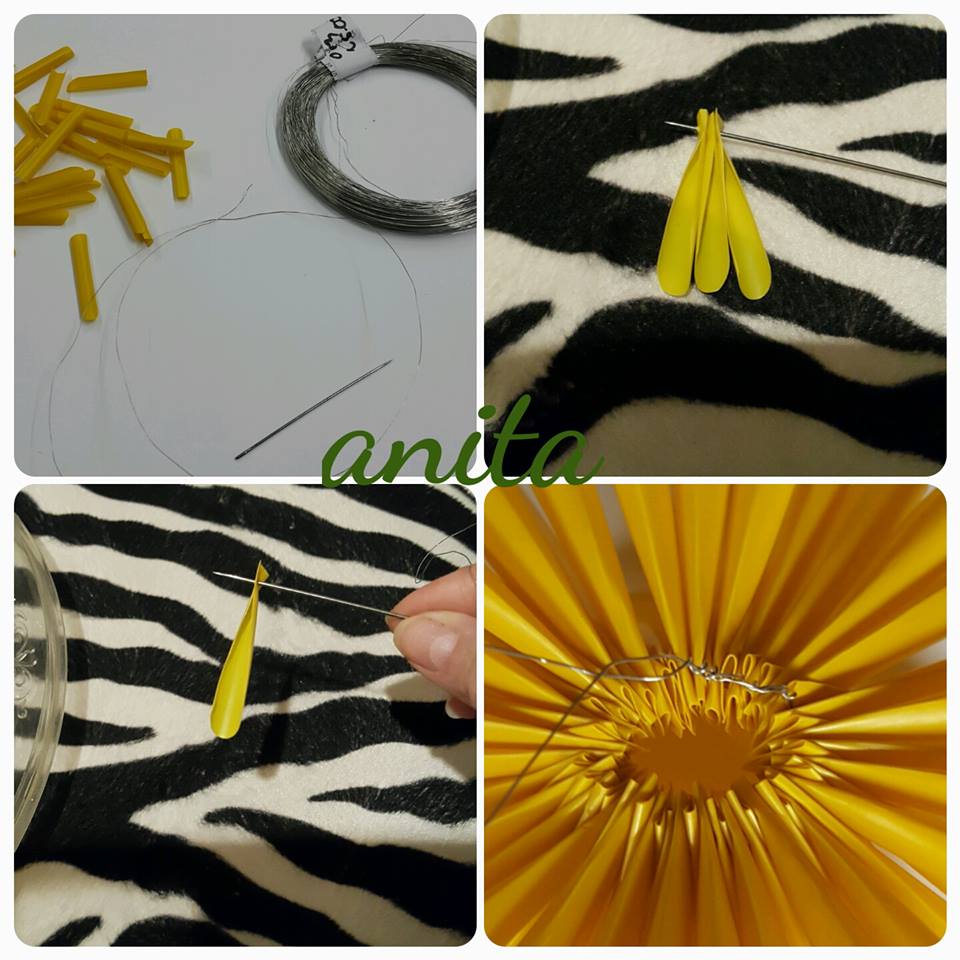
  1. 8 straw
    2. Scissor
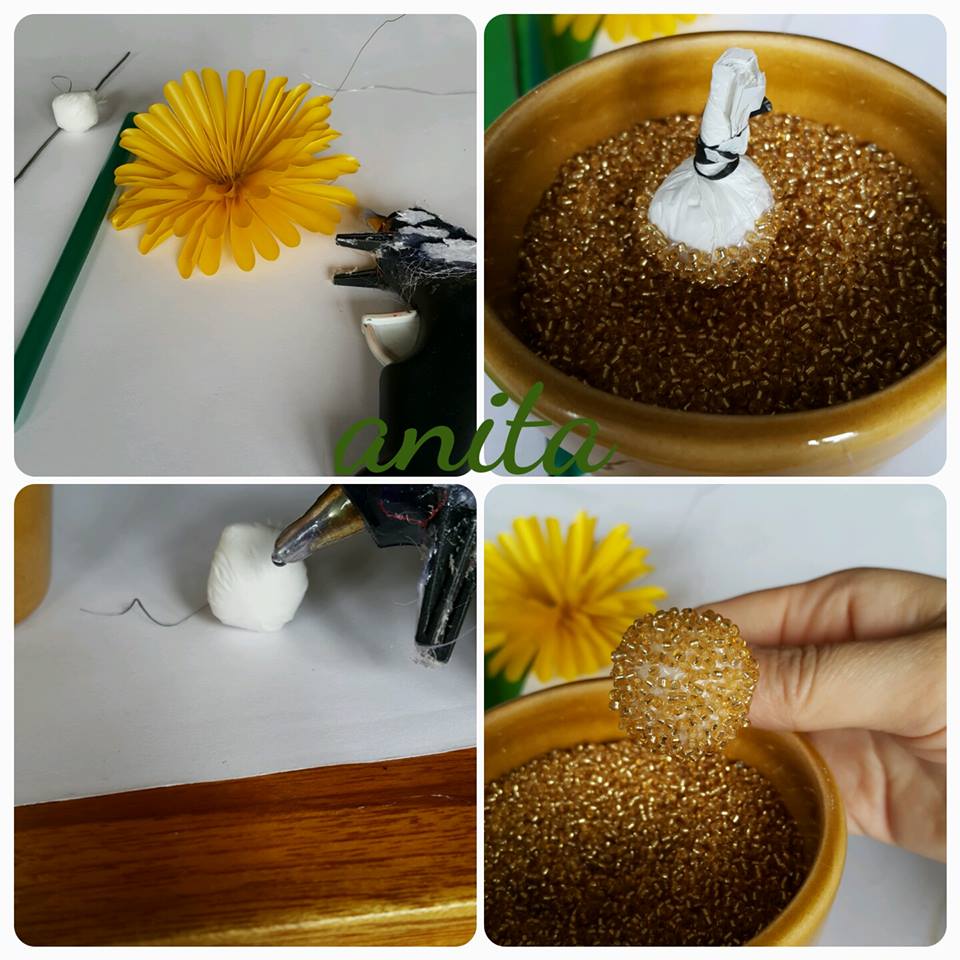
    3. Glue gun
    4. Cotton balls wrapped with white plastic carry bag
    5. Glass beads or mustard seeds
    6. Iron wire 0.3 mm and needle
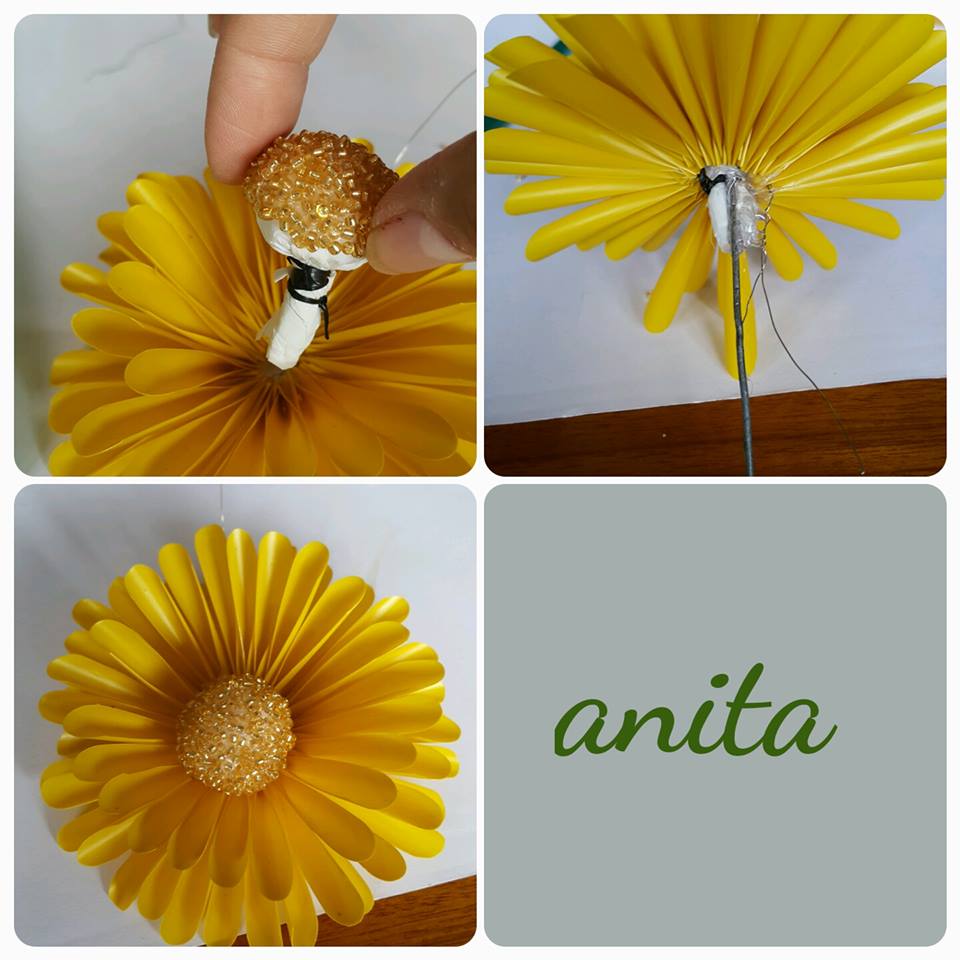
    7. Iron wire for the stem
    8. Flower tape
    9. Green paper

Hope you like this tutorial.

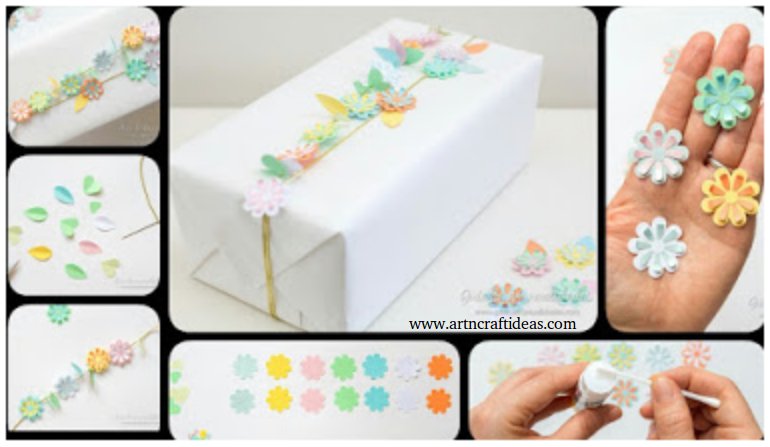
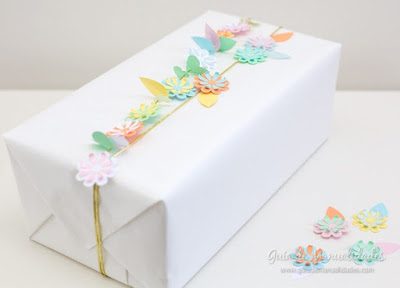
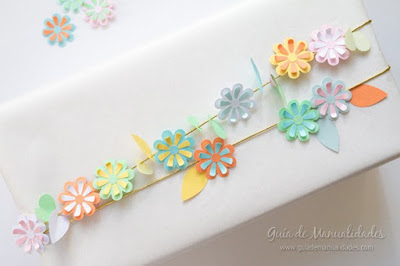
DIY Simple Flower Garland Gift Wrapping Tutorial

I love paper flowers gift wrapping and creations that we can do with them. That is why today I propose to make this colorful and delicate wreath of paper flowers to decorate and present our gifts. A lovely touch with us luciremos each time. And we can also use them to other kind of decorations. Armen a nice palette that already started with this idea?

We need:

  • Papers of different colors.
  • Stamping forms: flowers, hearts (optional).
  • Glue stick.
  • Hot glue gun.
  • Cutter.
  • Thick needle.
  • Fine gold or silver cord.
  • Scissors.
  • Or filigree quilling tool (optional).
  • Tweezers (optional).

For this idea you can combine the colors you like them according to the occasion. I preferred to use all pastel shades and build a harmonious combination with them.

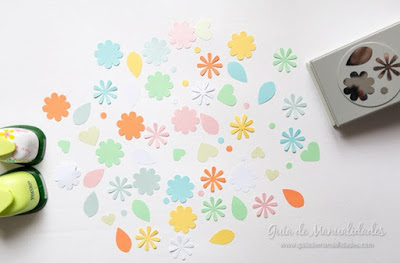
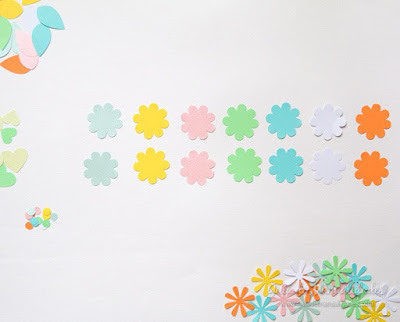
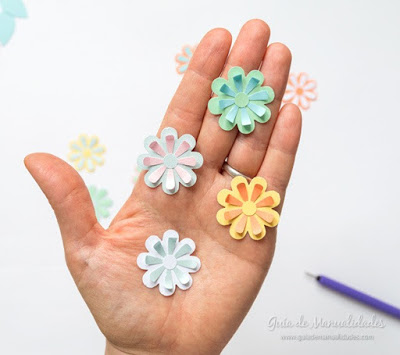
As you can see, based on this idea are simple shapes such as flowers, leaves and some hearts. And to them I took some of the stamping of paper I have. Two forms of hearts and a special brand Ek Tools I love a big punch two flowers, leaf and flower center. But if you do not have this kind of die cutting, do not worry! They can make their own patterns with some paper or thin cardboard and achieve the same result.

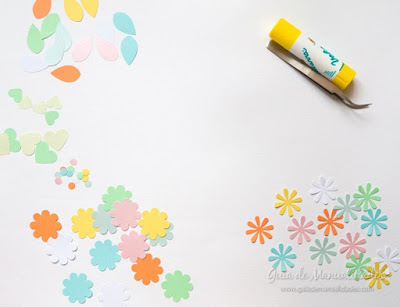
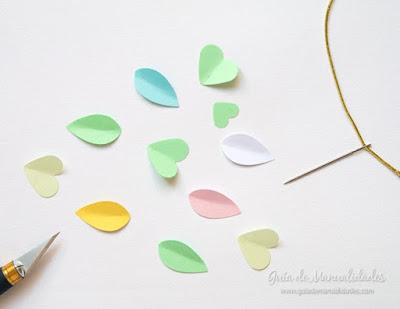
The first thing to do is cut so many flowers, leaves and hearts in all colors you want to combine … a beautiful palette of colors!

Parted ways all groups, and seek the glue stick. A small clamp is ideal for this work, but if they have not matter.

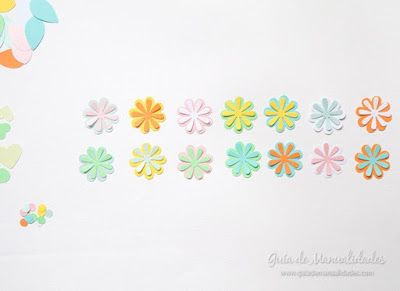
Introducing the flower base in all its colors and combinations comnezamos arm … is the most beautiful part! Playing with colors:)

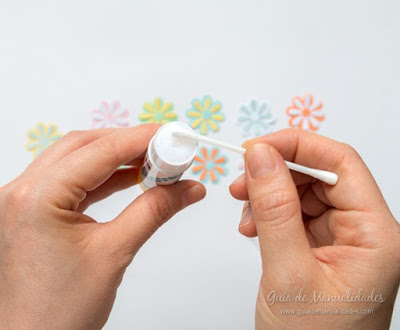
I give a humble tip for when working with paper and small figures. They can use a cotton swab to put the glue stick. You can also find these lines at small bars with special tips.

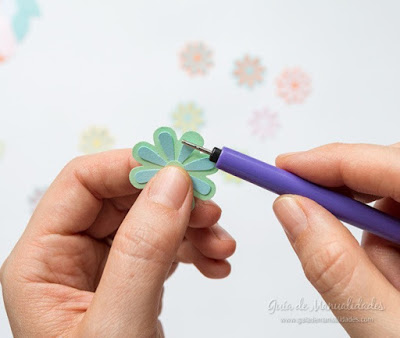
Once we set up all the flowers and their including centers, we give them a hint of movement. If you have a quilling tool or watermark (with which we wind paper) can use it to this step. If you do not have to seek a brush or similar with a small tip and roll up her tips of the petals of flowers.

See how nice stay! It’s a nice touch.

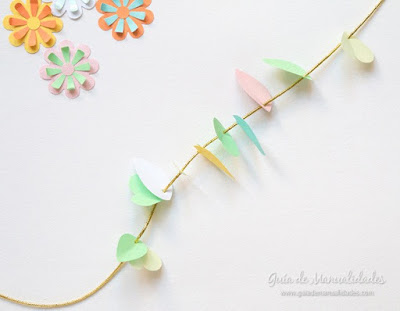
We seek now the leaves and hearts, we make a small cut in the cross cutter and bend a little. We spent the golden cord by the needle and prepare for starting assembly of the wreath.

We spent all leaves and hearts that we will combine with flowers.

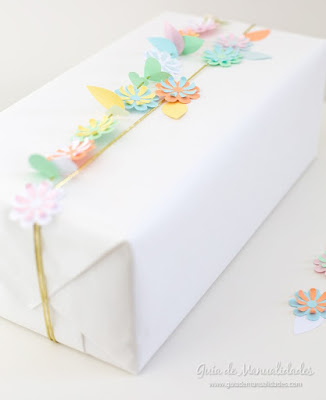
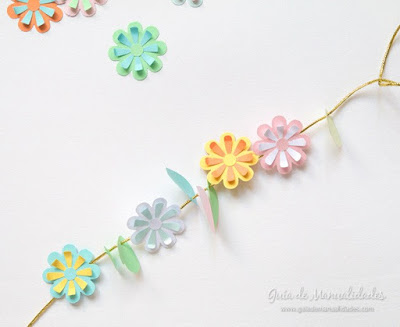
And with the hot glue gun or liquid silicone paste flowers we started on putting together a nice string garland.

Here you can see how it looks on a gift package. It is a lovely touch not take long and it looks beautiful!

I hope you like and what they can do! ?

Courtesy: guiademanualidades

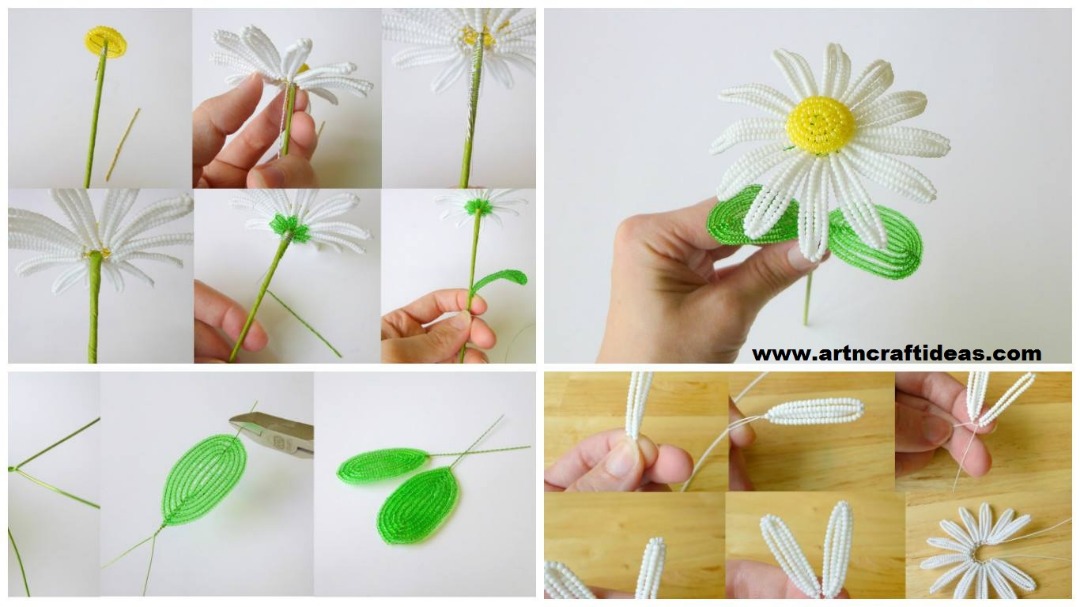
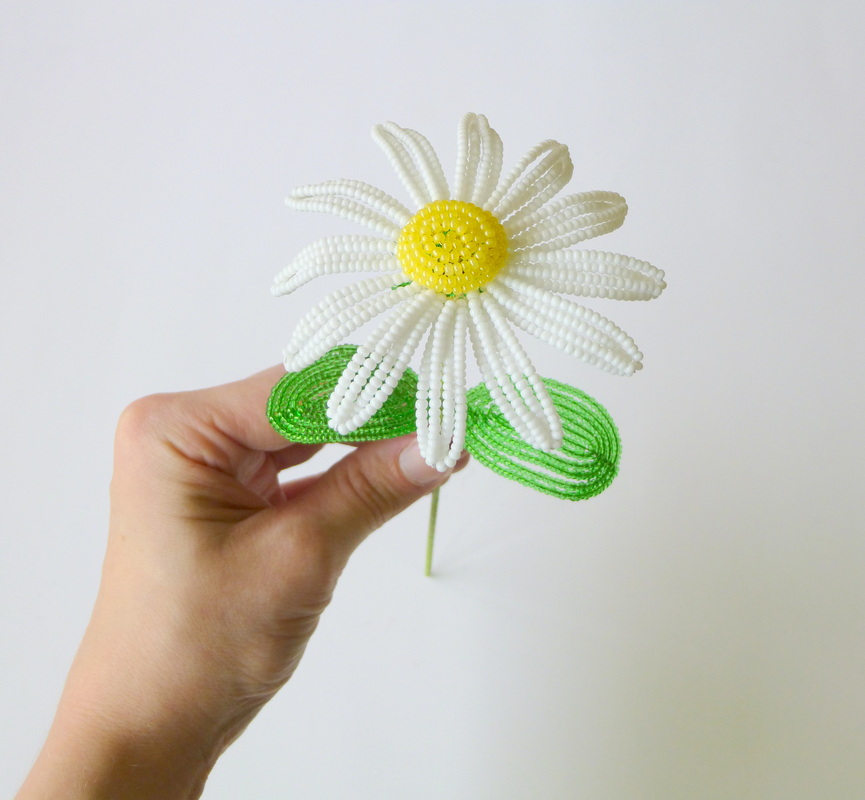
How to Make Daisies Bead

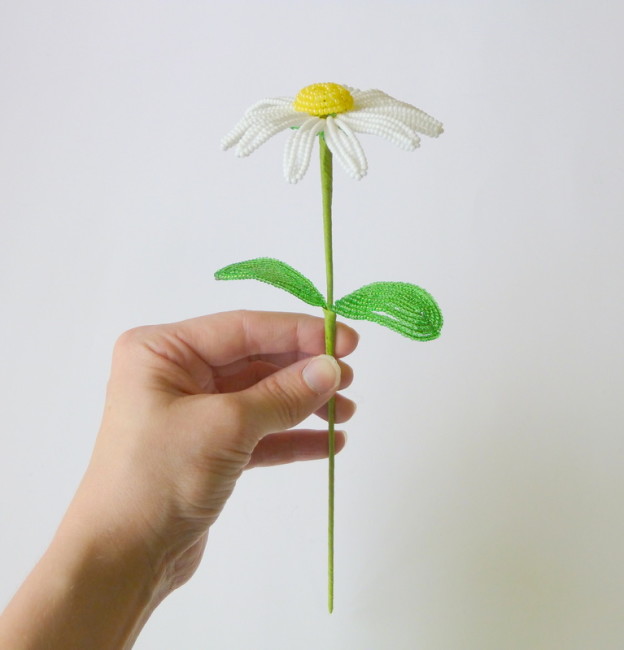
Weave Color Beaded One of the most popular destinations in the beading. These flowers will never wither, and the flower bouquets and arrangements will serve as an excellent decoration of the interior needlewoman! In this master class on beading, you will learn how to make daisy beads.

Required Material:
wire
white beads № 11 (10 g), yellow (2 g) and green (7 g)
coli stalk (wire)
nippers
teip Feed
Weave a daisy can using the steel wire of color, but the result will be better if you have the color bead wire.
Petals:
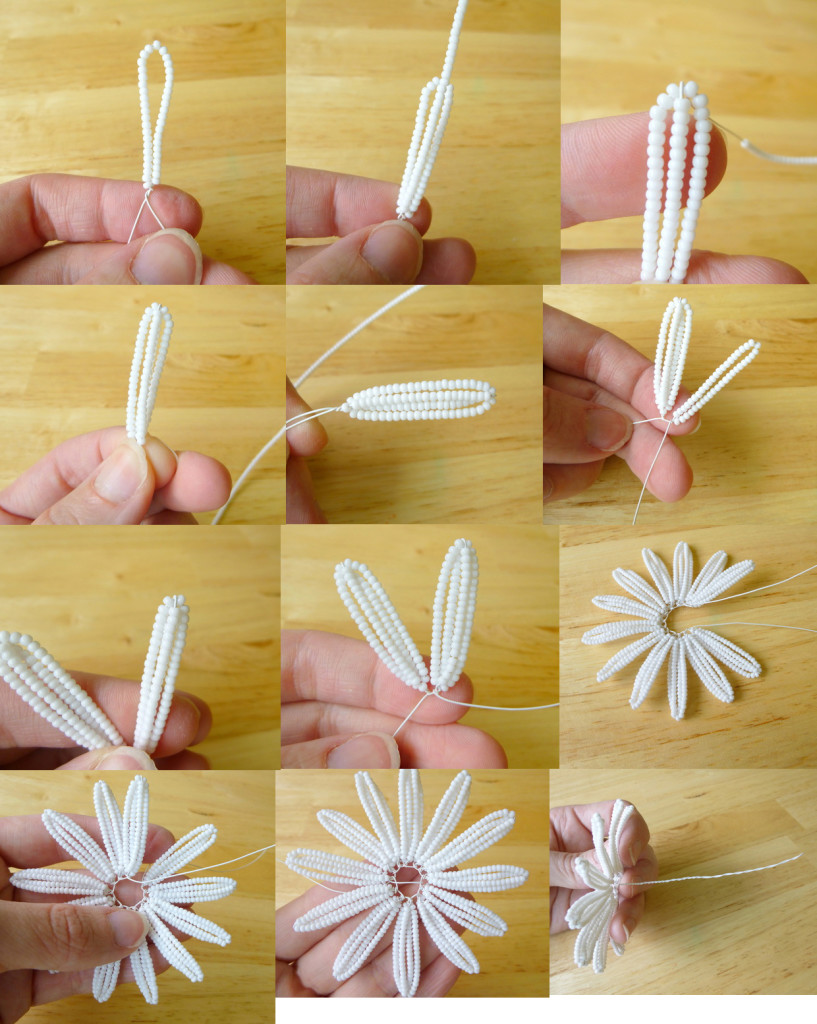
It starts weaving with petals. In total, there are 12 flowers, each petal is composed of 4 rows.
Dial white beads on the wire. Move to the edge of about 6.35 cm (2.5 inches). Bend the wire, making a loop of beads, and tighten the loop. At the end of the wire to leave a free tip of 7-8 cm. Slide the coil even beads, a column height of how to make a loop in the previous step. Bend the wire over the first loop, wrapping it, and slide the coil even beads to make the fourth row of petals. Make a couple of turns of the wire at the base, securing tab. Use your fingers to align the rows of beads, giving petal neat appearance. Then again pulls the beads on the first two rows of the second lobe. Braid all the petals as well as the first.
When all the petals weaved, cut off the wire from the coil, leaving 8.9 cm. This end thread between first and second lobe wrap, spinning and collecting loop pitch circle. Then, the tip of the wire to pull the other end of the flower wrap and the loop between the petals. You will get two tips of the wire opposite to each other. I will bring them to the center and twist together. Put the flower on the side.

Sepals:
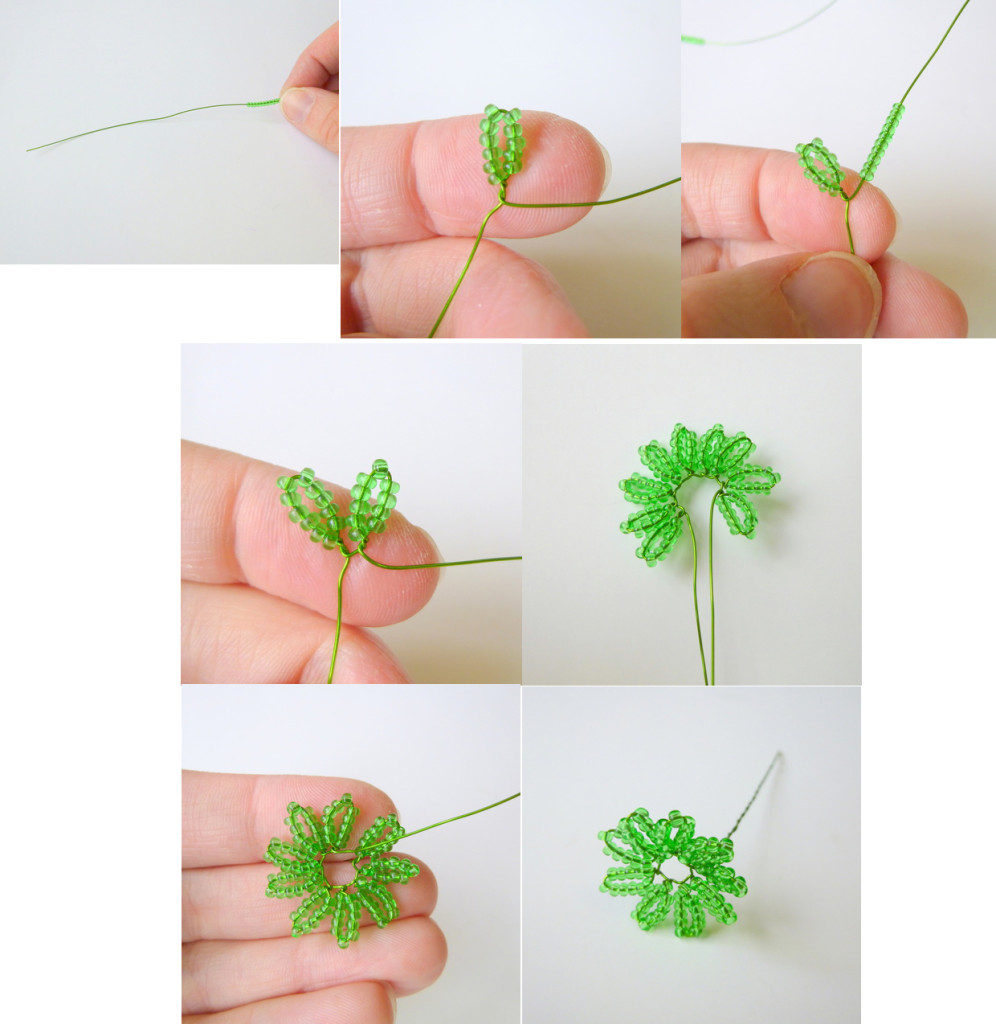
Nanizhite green beads on the wire. Tighten the beads 11 by the end of the wire, leaving a tail of 7-8 cm. Fold in the loop and make a couple of turns fixing. Tighten another 11 beads and again make a loop. Likewise do sepals further (9 leaves). Cut the wire, leaving 9-10 cm. Attach in the ring, passing the wire between first and second sepals. Twist the ends of the wire together. Put preform.

Leaves:
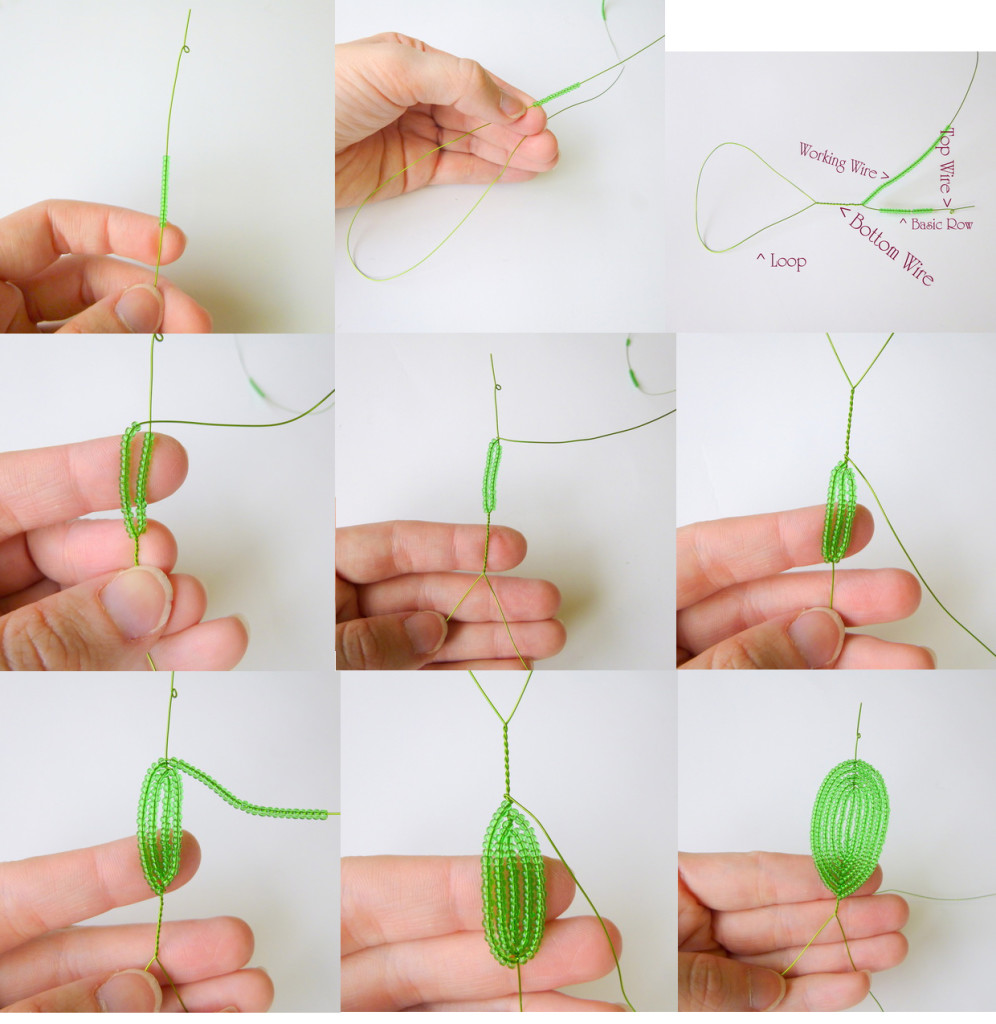
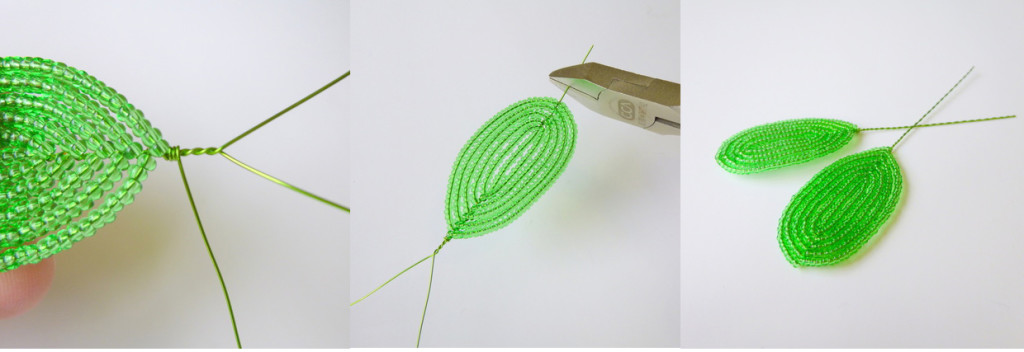
Nanizhite beads onto the wire. At the end make a small loop, it will prevent the beads from sliding. Tighten the beads 16 to the loop before reaching her 5-7 cm. Below beads move up a twist wire loop. Slide the beads in an amount necessary to make a number of slightly more than the height of the first row of the 16 beads. Wrap the wire loop over the top of the first row. Slide the beads as much as in the second row, and again make a loop, already at the bottom of the first row. This petal edge should be sharp, so when you make the turns in the province, put the wire at an angle of 45 degrees.
Continue braiding leaf, pulling beads and making turns of wire around a central axis. The leaf consists of 11 rows – one central and five rows on each side.
Work wrap tip at the base 2-3 and the coil cut by cutting pliers. Wire on top of a leaf cut, leaving a tail of 5-6 mm, and bend the tail down. Loop at the bottom of the leaf, twist in the strip.

Take the second leaf.
Core:
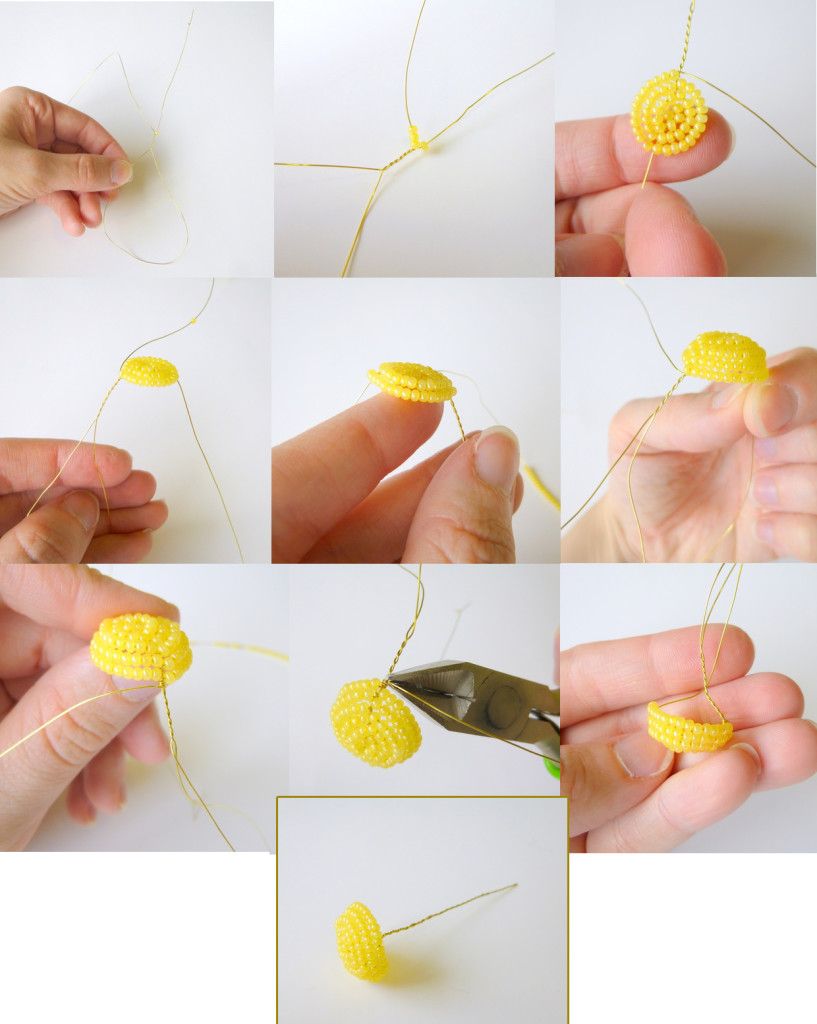
Nanizhite beads onto the wire. Start weaving like a leaf – a loop on the end of the wire, pull 1 bead and beneath it make a big loop. Make a number 2 is similar to the second row of leaves, use 3 beads for him. Take the 7-series, forming a circle.
Now you need to give volume. Bend the ends of the wire (the end with a loop and a big loop) downwards. And the Scourge has 4 rows.
The working end of secure 2-3 turns and cut. Finished with a loop and large-loop twist with each other.

Getting to the assembly:
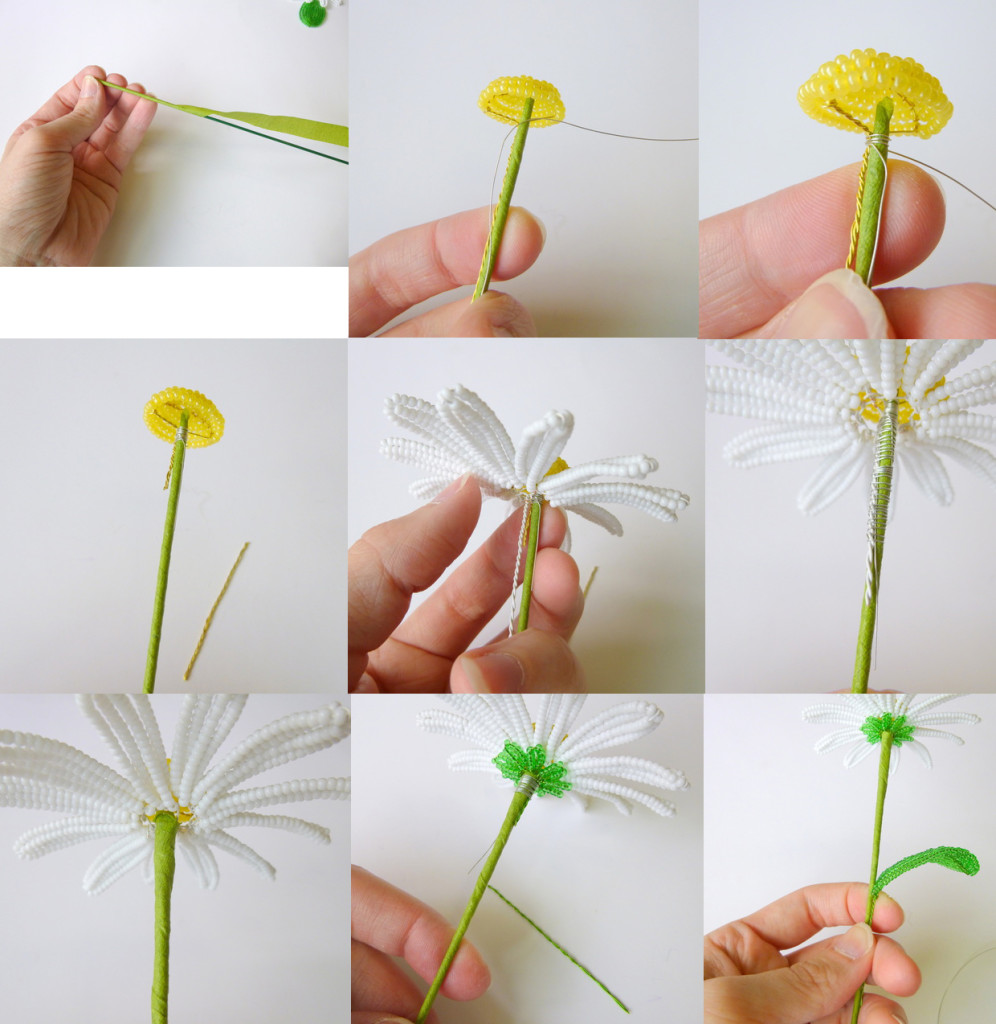
Wrap the wire or rod, adapted to the stem, tape.
Take heart and attach to the stem, slice its thin wire. Trim the excess wire from the core.
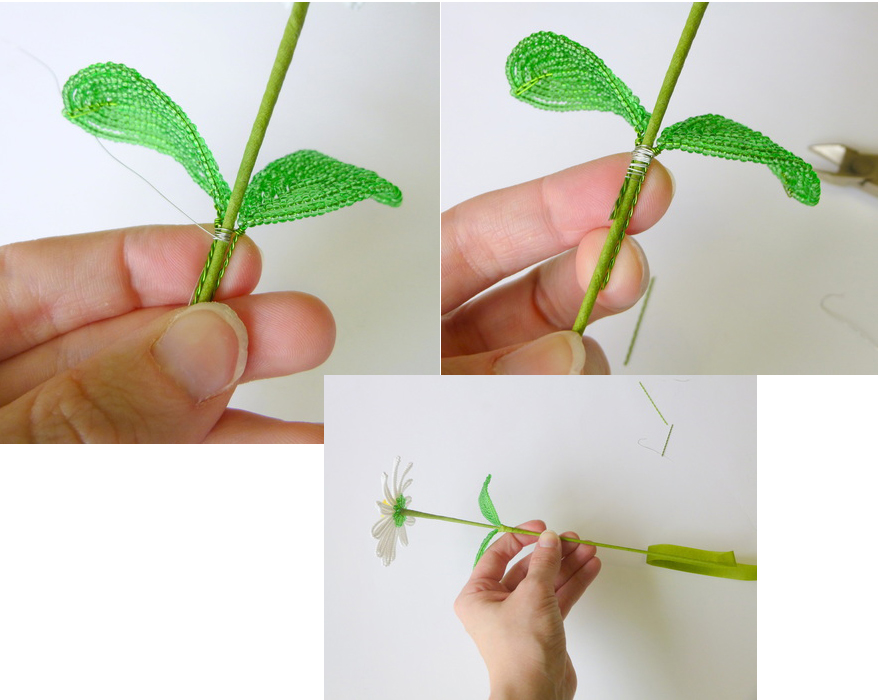
Put the petals and are also strapped to the stem. Wrap teip-tape. Put sepals, and secure, and once again wrap teip-tape. Continue winding teip-tape to the point where the plan to strengthen the leaves.
wire leaves. Wrap-teip ribbon stalk residue. Curl it slightly toward the leaves, giving them a nice shape.

Chamomile is ready! It remains to weave a few flowers to make a bouquet.
courtesy: Lauren’s Creations