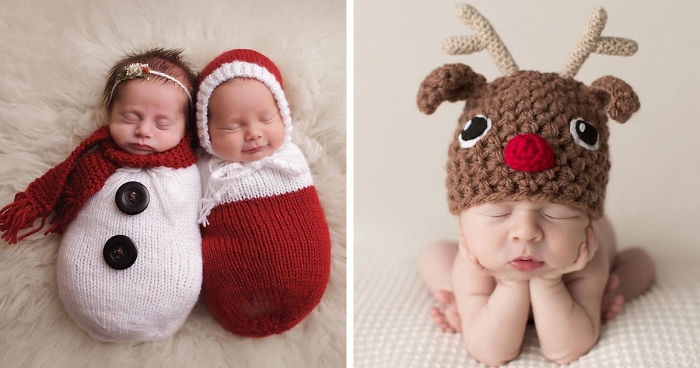
Posted onNovember 13, 2017November 19, 2022inChristmas, Featured, Ideas, Kids Corner 10+ Christmas Photoshoot Ideas For Your 1 Year Old Baby
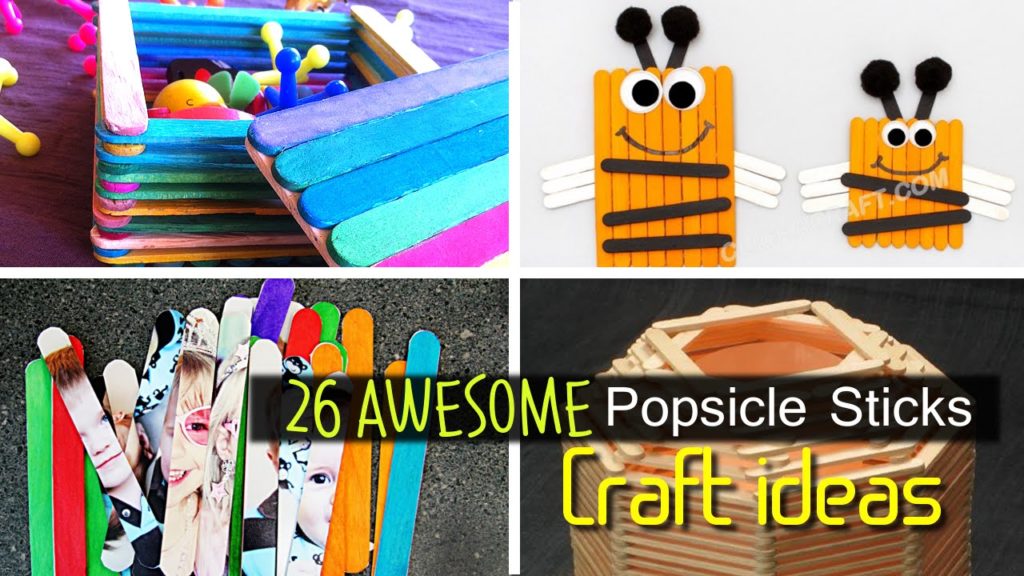
Posted onSeptember 14, 2017September 14, 2017inCraft, Ideas, Kids Corner, Kids Crafts, Popsicle Stick 26 Lovely and Fun Popsicle Stick Crafts for Kids!
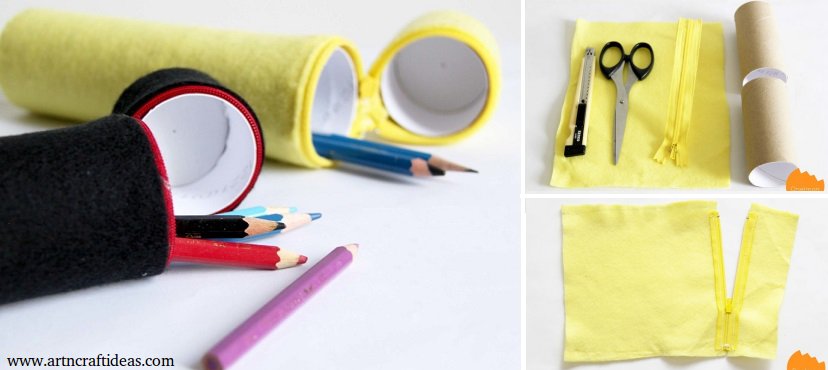
Posted onJuly 10, 2017September 23, 2023inDIY, Kids Corner, Kids Crafts, Tutorial DIY Crafts: How to Make Cardboard Tube Pencil case
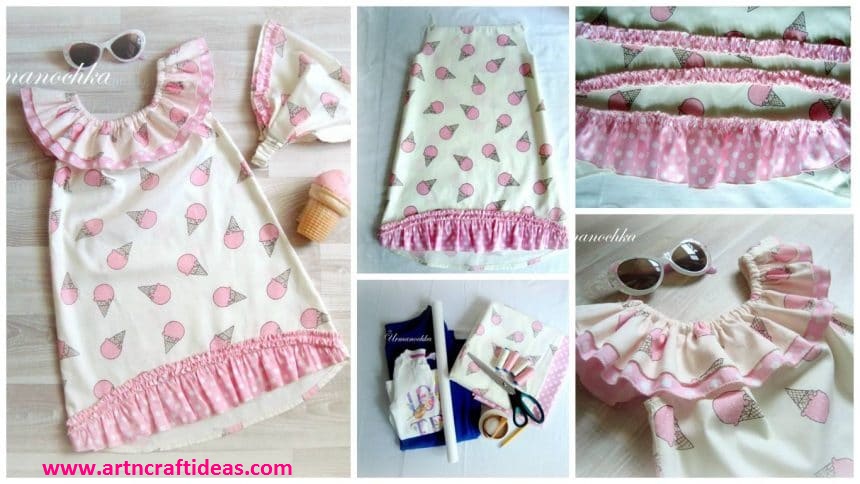
Posted onJuly 9, 2017inClothing, Embroidery And Sewing, Kids Corner, Tutorial How to sew a bright summer dress for girls “Strawberry ice cream”
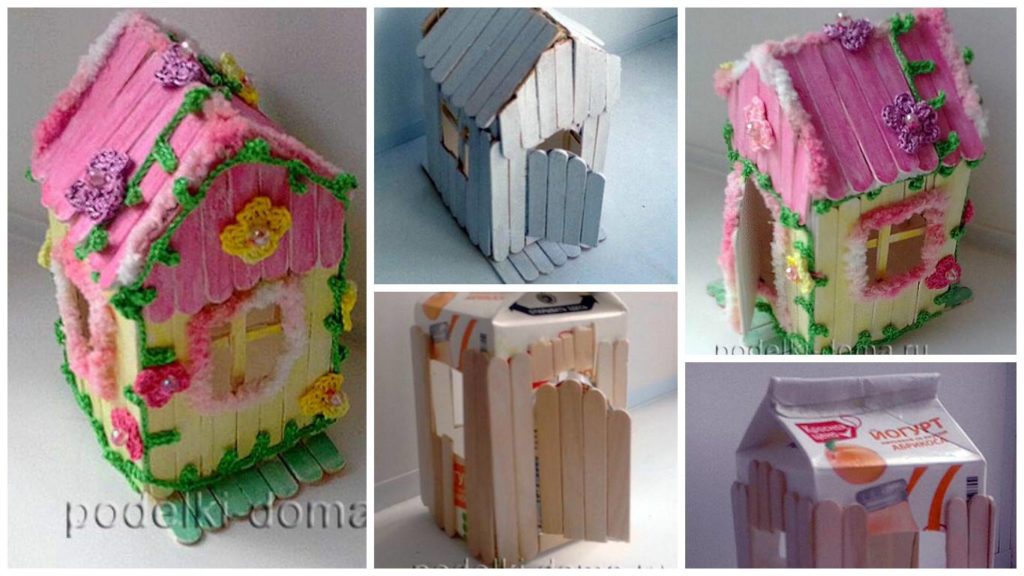
Posted onJuly 1, 2017July 1, 2017inCraft, Kids Corner, Tutorial How to Make a Ice Cream Stick House for Baby Doll
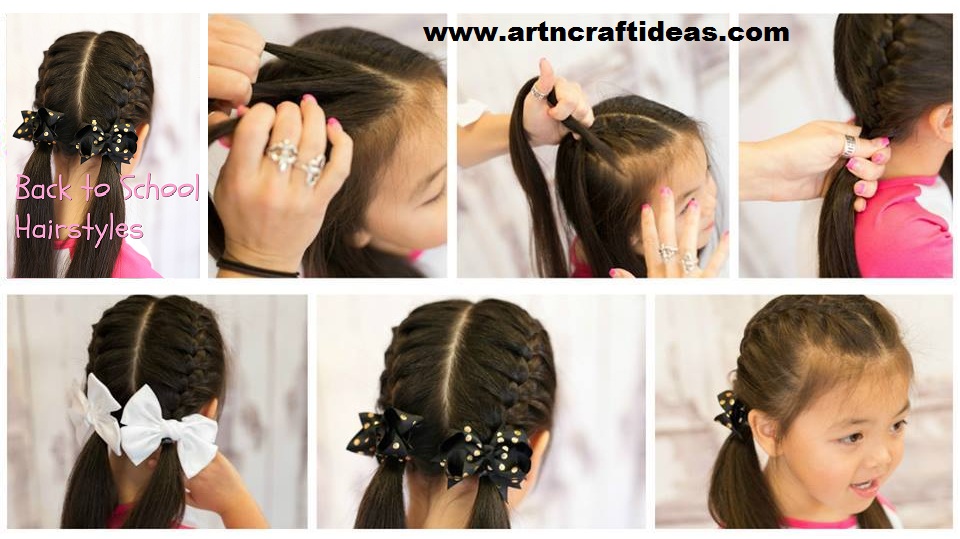
Posted onJuly 1, 2017July 1, 2017inHairstyle, Kids Corner, Tutorial Super Easy Hairstyle To Try For Back To School
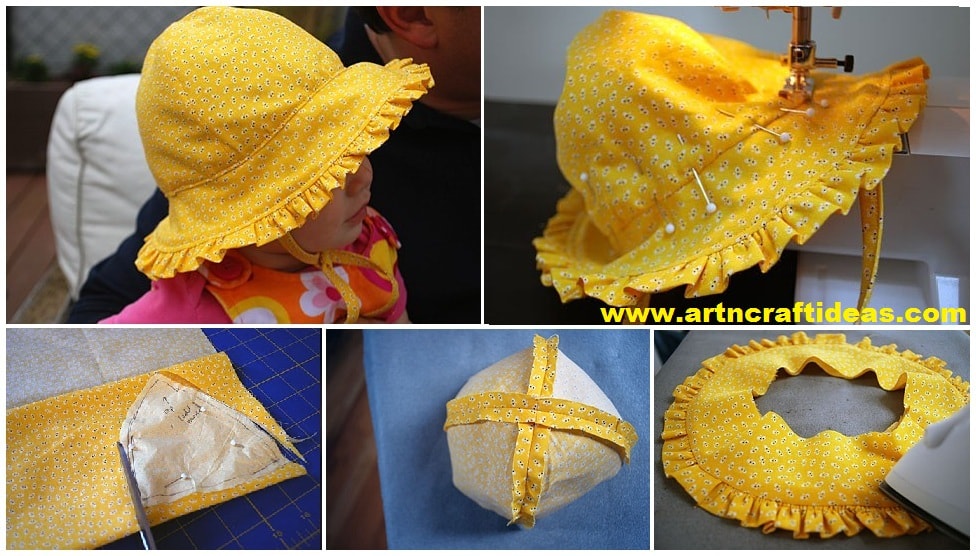
Posted onJuly 1, 2017inEmbroidery And Sewing, Kids Corner, Patchwork Crafts, Tutorial How to Make Baby sunhat pattern with ruffles and ties
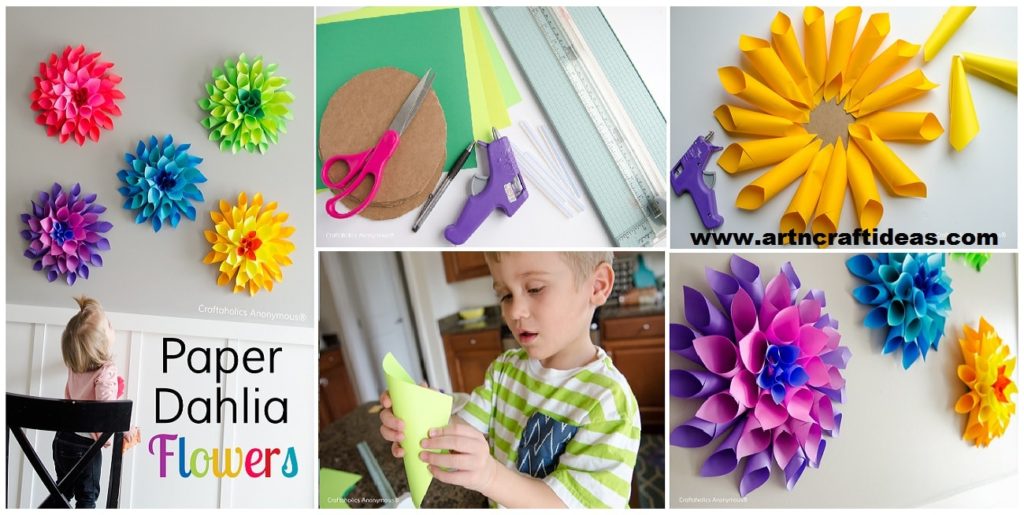
Posted onJuly 1, 2017inCraft, DIY, Kids Crafts, Paper Crafts, Tutorial How to Make Paper Dahlia Flowers