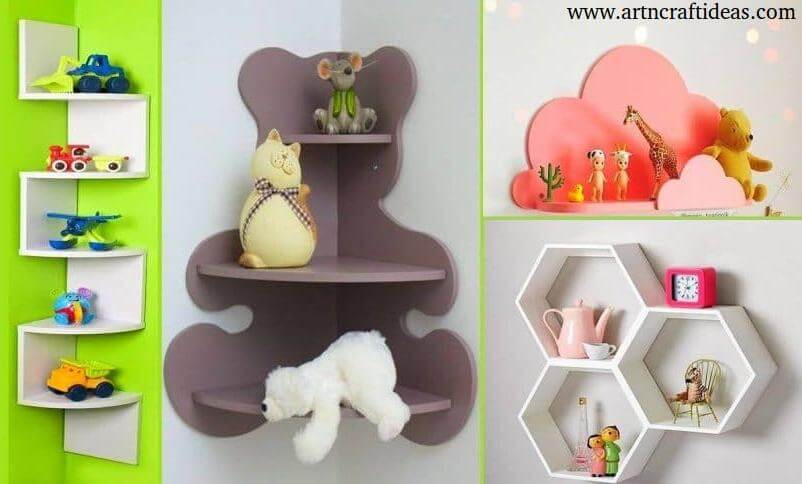
Posted onOctober 31, 2017August 16, 2023inCardboard Crafts, DIY, Step by step DIY ROOM DECOR: Easy Cardboard Crafts Ideas at Home
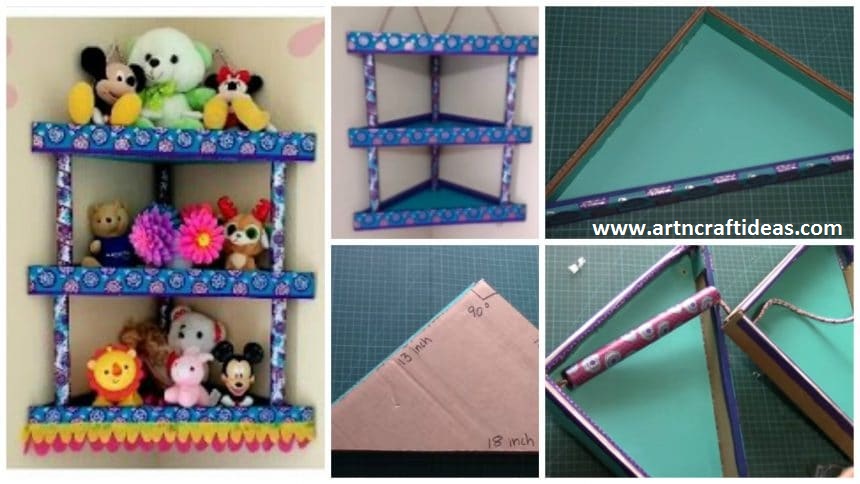
Posted onJuly 9, 2017inBest out of Waste, Cardboard Crafts, Craft, DIY, Home Decor, Tutorial, Video How to Make Cardboard Corner Shelf / Rack
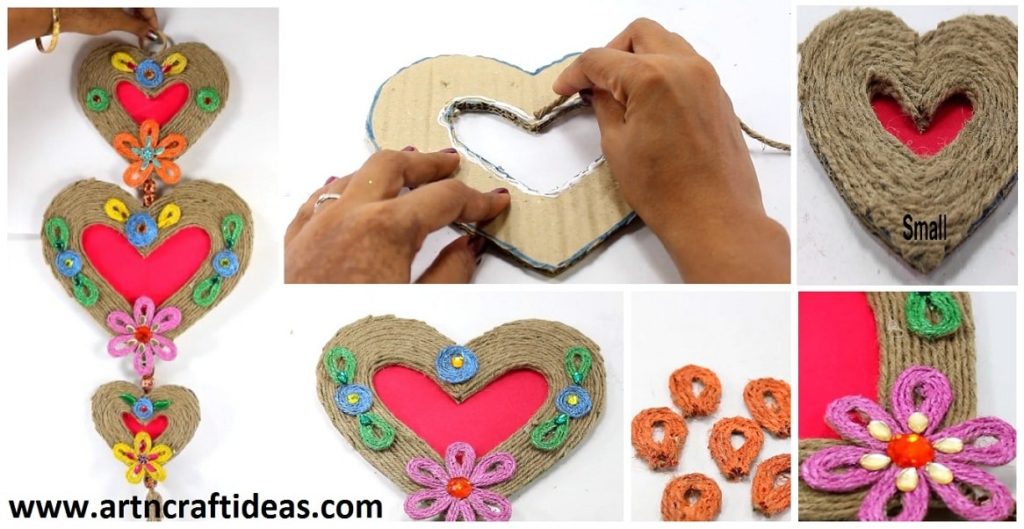
Posted onJuly 5, 2017inBest out of Waste, Cardboard Crafts, Tutorial, Video How to Make Wall Hanging from Jute
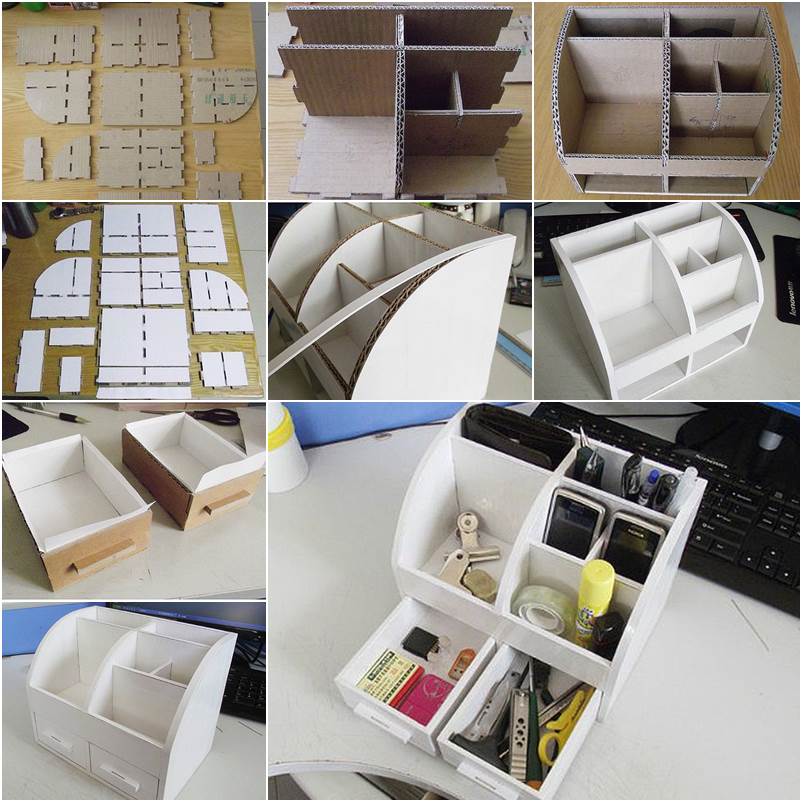
Posted onJuly 5, 2017inBest out of Waste, Cardboard Crafts, DIY, Tutorial DIY Cardboard Desk Organizer with Drawers (AFFORDABLE)
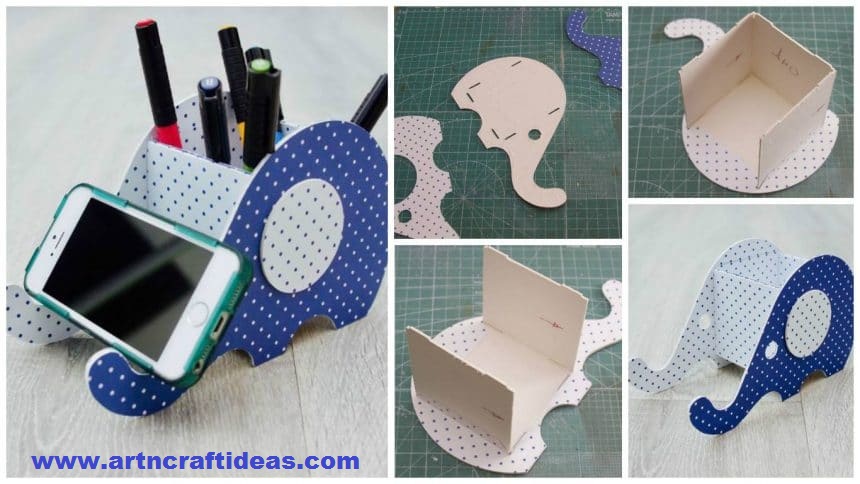
Posted onJuly 2, 2017inBest out of Waste, Cardboard Crafts, Craft, Paper Crafts, Step by step, Tutorial How to make paper and cardboard stand-organizer “Elephant” for the tablet
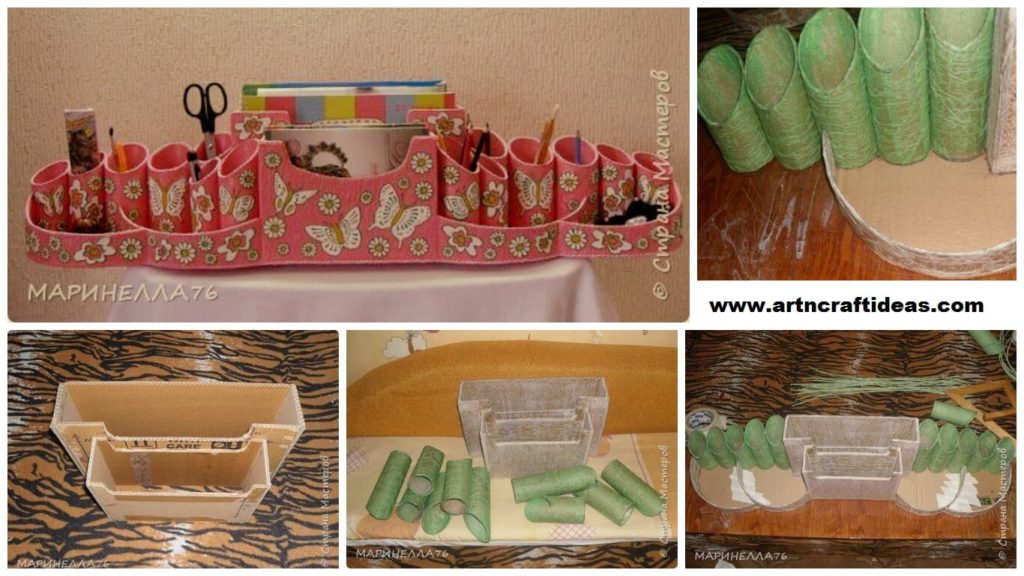
Posted onJune 20, 2017inBest out of Waste, Cardboard Crafts, Craft, Tutorial How to Make Cardboard Mega Organizer
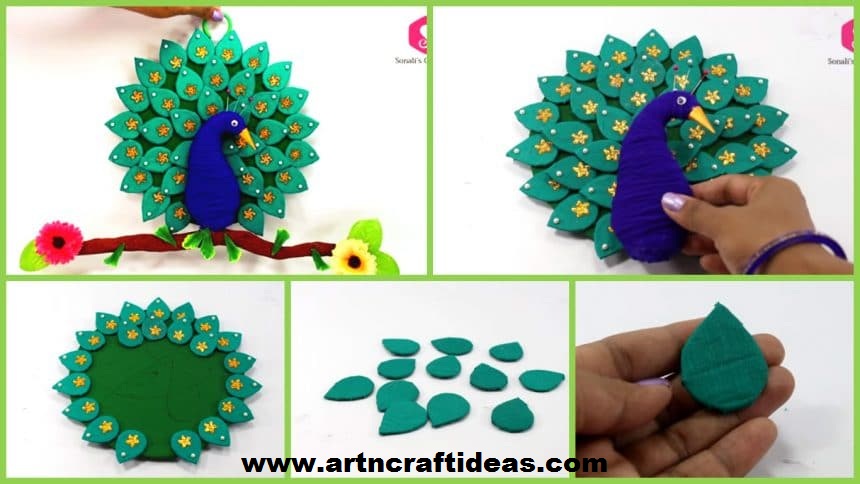
Posted onJune 20, 2017inCardboard Crafts, Craft, Tutorial, Video How to Make Cardboard Peacock Wall Hanging For Home Decor
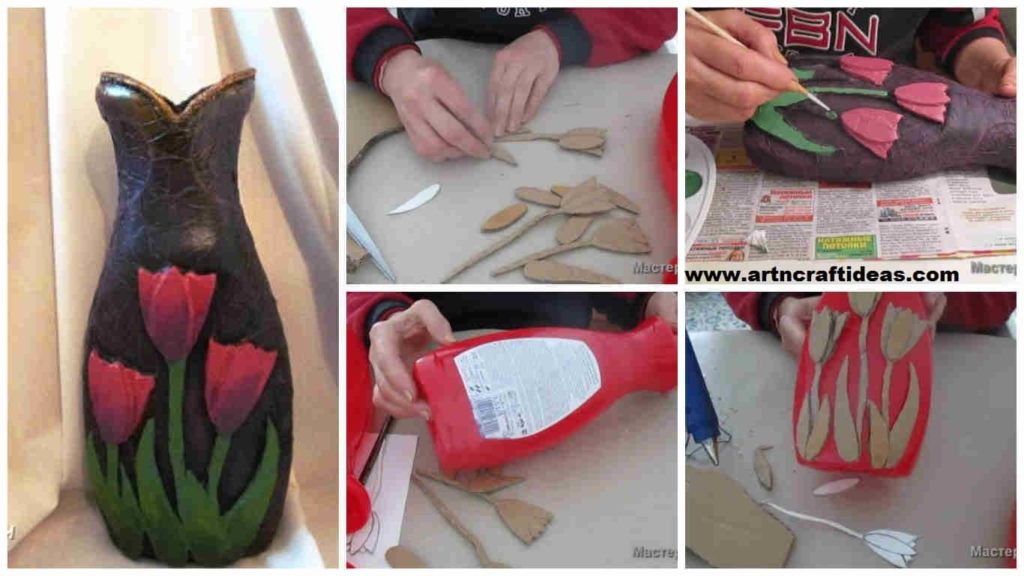
Posted onJune 20, 2017inBest out of Waste, Cardboard Crafts, Tutorial How to make vase from plastic bottle
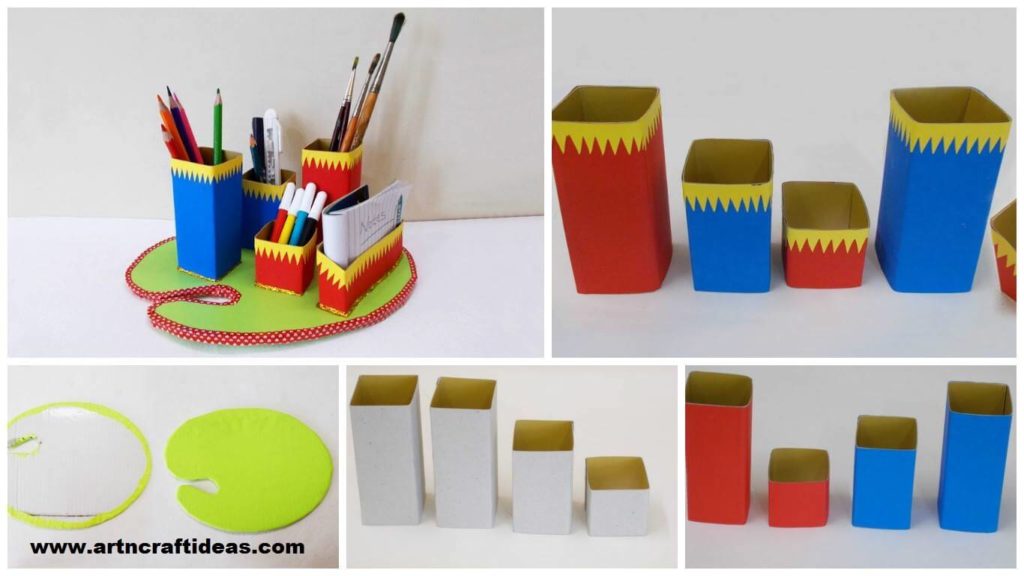
Posted onJune 11, 2017inBest out of Waste, Cardboard Crafts, Craft, DIY, Tutorial How to Make DIY Desk Organizer
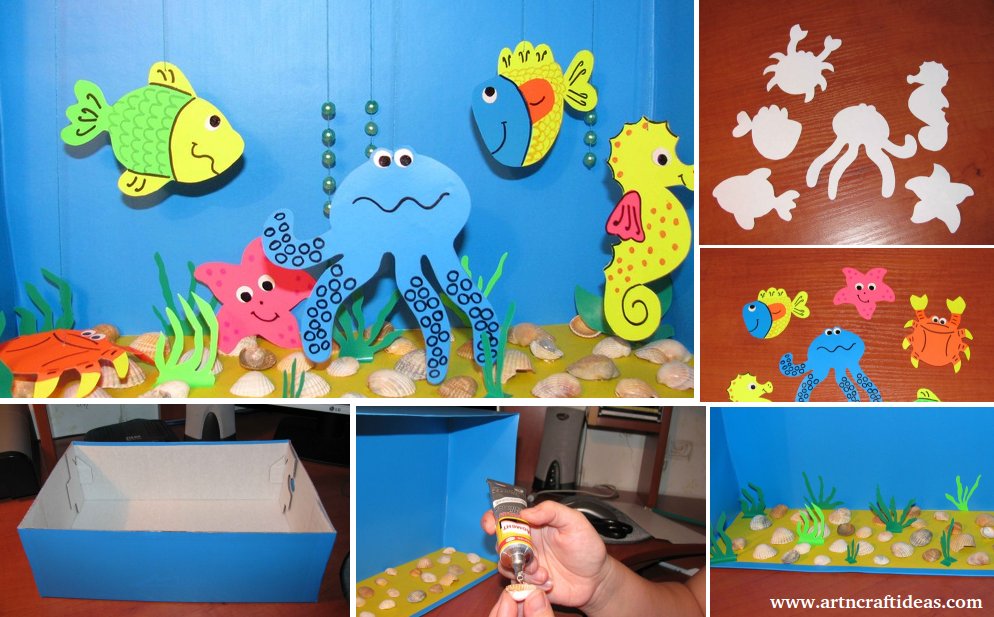
Posted onMay 19, 2017May 19, 2017inCardboard Crafts, DIY, Step by step, Tutorial Aquarium – Crafts for children from the box and color paper