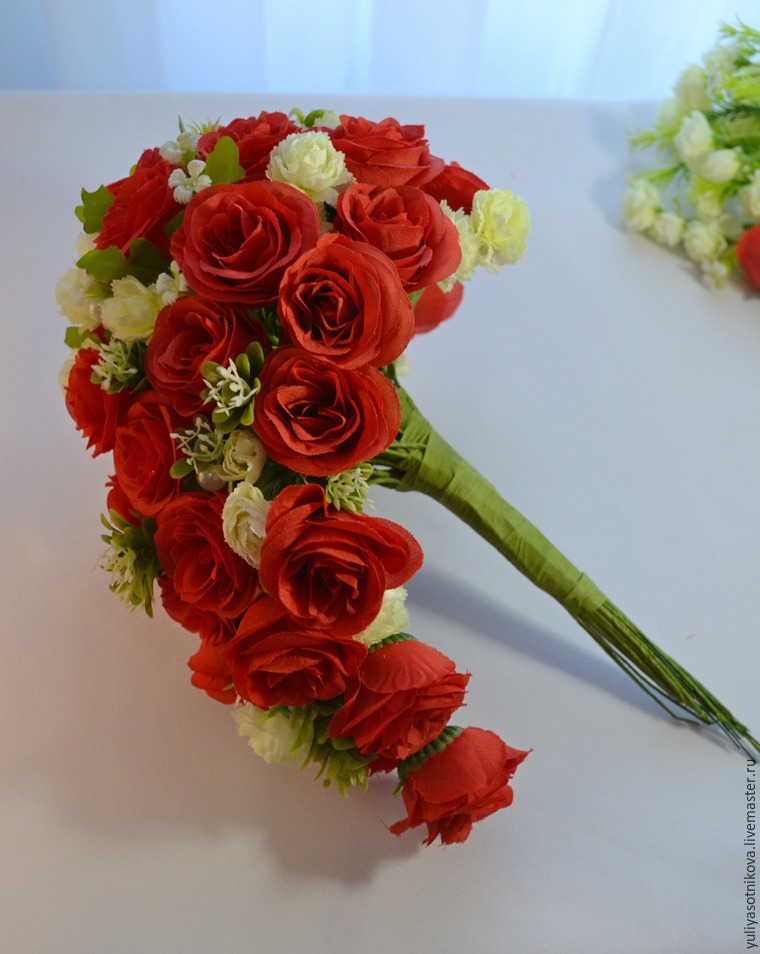
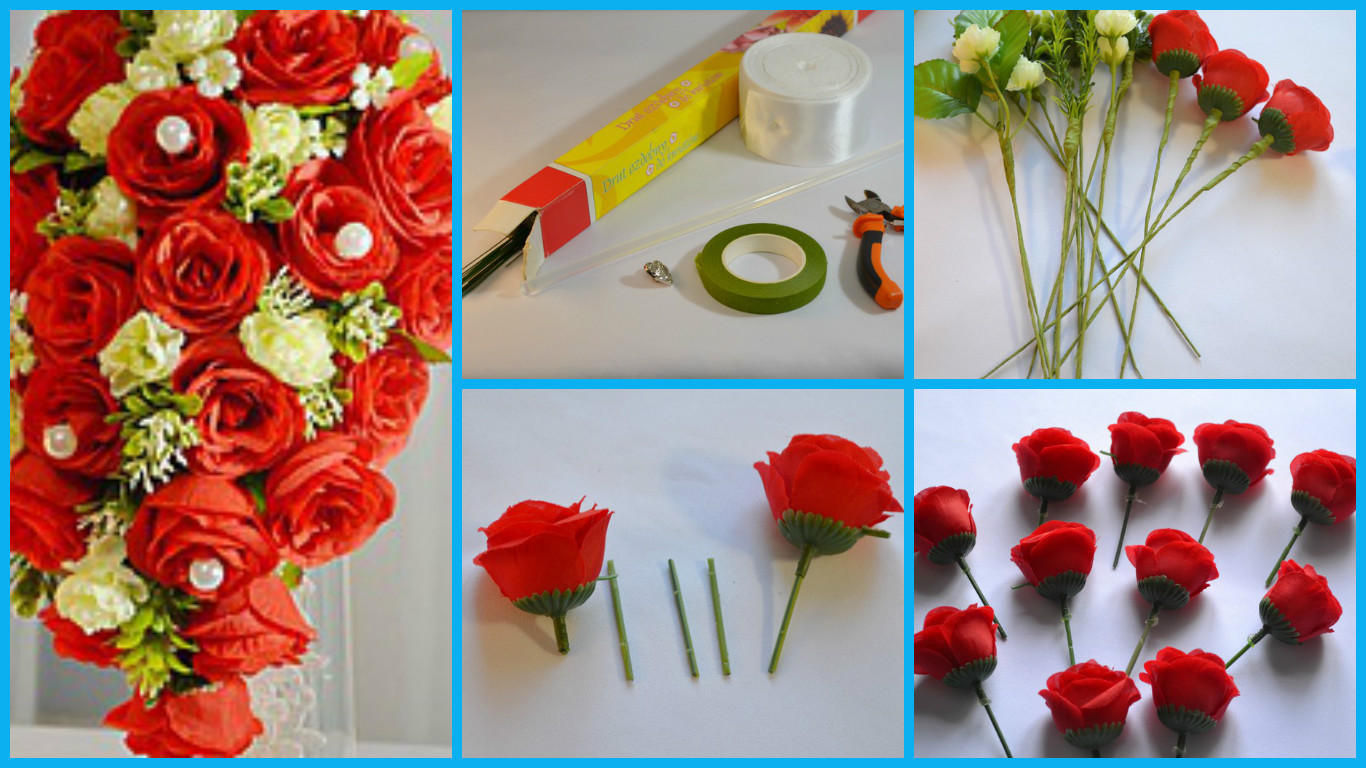
This small master class, I decided to show you how to make a cascading bouquet, understudy in taping technique. I do not know, does anyone still doubles so this technique and I like the fact that it allows you to create absolutely any bouquet shape, whether ordinary hemisphere or “waterfall” to the floor.
Necessary materials:
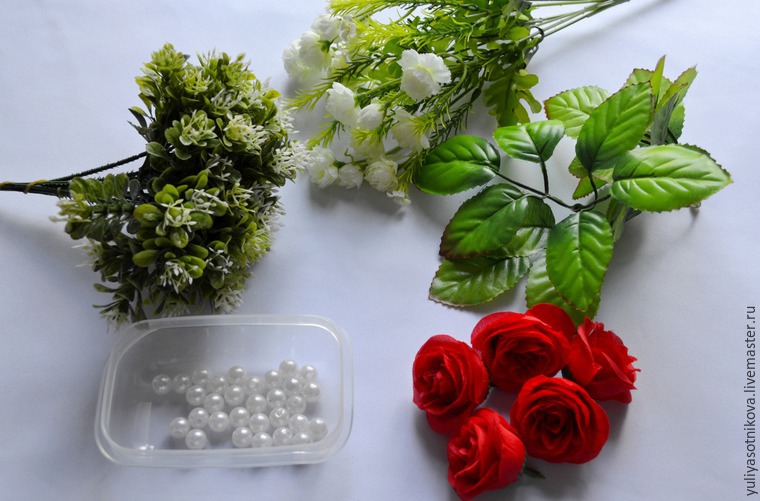
– small head rose (on the job took them 40 pieces)
– Rose leaves 10 pieces
– a pair of white carnation bushes
– a few sprigs of greens with tiny leaves
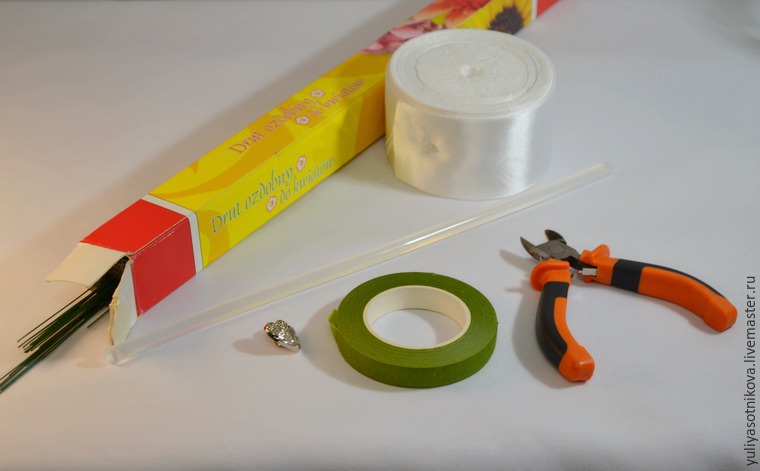
– Floral wire is 0.7 mm thick
– Teip tape
– Hot air and hot melt adhesive
– Scissors
– Wire cutters
– Satin tape 4 cm wide and 2.5 cm (2 m)
– Lace 50 cm
– Beads (15 pieces)
– Decorative buttons
Getting Started. Cropped bushes with branches carnation so that we stayed on them “legs”. In order to collect a bouquet of roses in the head, you must first create them stems. Here we need the one wire that was left of carnations.
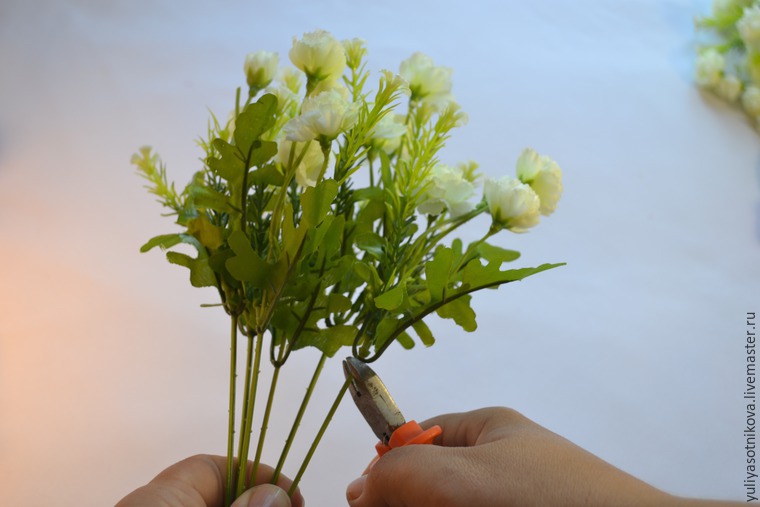
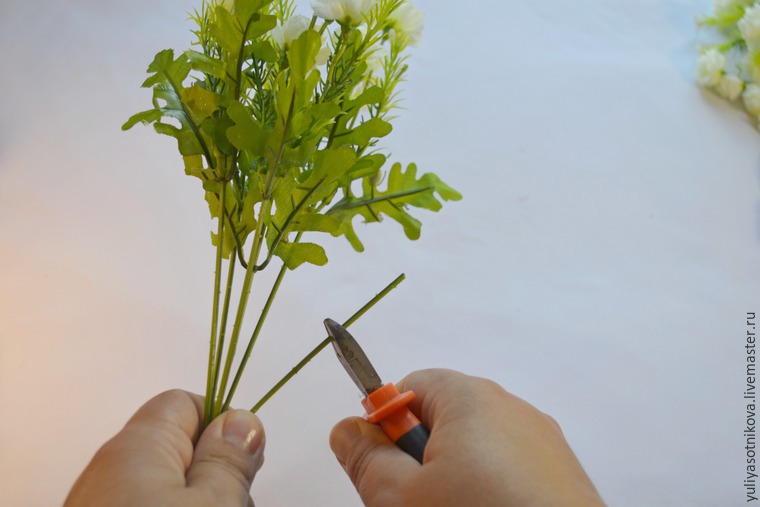 Cut it into pieces, centimetre 4-5. Such pieces will need as much as the heads of roses we’ll use.
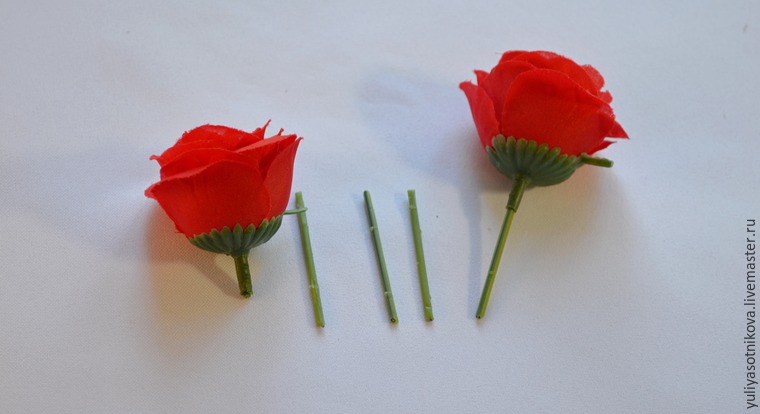 Next, we need to put on the head of the wire segments roses. To do this, we are on the tip of the wire we put a drop of glue and put on our roses. It looks as follows:
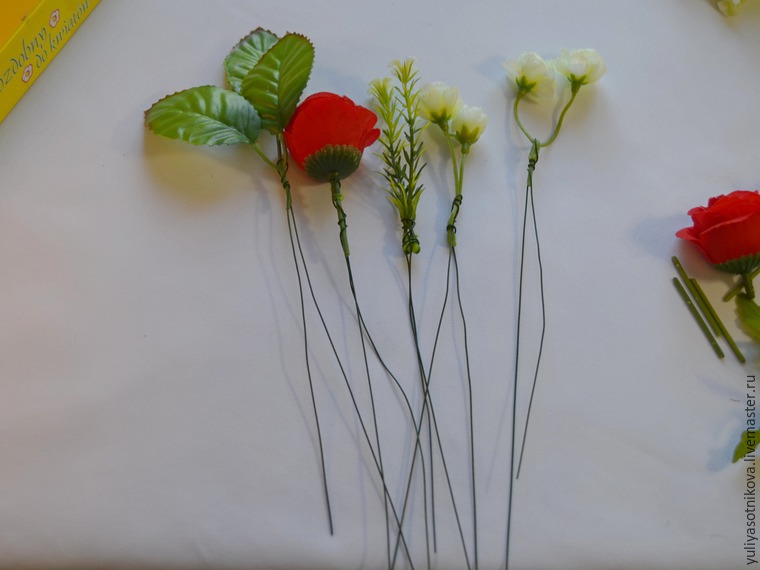
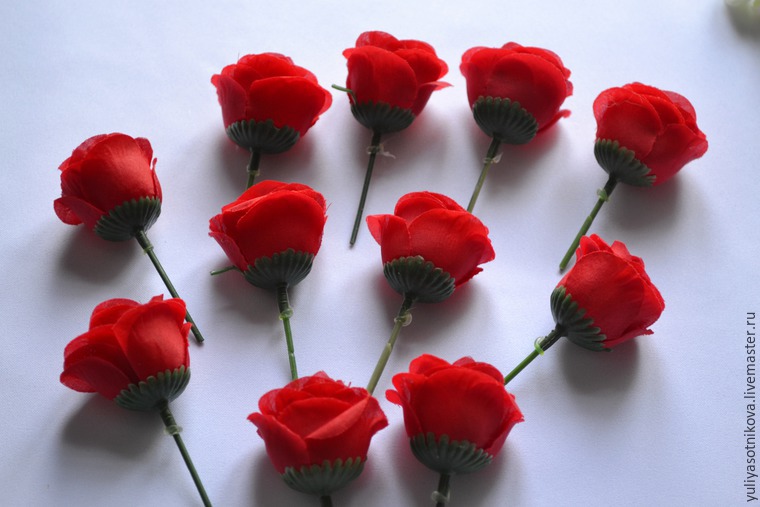 We continue to form stems. Take the wire and florist primate it to our legs so that the ends of the wires were down, prolonging the existing legs. In the same way we do with the rest of the flowers and greenery.
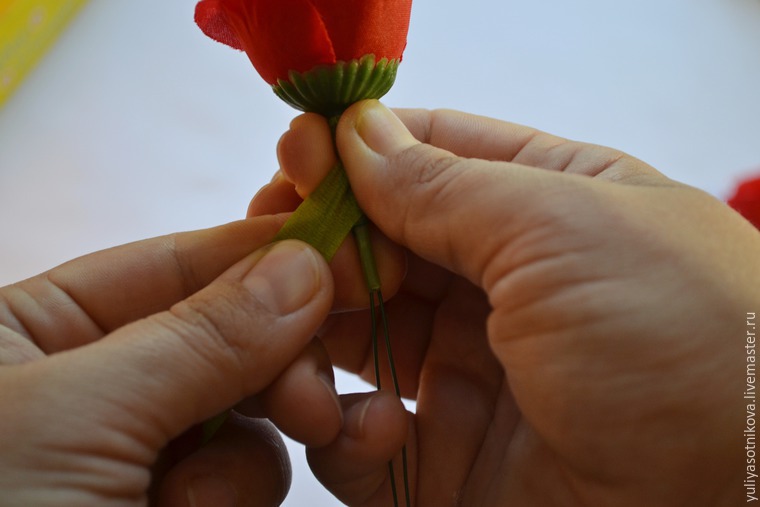
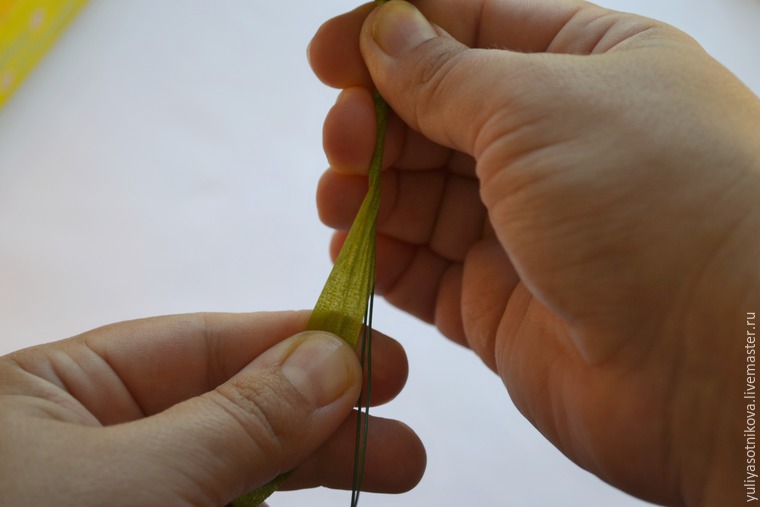
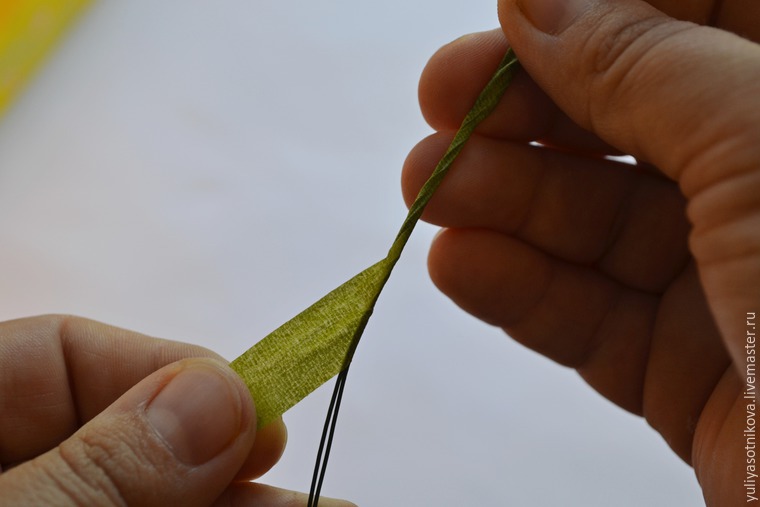
 Now we need to wire propitiate. To do this, take the tape and from top to bottom, a little stretching her tight and carefully amalgamate she ends our wire. That’s legs and ready. At first glance, someone who has not worked in the technique of taping, the process may seem long, but when “the hand is already packed,” it is done quickly.
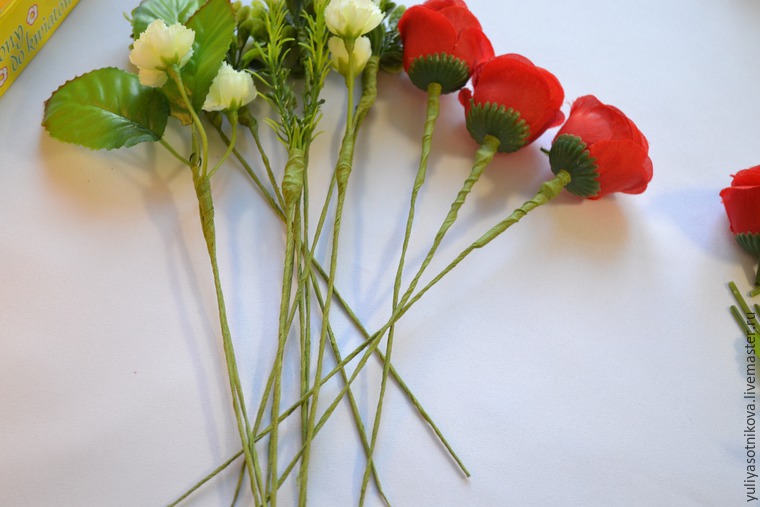 Now you are ready to assemble. Take one at the flower and begin to put them together to form a “cap” of the bouquet.
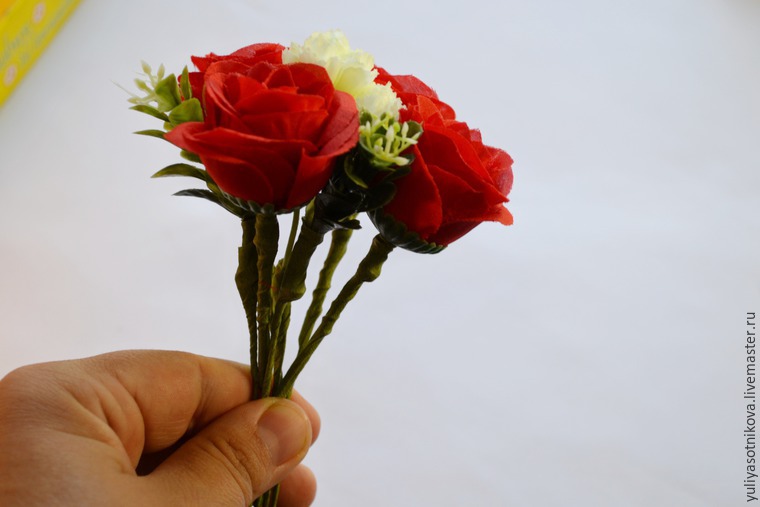 It is better to do so: lay down a few stalks, tap-recorded tape. Then added another and again recorded.
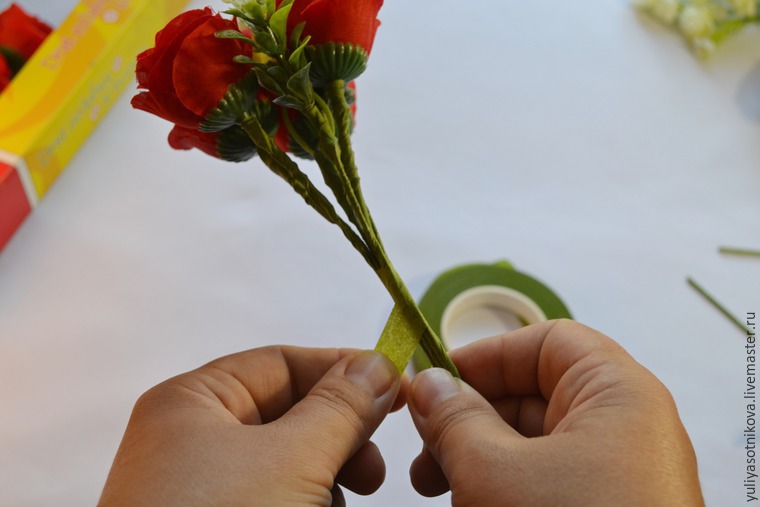 So we continue to put a flower in the flower, alternating red and white and adding a small green, trying to give the bouquet shape of a hemisphere.
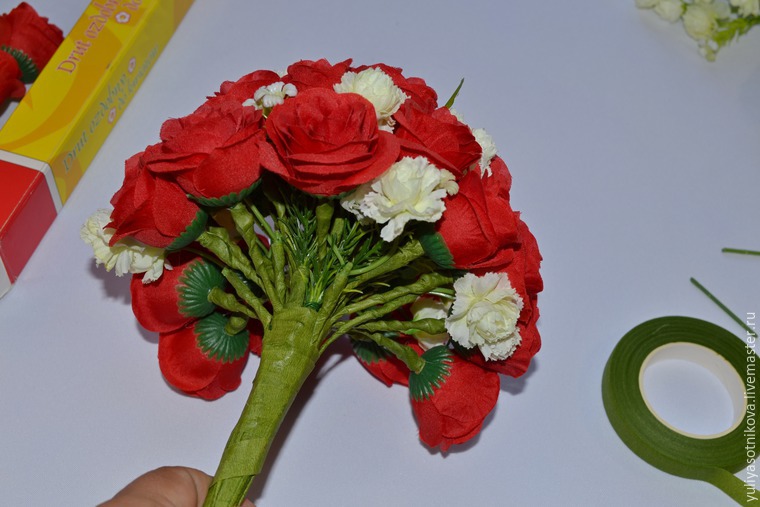
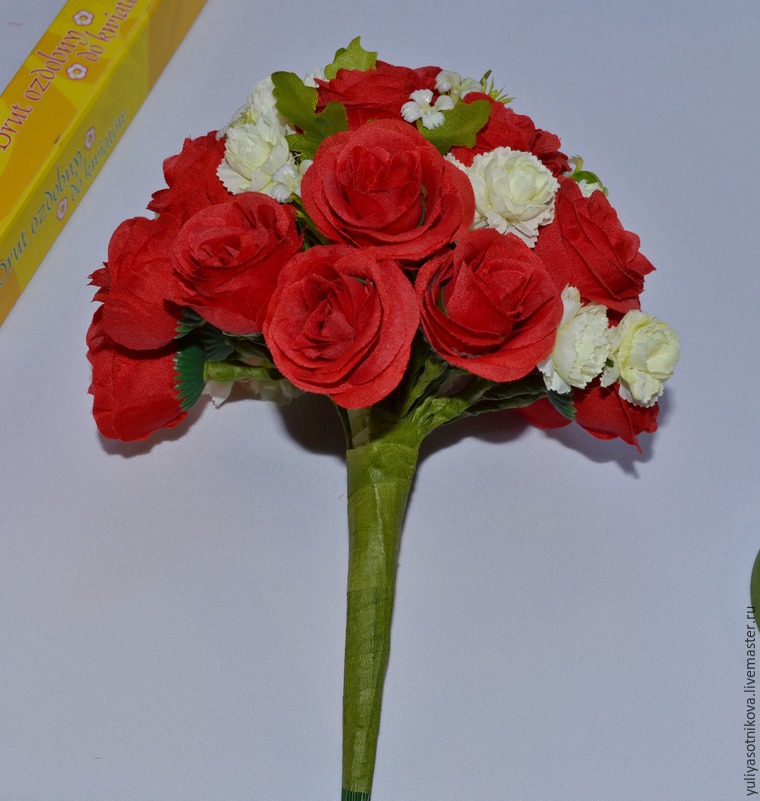 Here it was possible to stay and start to decorate the handle of the bouquet, but as he we should be cascaded, we will form a part of its drop down. To do this, take in hand a rose, then, below (below the height of the head), are putting two other roses. Below them three pieces. In between, do not forget to insert a carnation and greens. And since several rows depending on how long we want to make the cascade. In form it resembles a Christmas tree.
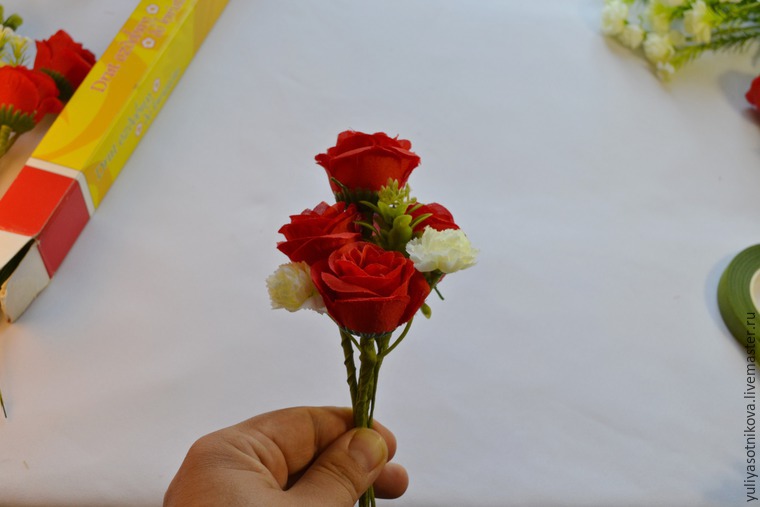
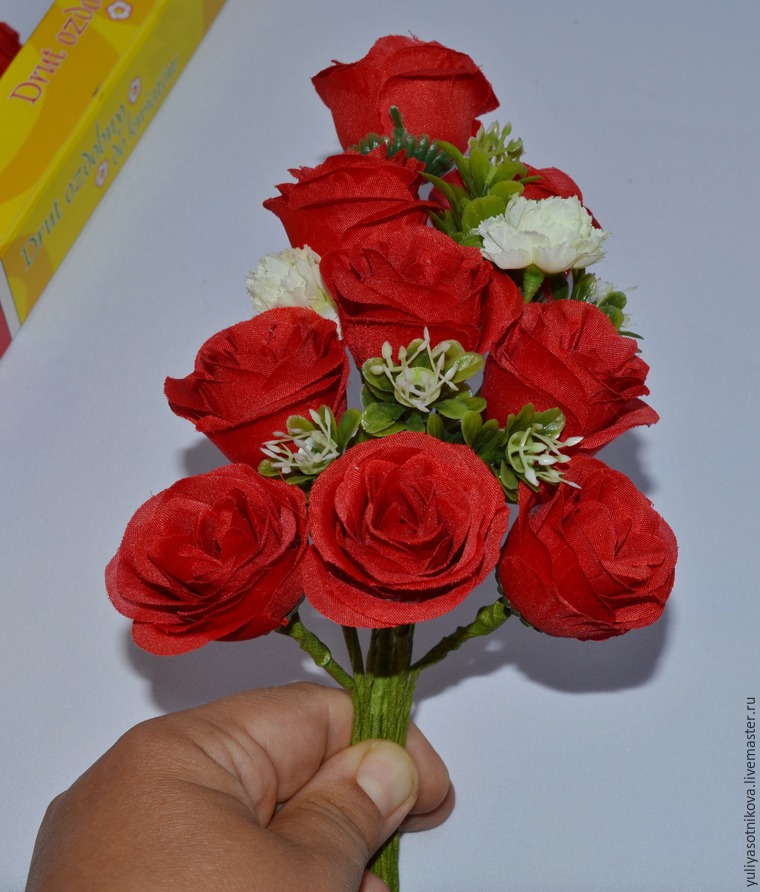 Next, you need to connect the top and bottom of the bouquet. To do this, we bending the lower part and are putting it to the top so that together they constituted a single unit. We fix tap-tape.
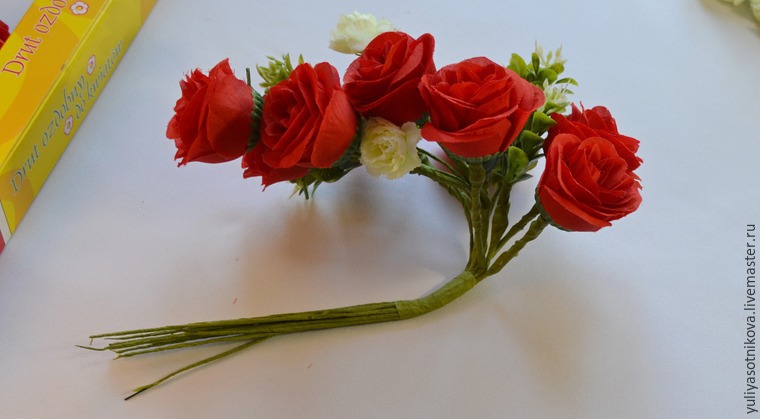
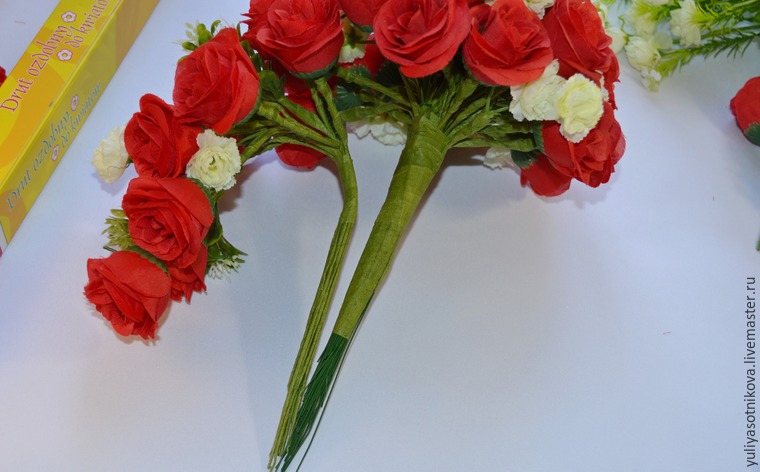
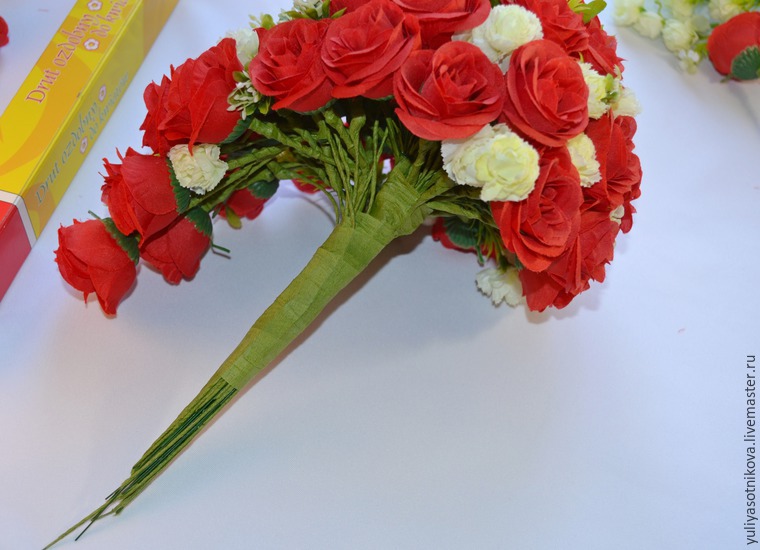
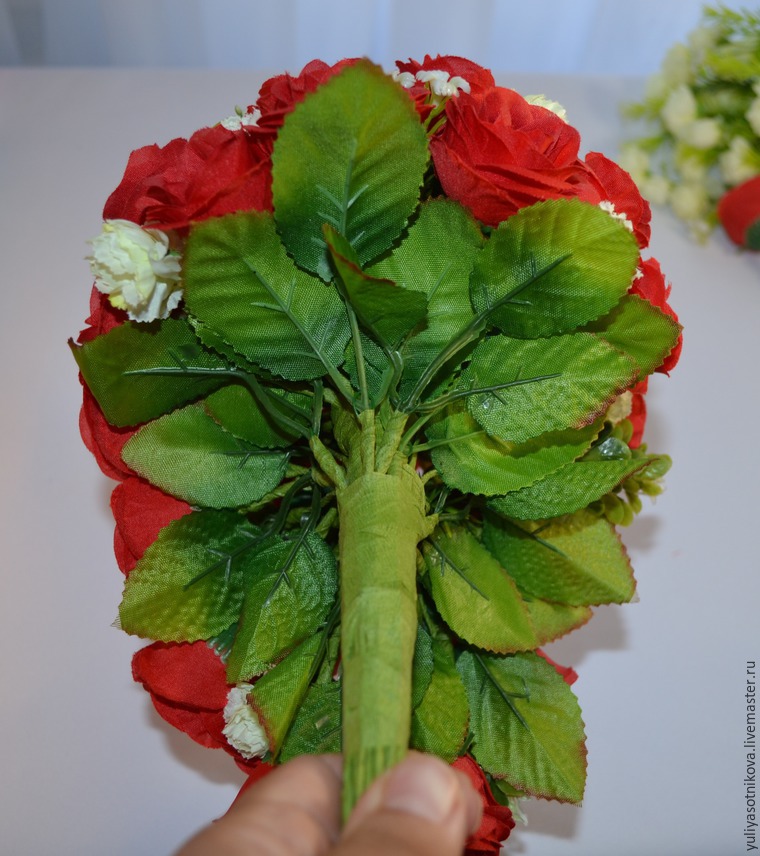
 Now start to decorate the stem of the bouquet. First, on the edges of the leaves of roses surrounded by cushioning the foot and again fix tap-tape.
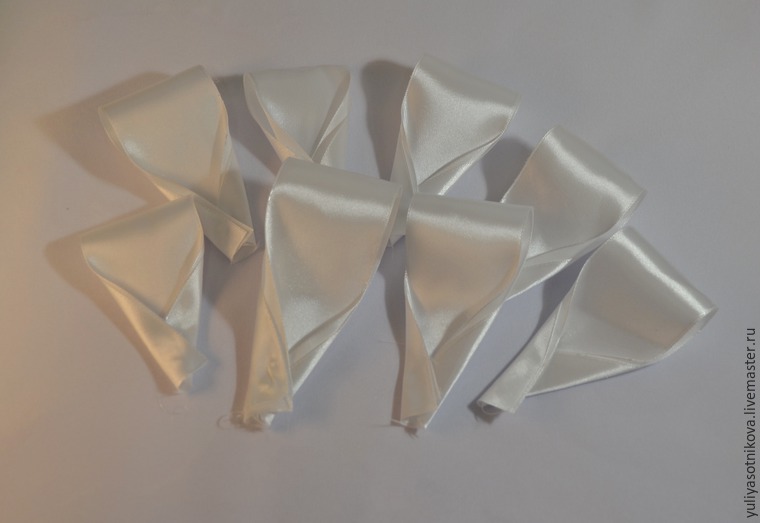
 Satin ribbon width 4 cm cut into 8 pieces of 10-12 cm. Each leg folded in half are bent, as shown in the photo and fix with glue.
 These blanks around the perimeter of foot paste bouquet.
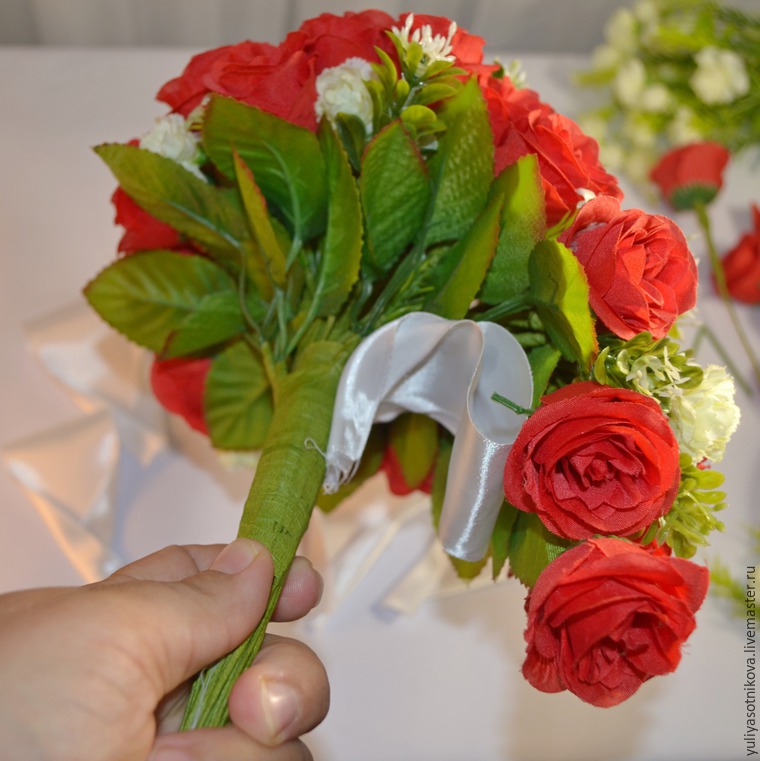
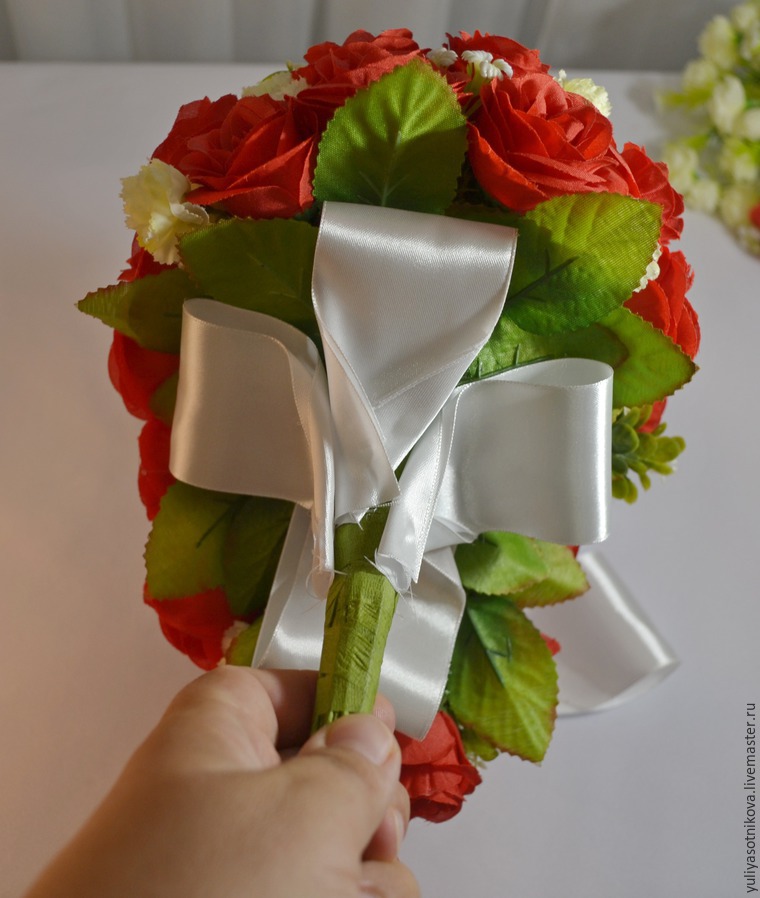
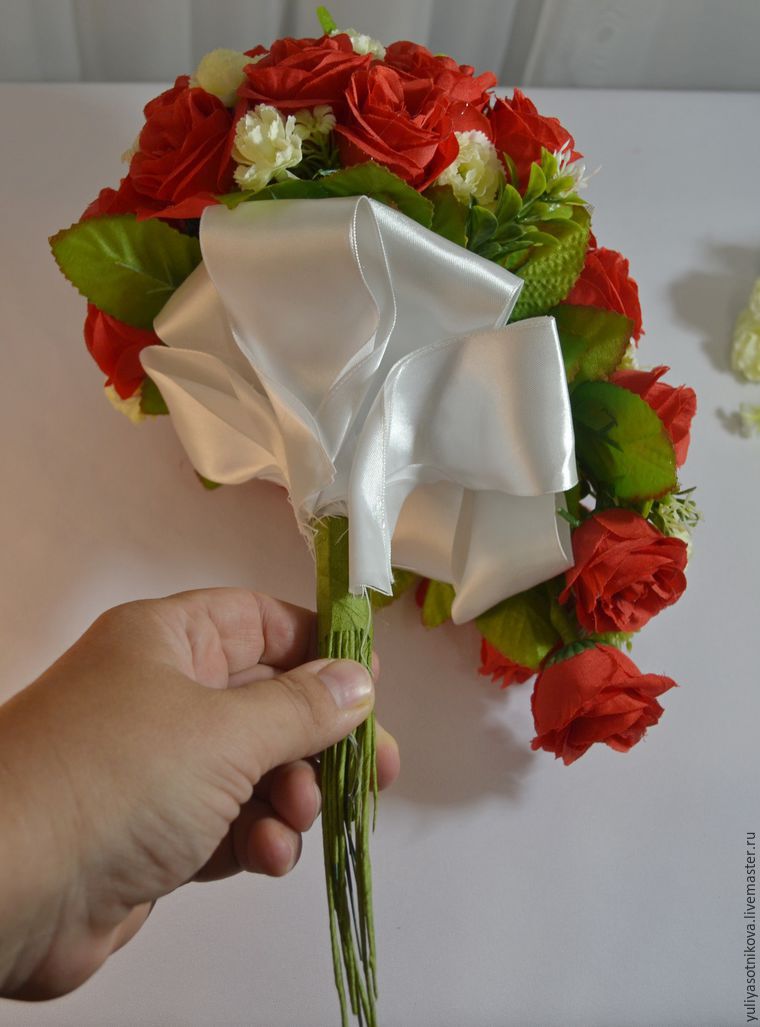 Determine how long we want to leave the leg and cut the excess stems clippers. Again, fix their tap-tape.
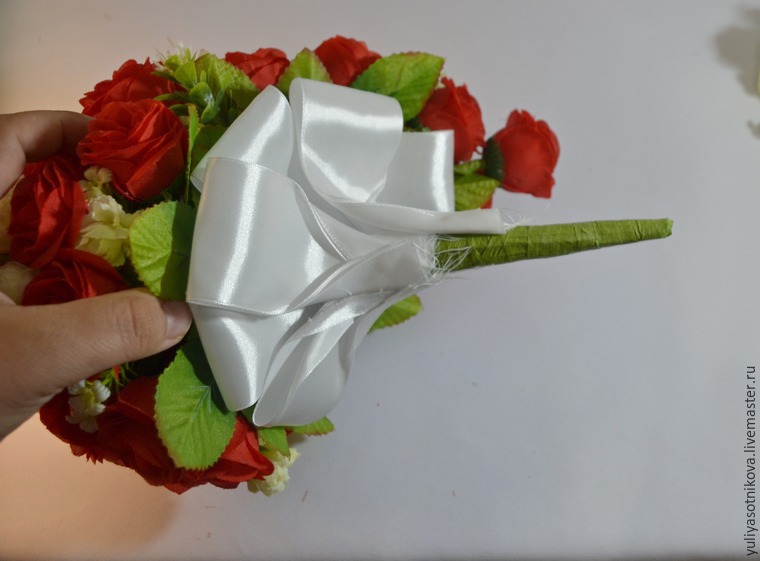 Then decorate the leg across the length of the ribbon width of 2.5 cm.
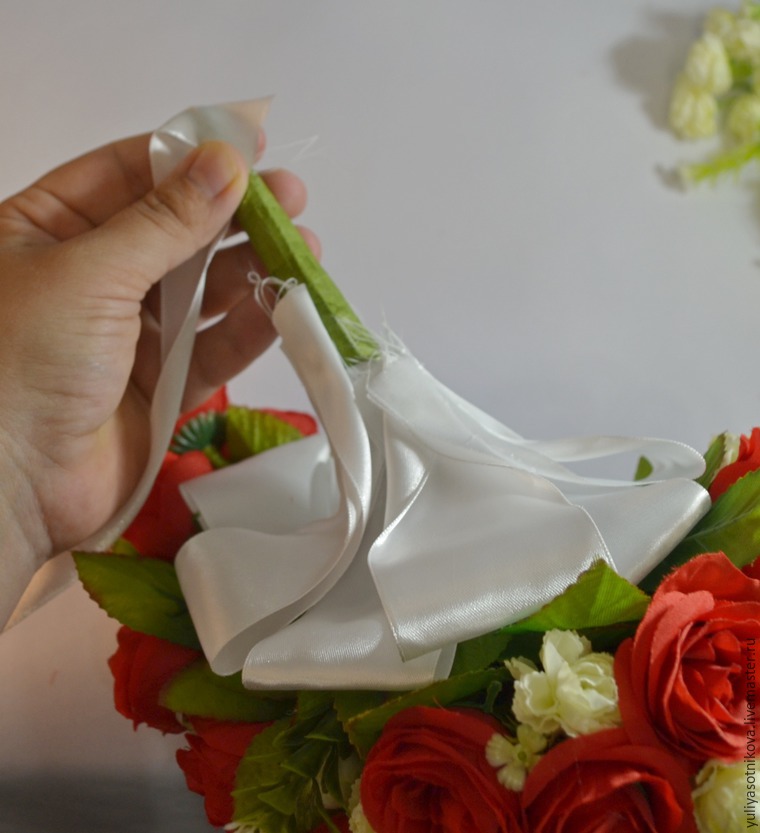
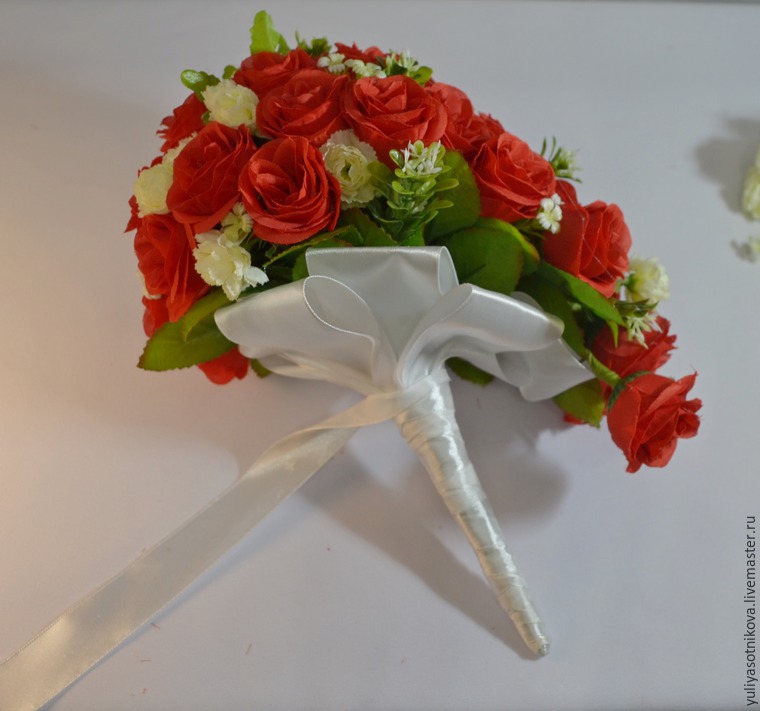

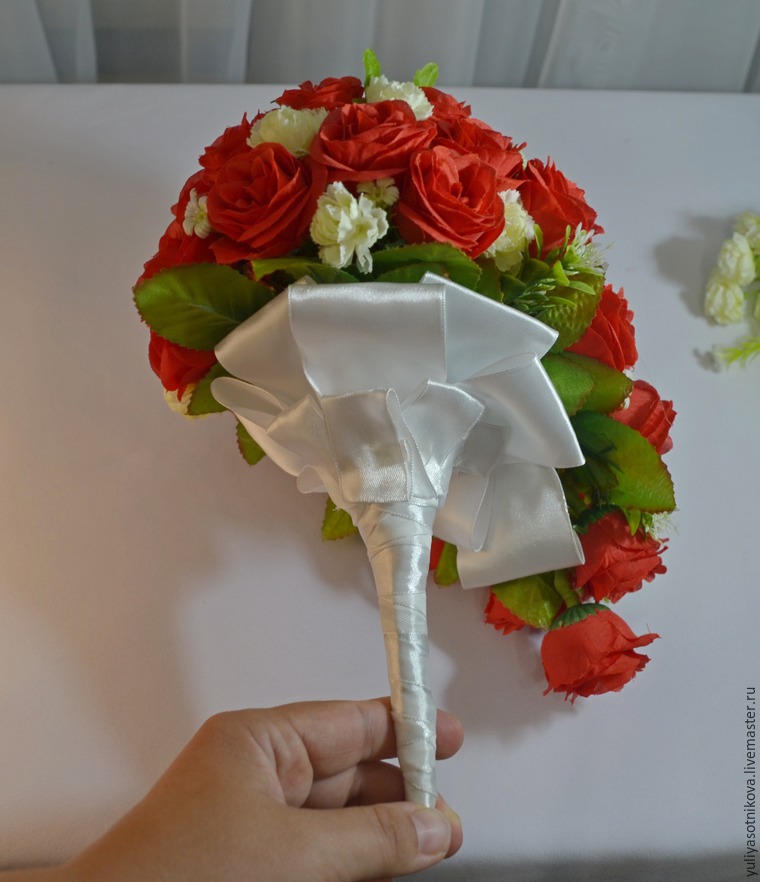 In the centre of some of the glue in beads roses. On foot, the top we tie or glue lace ribbon and decorate with decorative buttons.
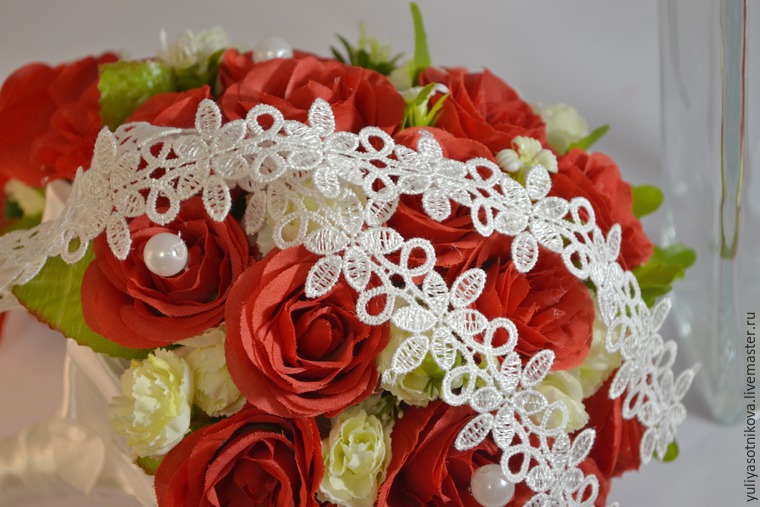
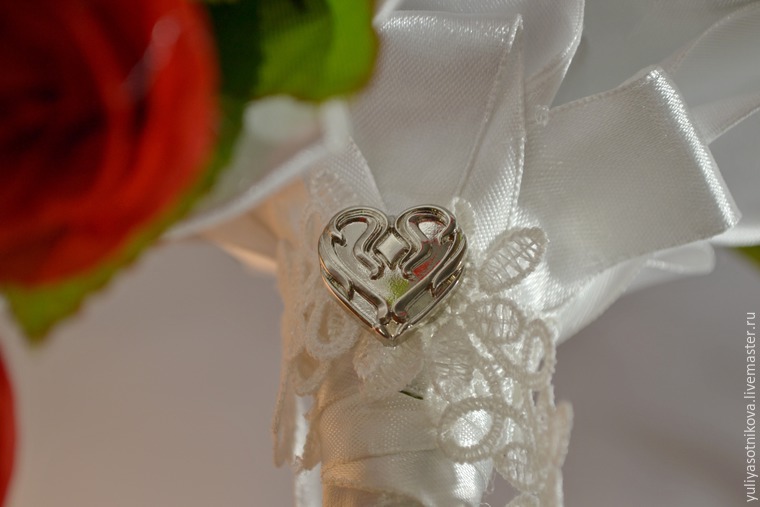
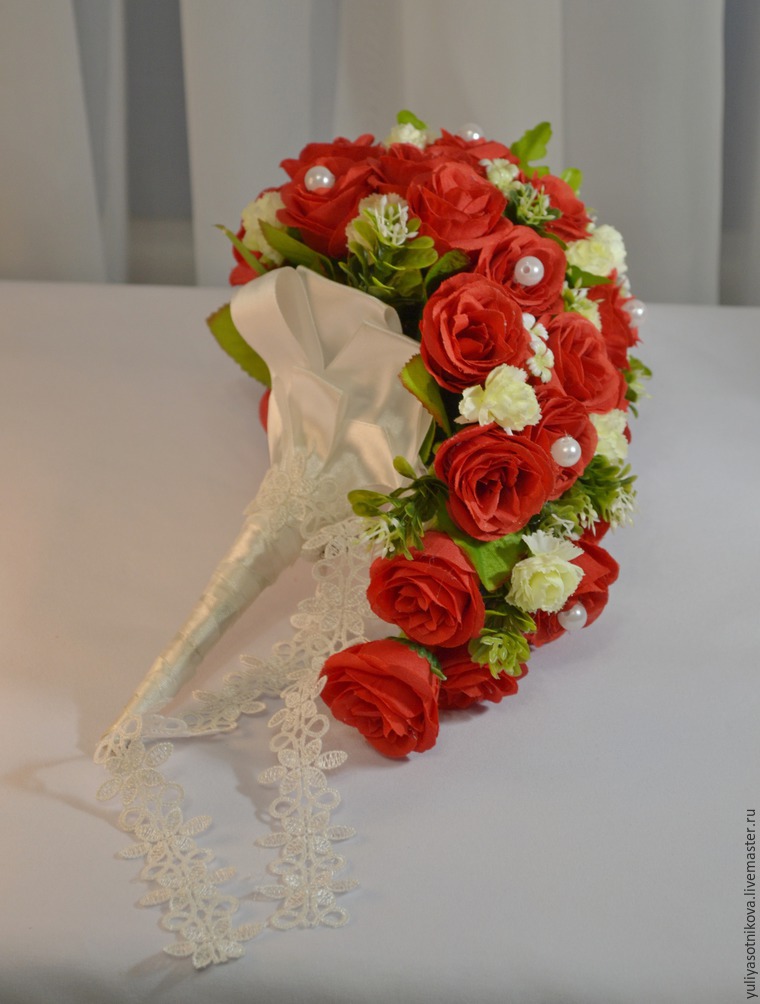 Well that’s all, our bouquet is ready! If my master class you like, or you find it for yourself something useful, please click ‘like’, because he is involved in the competition.
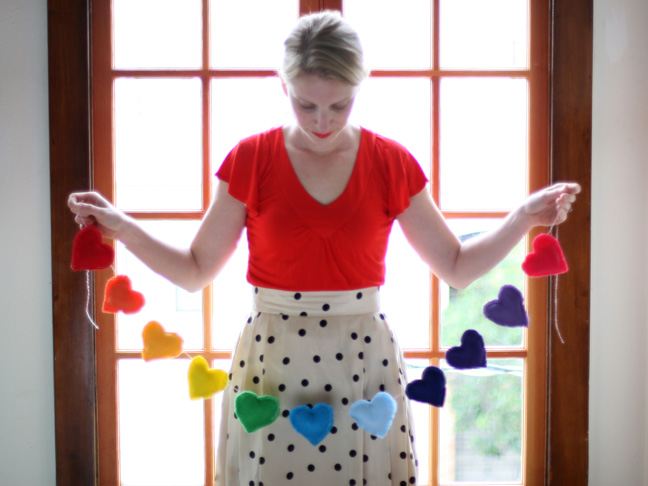
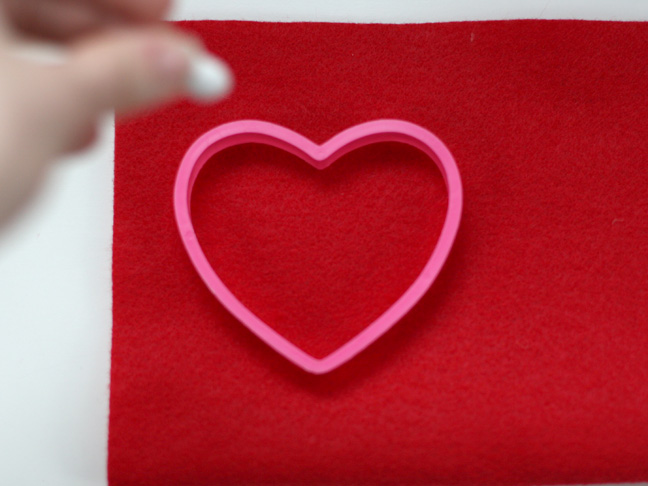
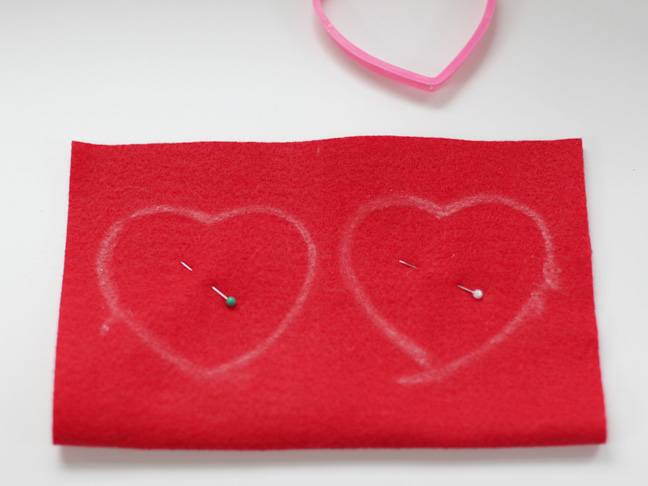
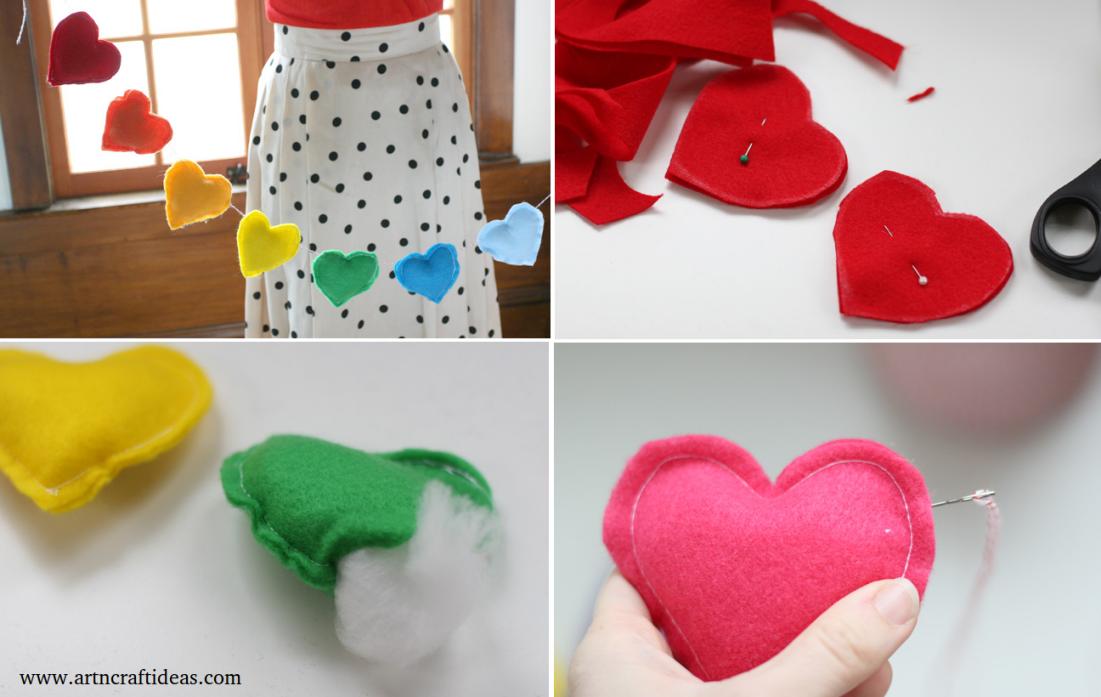
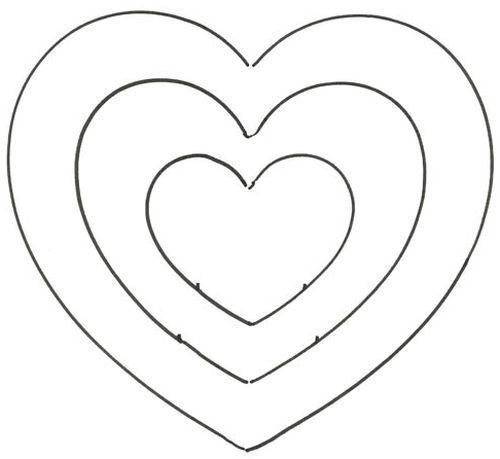
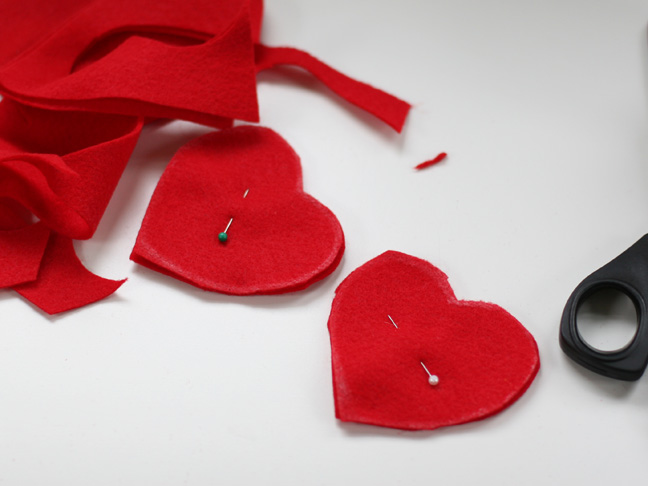 Cut out your hearts. Keep the pins in. Set pinned hearts aside.
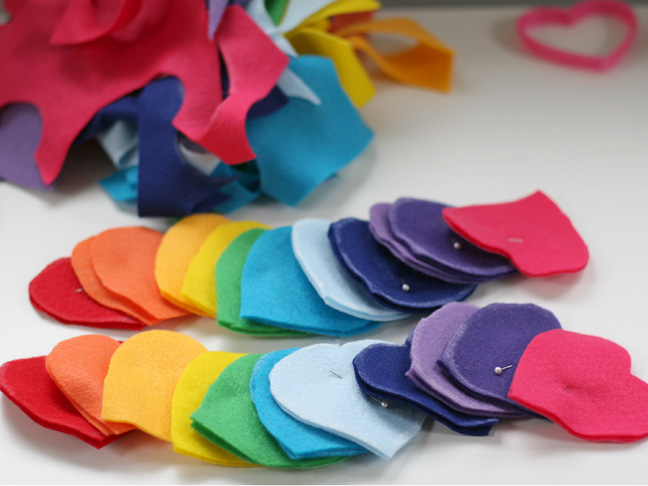
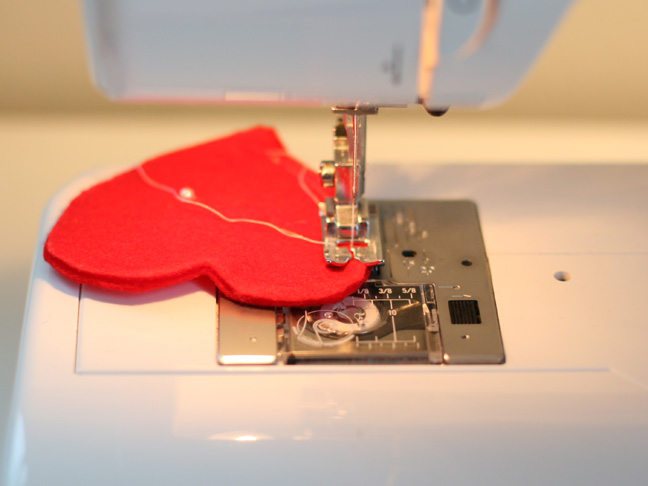
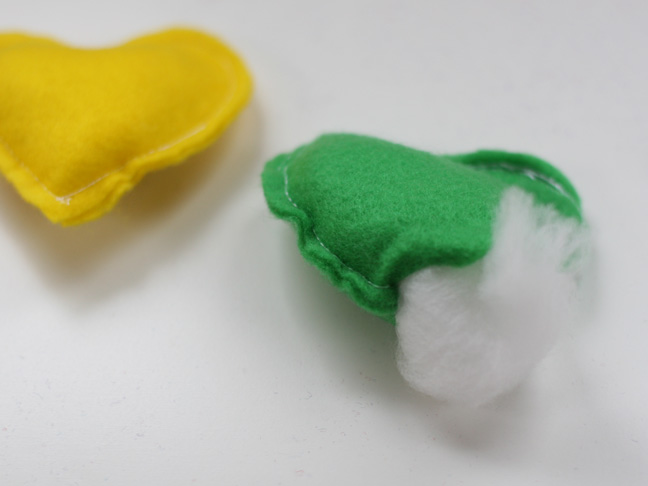


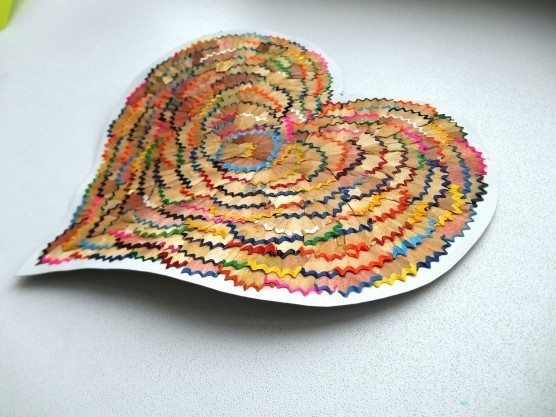
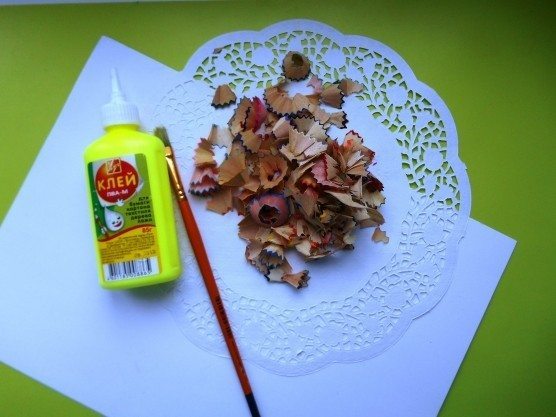
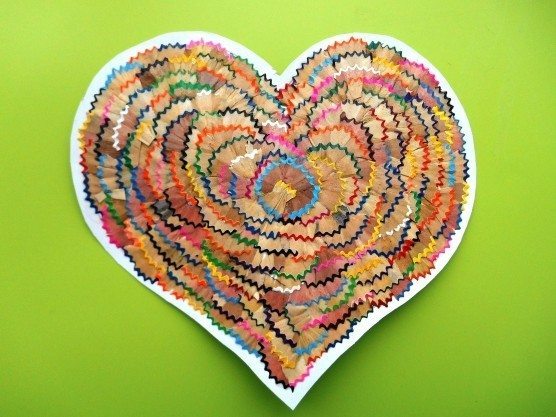
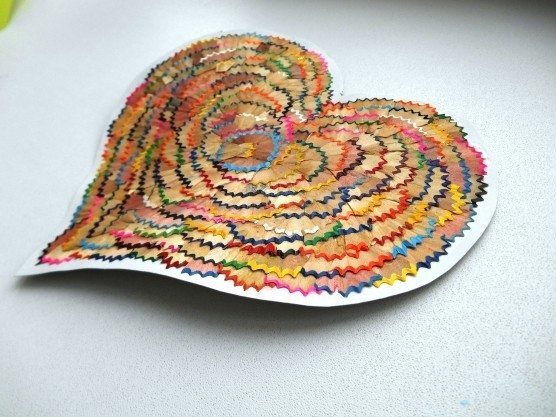
 Apply glue along the edge of the small area and place the chips from pencils teeth outward, alternating by color.
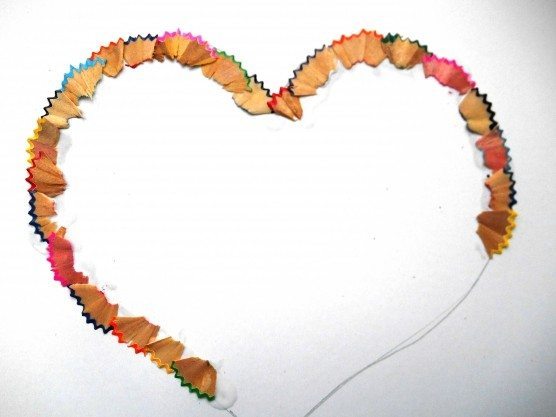 When the first row is laid, we proceed to gluing the second,
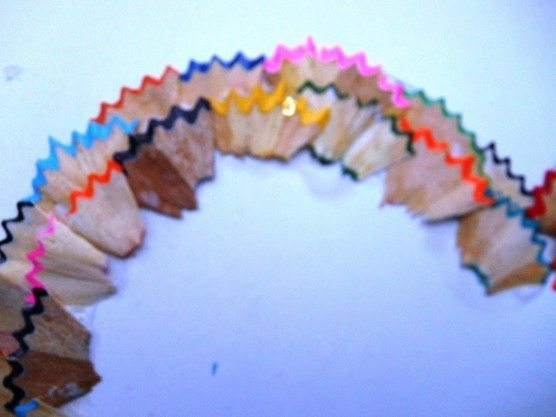 Then the third.
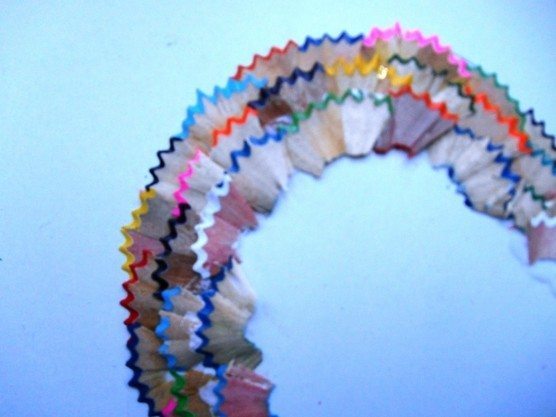
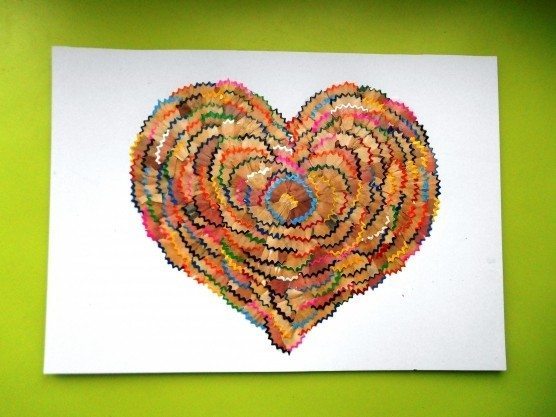
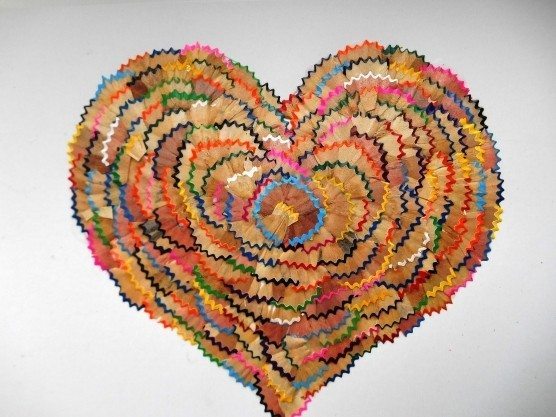
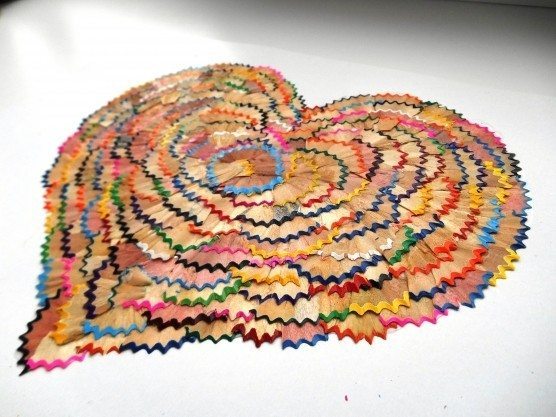 You can cut it, step back a little from the edge.
 Thank you for attention.
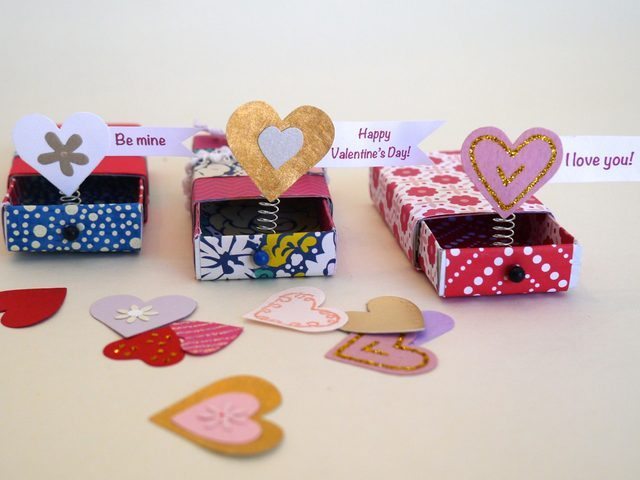
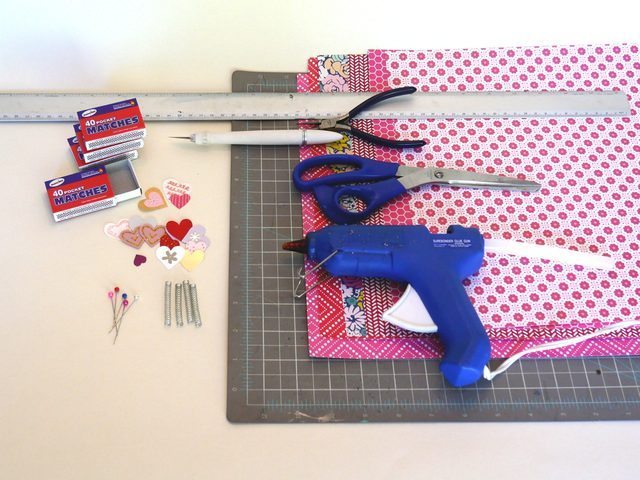 Measure the size of the inside of the matchbox and cut strips of paper.
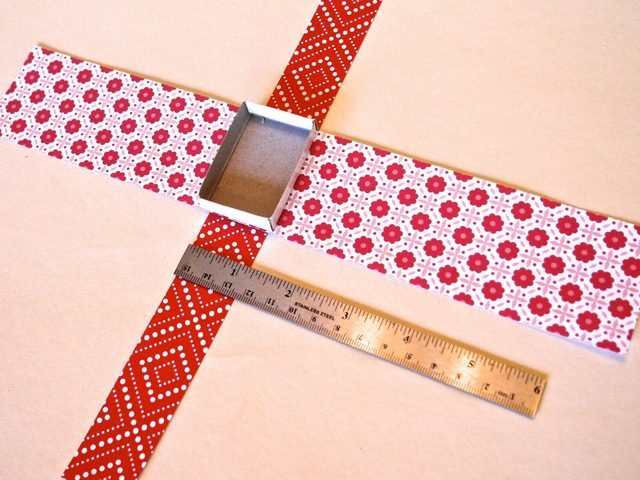 Coat the outside of the carton.
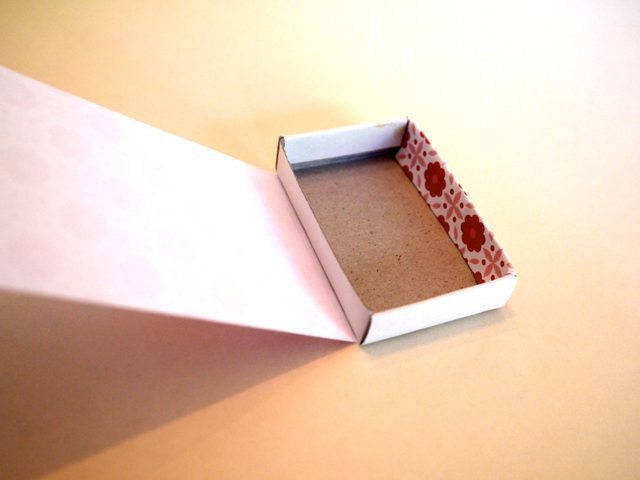 Cover the inside of the carton.
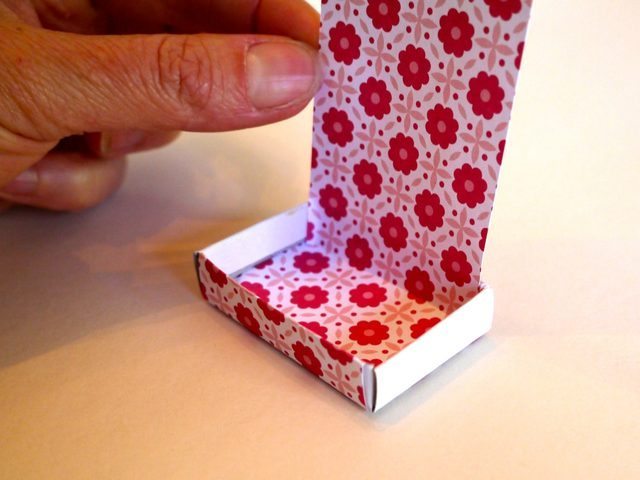 Glue the smaller strip to the length of the carton.
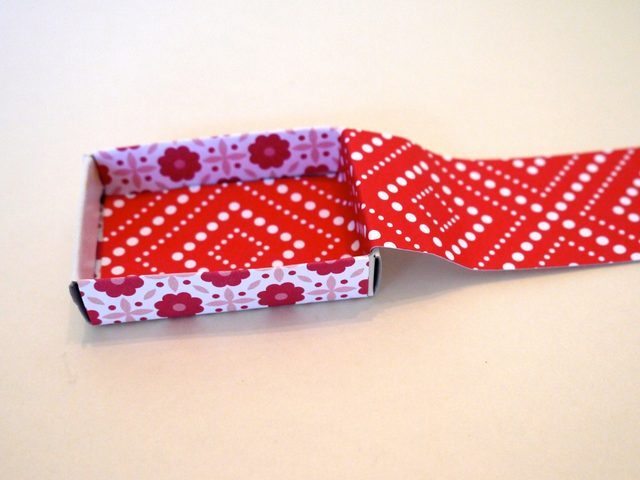 Remove the outside of the carton.
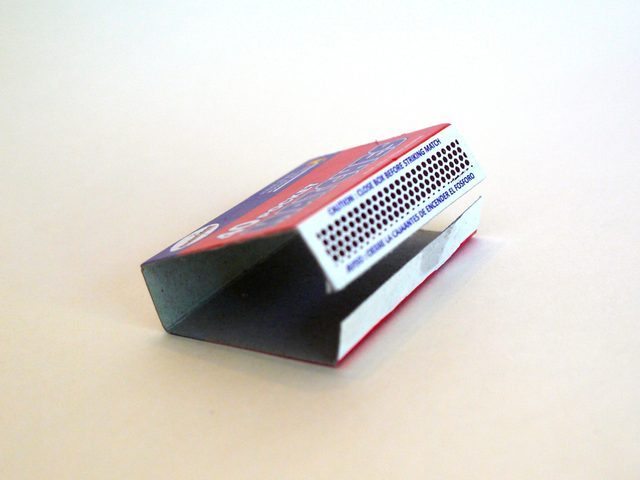 Cover the outside of the box and reassemble it by gluing the flaps with the aid of the hot glue gun.
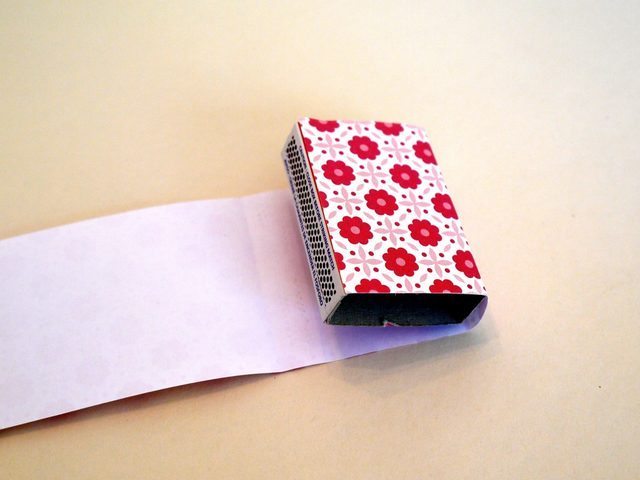 Cut one piece of the sewing pin through the end of the inside and fold the leftover pin inside to secure.
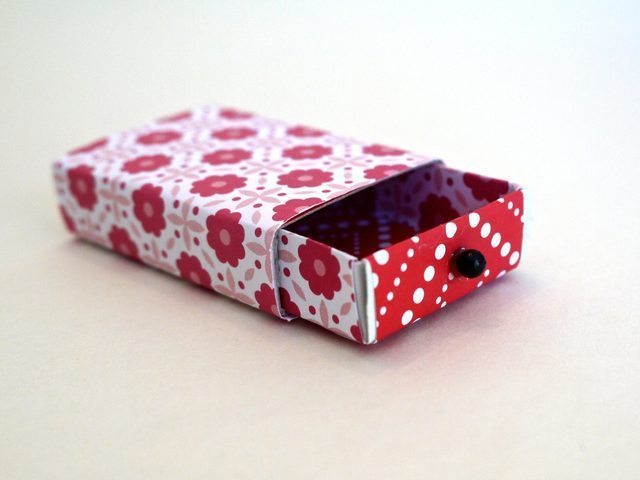
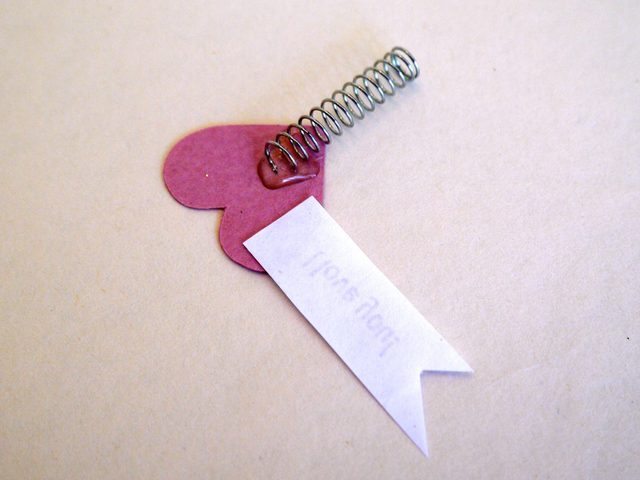
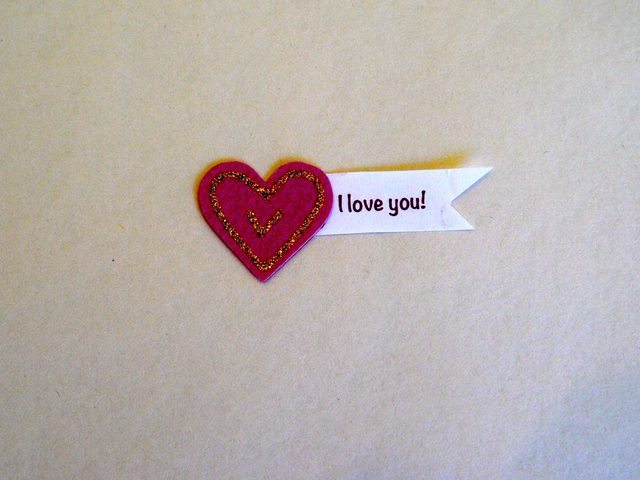 Cut a piece of the spring and glue it to the back of the heart with the aid of the hot glue gun.
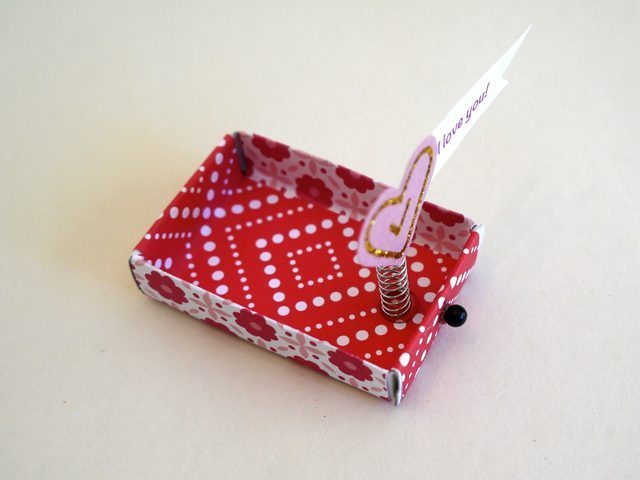
 To finish your piece, glue the spring into the matchbox. And it’s ready!
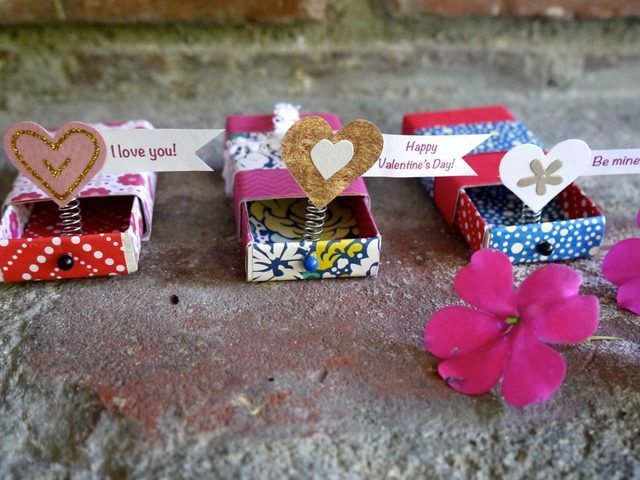 (Photo: ehow.com)




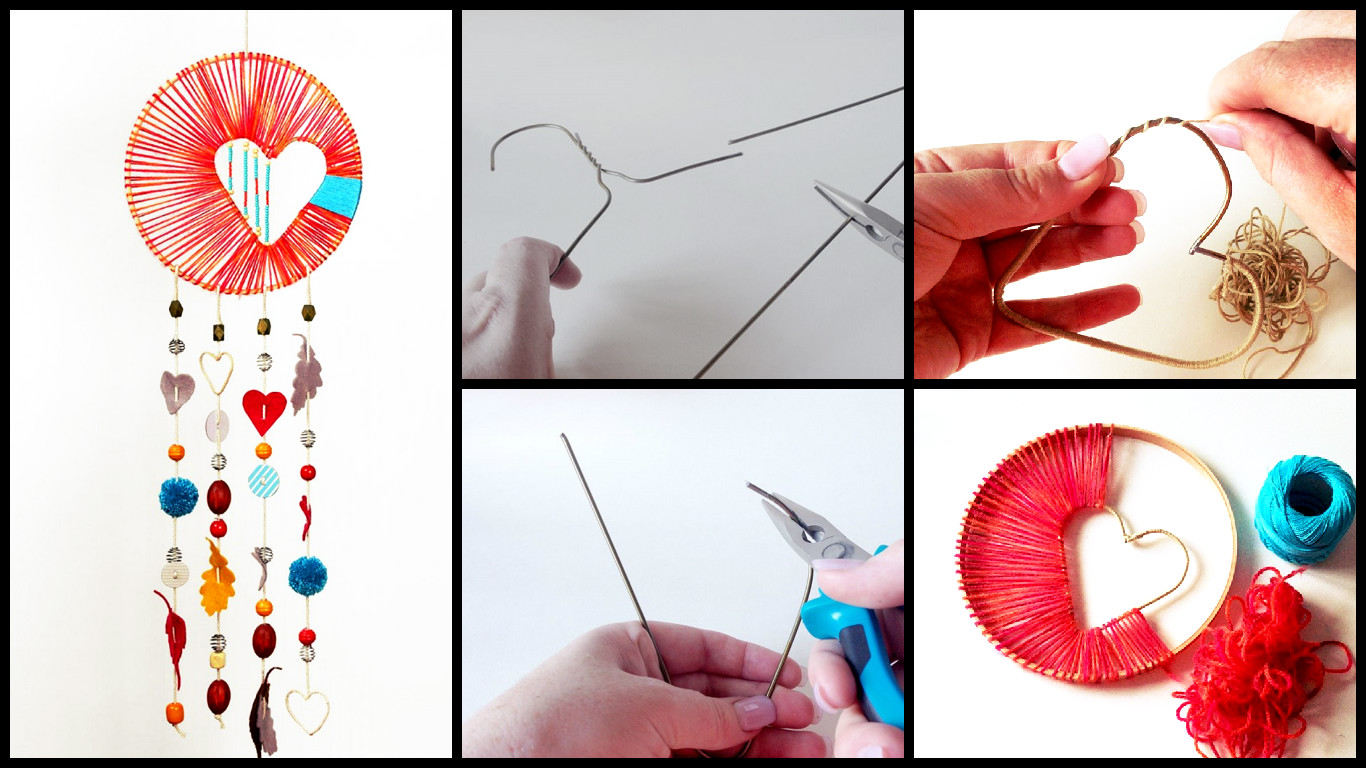
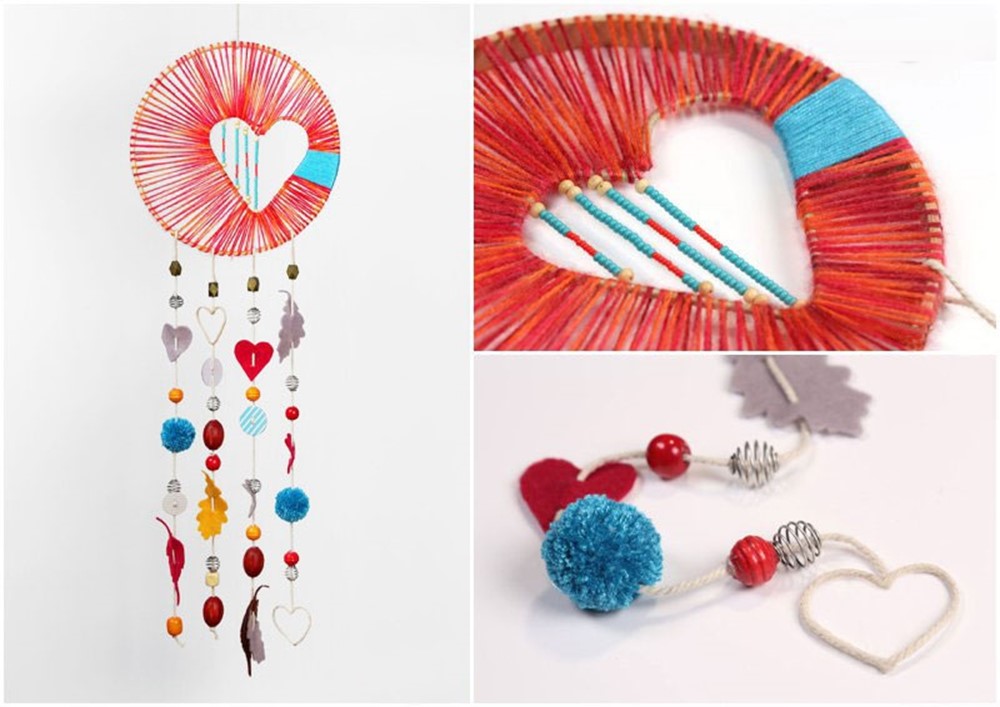
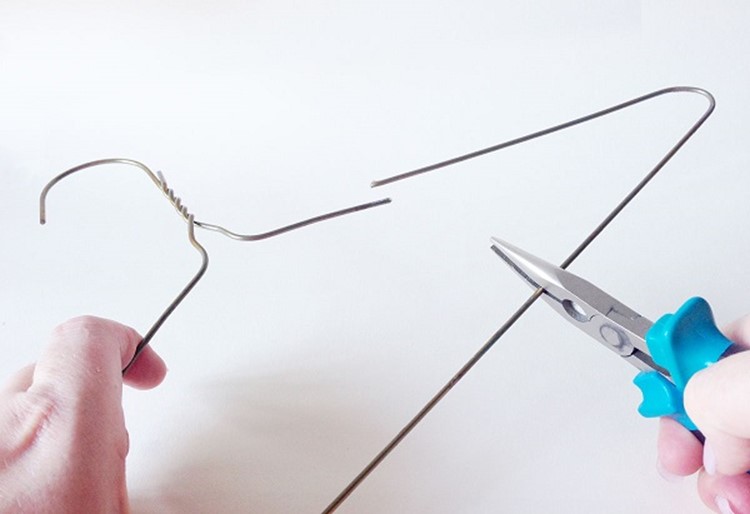
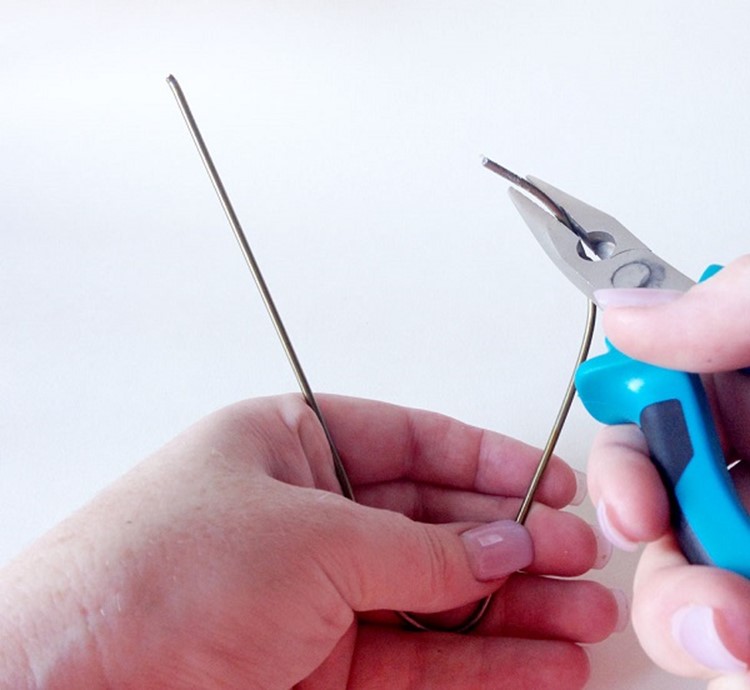
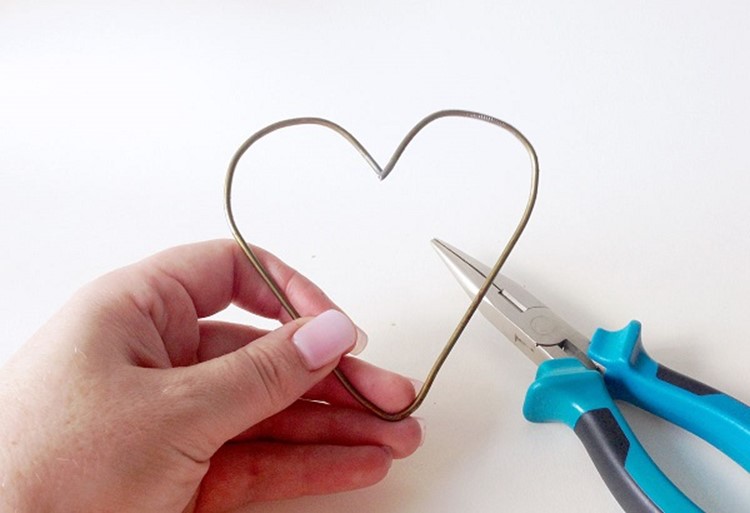 The Wind the thread (so as not to slide the next layer):
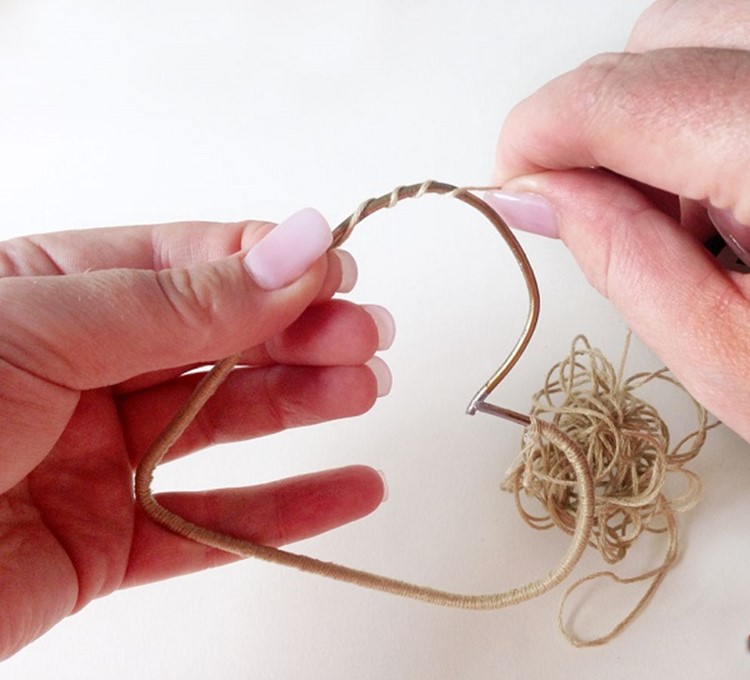
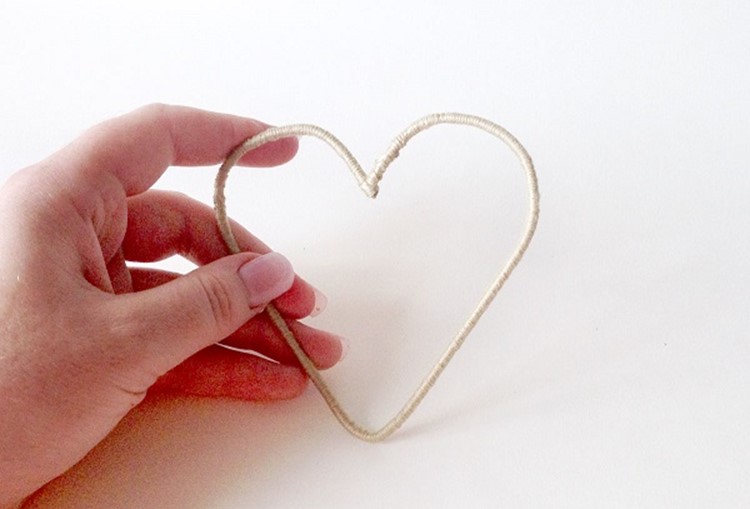 Then connect the tambours and our heart as follows:
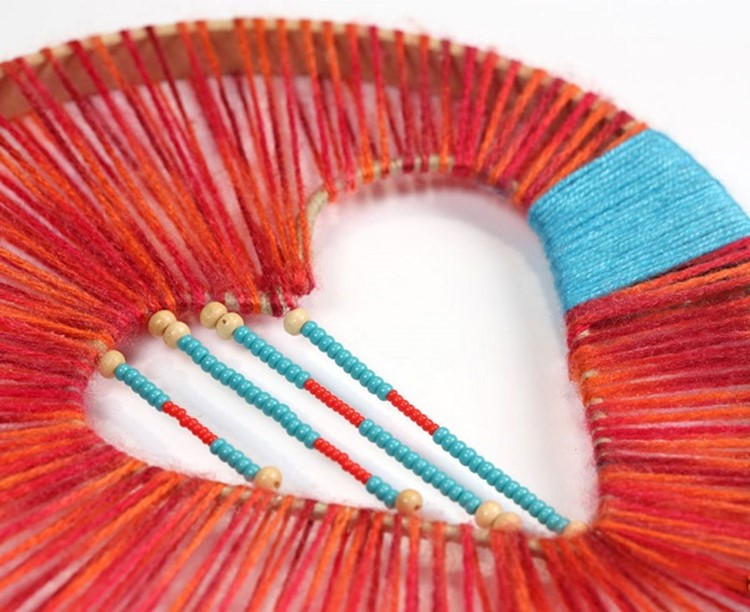
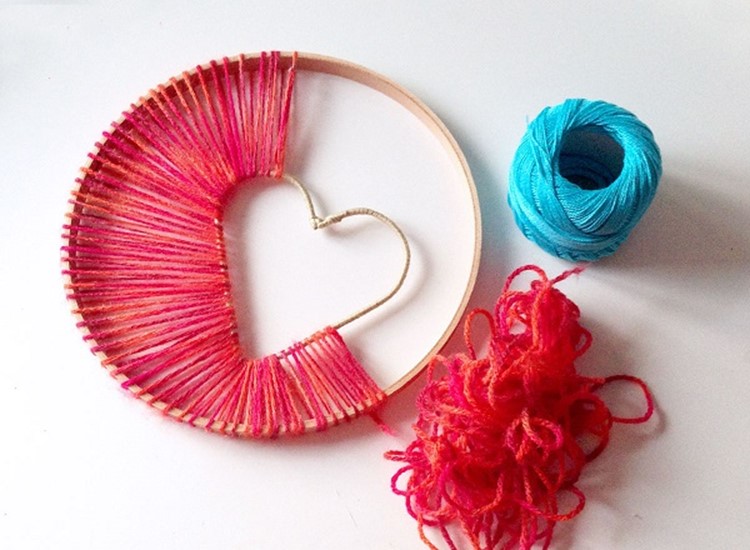 You can decorate the middle of beads, beading.
 Tail section can be made of any materials at hand, but don’t forget about hearts
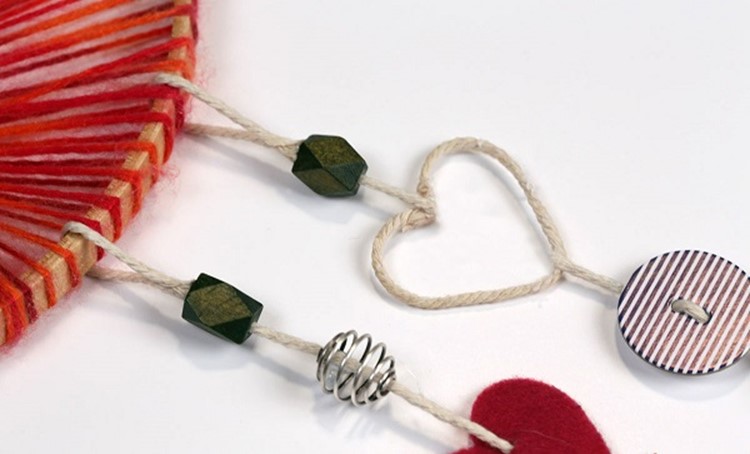
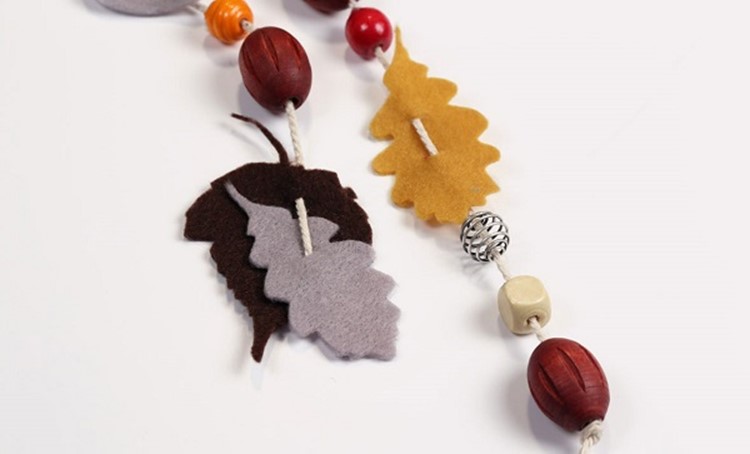
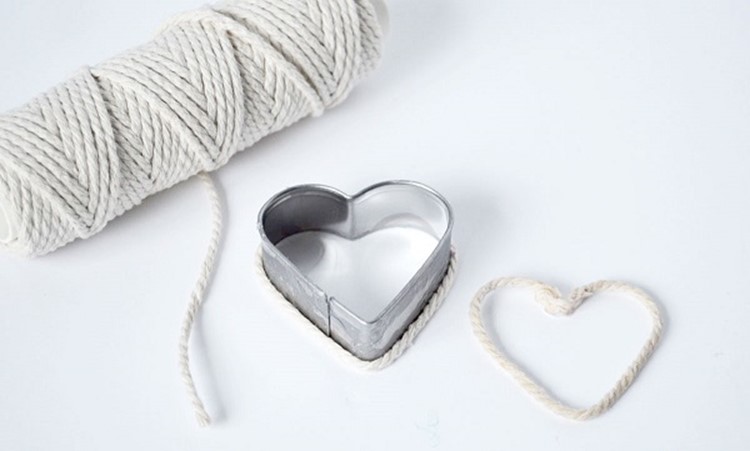
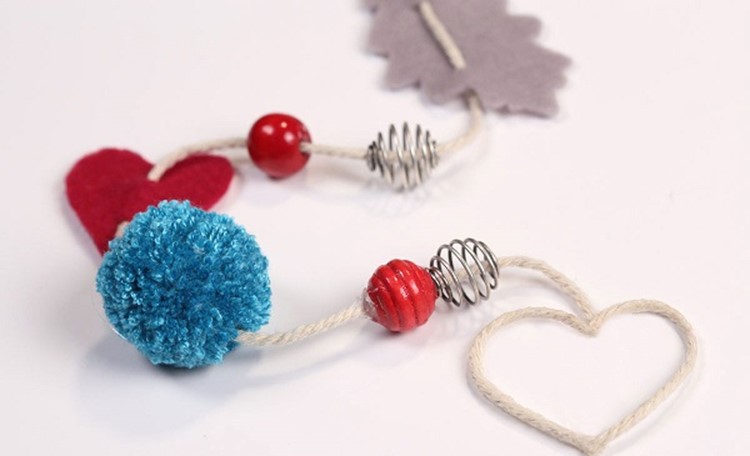 To make a heart from the rope, take the mold, wrap it with a rope and fill with adhesive. When the glue dries, the heart becomes hard.
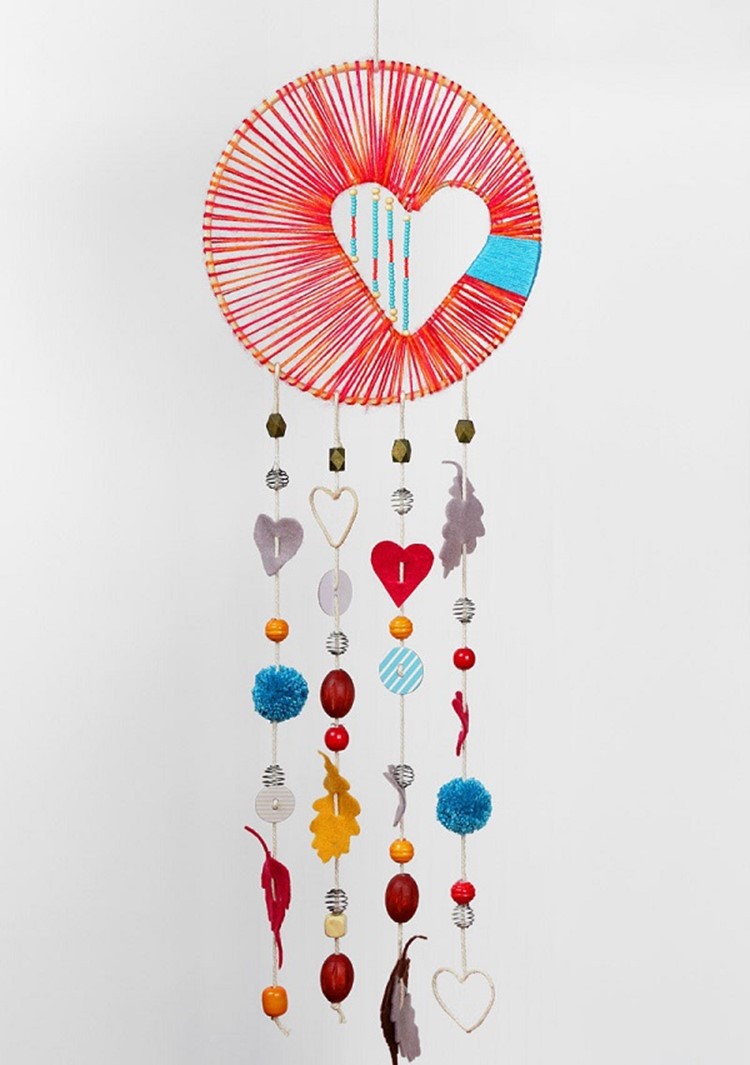
 That’s such a beauty you can hang a chandelier, and a romantic mood will be provided.
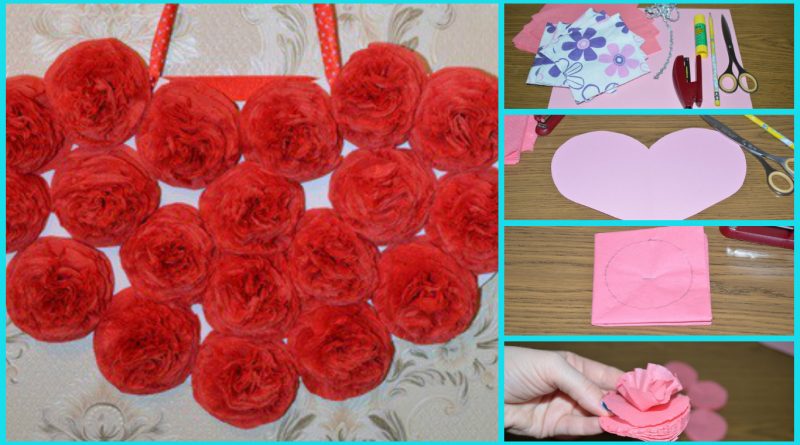
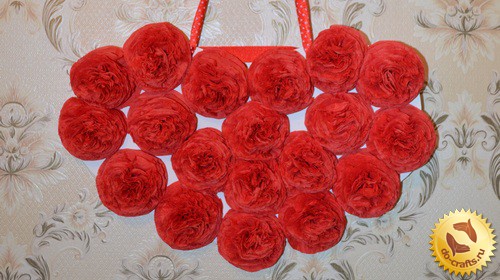
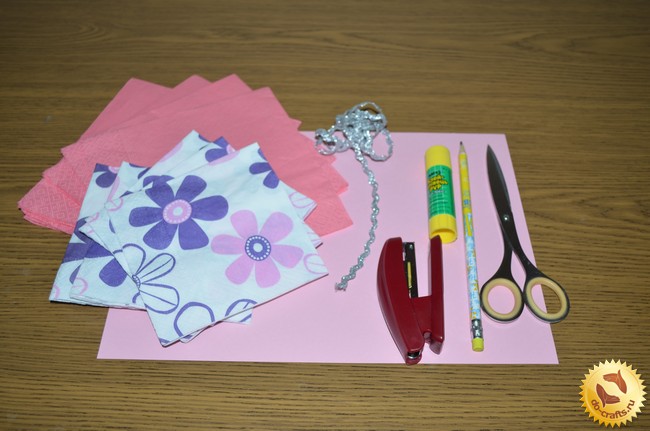
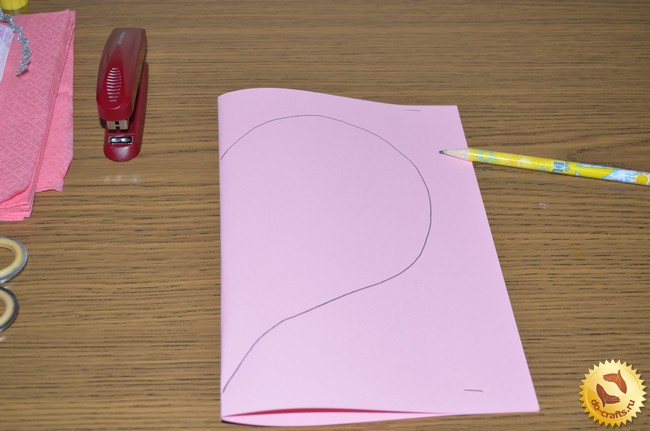
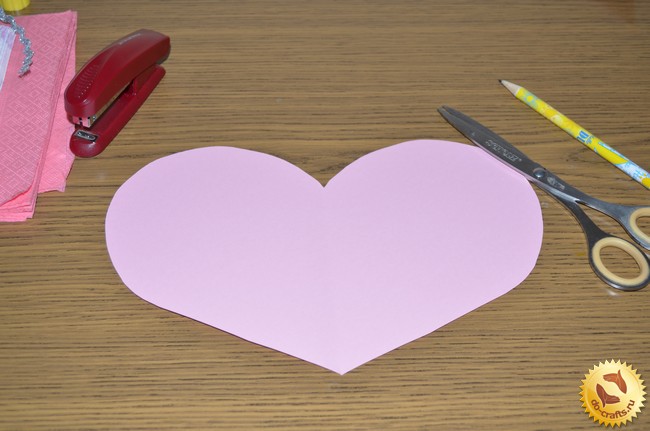 Step 2. Making flowers from napkins. Take a paper towel and fold it four times to get one box.
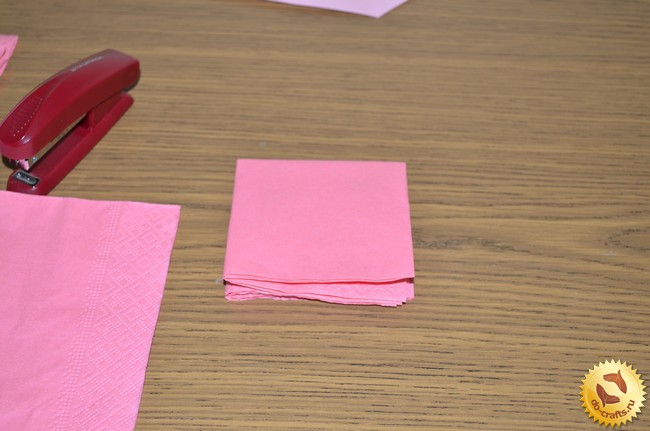 In this box draw a circle, a circle can be described any suitable size.
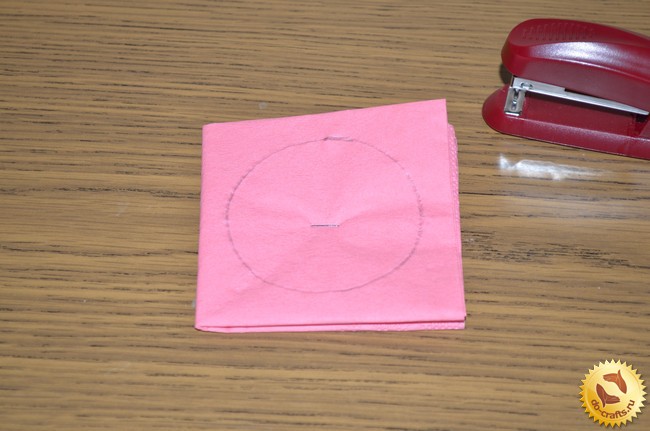 Staples for fastening the middle, napkin, and then cut along the contour of the circle. Such preforms flowers can be done by 10 – 20 units, in accordance with the size of the heart base.
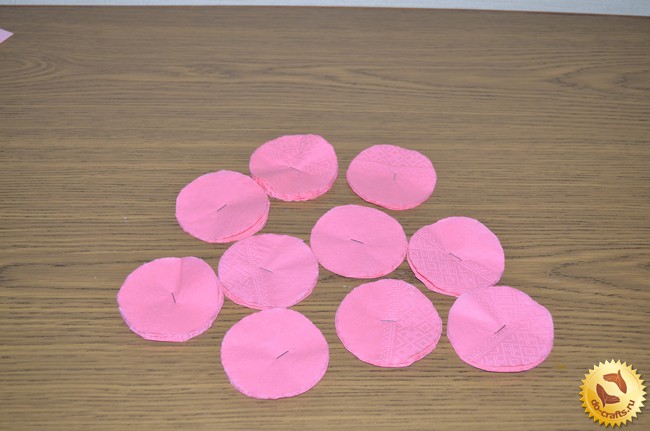 Step 3: For the manufacture of the flower, it is necessary to take a ready-made circle of bonded wipes and gently remove each layer of tissue in the center. The more layers of cloth have, the more luxuriant will flower.
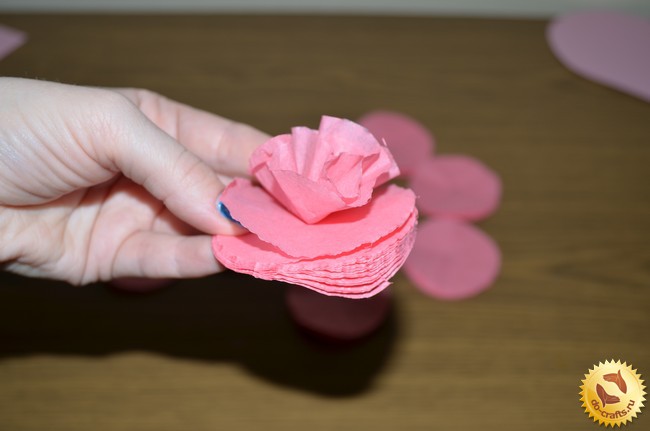 Step 4. The next step is to mount the paper on the basis of color. It is necessary to take a glue stick and spend some time on the back of the flower and glue it to the heart.
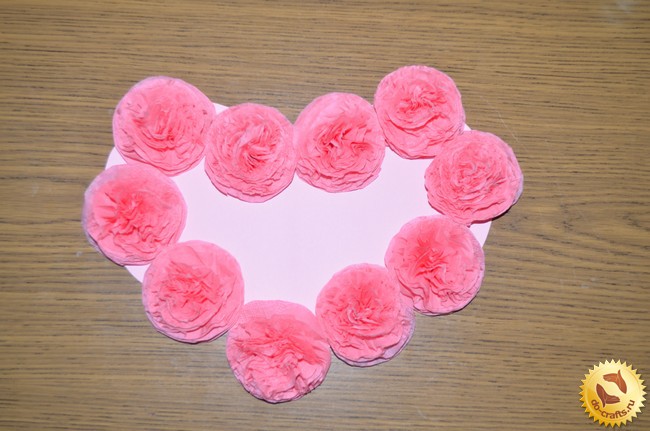 For a better and rational distribution based on space, fill in the first edge of the heart, and then the very middle.
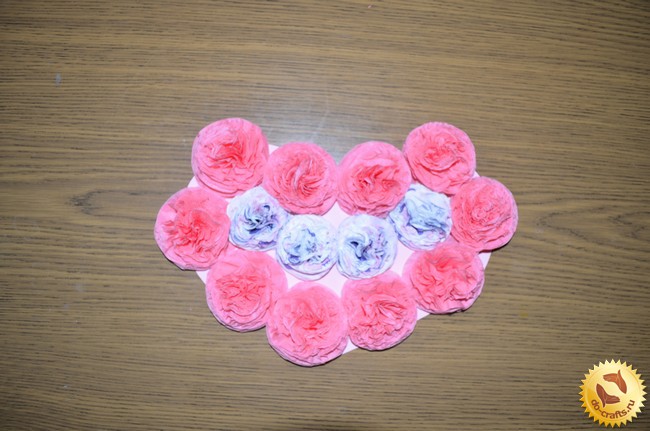 Step 5. Once all the flowers pasted on the base of the heart attach stapler ribbon for hanging on the highest part of the back of the heart.
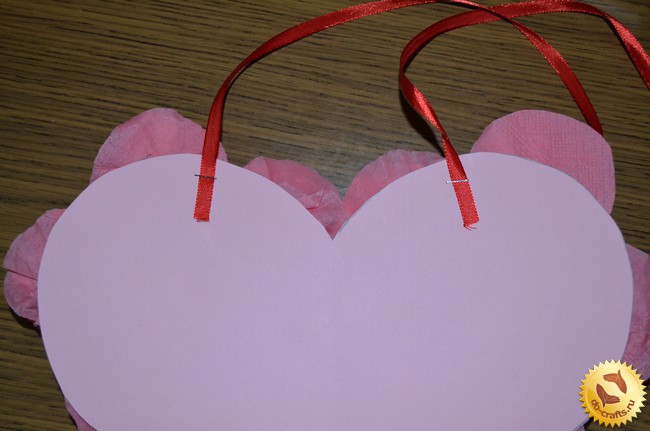 After that, cut the ribbon and tie in the middle of a beautiful bow.
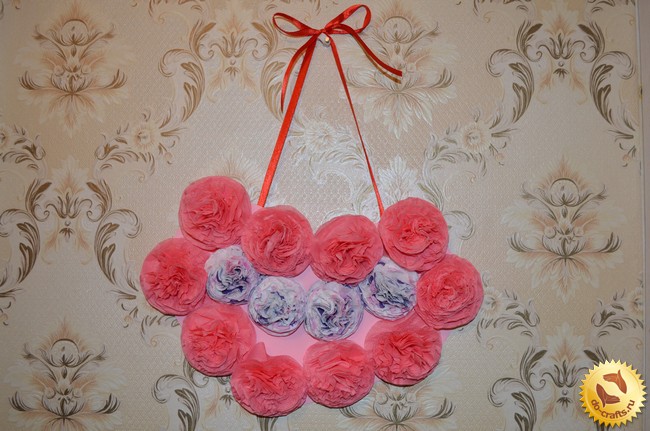
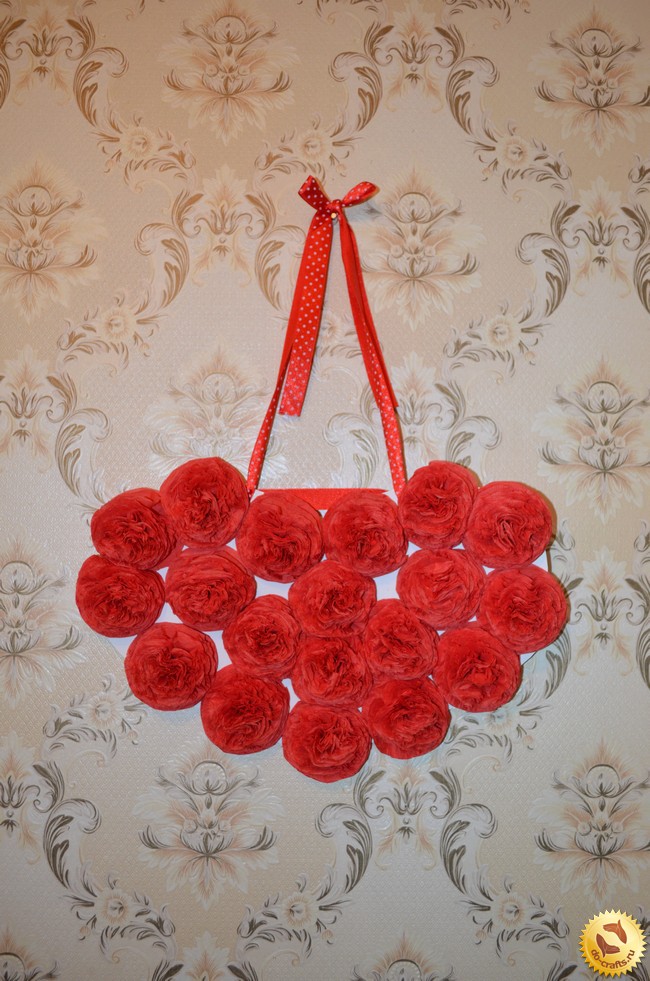 The suspension can not only hang in his apartment but also give a loved one. This decoration will always be a symbol of your love and care. This decor will not require large financial costs and can be done in several different ways for any holiday.
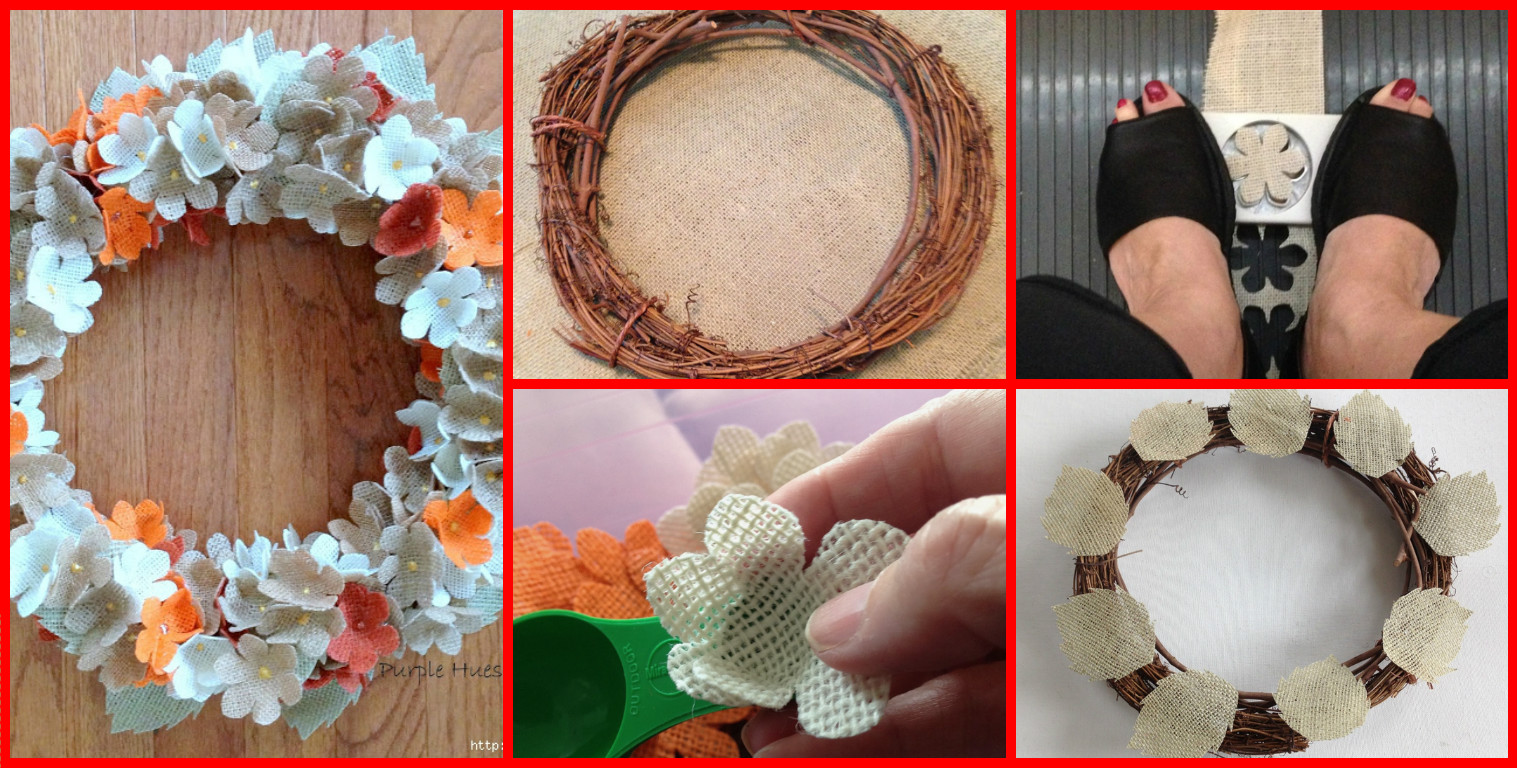
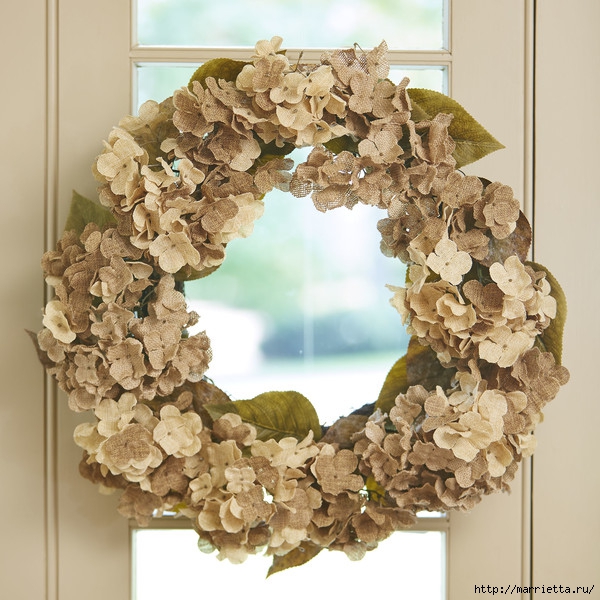
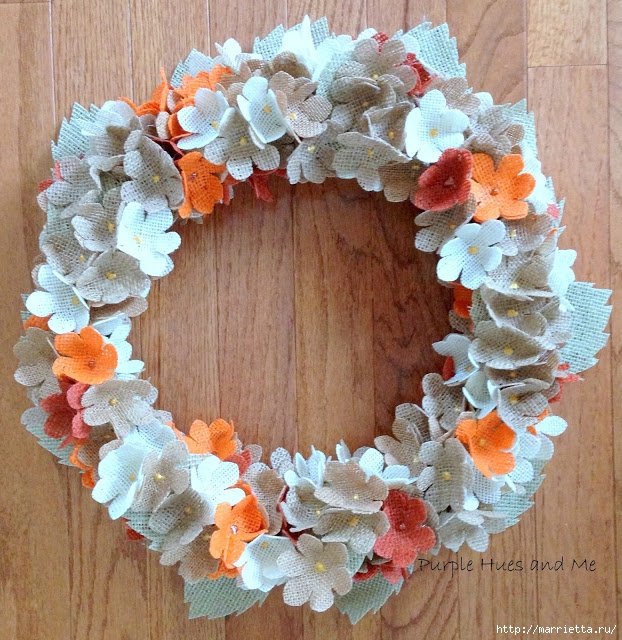
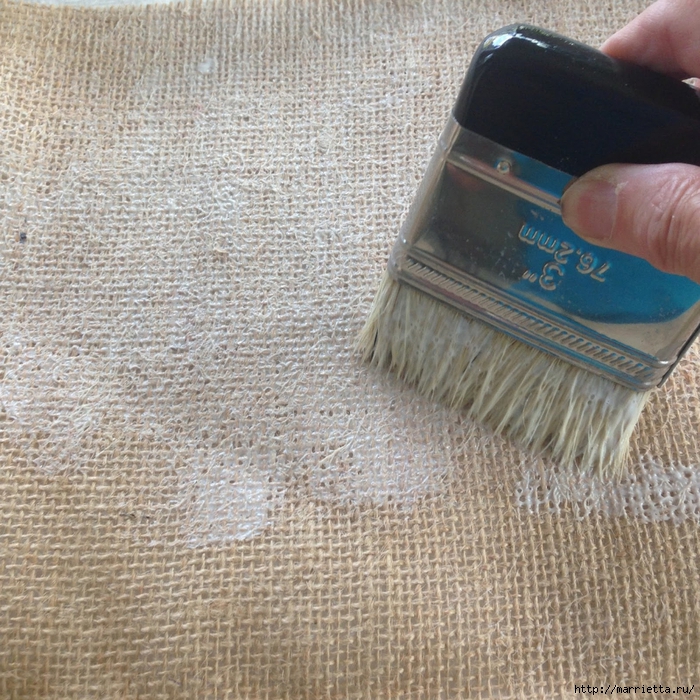
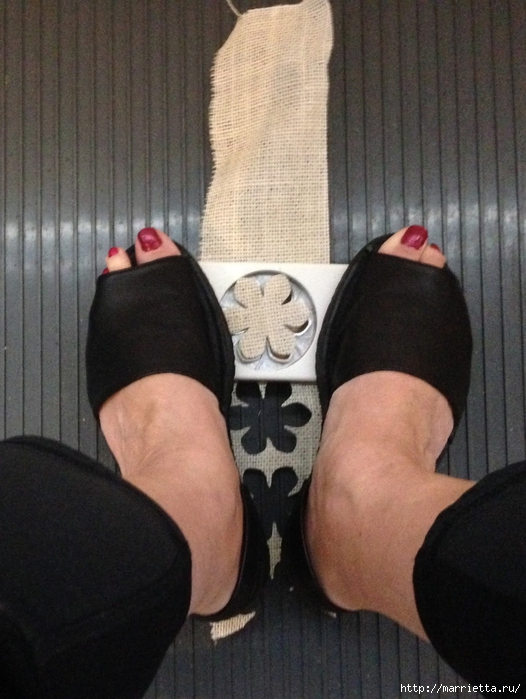
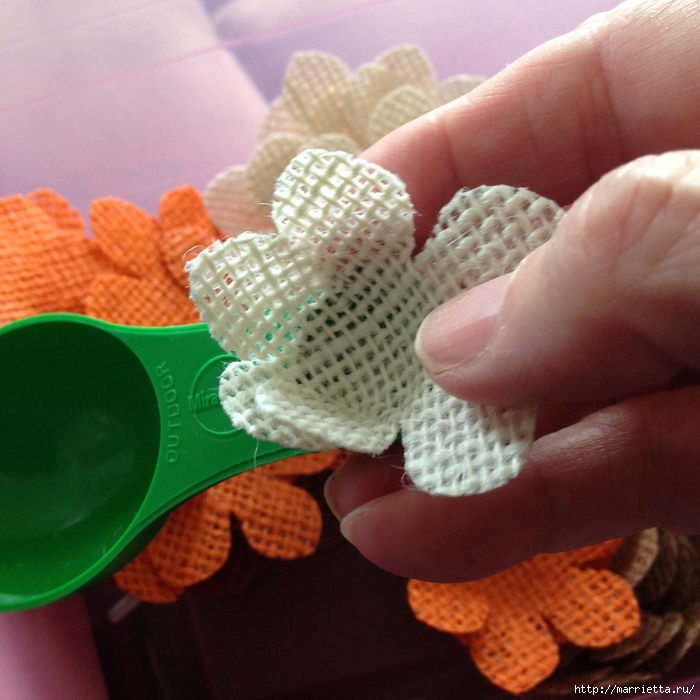
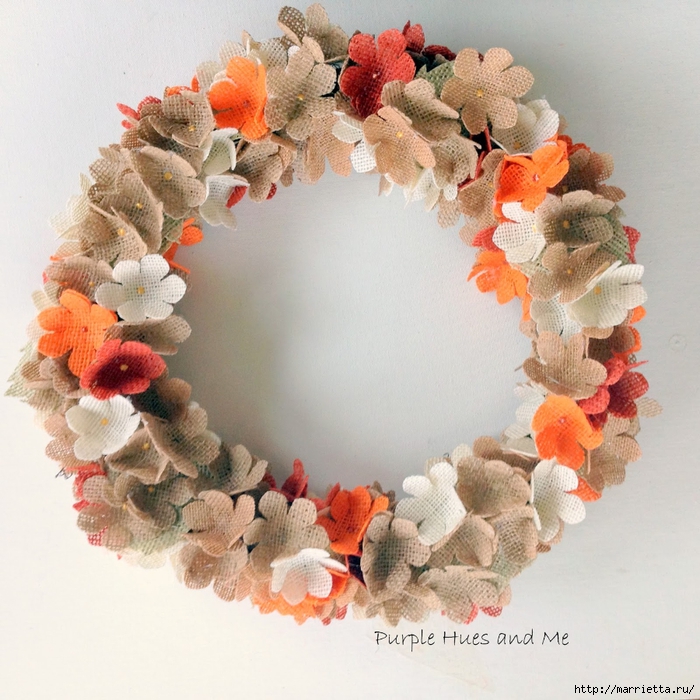
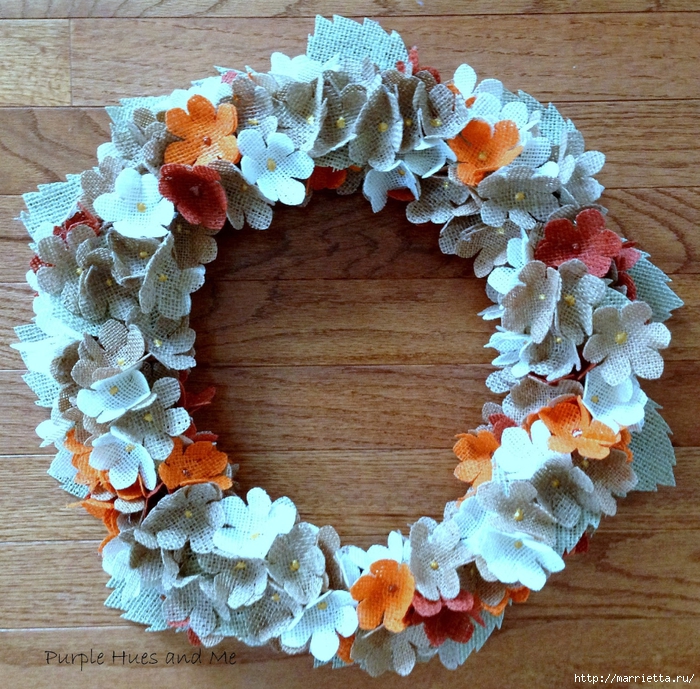
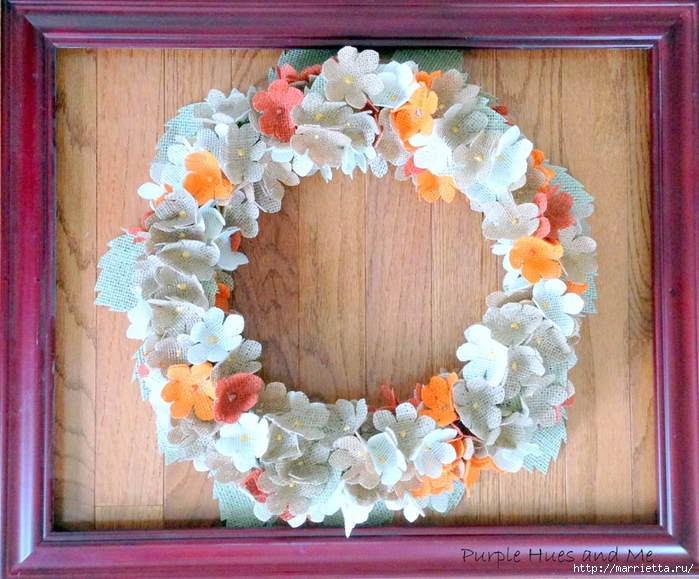
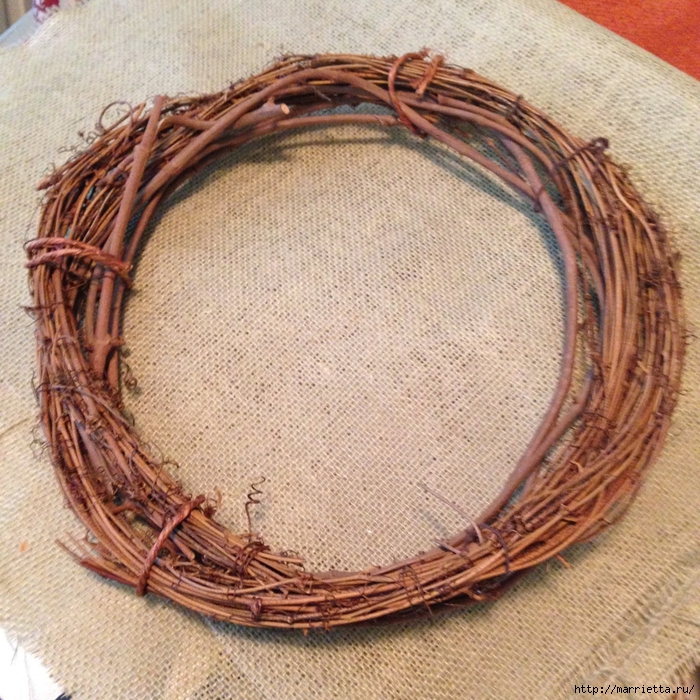 Now we take the burlap and cover it with an adhesive layer for decoupage Mod Podge or PVA glue. We wait until the drying treated burlap. With a stamp for scrapbooking cut out flowers. If not, cut the hydrangea flowers with scissors. With the help of a plastic measuring spoon attach the flowers form.
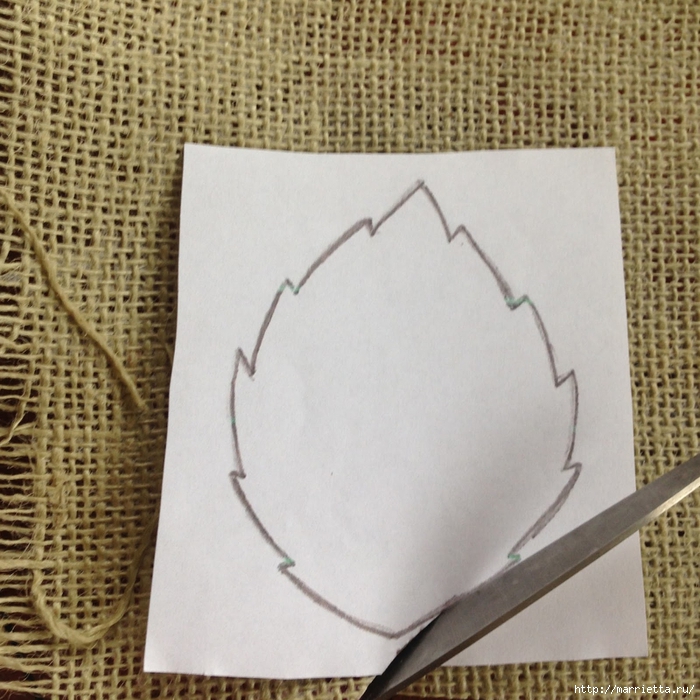
 Now cut out the leaves of burlap previously created a template from the paper.
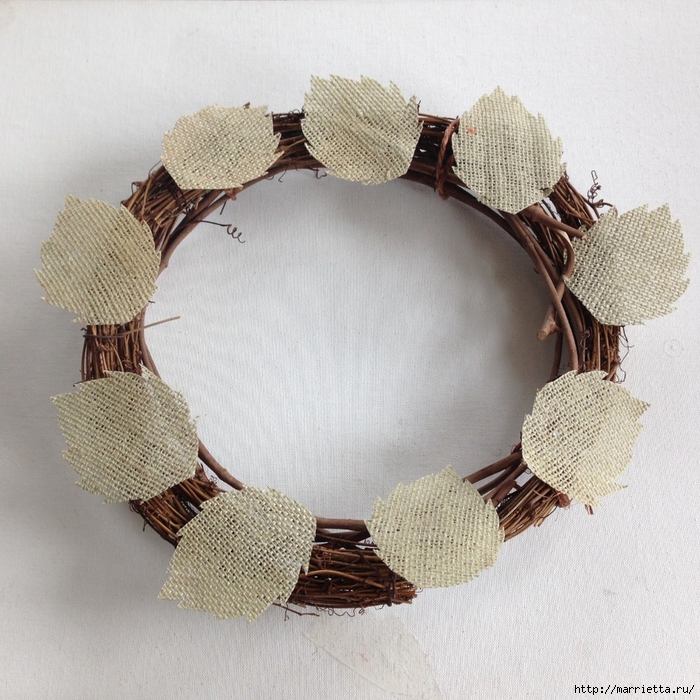
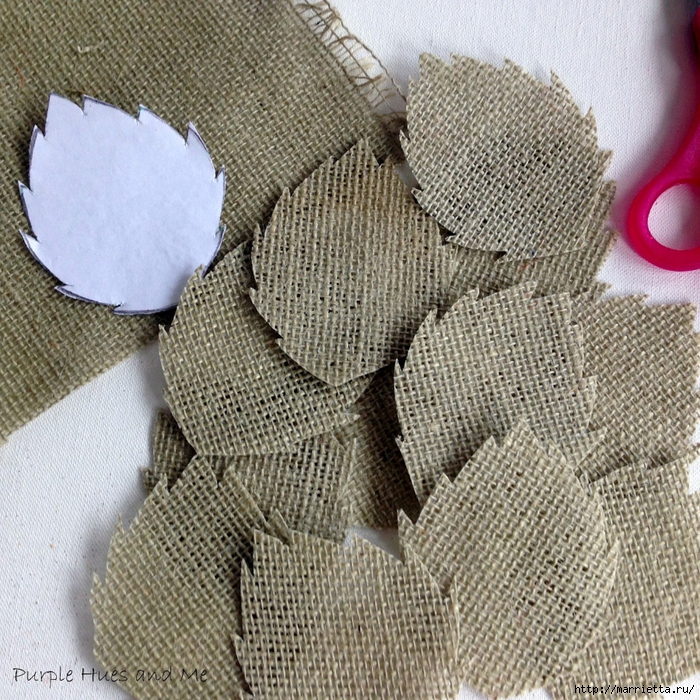 Glue the leaves to the wreath with hot glue
 Next, glue the flowers:
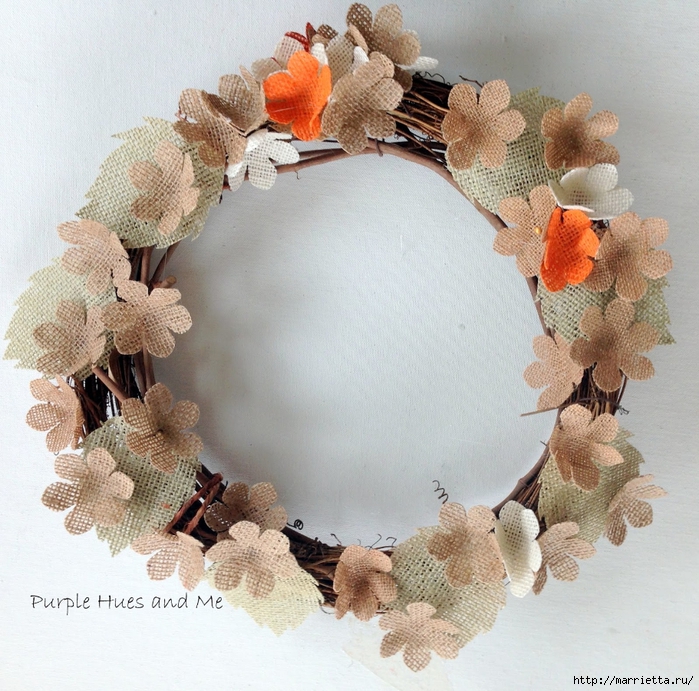 The shutdown circuit note midway flowers.


 Cut it into pieces, centimetre 4-5. Such pieces will need as much as the heads of roses we’ll use.
 Next, we need to put on the head of the wire segments roses. To do this, we are on the tip of the wire we put a drop of glue and put on our roses. It looks as follows:
 We continue to form stems. Take the wire and florist primate it to our legs so that the ends of the wires were down, prolonging the existing legs. In the same way we do with the rest of the flowers and greenery.
 Now we need to wire propitiate. To do this, take the tape and from top to bottom, a little stretching her tight and carefully amalgamate she ends our wire. That’s legs and ready. At first glance, someone who has not worked in the technique of taping, the process may seem long, but when “the hand is already packed,” it is done quickly.


 Now you are ready to assemble. Take one at the flower and begin to put them together to form a “cap” of the bouquet.
 It is better to do so: lay down a few stalks, tap-recorded tape. Then added another and again recorded.
 So we continue to put a flower in the flower, alternating red and white and adding a small green, trying to give the bouquet shape of a hemisphere.
 Here it was possible to stay and start to decorate the handle of the bouquet, but as he we should be cascaded, we will form a part of its drop down. To do this, take in hand a rose, then, below (below the height of the head), are putting two other roses. Below them three pieces. In between, do not forget to insert a carnation and greens. And since several rows depending on how long we want to make the cascade. In form it resembles a Christmas tree.
 Next, you need to connect the top and bottom of the bouquet. To do this, we bending the lower part and are putting it to the top so that together they constituted a single unit. We fix tap-tape.


 Now start to decorate the stem of the bouquet. First, on the edges of the leaves of roses surrounded by cushioning the foot and again fix tap-tape.
 Satin ribbon width 4 cm cut into 8 pieces of 10-12 cm. Each leg folded in half are bent, as shown in the photo and fix with glue.
 These blanks around the perimeter of foot paste bouquet.

 Determine how long we want to leave the leg and cut the excess stems clippers. Again, fix their tap-tape.
 Then decorate the leg across the length of the ribbon width of 2.5 cm.


 In the centre of some of the glue in beads roses. On foot, the top we tie or glue lace ribbon and decorate with decorative buttons.

 Well that’s all, our bouquet is ready! If my master class you like, or you find it for yourself something useful, please click ‘like’, because he is involved in the competition.
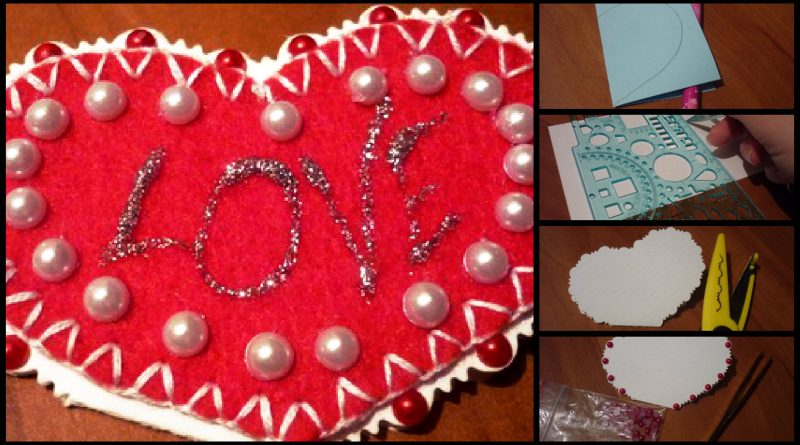
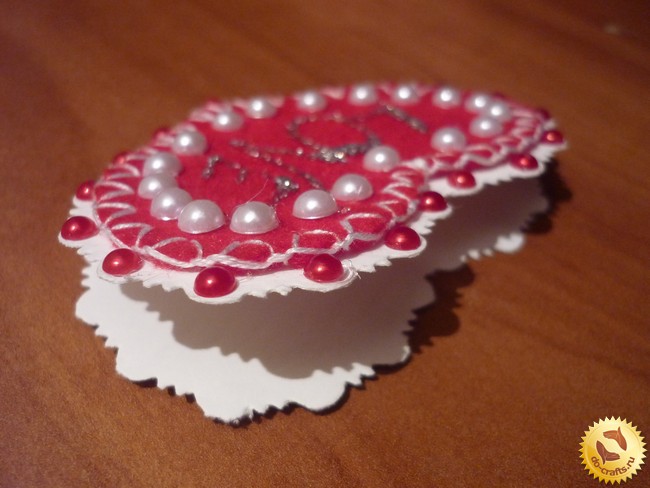
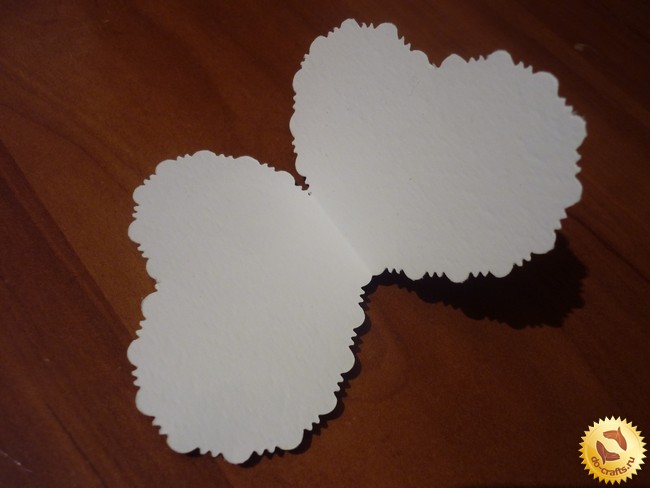
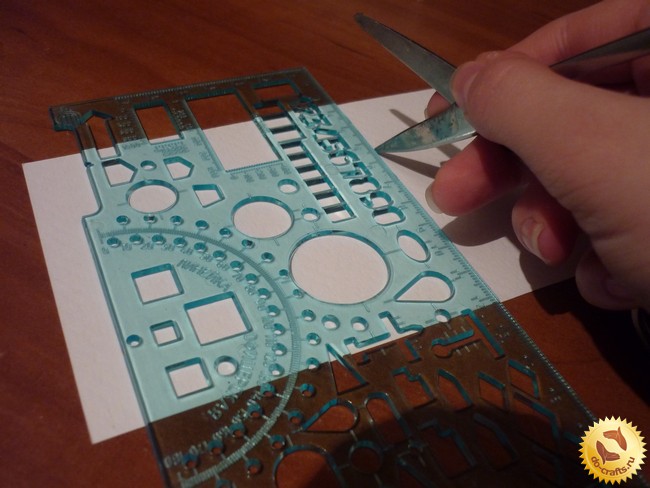
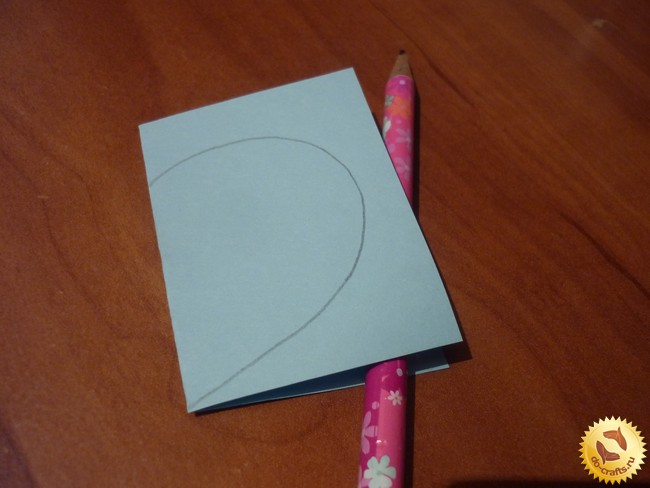 Take the white cardboard such size that in it together next two hearts already familiar size. Divide the cardboard pencil into two equal parts and then perform blunt scissors a ruler on the same line a little pushing. Eraser to erase the line from the pencil.
 Bend the cardboard on the sunken line. To place, the fold is putting heart so that it touched the edge of the pointed end. Encircles the template.
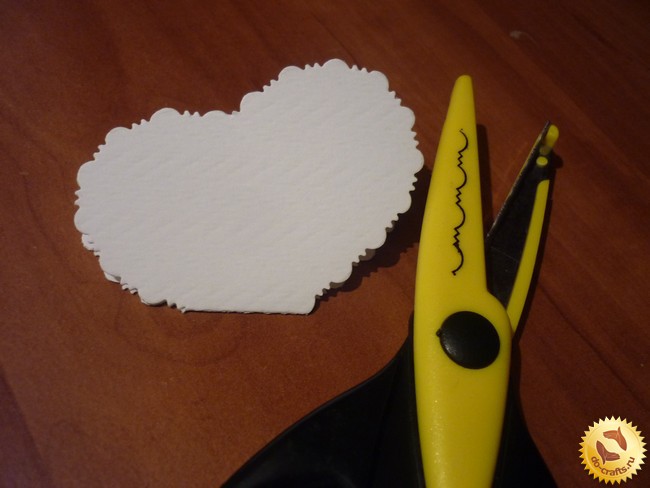
 Cut along the contour curly scissors except for folding seats.
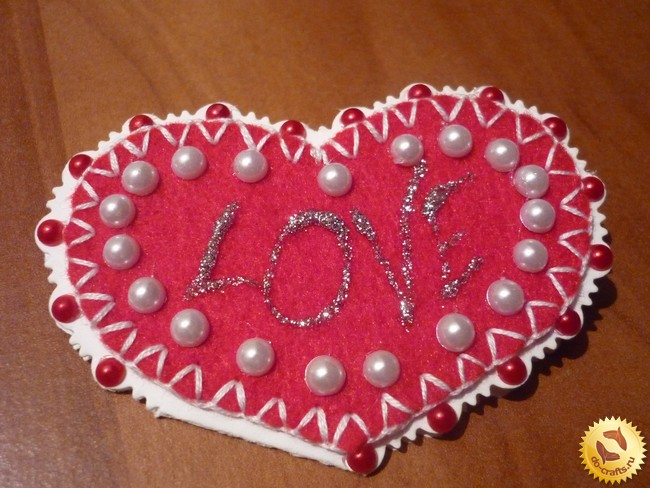
 Trace the same pattern on a red chalk felt.
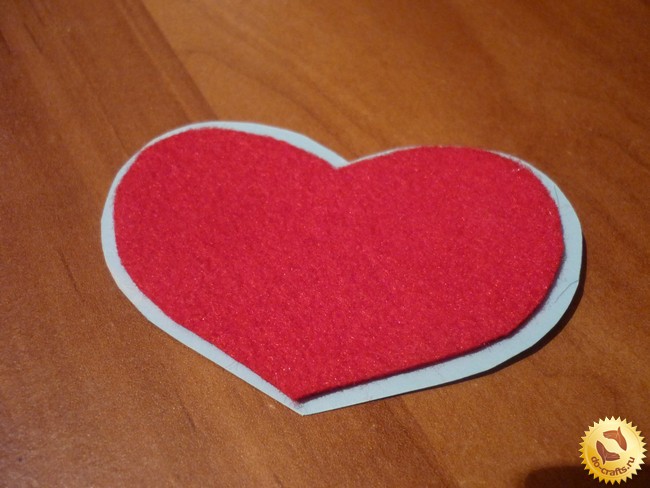
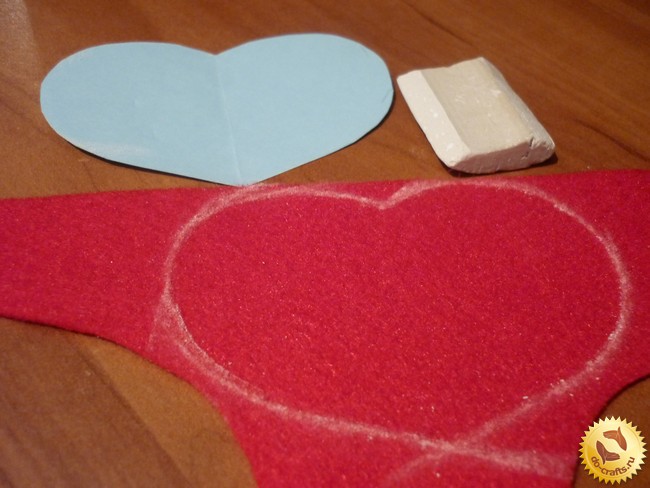 Cut Felt heart, making the indentation of 0.7 mm from the edge of the chalk. That is, felt heart must be smaller than that of the cardboard blank. Departing should be the same.
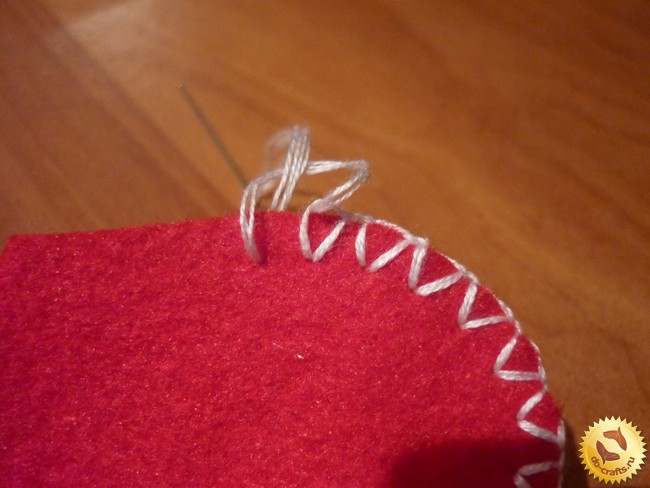
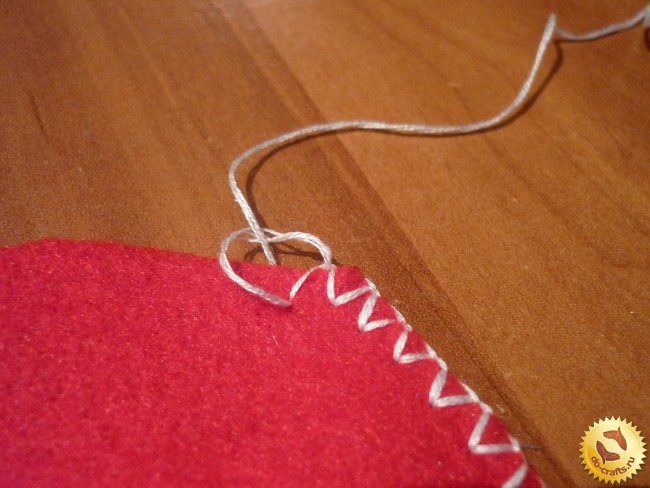
 The edge of the felt heart processed loopy forked suture. First delaying loop in one direction and then in the opposite direction, thus penetrating the needle through the same hole.
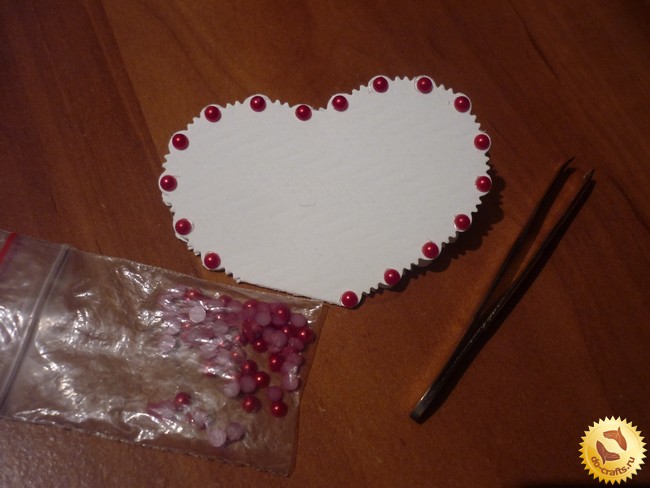
 The cut edge of scissors curly decorates red pol bus NAMI.
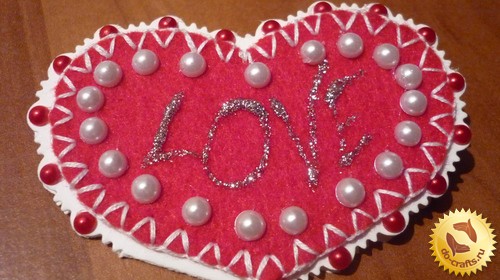
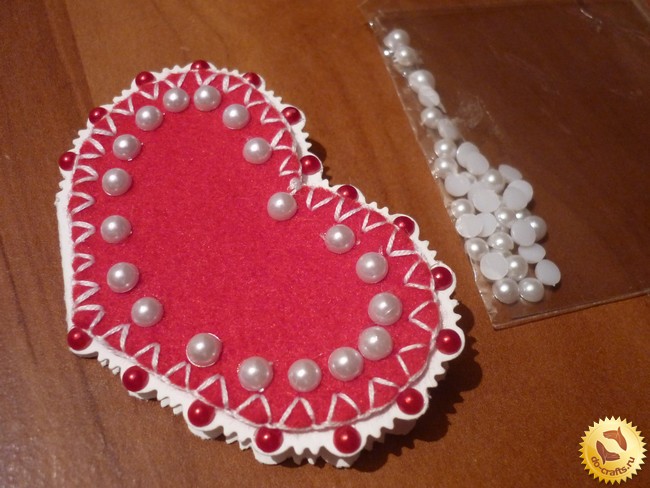
 Then on top of sticking embroidered Felt heart and decorate the edge of the white pol bus NAMI. We place them one by one between the red.
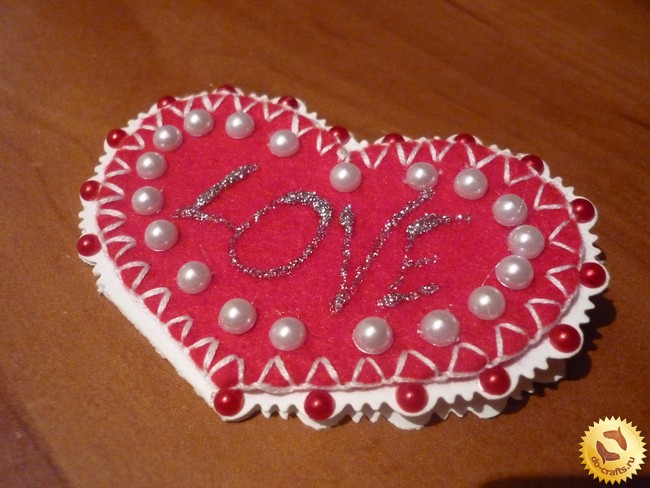
 Silvery glue draws the word love. To this end, squeezing a bit of glue and stretch it in the right direction. After applying the adhesive must be dry.
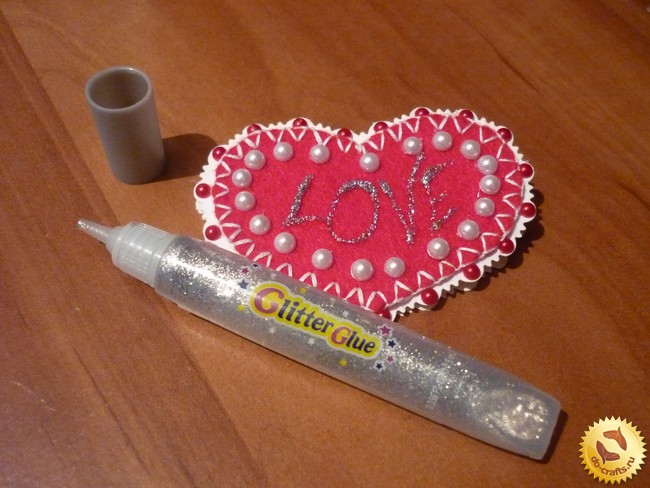 So we have made with their own hands Valentine, which remains the only sign and sends to the recipient.