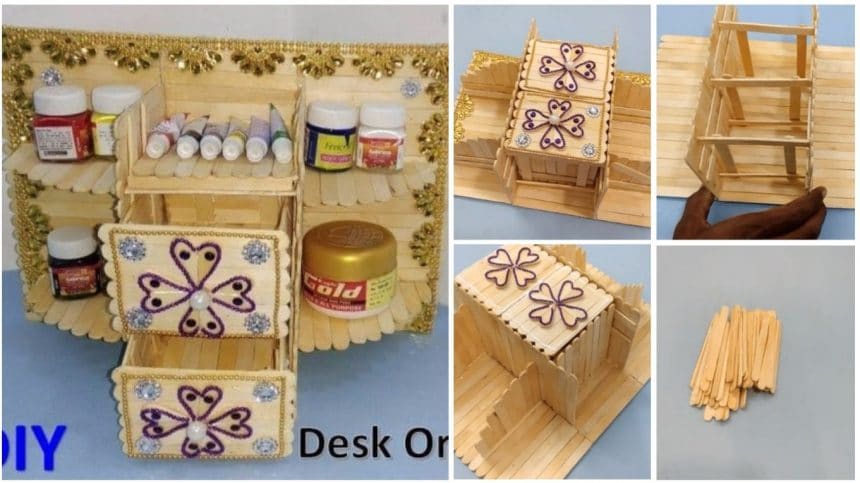
Posted onOctober 31, 2017inCraft, DIY, Tutorial, Video How to Make Desk Organizer from Ice Cream Stick
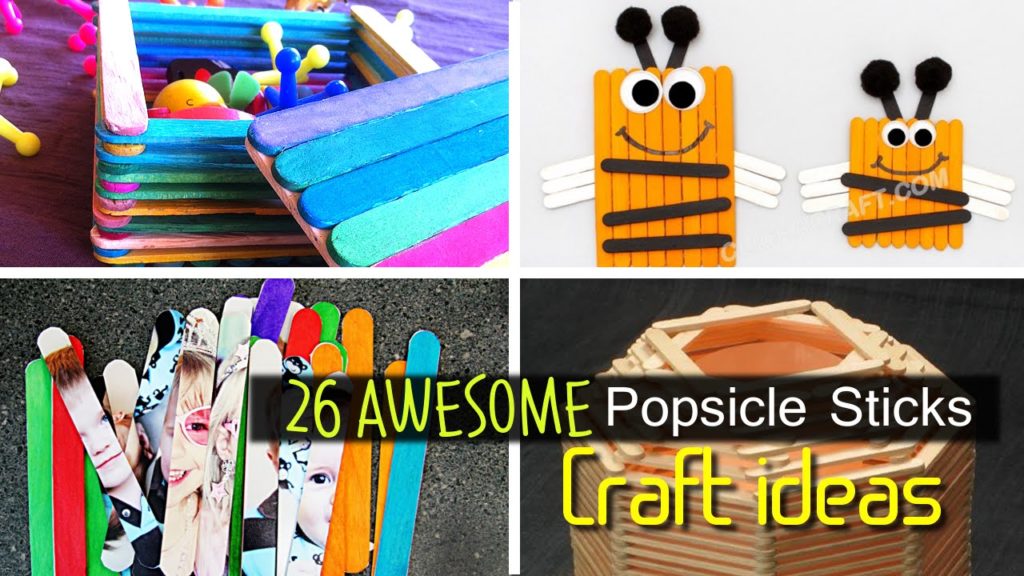
Posted onSeptember 14, 2017September 14, 2017inCraft, Ideas, Kids Corner, Kids Crafts, Popsicle Stick 26 Lovely and Fun Popsicle Stick Crafts for Kids!
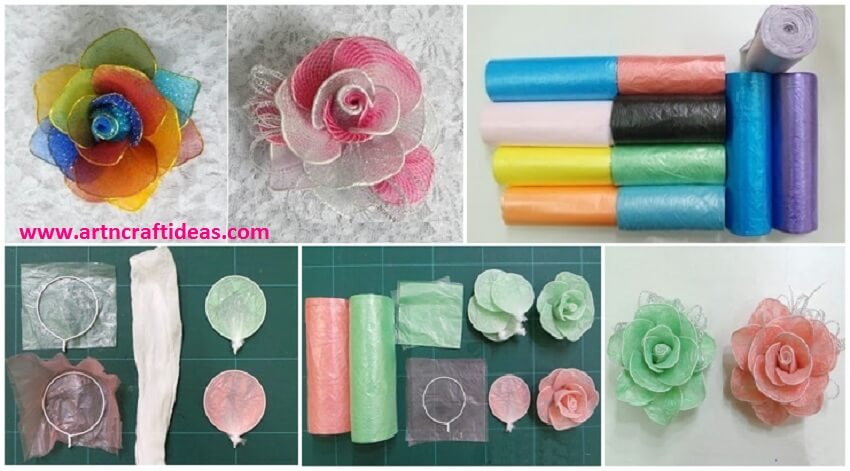
Posted onJuly 10, 2017inBest out of Waste, Craft, Flower Crafts, Tutorial How To Make Rose Using The Plastic Bag
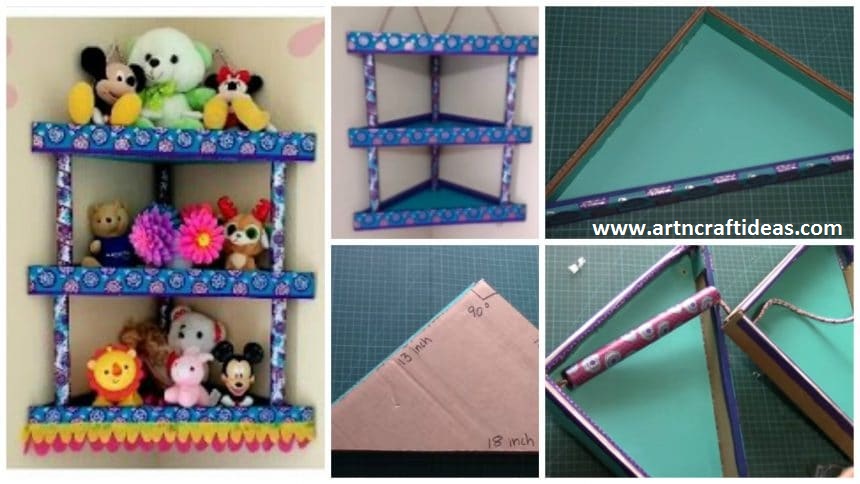
Posted onJuly 9, 2017inBest out of Waste, Cardboard Crafts, Craft, DIY, Home Decor, Tutorial, Video How to Make Cardboard Corner Shelf / Rack
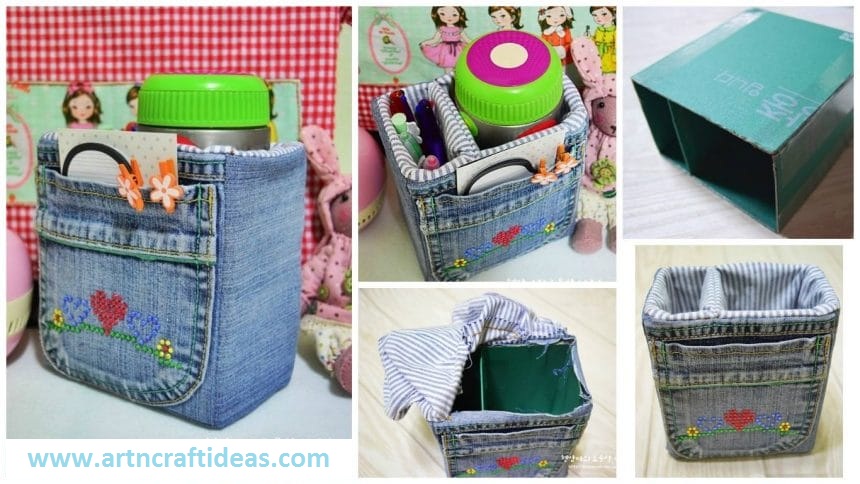
Posted onJuly 9, 2017inBest out of Waste, Craft, Tutorial How to make denim storage bags from old jeans
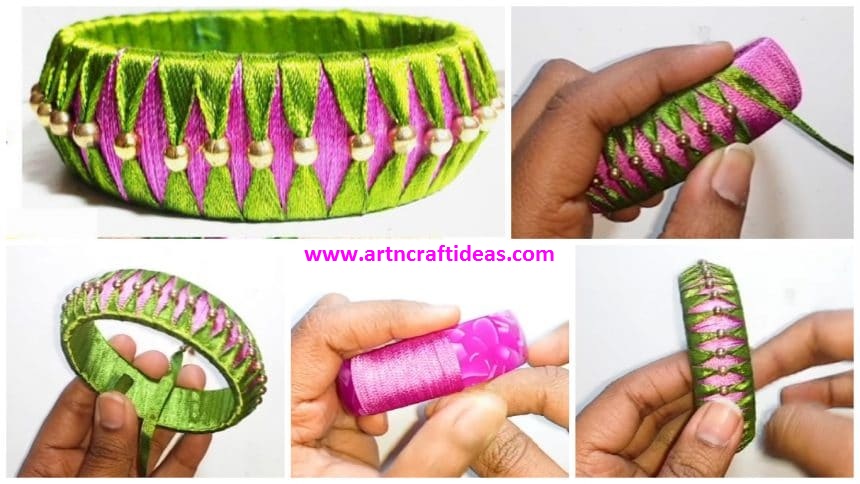
Posted onJuly 9, 2017inCraft, DIY, Jewellery, Tutorial, Video How to Make Silk Thread Ribbon Bangle at Home
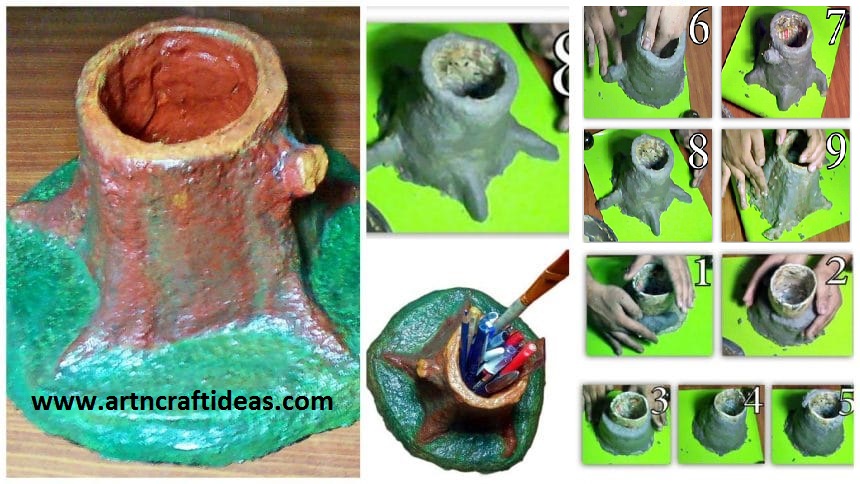
Posted onJuly 8, 2017July 8, 2017inBest out of Waste, Craft, Newspaper Crafts, Tutorial, Video DIY: Handmade Paper Mache Pencil Holder
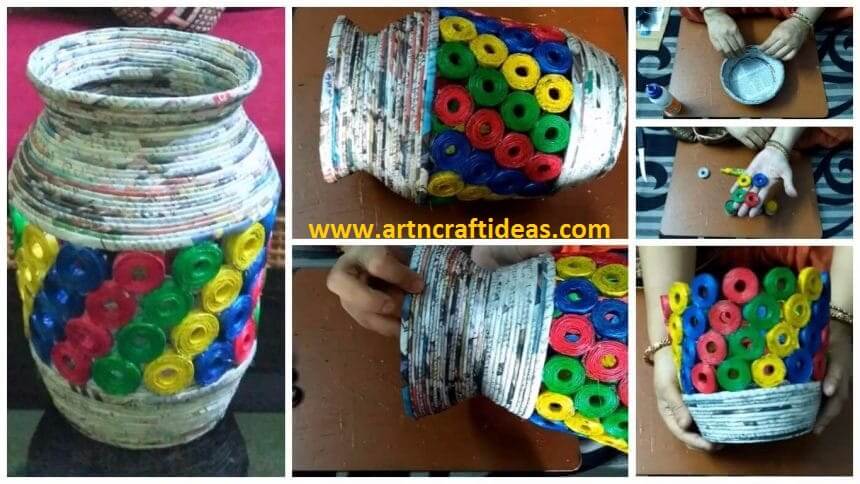
Posted onJuly 8, 2017inBest out of Waste, Craft, Newspaper Crafts, Tutorial How to make a newspaper tubes jar or vase
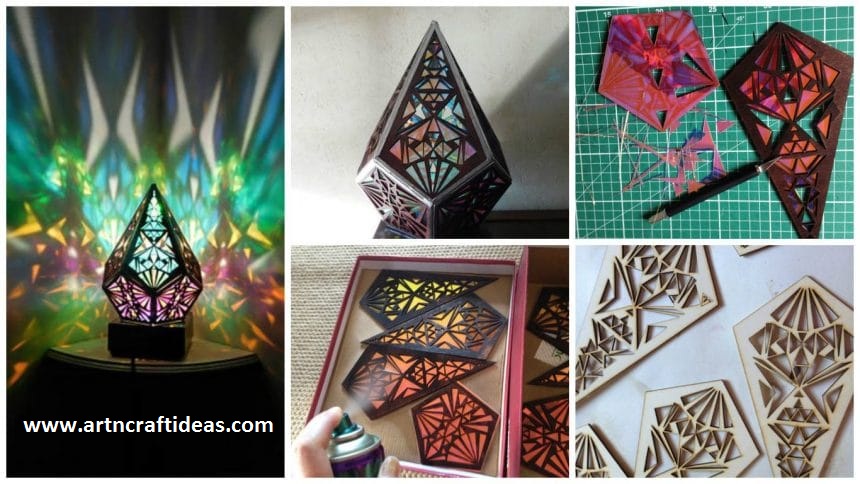
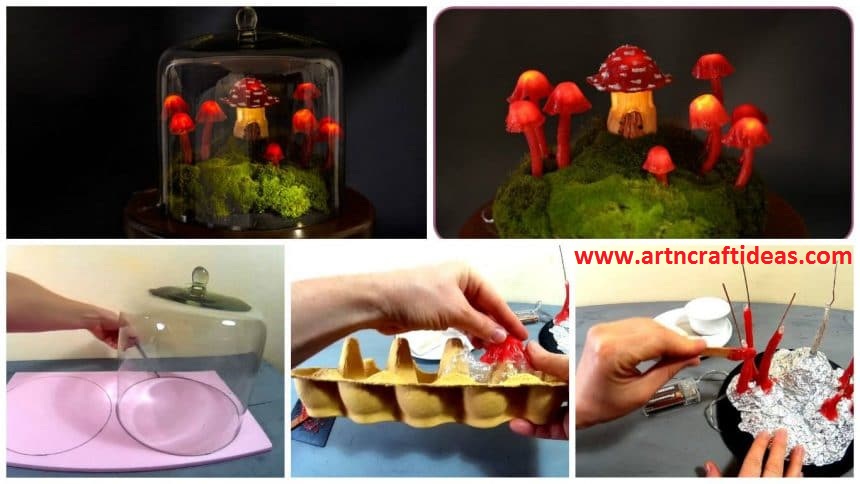
Posted onJuly 8, 2017inCraft, DIY, Home Decor, Tutorial DIY Miniature Fairy Garden Terrarium – Enchanted Mushroom Lights