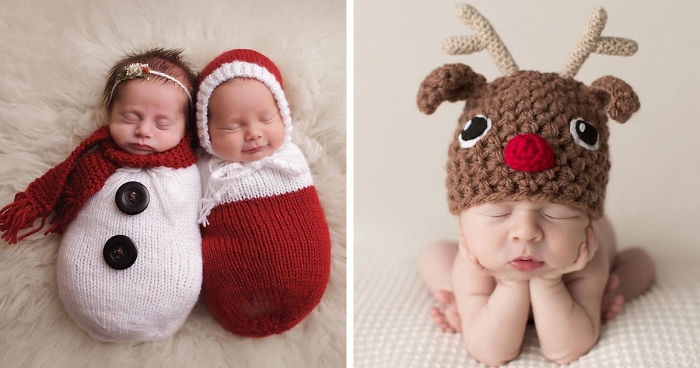
Posted onNovember 13, 2017November 19, 2022inChristmas, Featured, Ideas, Kids Corner 10+ Christmas Photoshoot Ideas For Your 1 Year Old Baby
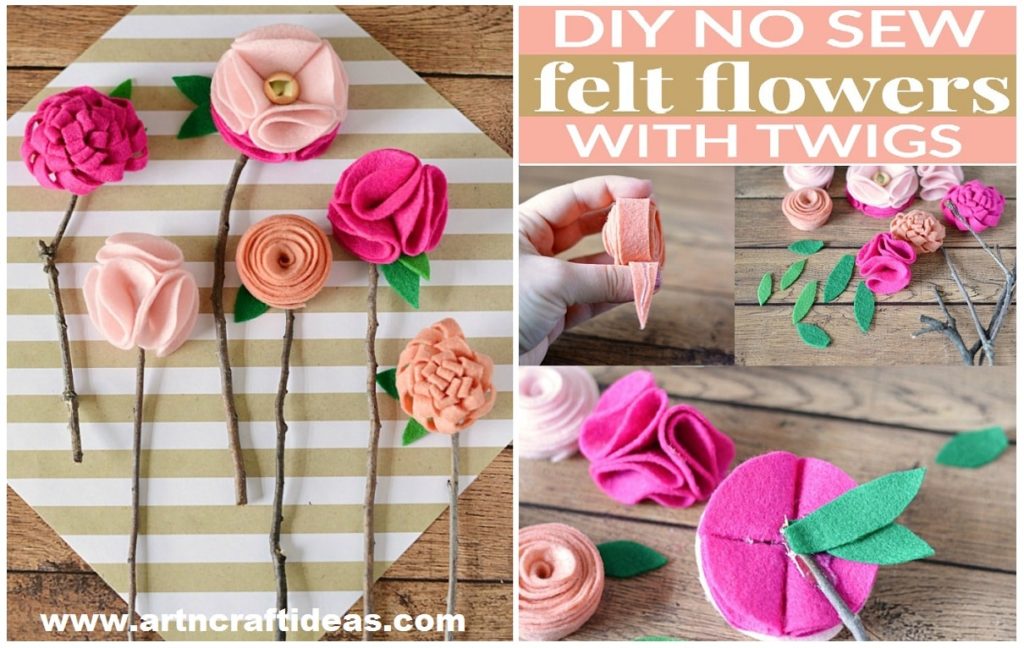
Posted onJuly 1, 2017July 1, 2017inCraft, DIY, Featured, Flower Crafts, Mother's Day, Tutorial DIY Handmade No Sew Felt Flowers With Twigs
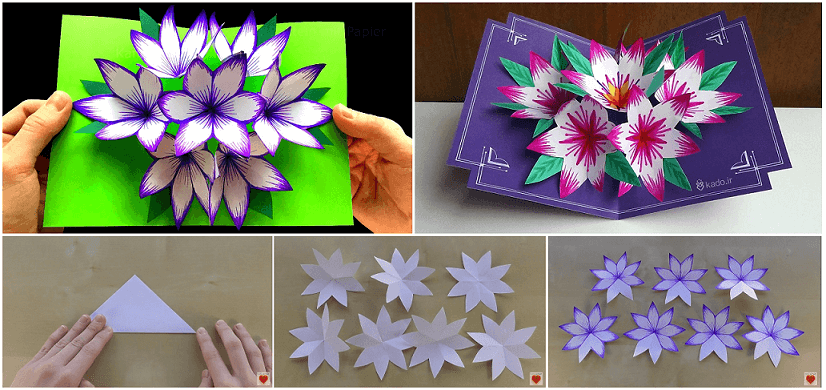
Posted onMay 27, 2017May 28, 2017inFeatured, Mother's Day, Paper Crafts, Tutorial, Video How to Make 3D Flower Pop-Up Card
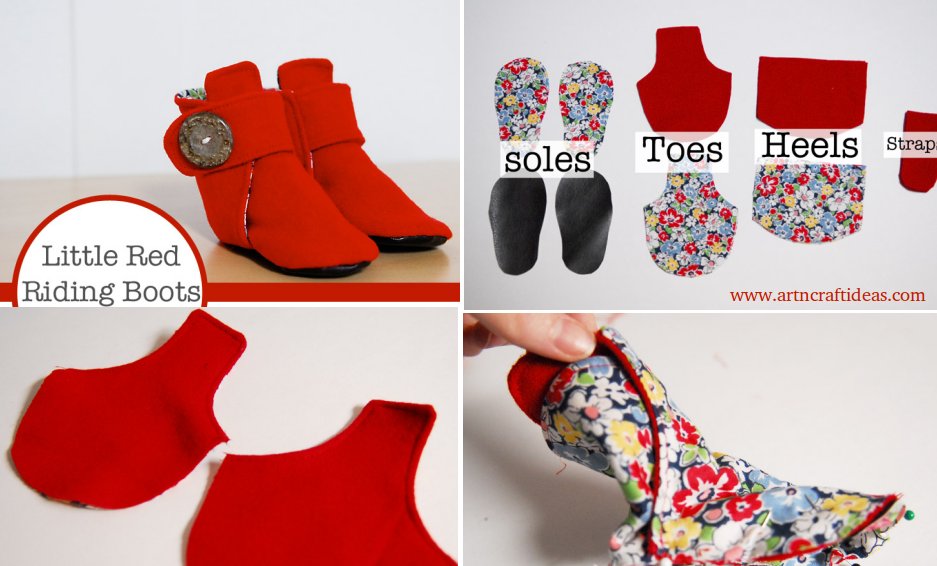
Posted onMay 18, 2017inClothing, Featured, Kids Corner, Tutorial Little Red Riding Baby Boots Pattern Tutorial
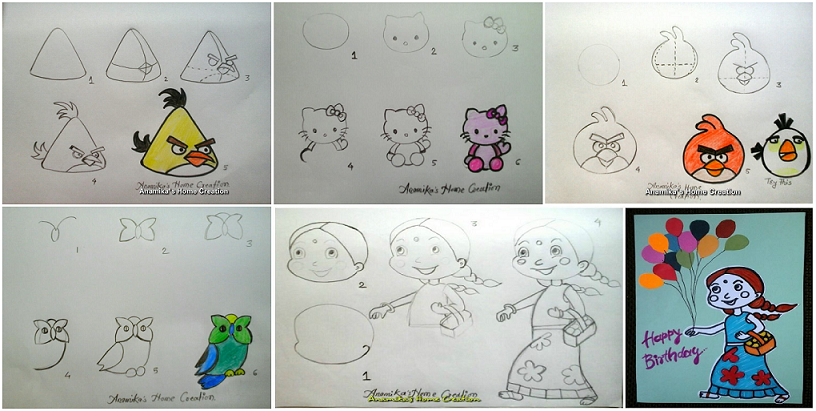
Posted onMay 17, 2017May 17, 2017inFeatured, Kids Corner, Step by step How to draw cartoon characters step by step
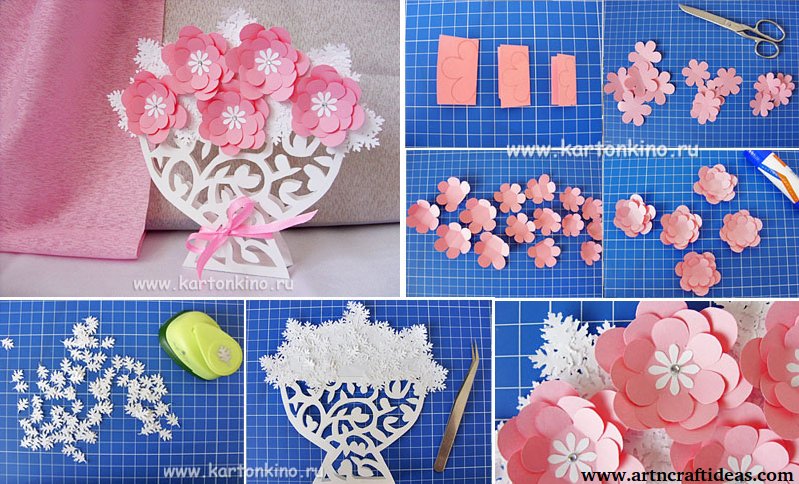
Posted onMay 15, 2017inFeatured, Mother's Day, Paper Crafts, Tutorial Vase with flowers – Mother’s Day Gift (Tutorial)
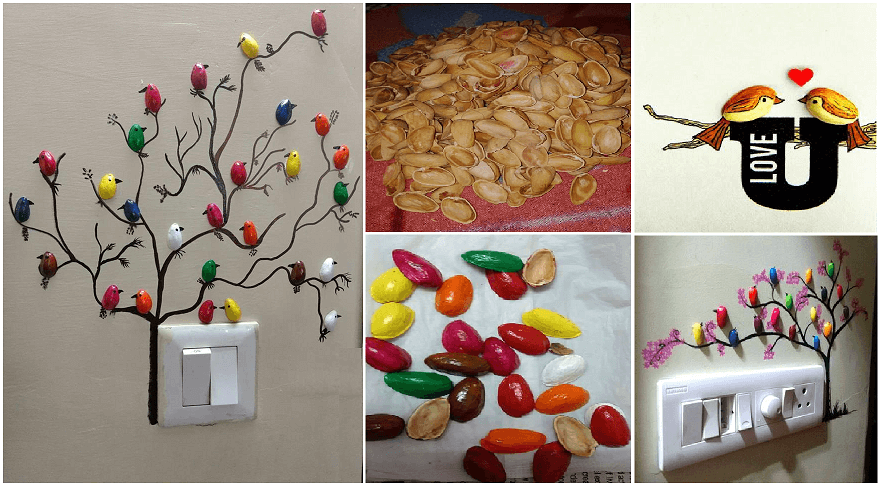
Posted onApril 8, 2017May 11, 2017inBest out of Waste, Featured, Home Decor, Tutorial Handmade pista shell bird for wall decoration
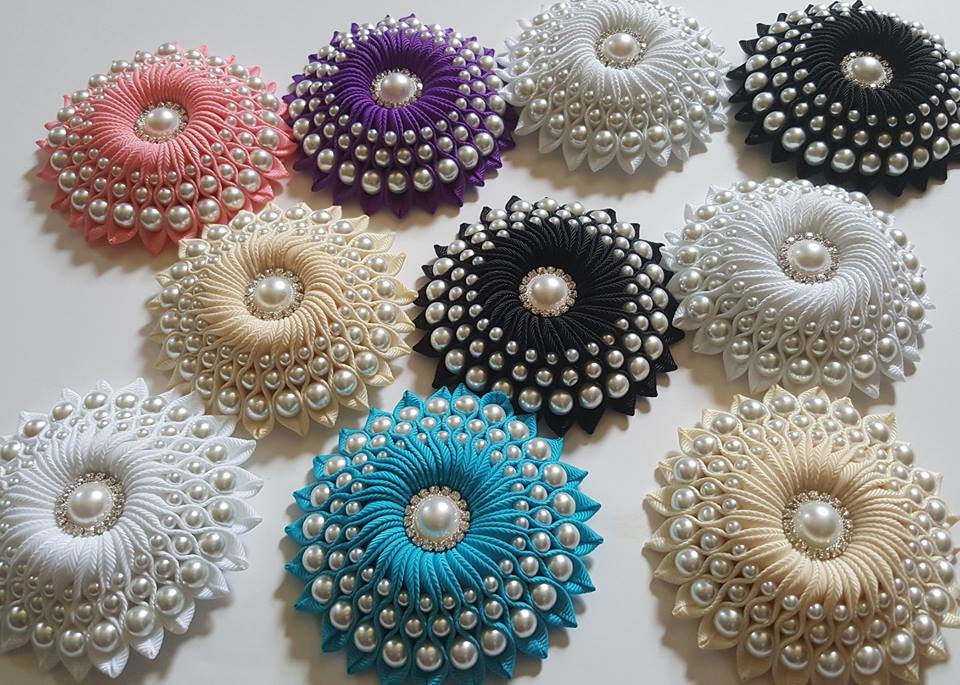
Posted onMarch 25, 2017March 27, 2017inDIY, Featured, Flower Crafts, Tutorial DIY Ribbon flower with beads