Today I’m sharing my newest party theme for I party I designed for my middle daughter who just turned 5! I always let all my kids pick their own party theme; though I will admit that I may steer them away from commercially licensed themes. When we were brainstorming themes for her party, she came up with fruit because orange is her current color obsession. From there, her Tutti Frutti birthday party was born!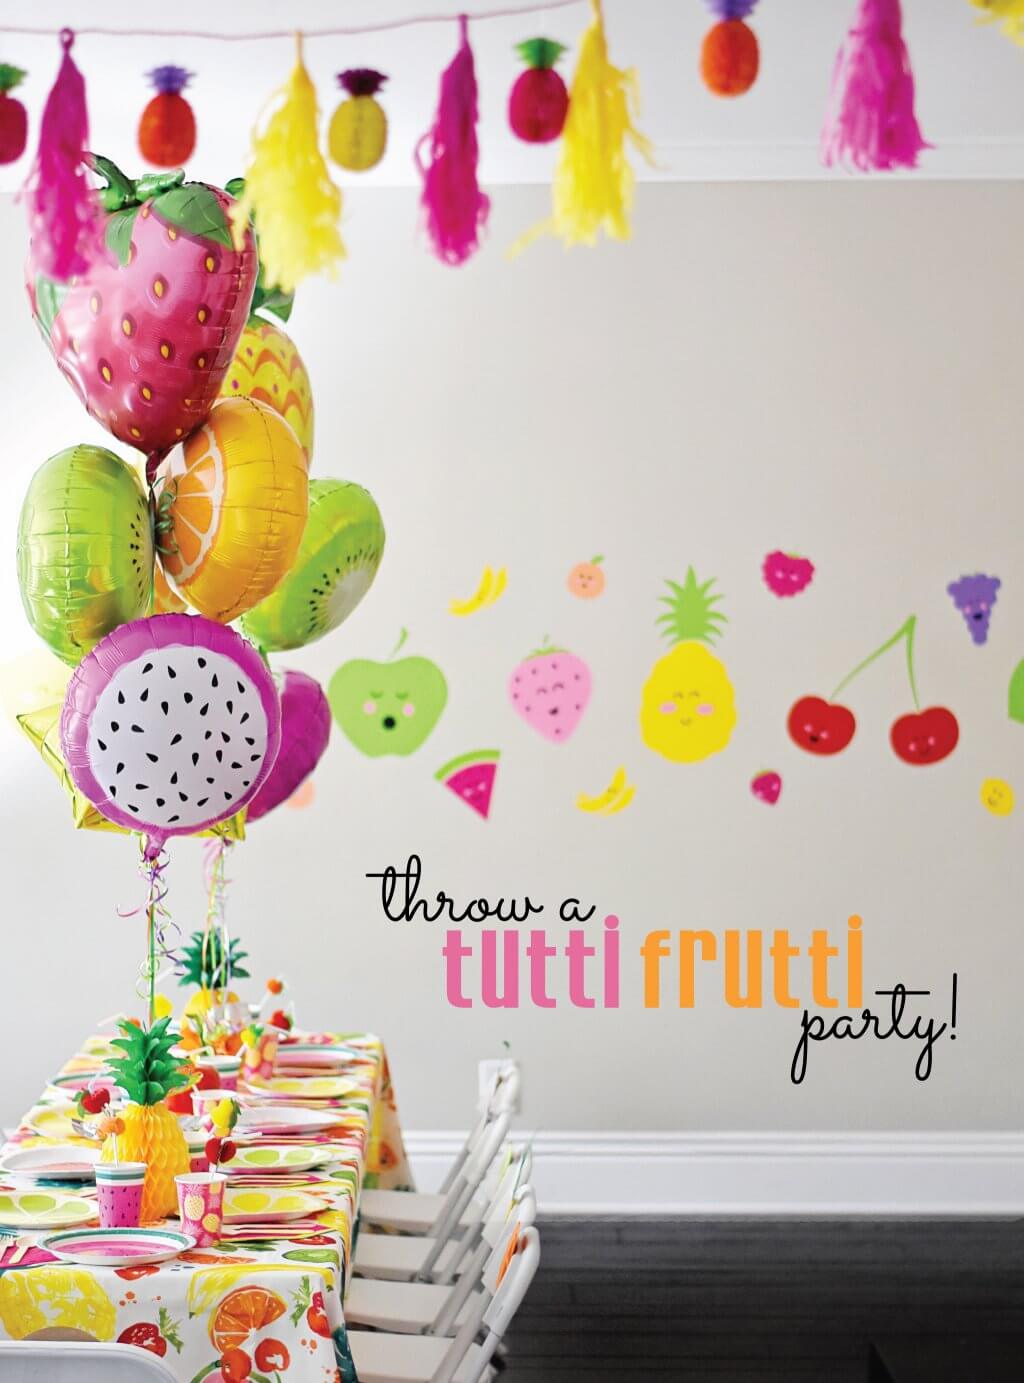
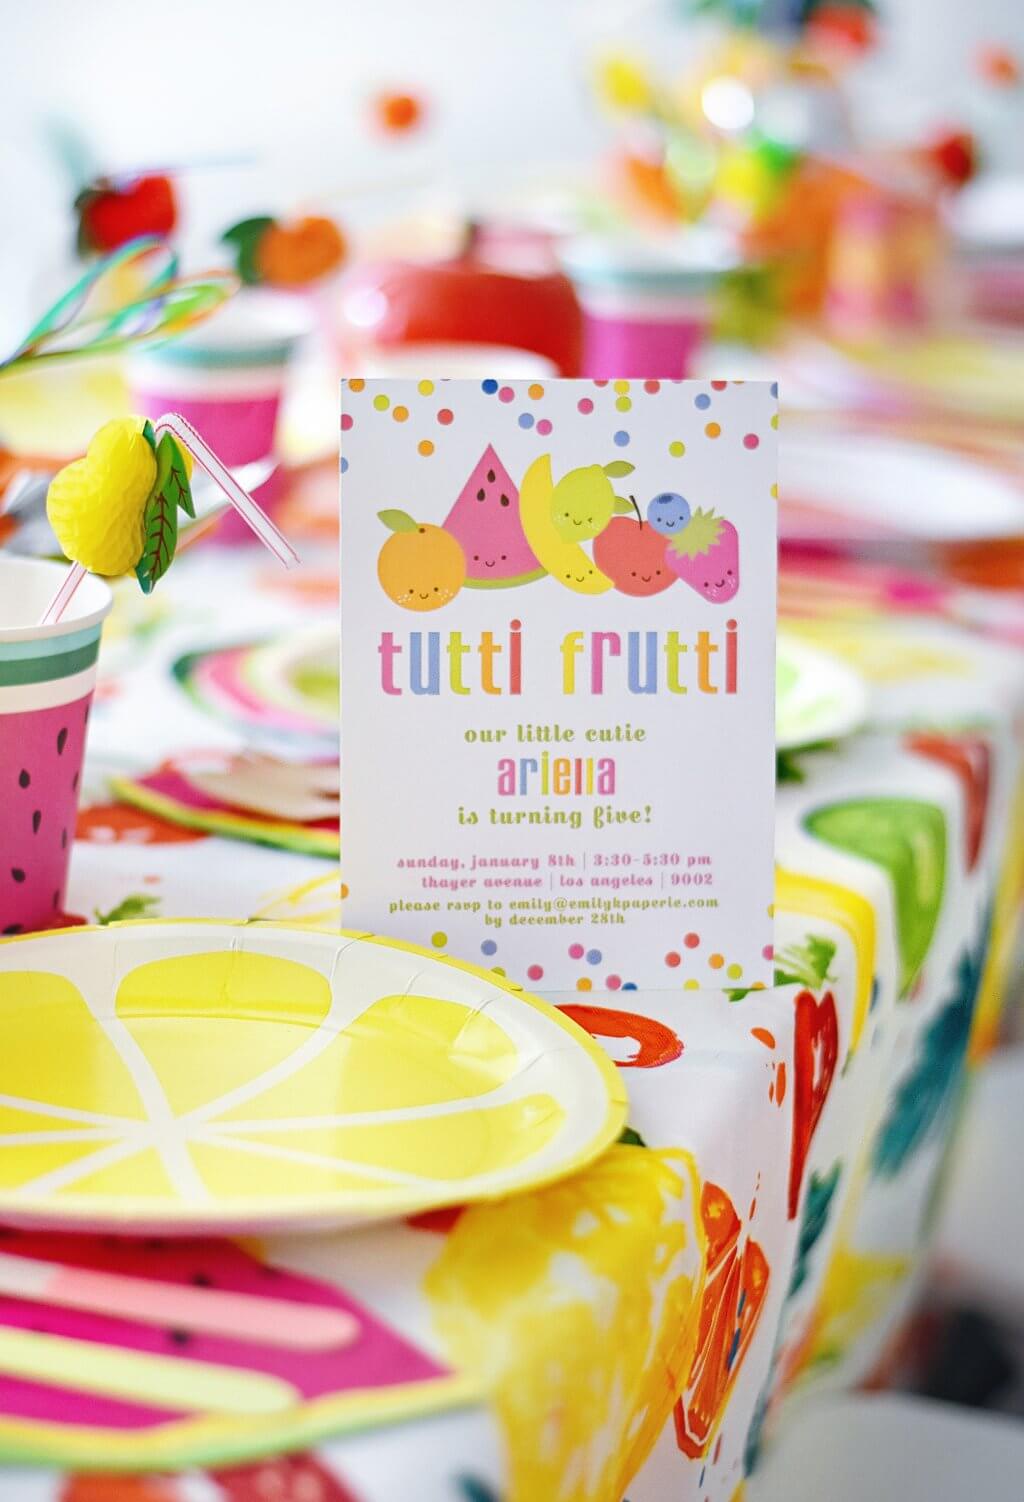
I had a blast designing these tutti frutti kawaii-inspired invitations, and I just made them.
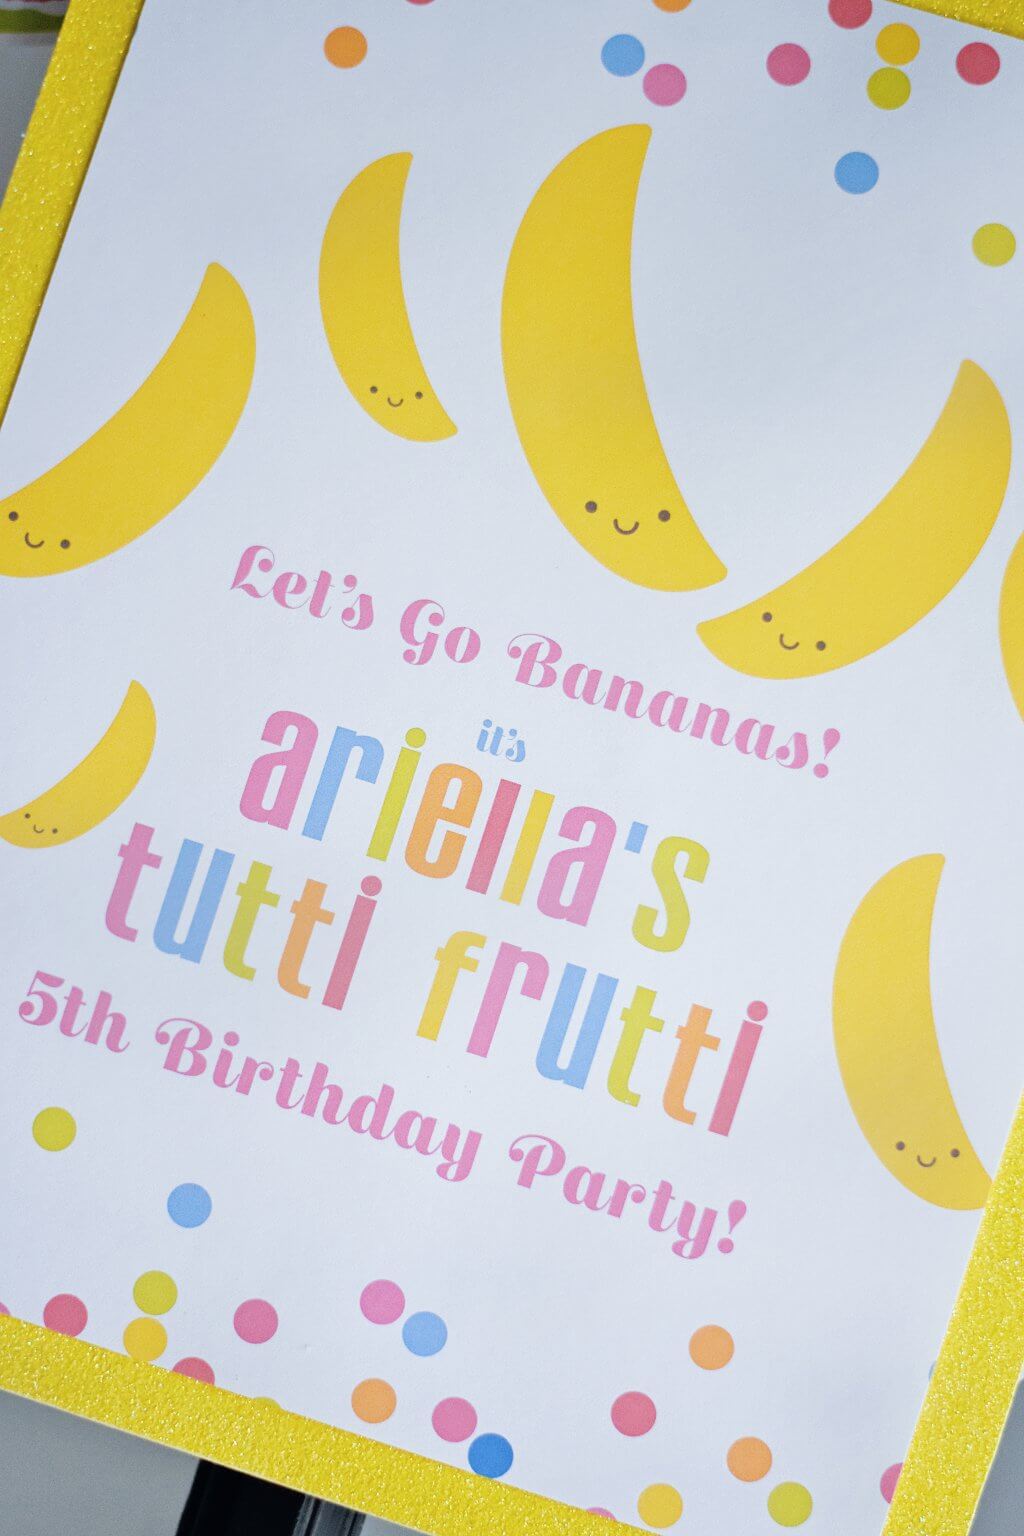
To welcome our guests, I also designed this “Let’s Go Bananas!” welcome sign to hang on our front door.
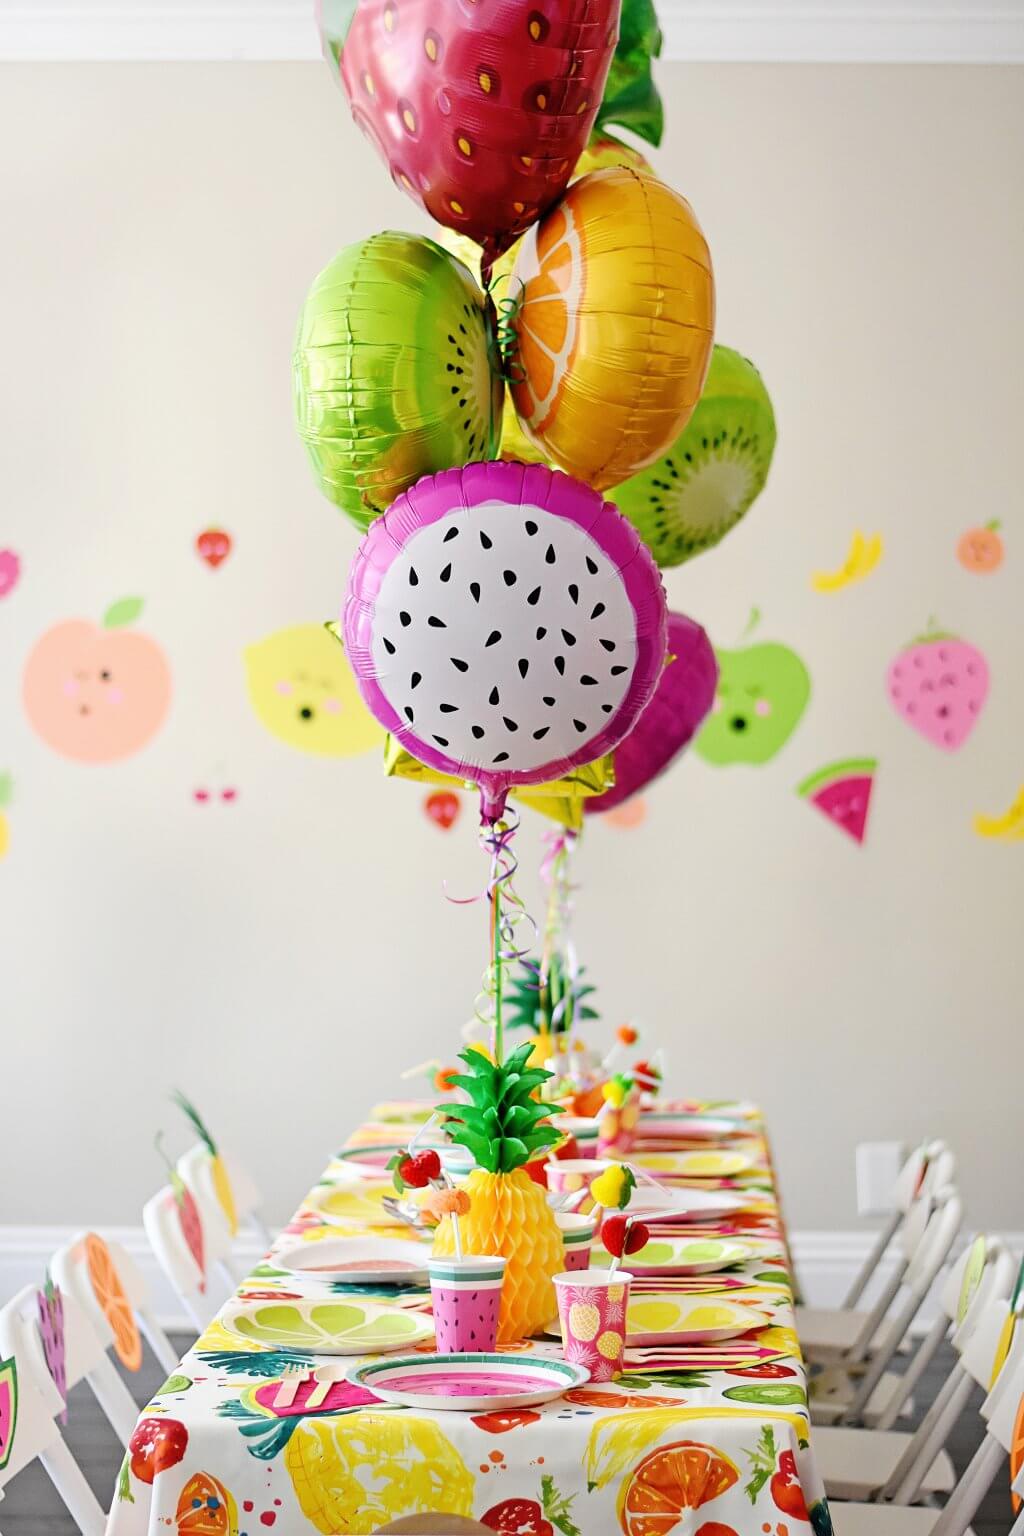
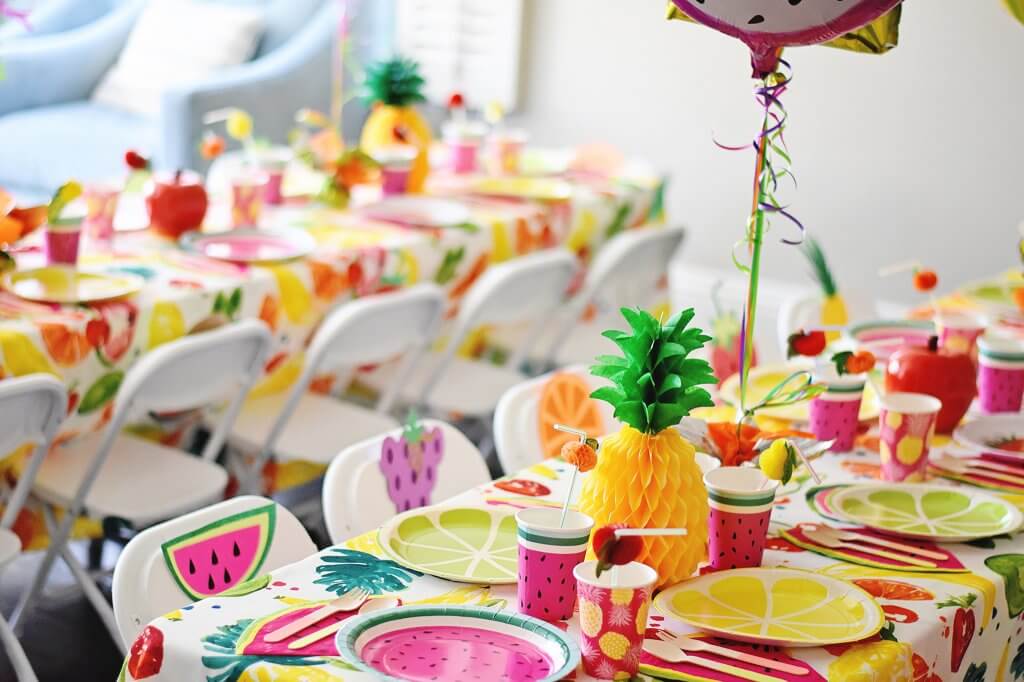
My favorite area of the party was definitely the party tables. I spied the fruity tablecloths last summer on clearance, which I knew would be the perfect table covering. I then purchased different fruit slice paper plates and cups.
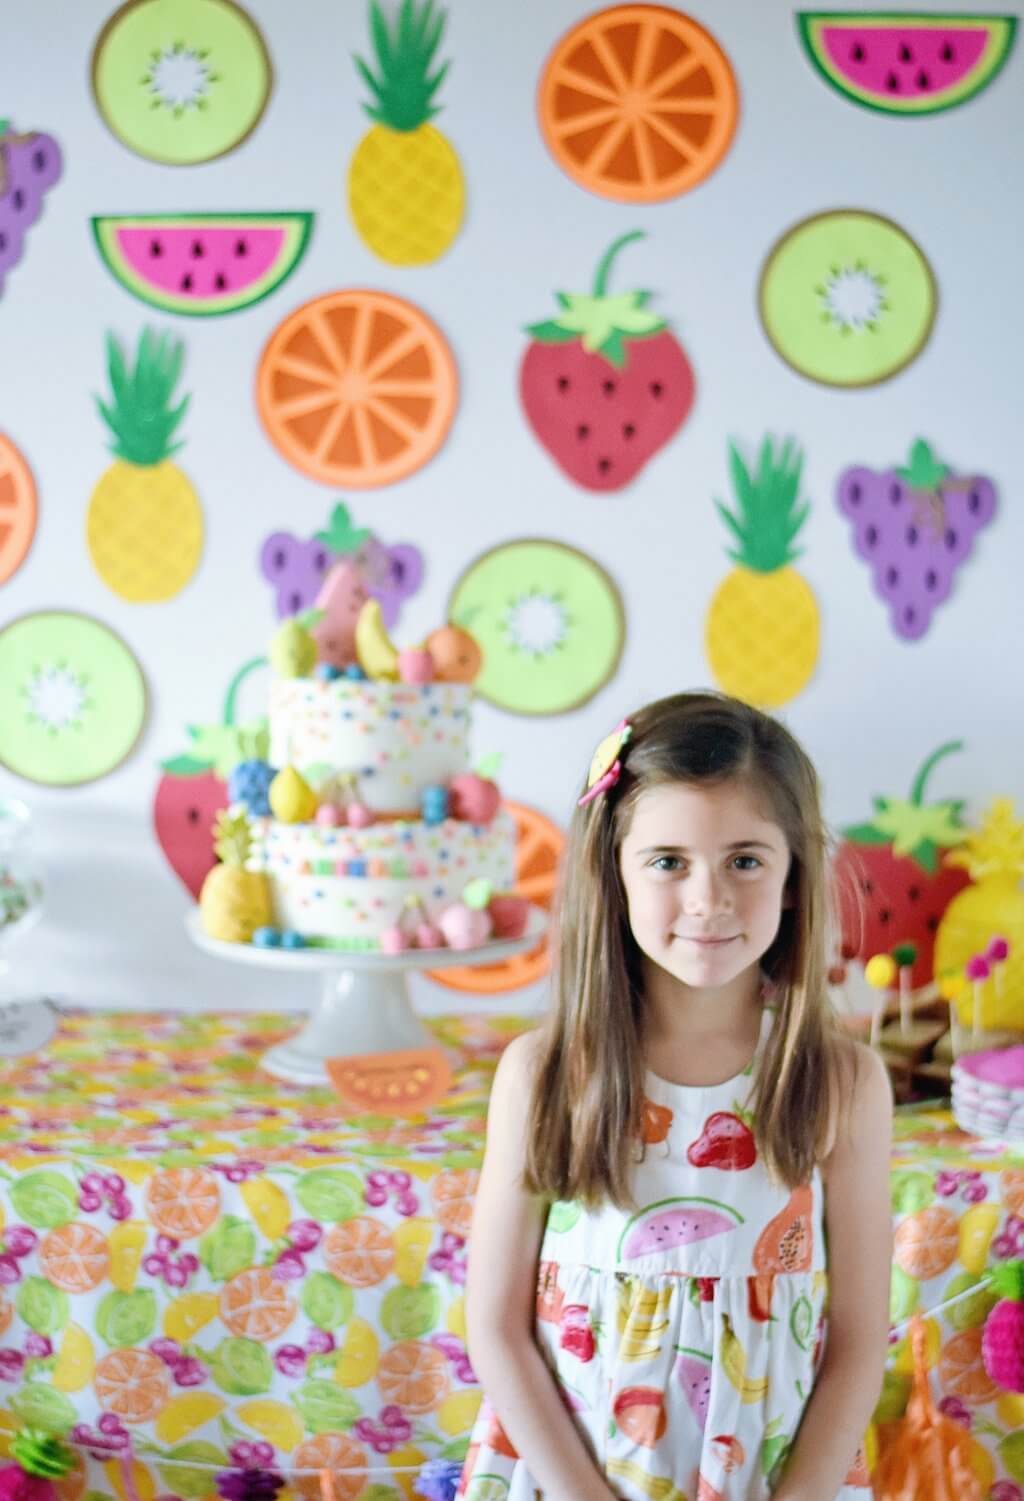
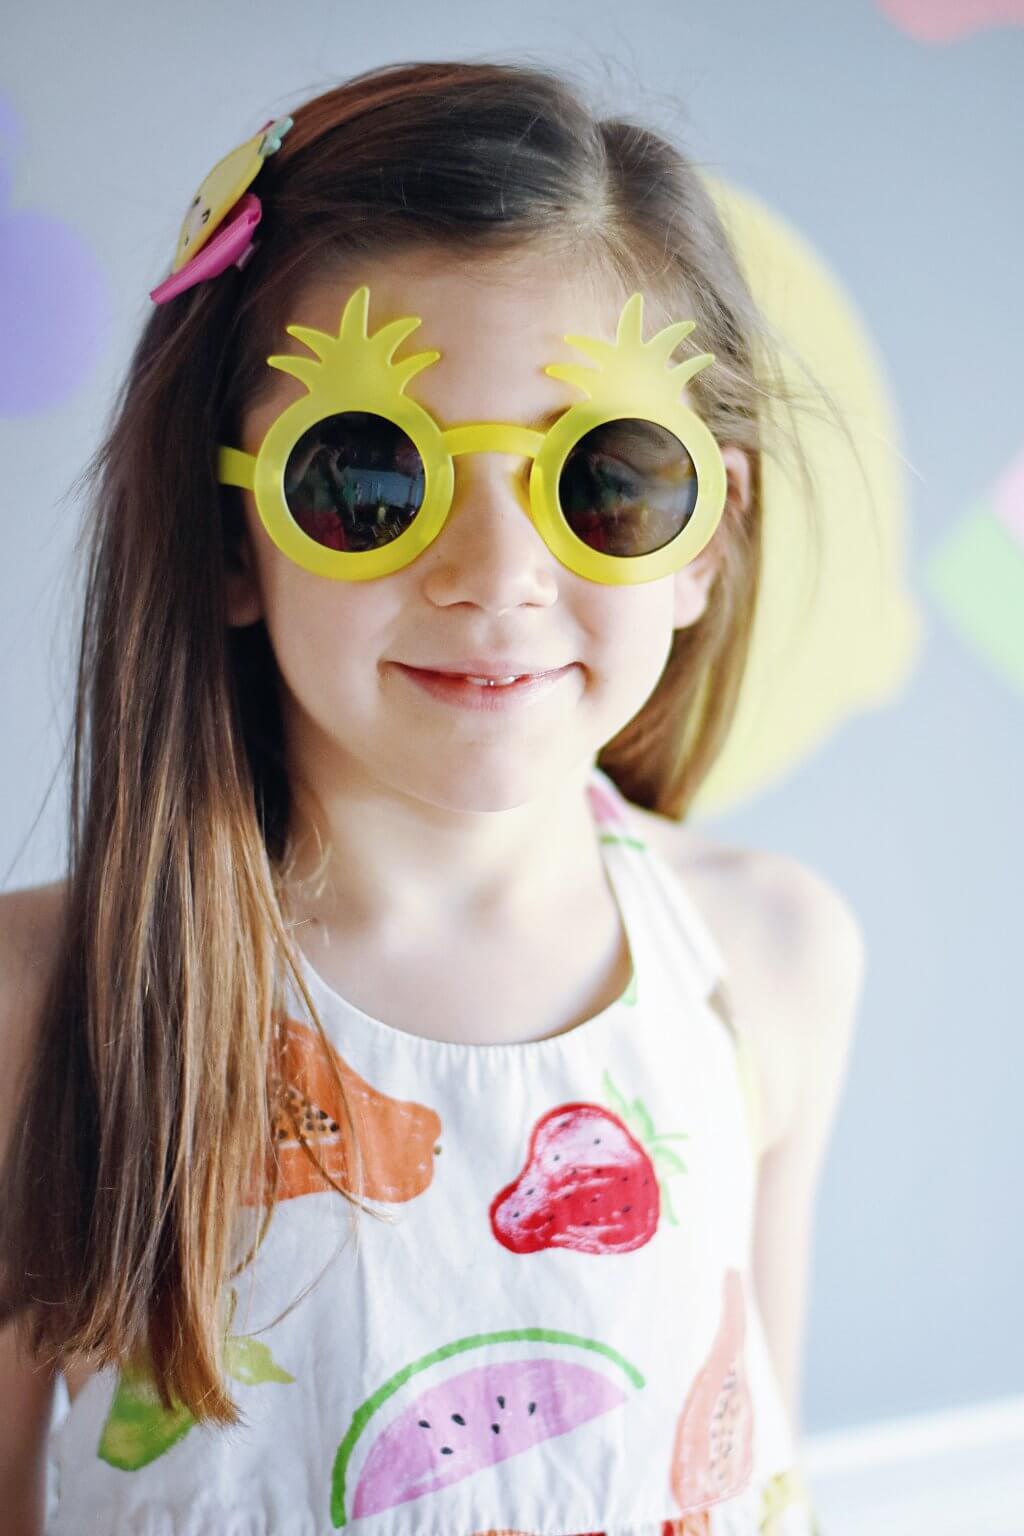
Here’s a picture of the birthday girl standing in front of her cake table! I scored her fruit slice dress on eBay, and it matched perfectly!
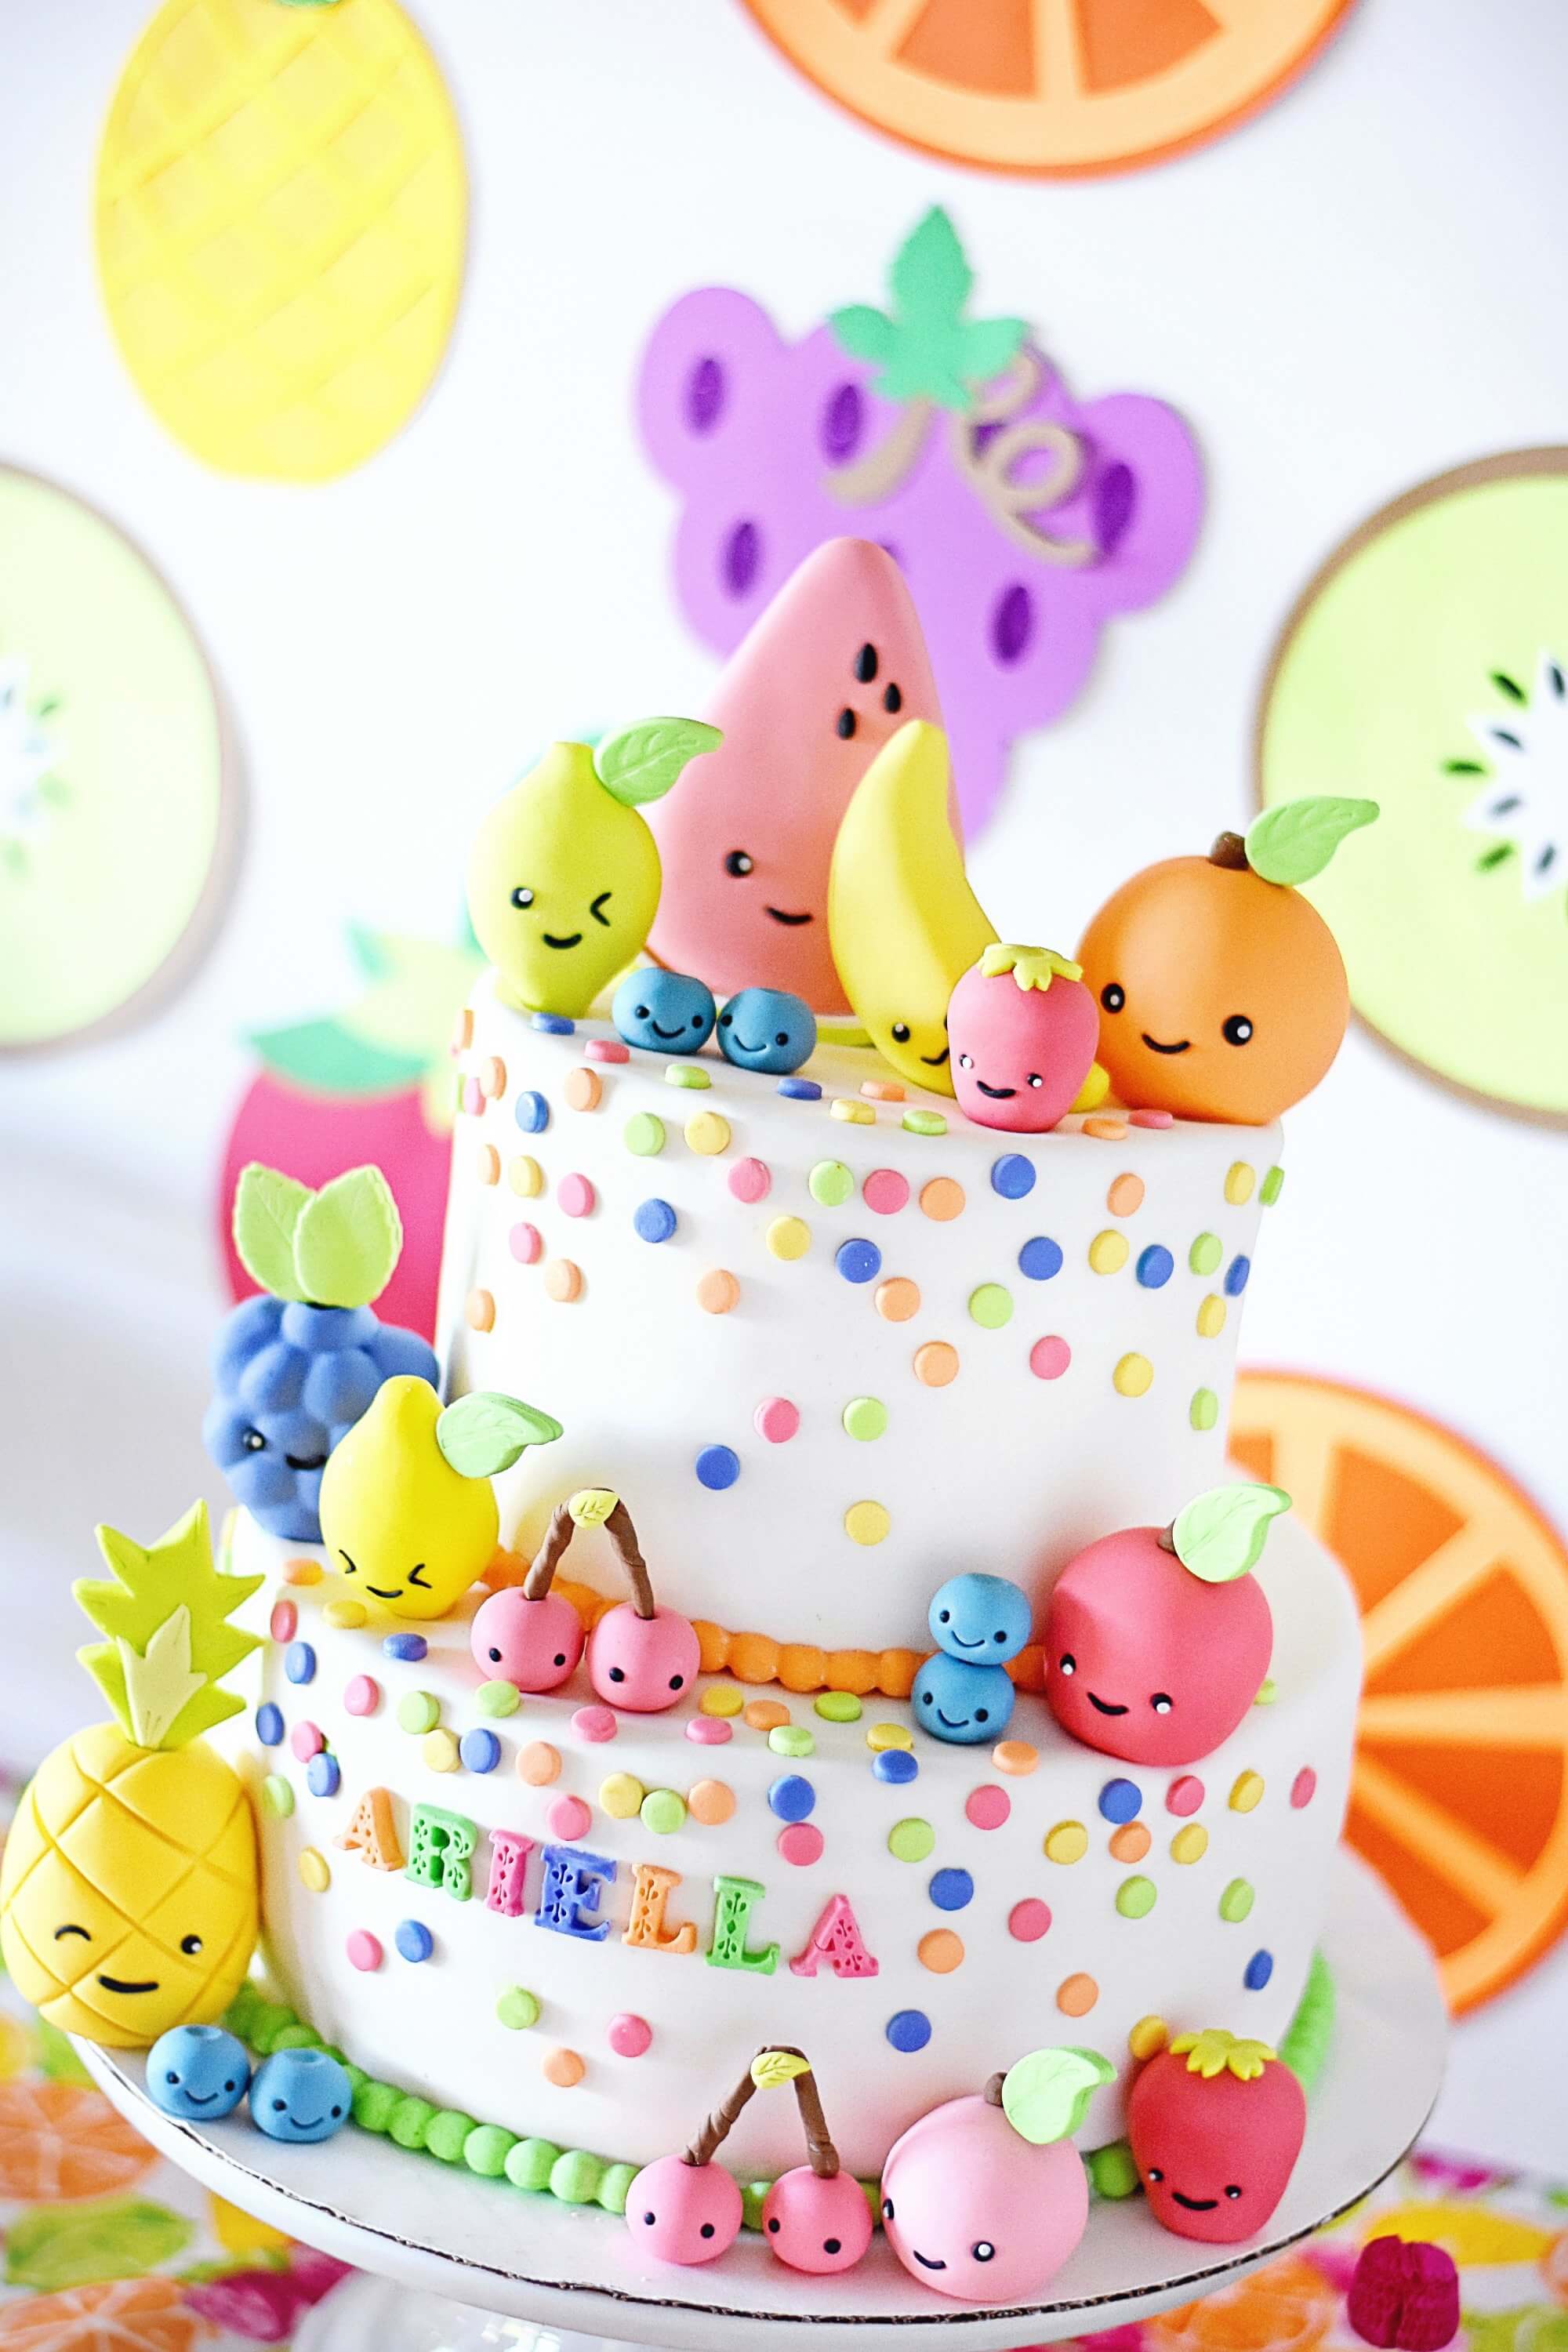
Next up, the cake! Can you believe the cuteness that is going on here? At every party, everyone asks me, “Who does your cakes?” I’m spilling the beans right here, folks!
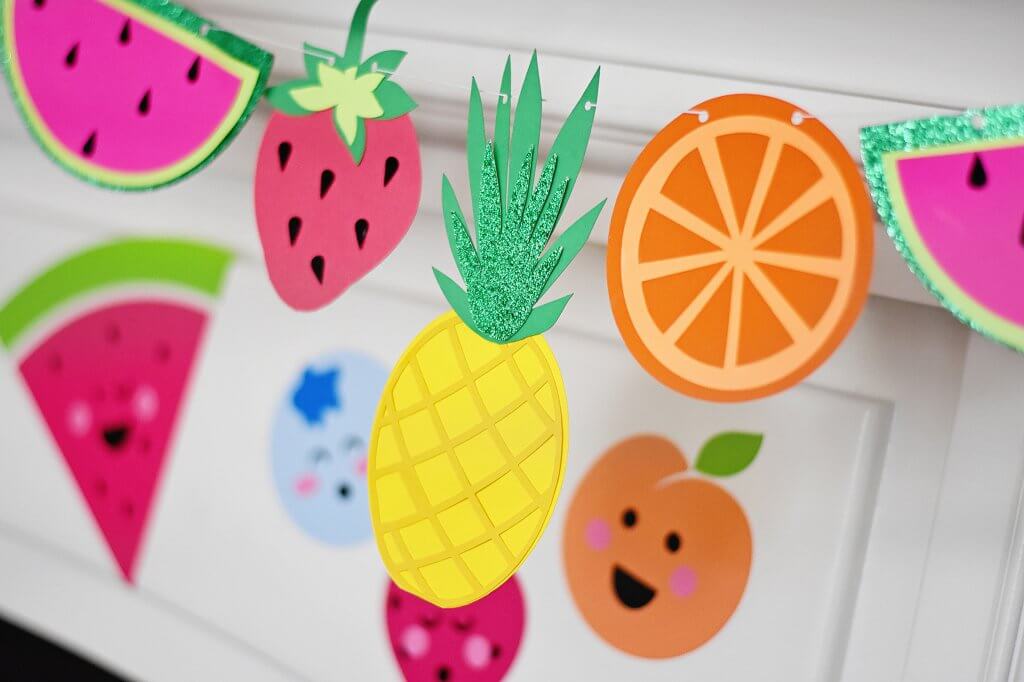
The most beautiful paper goods and made this layered and glittery fruit banner, as well as the fruit pieces on all the chair backs of the kids’ chairs. Her handiwork is truly divine!
Here’s another look at the dining tables—my favorite part of the party!
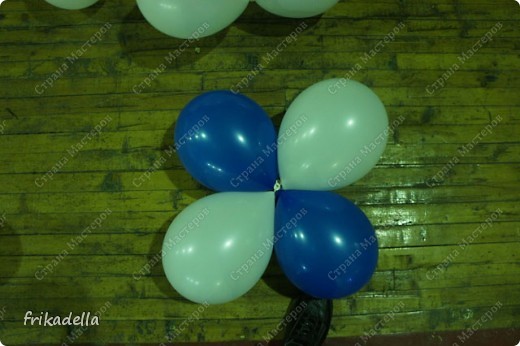
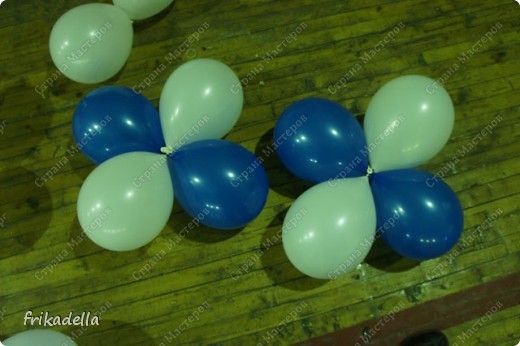
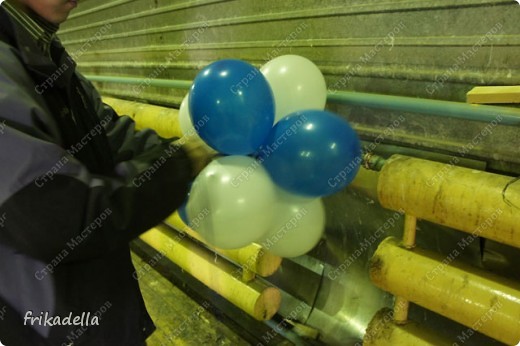
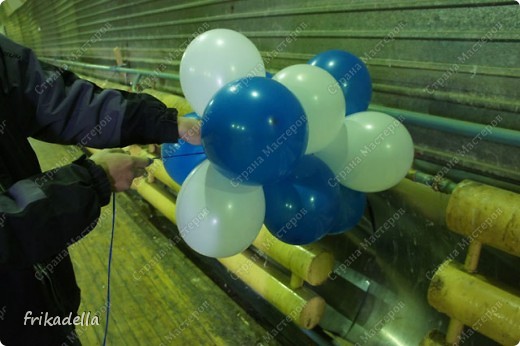
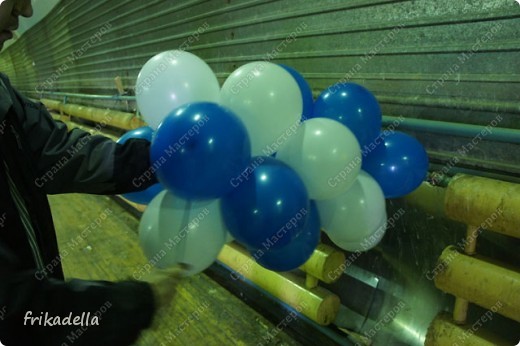
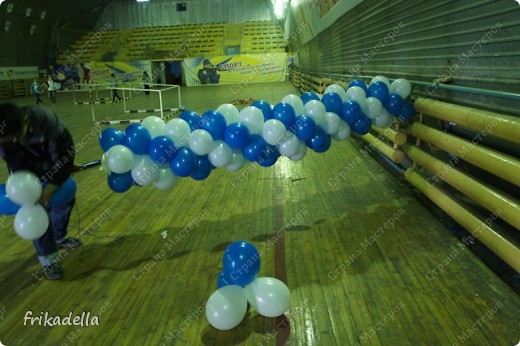
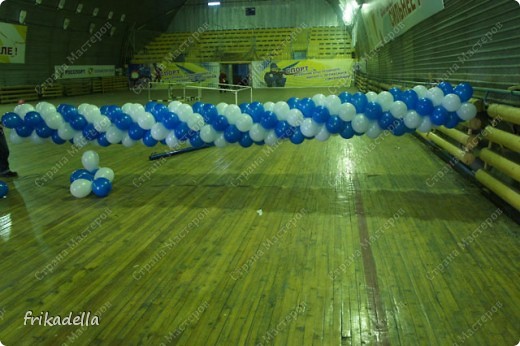
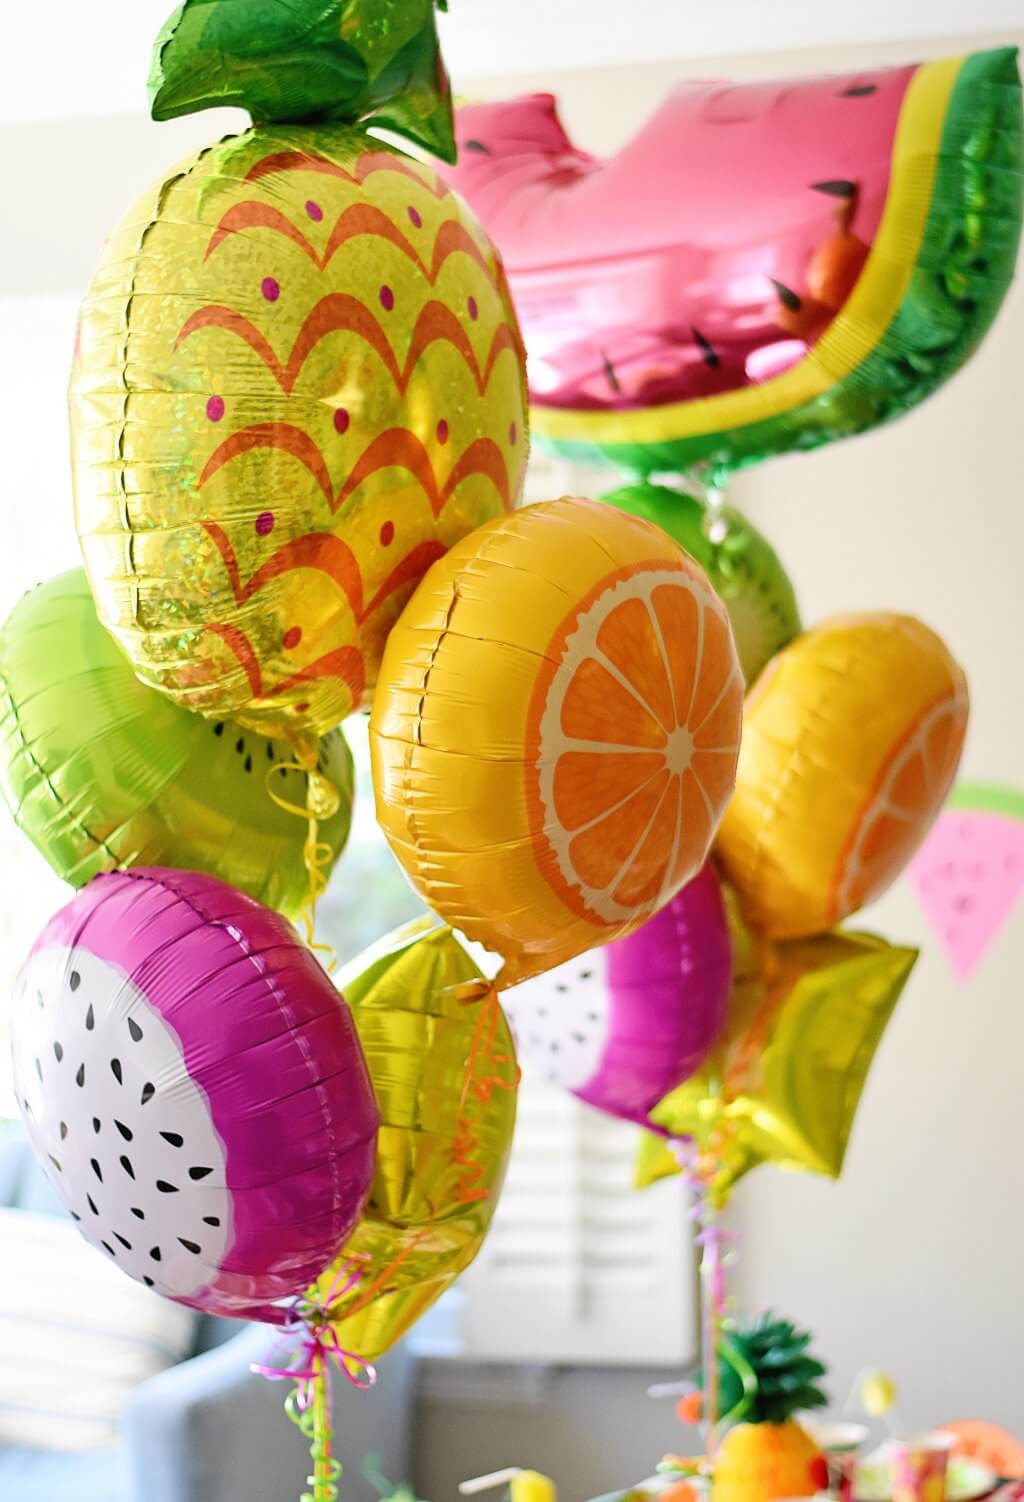
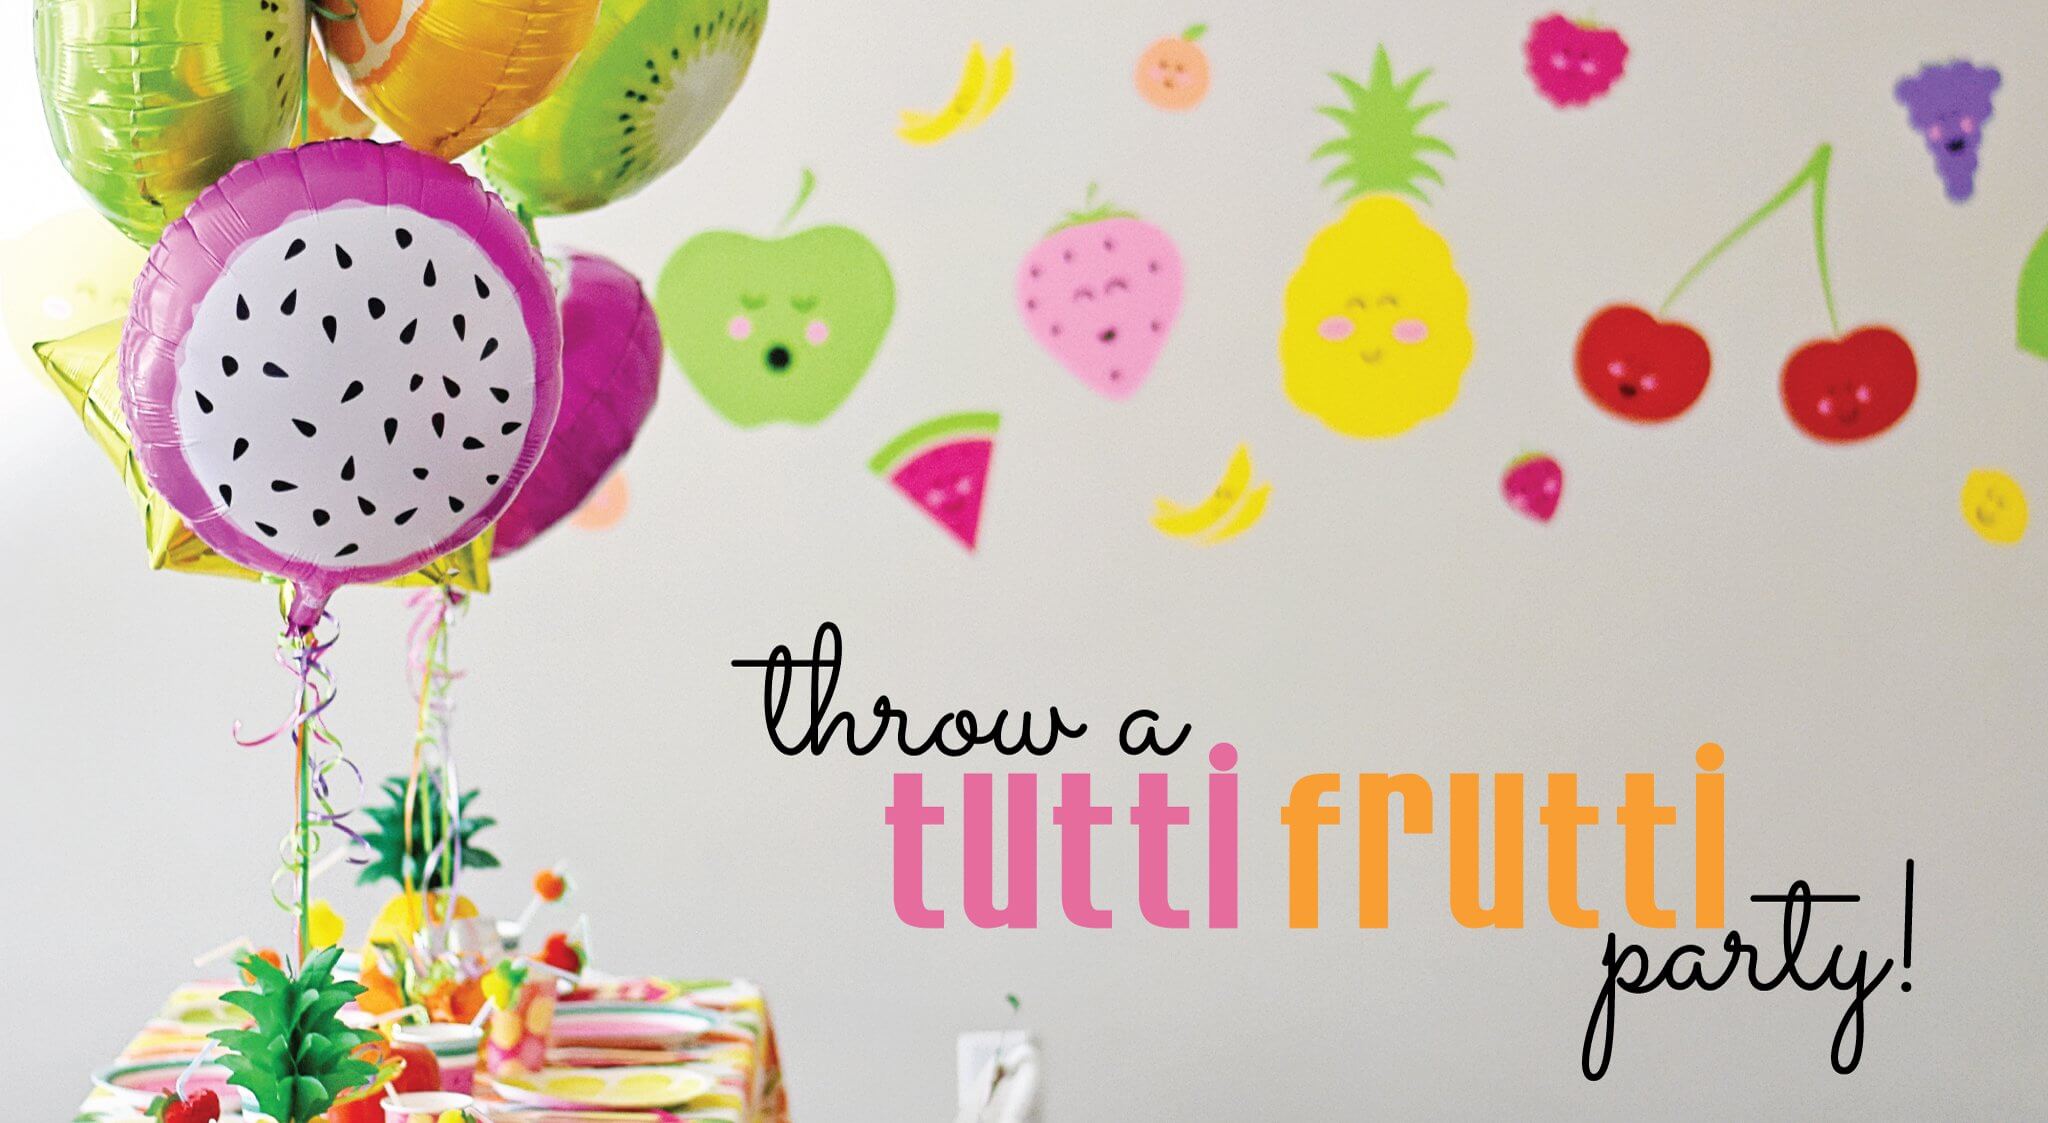
These fruit slice balloons provided some definite eye candy when you walked in the door and were the perfect table centerpieces for the dining and buffet tables.
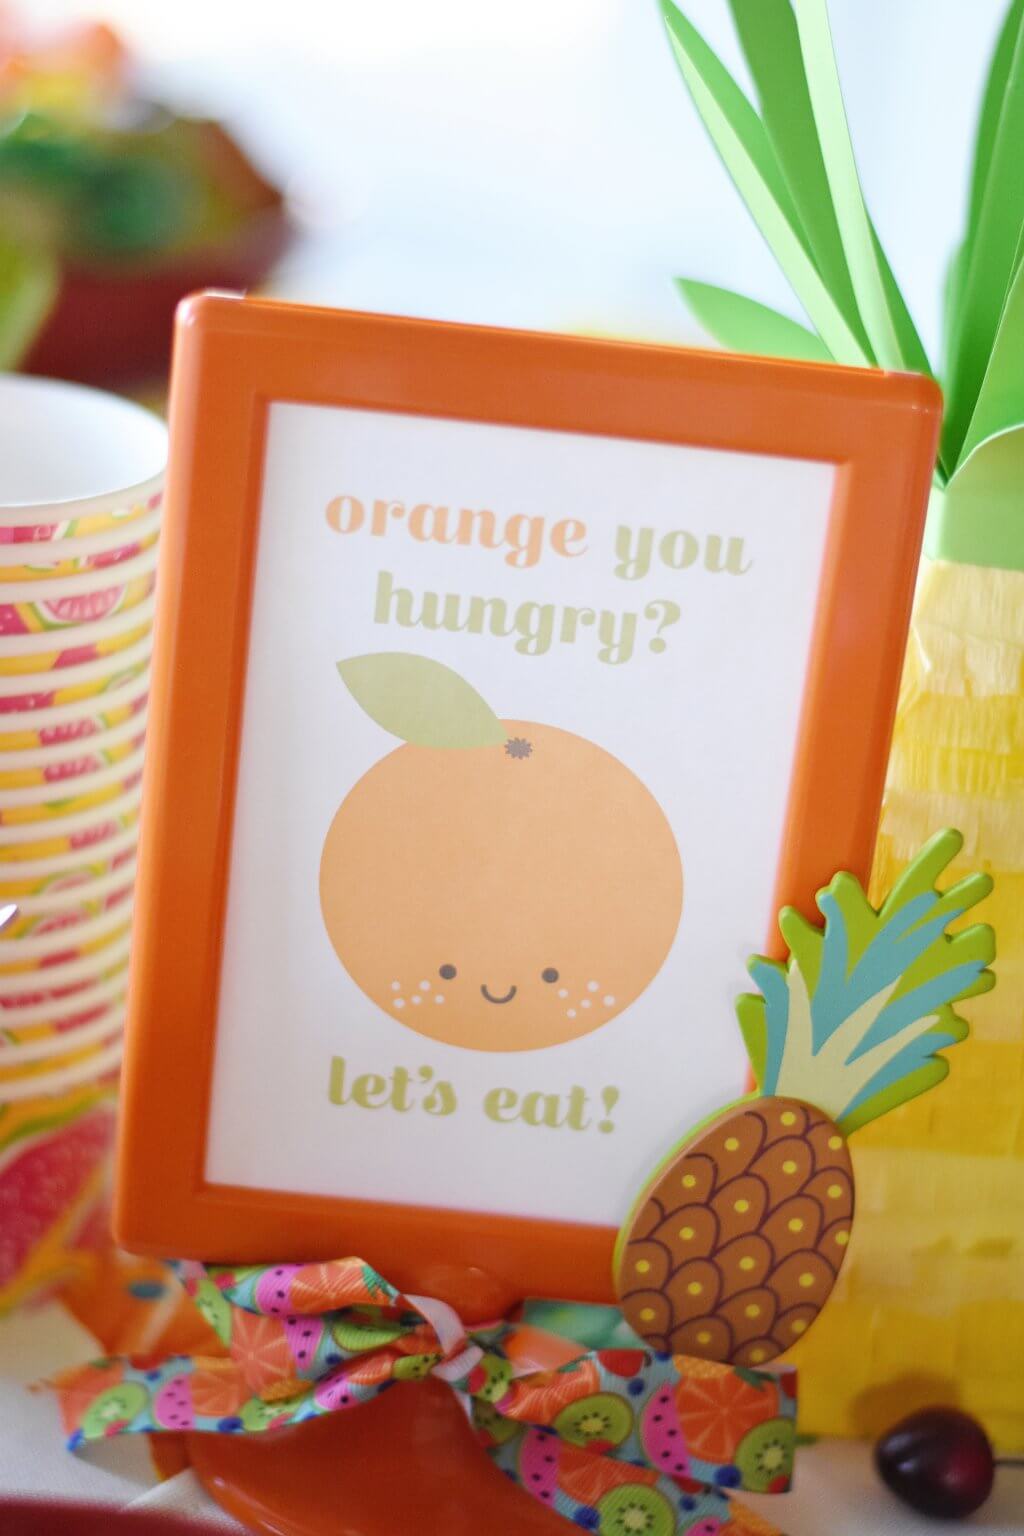
I created this “Orange You Hungry? Let’s Eat!” sign for the food buffet table using the same cute kawaii fruit graphics from the invitation.
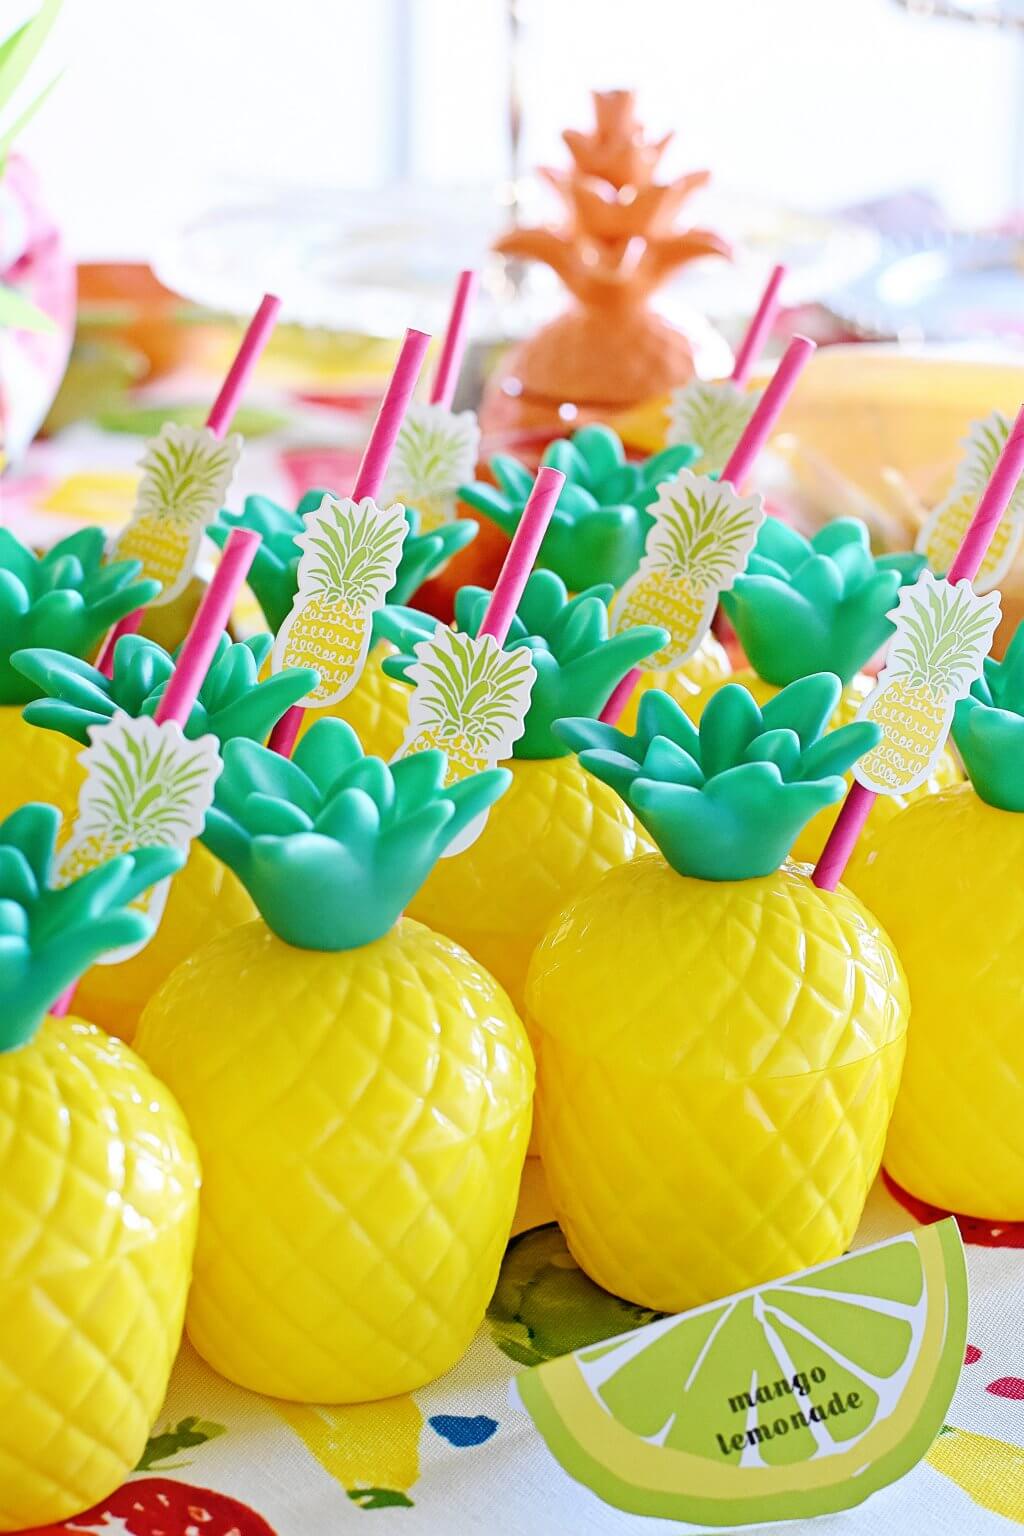
I found the perfect pineapple drink containers and filled them with mango lemonade—the perfect fruity drink for a tutti frutti party!
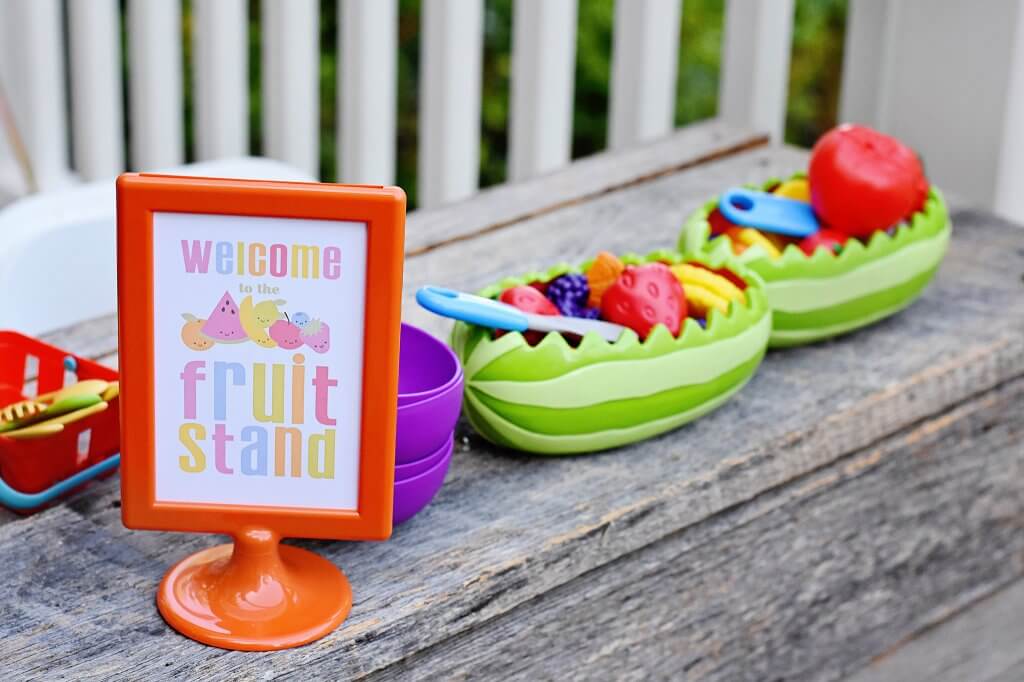
As an activity for the kids, I set up a play fruit stand area outside on our back deck. I had all kinds of play fruit, shopping bags, cash register, scale, shopping carts, play money, etc. I displayed this “Welcome to the Fruit Stand” sign on a tabletop at fruit stand. The kids all had an absolute blast shopping and selling fruit to each other!
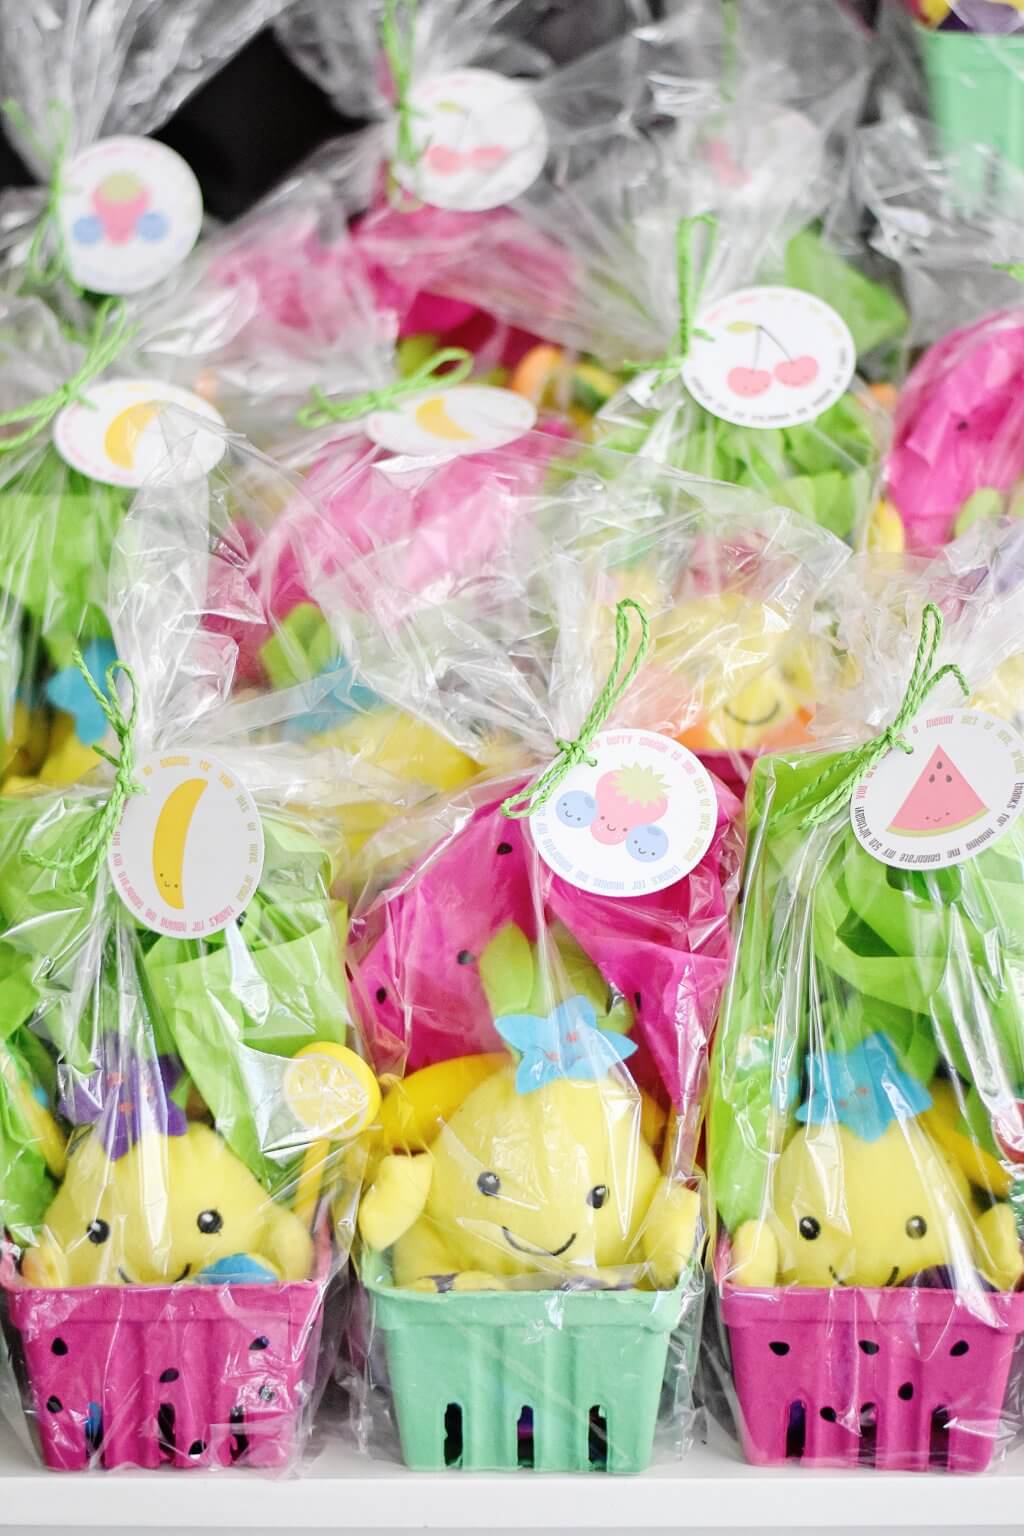
For the party favors, I found plush kawaii-inspired pineapples. I placed them inside berry boxes and added someprintable tags featuring different fruits and matching slogans.
I hope you’ve been inspired by some of the tutti frutti birthday party ideas! It’s a party theme that just makes everyone feel happy, inside and out!
Hope you like this tutorial.
Source: projectnursery
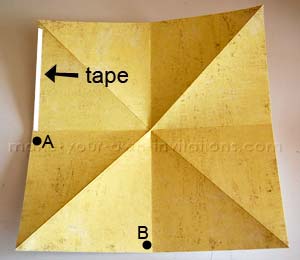
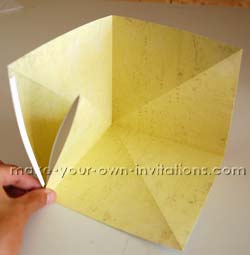
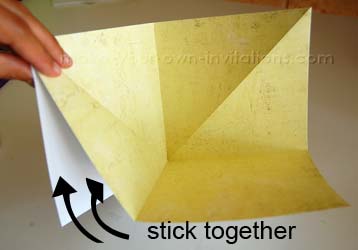
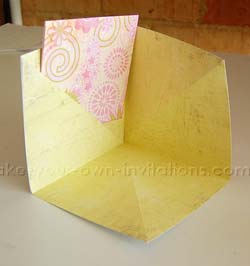
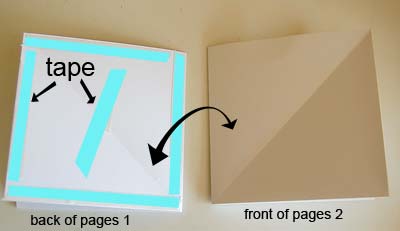
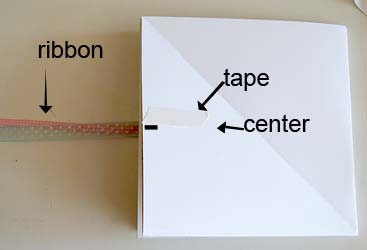
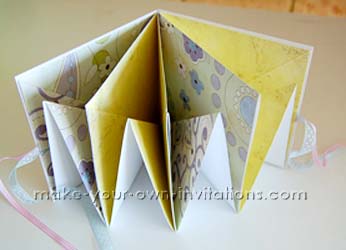
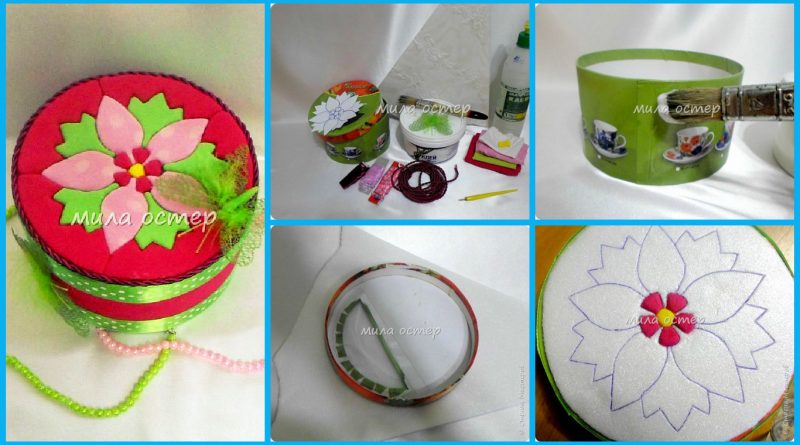
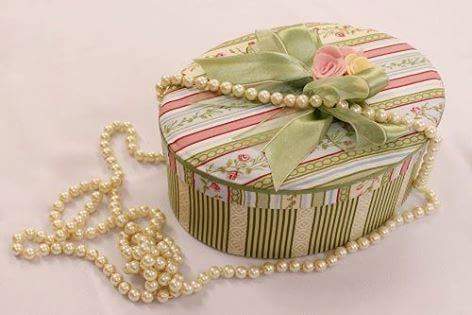
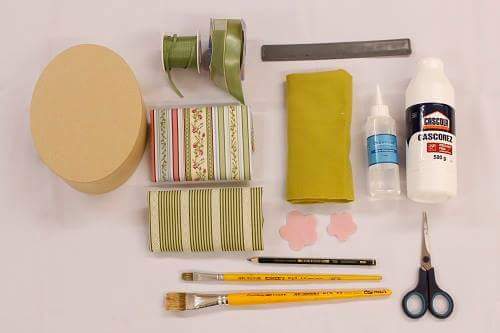
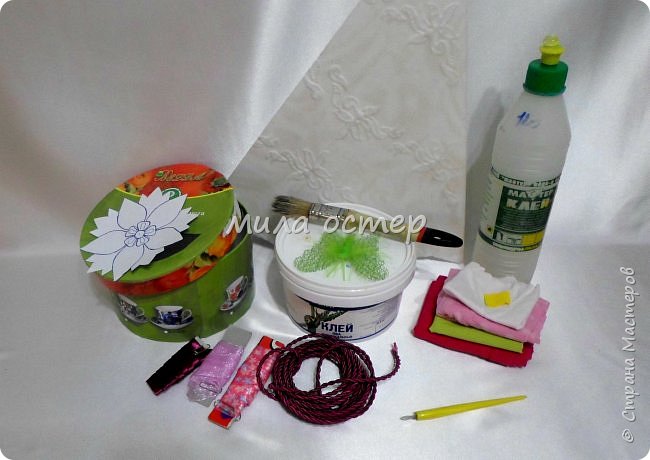
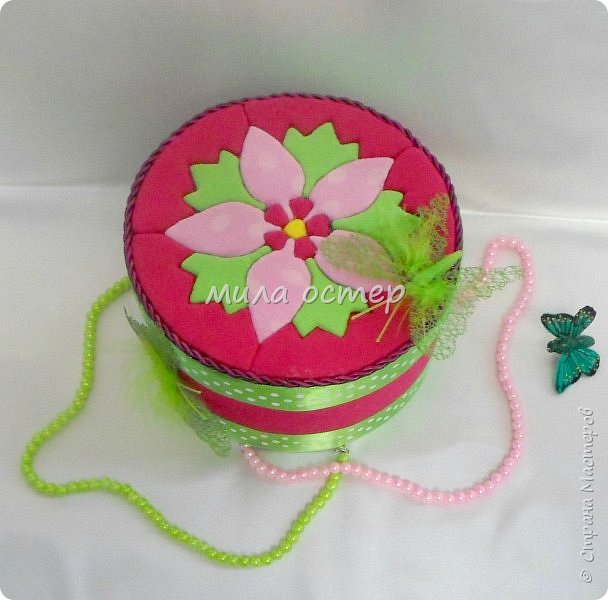 Required Materials:
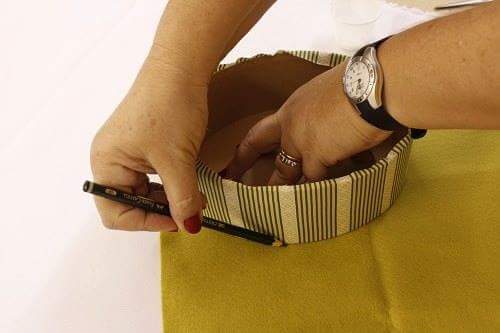
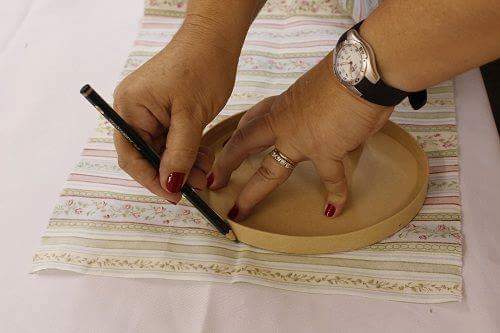
 Encircles the lid on the tile. But I made a circle on the tile smaller diameter. Somewhere on 5 mm less than that than to stick the cord.
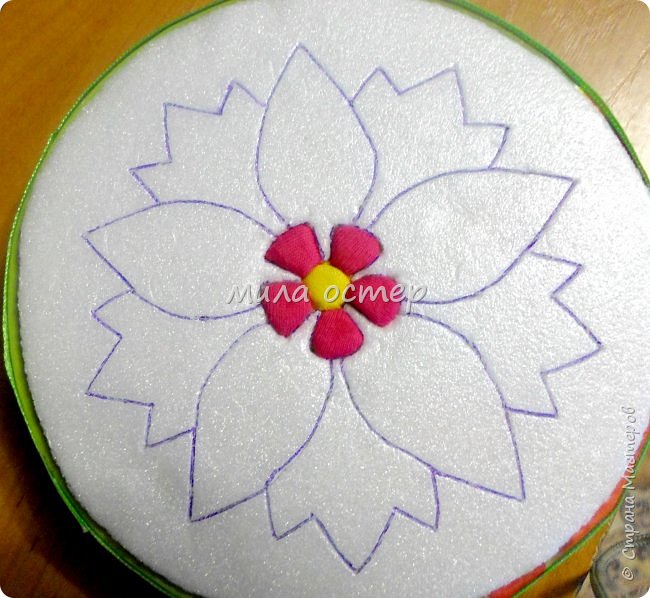
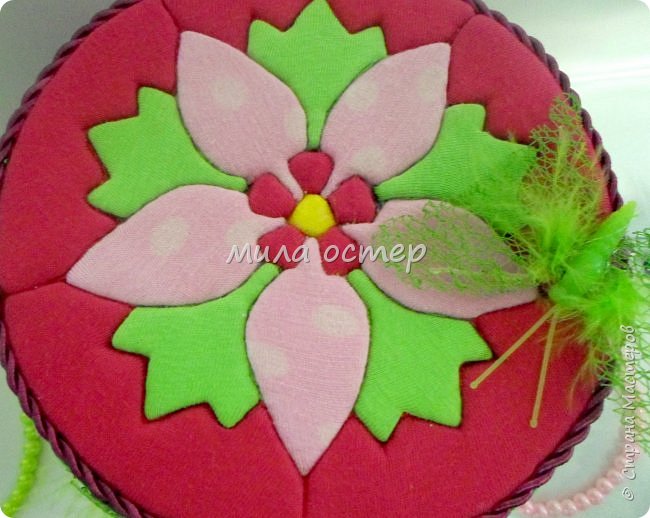
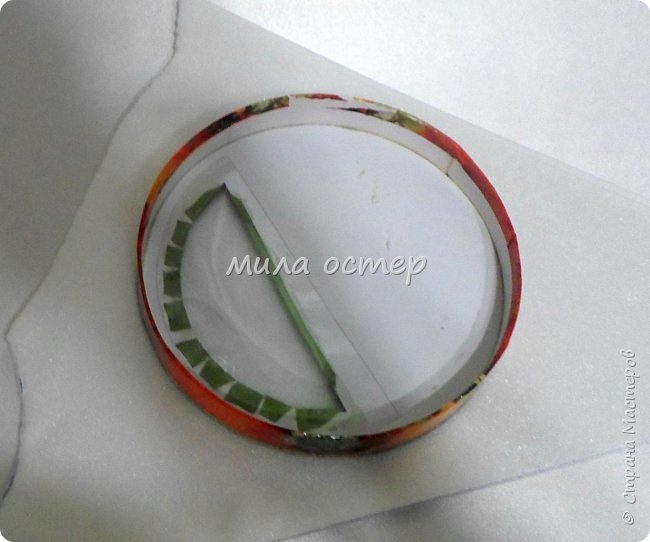 Draw drawing. Here we see that the circle cut from a tile smaller than the lid.
 Prikleevaem tiles to the lid.
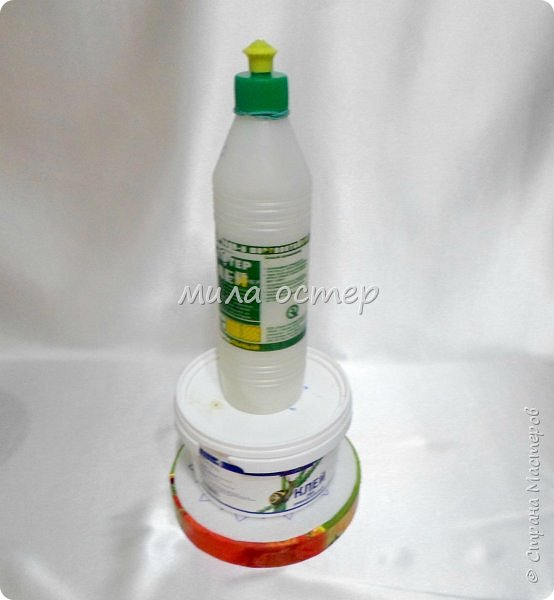
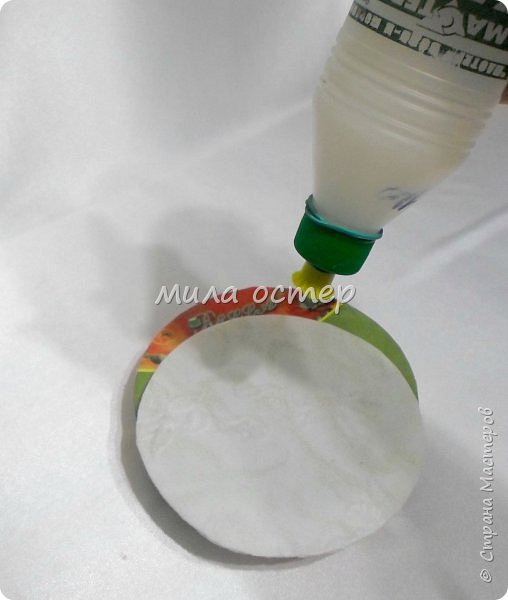 Pressed down and wait until skeleta.
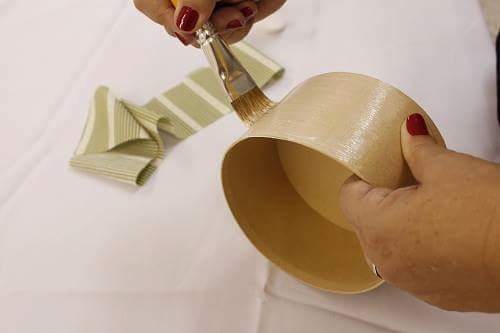
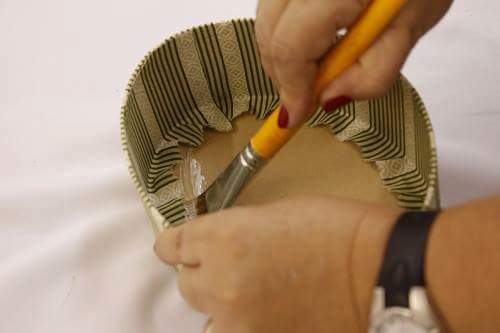
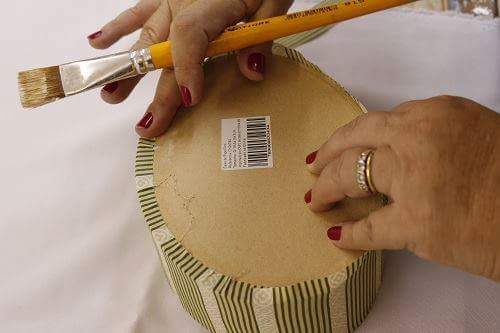
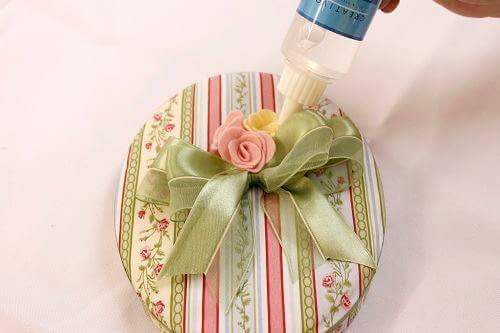
 In the meantime, you can future casket. Clay PVA glue.
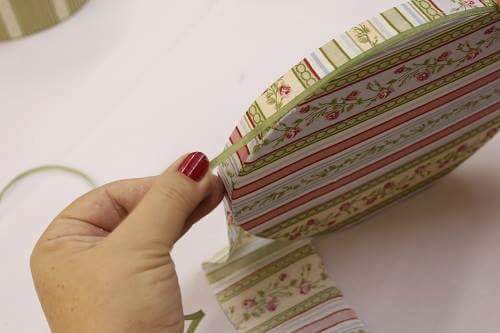
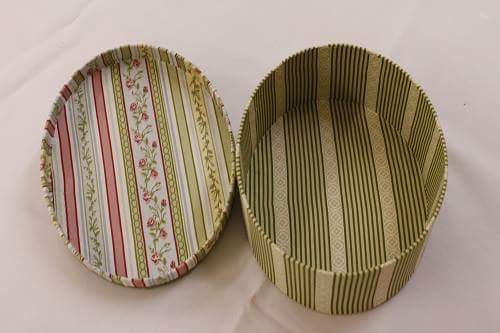
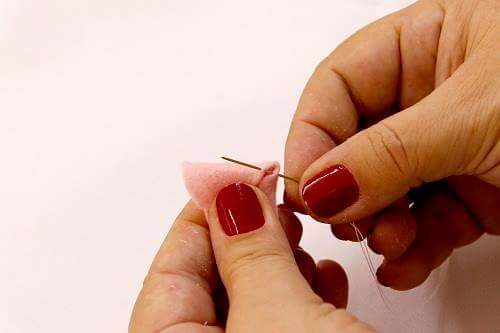
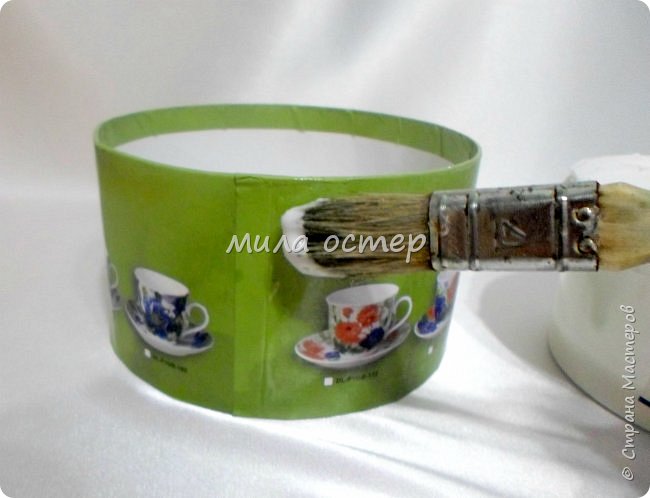 Here the selected piece of fabric already glued at the edges and the adhesive tape to close the fabric roughness.
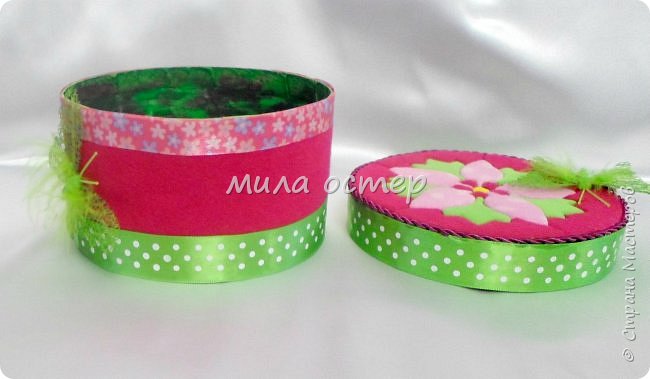
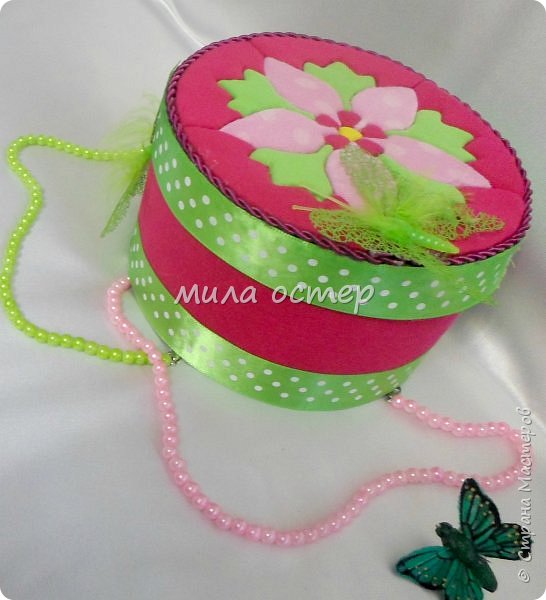
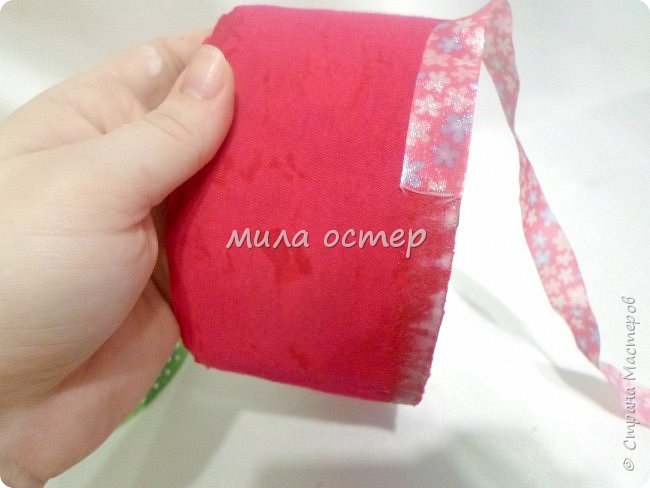 But here there was. Tape planned to cover the same as on the box – pink. But it turned out to be less than the width. And I had to run faster and look at their holdings something suitable. It was found so that’s light green polka dots and went perfectly in size and color.
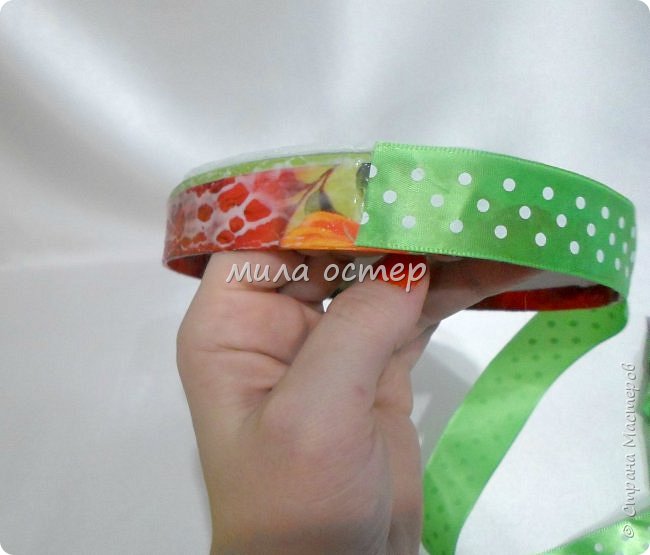
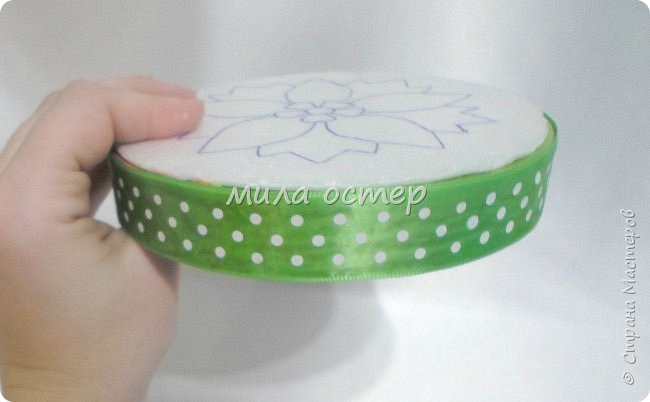 And that box …
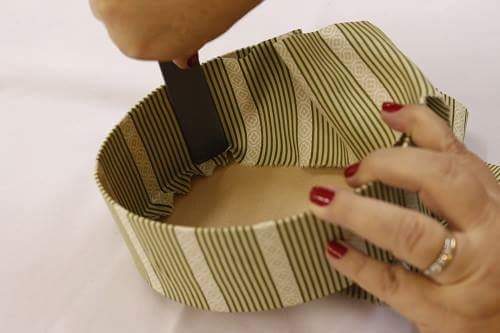
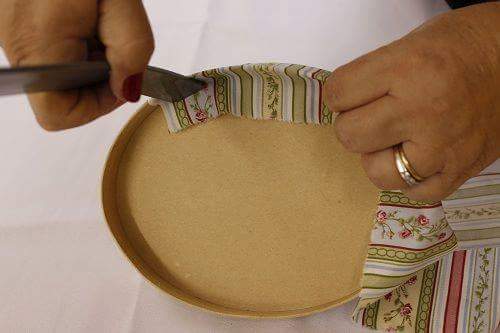
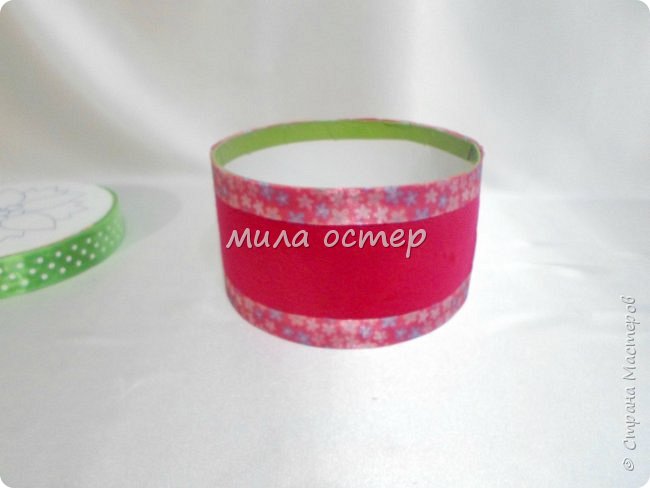 The stationery knife cuts through all over the picture.
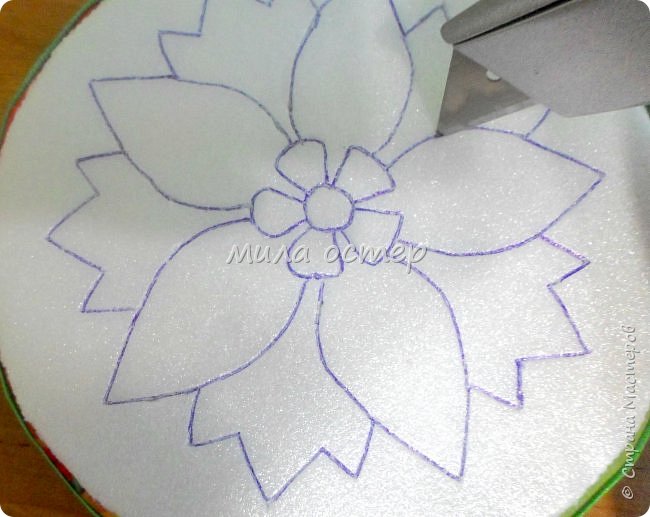 And we begin to tissue slices to cover our drawing.
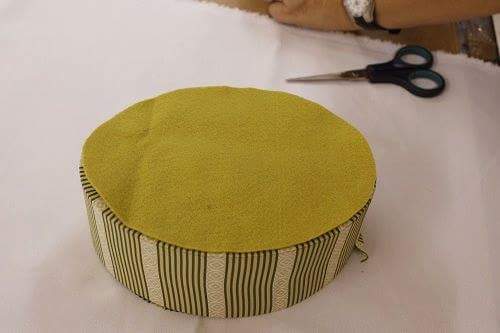
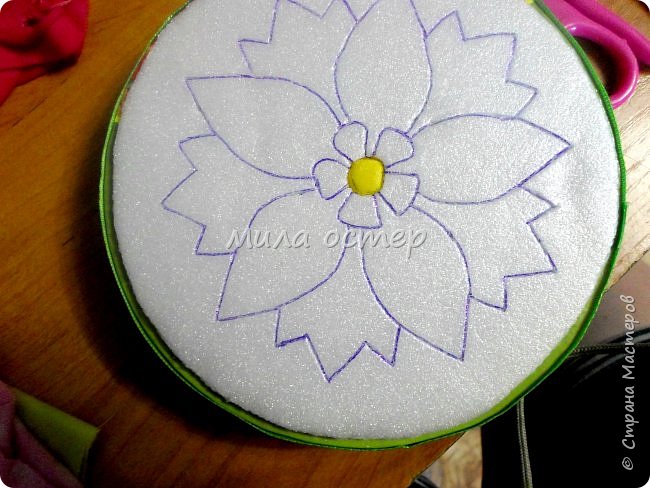 Cut off about a planned Circuits appropriately sized piece of cloth.
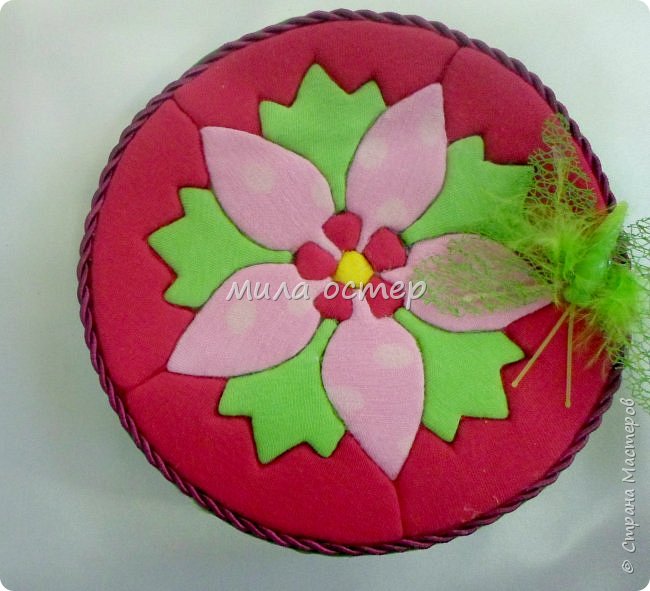
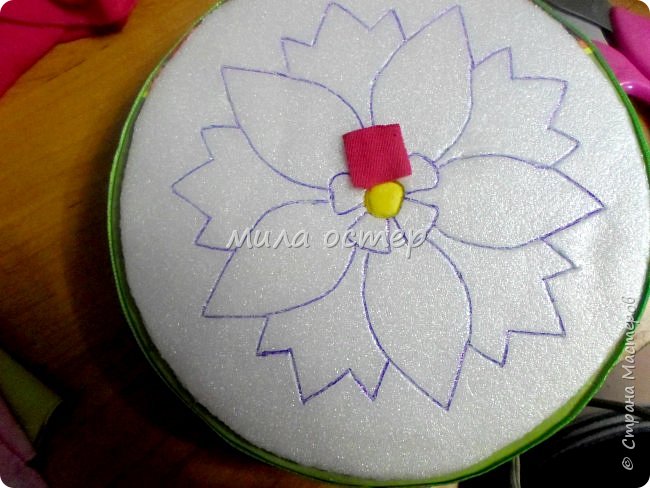 And with the help of sticks in the slots put cloth. Cut away the excess fabric.
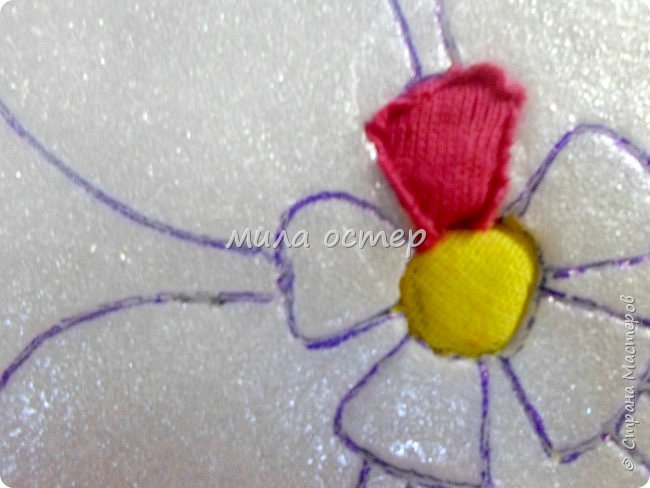 Like this.
 And then I got carried away and forgot much work still to do at least a couple of photos.
 Inside painted with acrylic paints.
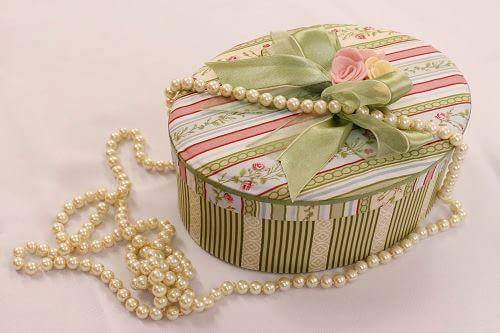
 I like and I am very happy.
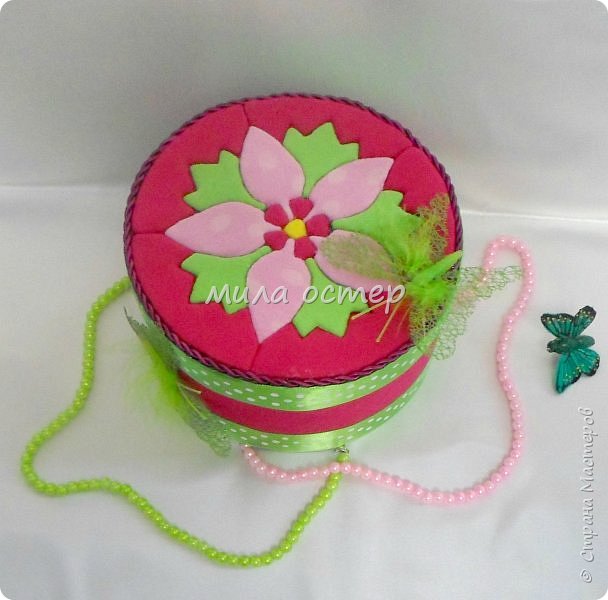 Lids certainly not perfect and master this technique will notice the flaws, but I and forgive me)))))))))
 on the other hand
 Our two lucky moment already went to wait on December 31 !!!!!!
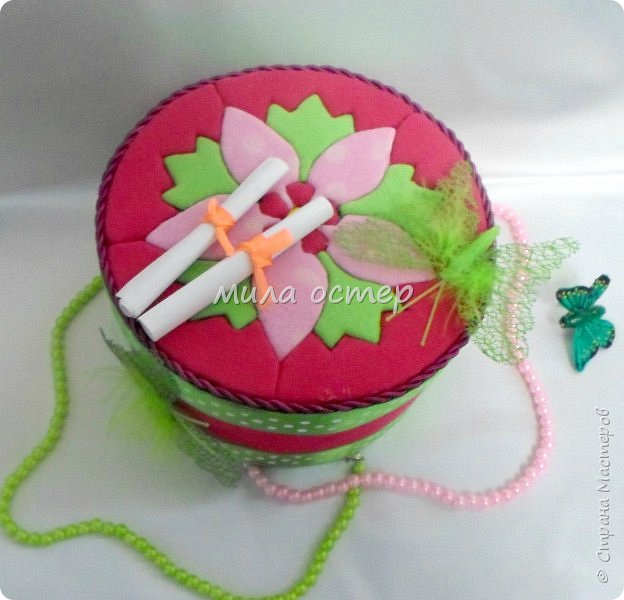 That’s it. Thanks to everyone who has paid his attention and looked at
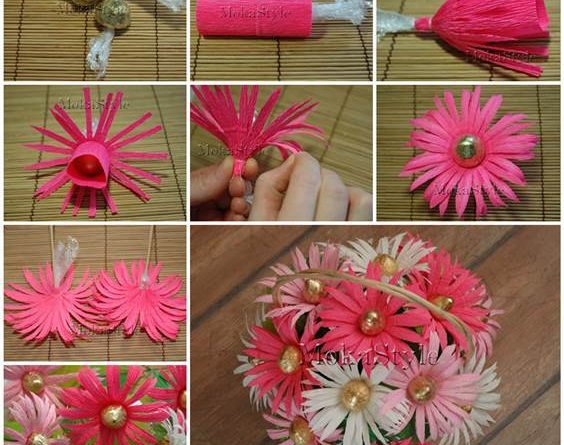
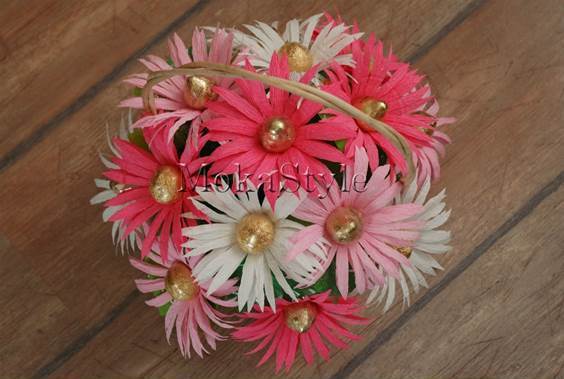
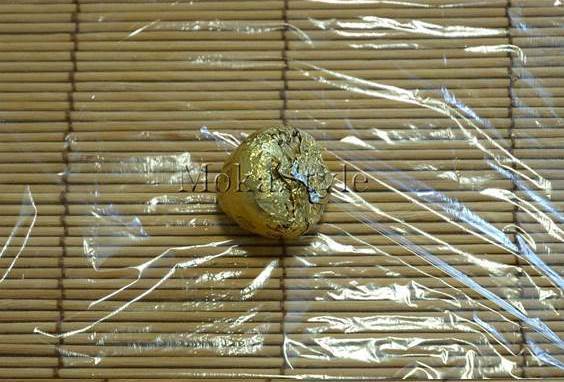 2. Wrap the chocolates with cellophane.
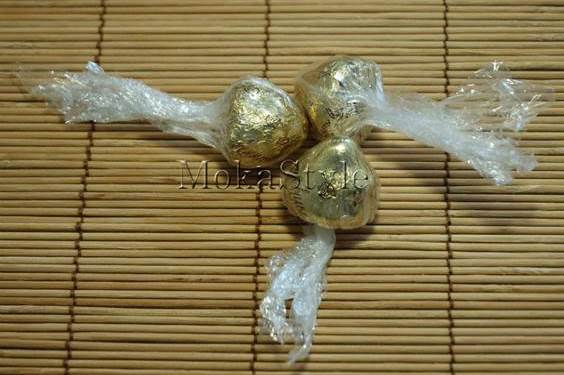 3. Cut a piece of rectangular crepe paper (size depends on the size of the chocolate).
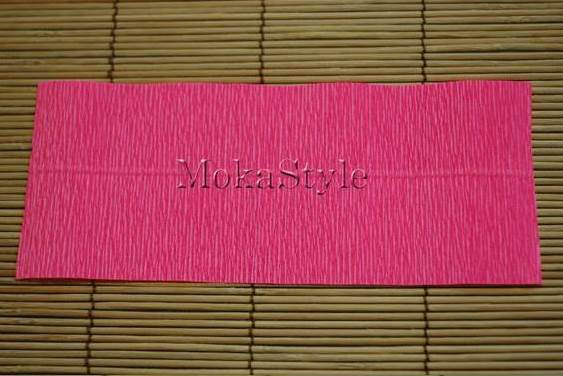 4. Wrap the chocolate in the crepe paper piece.
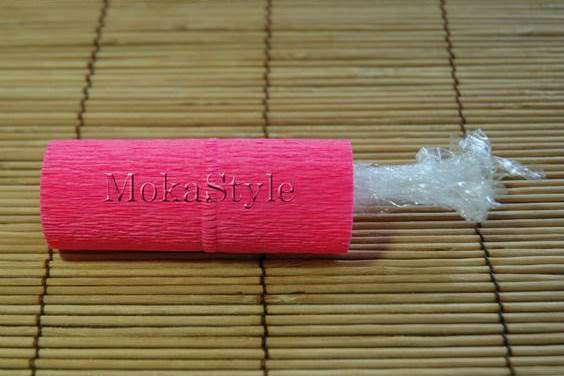 5. Tie one end with thread.
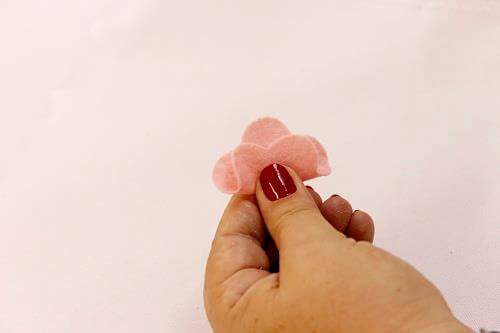
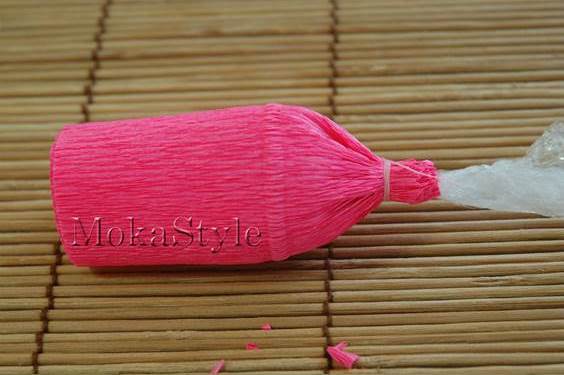 6. Cut the outer layer into fringes as the petals.
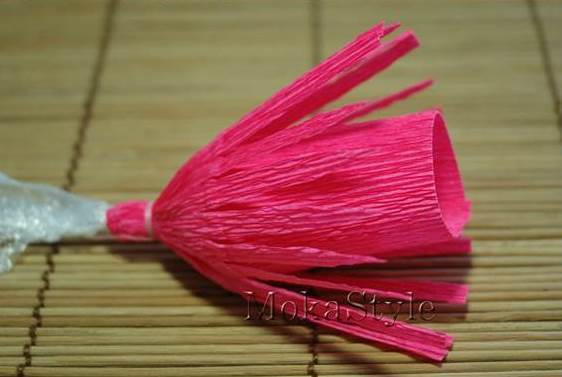 7. Twist the fringes outward.
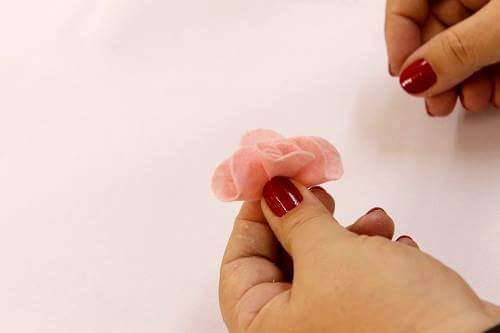
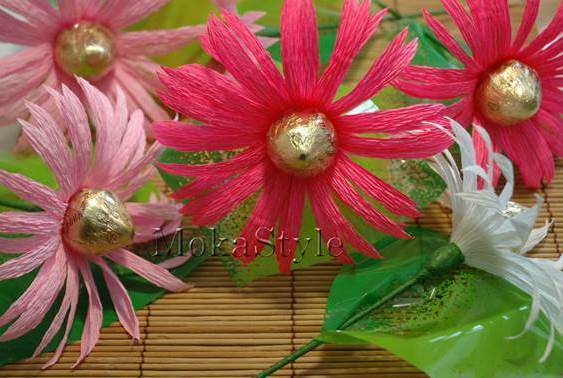
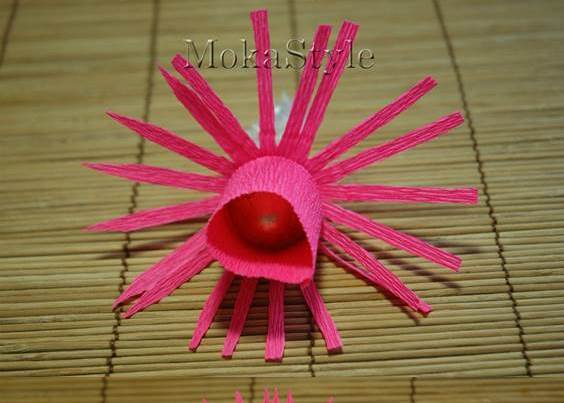 8. Cut the inner layer of crepe paper into fringes and twist them out.
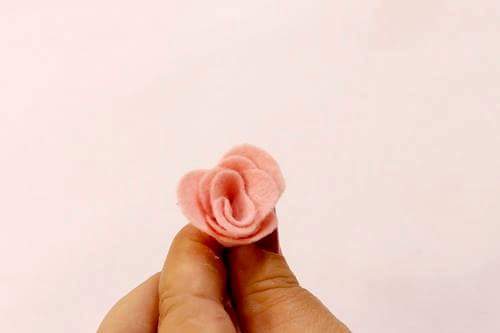
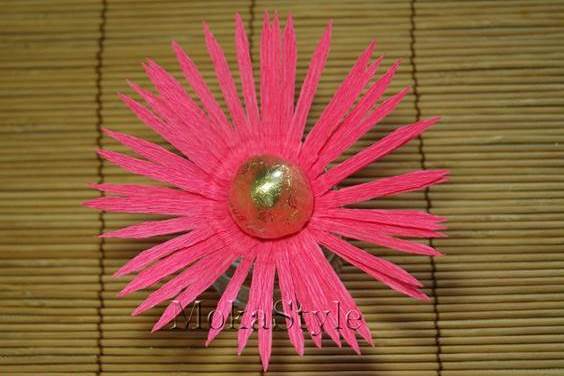 9. Press the petals with your fingers to make them curly.
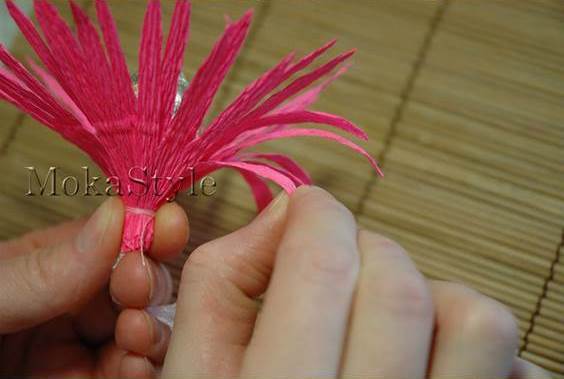
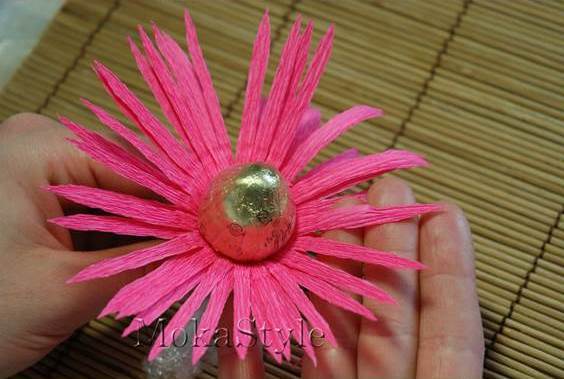
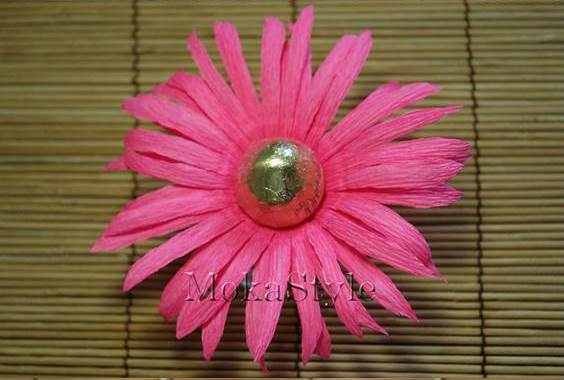 10. Insert the wooden skewers through the middle of the flowers.
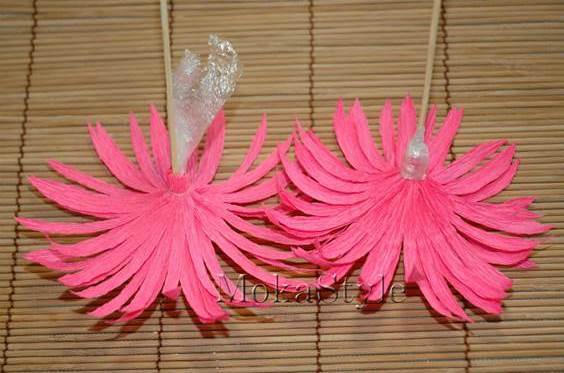 11. Make more flowers with different colors of crepe paper.
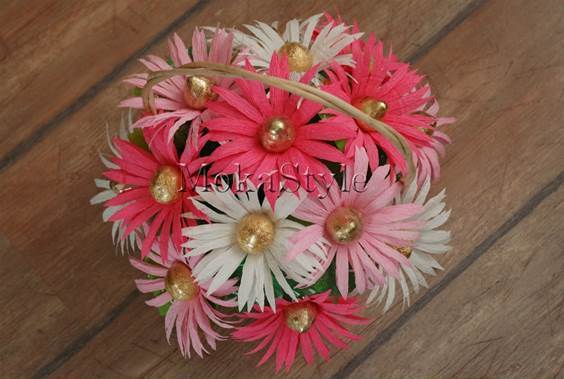
 12. Place the bouquet of flowers in a basket. Enjoy!
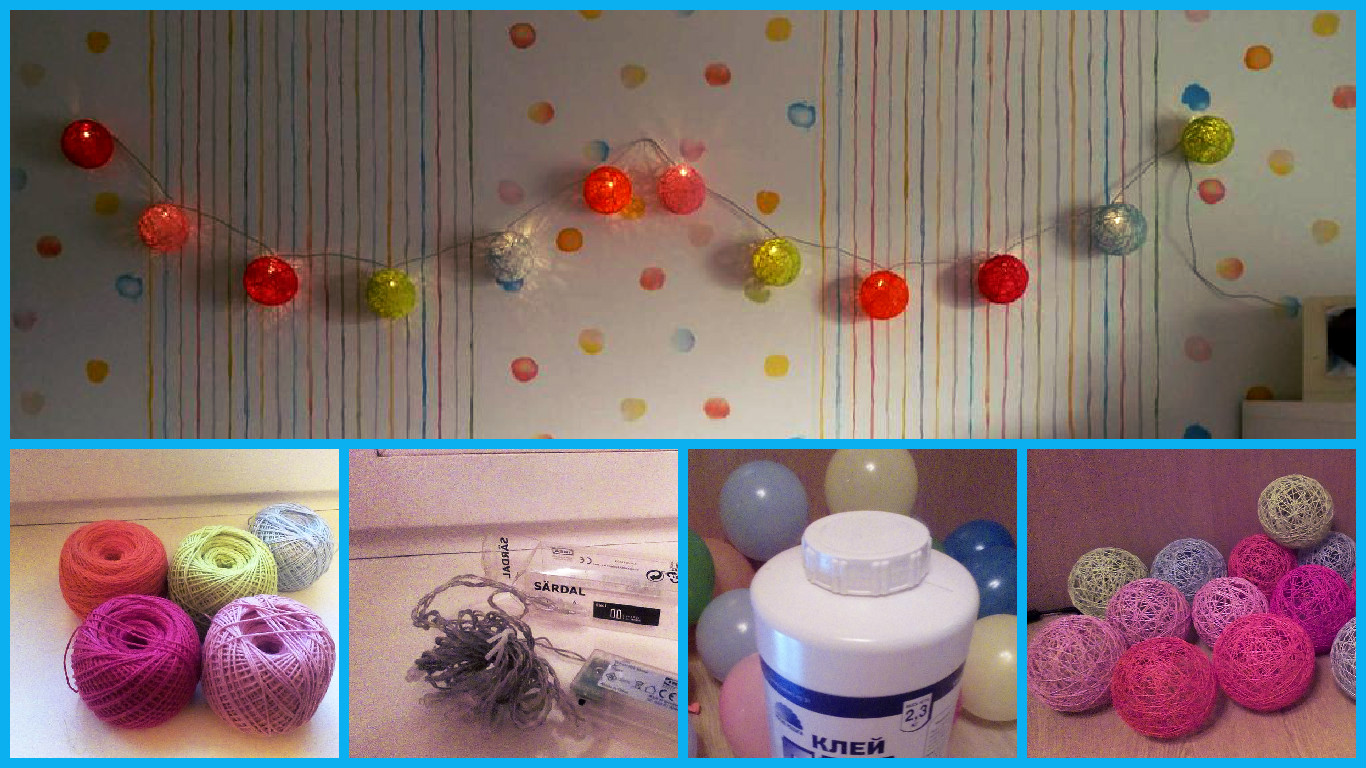
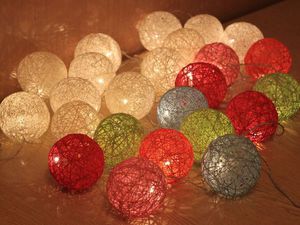
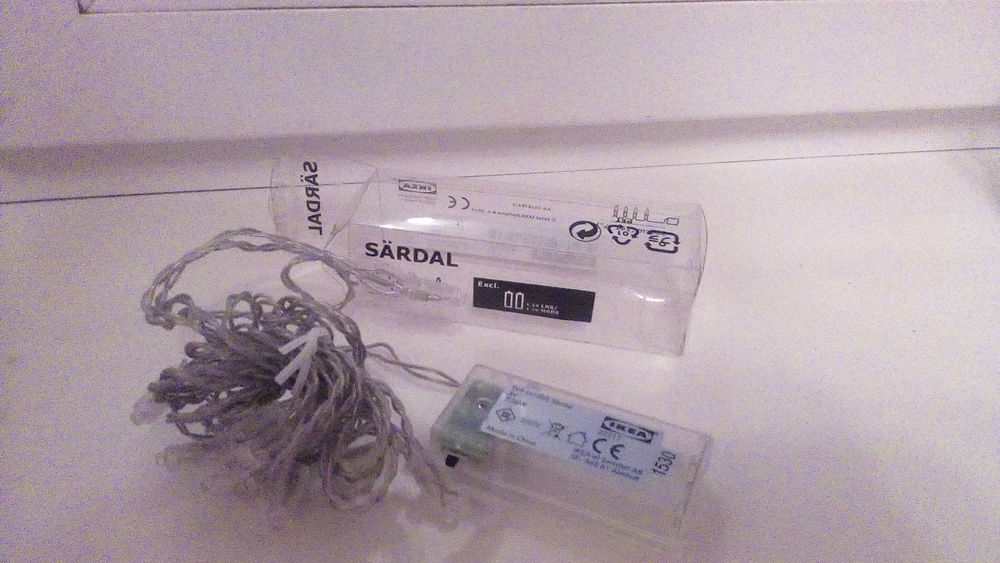
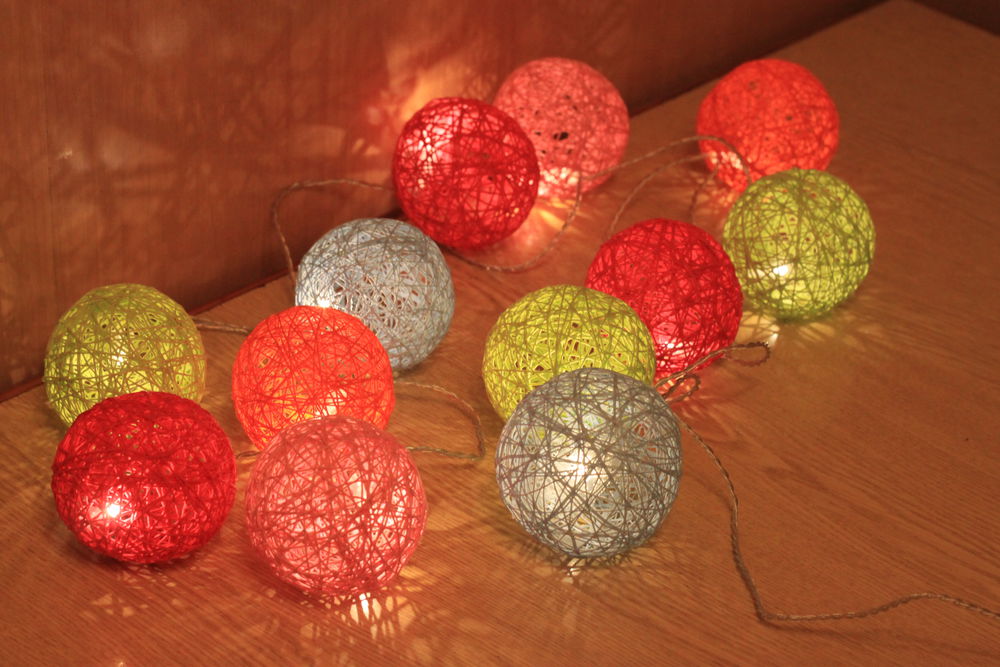
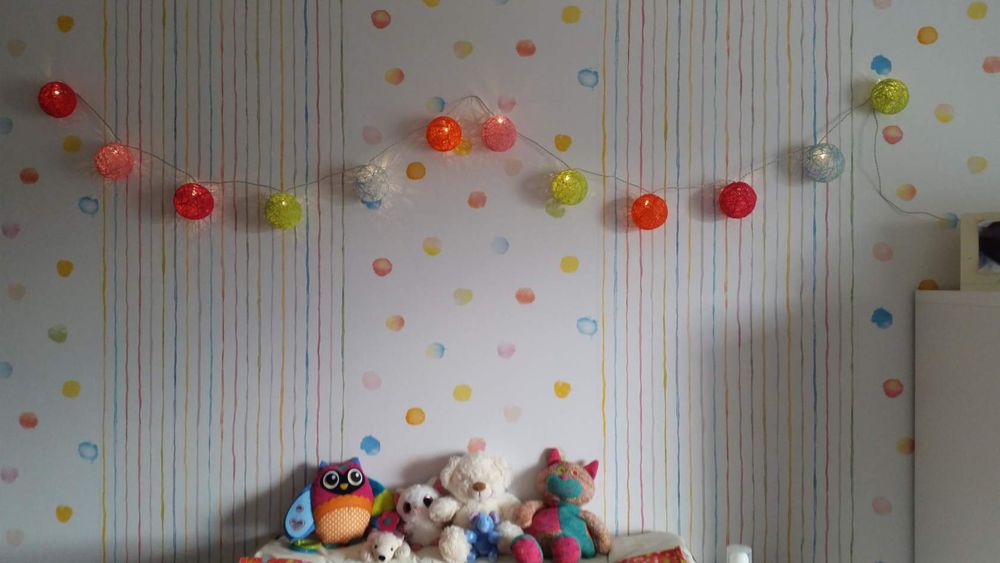
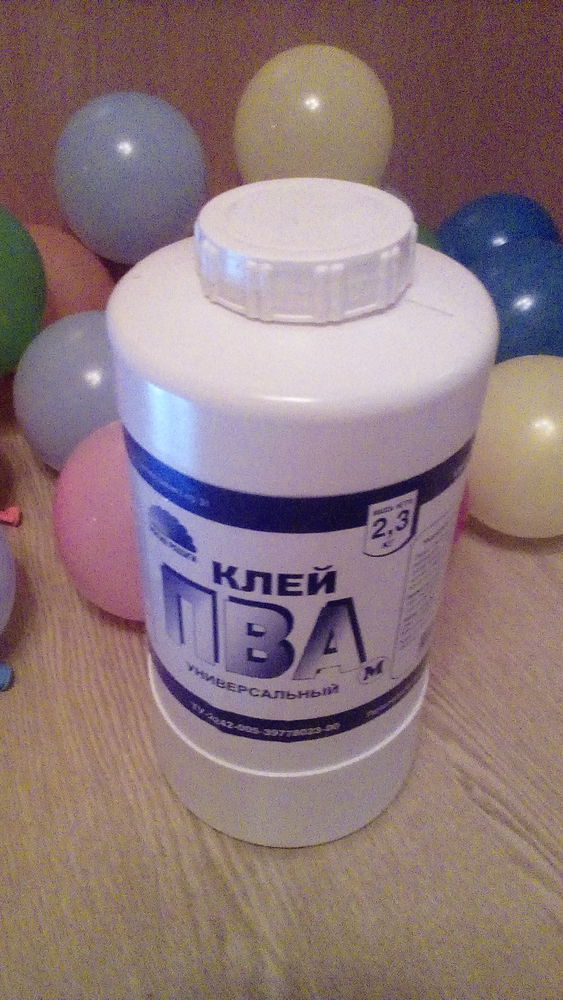 Garland. I buy them in Ikeja. The Chinese are not suitable as light bulbs on them very much, and a small distance between them. Well and reliability again. This garland on batteries. She has a huge advantage: you do not get attached to the outlet. It can be hung wherever you want;
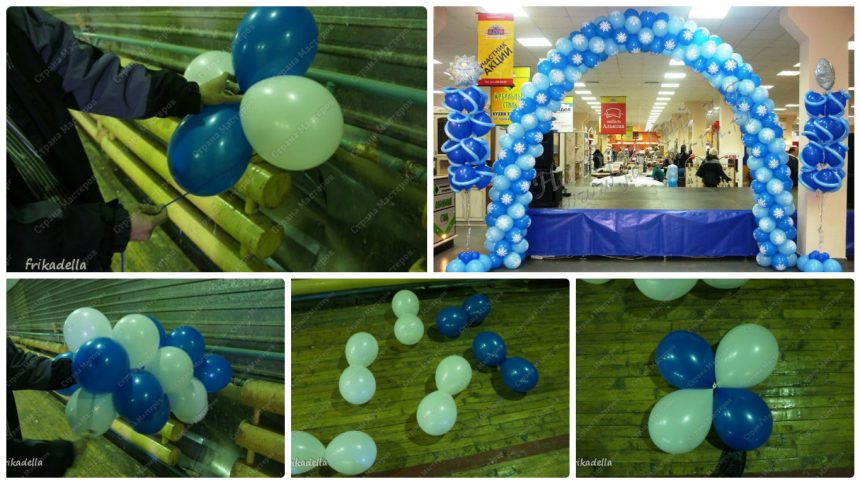
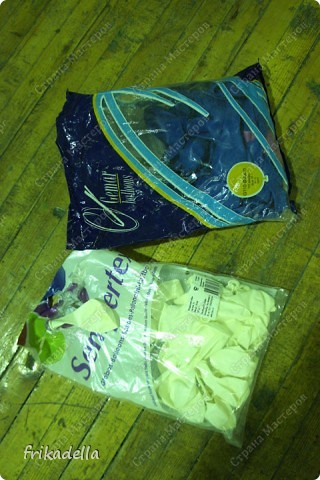
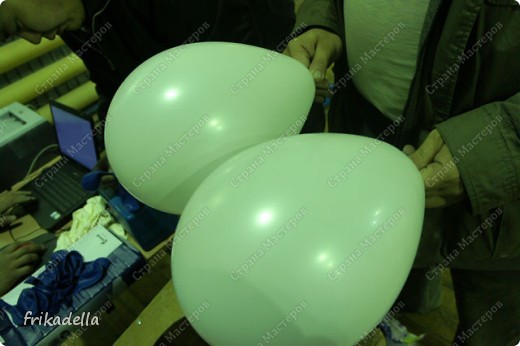
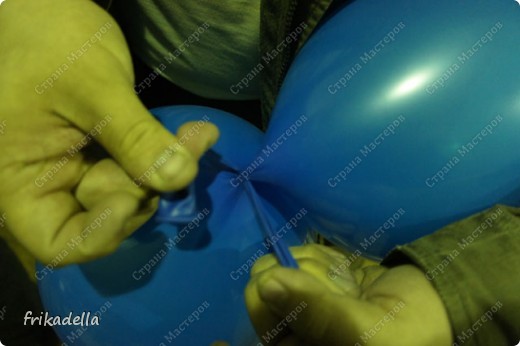
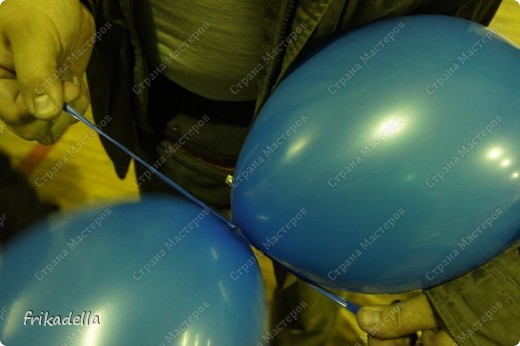
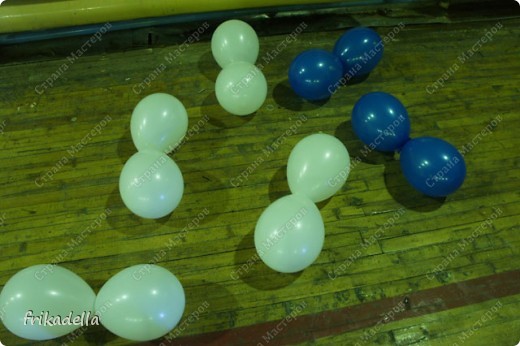
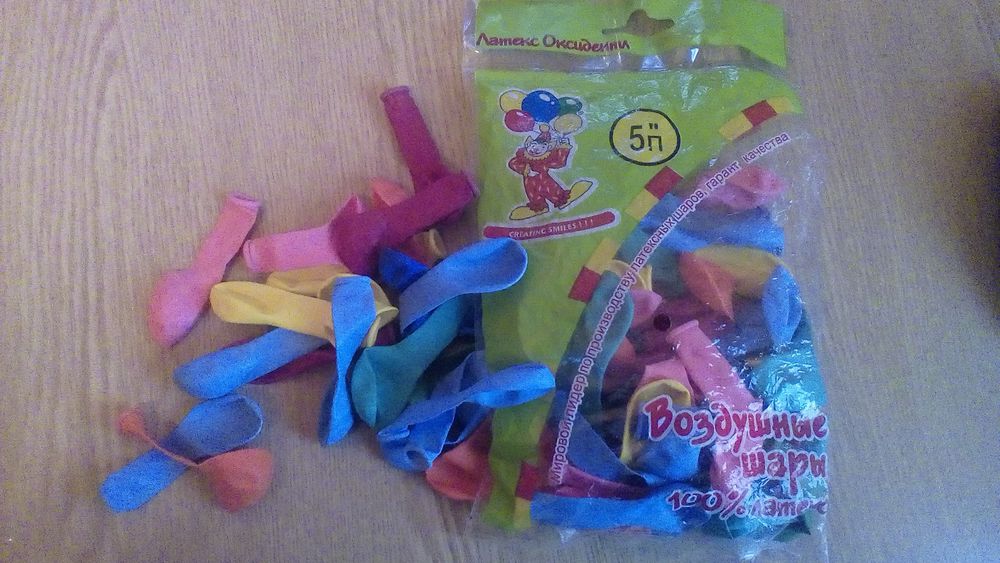
 – balloons. The smallest that can buy. I buy them just a big package, it is cheaper. More to come but pharmacies they have gone missing;
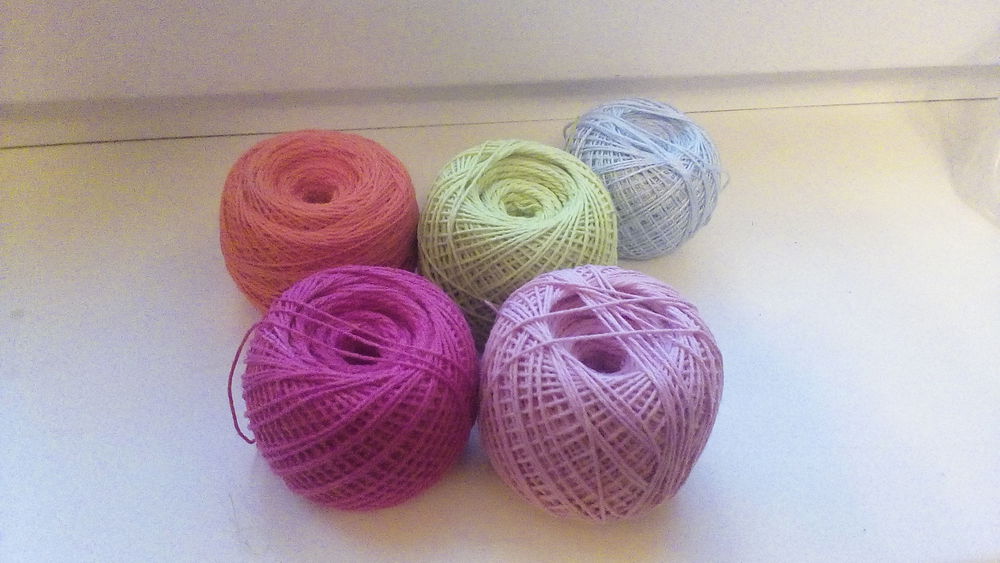
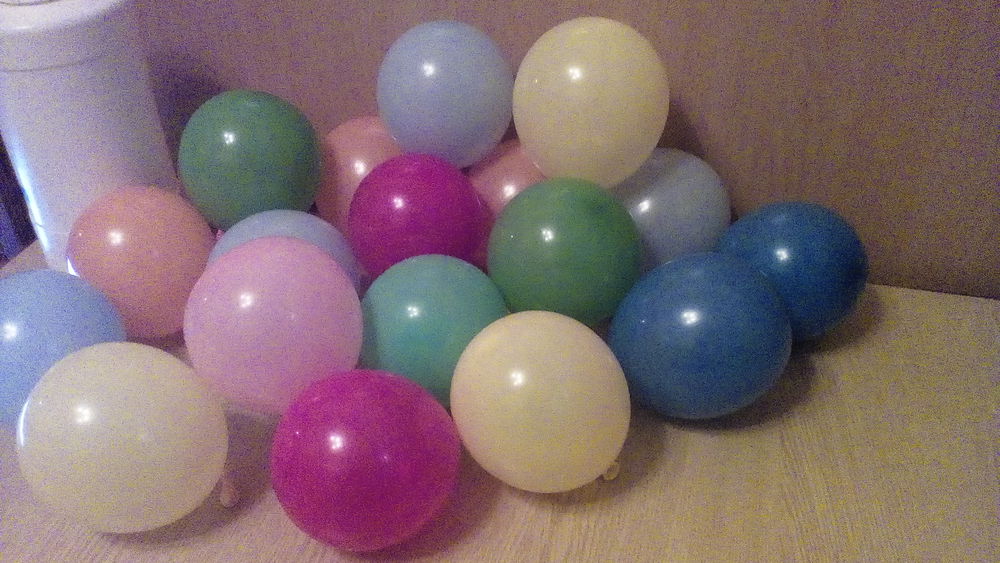
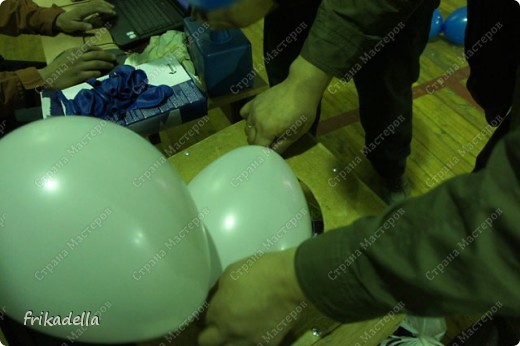
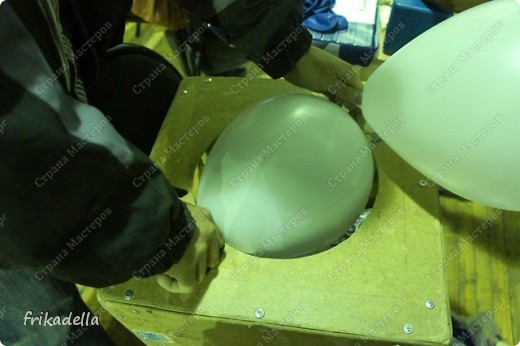
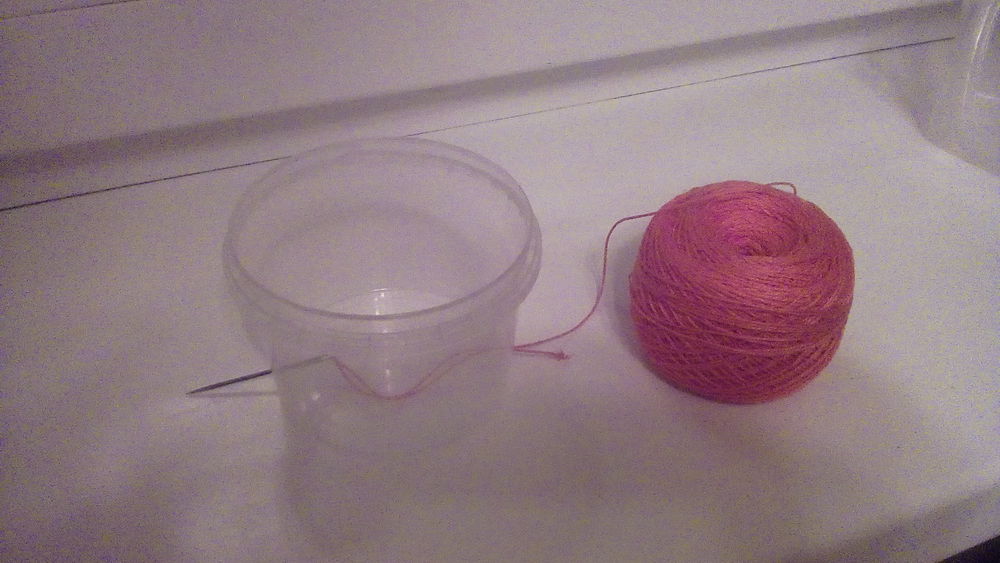 There is also a nuance. The needle must not be much thicker filament. If the hole will be a very large, then the thread is too wet, the glue will flow down your arms. If the hole is too small, then the thread will be almost dry and the ball does not get strong.
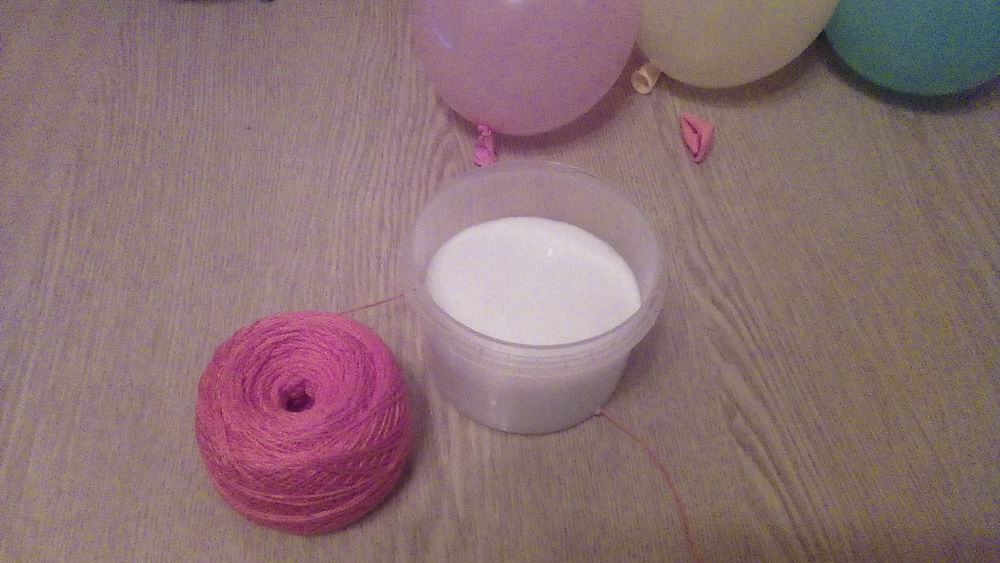
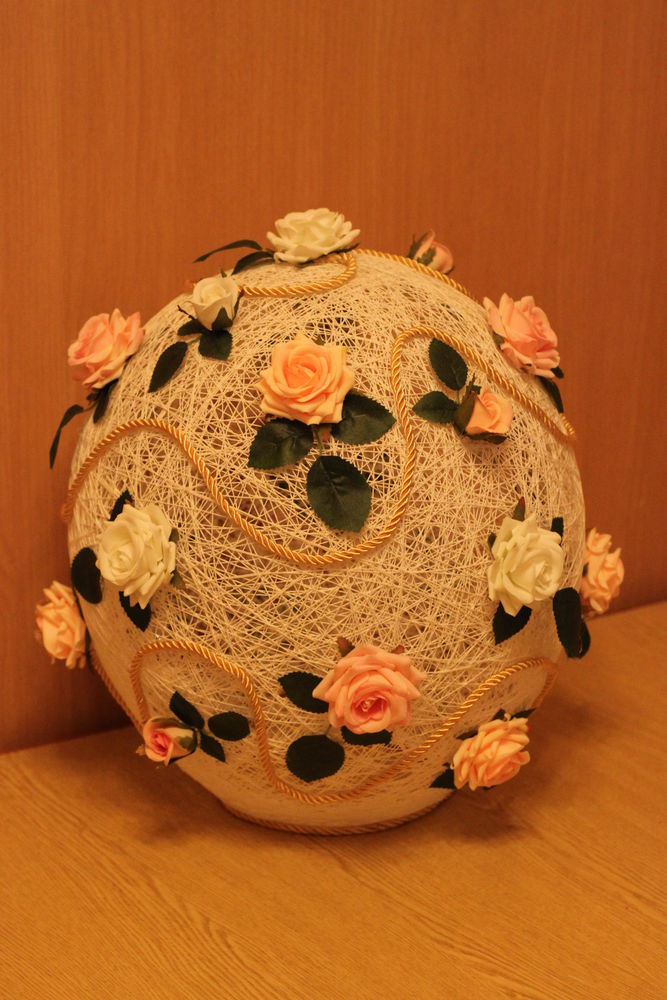
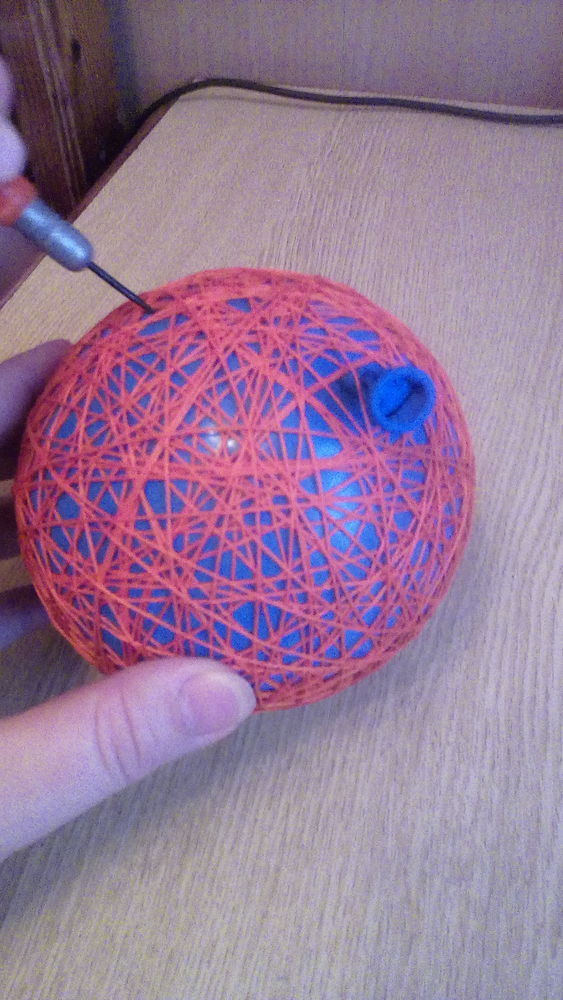 That’s what we’ve got:
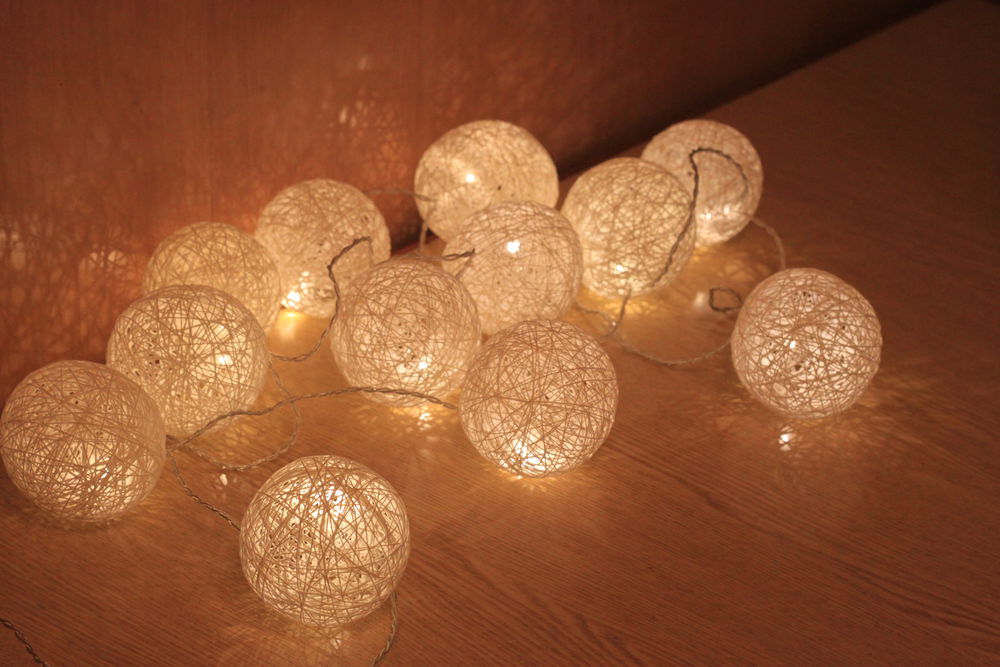
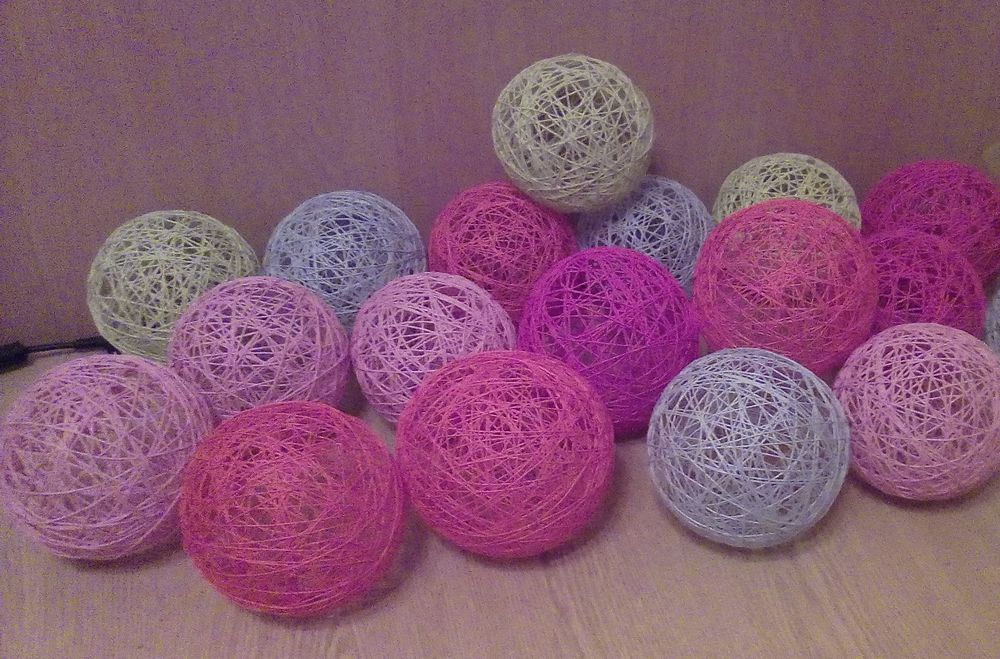 After that, everything is very simple. We put in the small gaps between the thread bulb garlands. For reliability can be secured with hot glue. Install the batteries and come up with your child a place for garlands!
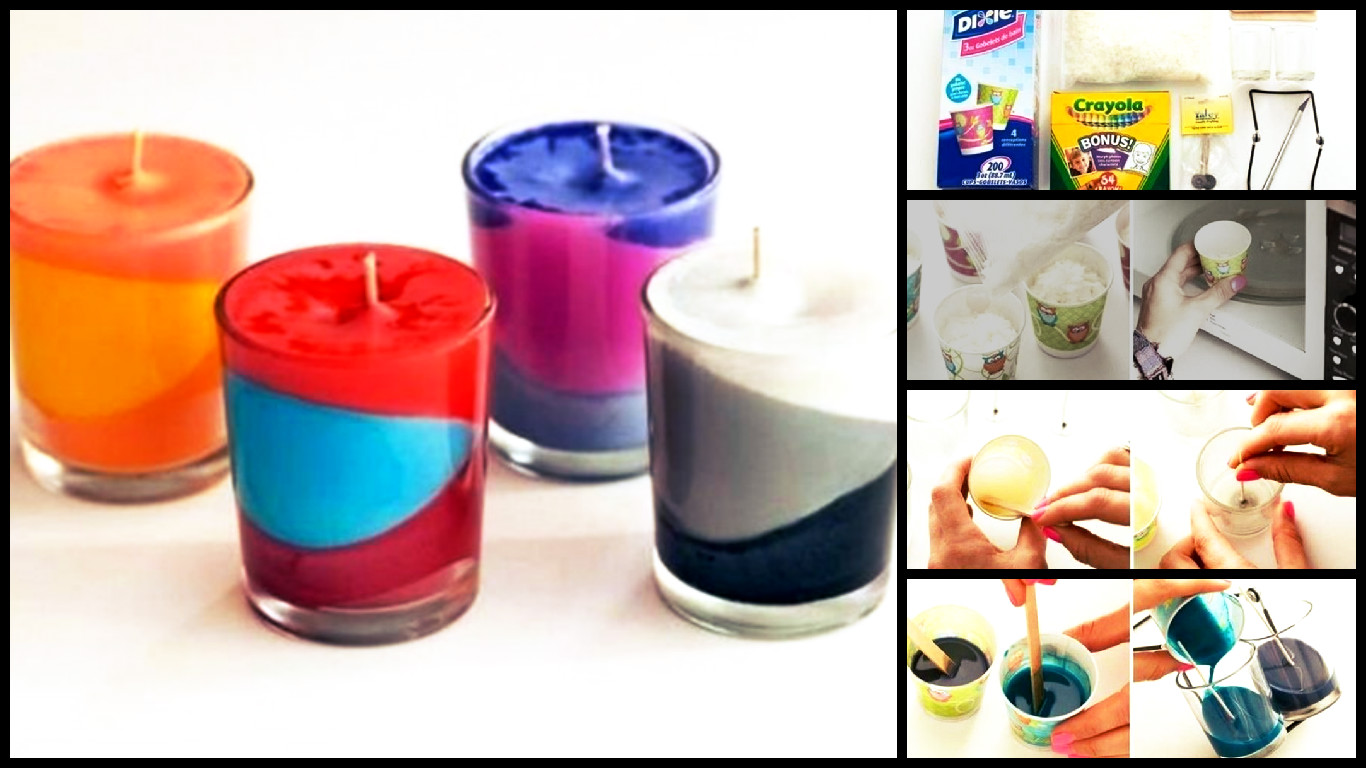
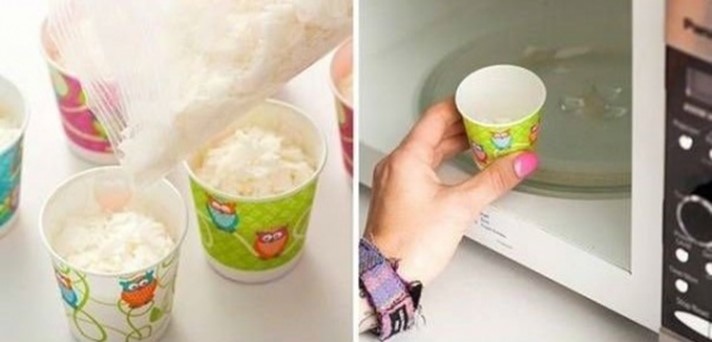
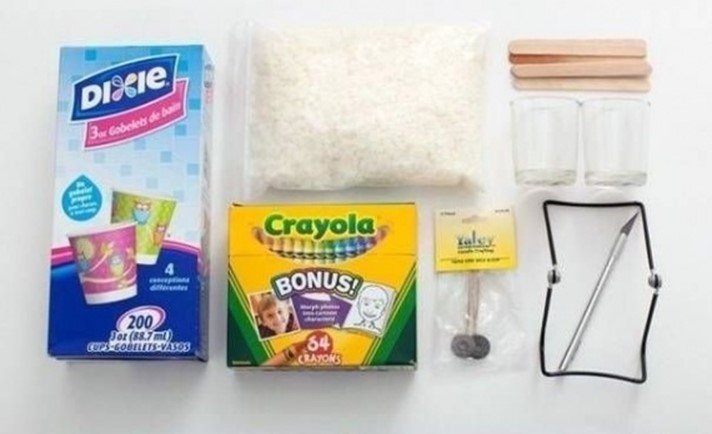 Take a transparent wax, pour in a little paper cup and put it in the microwave for about 45 seconds. During this time, the wax should melt if it did not happen — wait another 30 seconds.
 In the center of the glass cup place the wick and pour a little on the bottom of the molten wax.
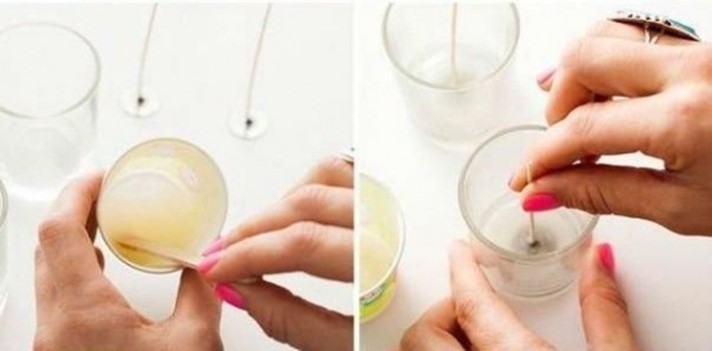 Add wax crayons. You can rub them on a grater or chop by hand. Previously you need to clear the paper of wax crayons. Mix one color at a time.
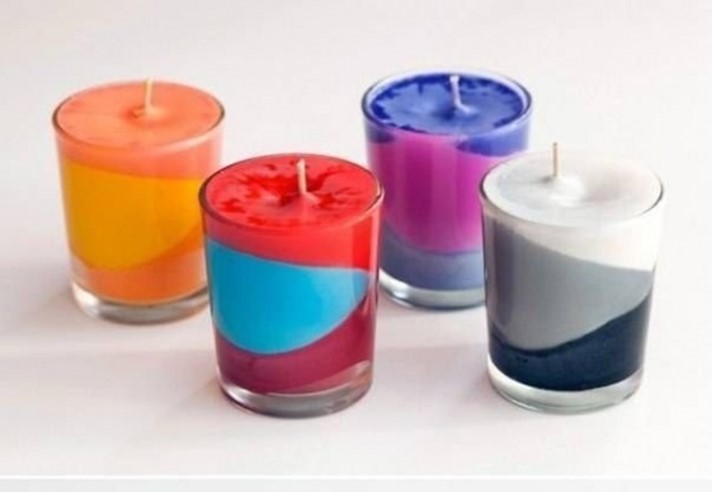
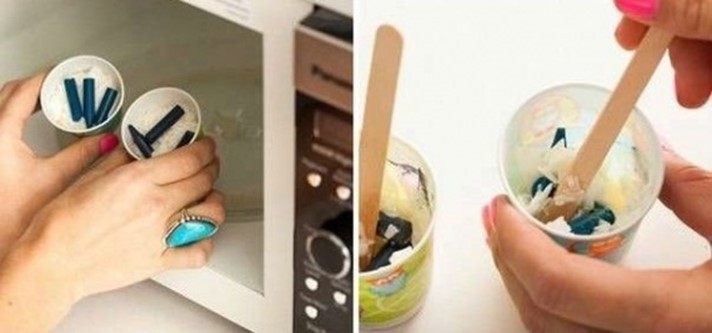 Melt the wax. Thoroughly mix the solution to the wax has acquired a uniform color. Melted wax is poured into a colored candle tipped. So we will receive not just horizontal layers and the original uneven pattern. Before that, you can drop a little aromatic oil in the wax.
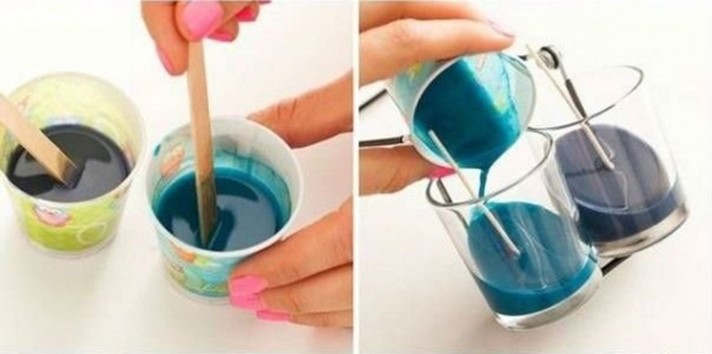 Repeat this procedure until the candle is not yet been filled to the top.
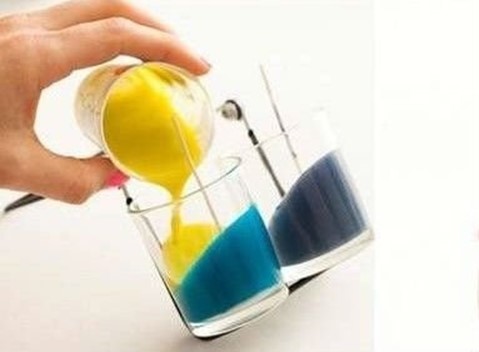
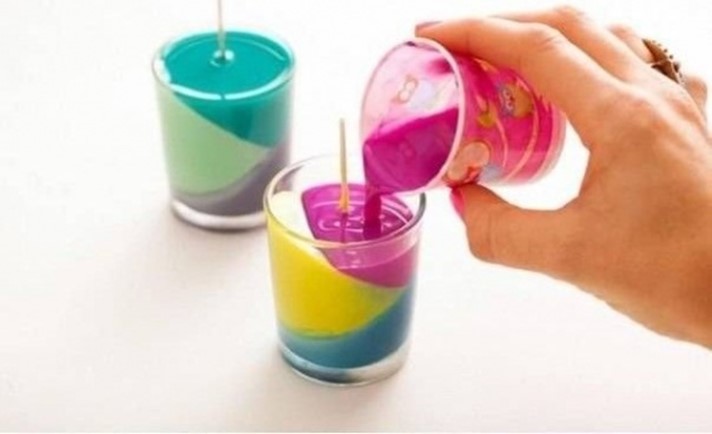 Now you can light homemade aromatic candles. Good for you
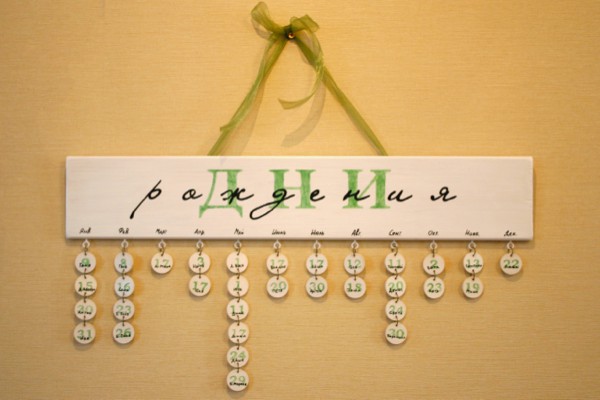
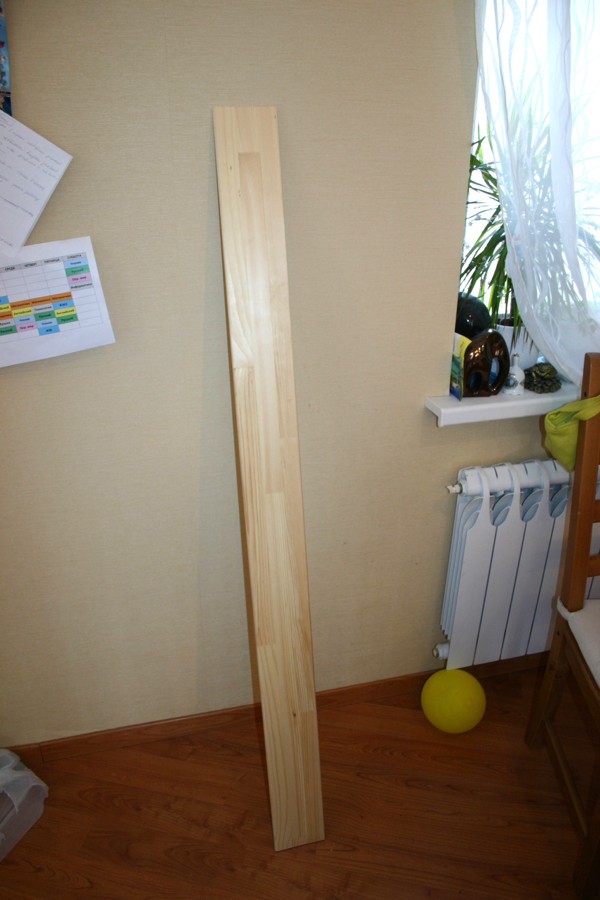 Saw off 65 cm from the
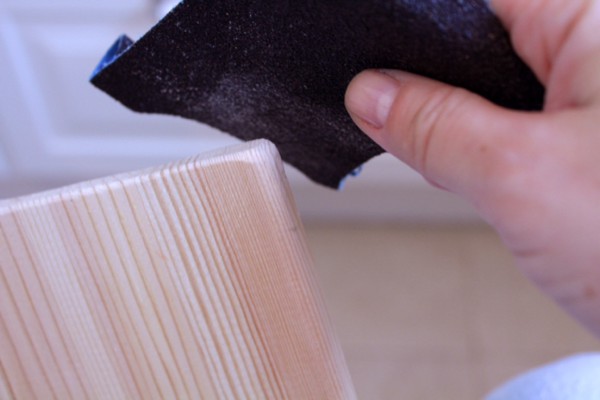
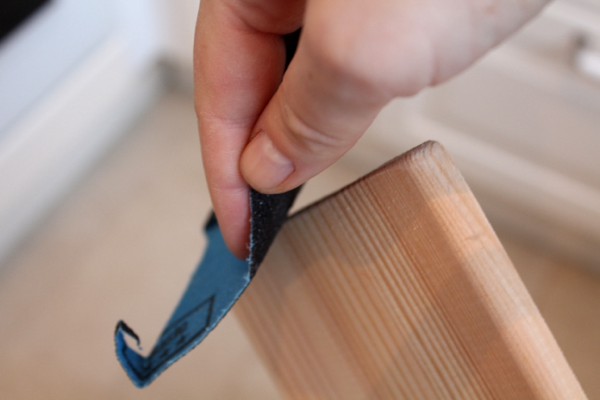
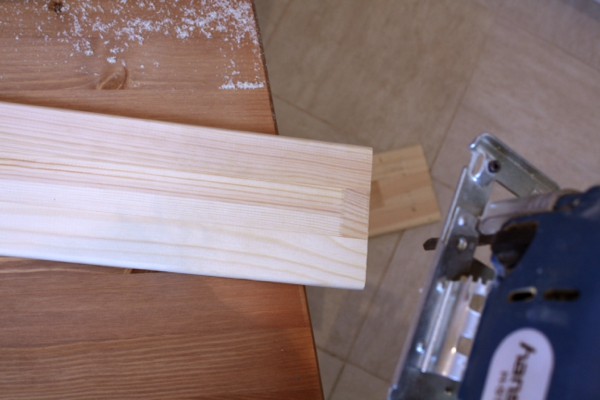 Corners round off rind
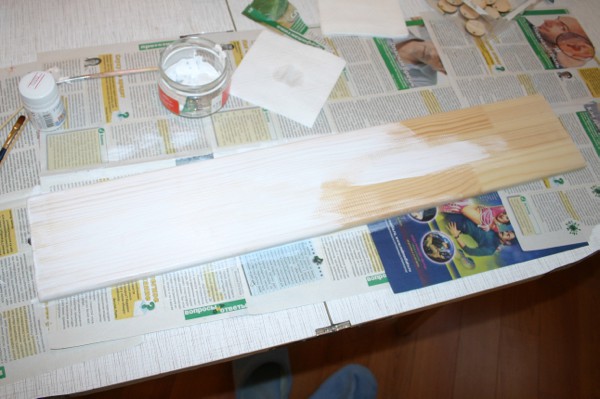
 White acrylic paint in 2 layers. Dries quickly)
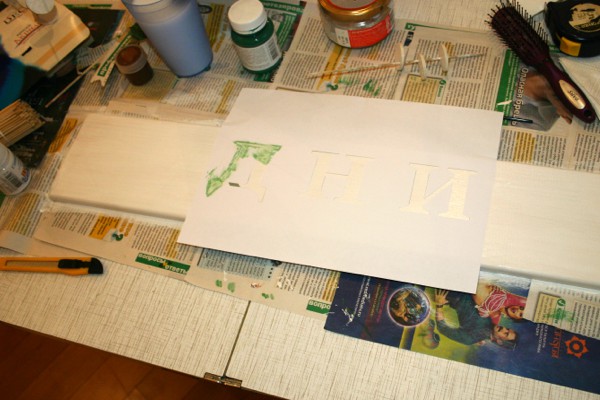
 Using the working time and work preparing a stencil printer in advance)))
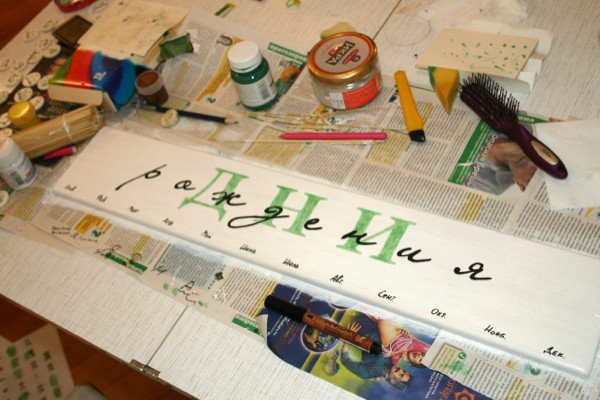
 With the help of carbon paper translate birth and draw out a black marker.
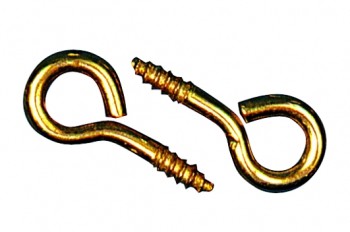
 By end drill small holes and screws are screwed with a ring, here are
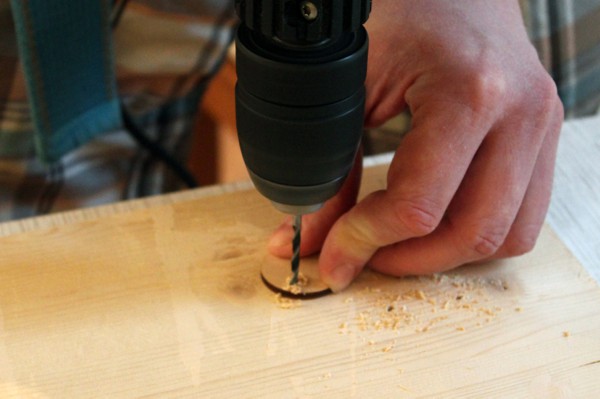
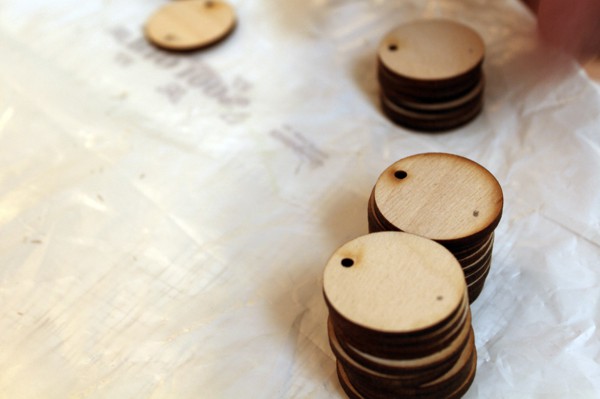 Complicated science dyrkosverleniya is given to him is better))) I just mastered the wall and flower pots, and here it is necessary to carefully thin drill. Then there was a little hole poshkurit received that there was no burrs.
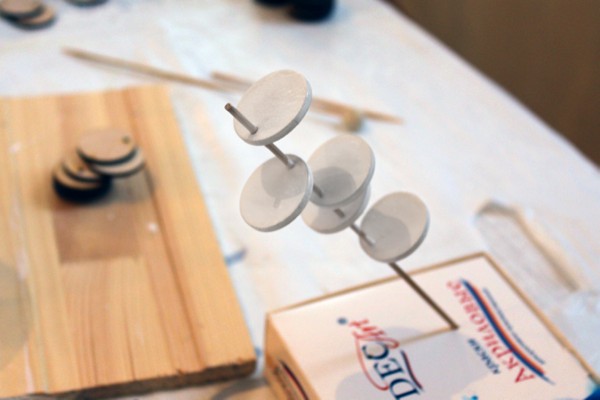
 It turned out the way here such sticks – such as toothpicks, only longer. In my opinion it is something of a culinary theme, and I found them in children in the materials for handicrafts))))
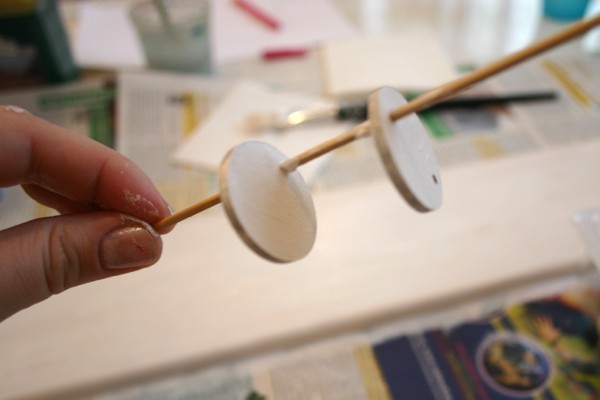 And so it is convenient to dry)
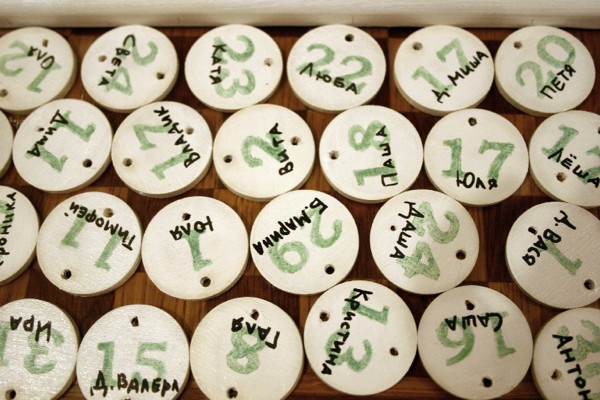
 Numbers – through a stencil with paint names – a marker. On the reverse side of the year of birth.
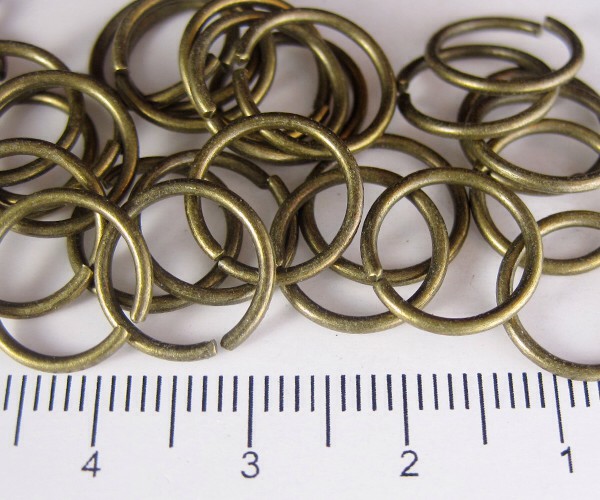
 Between a cup fastened rings such as these.
 It remains to attach the ribbon behind and you’re done 🙂
