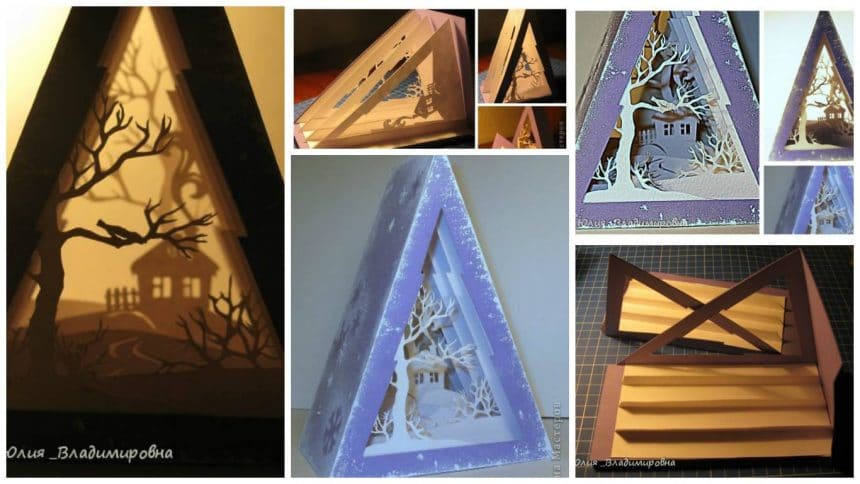
Posted onSeptember 14, 2017September 8, 2025inHome Decor, Paper Crafts, Step by step, Tutorial How to make herringbone tunnel – Step By Step
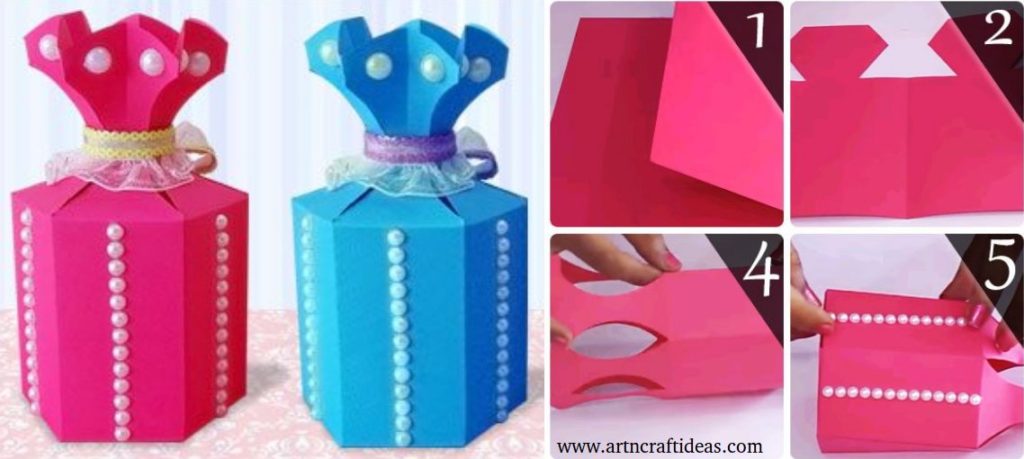
Posted onJuly 13, 2017July 13, 2017inDIY, Paper Crafts, Tutorial, Wedding DIY Paper Craft: Paper Gift Bags/Goody Bags
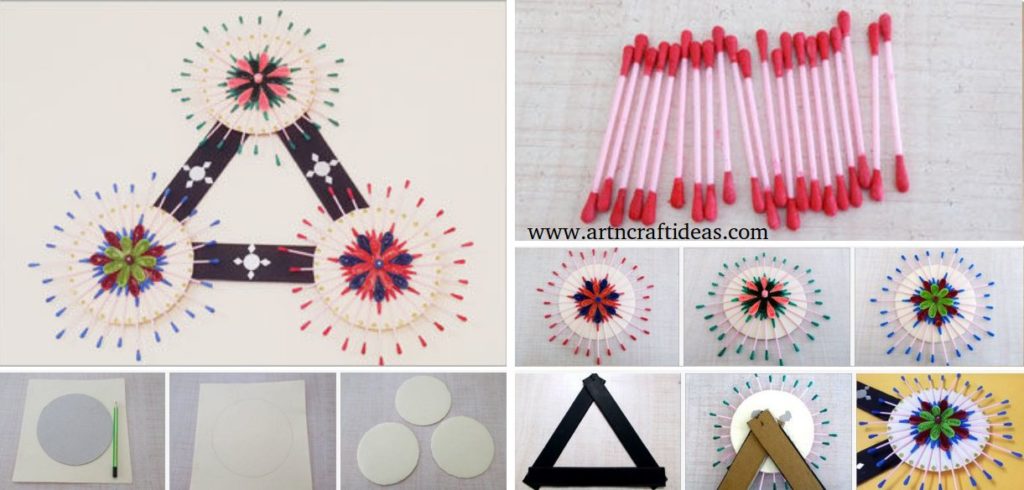
Posted onJuly 13, 2017July 13, 2017inDIY, Home Decor, Paper Crafts, Quilling, Tutorial How to Make Quilling & Earbud Wall Hanging
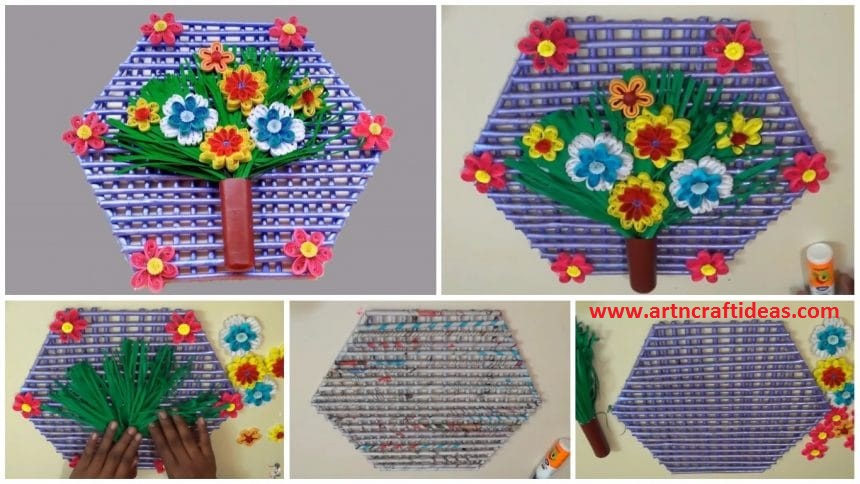
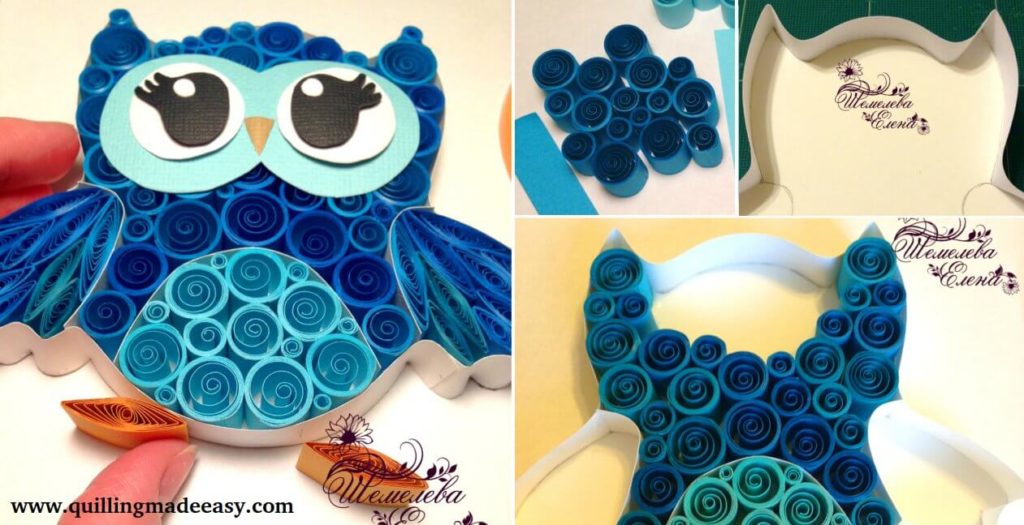
Posted onJuly 6, 2017inBest out of Waste, Craft, Newspaper Crafts, Quilling, Tutorial Paper quilling wall hanging design for room decoration
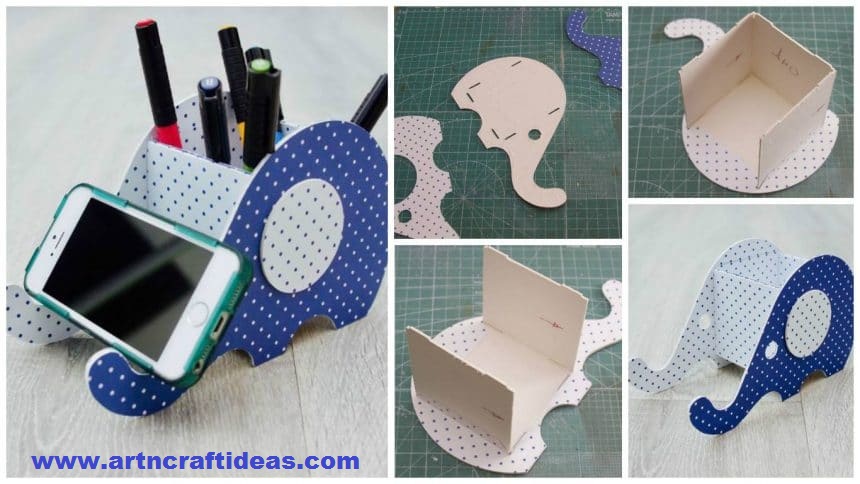
Posted onJuly 2, 2017inBest out of Waste, Cardboard Crafts, Craft, Paper Crafts, Step by step, Tutorial How to make paper and cardboard stand-organizer “Elephant” for the tablet
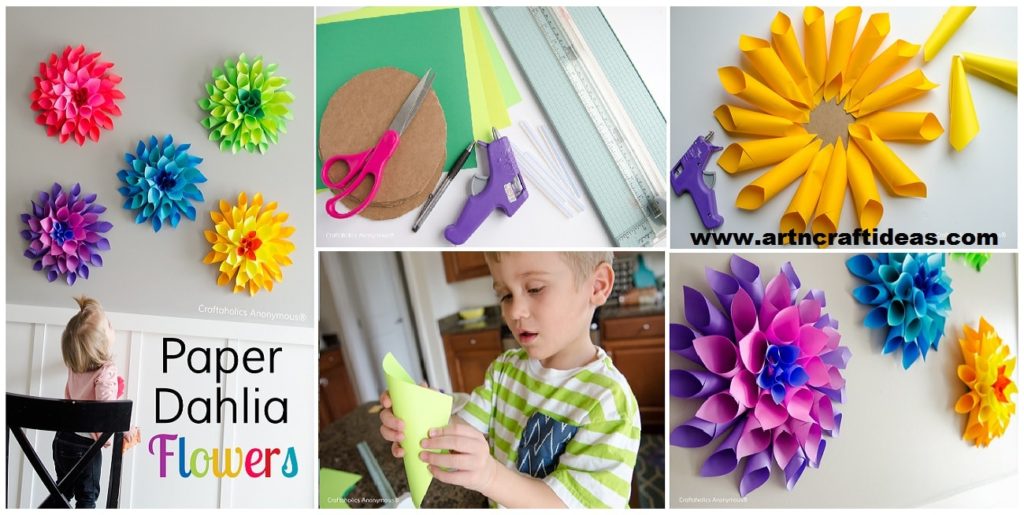
Posted onJuly 1, 2017inCraft, DIY, Kids Crafts, Paper Crafts, Tutorial How to Make Paper Dahlia Flowers
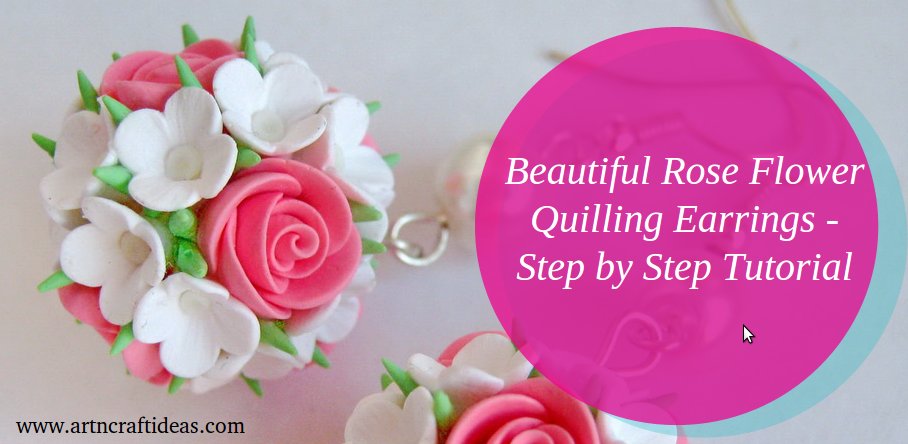
Posted onJune 25, 2017inJewellery, Quilling, Tutorial Beautiful Rose Flower Quilling Earrings Tutorial
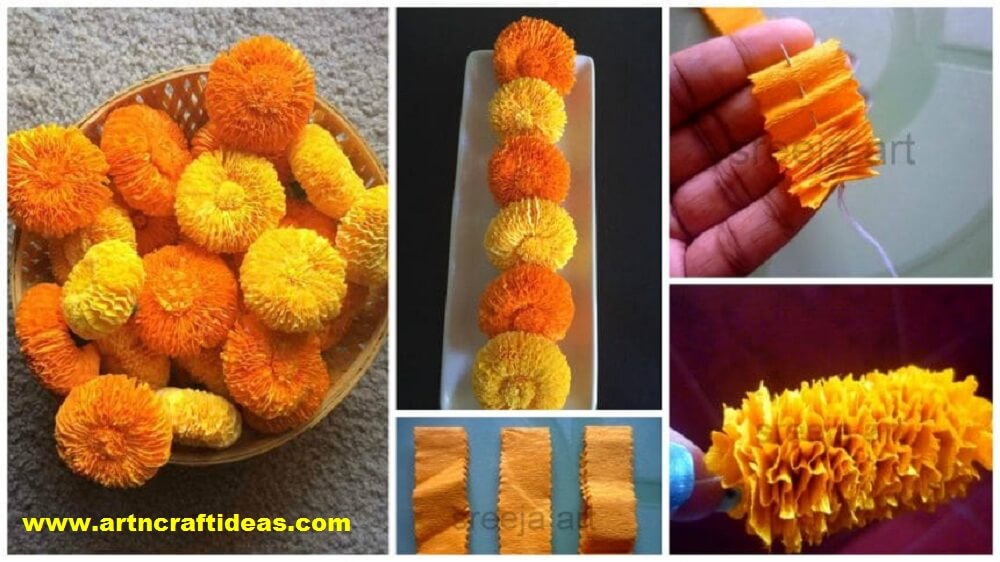
Posted onJune 24, 2017November 19, 2022inDiwali, Flower Crafts, Paper Crafts, Tutorial How to make marigold flower with crepe paper