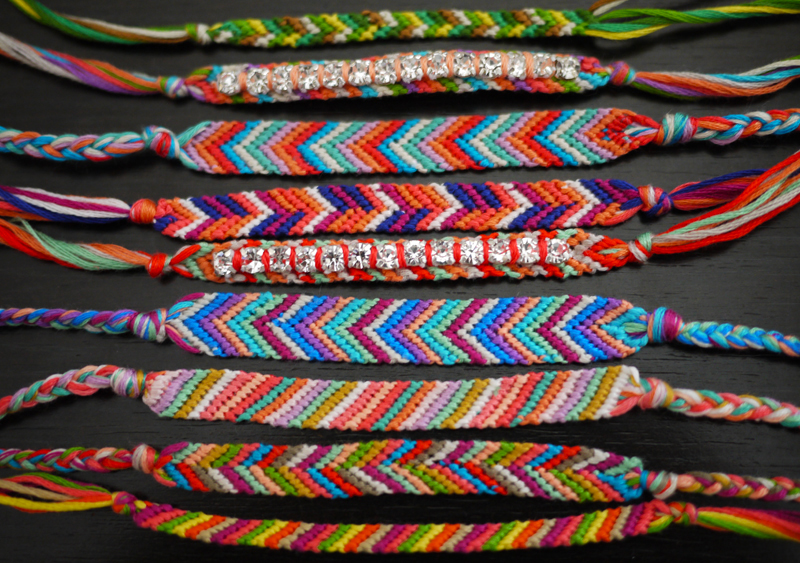
Posted onFebruary 25, 2017February 25, 2017inDIY, Friendship Day, Jewellery, Step by step, Tutorial DIY Beautiful Friendship Bracelet
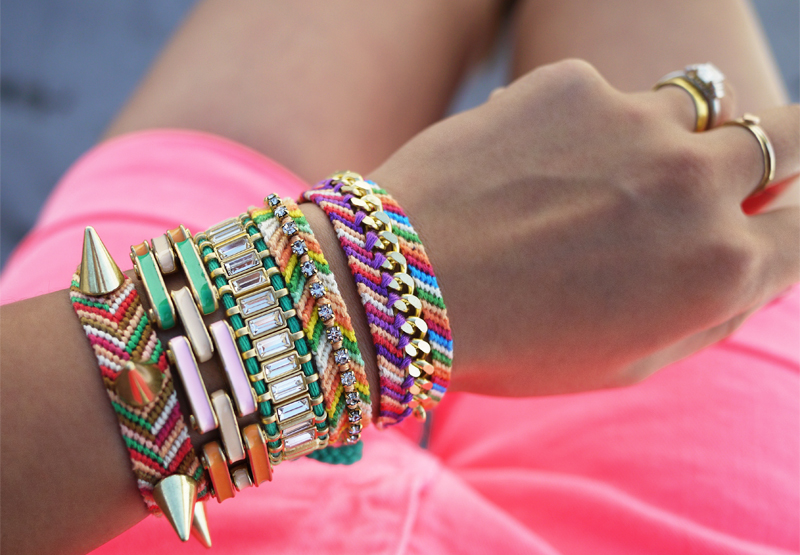
Posted onFebruary 25, 2017February 25, 2017inDIY, Featured, Friendship Day, Jewellery, Step by step, Tutorial DIY Decorate Friendship Bracelets