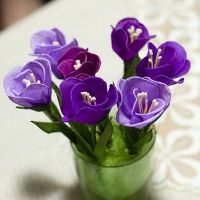
Posted onFebruary 15, 2017inFlower Crafts, Paper Crafts, Step by step, Tutorial DIY: Crocuses corrugated paper
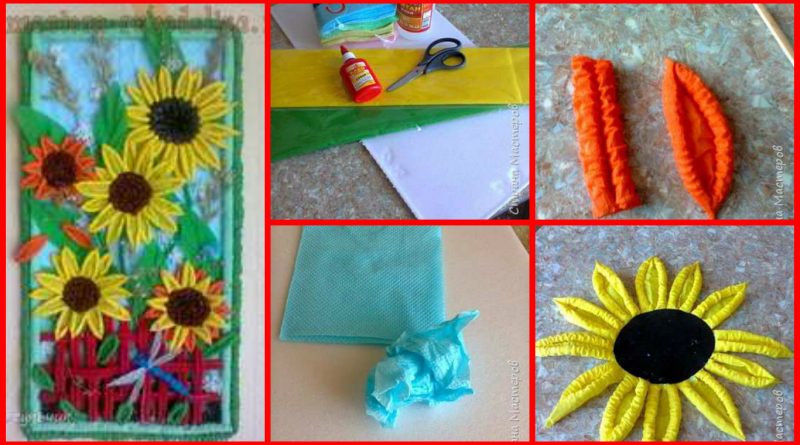
Posted onFebruary 12, 2017inDIY, Home Decor, Paper Crafts, Step by step, Tutorial Beautiful Corrugated Paper Flower
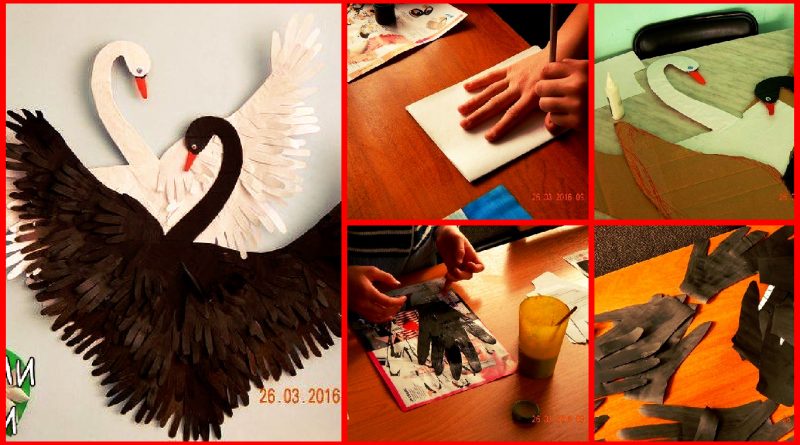
Posted onFebruary 12, 2017inDIY, Kids Crafts, Paper Crafts, Step by step, Tutorial Swans Made of Paper Palms
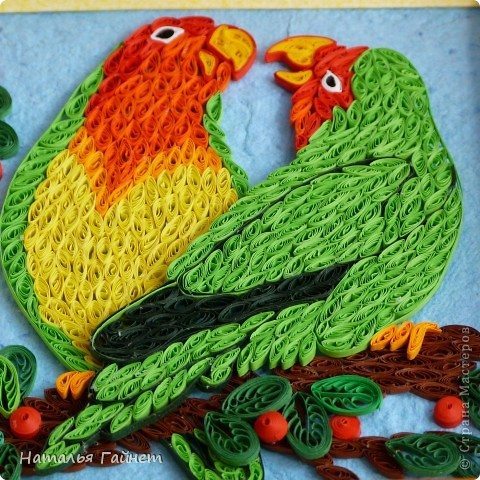
Posted onFebruary 11, 2017inDIY, Quilling, Step by step, Tutorial, Valentine’s Day, Wedding Paper Quilling Beautiful Lovebirds – Happy couple
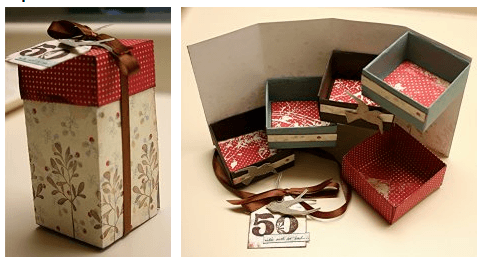
Posted onFebruary 11, 2017February 11, 2017inDIY, Origami, Step by step, Tutorial DIY Simple Way to Create a Secret Box
Posted onFebruary 11, 2017inDIY, Featured, Home Decor, Paper Crafts, Step by step, Tutorial DIY: Beautiful Pastel paper Photo frame
Posted onFebruary 10, 2017inDIY, Home Decor, Quilling, Step by step, Tutorial DIY: Khokhloma in quilling techniques
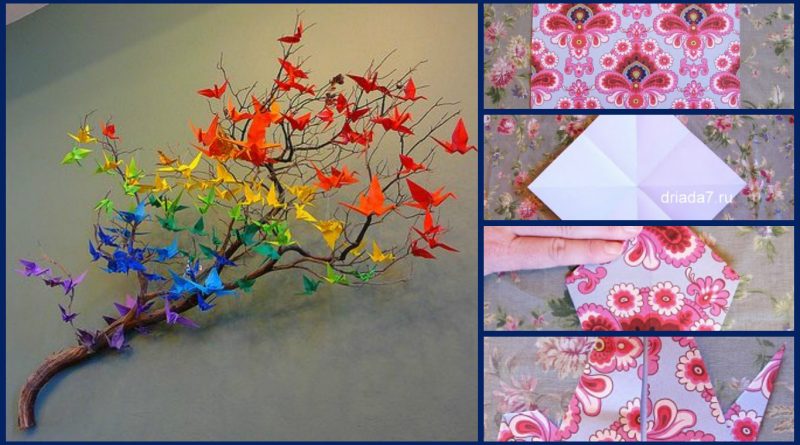
Posted onFebruary 10, 2017inDIY, Home Decor, Origami, Step by step, Tutorial How to make a paper crane
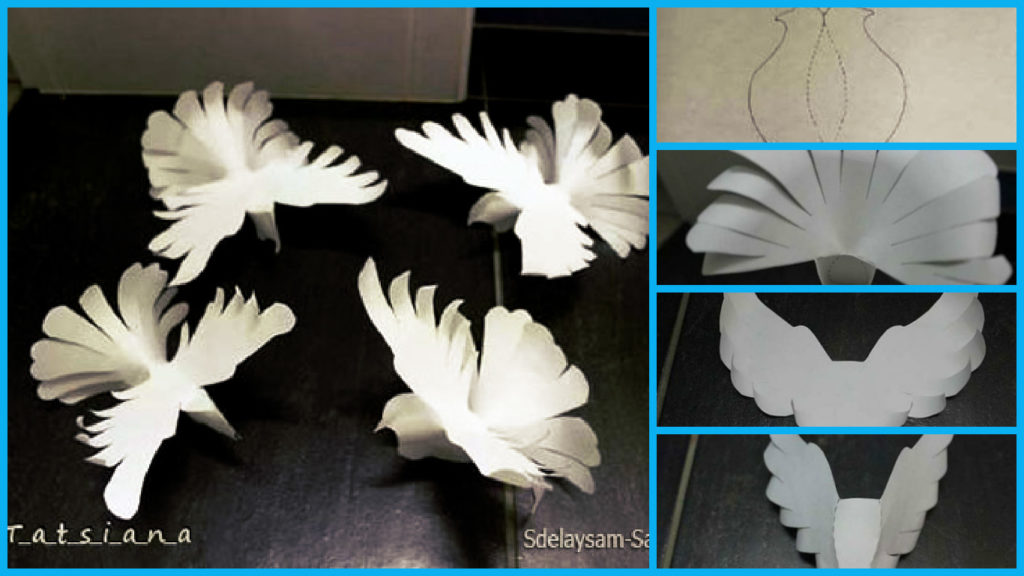
Posted onFebruary 10, 2017November 19, 2022inDIY, Paper Crafts, Step by step, Tutorial How to make paper doves
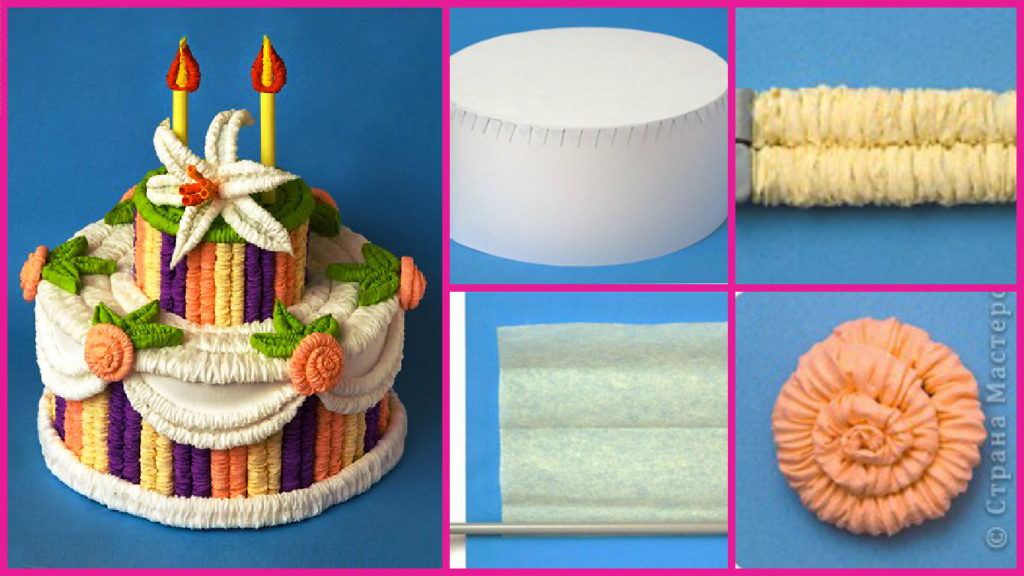
Posted onFebruary 9, 2017inDIY, Paper Crafts, Step by step, Tutorial Festive cream cake from corrugated paper