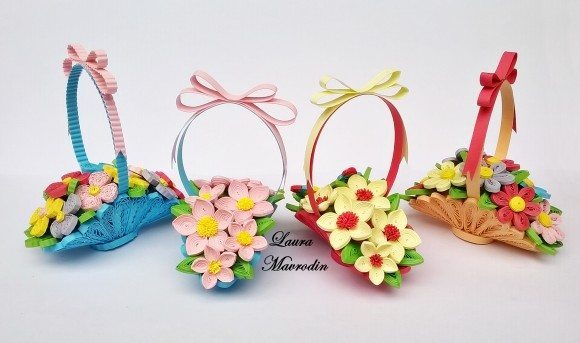
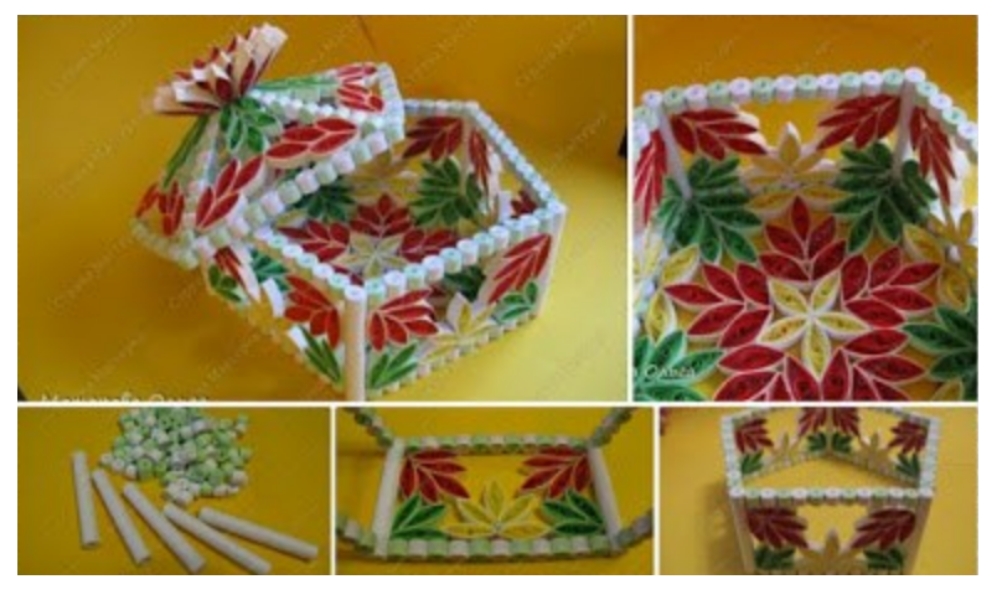
Posted onFebruary 24, 2017February 25, 2017inDIY, Quilling, Step by step, Tutorial How to make quilling basket of flowers bouquets
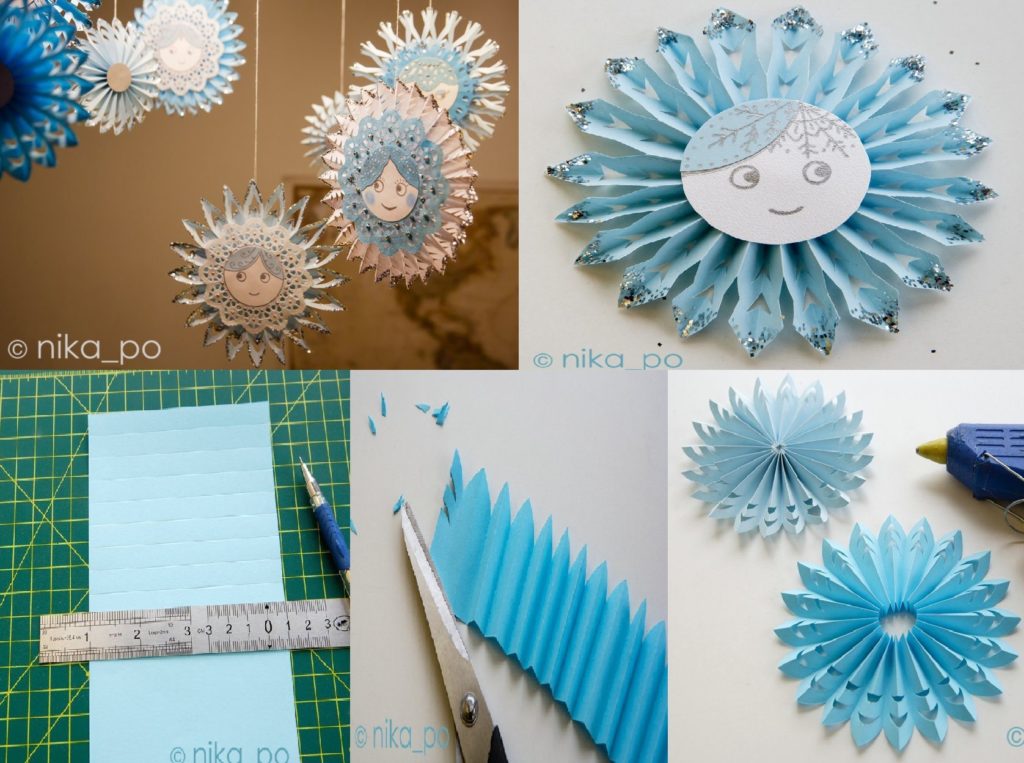
Posted onFebruary 24, 2017inDIY, Kids Crafts, Paper Crafts, Step by step, Tutorial DIY: Beautiful Snowflakes-Socket
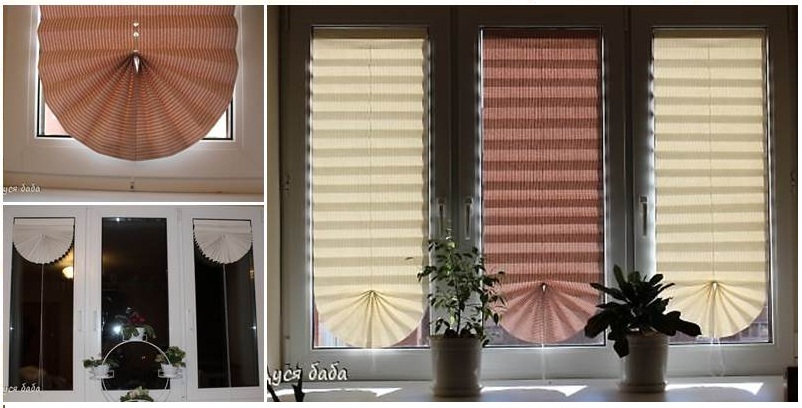
Posted onFebruary 21, 2017inDIY, Home Decor, Paper Crafts, Step by step, Tutorial DIY Pull up Window Shade Made of Paper
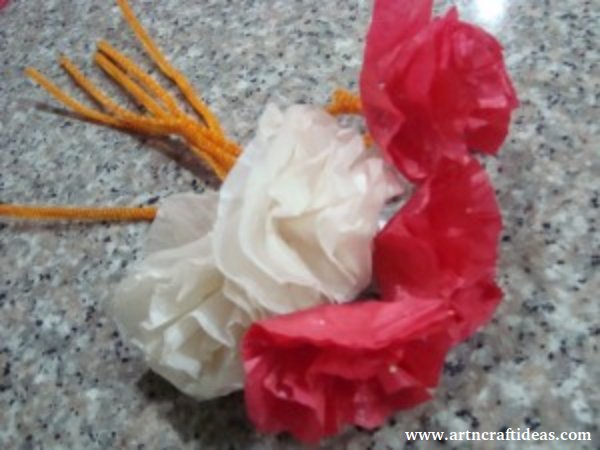
Posted onFebruary 20, 2017February 20, 2017inDIY, Flower Crafts, Paper Crafts, Tutorial DIY PAPER CARNATIONS TUTORIAL
Posted onFebruary 16, 2017July 17, 2017inDIY, Quilling, Step by step, Tutorial How to make Quilling Casket
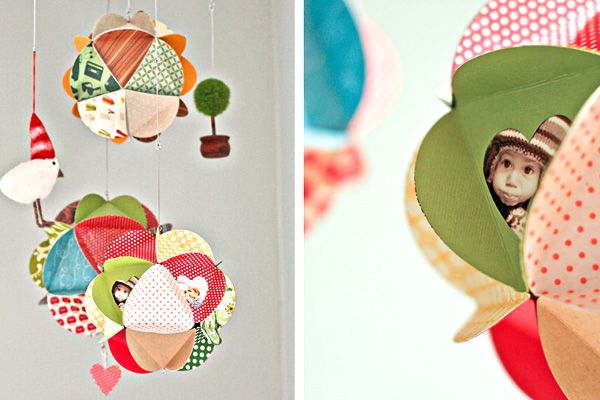
Posted onFebruary 16, 2017inDIY, Home Decor, Paper Crafts, Step by step, Tutorial DIY: Beautiful Photo Globe
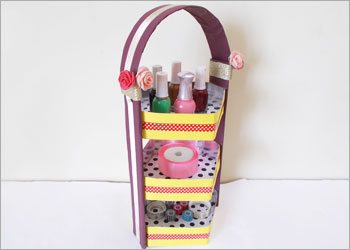
Posted onFebruary 16, 2017inBest out of Waste, DIY, Paper Crafts, Step by step, Tutorial How To Make Vertical Organizer
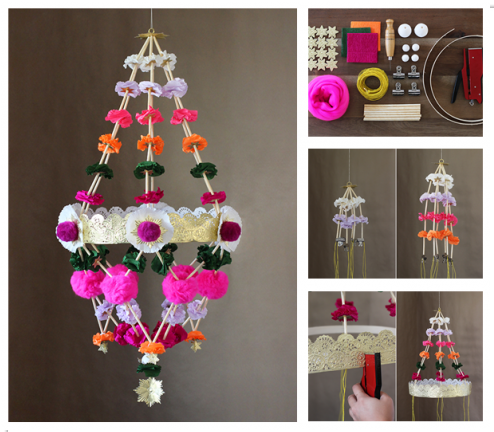
Posted onFebruary 15, 2017inDIY, Home Decor, Paper Crafts, Step by step, Tutorial How To Make Chandelier Pajaki Lighting Fixture