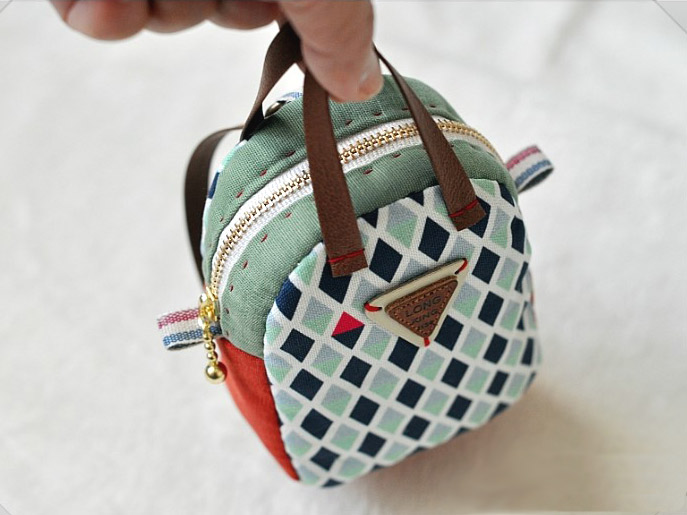
Make a Mini Back Pack Coin Purse and Key Chain. Sewing Tutorial in Pictures.

Get Daily Art and Crafts Ideas & Tutorials…
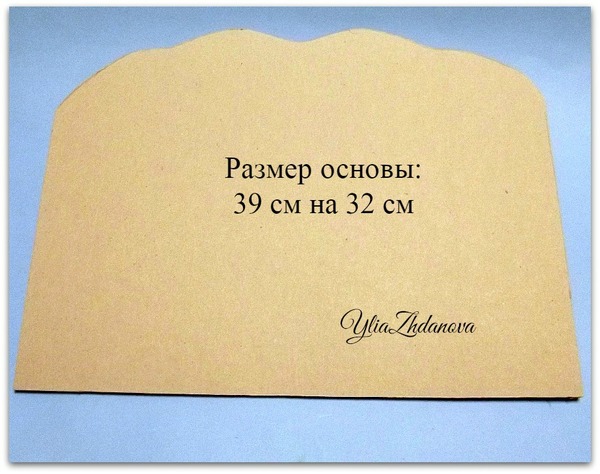
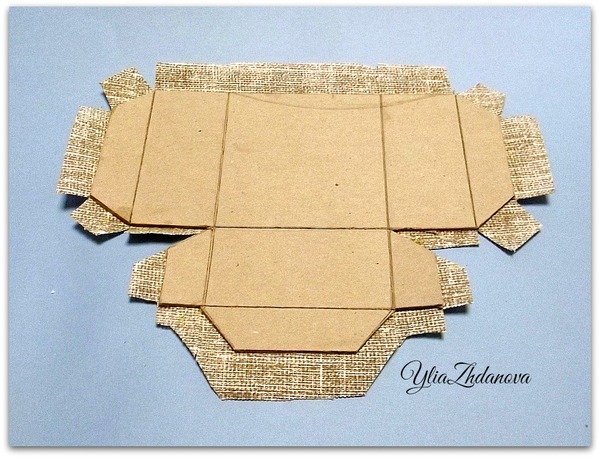
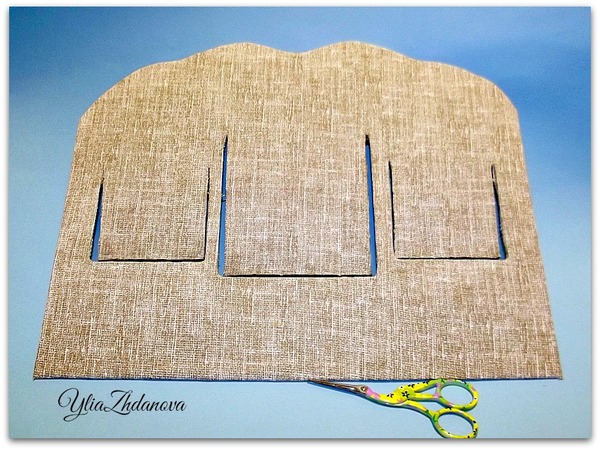
Base 2 parts – Binding cardboard.
 Then, from the same cardboard carved pocket 3.
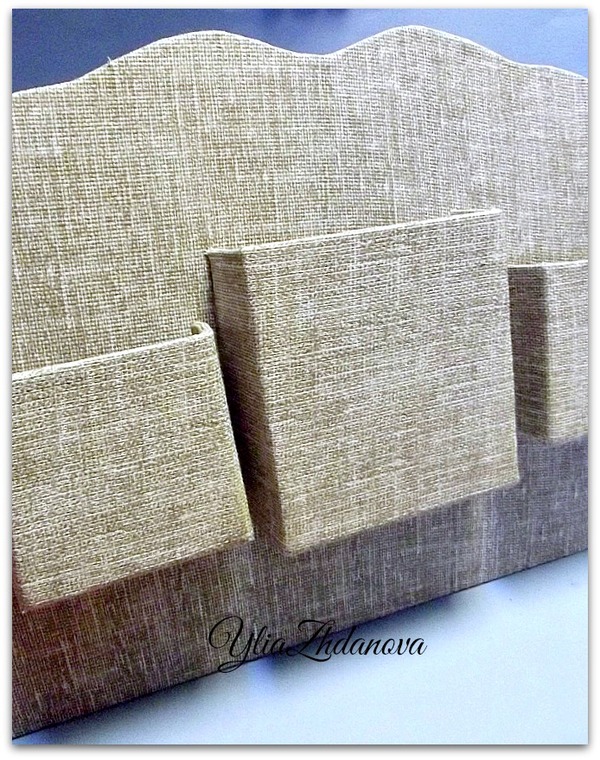
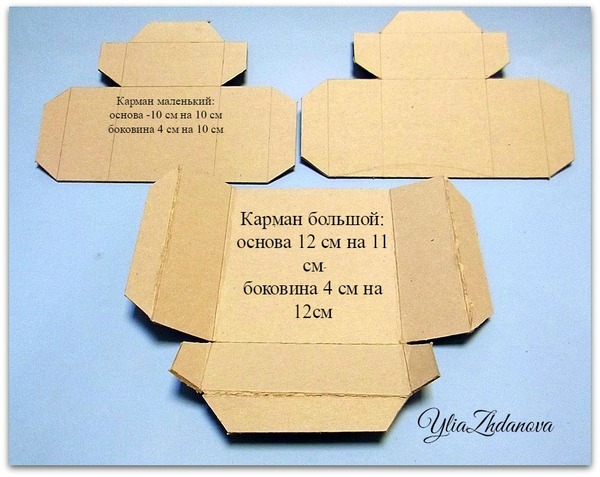 Has made scoring folds, then a linen cloth, plastered all three pockets, used for this purpose glue Moment Joiner.
 Gum helped fix sidewall pockets, until the glue dried up.
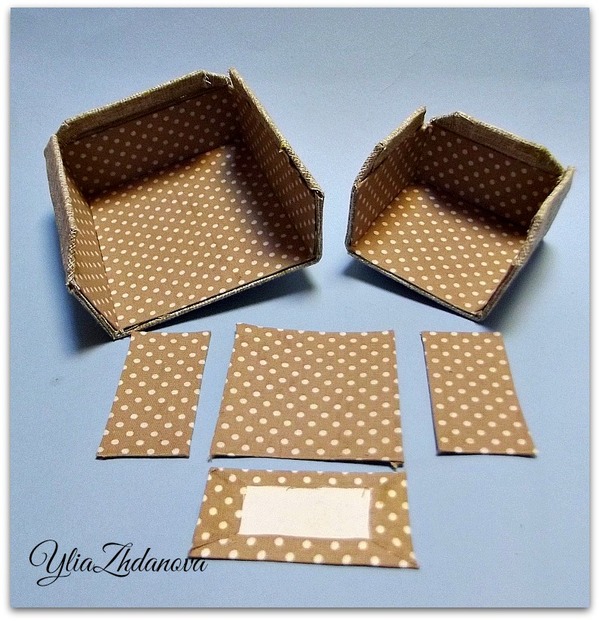
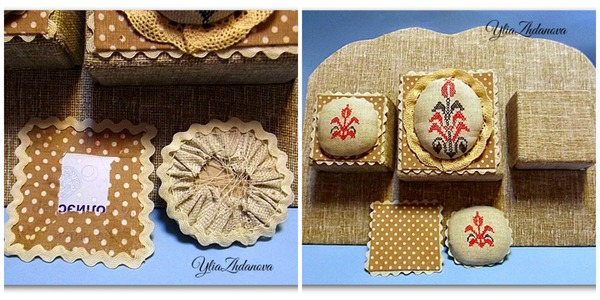
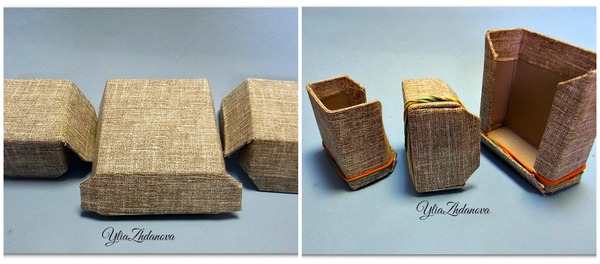 For home decor used thin cardboard, covered with a contrasting fabric.
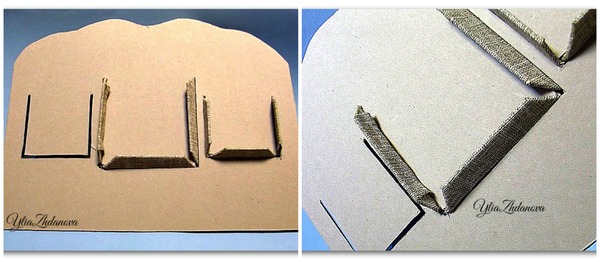
 Then, in front of the foundation construction knife made slit width of the slit – the thickness of cardboard. Example – all came up))))
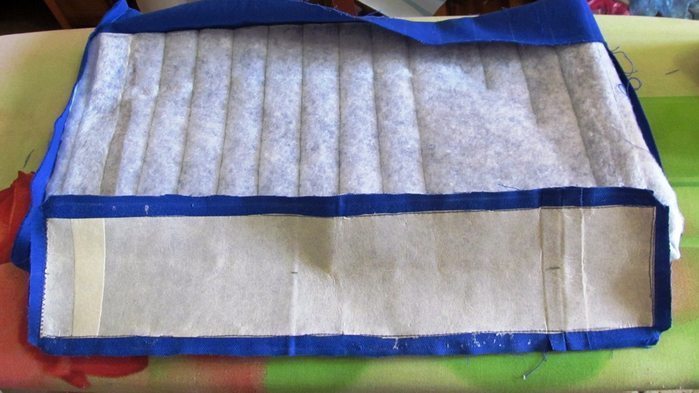
 View from the inside out.
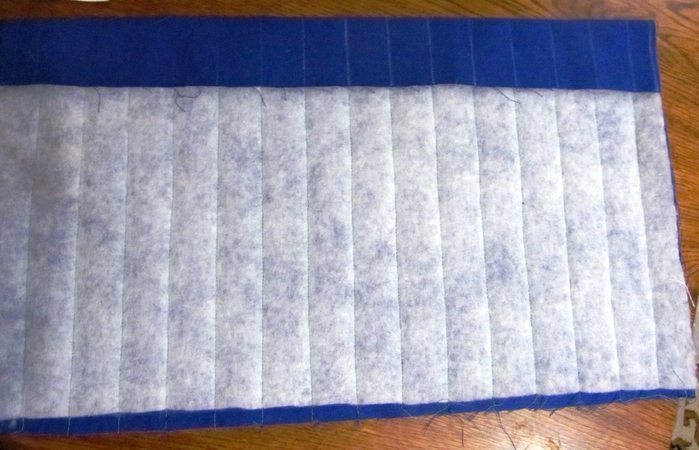
 I removed pockets and pasted the same linen cloth, the front of the base. The edges of the cloth, so as not to crumble, fixed with adhesive gel Moment.
 Pockets into place.
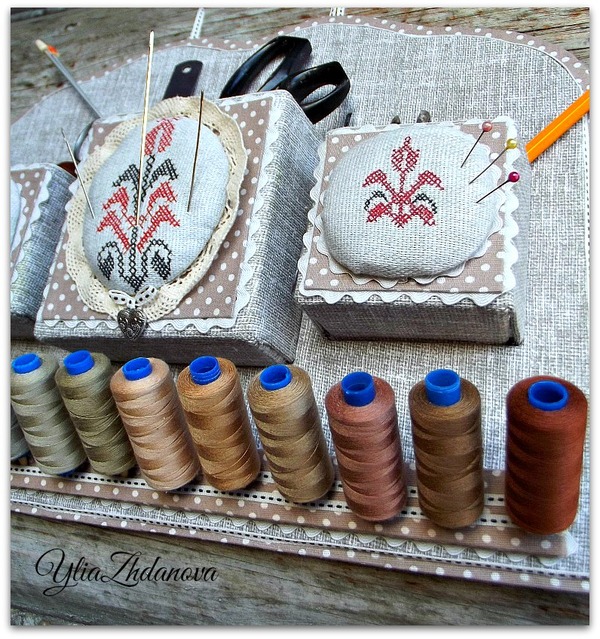
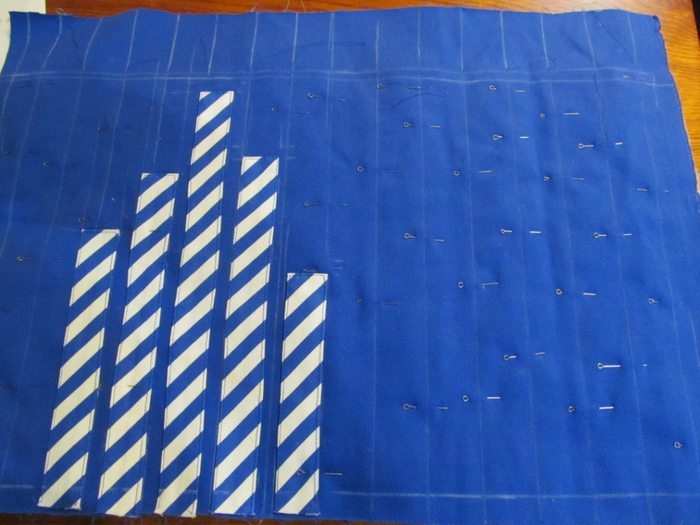
 Now the most interesting – the decoration of the organizer, side pockets on the front, decided to make the needle bar inside – foam.
 Then you have to take care of the thread – where to put them. For this I took – the piece of wood and bamboo sticks.
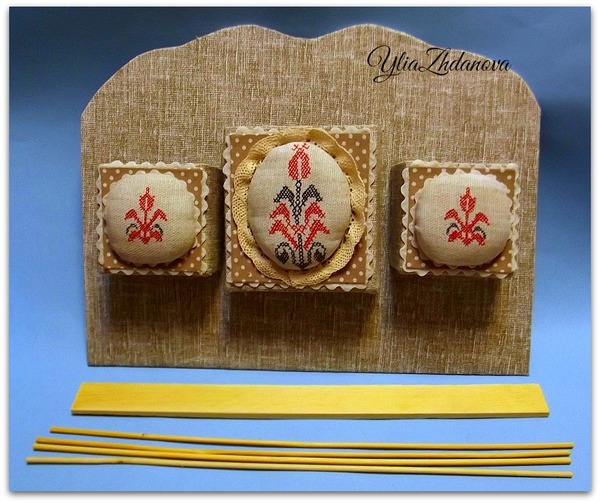
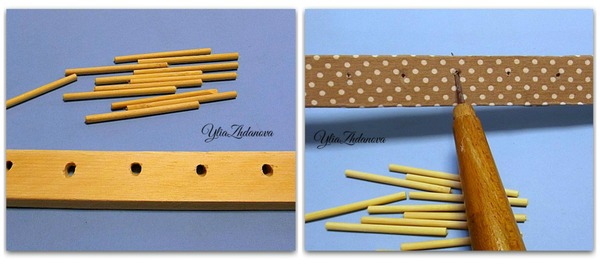 Drill a 45 degree angle holes and plastered cloth strip, then he has done with an awl holes, under the pins.
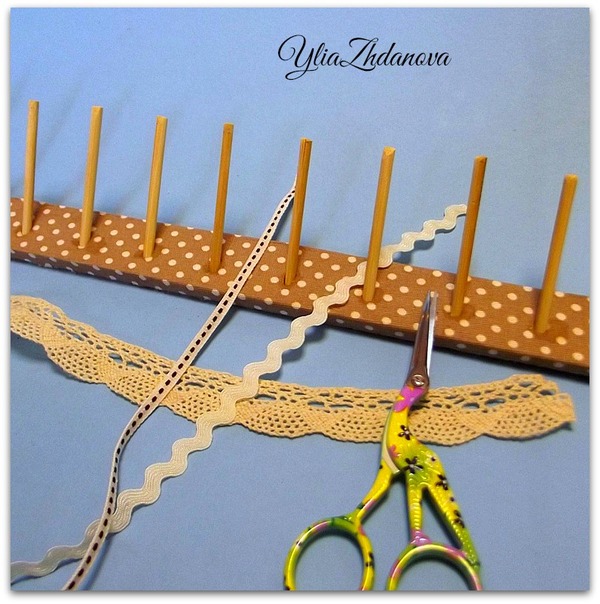 Glued pins – super glue.
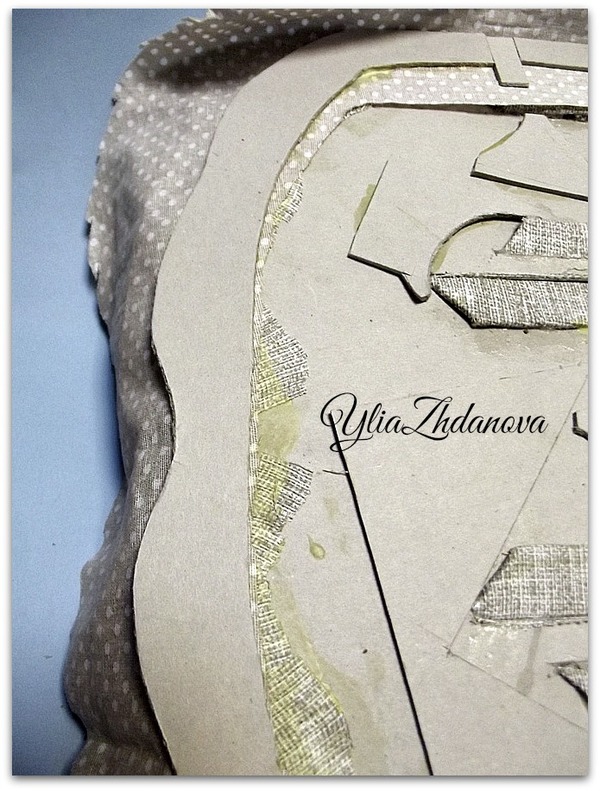
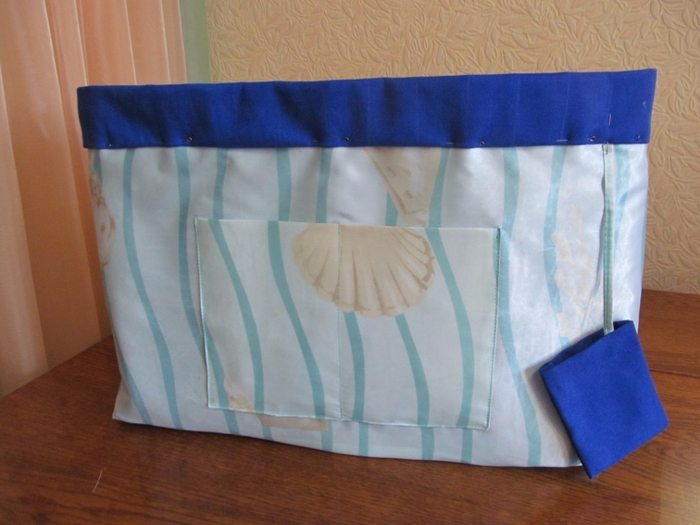
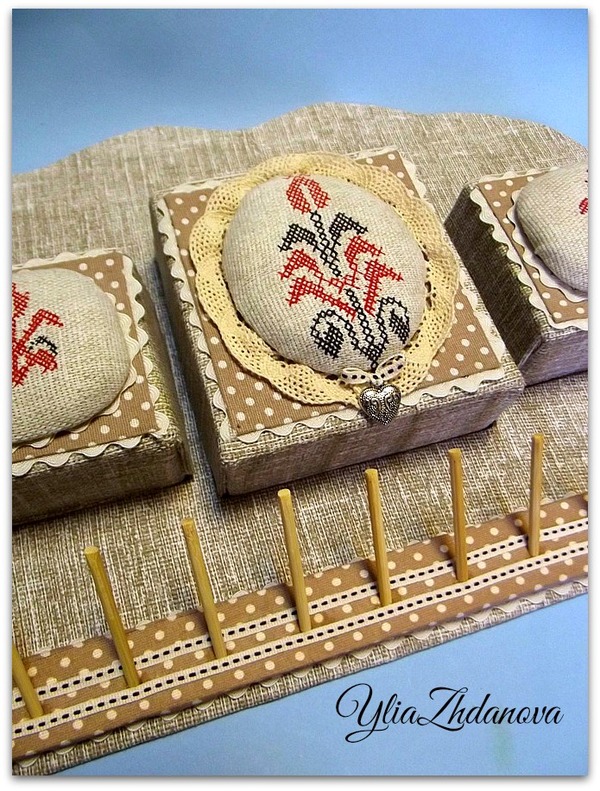 Trim that I have left over from cutting pockets, all went to work. For Kant, I cut cardboard, 0.7 cm wider than the edge of the base and the first taped contrasting fabric, then a cardboard edge and closed his protruding cloth. It remained for the small – to close the second portion of the base, the back side of the organizer.
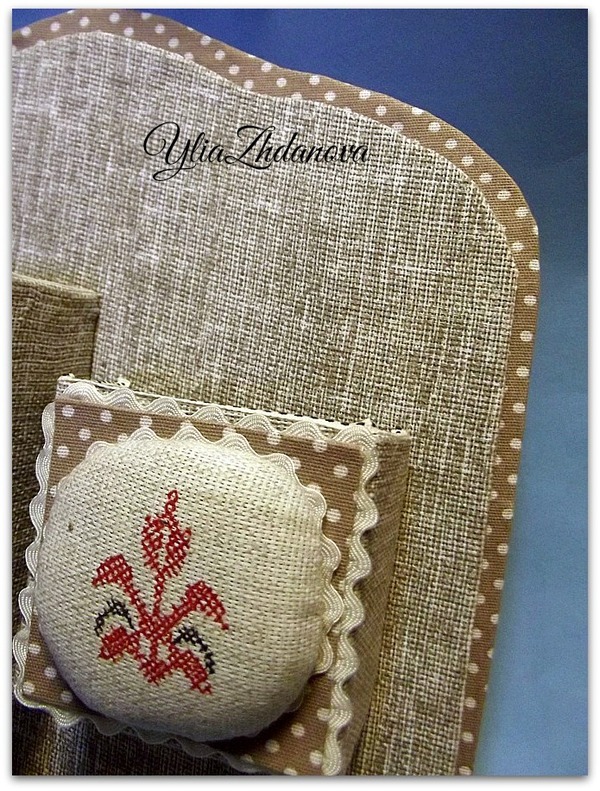
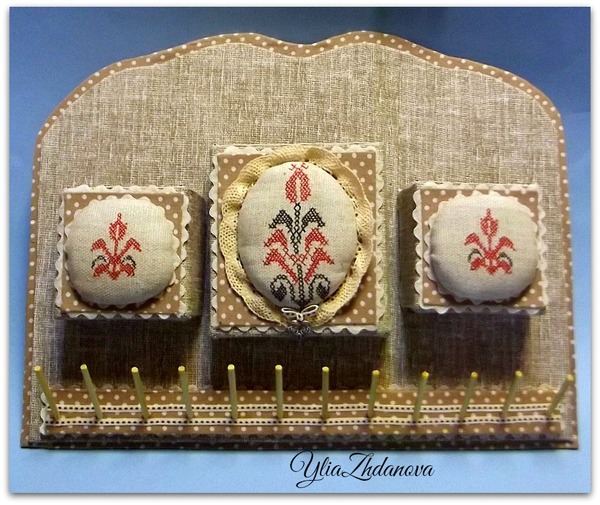
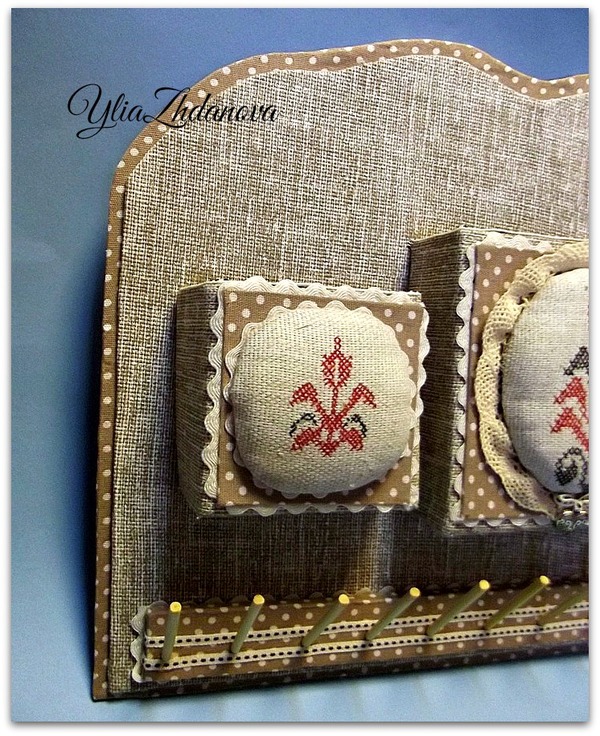
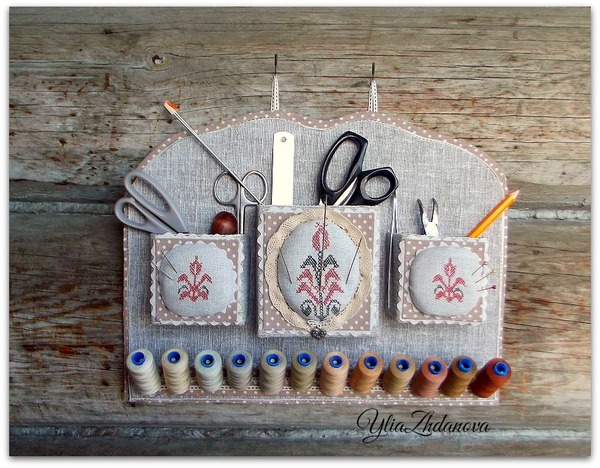
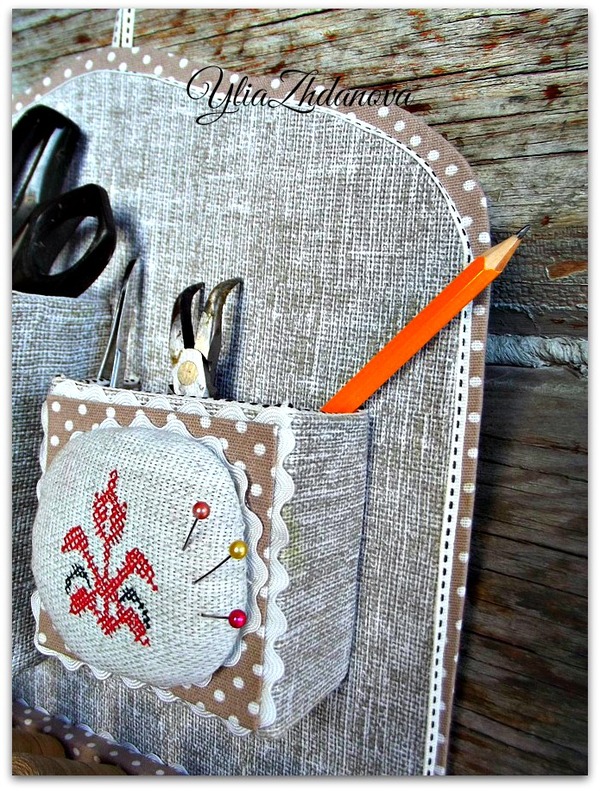
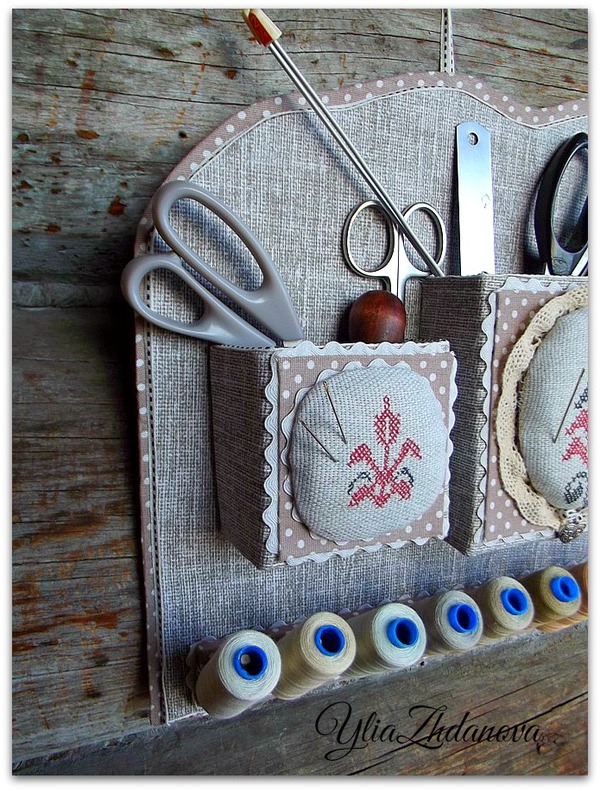
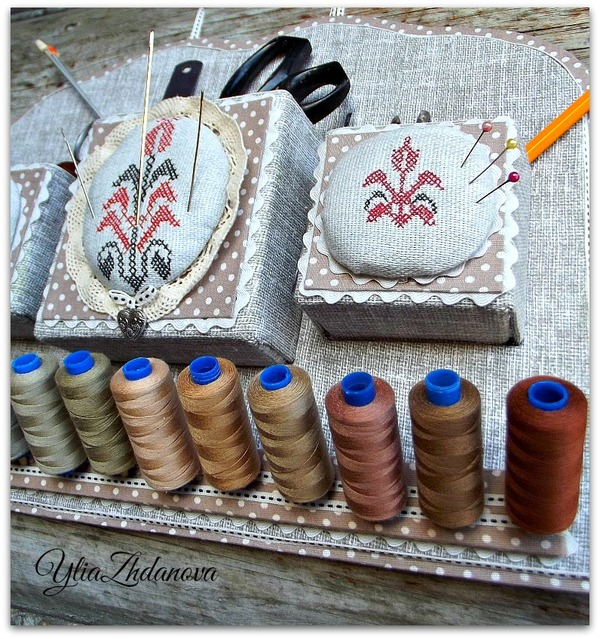 Thank you that made it to the end.
Traditional buckle on elegant dresses, including wedding, is mounted on hinges, which are sewn very close to each other. A fastener of this type can be done in different ways. It is placed on the arms, back shelves before or, at the cut skirts and t. D. To take the hinge pins purchase braid, soutache. There is another option, you can sew the hanging loop of Rulik, which is made from the same fabric as the product.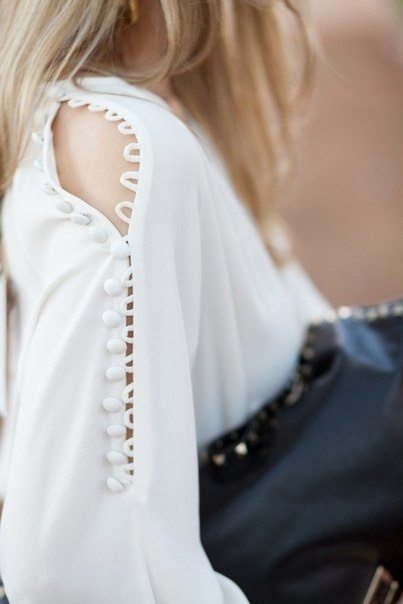
How fast do hinged buttonholes. The author makes the workpiece with loops on a sheet in a cage:
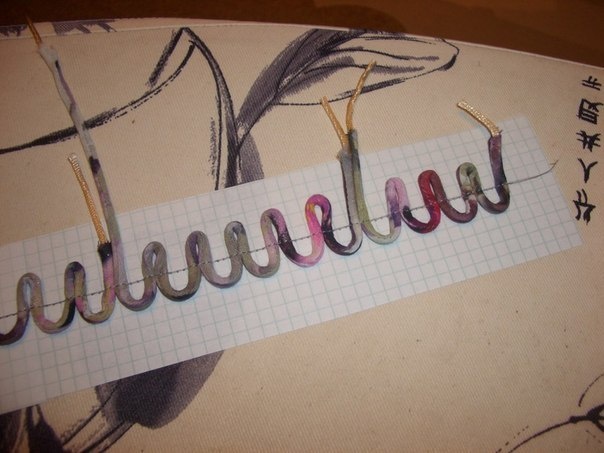
– Out loop through the cells and paves the line;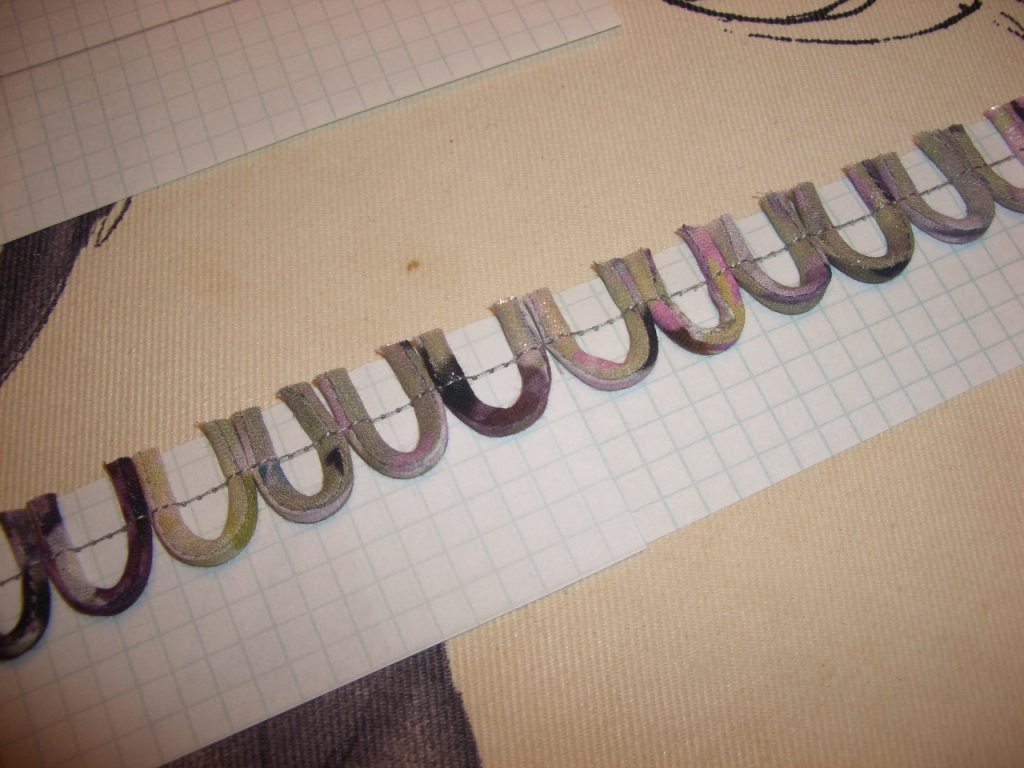 – Surplus cuts;
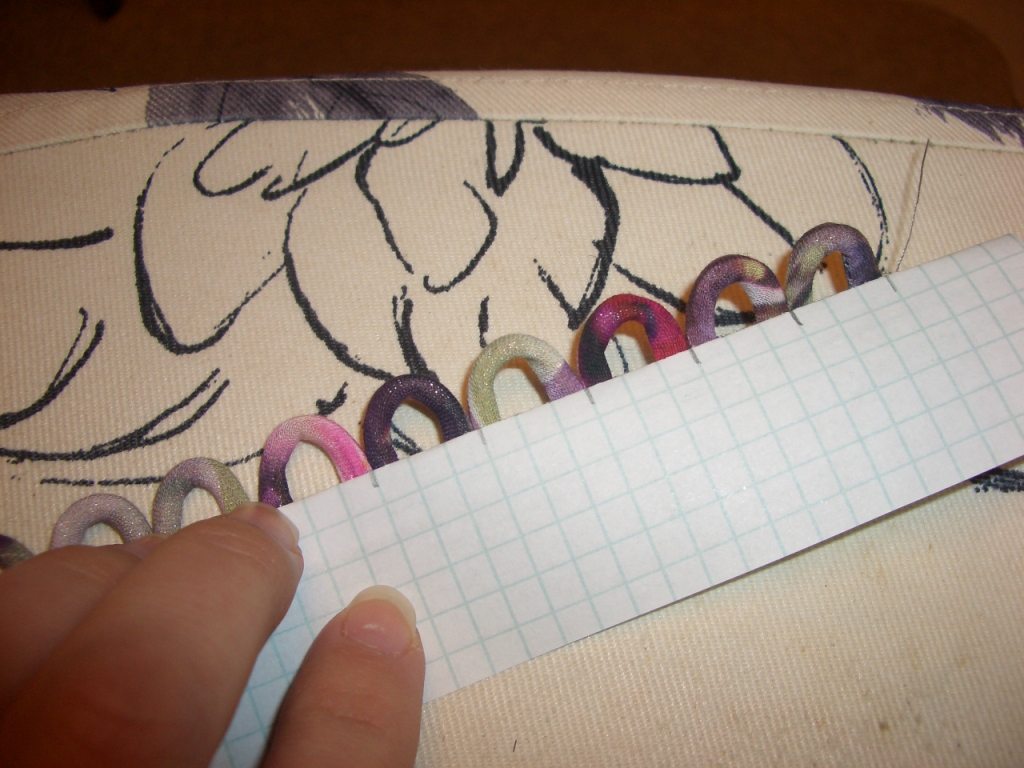 Bend the paper, watching what happens in finished form;
– Then, this billet nastrachivaetsya to its rightful place, the paper is removed and we are all the same tabs!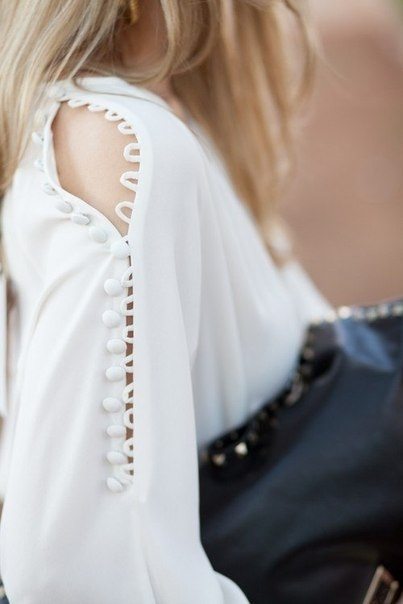
With a few clicks with simple materials, you can create lovely pot holder for kitchen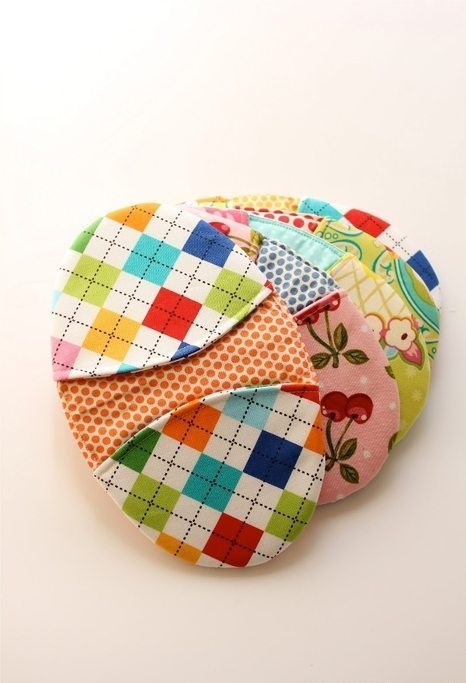
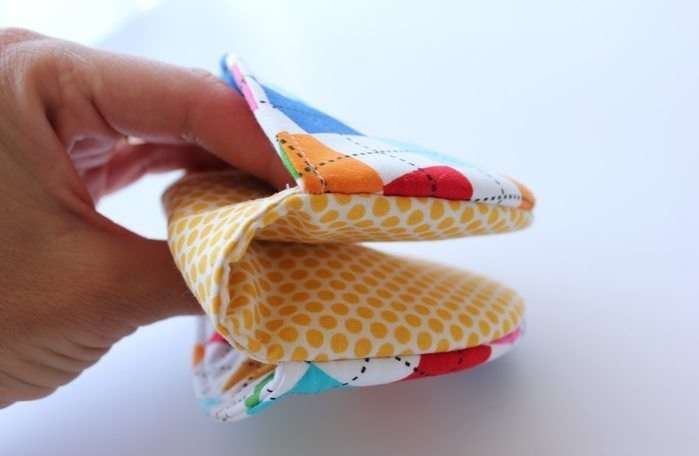
Required Material:
Making
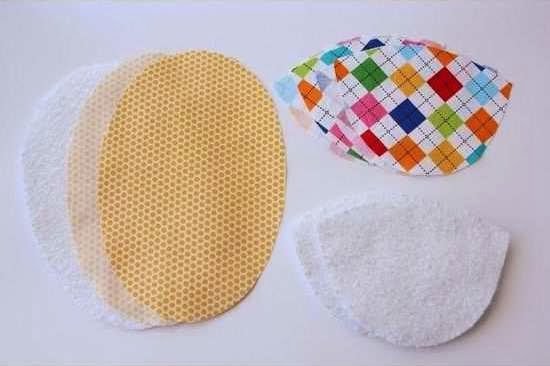
Measure and cut 2 egg-shaped piece of fabric, 4 shaped cloth bag, lining cloth 1 and 2 ovoid shaped cloth bag liner as shown.
 Turn face to the formation of two pieces of cloth bags (No. 1 and No. 2) against each other, then to the back lining pieces. Rating 3 straight edge piece of cloth.
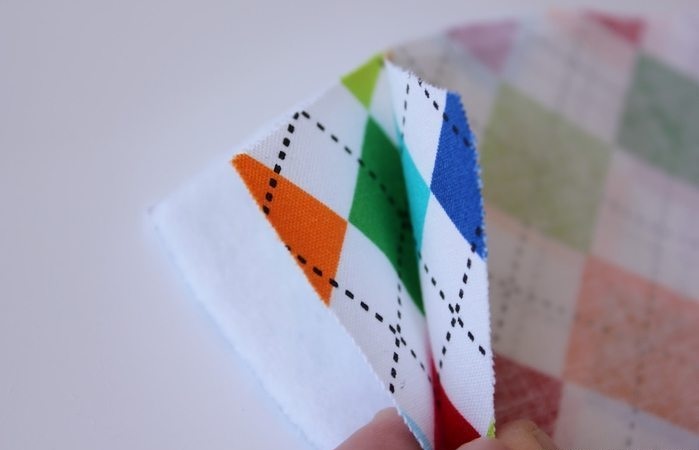 May through 3 layers of fabric in the form of sugar, from the edge of about 5-10mm. Flip the fabric back to No. 1 in the middle lining. May 1 class just fixed up. Turn into 2 cloth bag next picture above
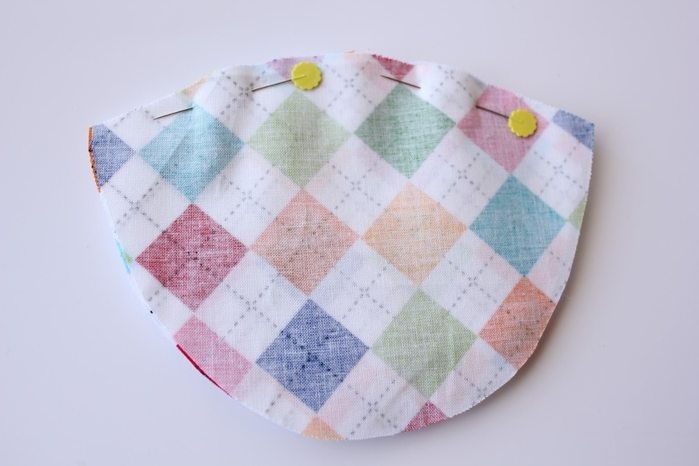
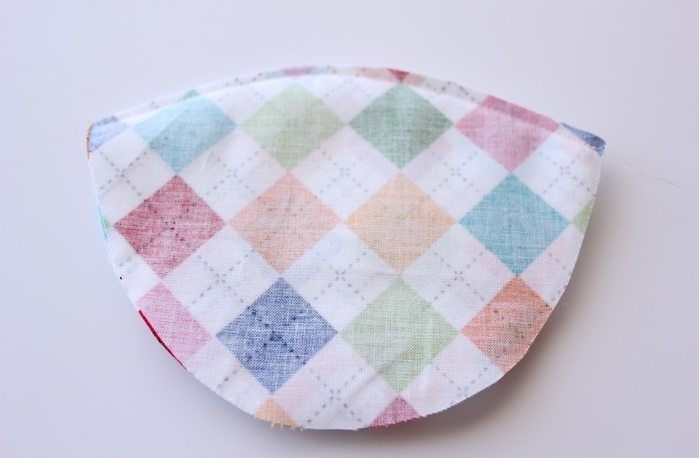
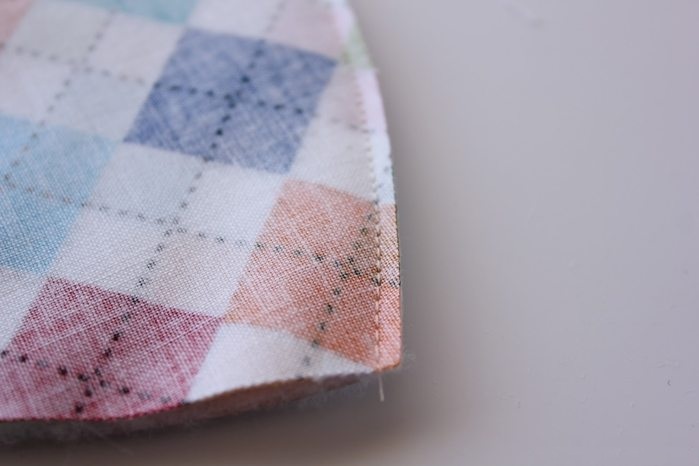 Place the egg in the lining between the two layers of fabric egg, then place 2 part cloth sewed shaped fixed pocket lining into place as shown in Fig.
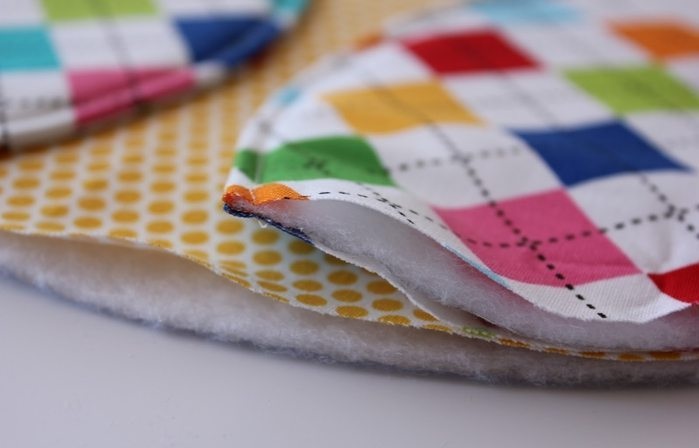
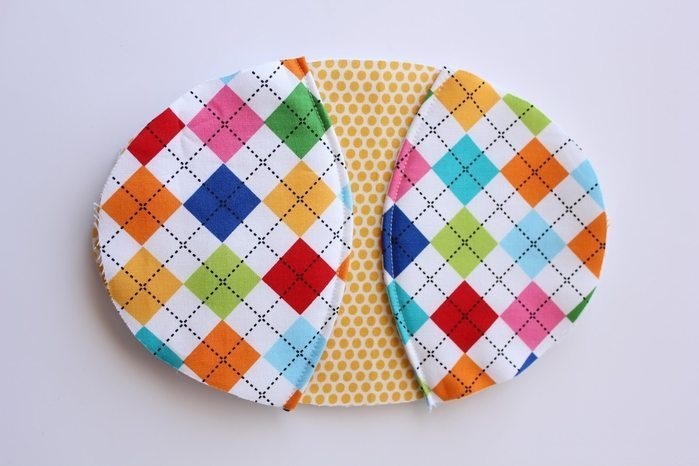
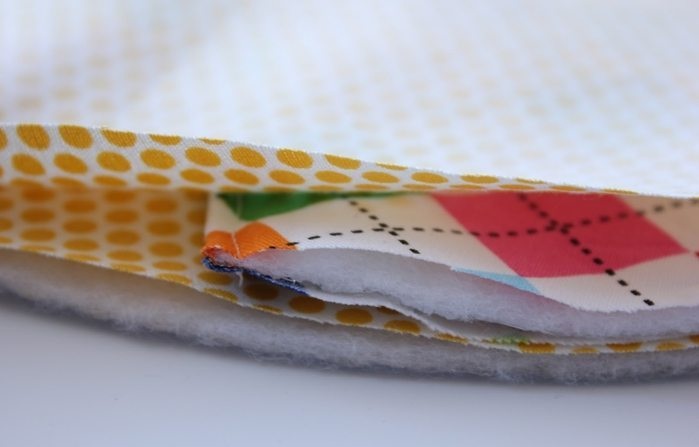 Using a fixed pin, use a piece of cloth fixed needle 2 pieces of fabric into cloth bag shaped ovoid. Then reverse to hide stitch.
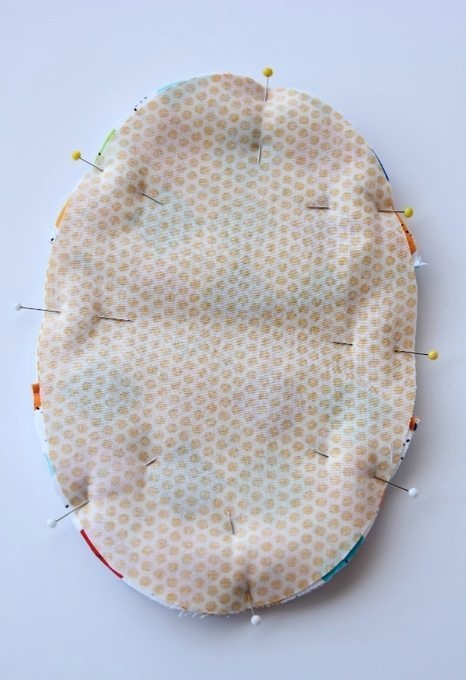
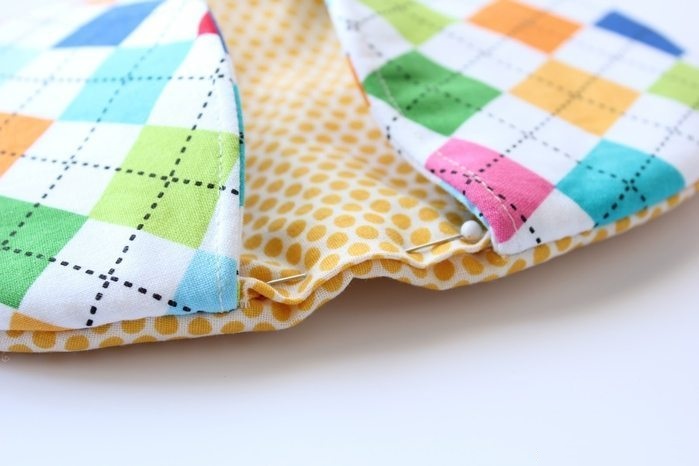
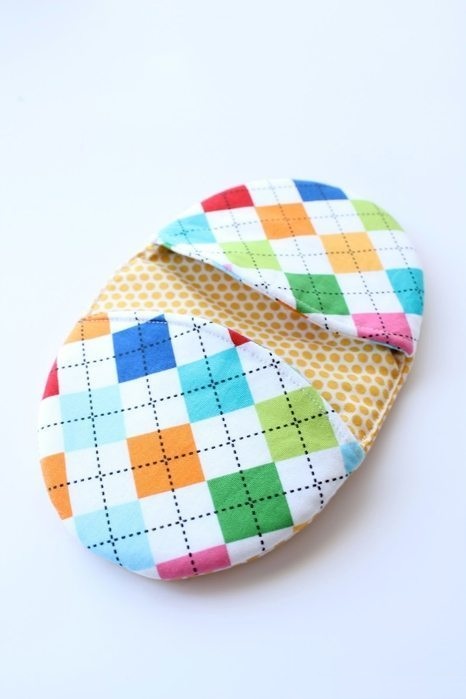
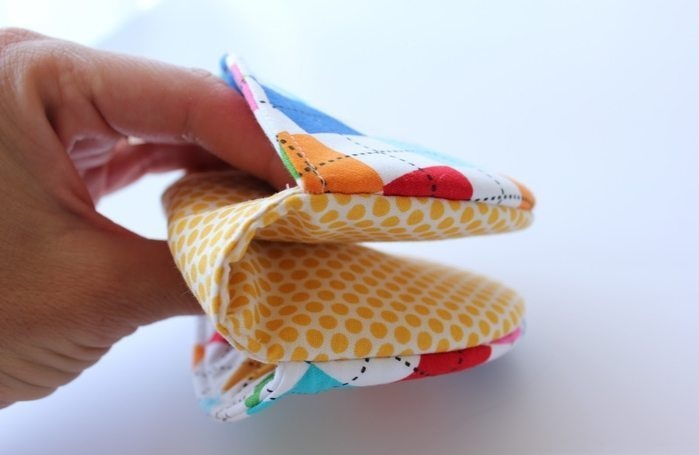 Wish you success with instructions simple sewing potholder for Kitchen!
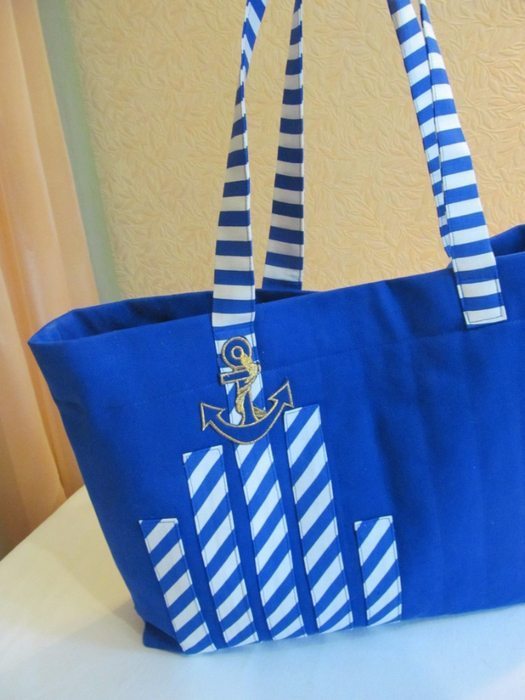
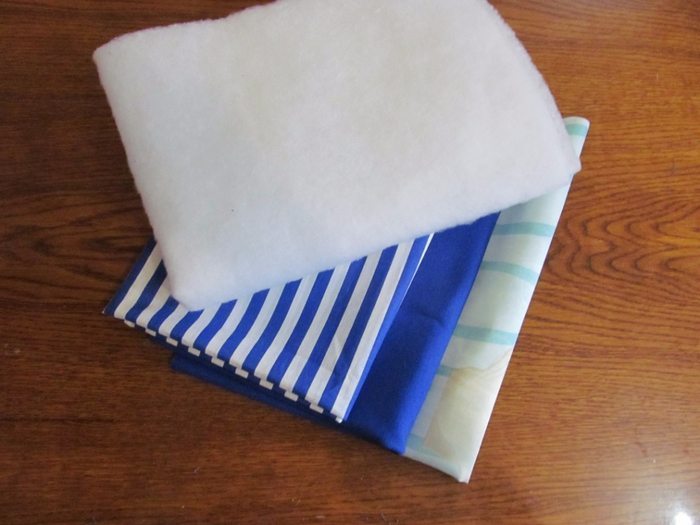
First, you must select the fabric for curtains tailoring. Beautifully will look fabric with metal overflow. Well look contrasting transitions in tone.
In the present master class puffs sewn on the cornice of 1.3 m. For this you need a piece of fabric at a ratio of one to two, or 1 to 2.5 relative to the length of the cornice.
 We eaves length 1.3 m – needs a piece of fabric 3.25 +0.5 (allowance at side seams), only 3.3 m.
In width:
• 0,65 m 3-band (as in the diagram), the height of product in finished form 0.45 m;
0.83 m • 4-band products in finished form height 0.55 m;
• 1,01 m-5 strips off the shelf height 0.65 m.
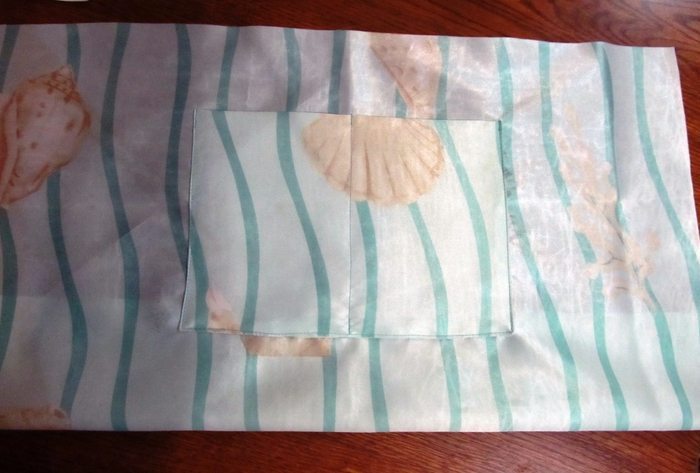
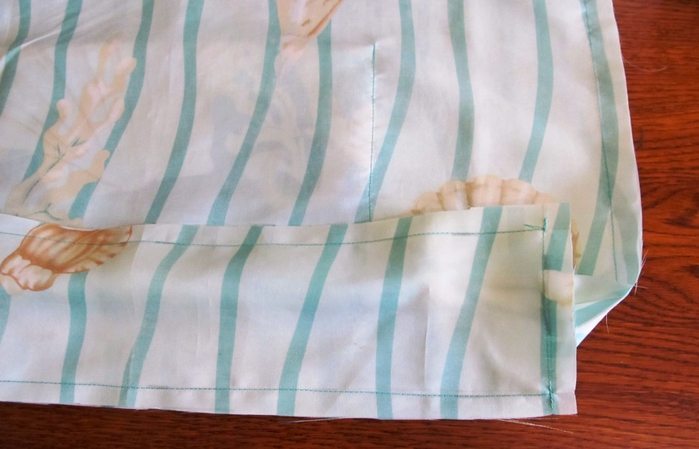
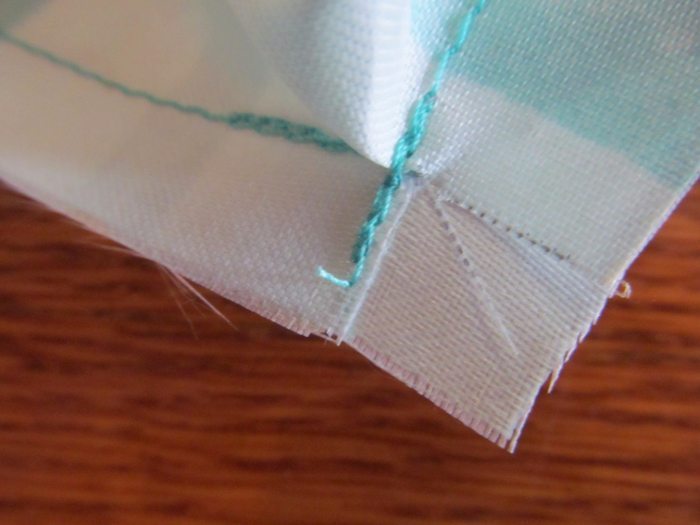
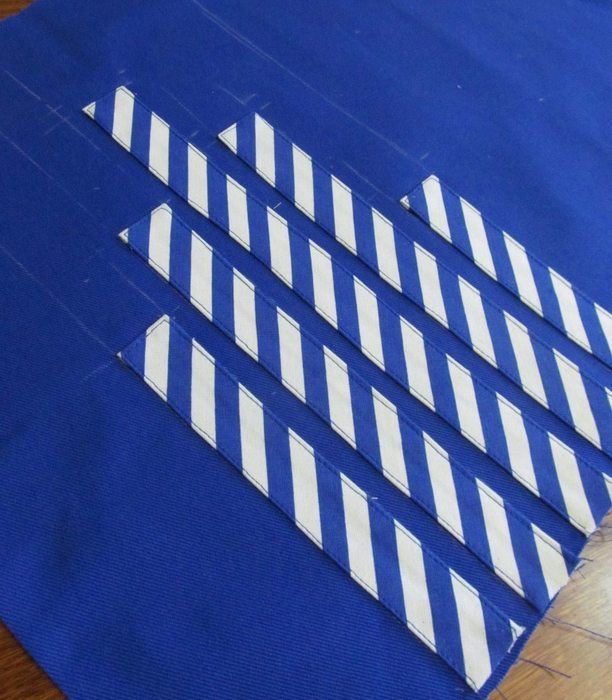
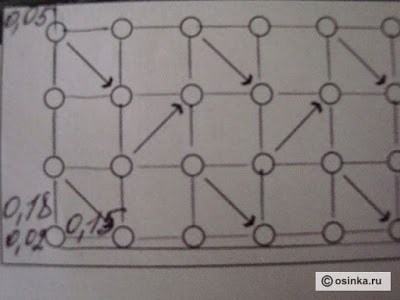
Learn, please scheme. See photos.
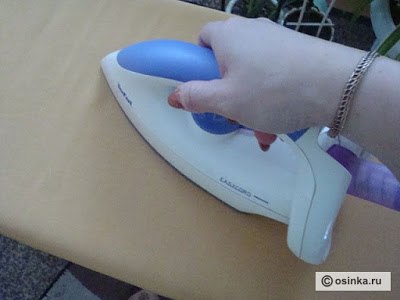
 he harvested tissue peruse for defects, check the length and width, steamed iron.
 The sides of the future curtains See photos.
  For comfortable work and avoid errors, you need to make patterns out of cardboard.
1. №1 = 8 cm (6 cm – width webbing + 1 cm seam tape+ 1 cm volume)
2. №2 = 18 cm;
3. №3 = 15 cm. 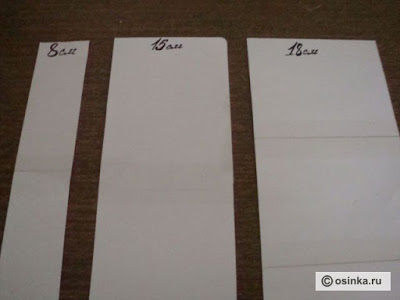 Choose a place where we are going to create your masterpiece. Ideal – a large table. It decompose and flatten stripped cloth. The fabric should lie face down.
Take the mold 8 cm wide (№1) applying it to the upper tissue slice. 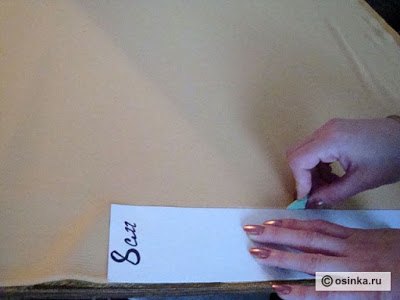 Now, take the curve №2 (width 18 cm), apply to have the line drawn by again drawing a line along the entire length of our fabric. Repeat this process three times. We have to be parallel to the line width: 8 cm, 18 cm, 18 cm, 18 cm
 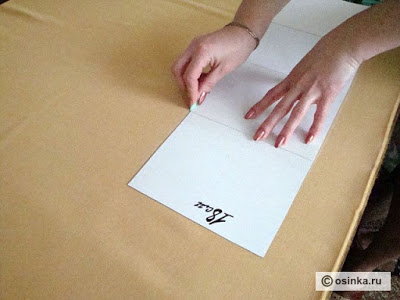 Take curve №3, we are putting any of the side seams and perpendicular lines to the already drafted. We get the mesh.
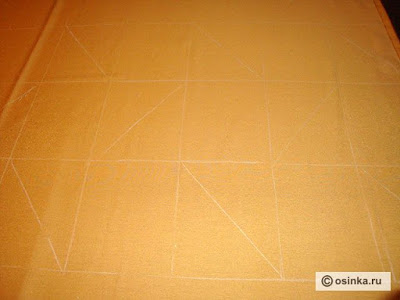
 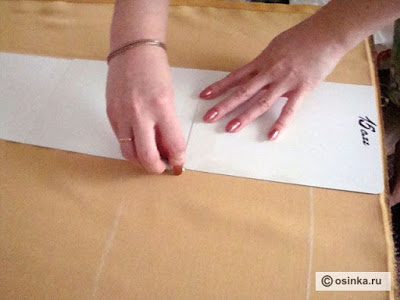 To make it convenient to work in the cells draw a diagonal, as shown in the photo.
  Take the needle and thread in tissue tone, and at the cell diagonally fasten the first puff.
 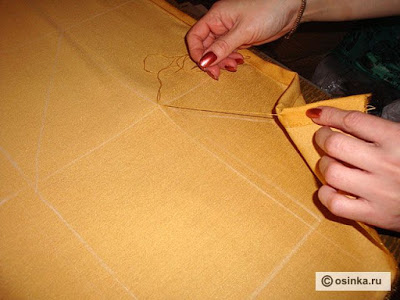 Stitches tacks do five – six times.
 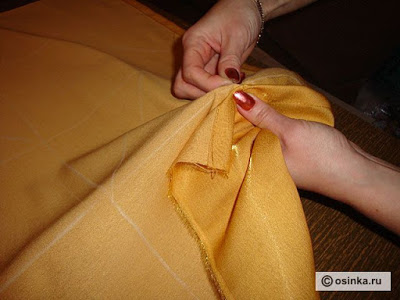 Secure all puffs for this series.
 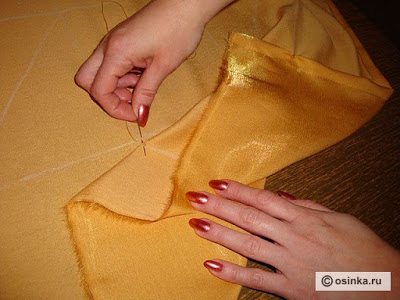 The next series begin to fix on the side where you’ve finished the first row whip. Follow the scheme.
 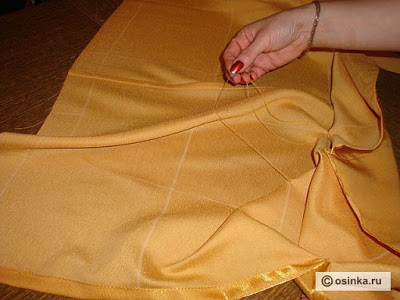 Third row starts where finished second whip. And so all the rows under the scheme. Be careful.
 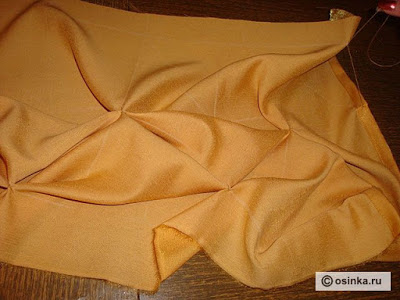 This is the result of the first phase of your work. The truth is impressive?
 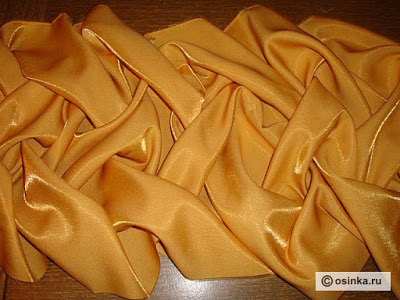 The bottom of the curtains in our master class we will process the fringe. In fact, the methods of processing weight: seam in the hem, processing piping, lace, beads …
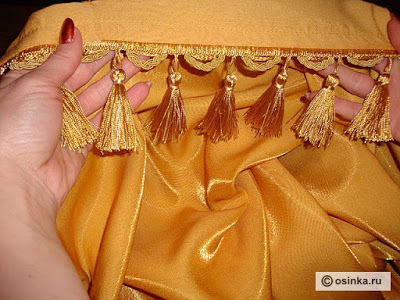
like fabric, you need to advance to steam and smooth 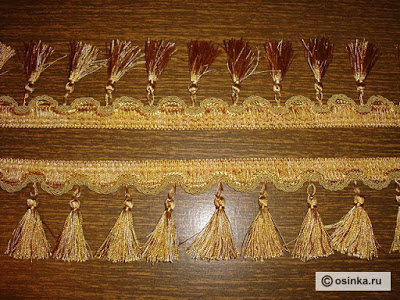 We are putting a fringe to the bottom edge of the curtains. We combine slices. Fabric and fringe wrong side together. Sew,
 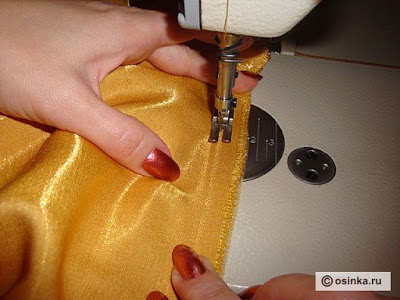 Now, gently loosen the fringe on the front side. Do this for the entire length of the edge of the fringe and paving machines line.
 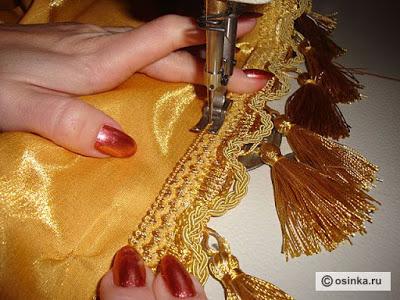 Bottom curtains ready. Look inside out – it’s perfect.
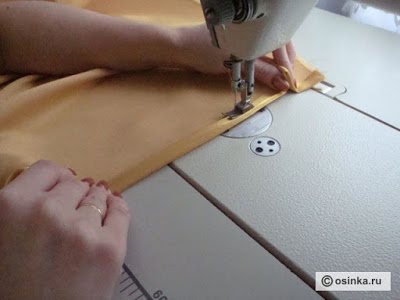
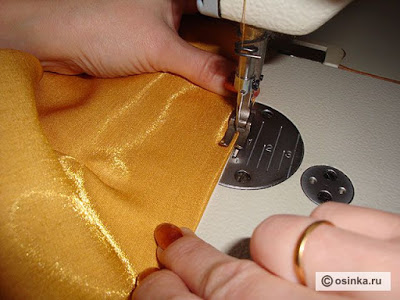
  It remains to handle the upper section of the curtains. Take special braid for processing top curtains. Put them to the wrong side of each other. Pre-need to hem curtains and braid 1 cm. Sew their machine stitching.
  Lay the second parallel line is strictly for lace center. Line lay on the front side. The ends of the thread carefully hide.
 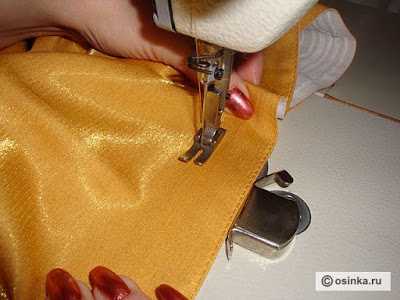 Run the same parallel line on the edge of the tape. Gently pull the fabric by hand.
 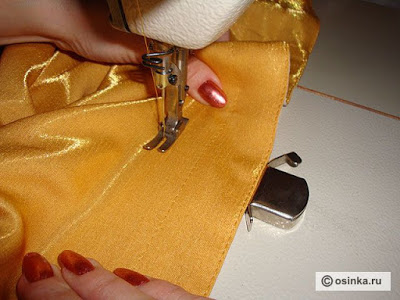 Contractible four strands to braid. Puffs acquire a very different kind.
 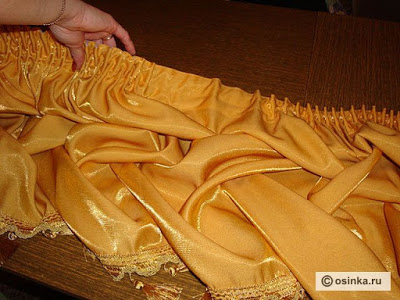 And then, finally, the result of work. Beauty, is not it?
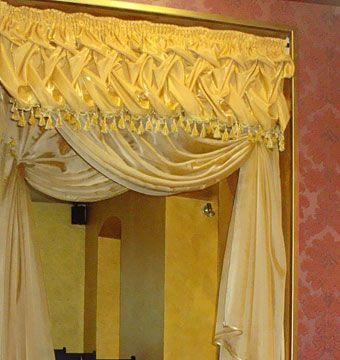
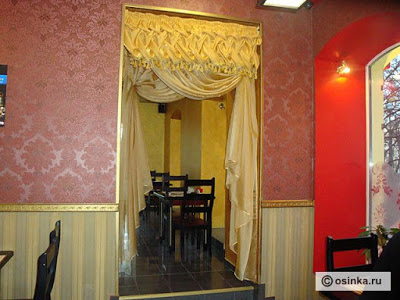
  So, this curtain looks in the doorway.
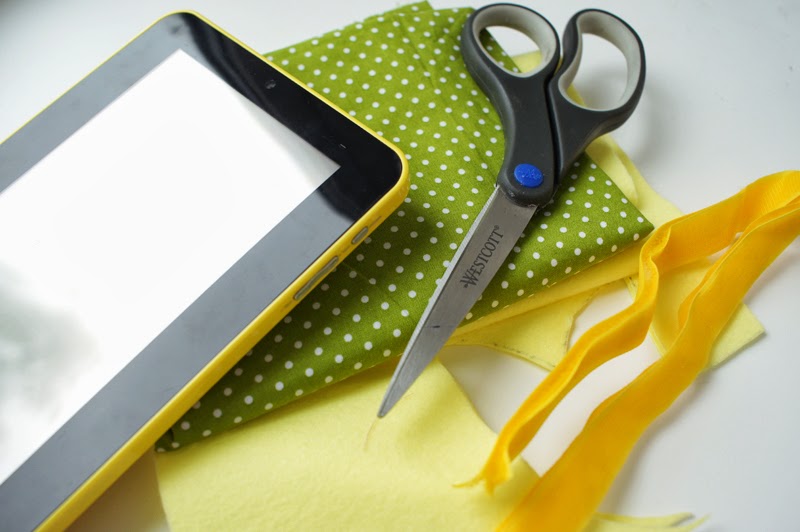
 Required Material:
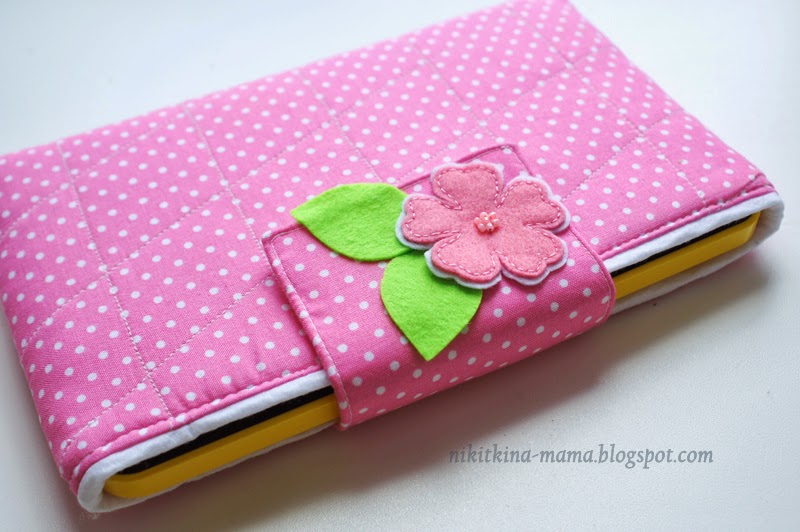
To cover carve out a rectangle the size of which will depend on your tablet. I look forward to the width of the rectangle as follows: the width of the tablet + two plate thickness + 1 cm + 1 cm allowance on the thickness of padding polyester. The height of the rectangle = height + tablet allowances. After the main part is cut, stitching it together with synthetic padding.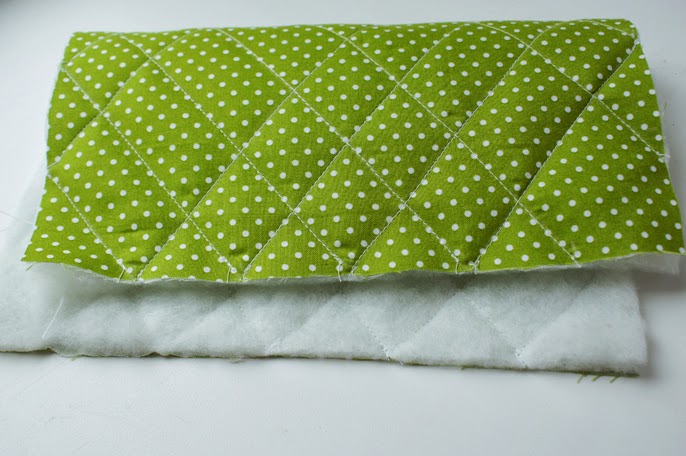 And sew cover on the side seams. Try on the resulting “pouch” on the plate, make sure that all the measurements done right.
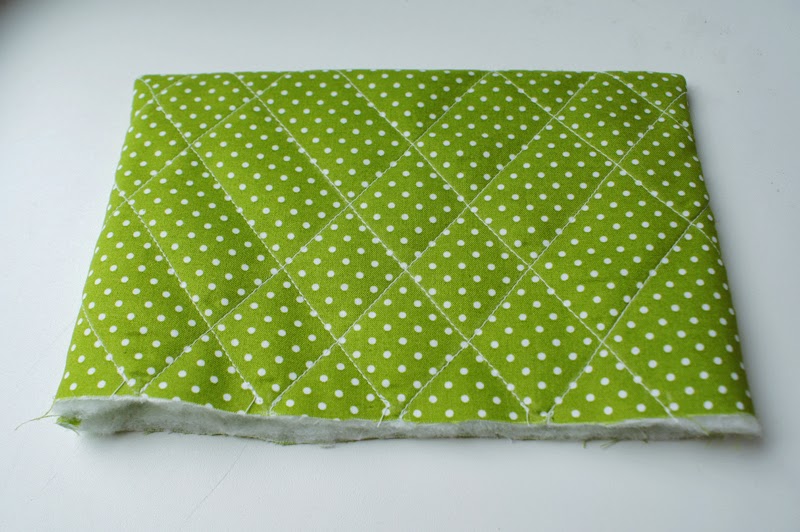 Now take the lining. We take the same height, as in the previous parts, but the width is calculated as the sum of allowances (I 1 cm) and the width of the inner part, which is obtained in the previous step. (The fact that the width of the pad will be slightly smaller than the width of the rectangle of the base fabric by padding polyester layer). Cut out the lining, sew along the side seams, while necessarily leaving nezashitym hole to cover then you can turn on the front side. Try on the tablet.
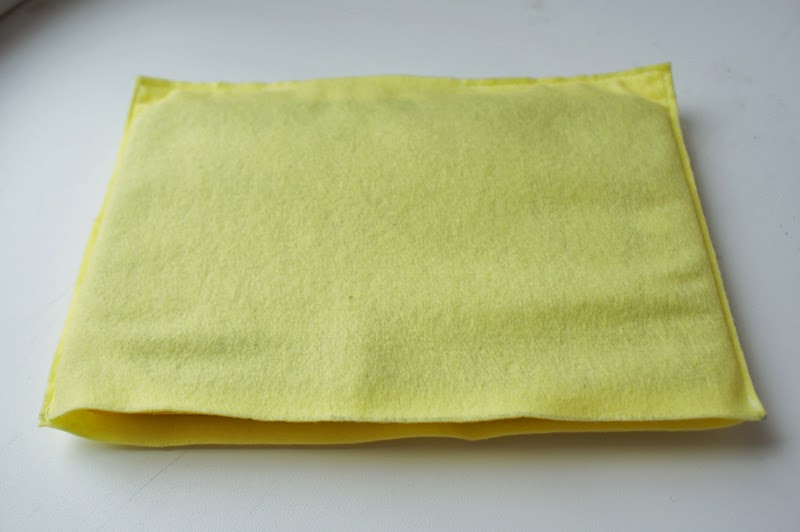 Time to reflect on how the case will zakryvatsya- can use a magnetic button, button, or, as in my case- Velcro. I carve and sew a small valve, which will shut case.
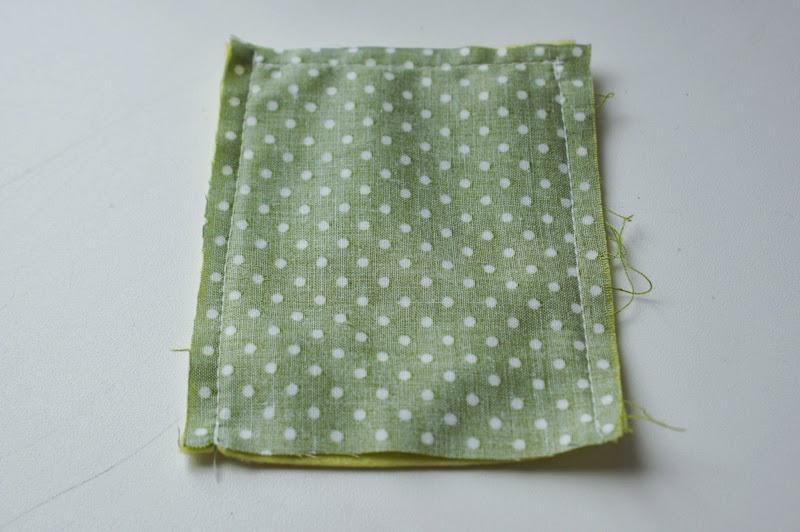
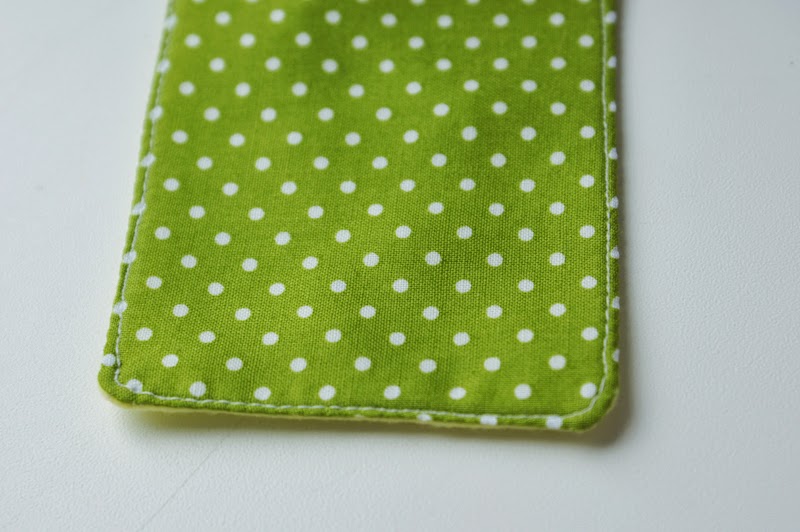 We put the wrong part of the cover into the rectangle of the base fabric (make sure that the front of the items placed together), between them put the valve is sewn.
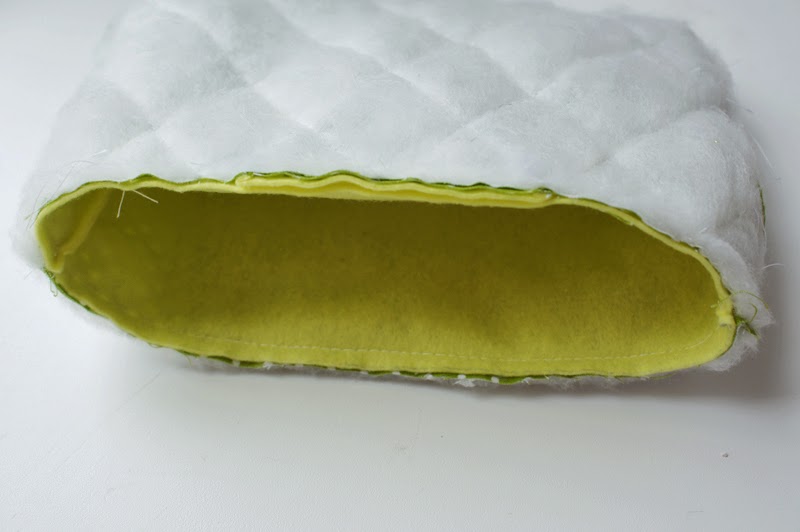 Wrenched the resulting cover on the front side (through the hole that was left in the backing parts), paving the decorative stitch along the top seam, and be sure to sew up the hole in the lining.
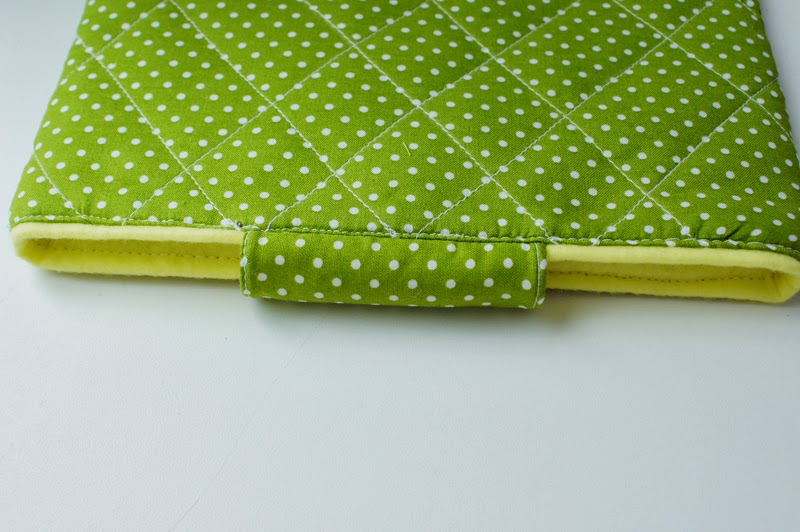
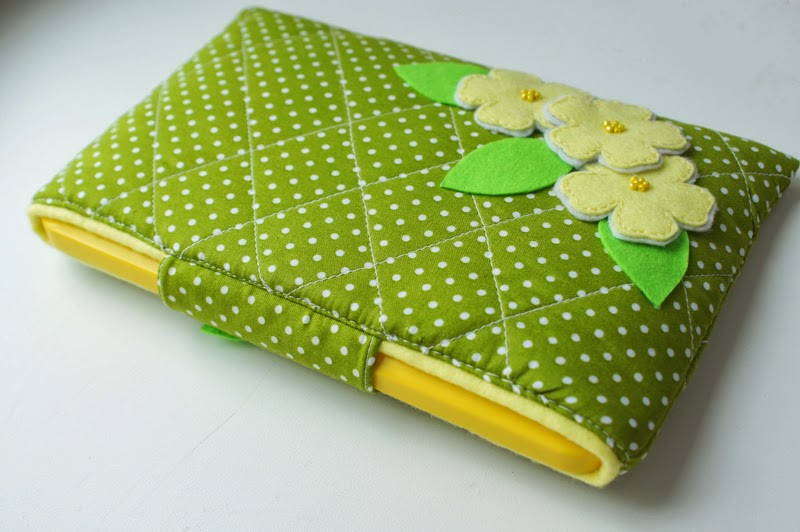 Source
Today a boss and a little tutorial to make a cute little stitching bag, inspired by the scrap booking tote bags, which you will be able to see page 78 of my last book, Workshops, and sewing corners.
To make it, you need:
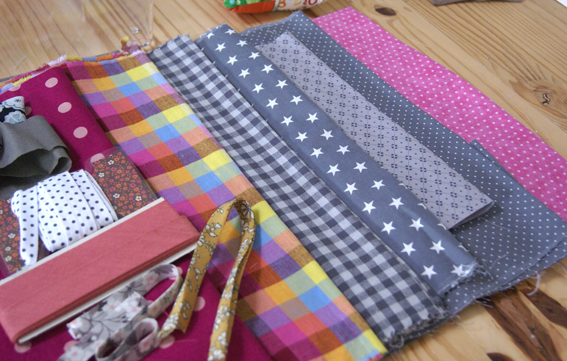
– of matching cotton,
– of interlining to stiffen and reinforce the small pockets
– of Vlieseline X50 or H630 (a little fleece and Thermo coll ante on one side) to give a holding to the basket.
– the bias (or bias) associated with the selected tissues.
Here are the templates of the different parts: pdf file to print the sewing margins are not included Parts A and A “bis”: long side of the basket where the handle is (to be cut 4 times in the fabric, interlining Colleton e) Parts B and B “bis”: small side of the basket (cut 4 times in the fabric, 2 times in the interlining ….é ). Exhibit C: backplane (2 times cut in the fabric, interlining 1 time in …..é ). And the sizes of the small pockets (sewing margins are not included)
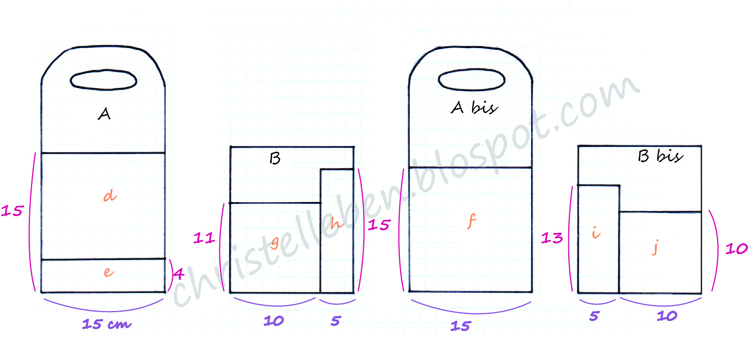
Pocket d: large pocket of part A (to be cut once in the fabric and once in the interlining) Pocket e: small pocket of part A (to be cut once in the fabric and once in the interlining) Pocket f: medium pocket of the piece Abis (to be cut once in the fabric and once in the interlining) Pocket g: left pocket of B (to be cut once in the fabric and once in the interlining) Pocket H: Right B pocket (to be cut 1 time in the fabric and 1 time in the interlining) Pocket i: left pocket (to be cut once in the fabric and once in the interlining) Pocket j: pocket (To be cut 1 time in the fabric and 1 time in the interlining) Step 1: Prepare the 4 sides of the baskets and the bottom of the basket ■ Draw and cut each piece in the outer fabric and inside the fabric by adding The margins of seams.
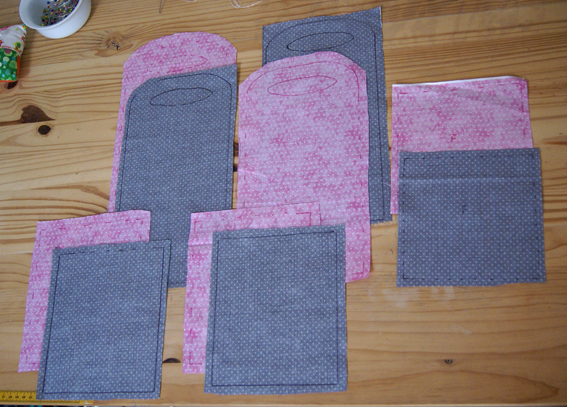
■ Cut parts A, B and C in the fleece fabric without seam allowance and attach each piece of fleece to the corresponding piece of the outer fabric. Wait about ten minutes before handling them again.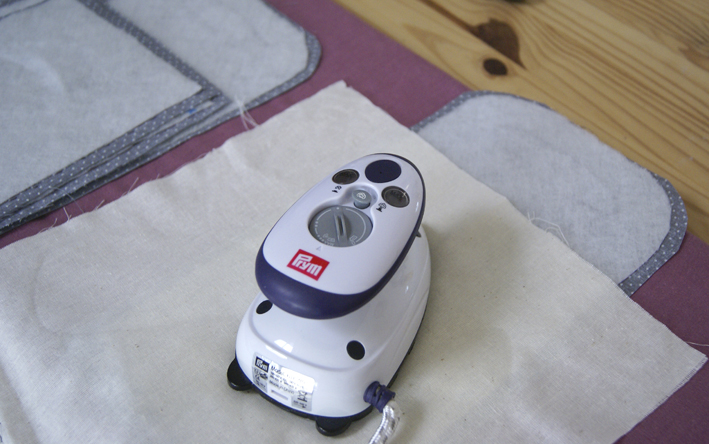
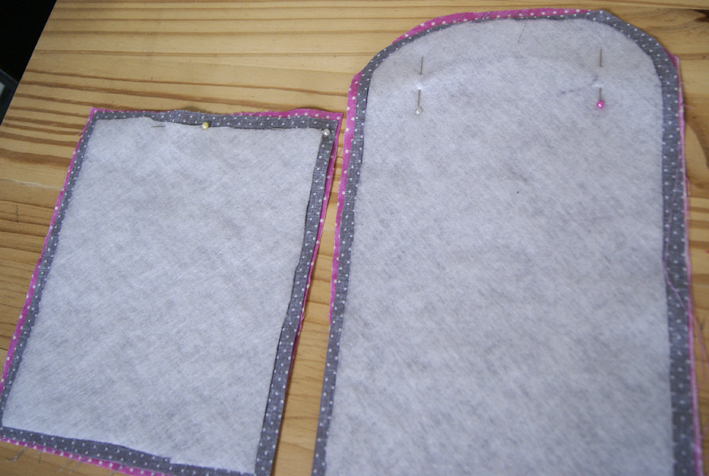
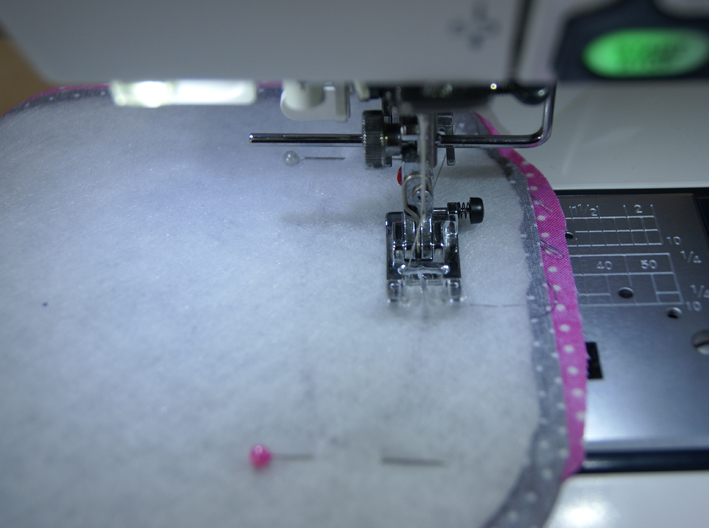
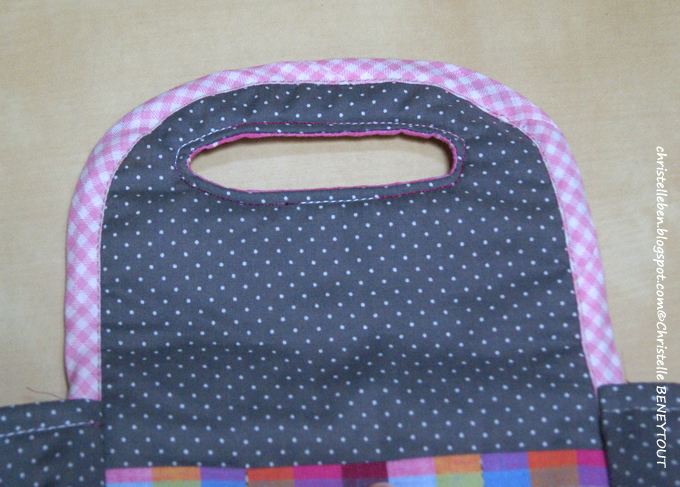
■ Sewing the handles of the parts A: Place the outer part An on the inner part A, right side up and sew the opening on the right stitch (place the fleece over you, redraw the hole on the fleece).
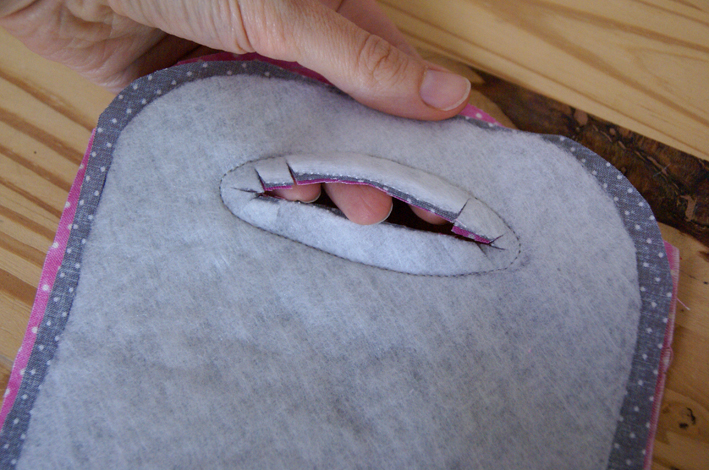
Using a chisel or wire cutter, slit the inside of the opening and crunch the ends.
Pass the outer fabric through the hole in the opening, position the pieces face-to-face and stitch the round of the opening.
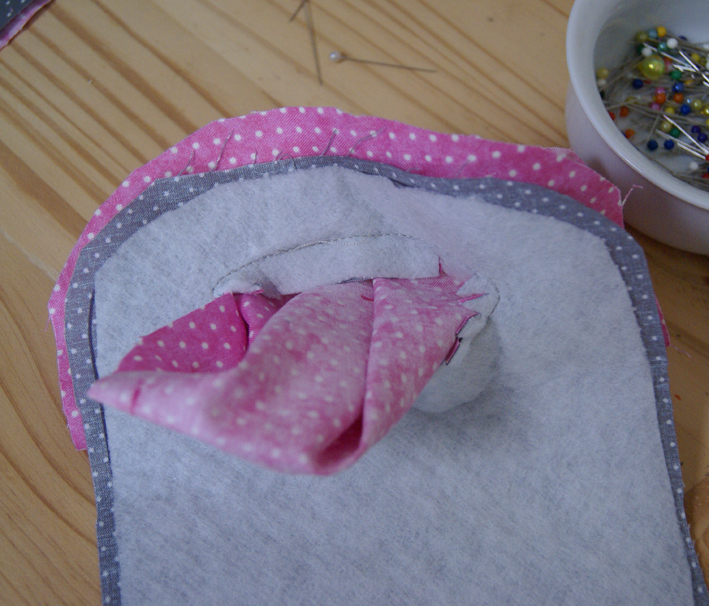
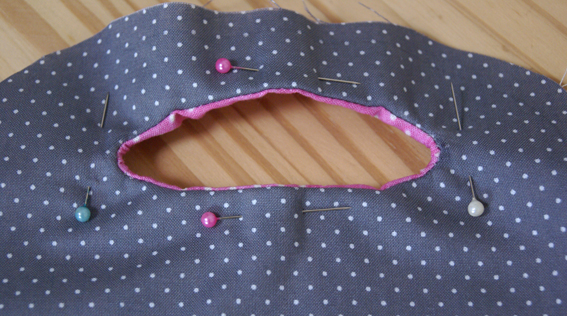
Finally, bend the handle between the 2 markers. You get this:
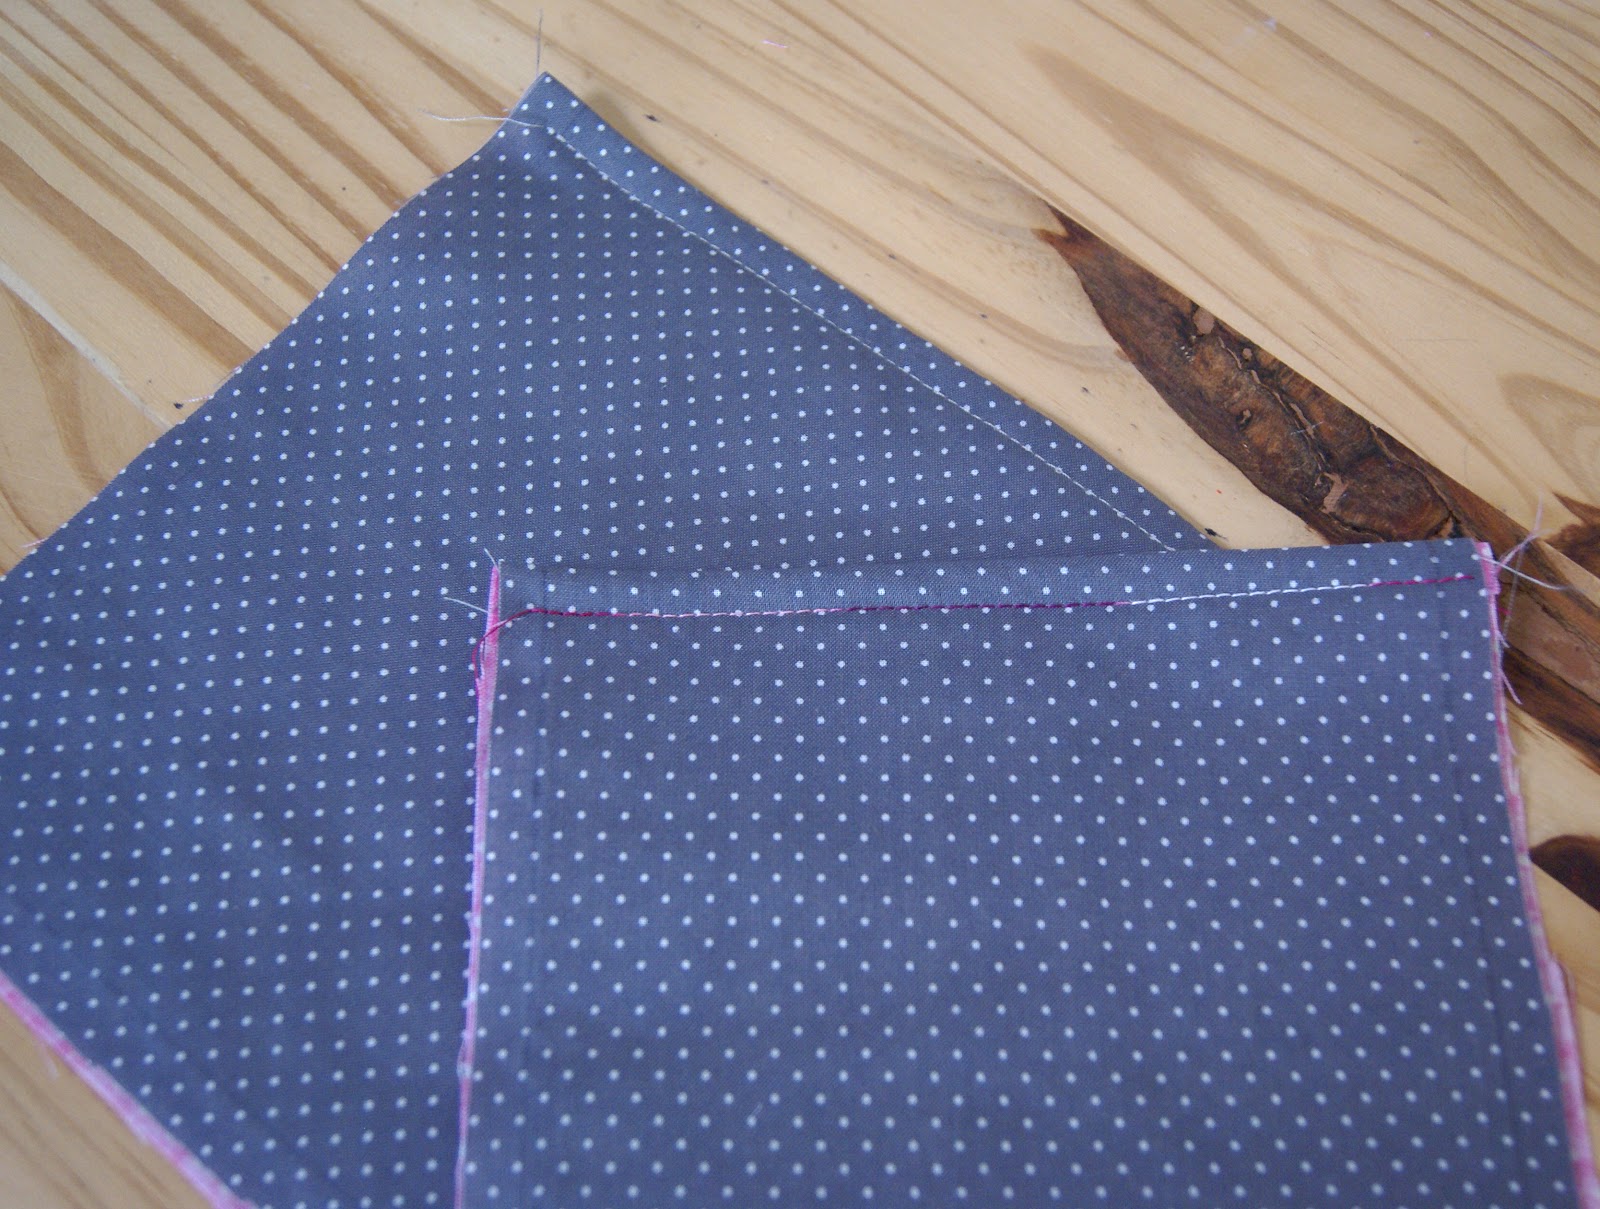
■ Prepare sides B : place each inner piece on each outer piece, place against the place and assemble the top edge.
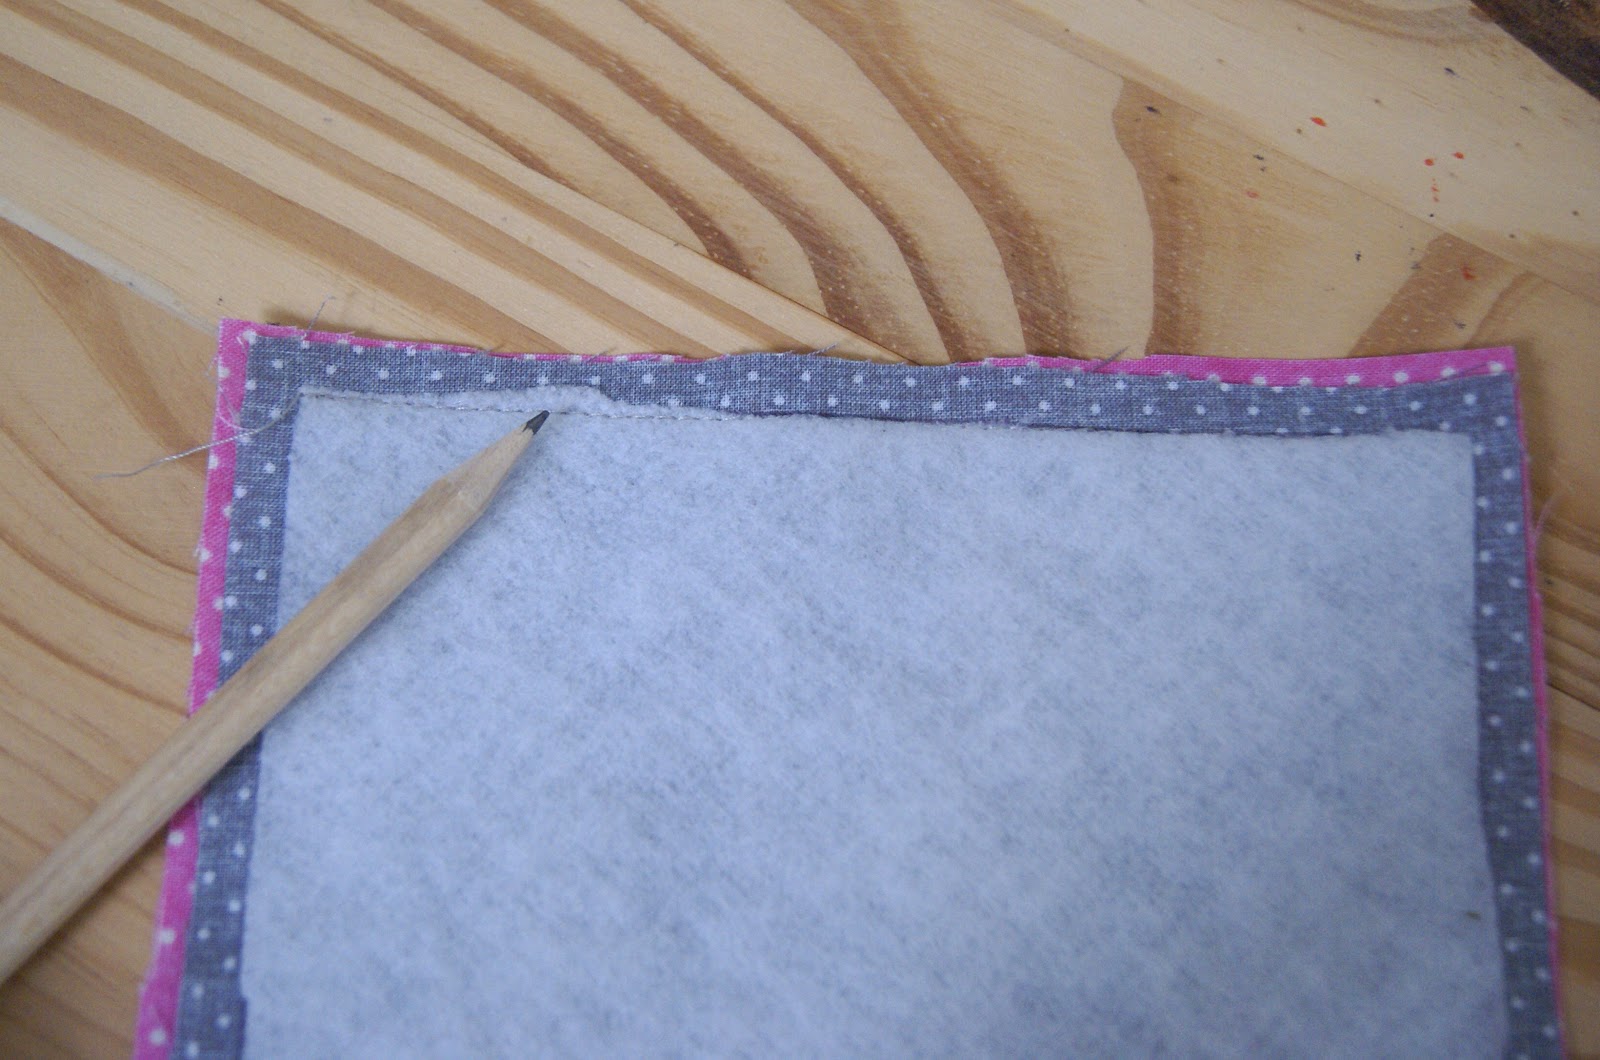
Turn over, place iron and stitch on place 0.5cm from an edge.
Step 2: Prepare the pockets.
■ For pockets, choose to border the edge that remains open, or make a simple hem if the fabric is thick enough, or double with another fabric.
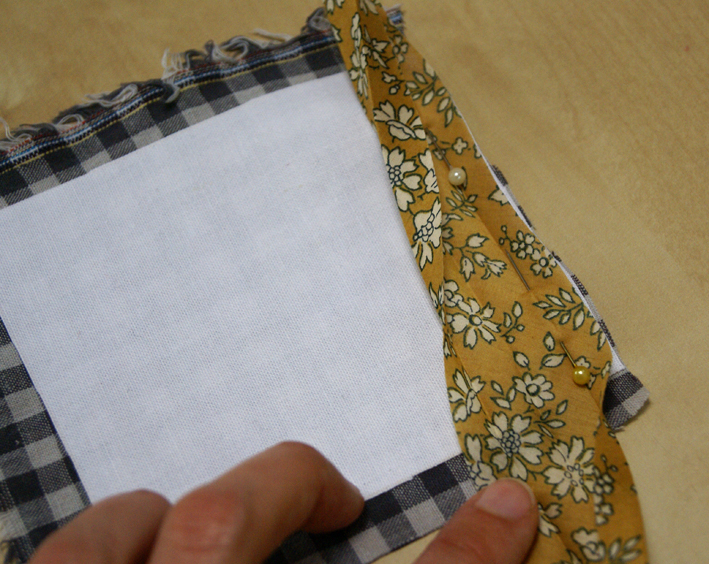
Think about covering the fine fabrics so that the pockets have the hold and can contain the material that you will put in it.
■ Attach the pockets to the sides of the basket.
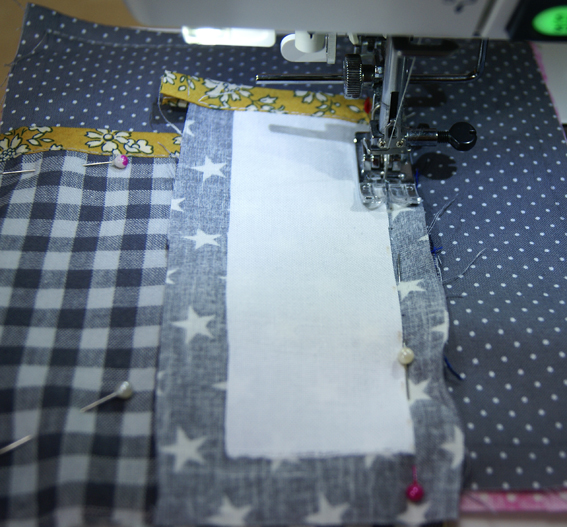
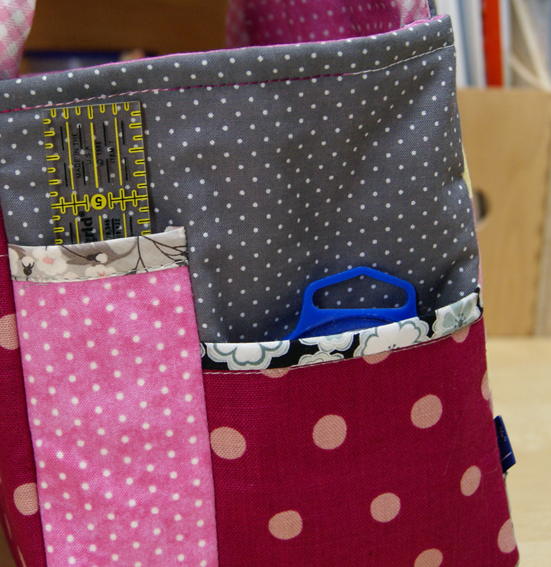
You can divide one of the large pockets of the sides An or Abis, by sewing straight lines that will make separations for your pencils, rulers etc.
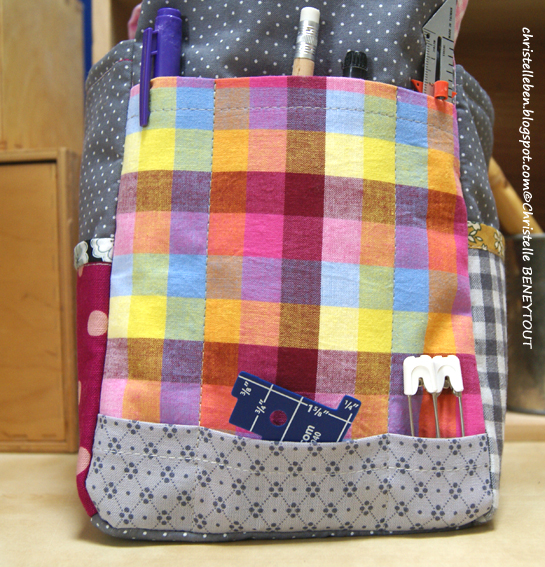
We obtain the 4 sides thus, and the bottom: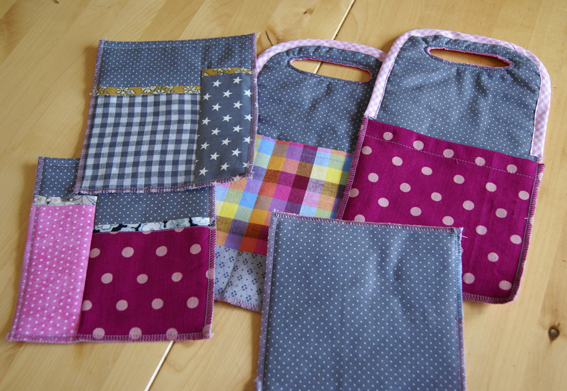
■ Mounting the basket:
Scuff the sides and bottom. Assemble the sides together, then sew the bottom of the basket.
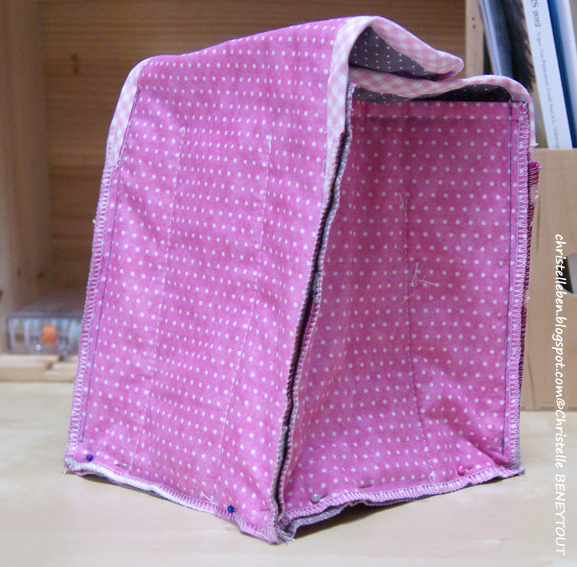
And return to the place: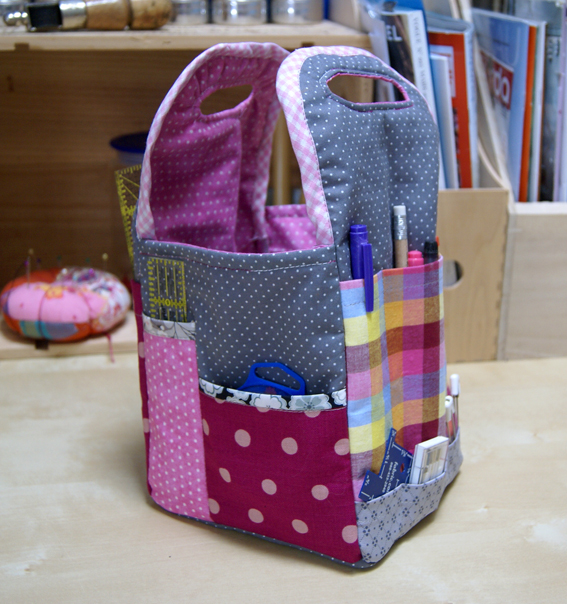
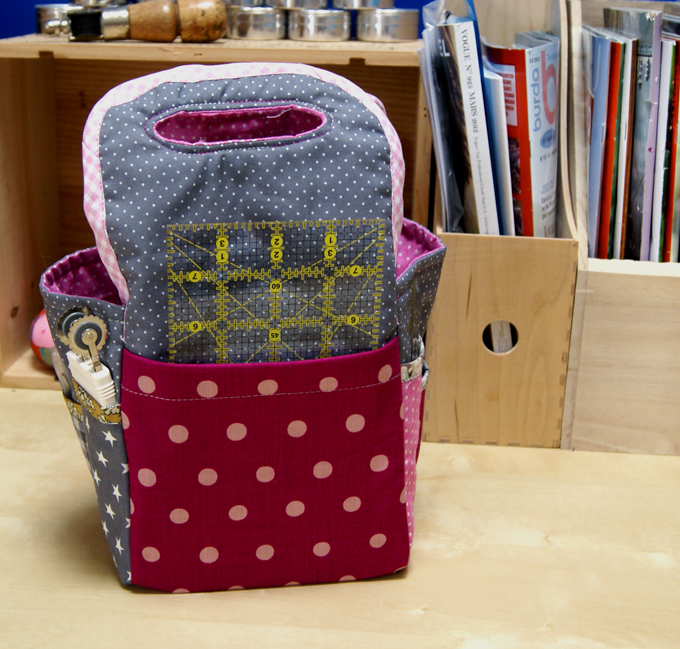
So here is a small storage basket, to divert according to your desires (for children’s felts and pencils, makeup products in the bathroom etc), a gift idea more for Christmas approaching;)
Autumn scrapbooking-postcard with your own hands – step by step masterclass for Bright autumn days.
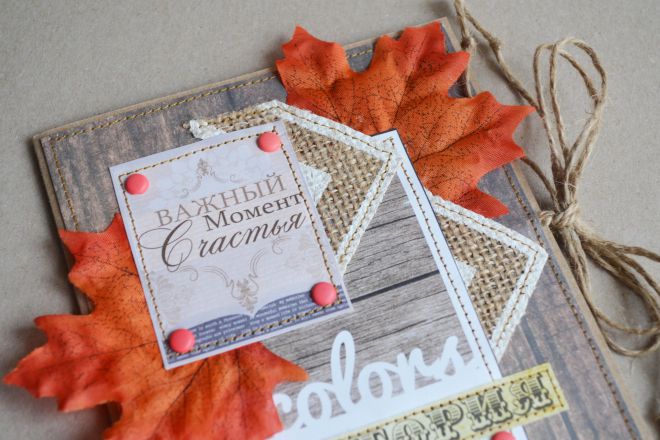
Autumn – this bright time of year. Last warm days and amazing colors of autumn colors and pulls save. Autumn card can be a nice gift for the occasion and without it, especially if, in addition desire to invest in it more and favorite photo.
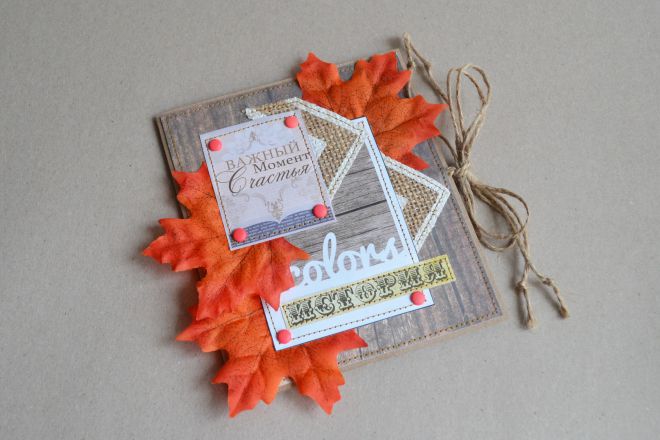
Postcard on “Autumn” with his own hands
Required tools and materials:
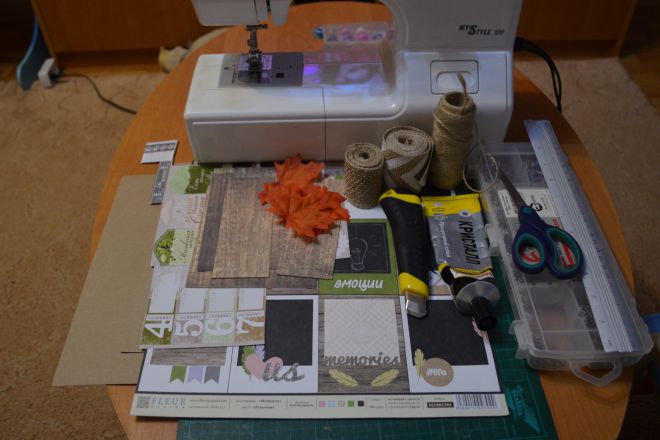
performance:
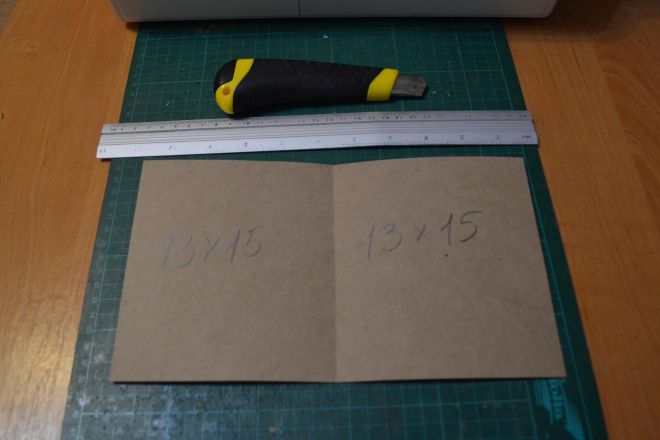 Paper, cut into parts of suitable size.
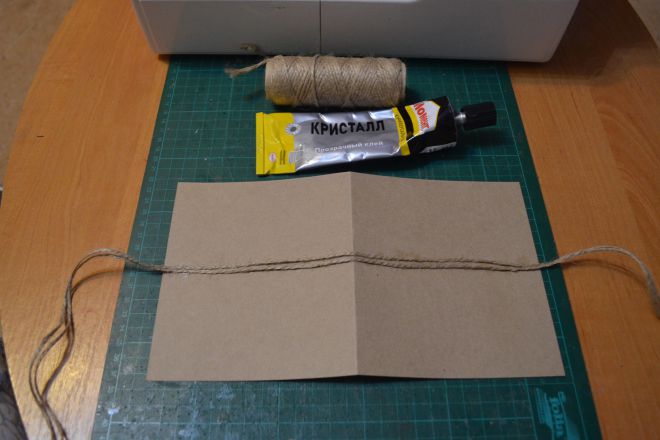
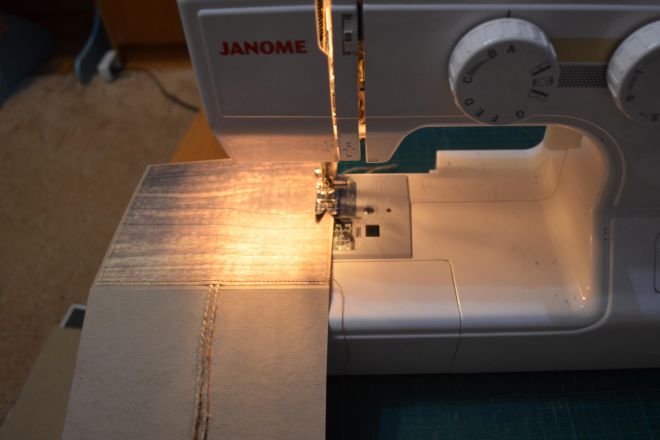
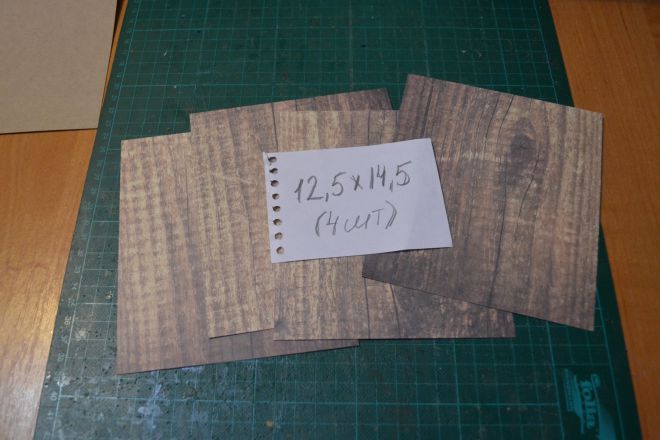 Based on prikleivaem cord (you can use 2 segment), top prikleivaem paper on the back of cards and proshivaem.
 Paper for the front of the card do array of jewelry.
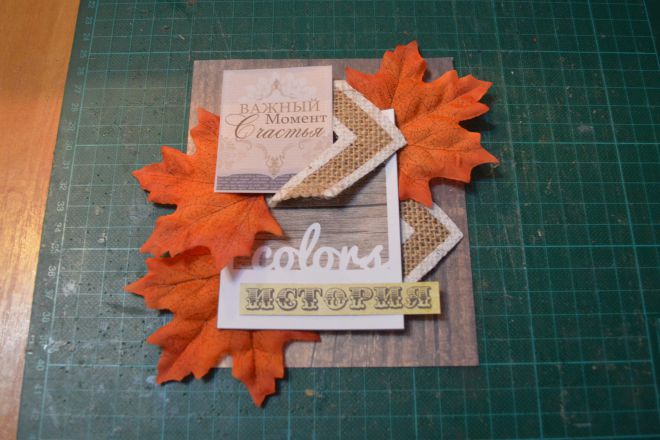 Before you start recording and nashivaty decoration can be a picture of the composition, do not forget row in this process. Then begin to record and flashed jewelry from bottom to top.
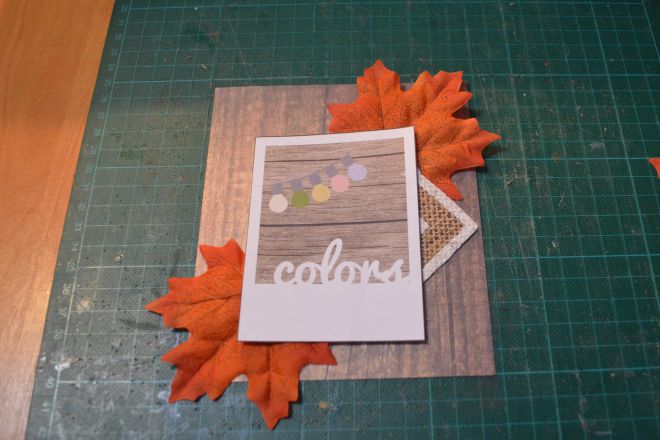
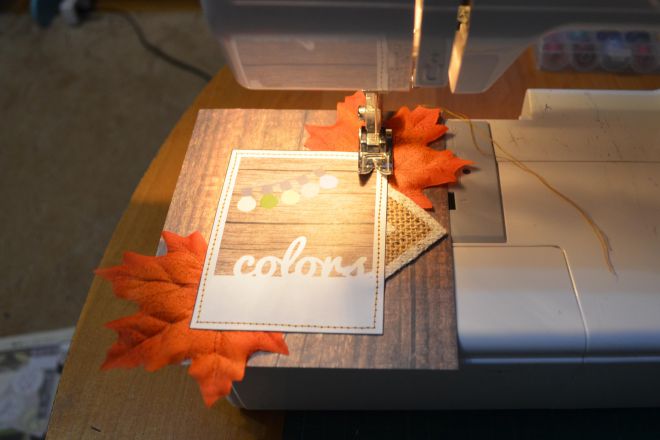
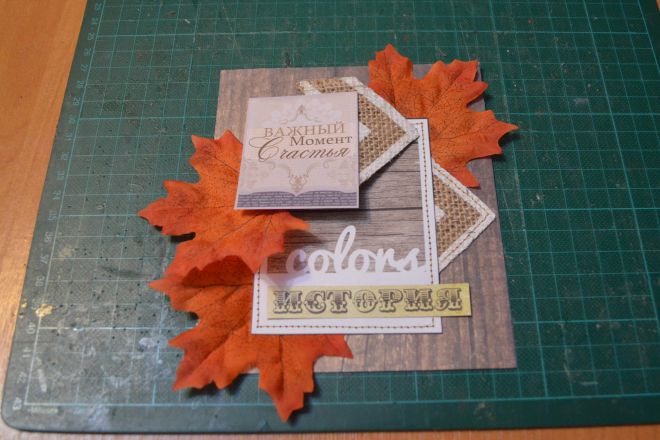 Some items may be completed with the help of nails.
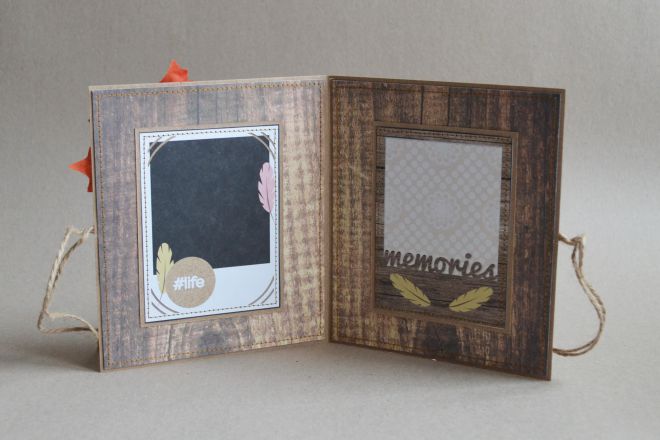
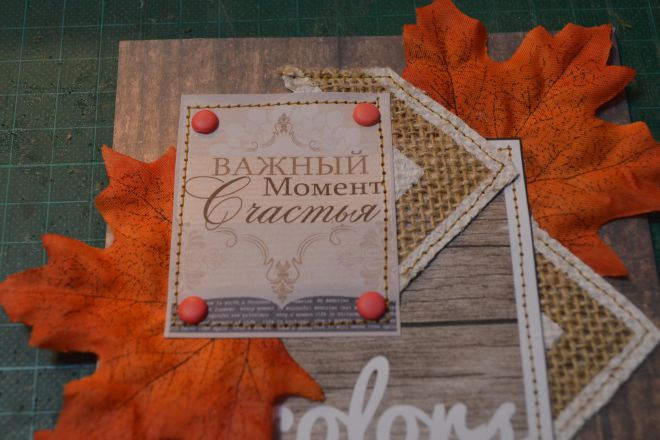 Ready prikleivaem cover of a cardboard base and proshivaem.
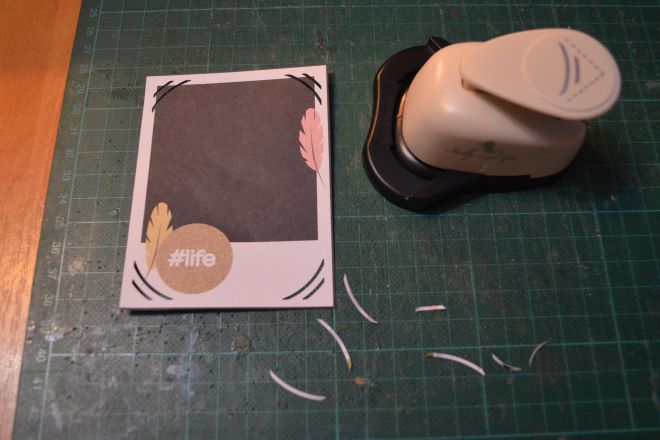
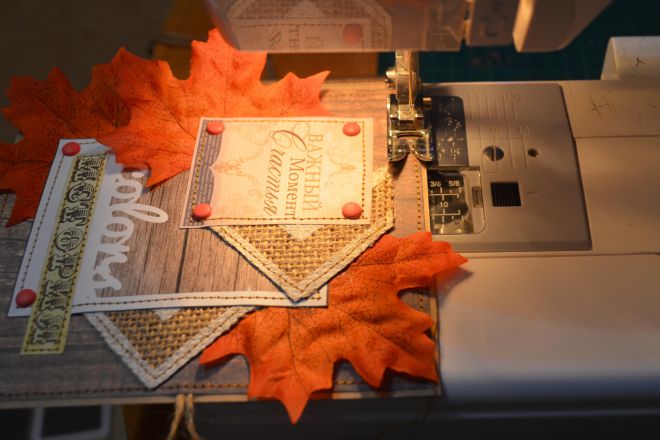 One of the parties may hit the corners dыrokolom for easy insertion of photos.
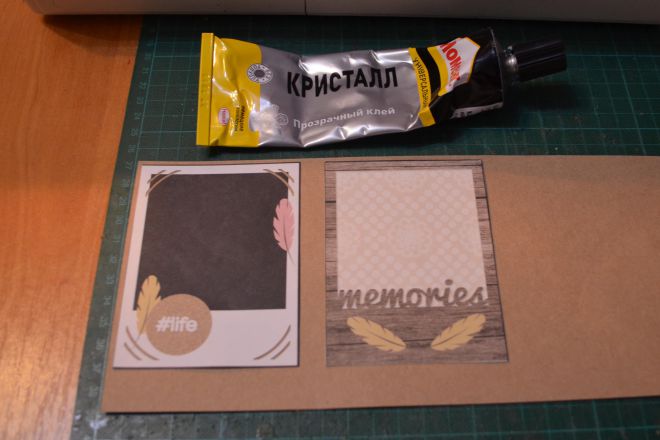
 Both cards (for pictures and letters) prikleivaem of cardboard mat.

The author masterclass – Nikishova Mary.