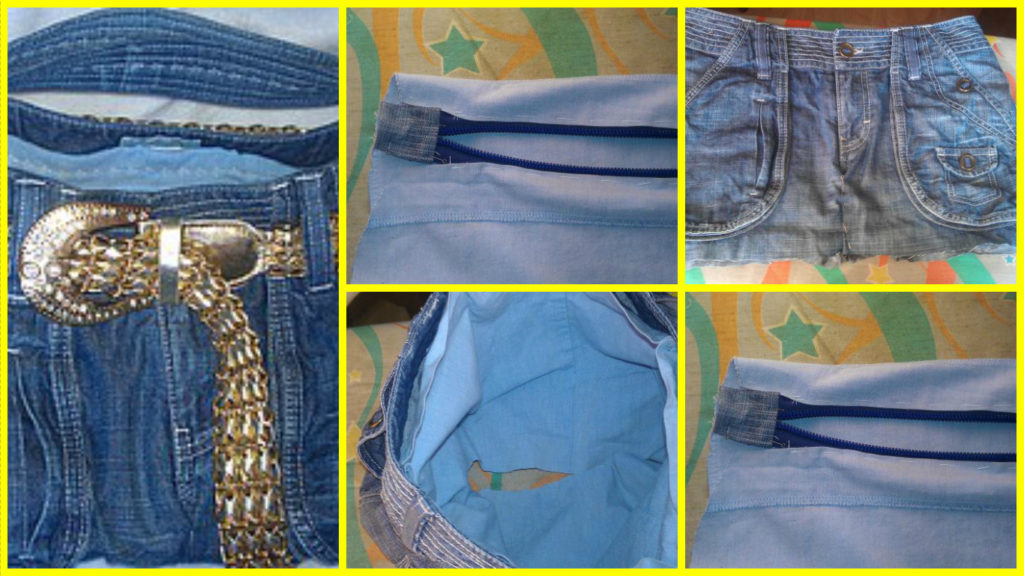
Posted onFebruary 5, 2017inBest out of Waste, Clothing, DIY, Step by step, Tutorial How to make fashionable bag from old jeans
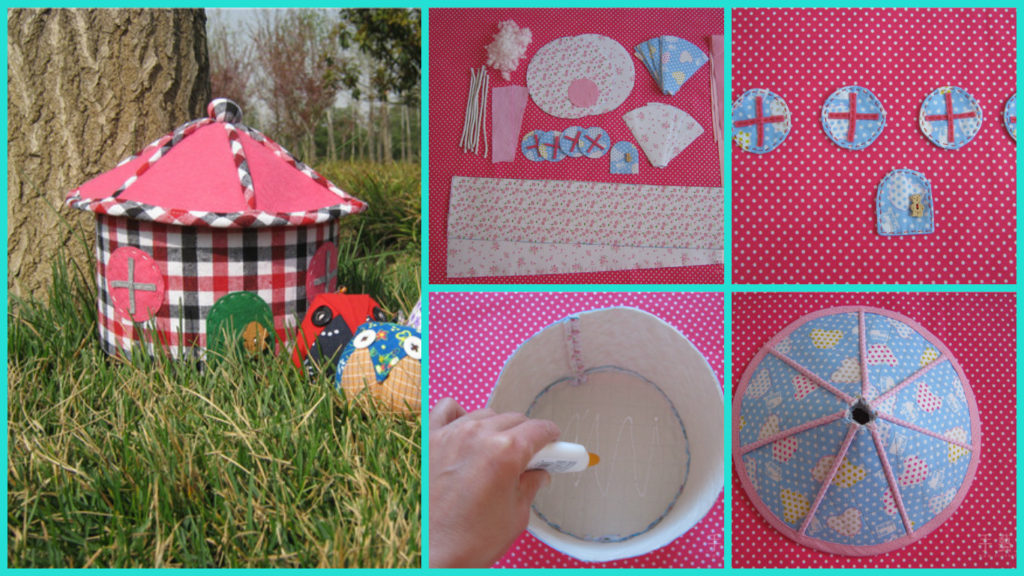
Posted onJanuary 25, 2017inPatchwork Crafts, Step by step, Tutorial How to Make Kids Backpack Step by Step
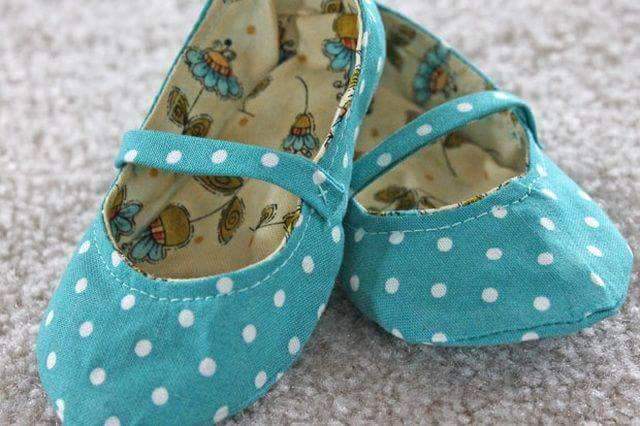
Posted onJanuary 25, 2017January 25, 2017inPatchwork Crafts, Step by step, Tutorial DIY: Handmade Fabric Baby Shoes
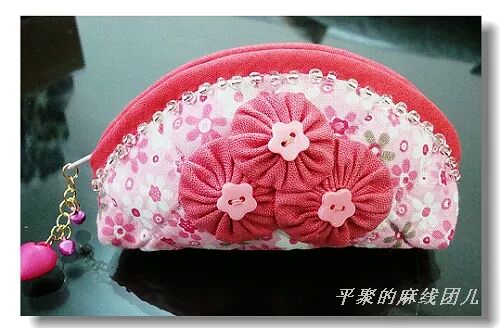
Posted onJanuary 24, 2017inPatchwork Crafts, Step by step, Tutorial How to make beautiful purse for cosmetic
Posted onJanuary 24, 2017November 19, 2022inPatchwork Crafts, Step by step, Tutorial How to create a personal organizer for needlewoman
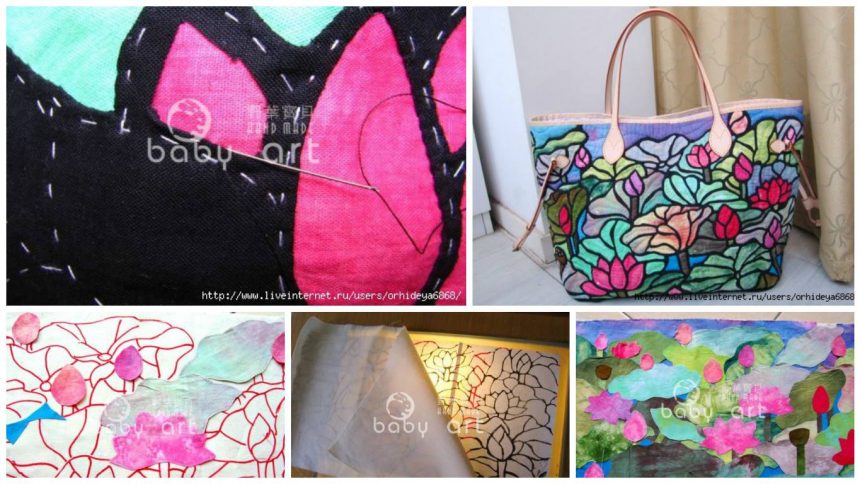
Posted onJanuary 20, 2017inPatchwork Crafts, Step by step, Tutorial How to make glass painted package bag – Step By Step
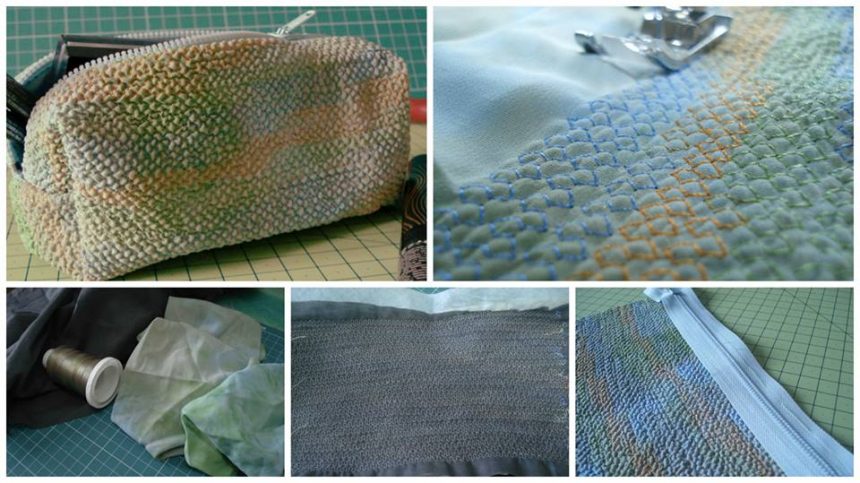
Posted onJanuary 20, 2017inPatchwork Crafts, Step by step, Tutorial How to make cosmetic bag from decorate fabric – Step By Step