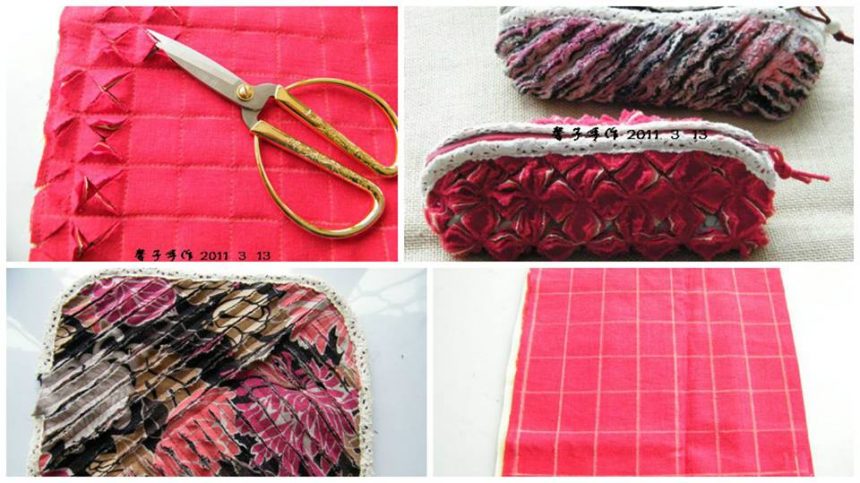
Posted onJanuary 20, 2017inPatchwork Crafts, Step by step, Tutorial How to make beautiful bag from fabric cross linking multiple layers parallel lines
Posted onJanuary 19, 2017inPatchwork Crafts, Step by step, Tutorial How to make patchwork pillow – Step By Step
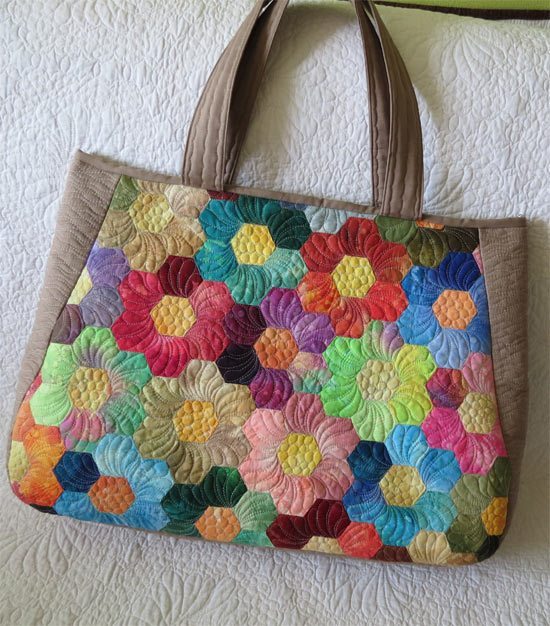
Posted onJanuary 19, 2017inPatchwork Crafts, Step by step, Tutorial How to make beautiful bag on a belt
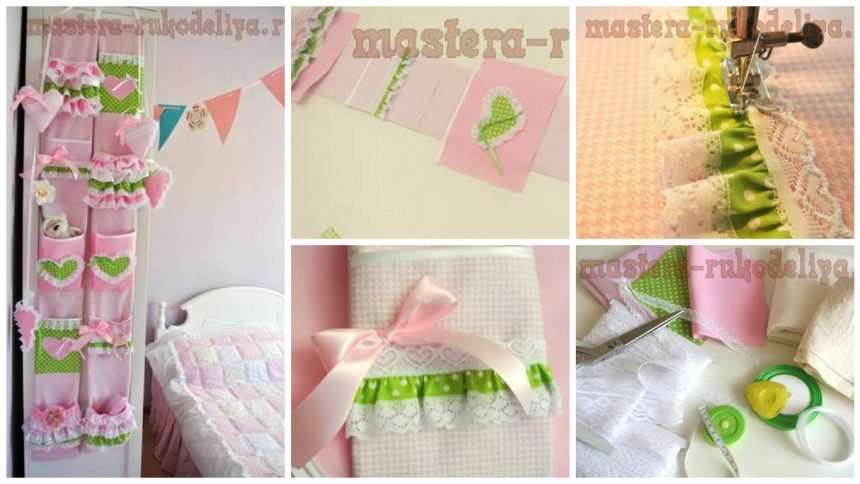
Posted onJanuary 17, 2017inPatchwork Crafts, Step by step, Tutorial How to make organizer for the little princess – Step By Step
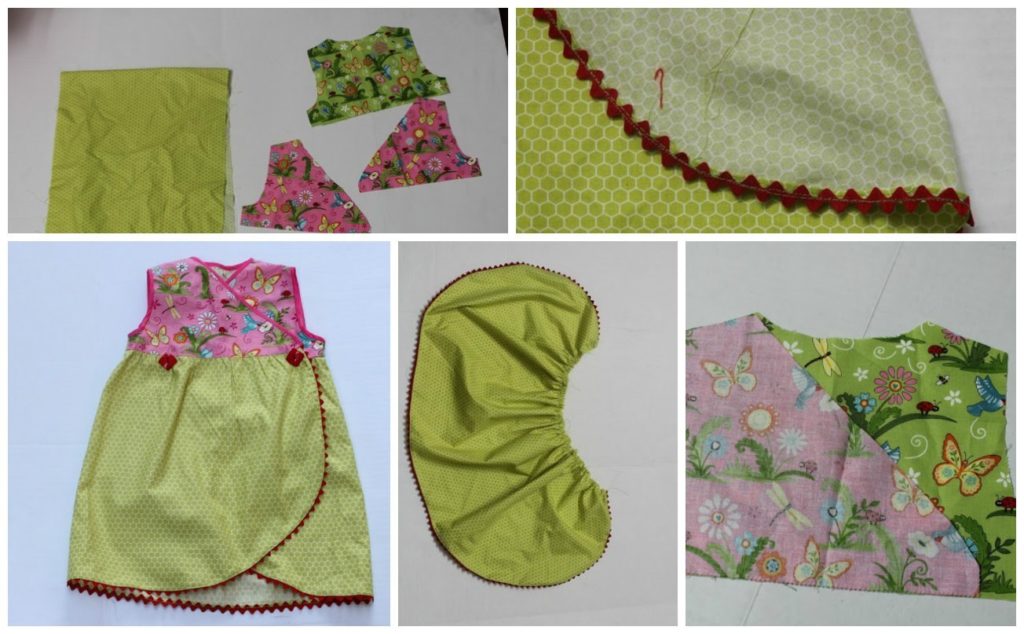
Posted onJanuary 10, 2017November 19, 2022inClothing, Kids Corner, Patchwork Crafts, Tutorial Beautiful Handmade Dress for girls
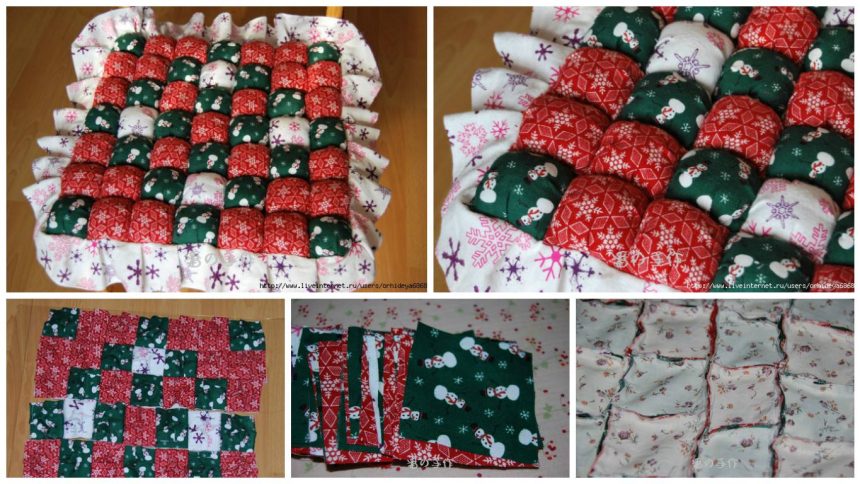
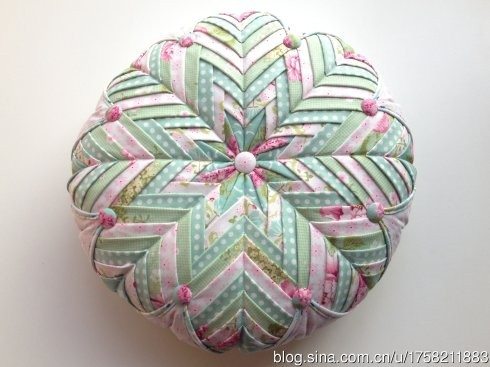
Posted onJanuary 9, 2017inDIY, Featured, Home Decor, Patchwork Crafts, Step by step, Tutorial DIY Handmade Cushion of patches
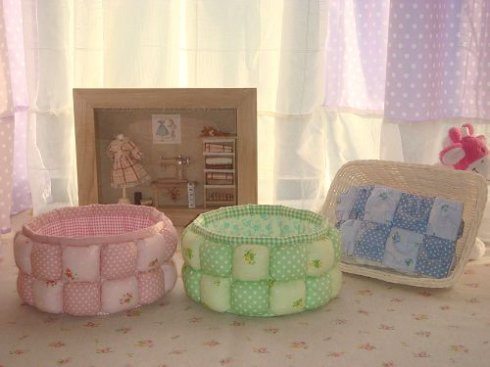
Posted onJanuary 8, 2017inDIY, Home Decor, Patchwork Crafts, Step by step, Tutorial Stash for needlework patchwork
Posted onJanuary 7, 2017inClothing, DIY, Embroidery And Sewing, Flower Crafts, Ideas, Step by step, Tutorial DIY Creating and stitching hexagons for plaid making tutorial