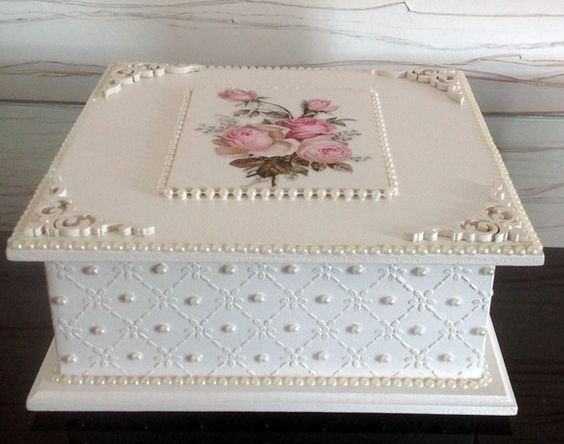
Posted onFebruary 15, 2017inBest out of Waste, DIY, Home Decor, Ideas, Step by step, Tutorial Beautiful Craft Ideas with MDF Box
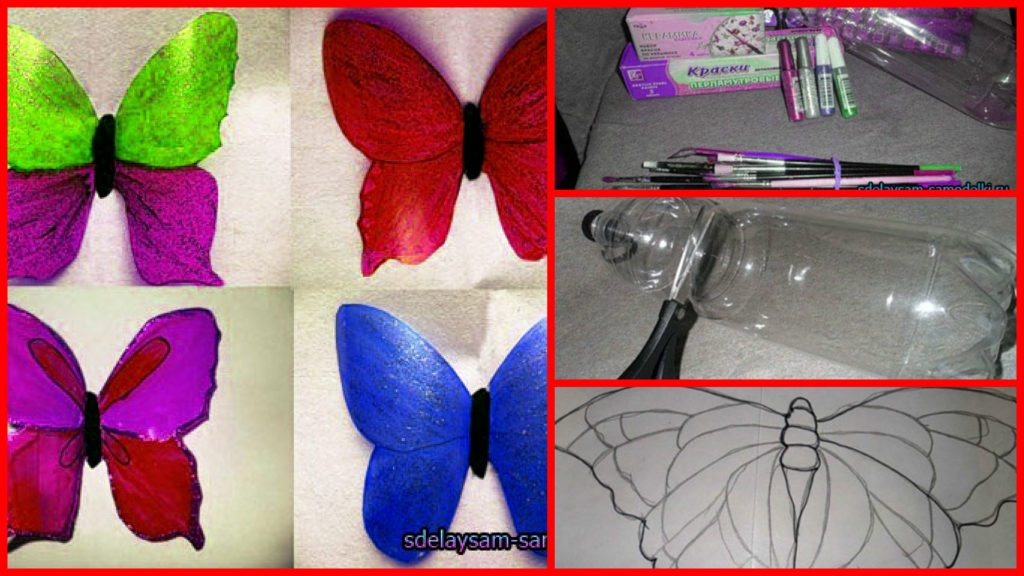
Posted onFebruary 12, 2017February 12, 2017inBest out of Waste, DIY, Home Decor, Step by step, Tutorial How to make beautiful plastic butterfly
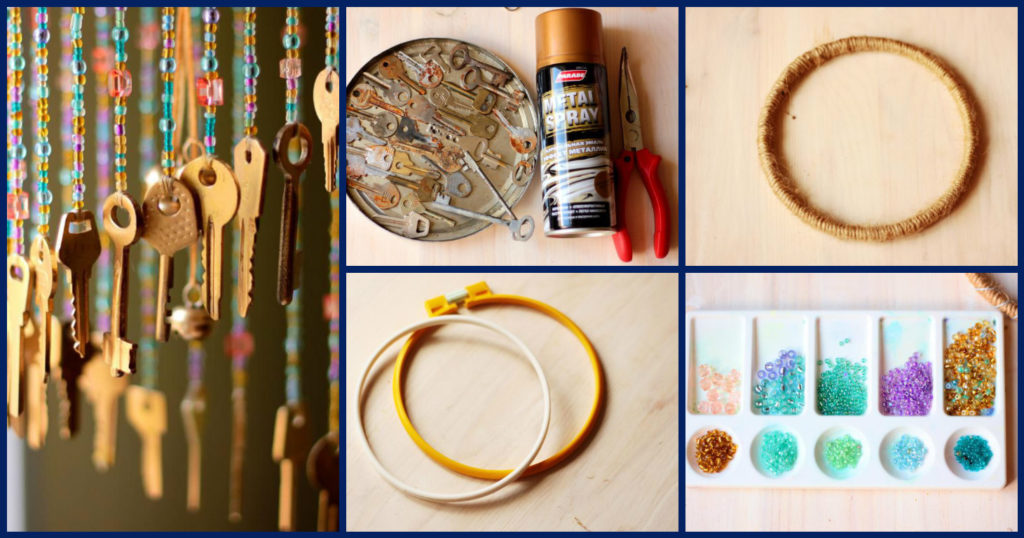
Posted onFebruary 10, 2017inBest out of Waste, DIY, Home Decor, Step by step, Tutorial Wind Chime Using Old Keys
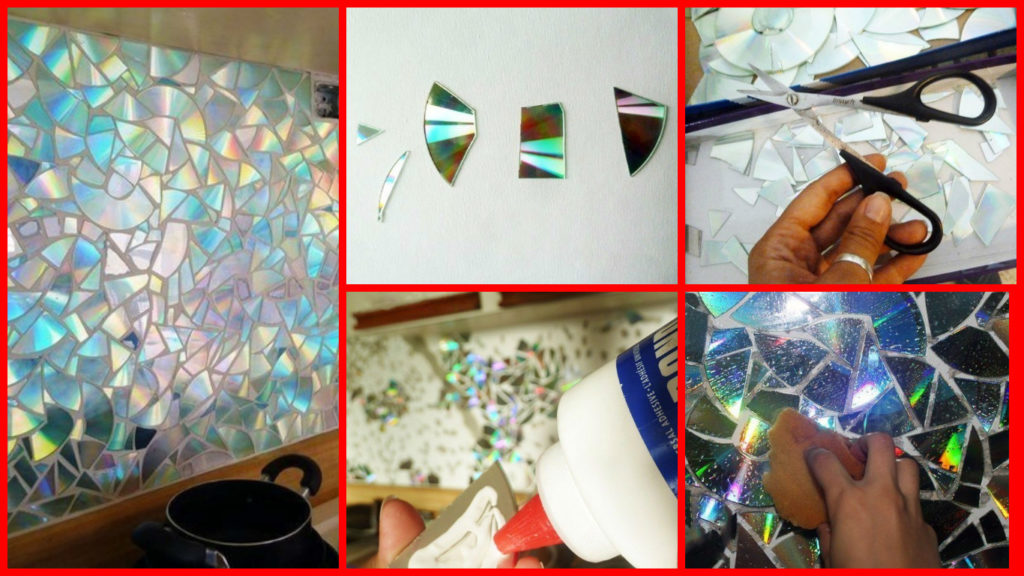
Posted onFebruary 7, 2017inBest out of Waste, DIY, Home Decor, Step by step, Tutorial How To Make Recycled CD Wall Decoration
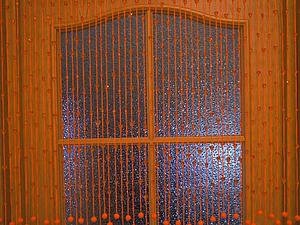
Posted onFebruary 4, 2017inCrochet, DIY, Home Decor, Step by step, Tutorial The original curtains on the door knit “Orange Heart”
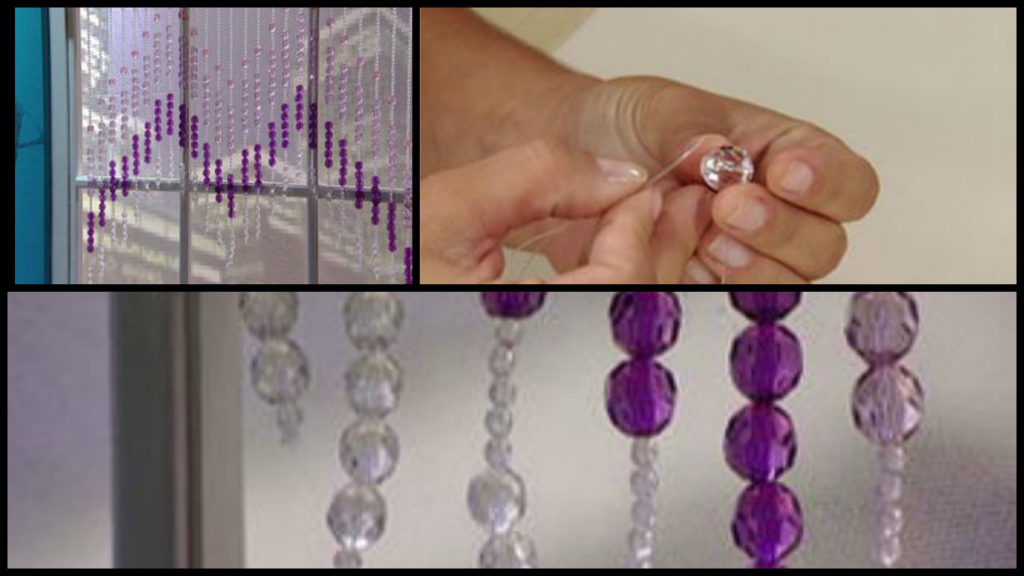
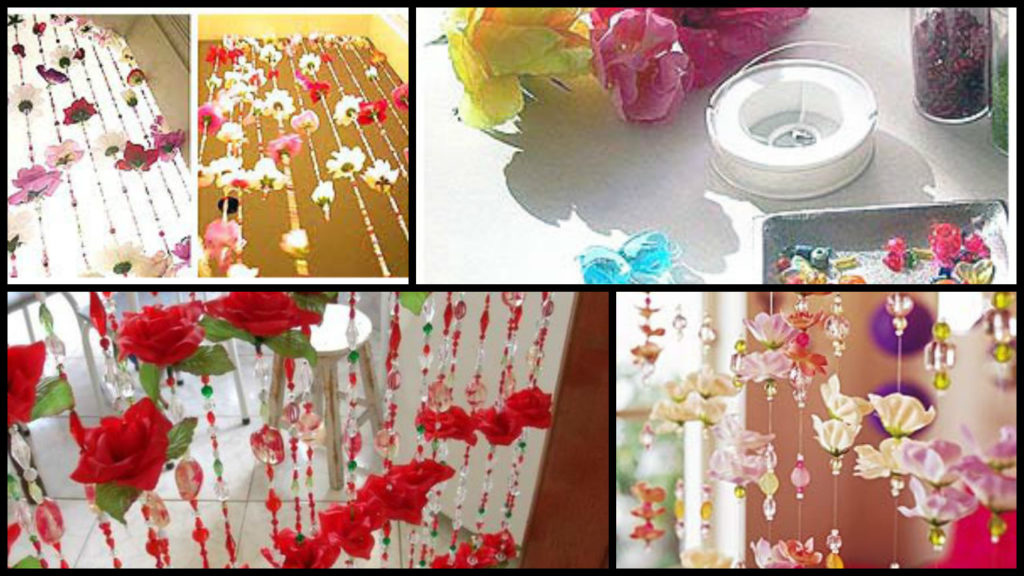
Posted onJanuary 29, 2017inBest out of Waste, DIY, Home Decor, Step by step, Tutorial Beautiful curtains made of beads and artificial flowers
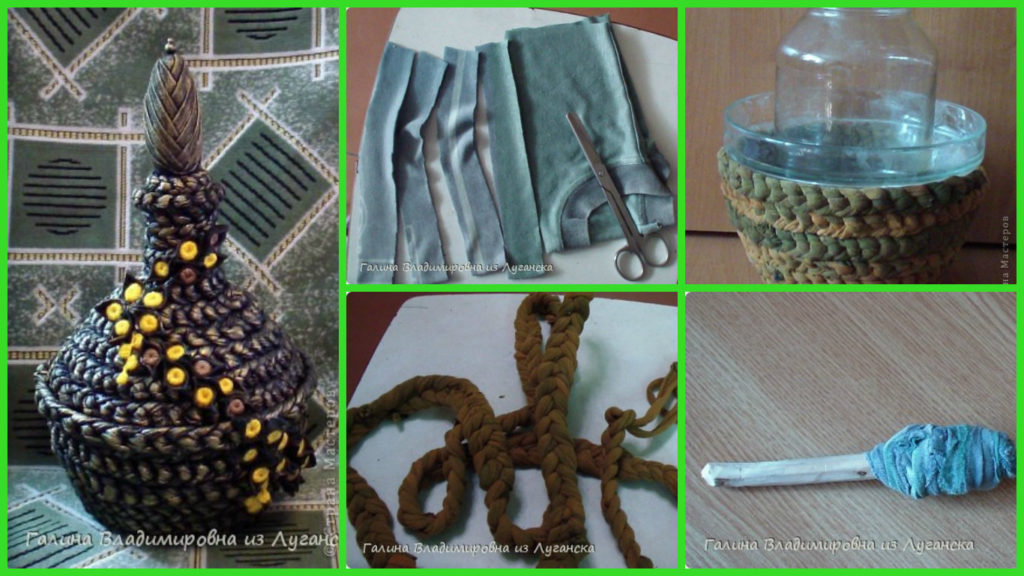
Posted onJanuary 27, 2017inBest out of Waste, DIY, Home Decor, Step by step, Tutorial How to Make Decanter Box of T-Shirts
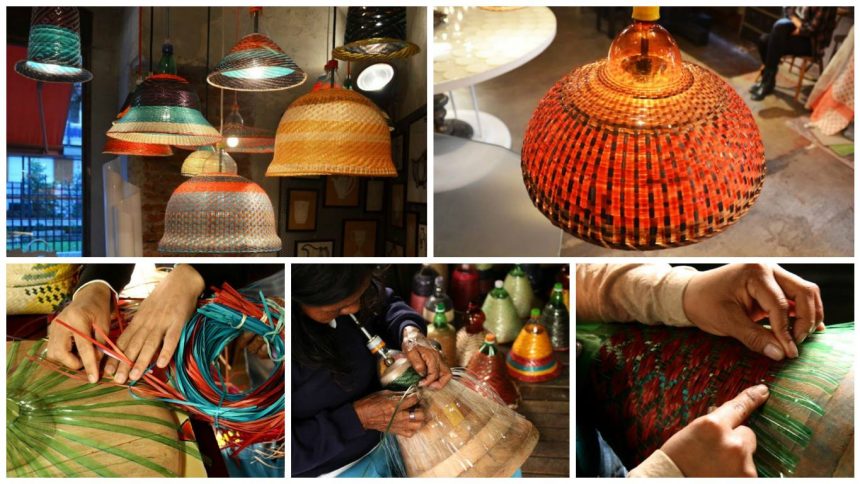
Posted onJanuary 15, 2017inHome Decor, Step by step, Tutorial Beautiful Chandeliers and lampshades made of plastic bottles
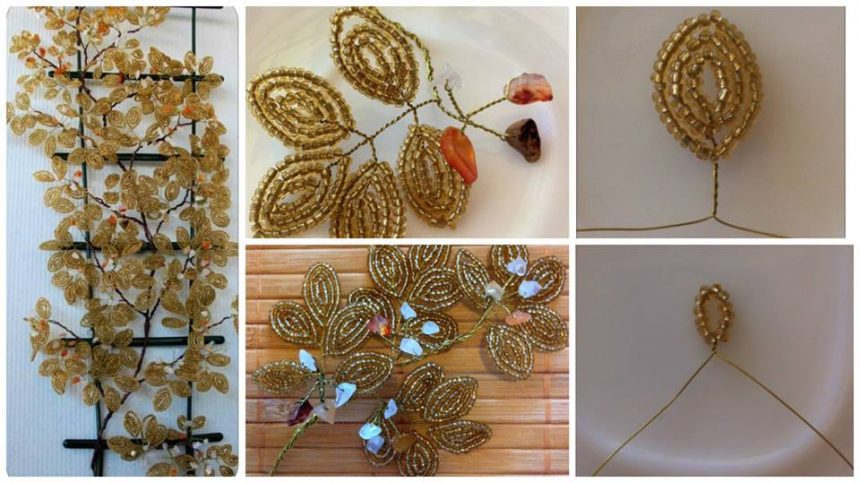
Posted onJanuary 13, 2017inFlower Crafts, Home Decor, Step by step, Tutorial How to make bead flower wall panels – Step by Step