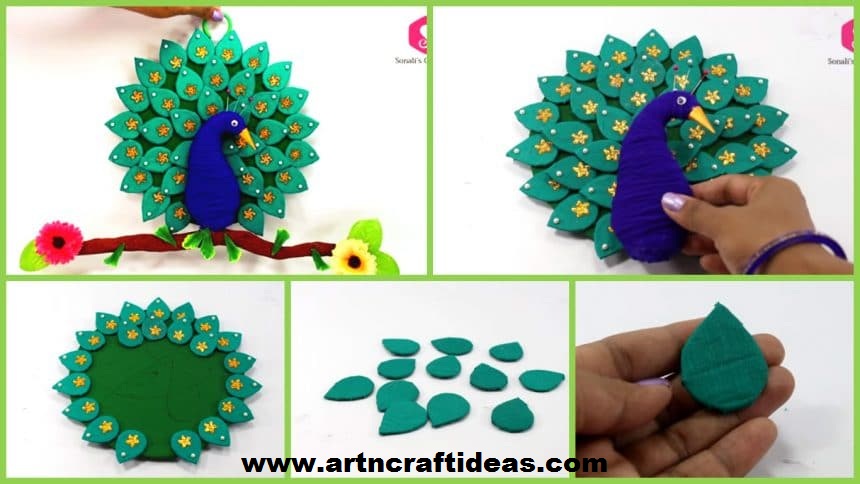
Posted onJune 20, 2017inCardboard Crafts, Craft, Tutorial, Video How to Make Cardboard Peacock Wall Hanging For Home Decor
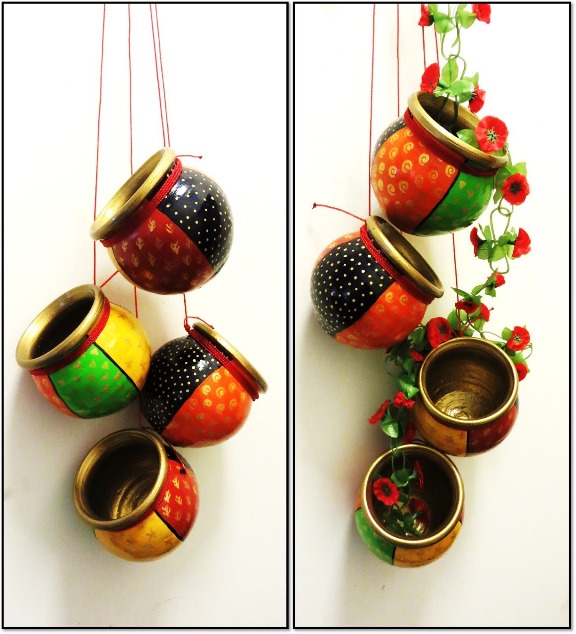
Posted onApril 8, 2017April 8, 2017inBest out of Waste, Home Decor, Tutorial How to make terracotta hanging pots
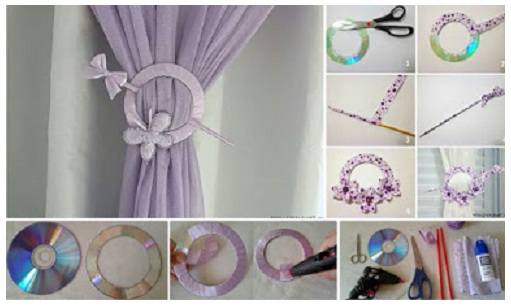
Posted onMarch 12, 2017inBest out of Waste, Home Decor, Tutorial How to make curtains holder of old CD
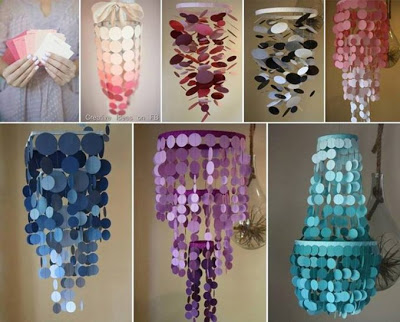
Posted onMarch 11, 2017March 11, 2017inHome Decor, Ideas, Paper Crafts Beautiful Pendant Mobile Ideas
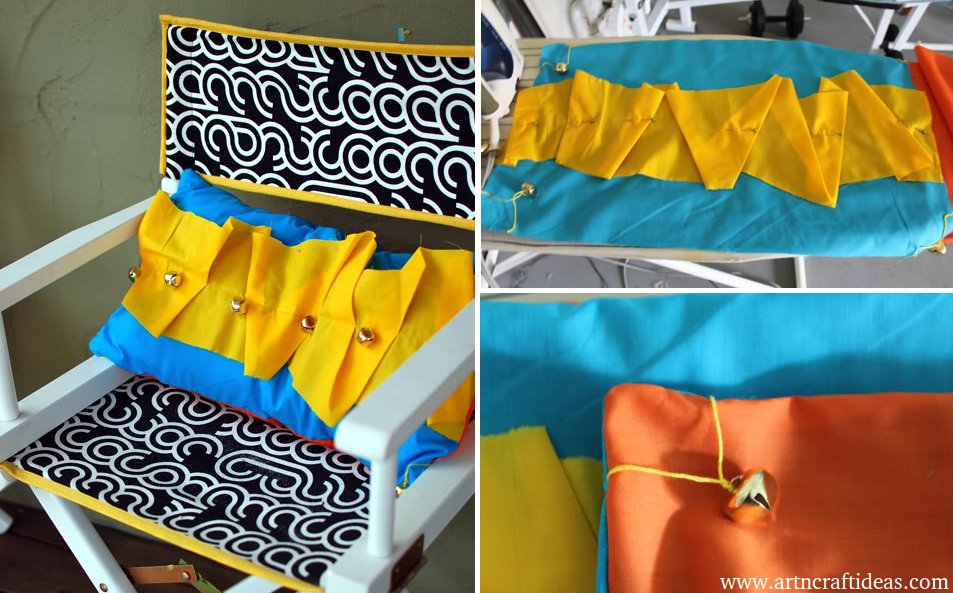
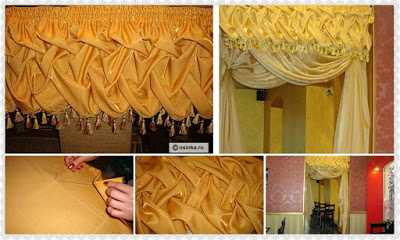
Posted onMarch 10, 2017inEmbroidery And Sewing, Home Decor, Patchwork Crafts, Tutorial How to make fancy curtains
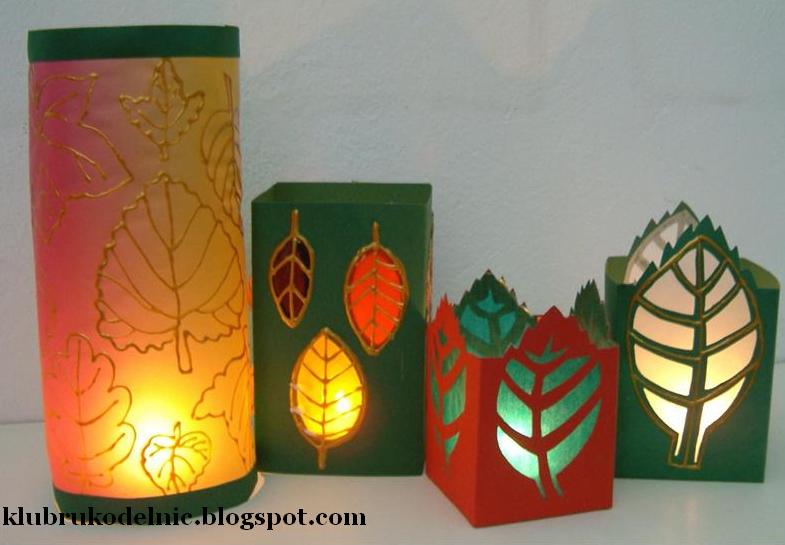
Posted onMarch 4, 2017inBest out of Waste, DIY, Home Decor, Tutorial DIY: Lanterns with autumn leaves create
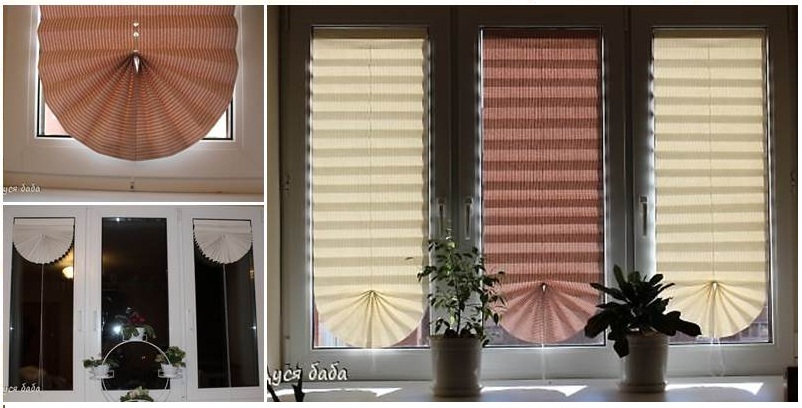
Posted onFebruary 21, 2017inDIY, Home Decor, Paper Crafts, Step by step, Tutorial DIY Pull up Window Shade Made of Paper
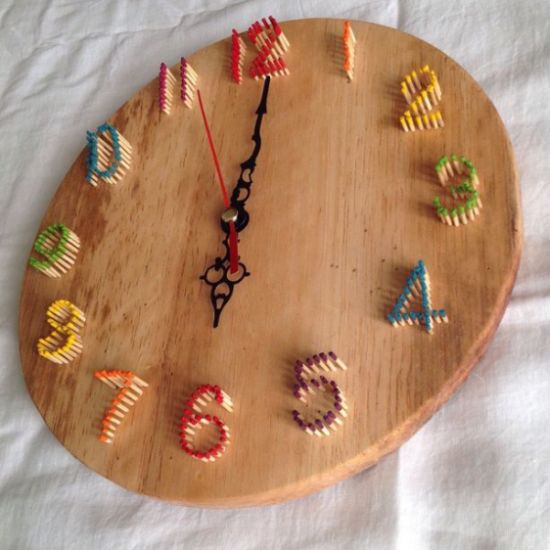
Posted onFebruary 15, 2017inBest out of Waste, DIY, Home Decor, Step by step, Tutorial DIY: Handmade Wall Clock