DIY: Valentine’s Day Rainbow Banner

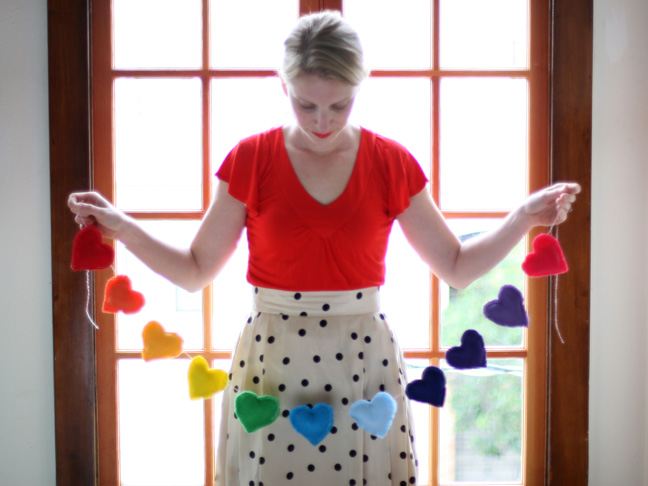
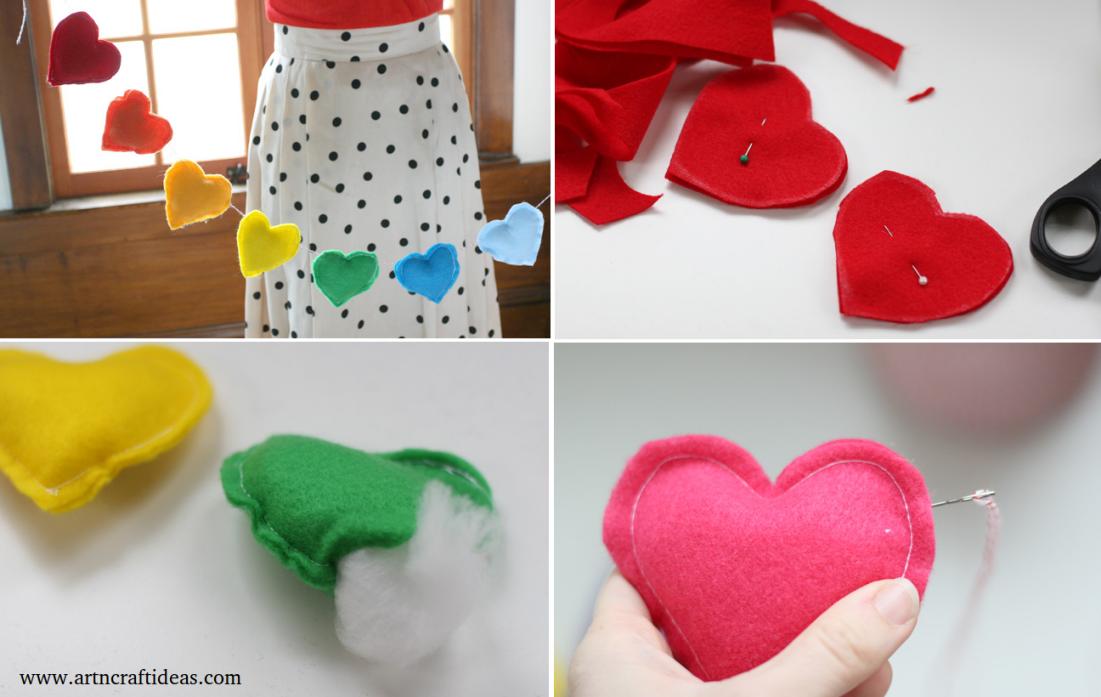
This is a fun little rainbow banner for Valentine’s Day make with felt and string. Keep reading to see how to make it!
Required Material:

  • Squares of craft felt in rainbow colors
  • Bakers twine
  • Sewing machine or needle and thread
  • Scissors
  • Chalk
  • Heart cookie cutter
  • Batting
  • Pins
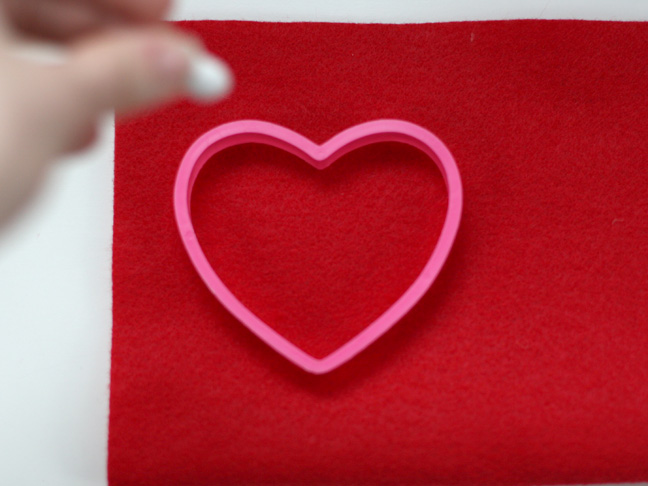
  • Start by tracing the heart shape onto a piece of felt folded in half
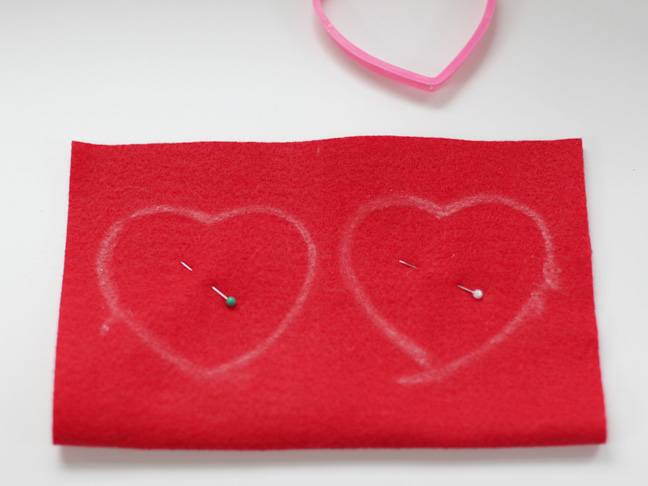
After it has been traced with chalk, pin the middle to keep both sides together.
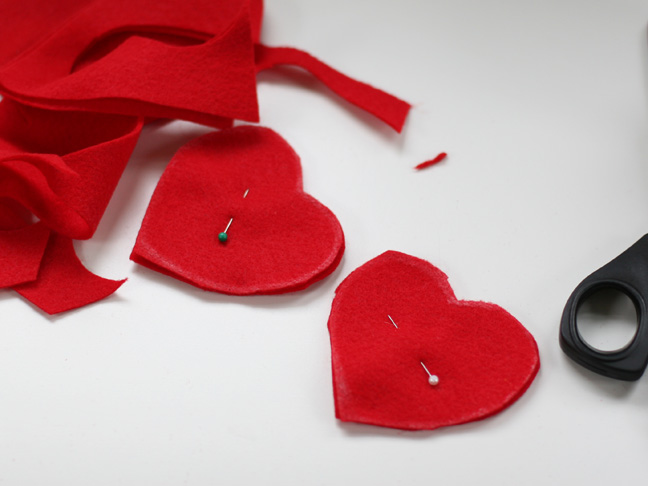
Cut out your hearts. Keep the pins in. Set pinned hearts aside.
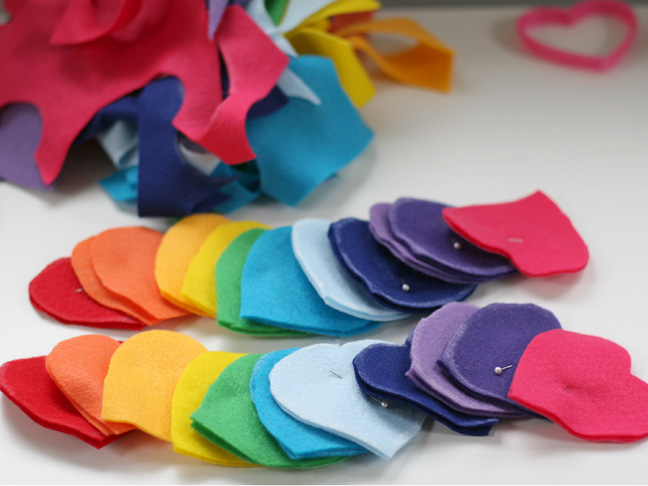
Do the same with the other rainbow colors.
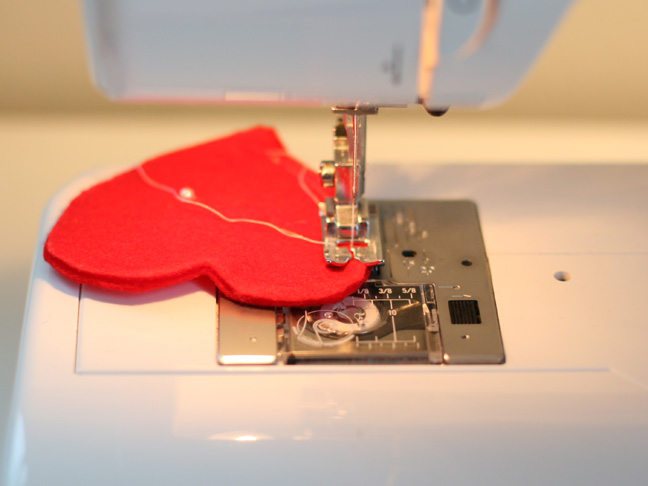
Now sew both pieces together along the edge in a extra wide stitch with contrasting thread. You could also handstitch these. Leave 2 inches open to add the batting.
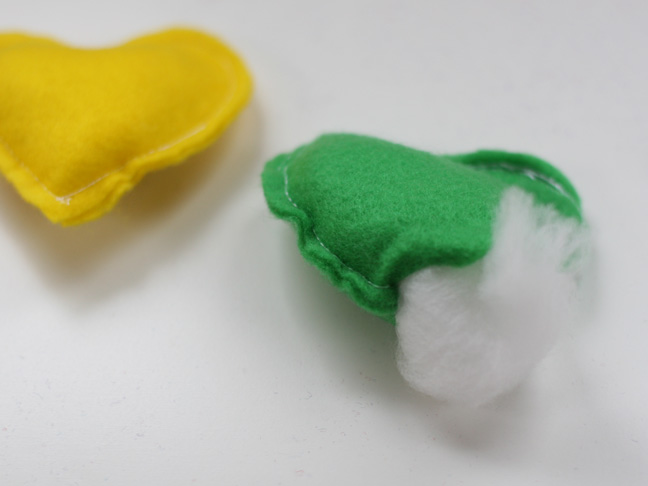
Stuff the batting into the heart and sew up the last inch.

Do the same with the other colors (I only ended up making one of each color as opposed to the two I had cut out).
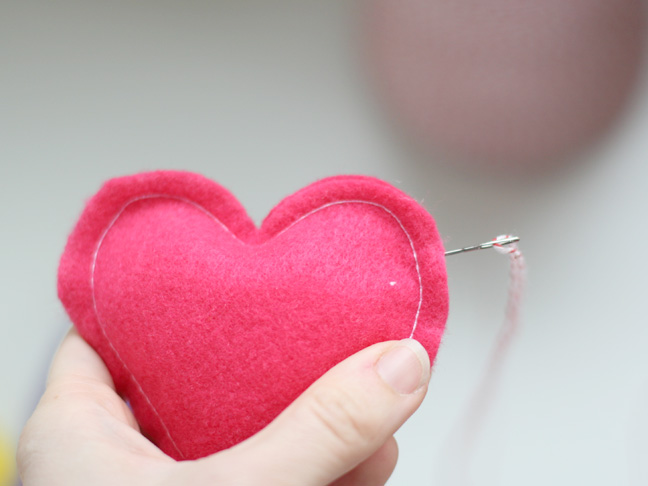
Thread some bakers twine into a embroidery needle and poke through the top end of one, threading it through to the other side. Make sure to put the hearts on in rainbow order.
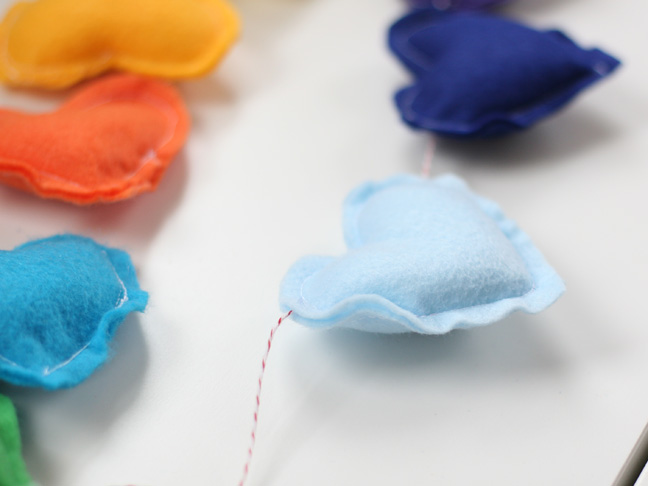
Keep adding to the thread until they’re all on.
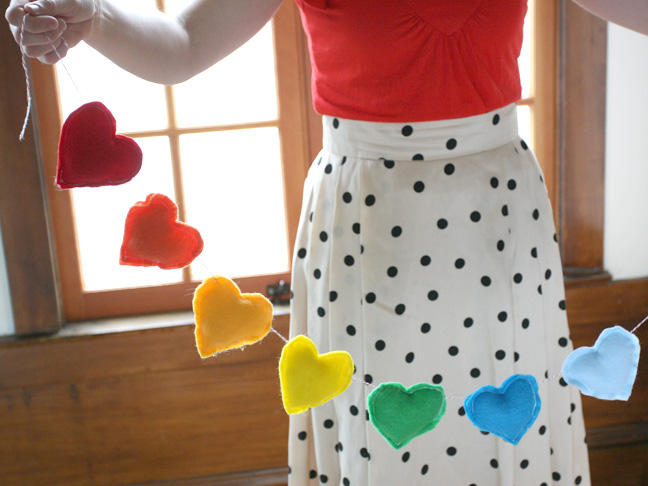
Hope you like this Rainbow Banner tutorial.

Image Source: momtastic

We would love to hear your thoughts in the comment section below. And be sure to like us Facebook for more ideas!

Thank you for visiting our website. Keep Creating with Art & Craft!
How to Make Quilling & Earbud Wall Hanging

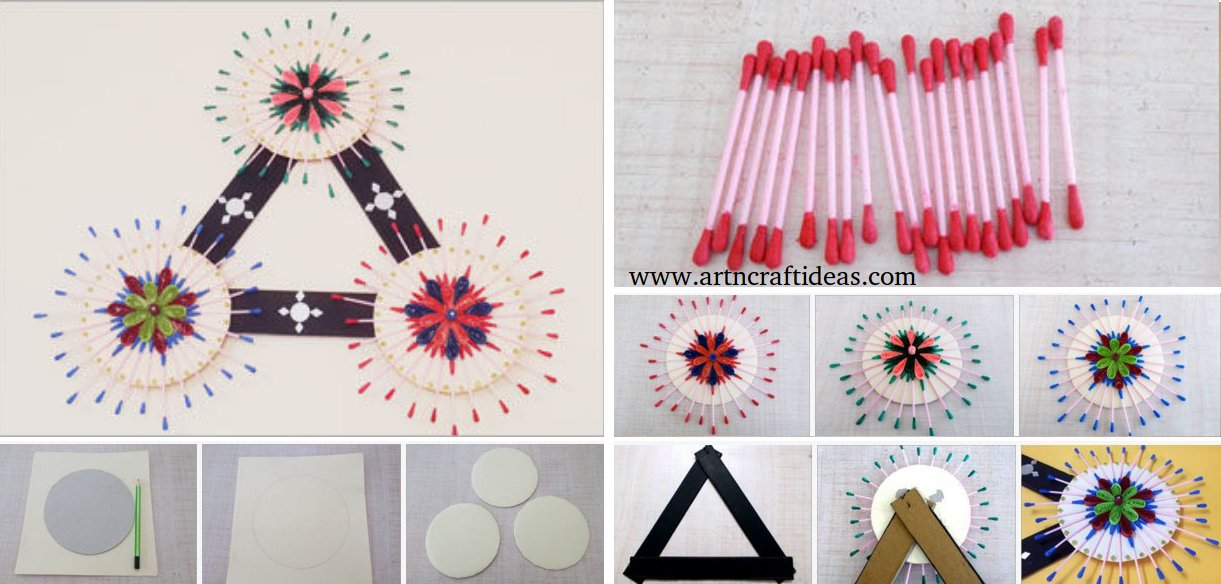
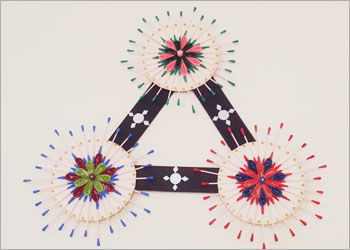
Making DIY Wall decoration Ideas must include learning how to make Quilling and Earbud Wall Hanging. This beautiful Home decoration Idea using Quilling Art is something that every crafter must learn. Easy to make Do It Yourself Quilling Wall Decor ideas that can totally change the look and feel of the ambiance of your home, and give it a decorative appeal. This pretty Quilling and Earbud Wall Hanging also makes for a best out waste recycled craft idea that you can make with the most basic of craft supplies at your disposal.

This Quilling & Earbud wall hanging is simple to make if you watch the step by step tutorial.

Step 1: Grab Your Craft Supplies

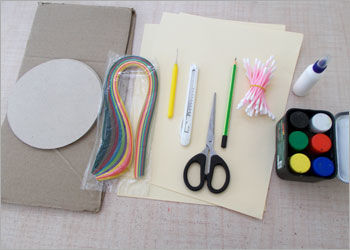
The basic craft supplies that you need to make the Quilling and Earbud Wall Hanging are :

  • Color paper
  • Adhesive
  • Cotton Bud
  • Pencil
  • Quilling needle
  • Scissors
  • Quilling Strips
  • Cardboard
  • Cutter
  • Decorative mirrors
  • Glitter paper

Step 2: Make the Craft Base

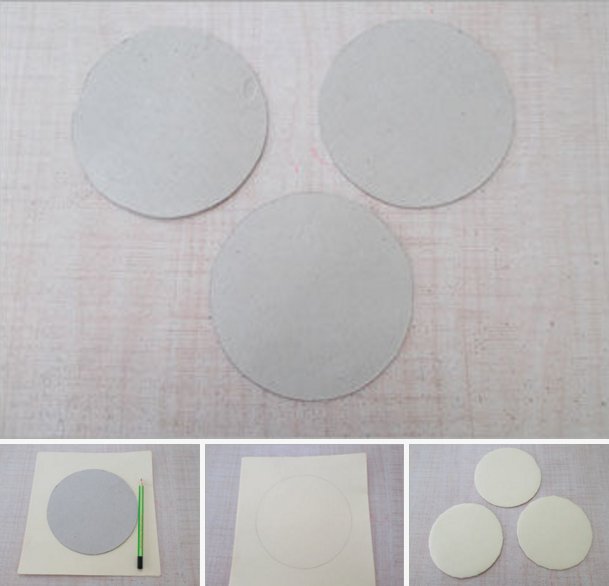
Cut out circular cardboard measuring 15 cm in diameter. Make 3 such cardboard circles.

Place the circular cardboard on the colored paper and measure the paper accordingly, to cover the cardboard with it, using adhesive.

Step 3: Build Your Craft

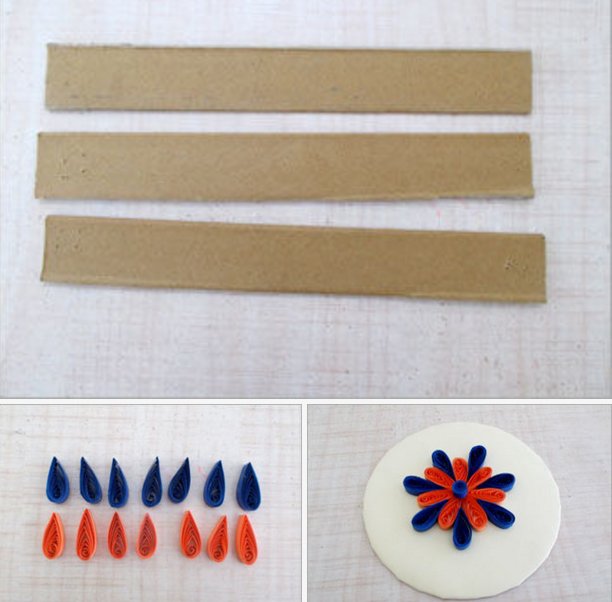
Take a cardboard and cut out 3 strips measuring 4.5 x 35 cm respectively.

Make Multiple tear drop shaped Coils in orange and blue colors.

Now take a circular cardboard and paste the tear drop shaped coils in a flower like pattern with adhesive.

Place a small tight coil in the center.

Step 4: Color the Earbuds

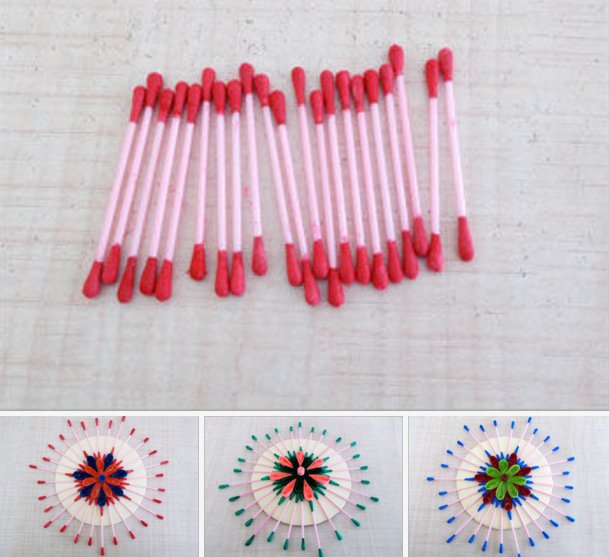
Take a bunch of earbuds and paint them using different bright colors of your choice.

Use adhesive to paste the earbuds in between the space of the coils, forming a spike pattern.

Prepare the 3 circular cardboard base in the same way, using tear drop shaped coils in bright combinations and colorful earbuds.

Step 5: Make the Frame.

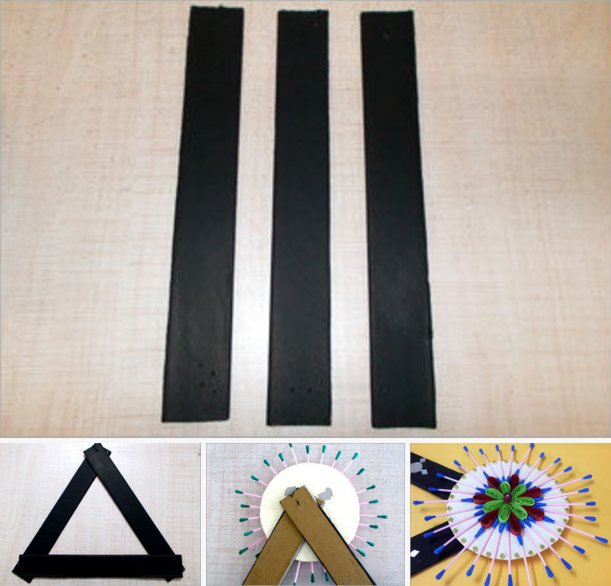
Take the Cardboard strips made earlier and paint them in black color. Let the paint dry.

Join the cardboard strips in a triangle shaped frame using adhesive.

Paste the three decorative Quilling Circular Cardboard on each corner of the Triangular cardboard frame.

Step 6: Decorate!

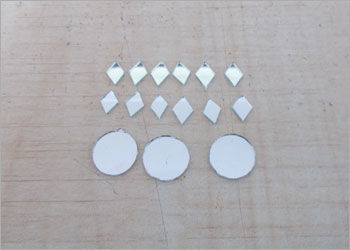
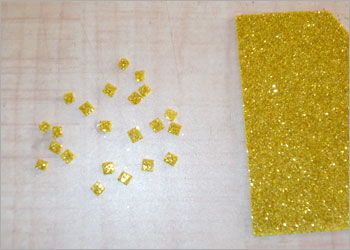
Now add some sparkly touch using decorative Mirrors and glitter sheet pieces, on the triangular cardboard frame.

Step 7: Your Craft Is Ready!

Watch full video tutorial here:

Hope you like this wall hanging tutorial.

We would love to hear your thoughts in the comment section below. And be sure to like us Facebook for more ideas!

Thank you for visiting our website. Keep Creating with Art & Craft!
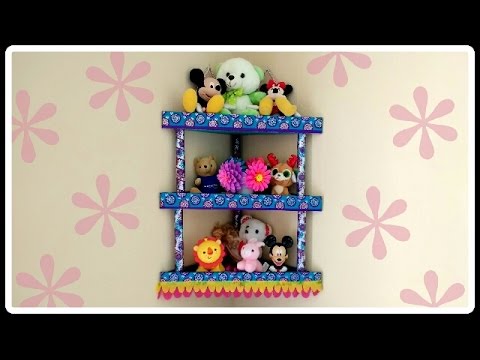
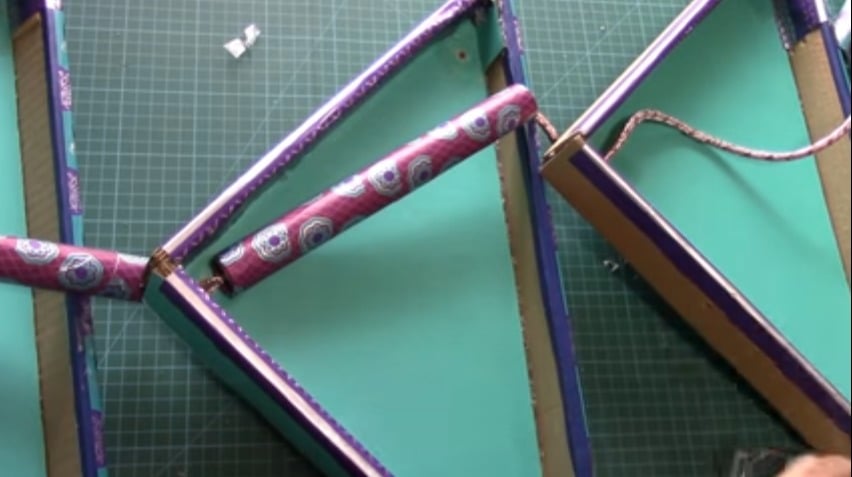
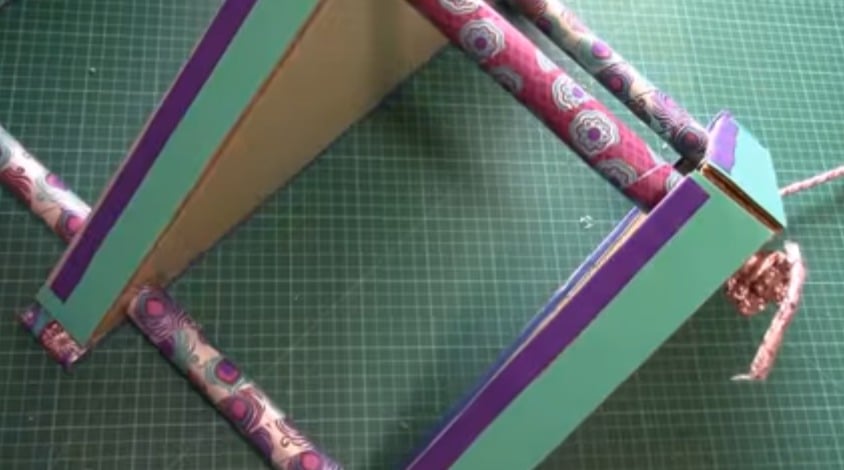
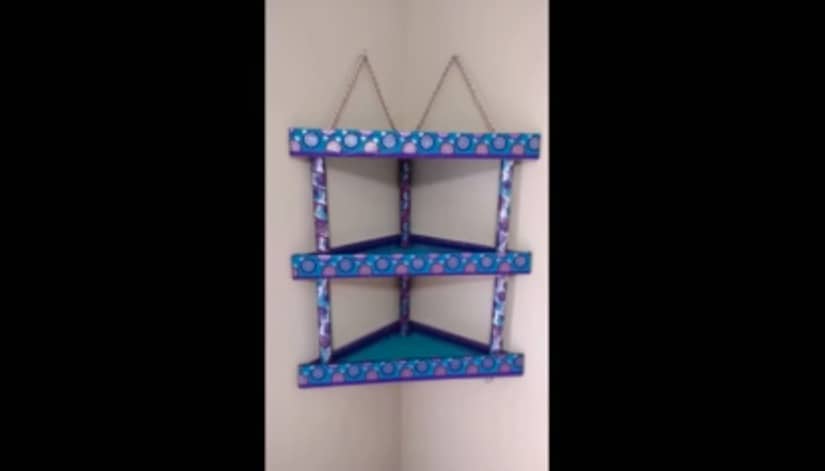
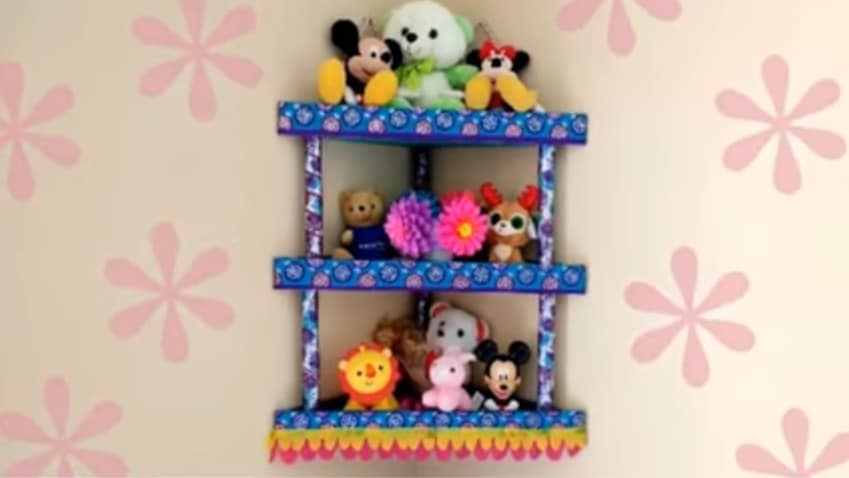
How to Make Cardboard Corner Shelf / Rack

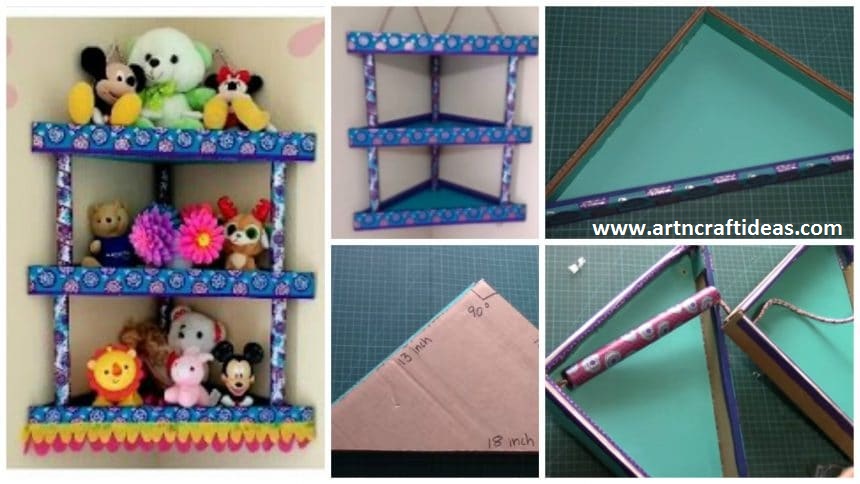
This tutorial shows how to make step by step cardboard corner shelf / rack / Organizer.
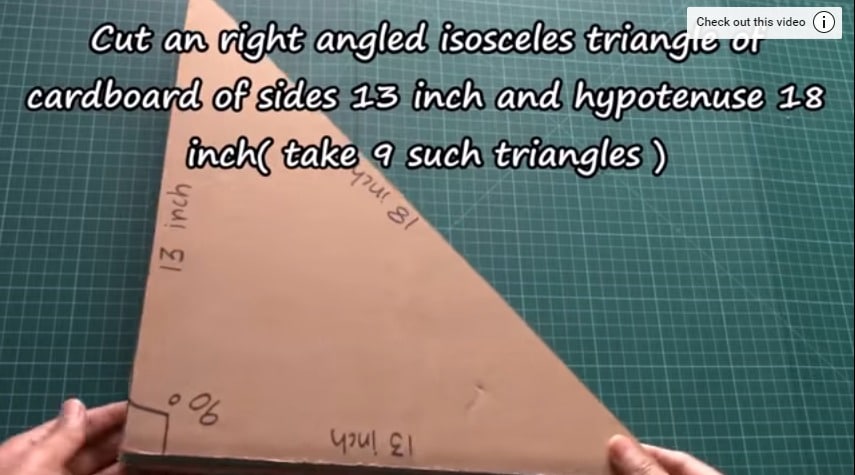
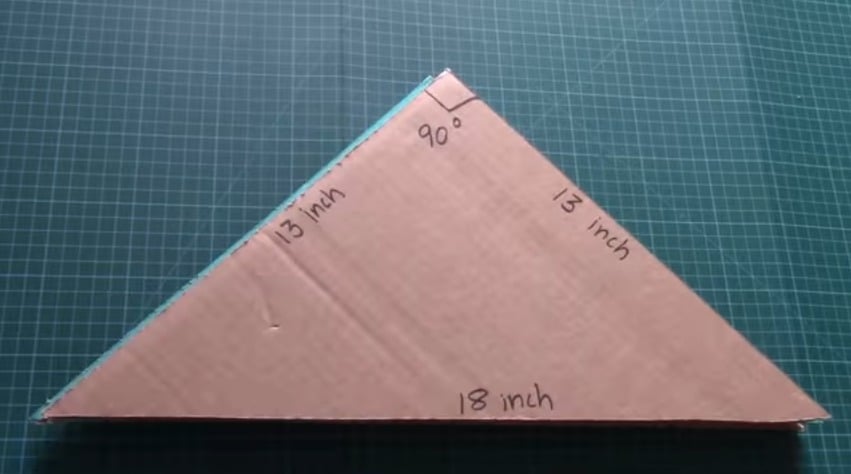
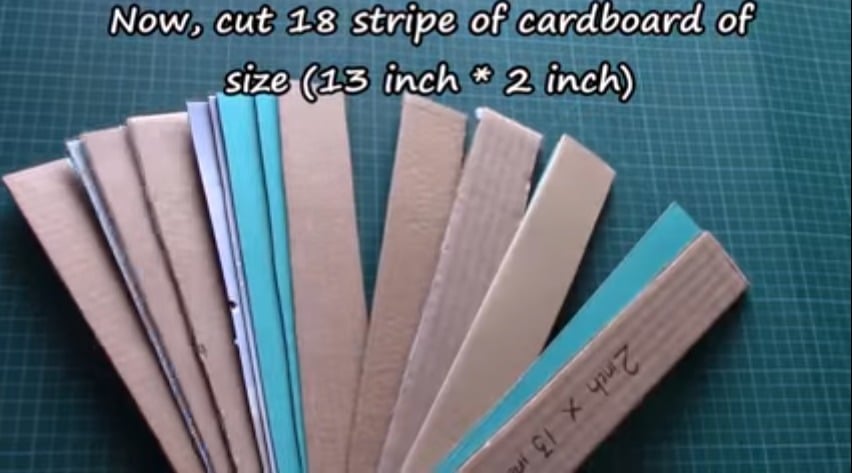
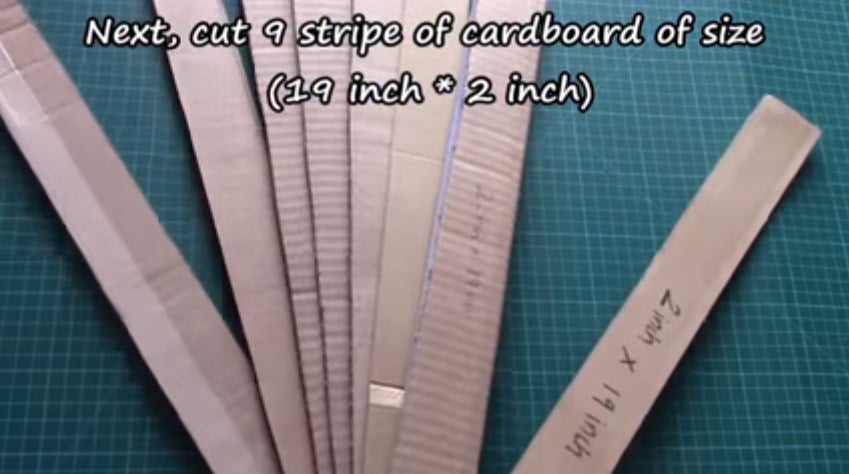
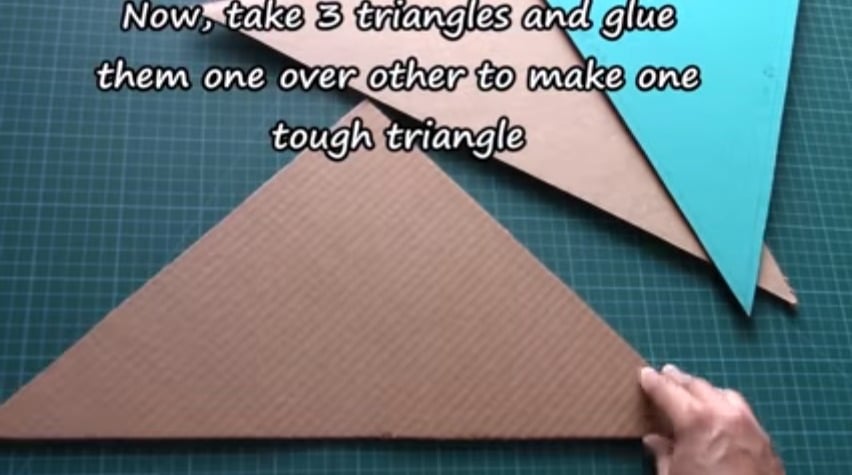
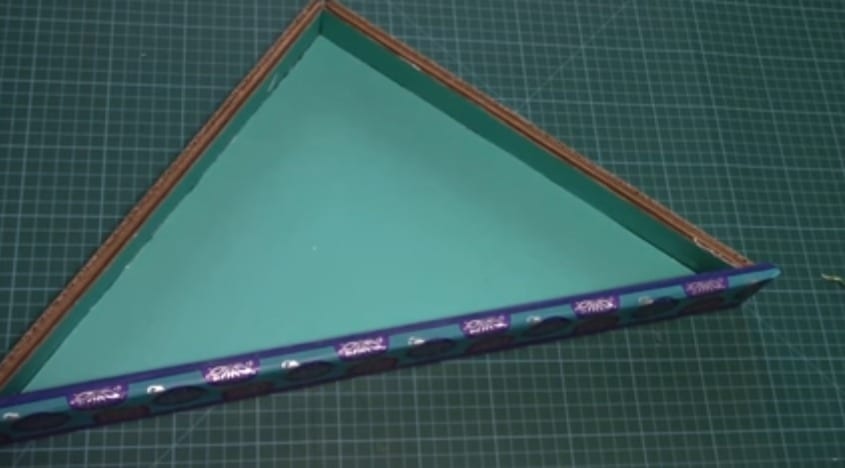
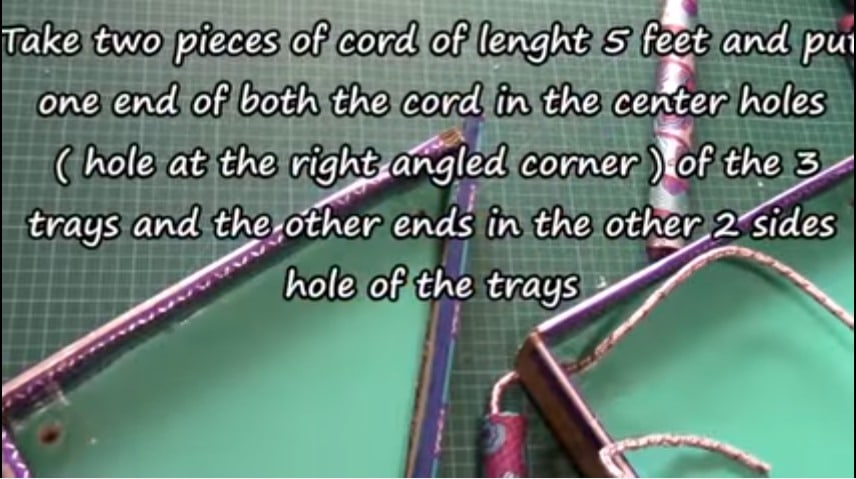
Cut an right angled isosceles triangle of cardboard of sides 13 inch and hypotenuse 18 inch (take 9 such triangles) Now, cut 18 stripe of cardboard of size (13 inch * 2 inch) Next,cut 9 stripe of cardboard of size (19 inch * 2 inch ) Now, take 3 triangles and glue them one over other to make one tough triangle. Take two pieces of cord of lenght 5 feet and put one end of both the cord in the center holes (hole at the right angled corner) of the 3 trays and the other ends in the other 2 sides hole of the trays

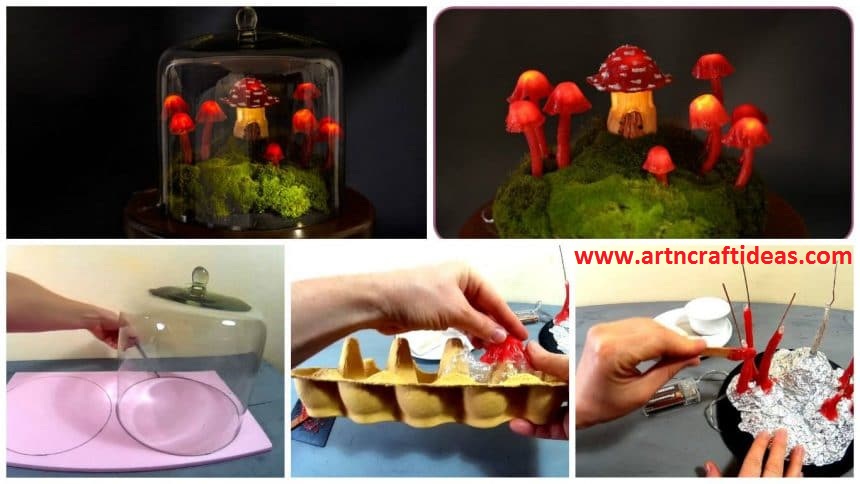
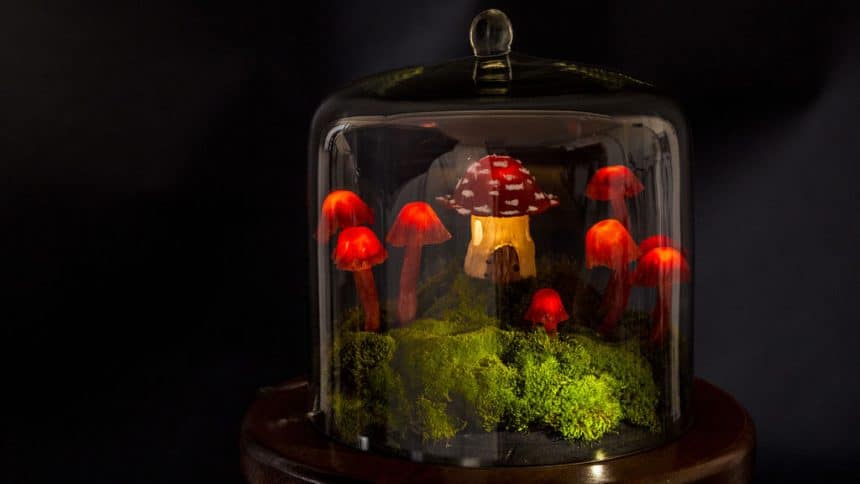
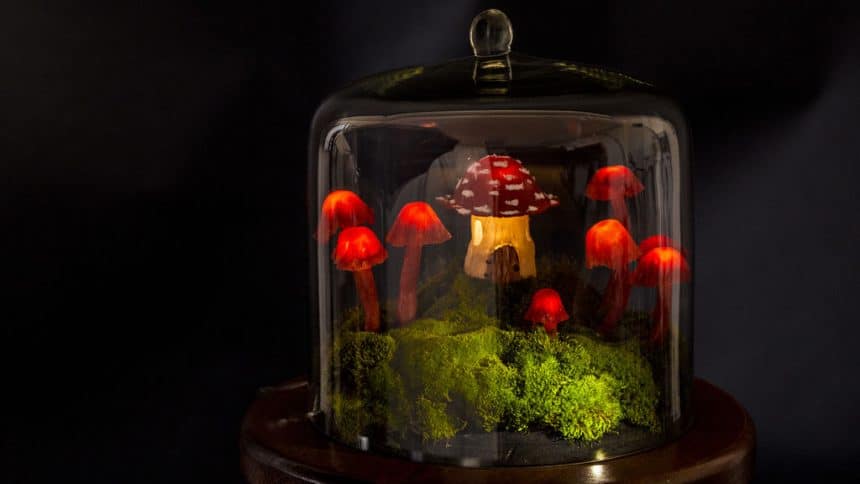
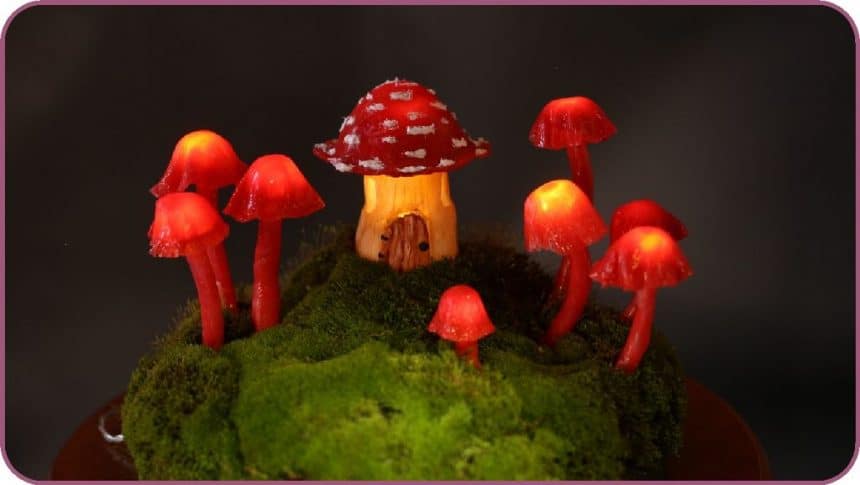
DIY Miniature Fairy Garden Terrarium – Enchanted Mushroom Lights

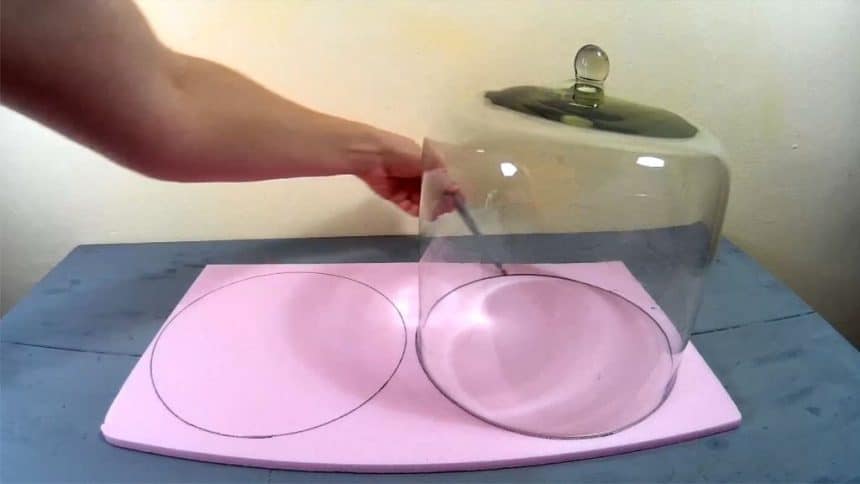
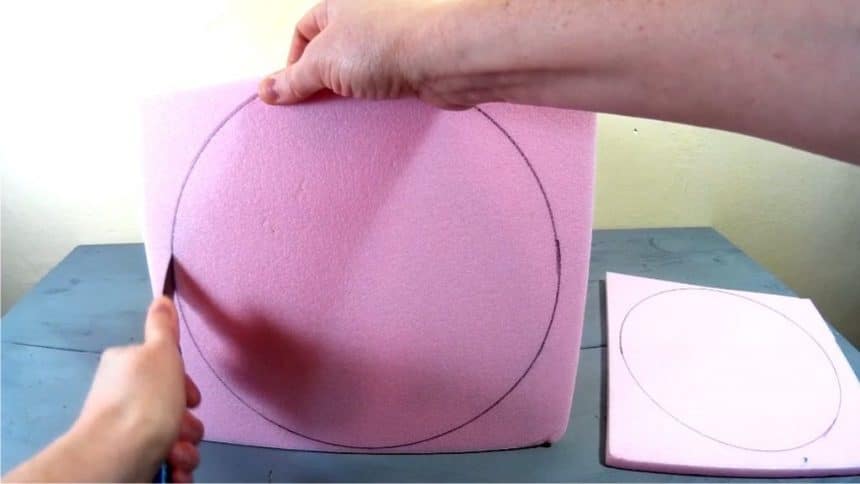
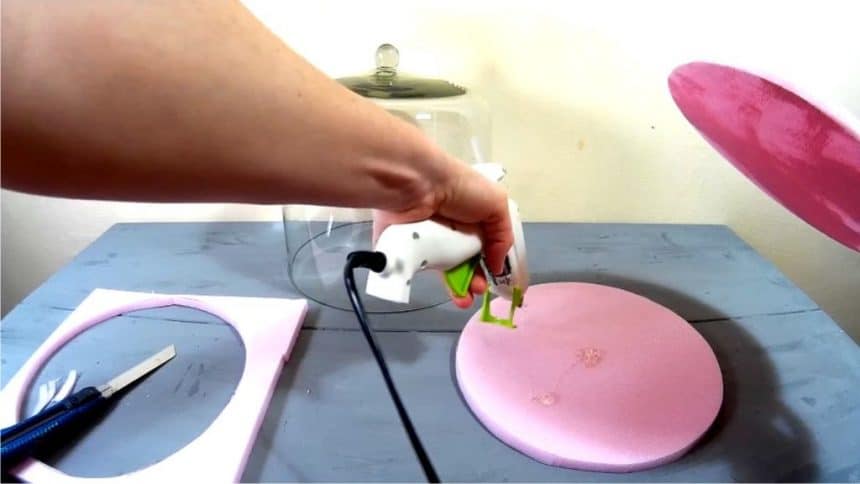
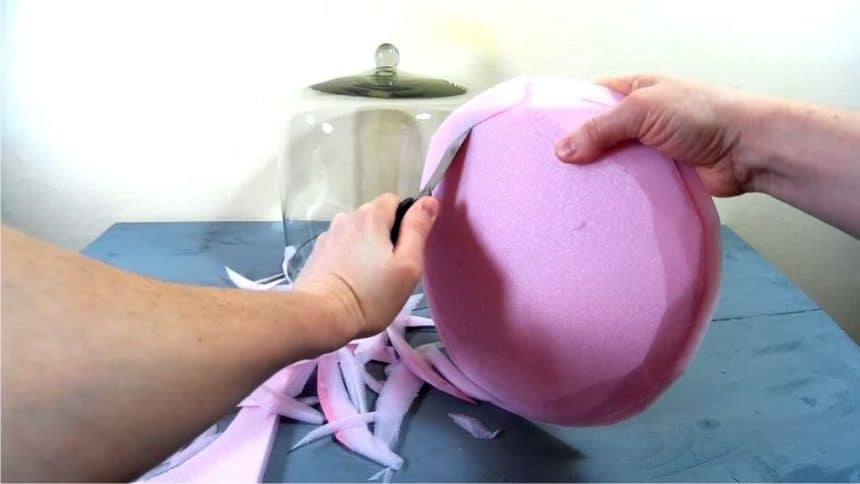
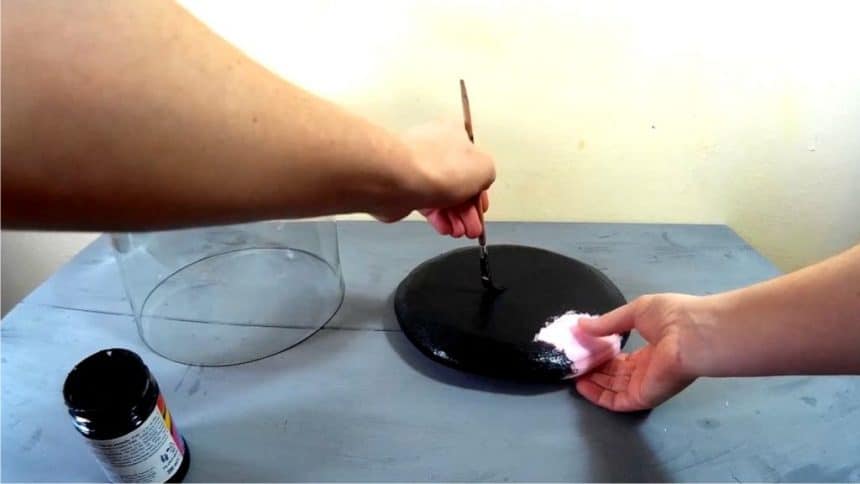
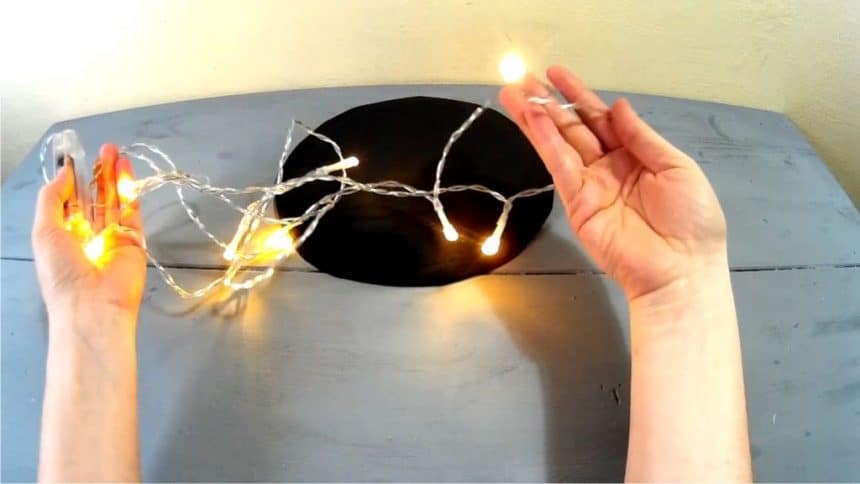
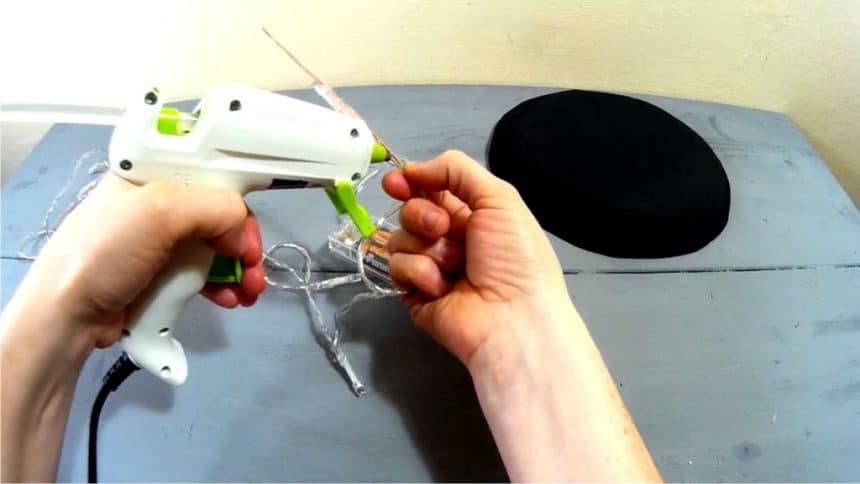
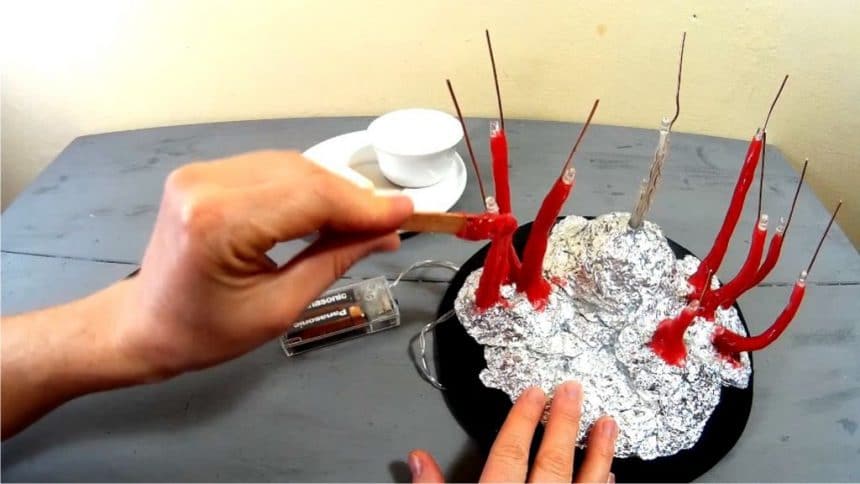
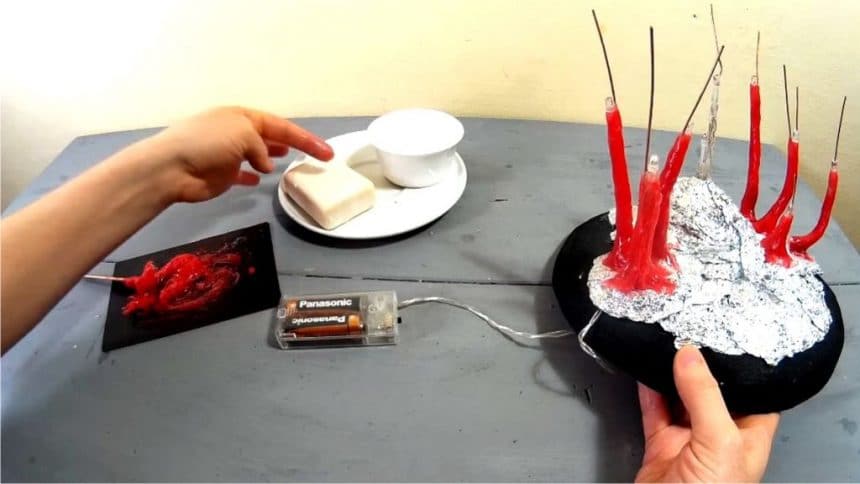
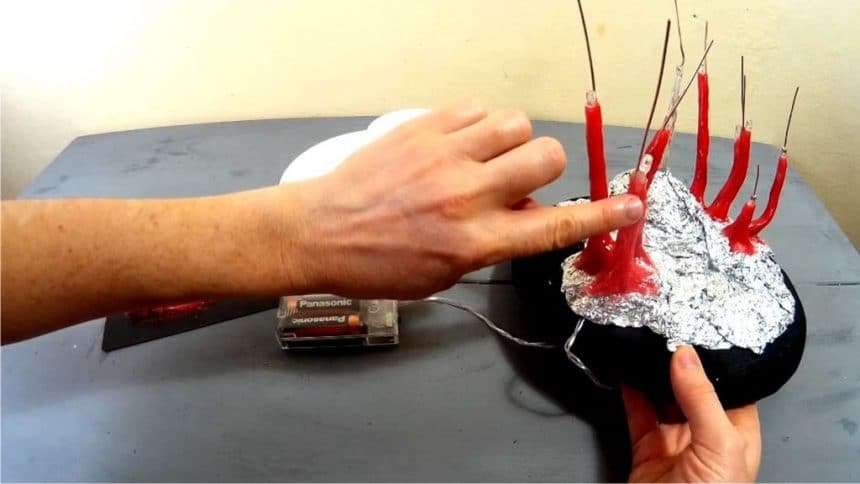
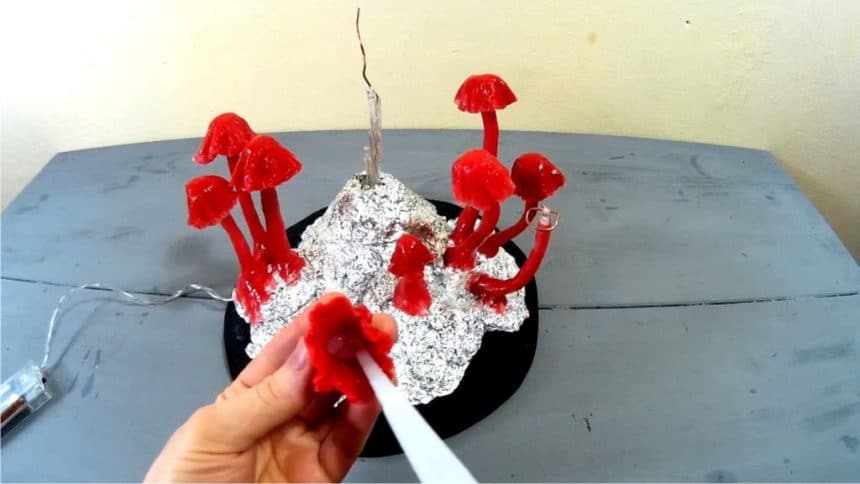
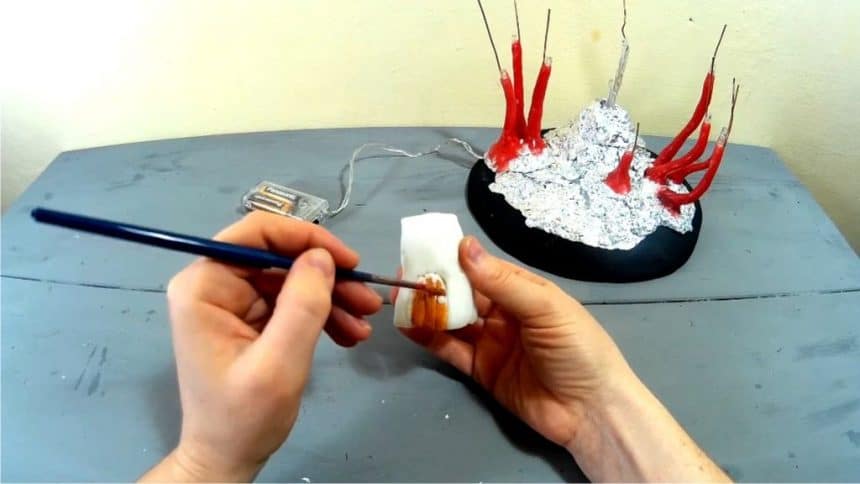
Hi, in this tutorial I made a fairy garden terrarium with mushroom lights and a fairy mushroom house. I used some extruded polystyrene (xps styrofoam), battery operated led lights, transparent sanitary silicone sealant, tin foil, copper wire, hot glue, a little bit of polymer clay, moss and acrylic paint. I also used a glass cake cover. Step 1: Preparing the Board I first cut the styrofoam board to fit the glass cake cover. I adjusted the corners with a cutter, then I painted it black. Step 2: Adding the Lights


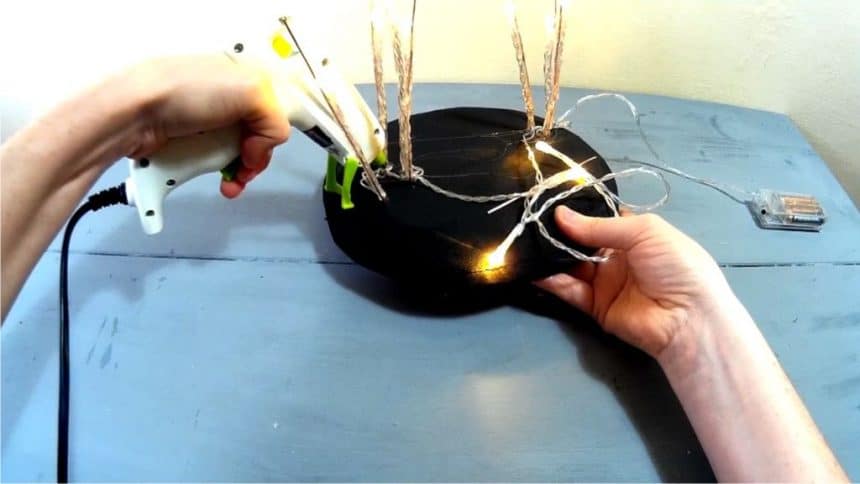
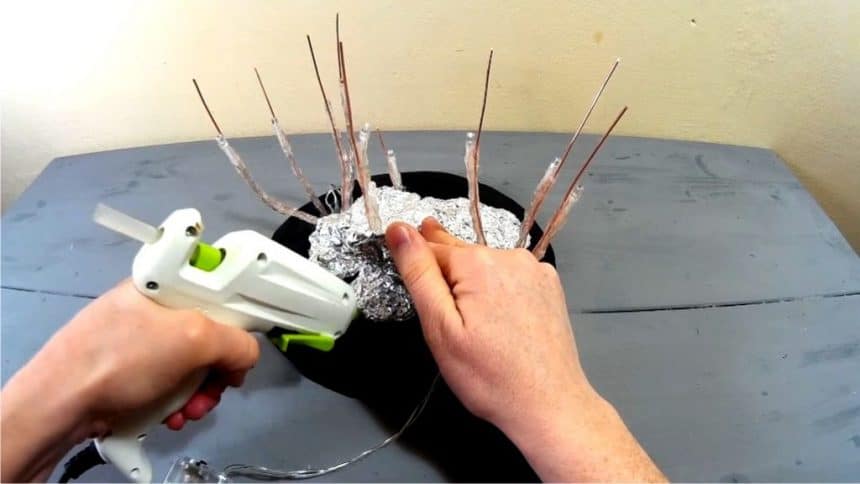
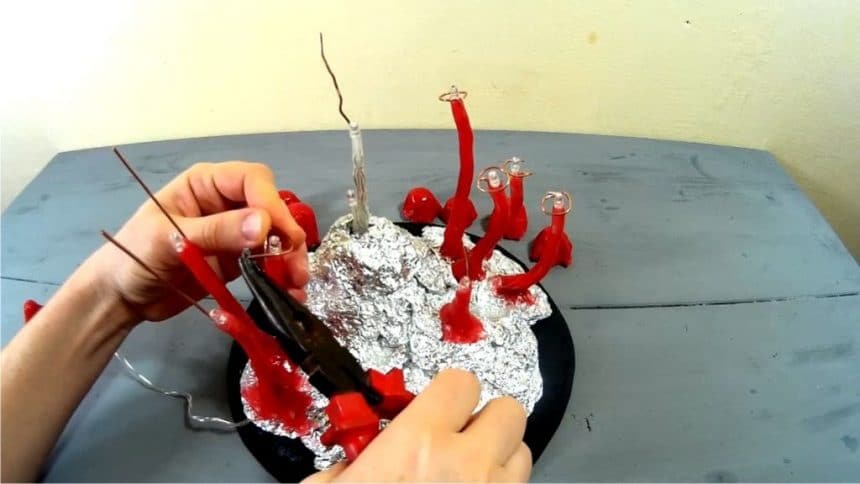
I then glued the lights to some pieces of copper wire. I made the wires in different lengths and also left more wire on the upper side (that will be helpful when making the mushroom caps). I glued the copper wires to the foam board with hot glue. I added some volume to the board using tin foil and hot glue.

Step 3: Making the Mushrooms

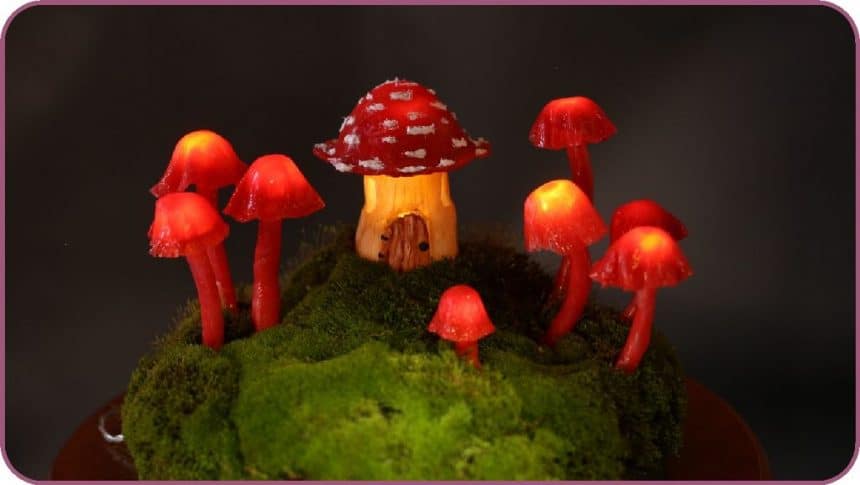
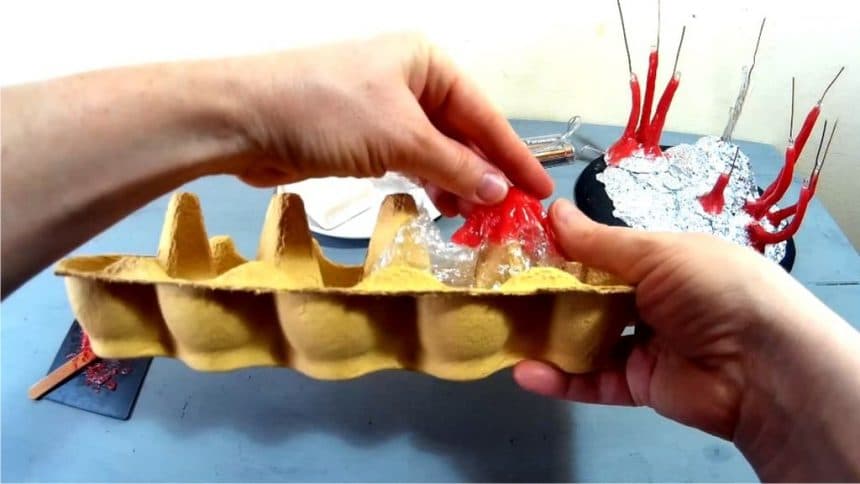
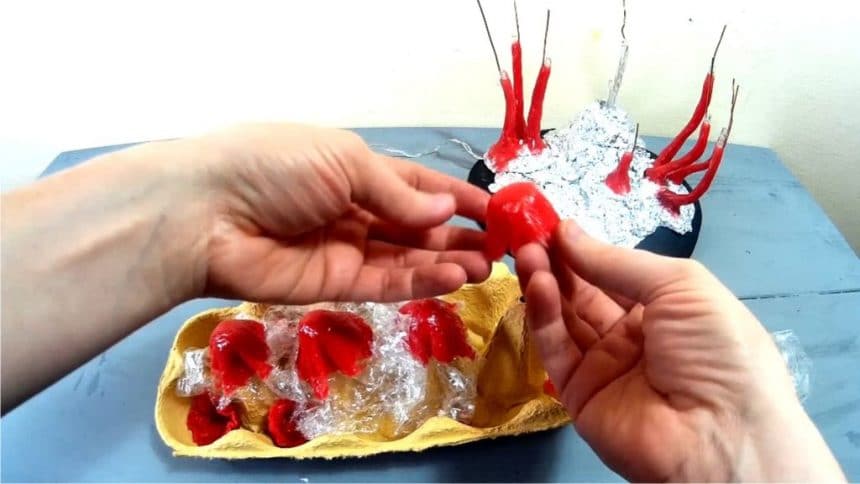
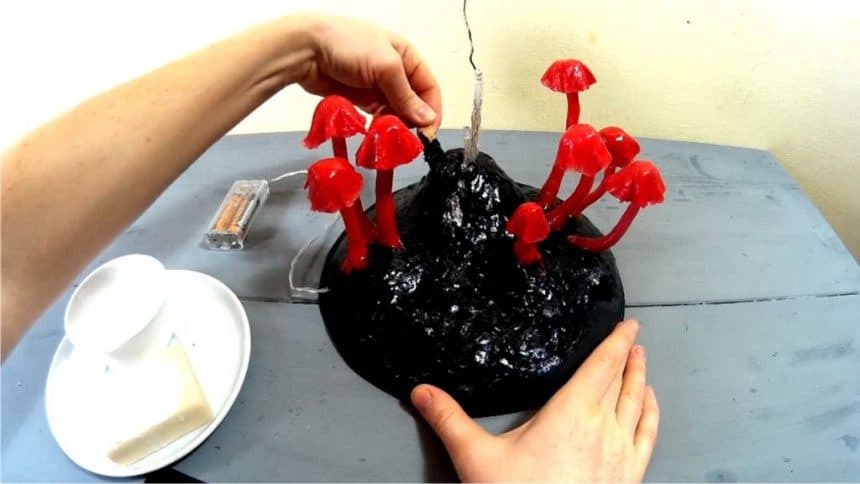
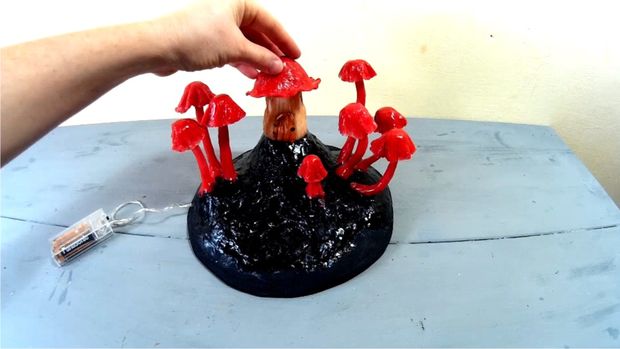
I mixed some red acrylic paint with silicone and made a paste. I applied the paste on the wires and leveled it using soap and water. For making the mushroom caps I used the silicone paste and wrapping foil. I applied some paste on the plastic foil and covered it. Then I started shaping it into a mushroom cap. For making the round shapes I used the cones inside of an eggs carton. I also covered the tinfoil base using the same silicone paste in black. Using some tin foil I made a cone and covered it with polymer clay. I sculpted a little house, baked it and painted it with acrylic paint.

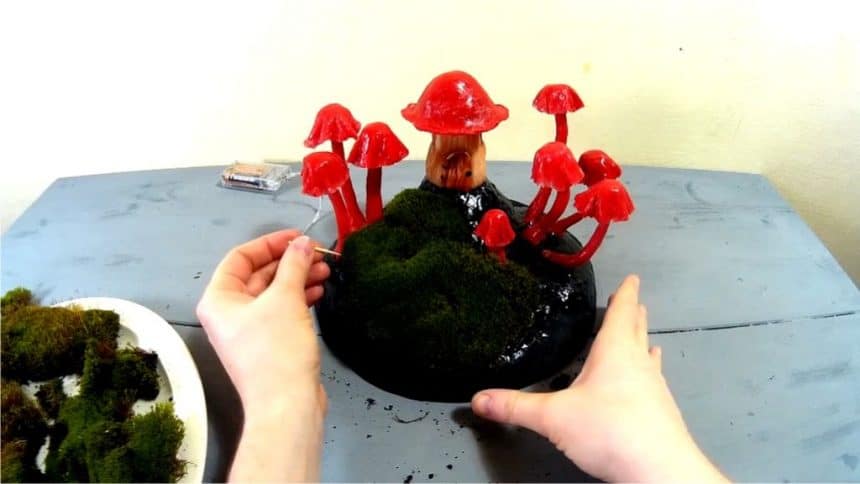
Step 4: Moss and Details

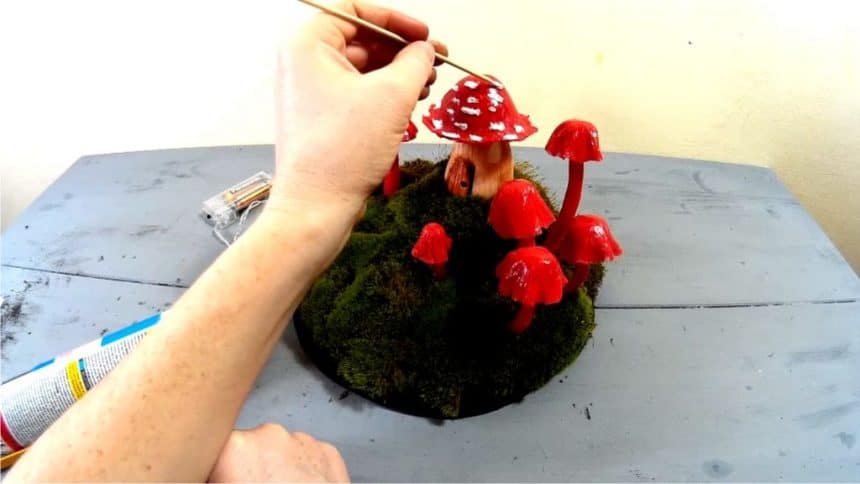
I placed the moss over the board, carefully mixing the patches and used toothpicks to fix it in place. I also made some cute white dots on the house using white silicone.

I love the result!

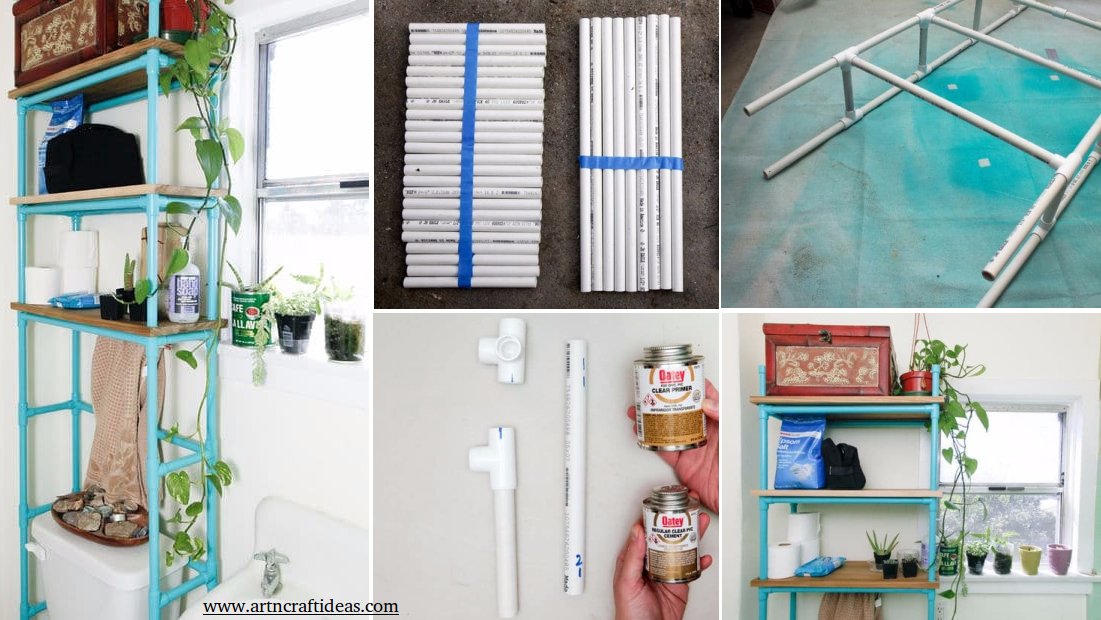
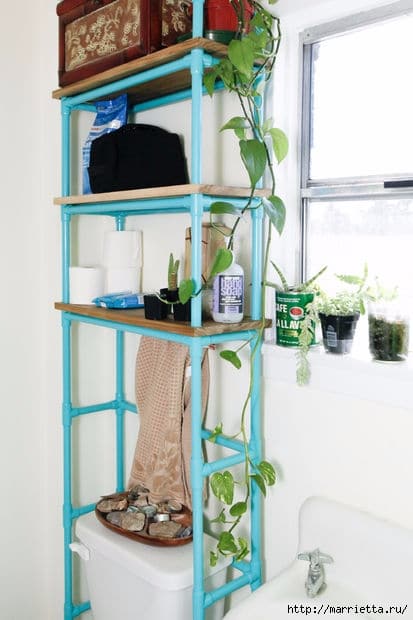
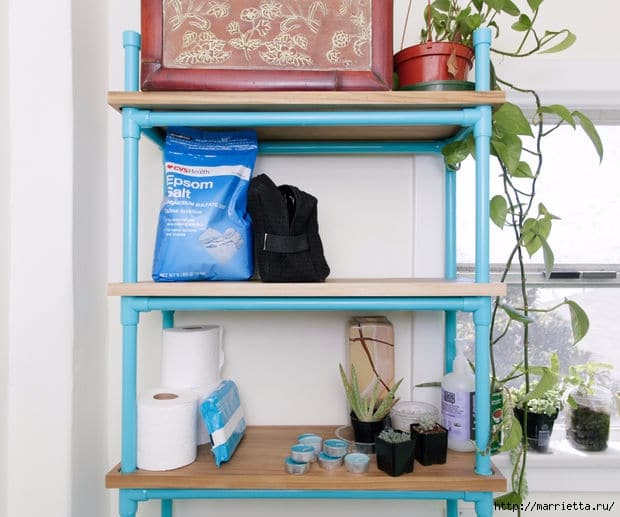
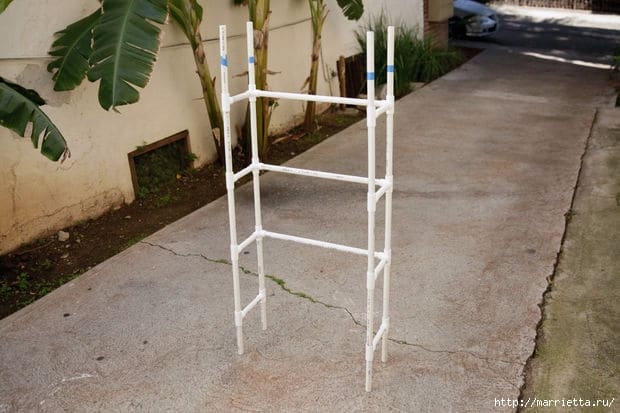
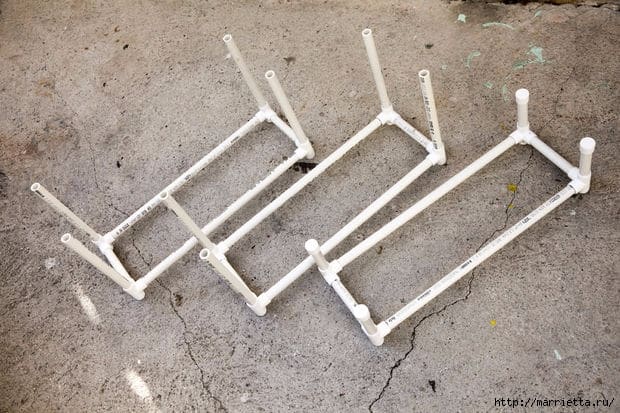
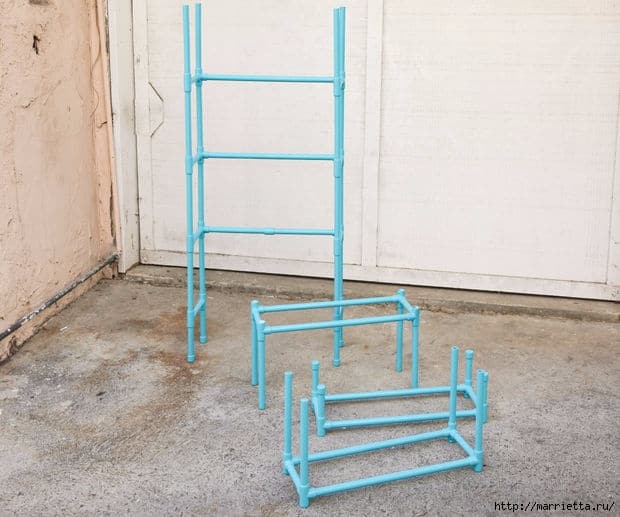
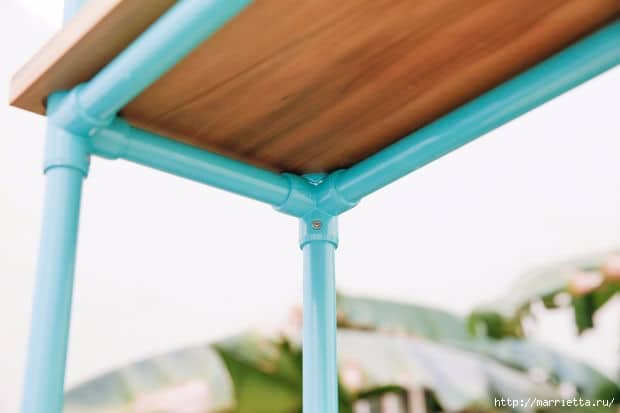
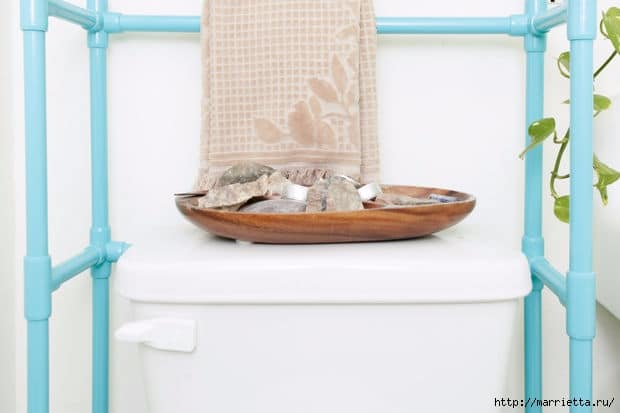
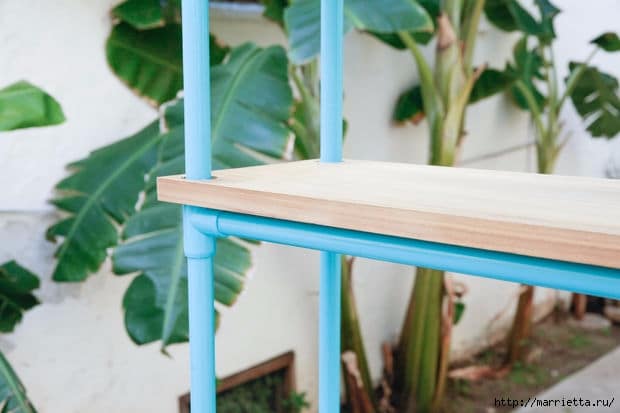
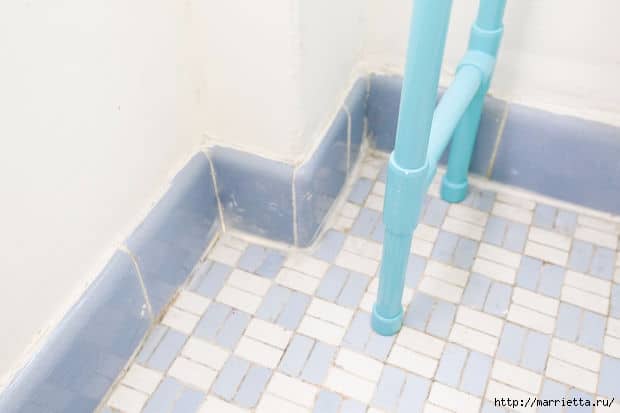
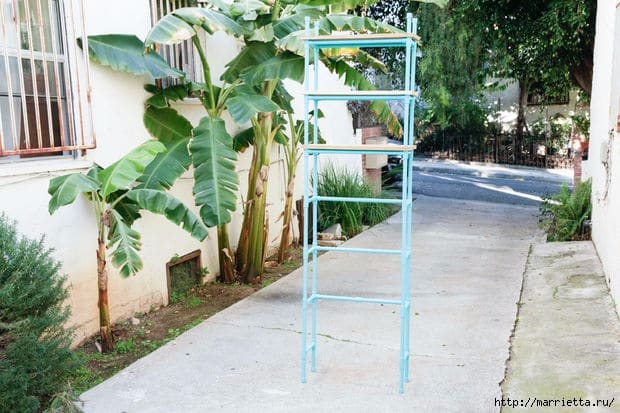
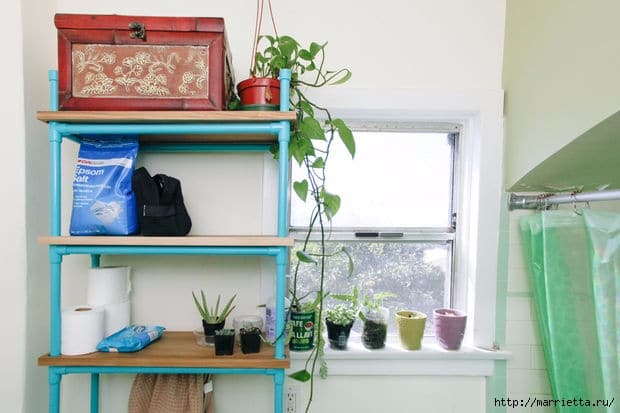
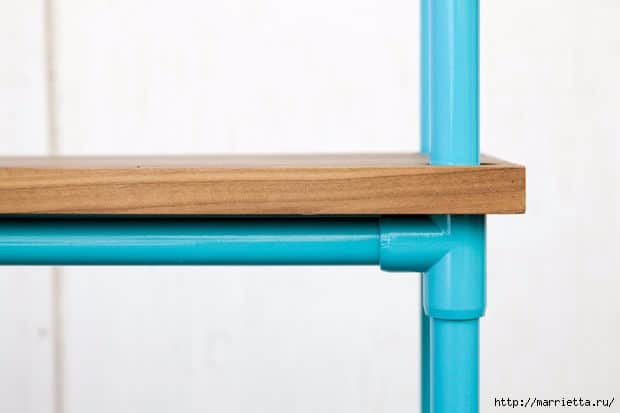
How to make PVC Bathroom Shelf for indoor plants

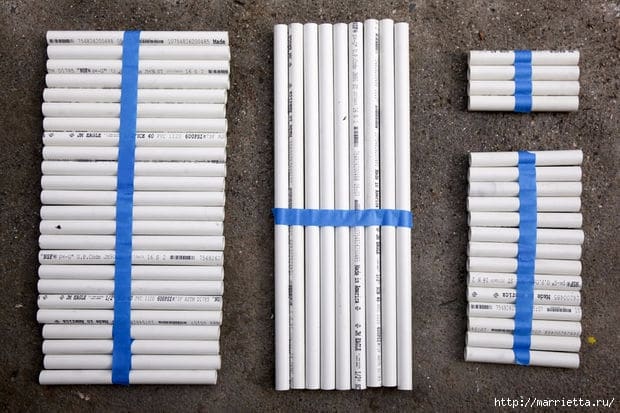
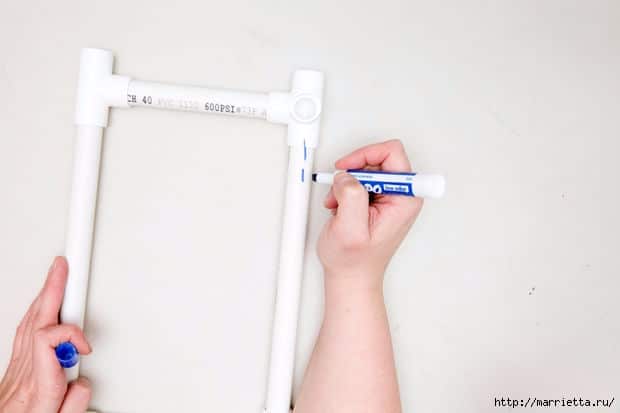
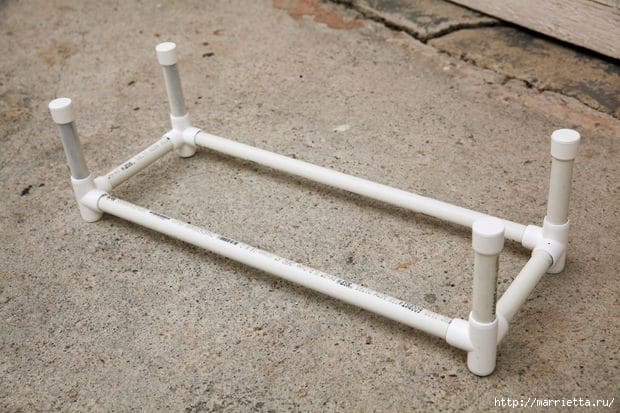
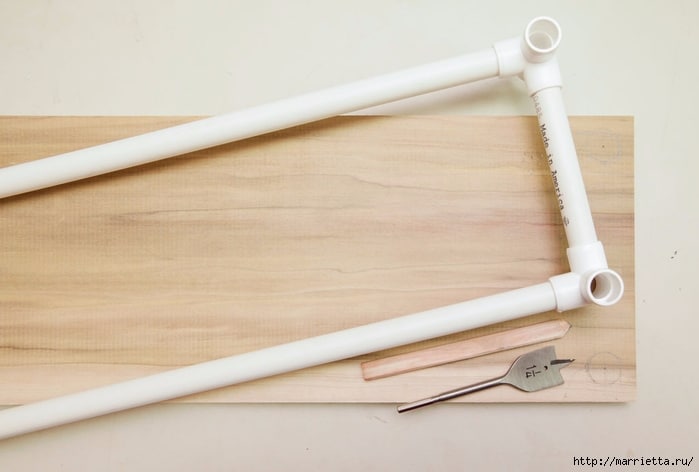
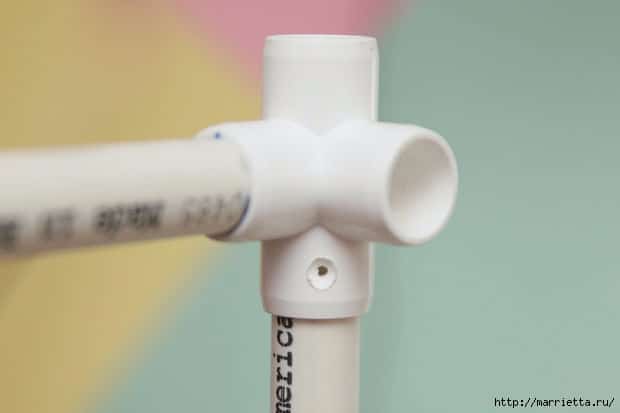
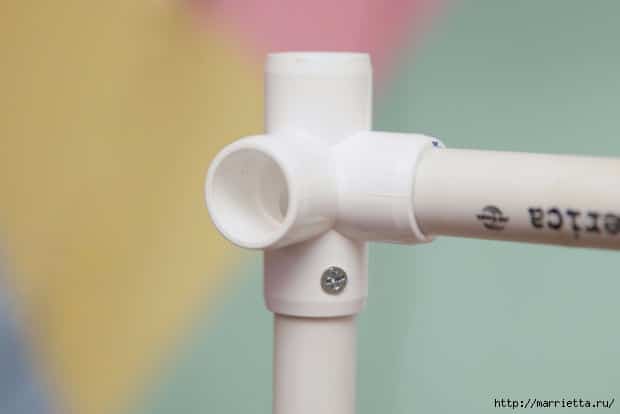
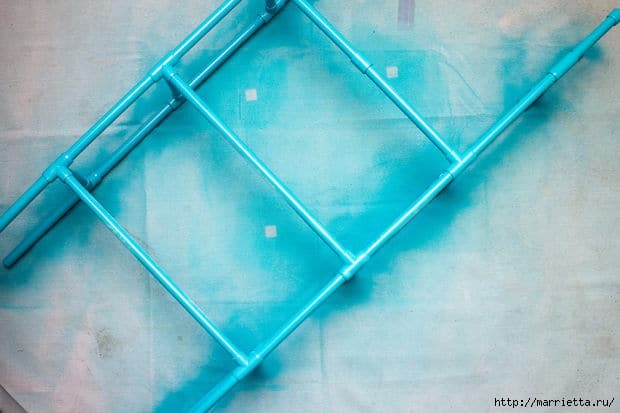
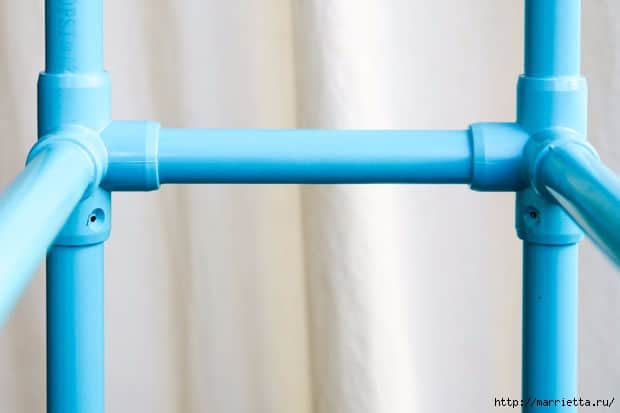
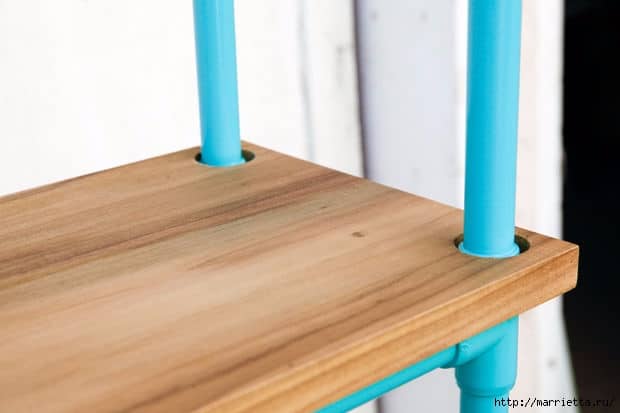
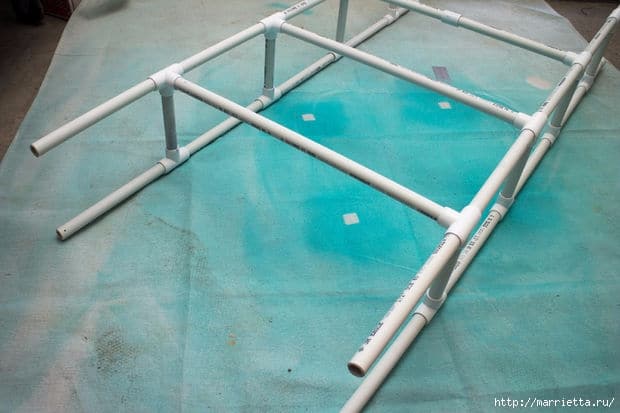
Here’s a cute little thing, and indispensable for the house – bookcase for the bathroom, kitchen or balcony for indoor plants can make their own hands. To work needed PVC plastic water pipes, which can be purchased at any store building materials. Inspiring craft handmade for the home.

Working with PVC is a cinch. It’s like affordable structural tinker toys. The pipe is cheap, and you can get some really cool fittings.

Required Materials and tools:

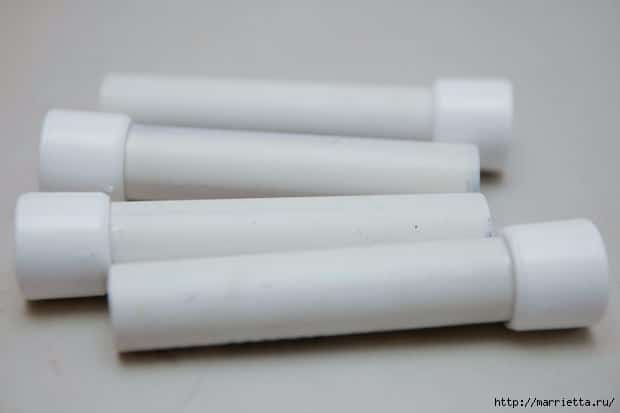
  • PVC plastic water pipes,
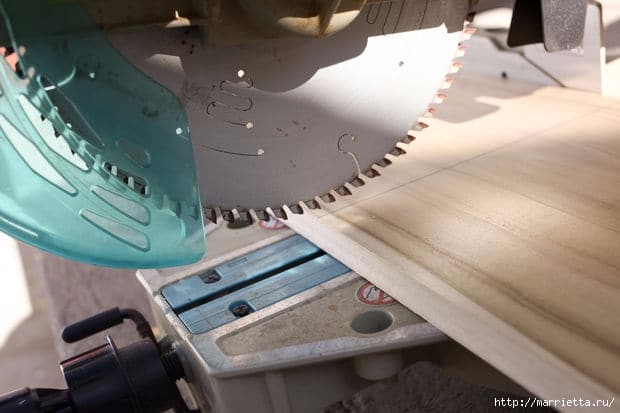
  • jigsaws for cutting PVC pipe,
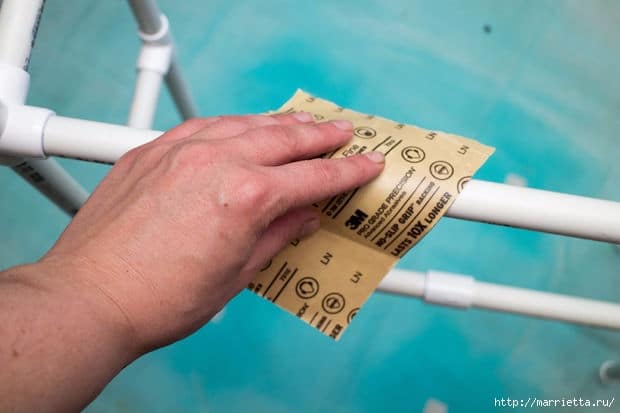
  • sandpaper or sandpaper P220,
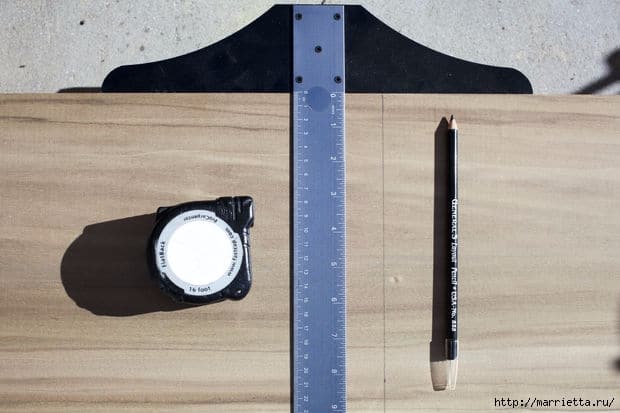
  • measuring tape or meter tape,
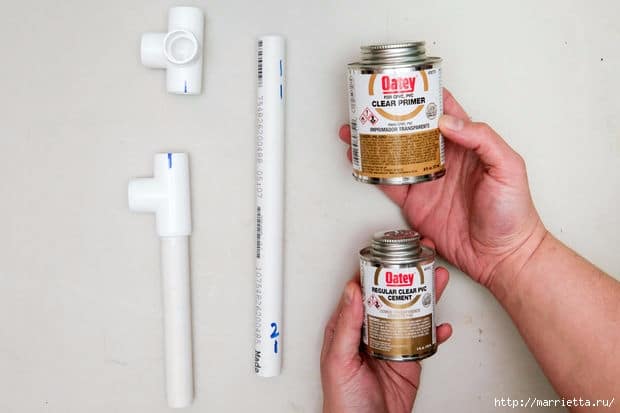
  • primer for PVC or plastic,
  • glue,
  • PVC tees,
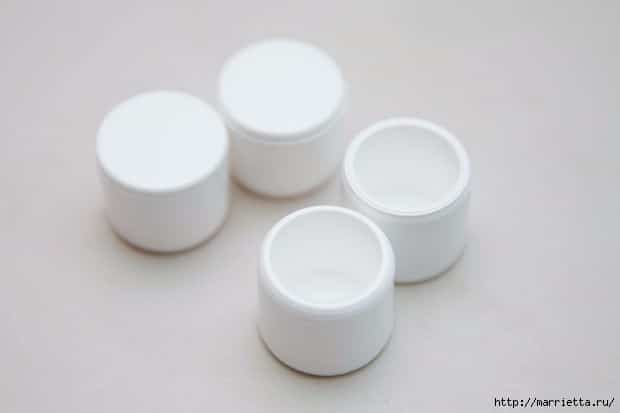
  • PVC caps,
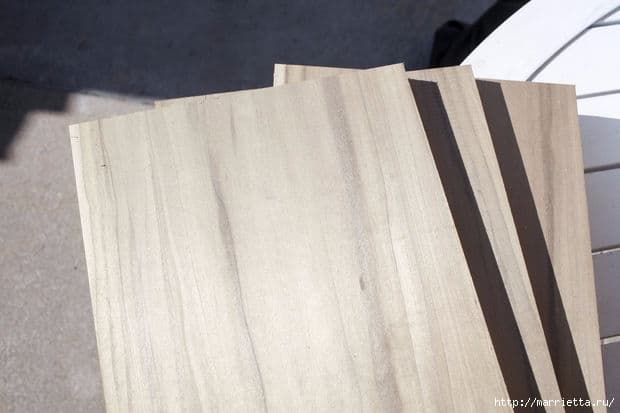
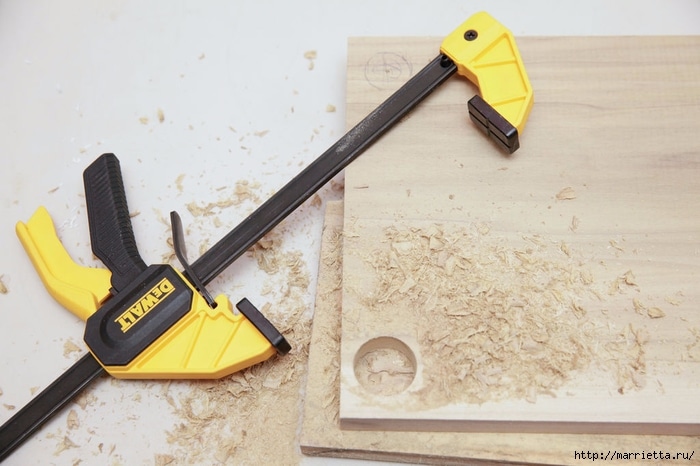
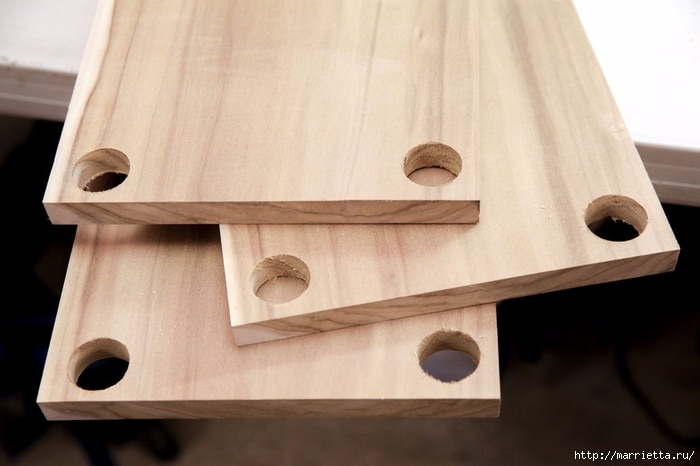
  • wood, particle board or plywood – for shelves,
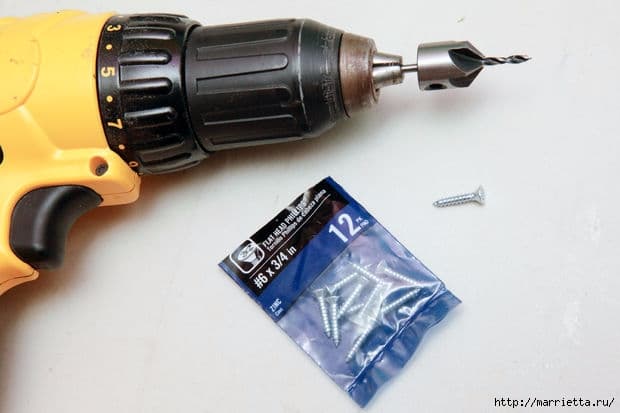
  • drill and drill,
  • screwdriver and screws,
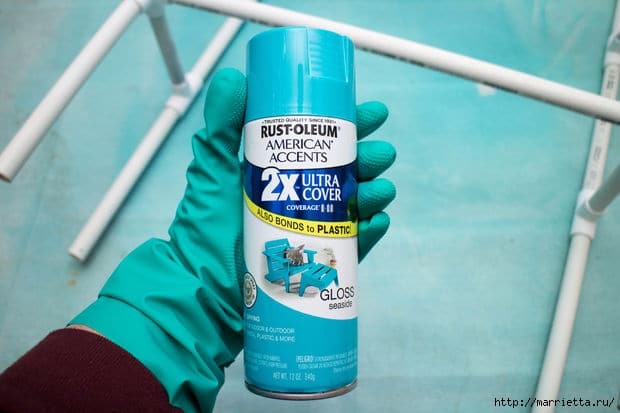
  • paint in the form of a spray.

Hope you like this Painted Plastic Bottle Caps craft tutorial.

We would love to hear your thoughts in the comment section below. And be sure to like us Facebook for more ideas!

Thank you for visiting our website. Keep Creating with Art & Craft!
DIY Vintage Style Cross Stitch Shelf

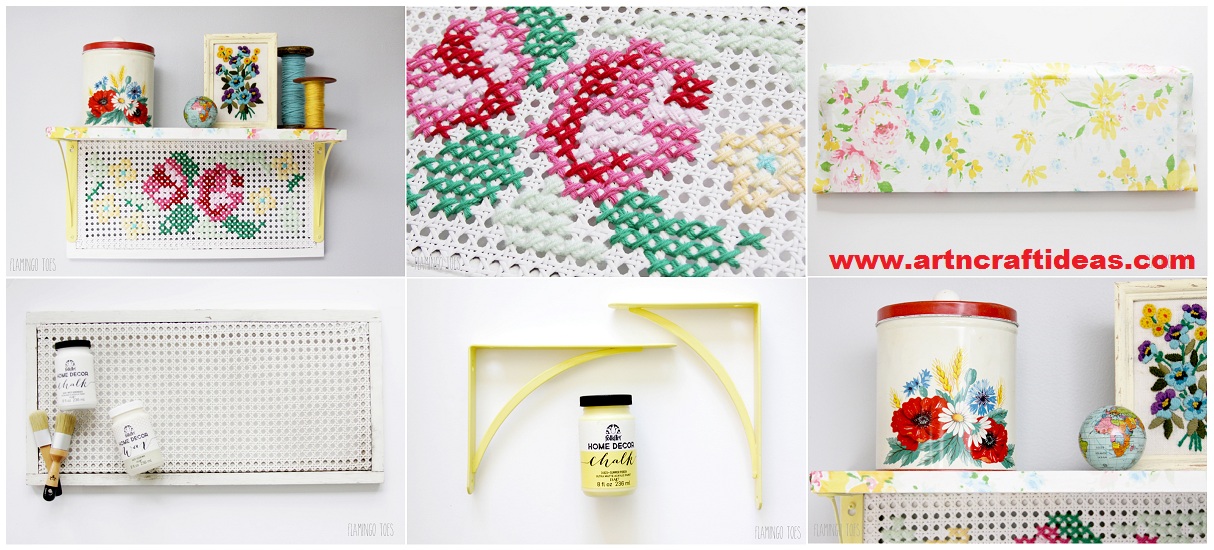
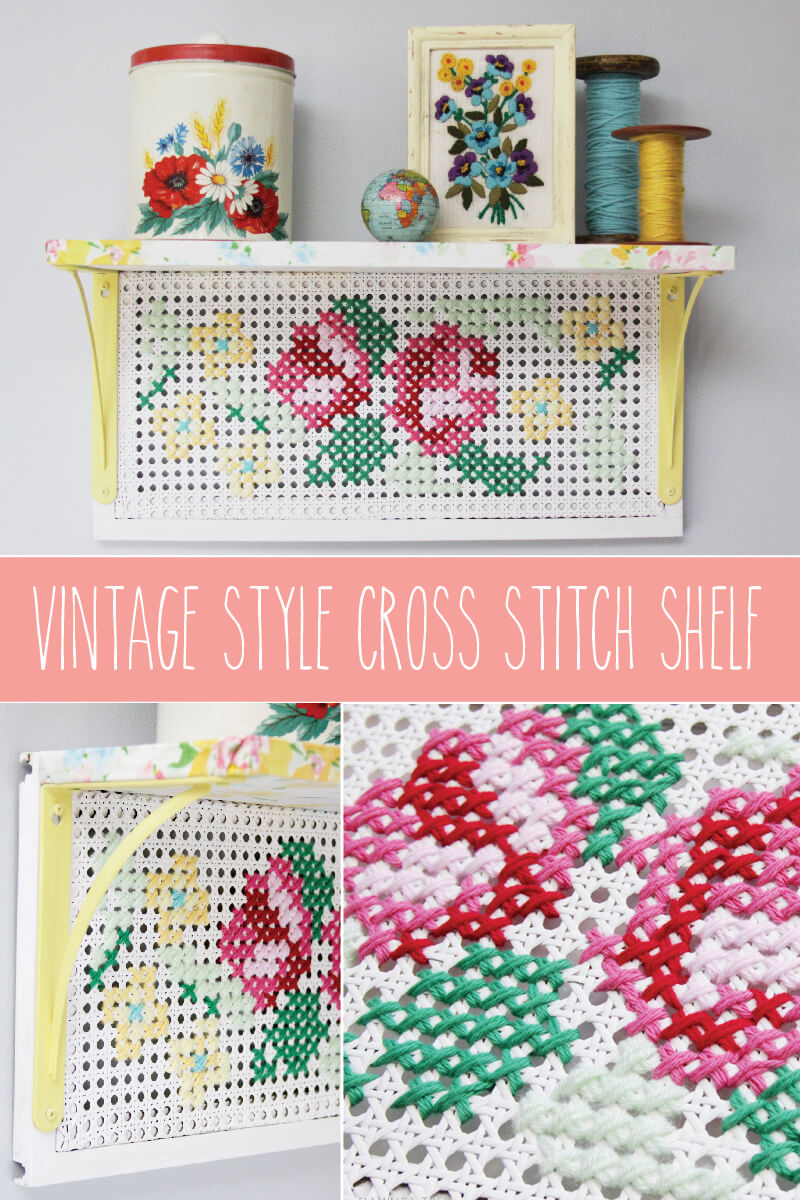
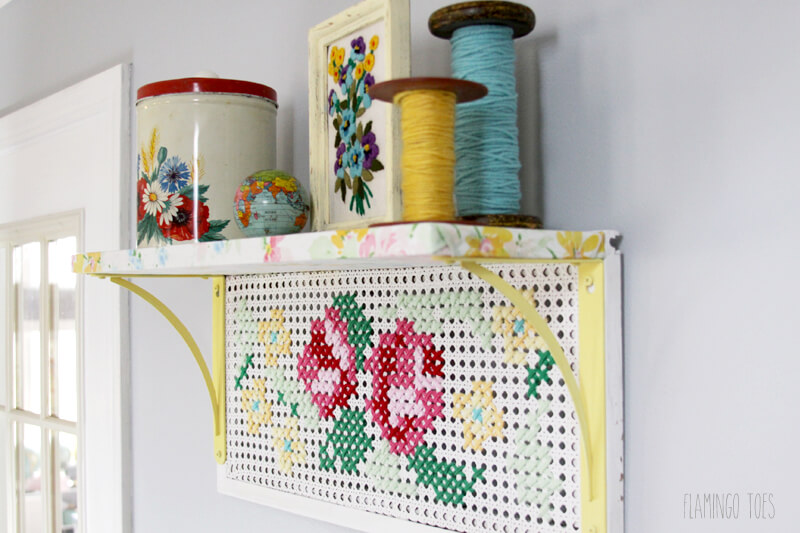
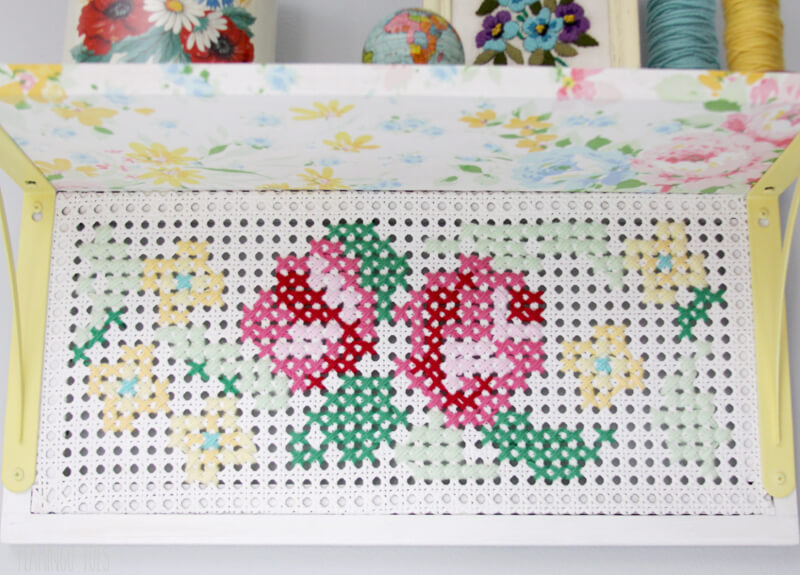
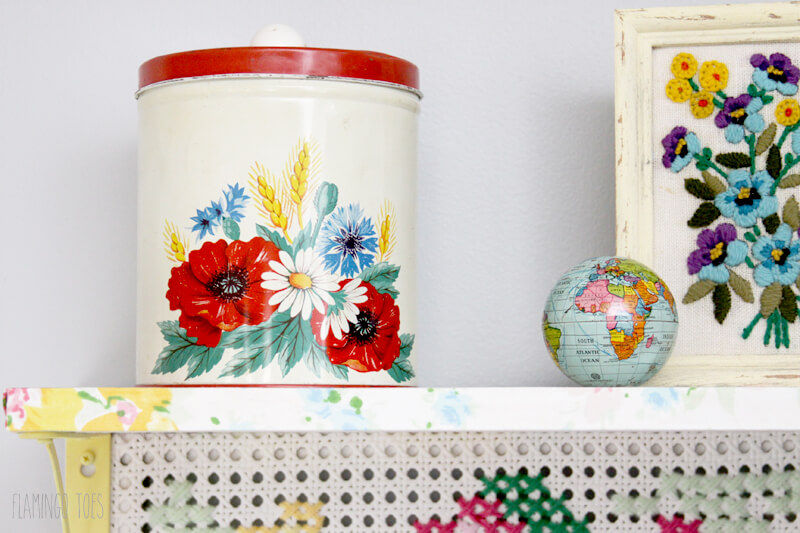
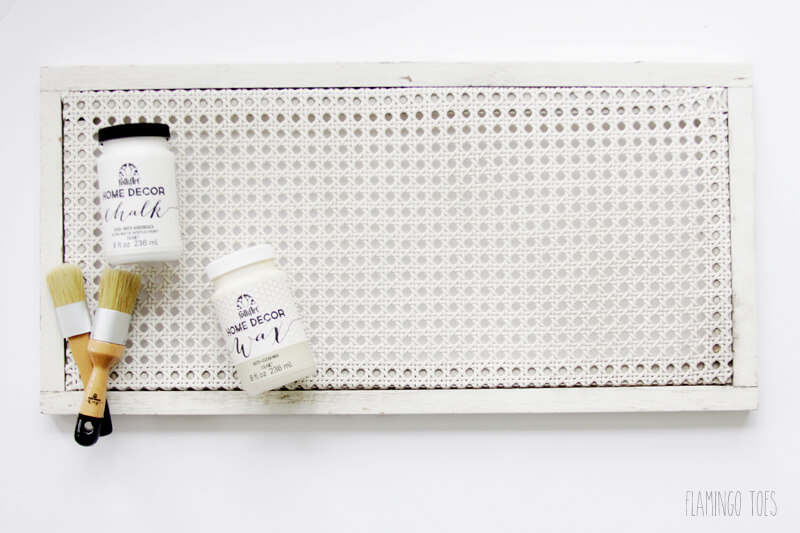
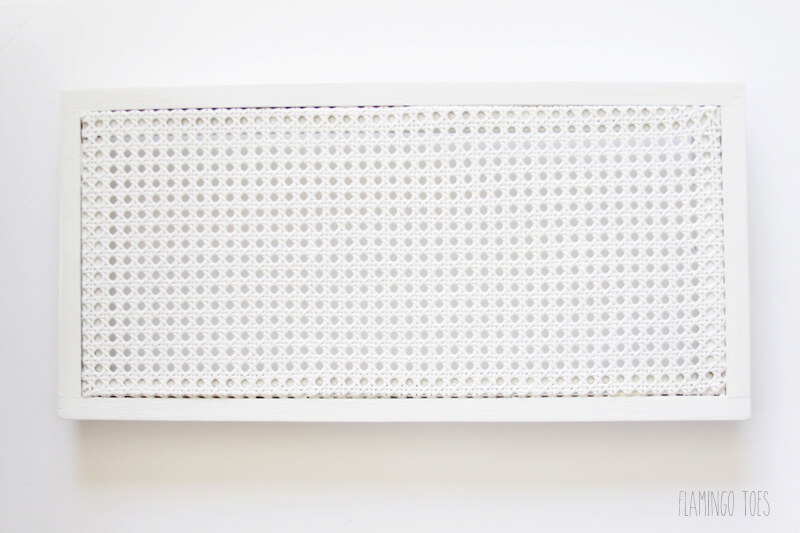
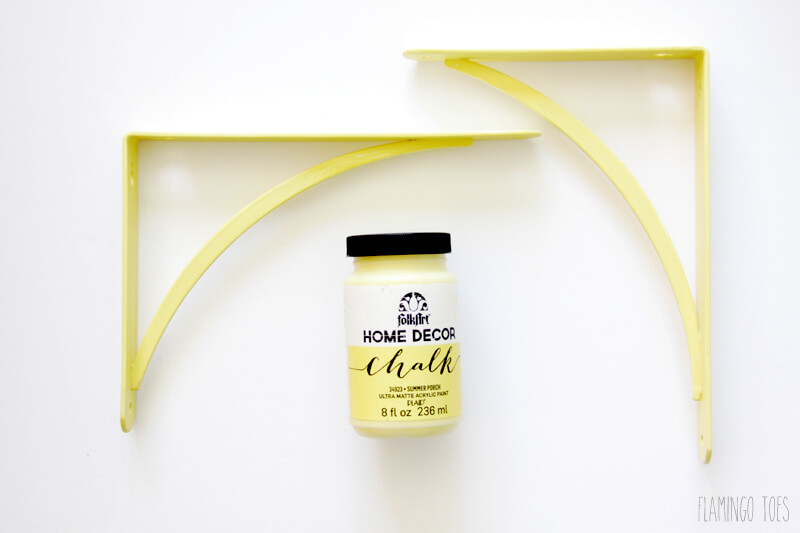
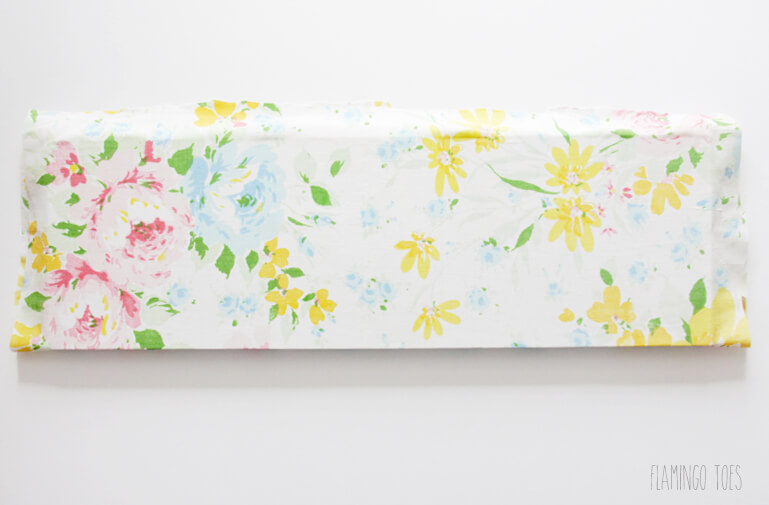
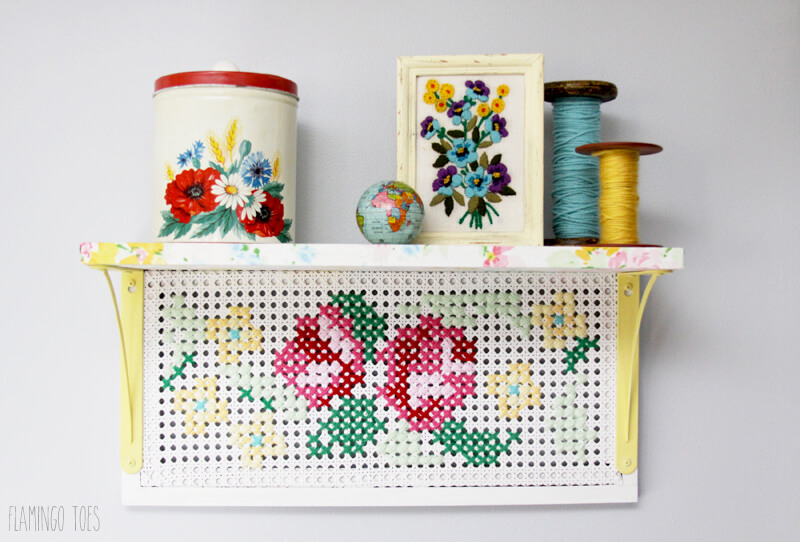
Here’s how to make this vintage cross stitch shelf! (I know you might not find a shutter like this, but you can use these steps to create something similar with other vintage finds!) I started with this old cane shutter. It was white and kind of chippy, but kind of dingy too. I wanted something a little less “worn” looking. I gave the whole thing a coat of Folk Art® Home Decor Chalk in White Adirondack. It only took one coat, I just wanted to freshen things up. After drying I brushed on the wax and now it has a pretty sheen too. Yay! I couldn’t find brackets in a color I liked so I picked up white glossy metal brackets and painted them with the Folk Art Home Decor Chalk in Summer Porch. It’s the most delicious color of yellow. They got a coat of wax too. I knew that I wanted to use a light floral sheet to cover my top shelf. I cut a length of 8″ wide pine to the same length as my shelf. I covered that in one coat of the White Adirondack as well. I didn’t wax it though, since it was going to be covered with fabric.
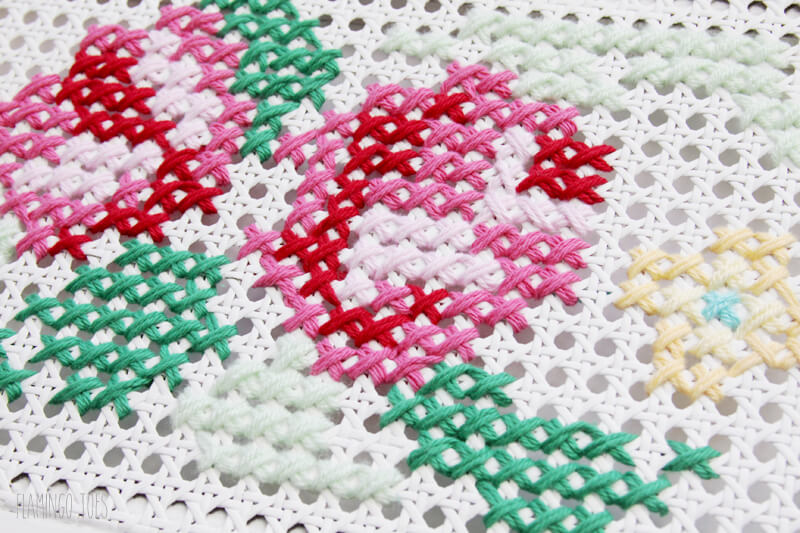
Now it was time to start stitching! I have a free cross stitch pattern for you here – you can use it on something similar or even on a regular cross stitch project.

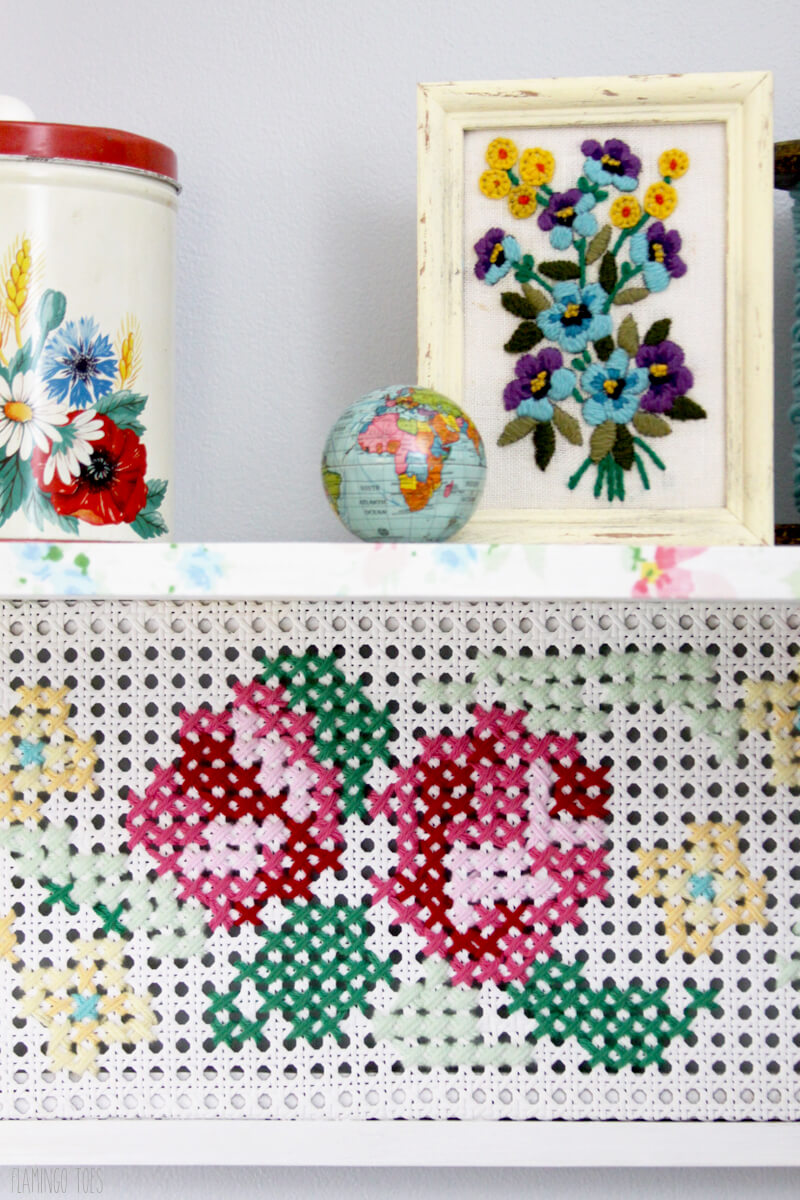
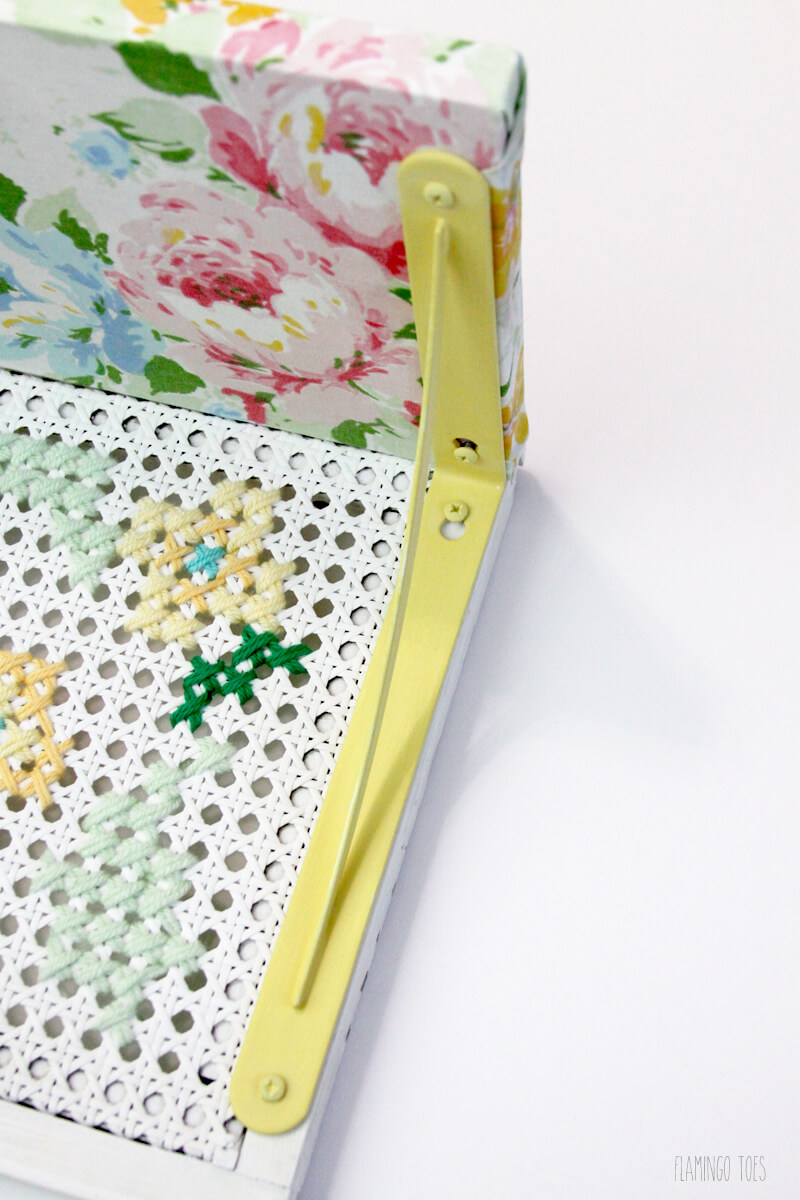
I used two strands of yarn on each stitch, since the cane was so big one strand of yarn didn’t fill the space enough. Cross stitch just as you would on fabric, but try to keep your yarn on the back from showing through the cane.

I stitched a floral pattern in colors similar to the fabric I was using on the top of the shelf.
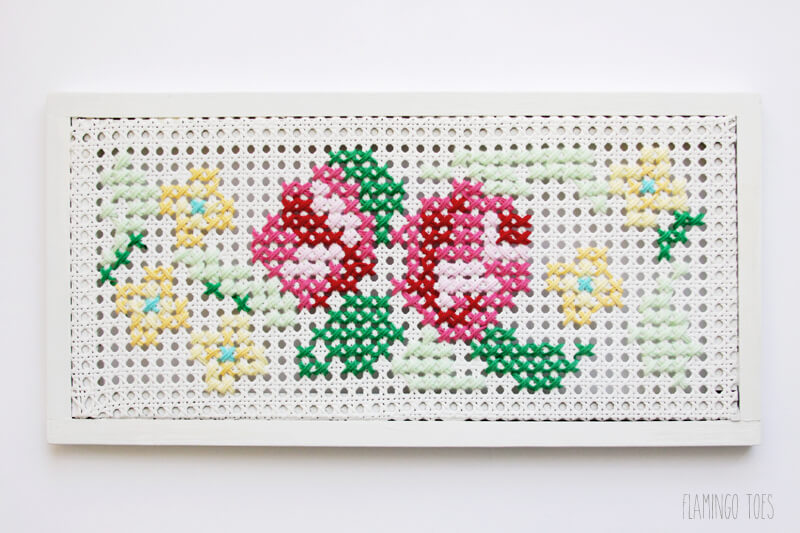
So fun right?

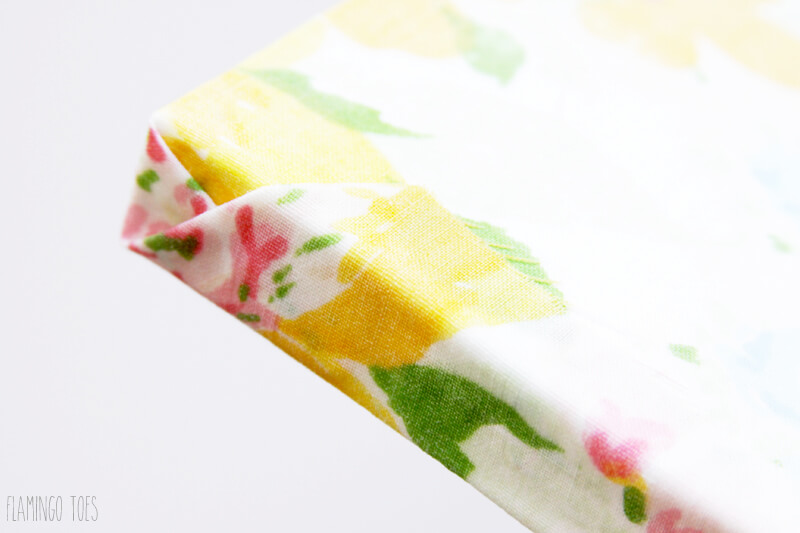
Onto the top shelf! To cover the shelf I cut a section from one of my favorite vintage sheet patterns. I cut it so that it would overlap on the back and sides just a bit. To cover the shelf, apply a layer of Mod Podge on the top portion of the shelf and lay the fabric in place. Smooth it down so there are no wrinkles.

Repeat for the front edge and bottom of the sheet, once the top is dry. Trim the back edge so that the fabric will overlap on the back side, without wrapping around to the bottom or top. Mod Podge the back edge down as well.

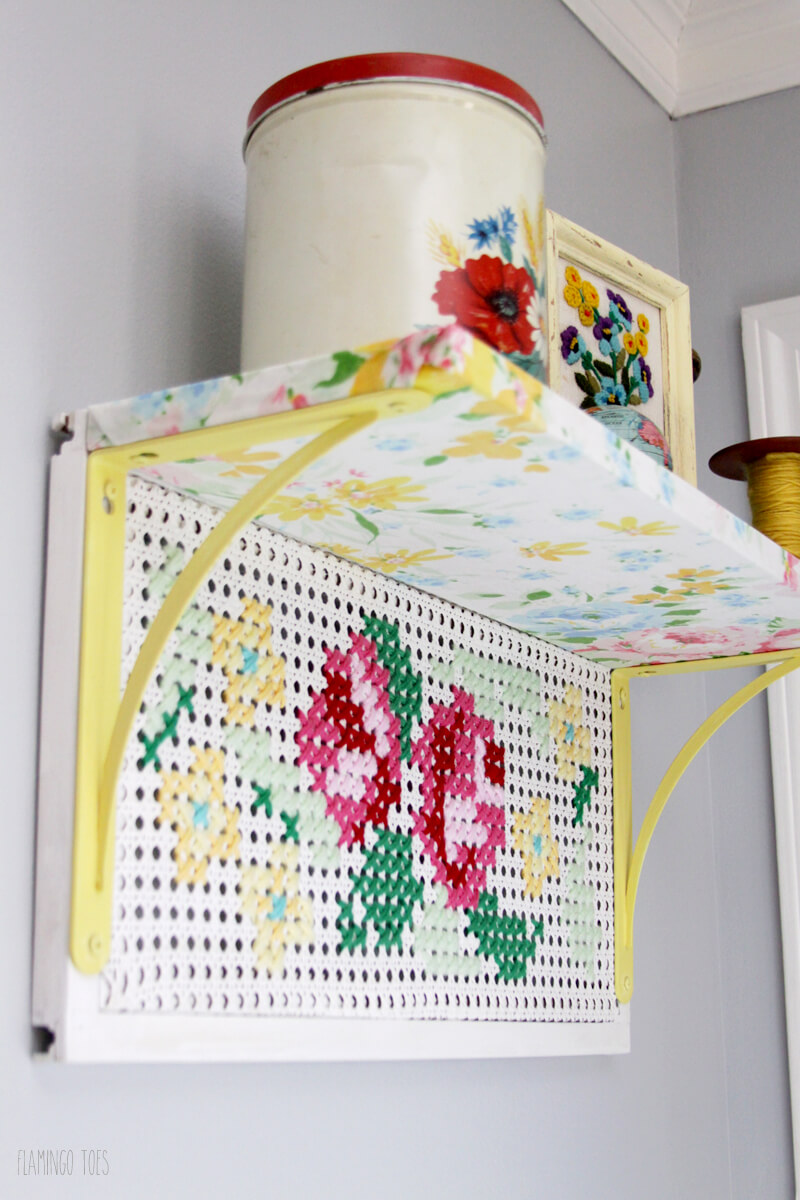
For the sides, I trimmed the fabric so the bottom didn’t cover the whole short side and mod podged it down. Then for the top and sides, I folded them envelope style and wrapped them around to the bottom. I trimmed the fabric so the edge would be covered by the bracket. That way everything looks nice and tidy and you don’t have any raw edges showing.

Once everything was dry it was time for assembly!

I placed the shelf on the shutter and marked the bracket holes with a pencil. For the underside of the shelf, I trimmed off the fabric in a circle around the mark with an Exacto knife and removed the fabric so it wouldn’t get all twisted up with the drill. I screwed the bracket in place and covered the screws with Summer Porch paint to make it all blend together.

I think it is such a fun piece and I’m going to love having it my studio. It’s so bright and colorful!
courtesy: Flamingo Toes

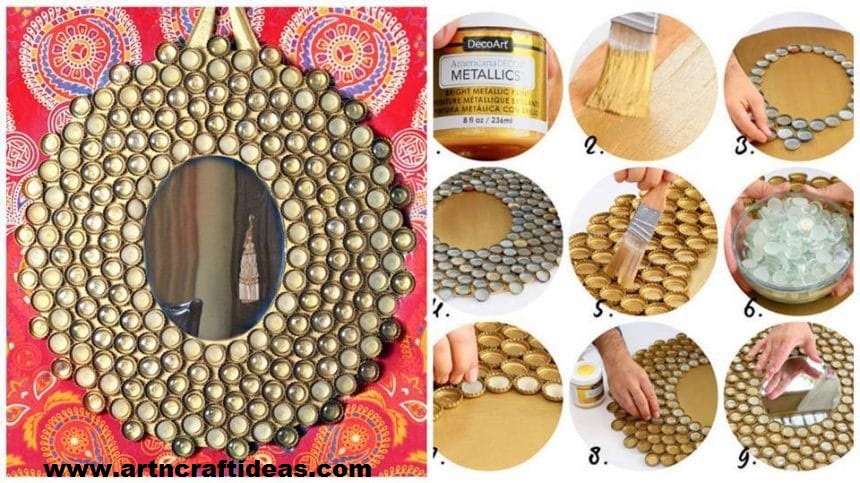
How to make Boho Bottle Cap Mirror

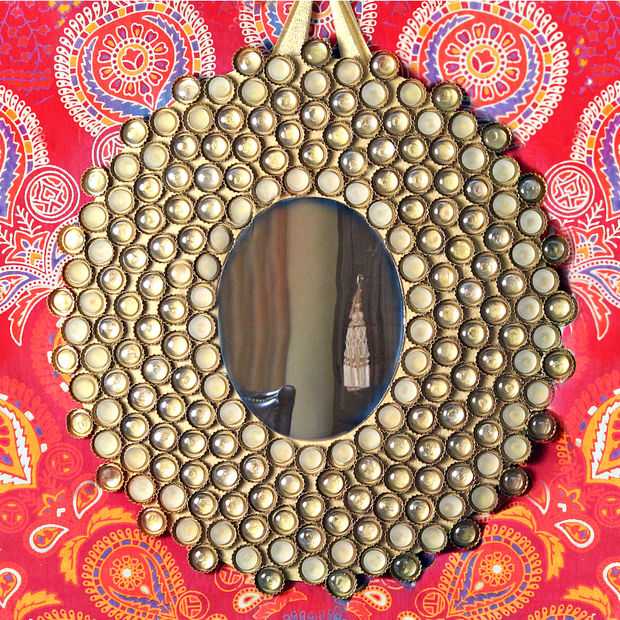
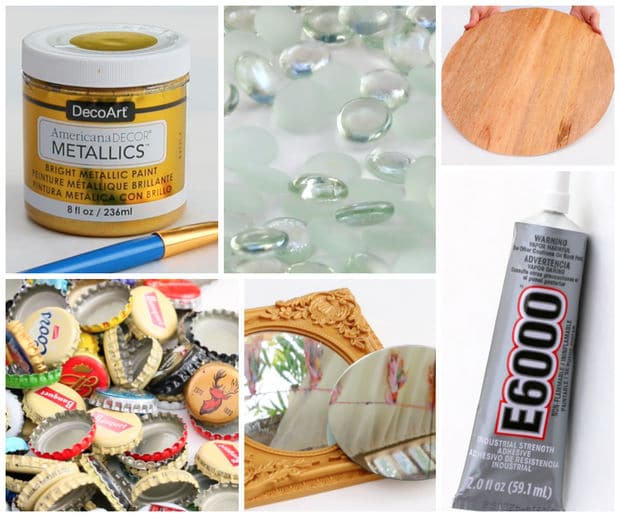
Use recycled bottle caps and floral marbles (from the 99c store) to make a funky boho mirror! I used clear glass marbles, but colors would be wonderful, too. Required Material:

  • Americana Decor Metallics in Antique Brass
  • Glass Floral Marbles
  • Round or oval wood base
  • E-6000 Glue
  • Bottle Caps
  • Mirror

Here’s How:

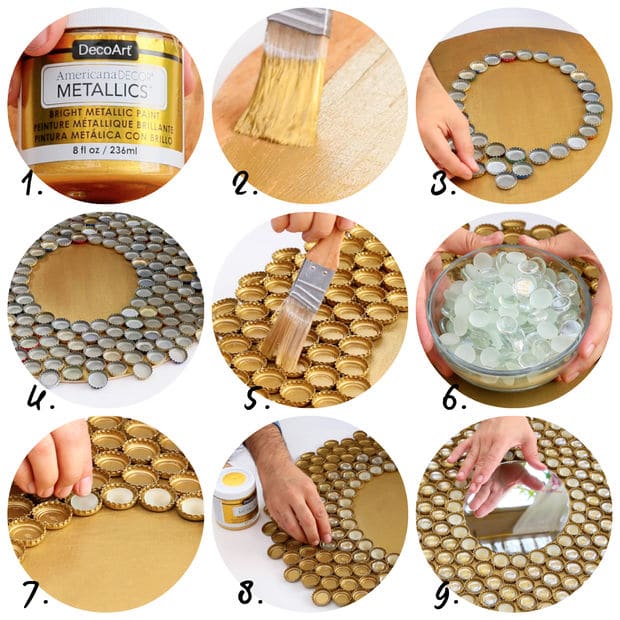
1. & 2. Paint the wood oval with the Americana Decor Metallics and let dry

3. Center the mirror and figure out your bottle cap design

4. Glue them on the wood base with E-6000 and let dry

5. Paint the bottle caps with more Americana Decor Metallics


6. & 7. Glue the glass chips inside of the bottle caps

8. Once the bottle caps are filled with glass chips, glue the mirror in the center

*Hot glue ribbon to the back for an easy way to hang your masterpiece

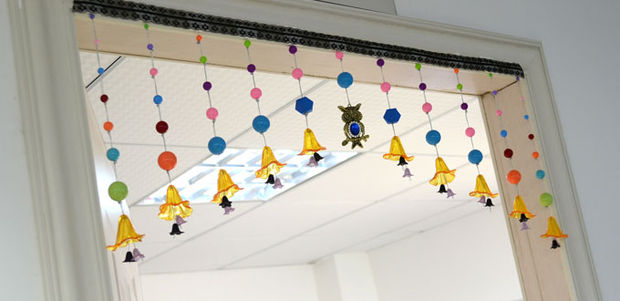
DIY Beautiful Beaded Curtain

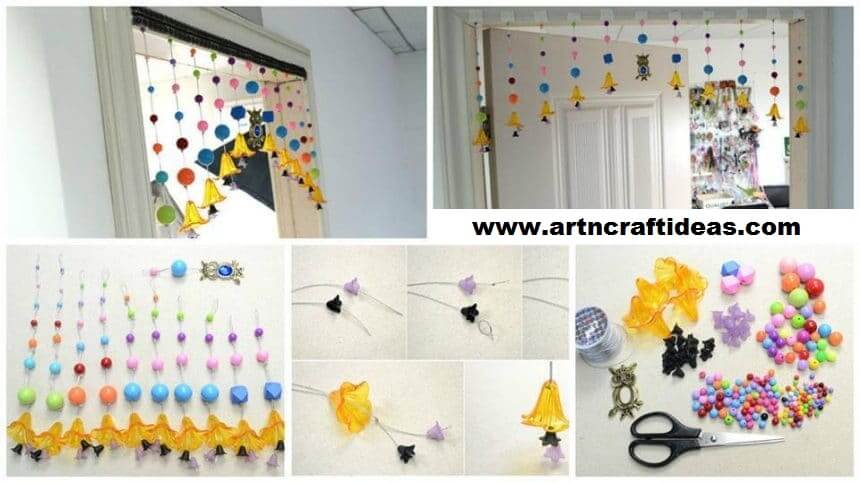
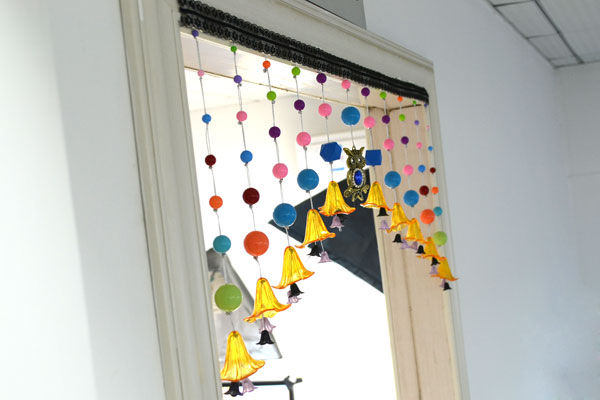
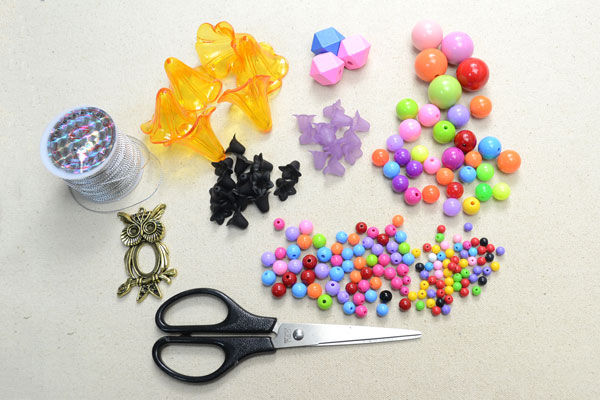
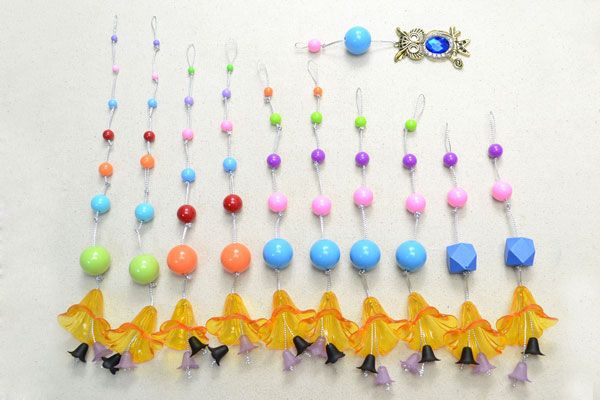
In this project, you’ll learn how to make a beaded curtain for home! This simple yet sparkling beads curtain design has just added splash of colors to your room and it’s really easy-to-do! Required Material:

  • Transparent Acrylic Beads
  • Round Colorful Acrylic Beads
  • Gengon Wood Beads
  • Owl Pendant Cabochon Setting
  • Acrylic Rhinestone Bead (not shown)
  • Metallic Cord
  • Scissors
  • Lace Trim (optional)
  • Double Faced Adhesive Tape (optional)
  • Mark Pen (optional)

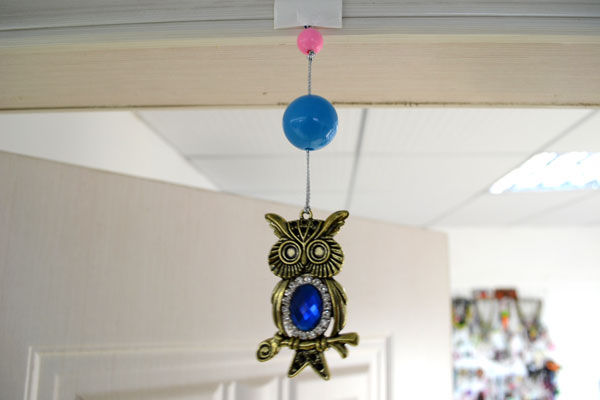
Make the Central Owl Pendant Bunch:

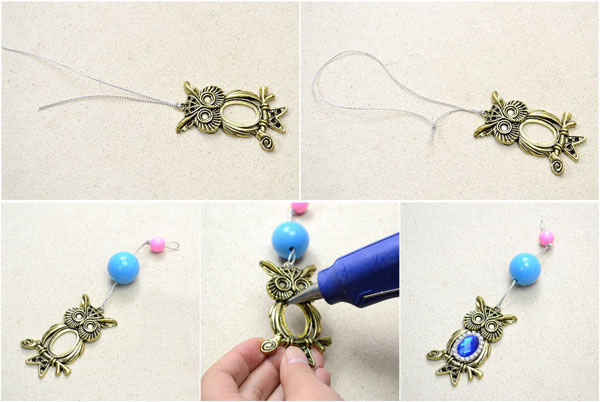
1st, cut a 34cm piece of cord;

2nd, attach the owl pendant to 1/3 location of cord by using a Lark’s Head Knot;

3rd, loop the cord by tying an Overhand Knot;

4th, tie another 3 Overhand Knots about 2cm away from the owl pendant. Then, string one largest (24cm) blue acrylic bead;

5th, tie the same Overhand Knots 2cm away the blue pendant and then string one smaller (20cm) bead;

6th, glue the selected rhinestone bead into the owl pendant cabochon setting. Now, you’ve finished the central bunch.

Make the Rest Beads Bunches in Varying Lengths:

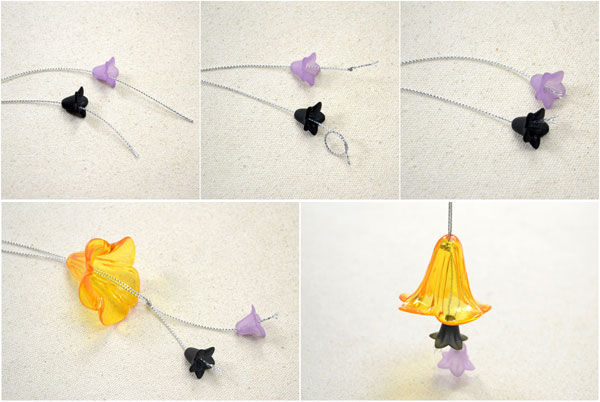
1st, cut a 68cm piece of cord;

2nd, string one purple and one black on two ends of cord. Secure by tying two Overhand Knots;

3rd, tie 3 Overhand Knots to secure the large-sized flower bead upon the two small-sized ones;

4th, in the following work, you’ll just need to repeat tying Overhand Knots to stop right beads in proper place. In my beads curtain design, I made five couples of beaded bunches extra and the lengths of needed cords are: 68cm, 76cm, 84cm, 92cm and 100cm.
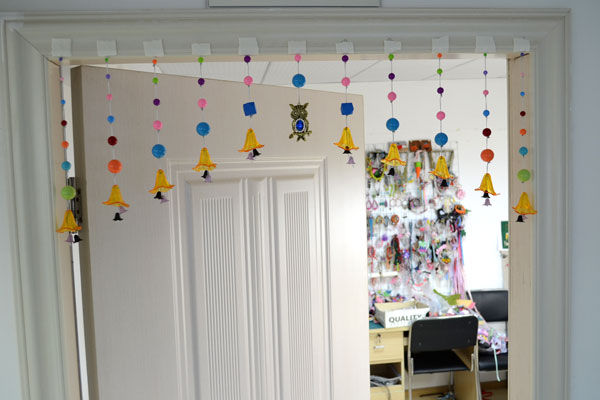
Hang Them on the Door:

1st, find the center of door and then stick the owl pendant bunch;

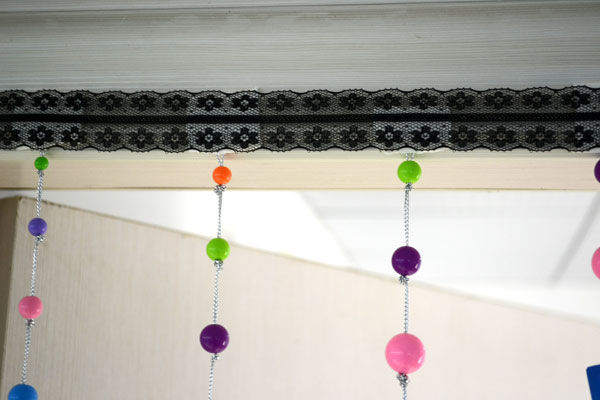
2nd, divide both sides into 5 equal parts and then attach the rest bunches by using double faceted adhesive tape; 3rd, cover the other face of tape with a lace trim.
courtesy: instructables

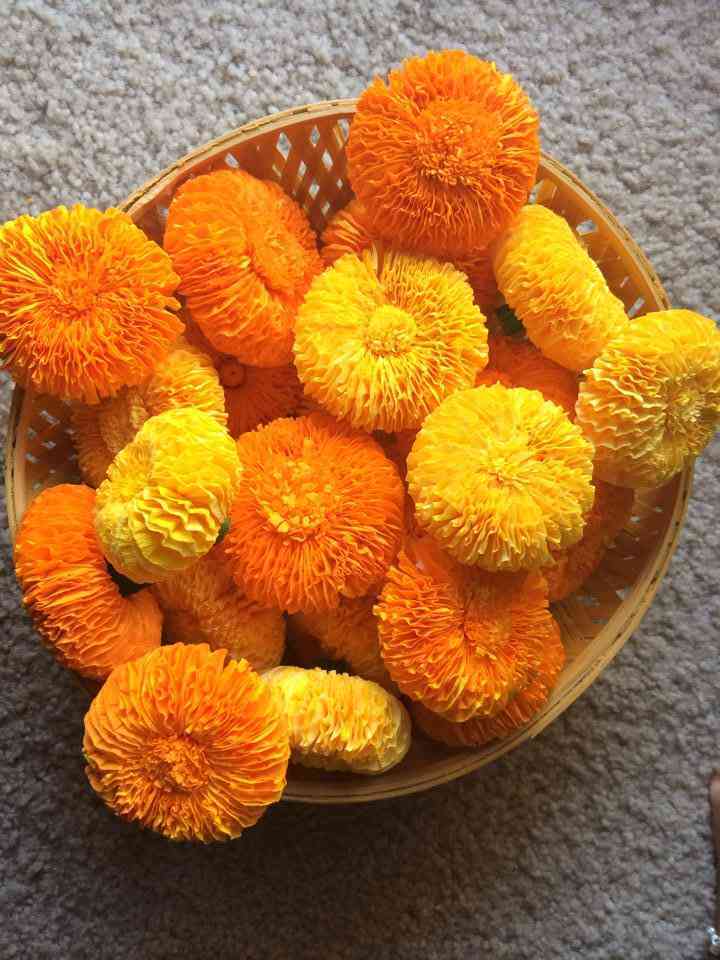
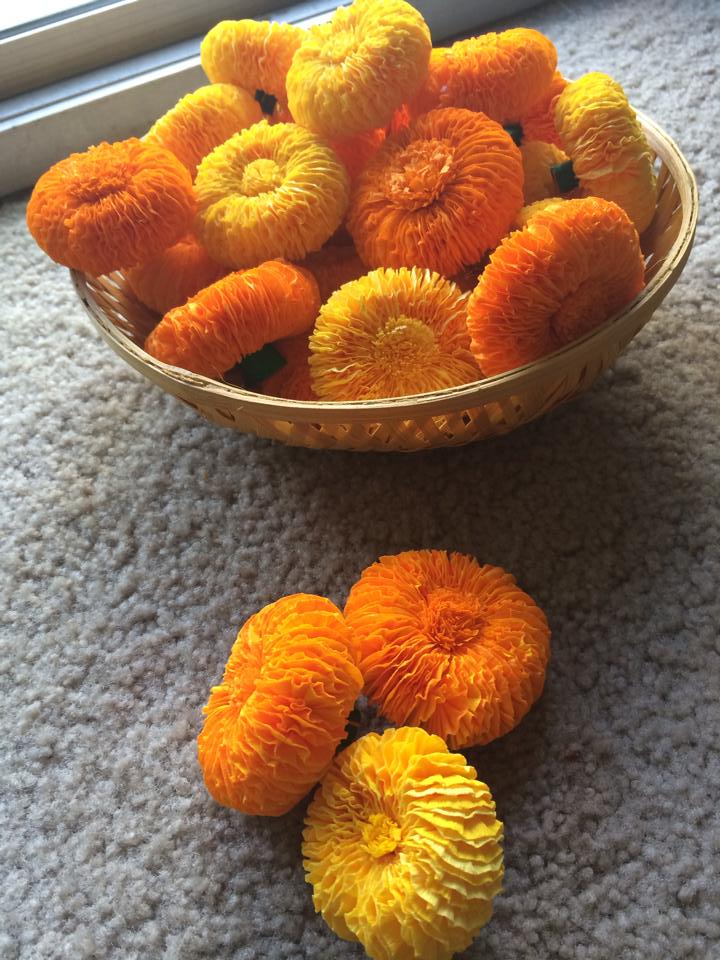
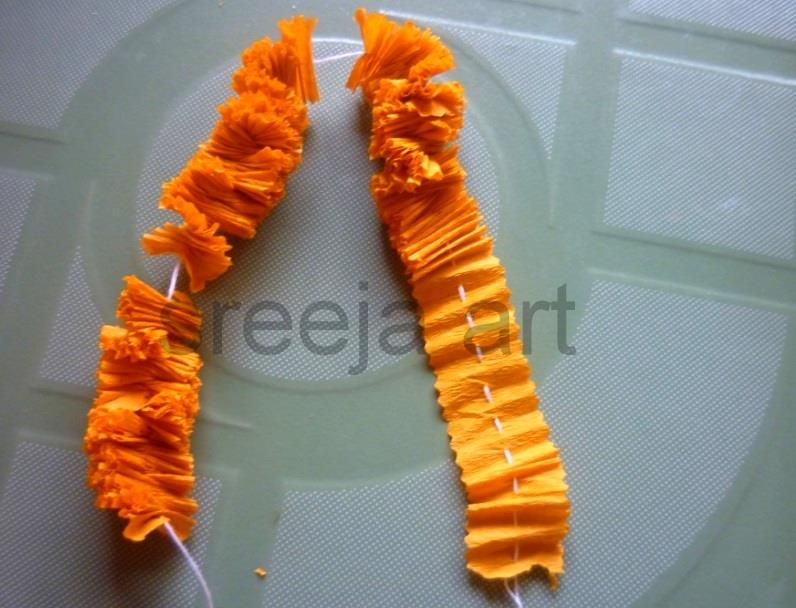
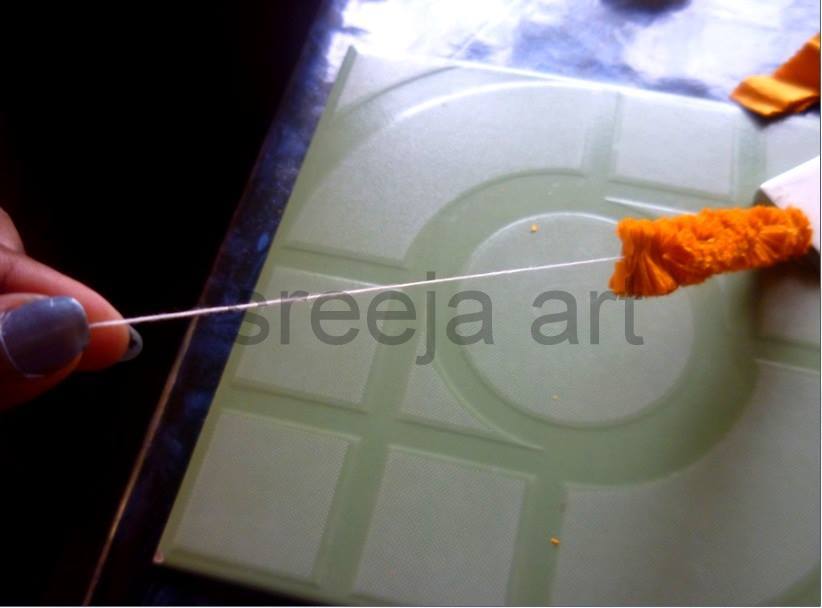
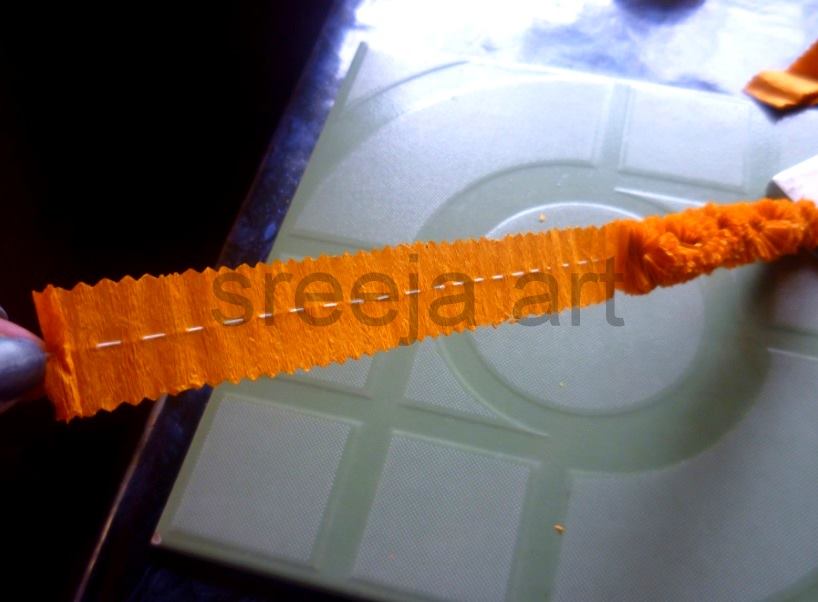
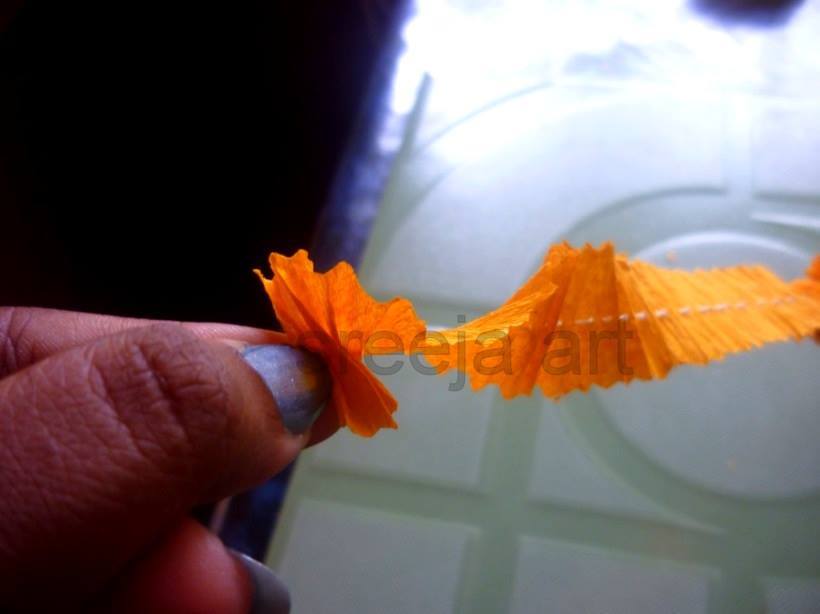
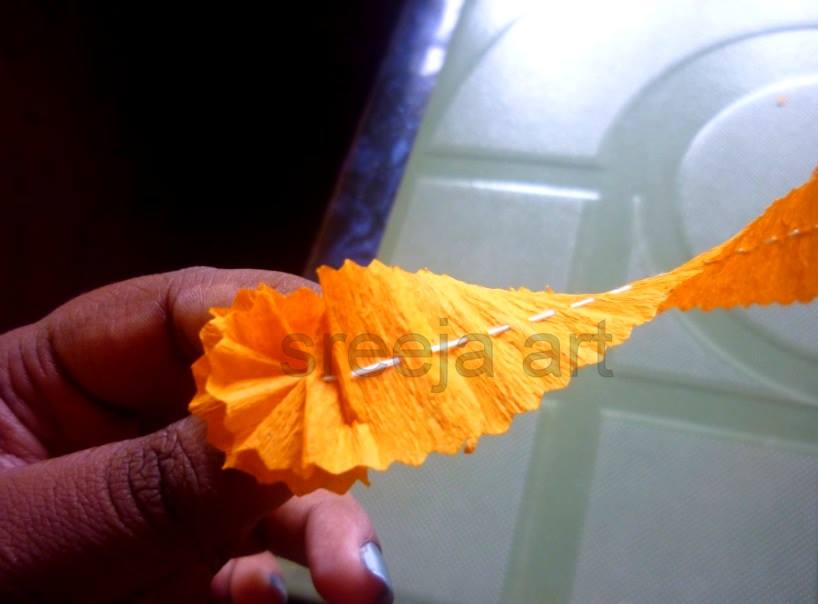
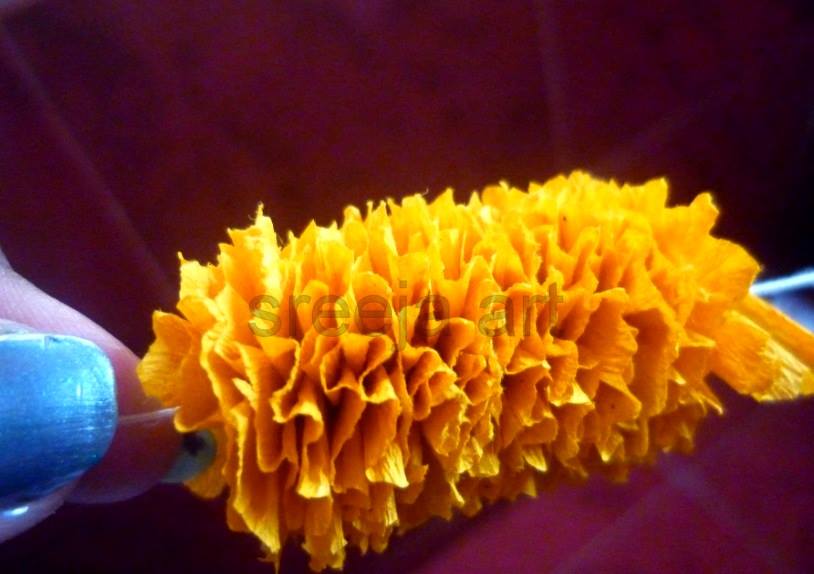
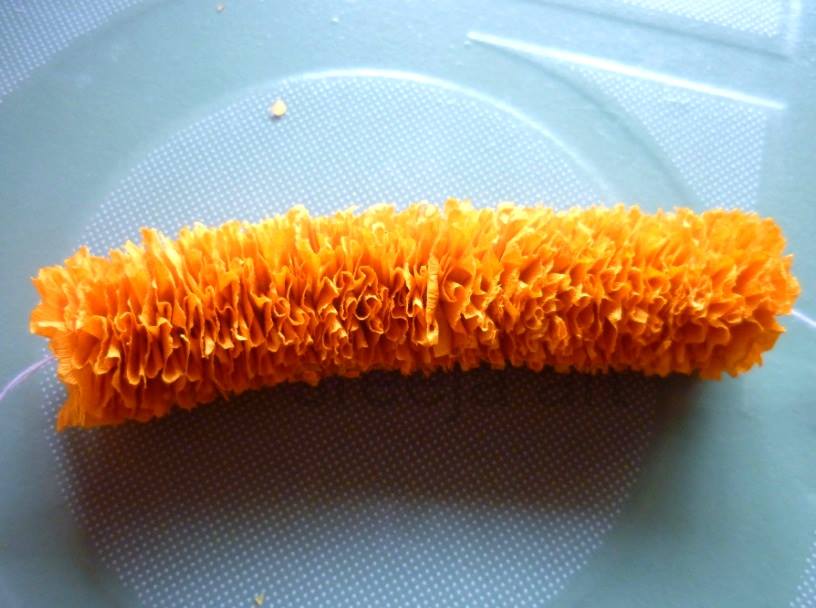
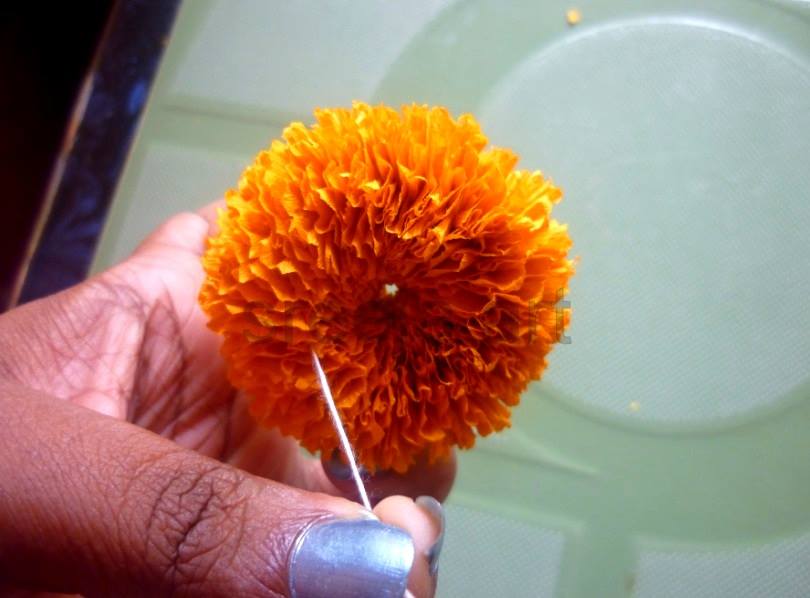
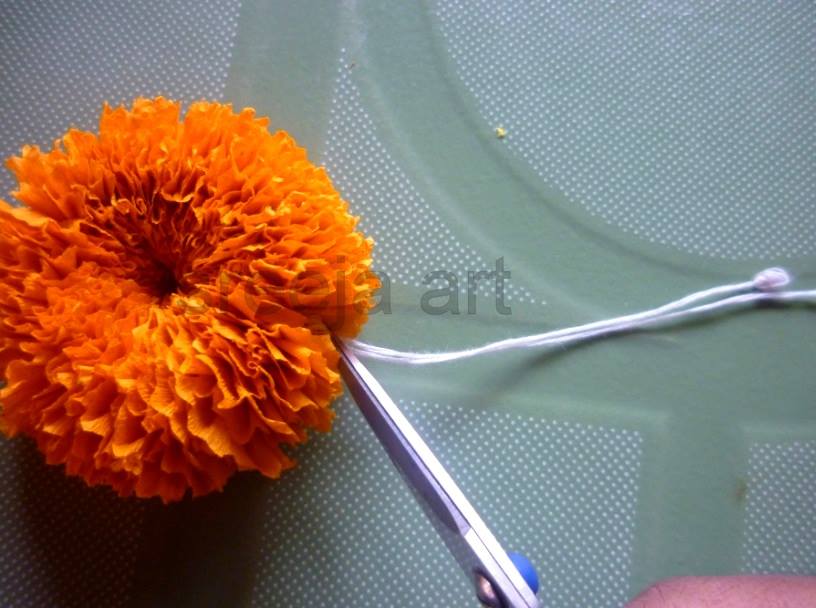
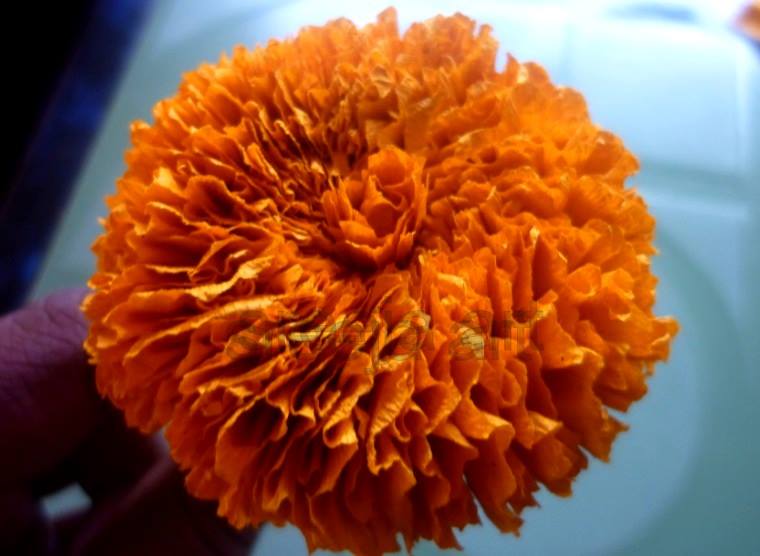
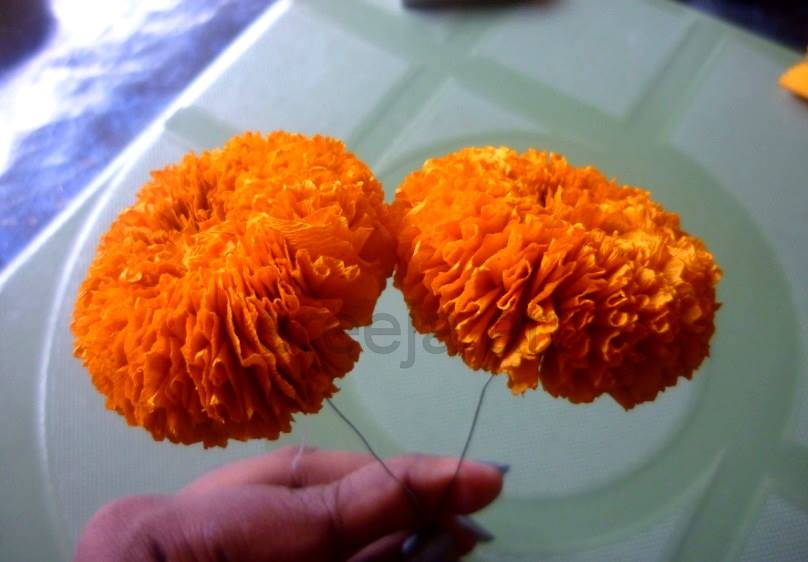
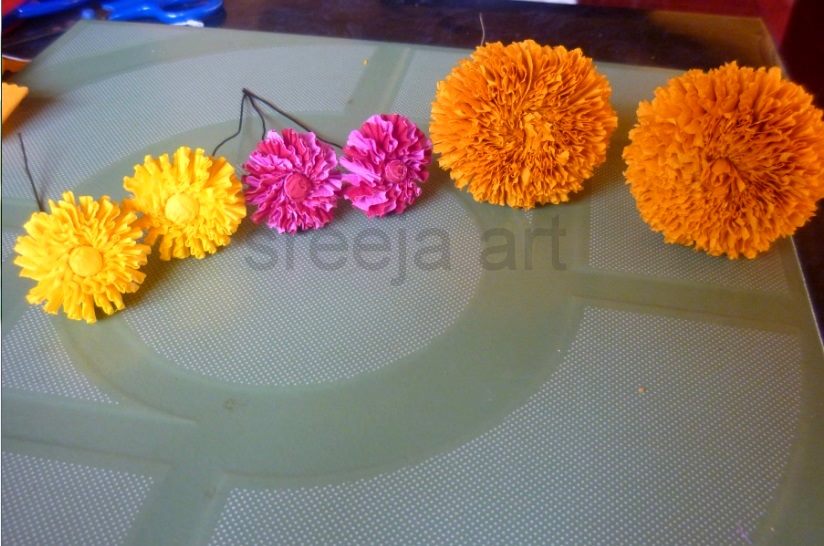
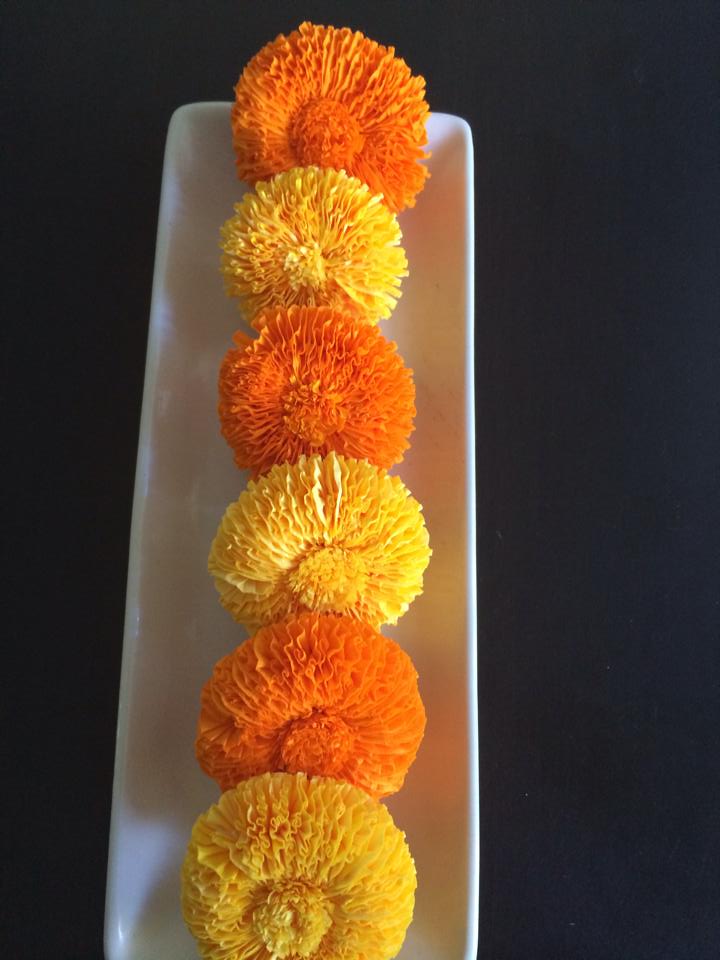
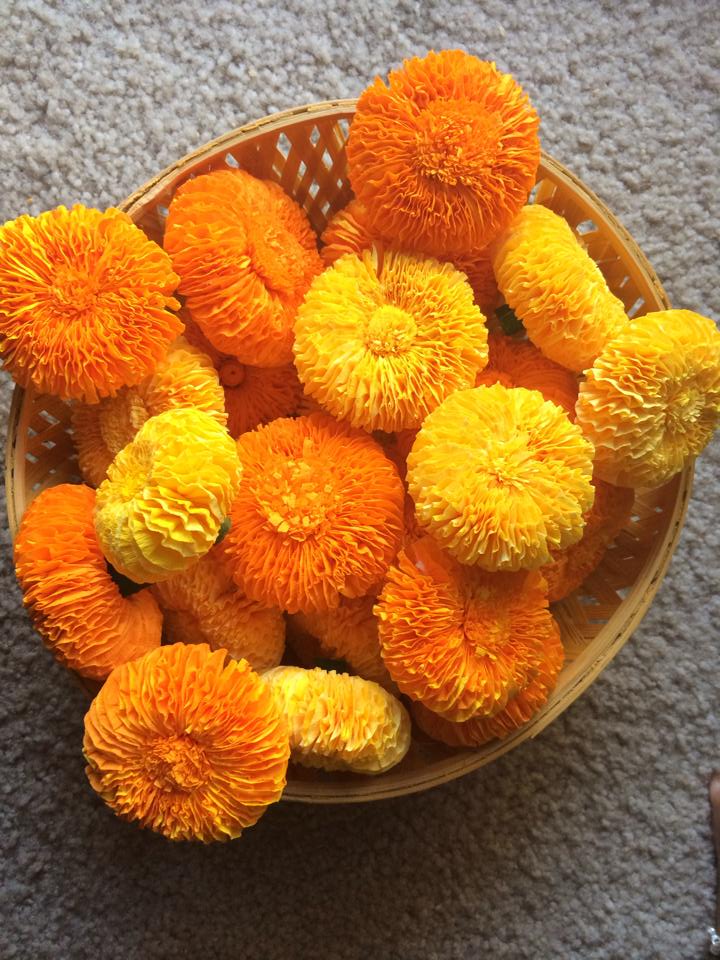
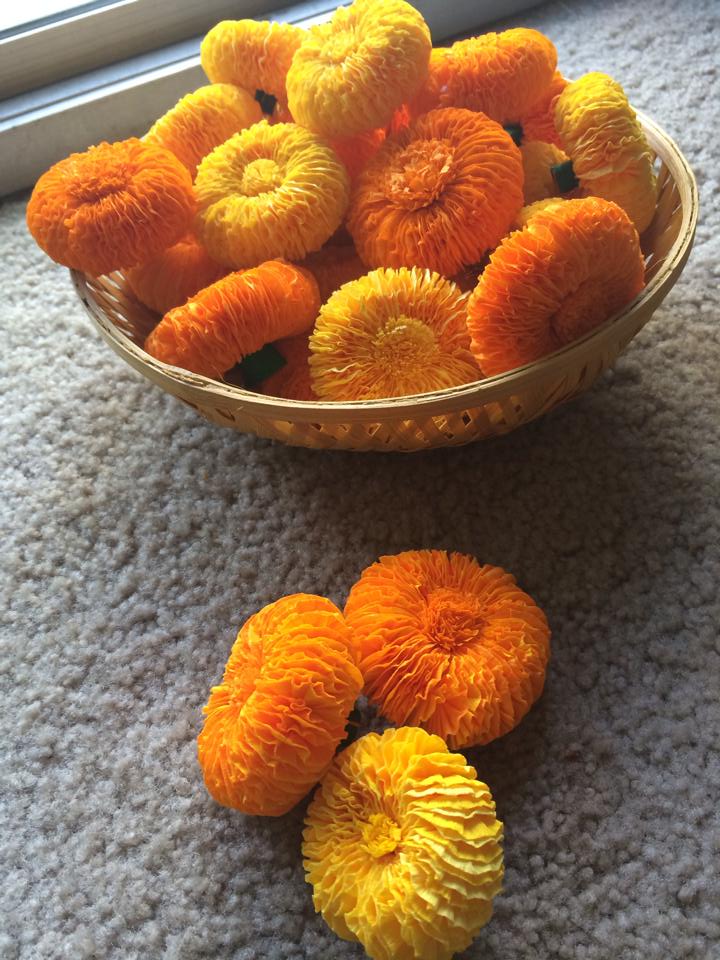
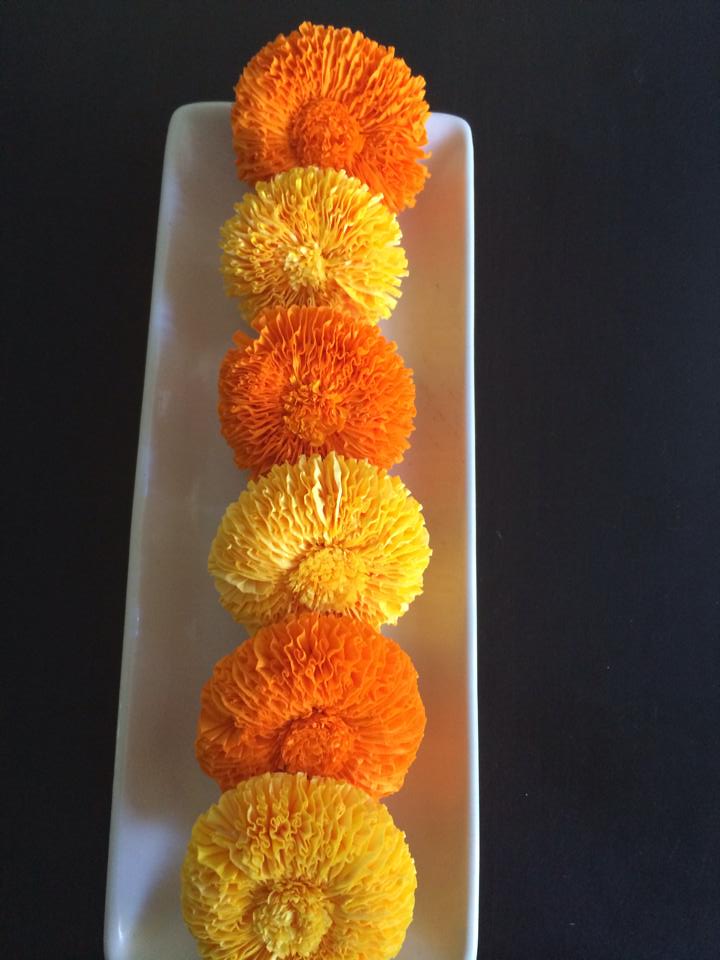
How to make marigold flower with crepe paper

How to make marigold flower with crepe paper

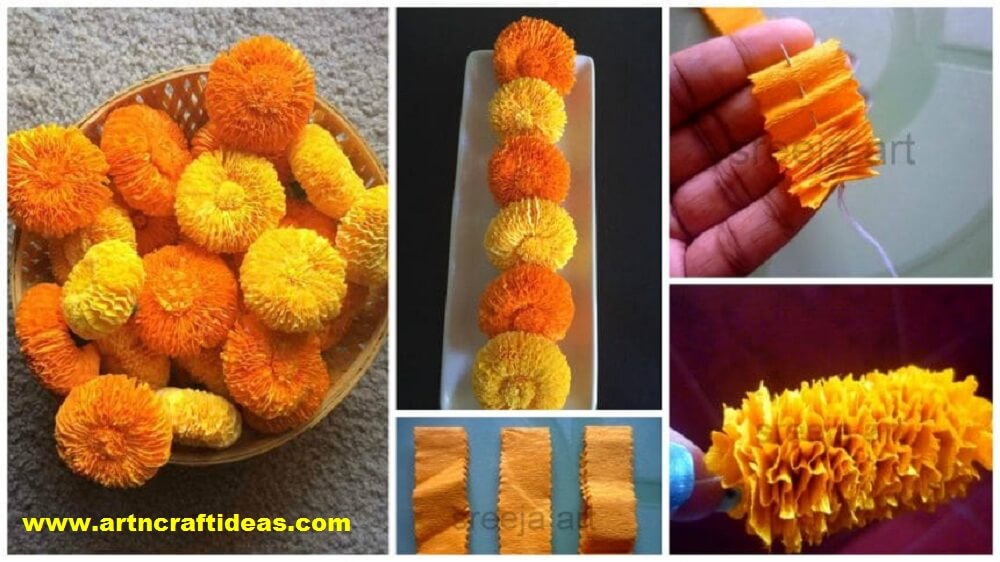
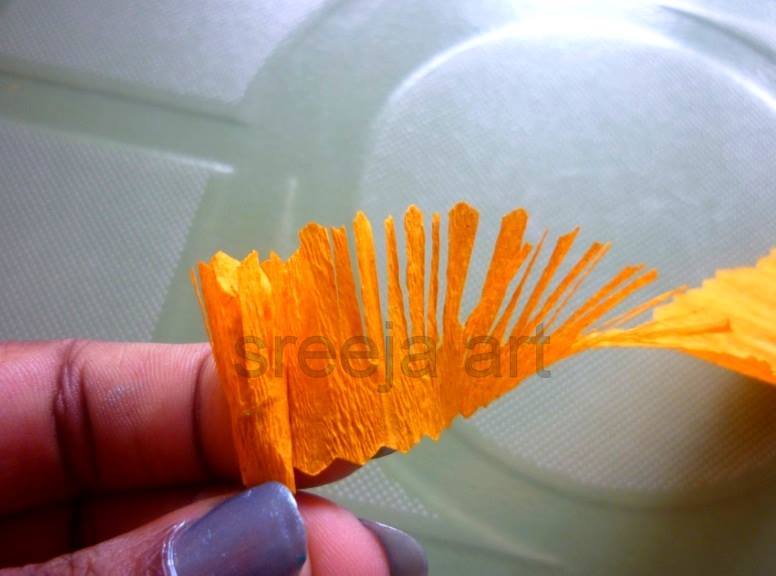
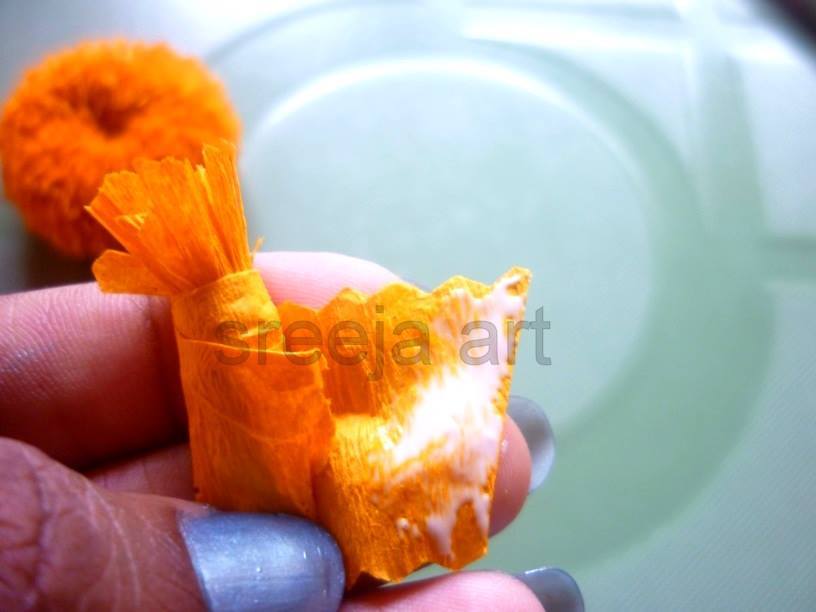
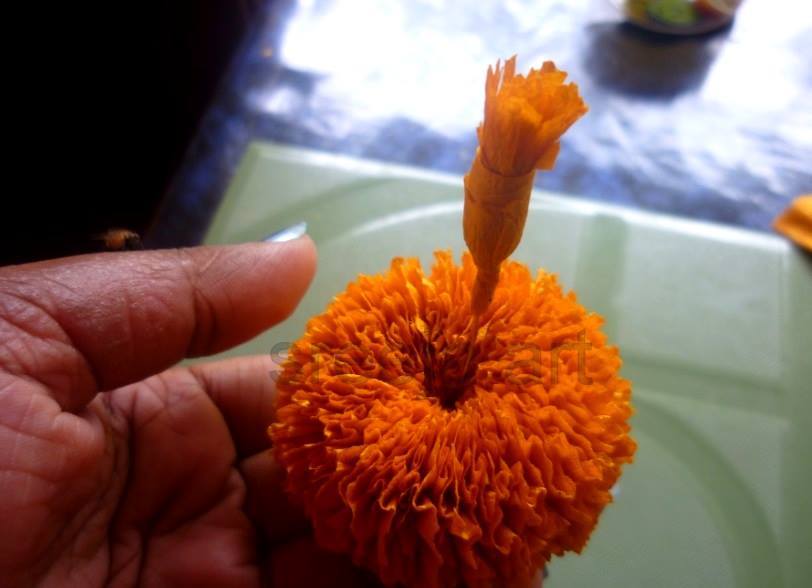
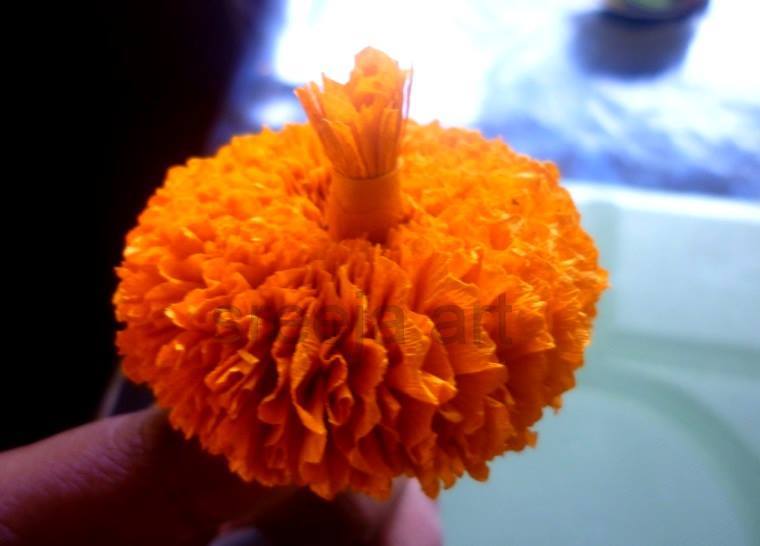
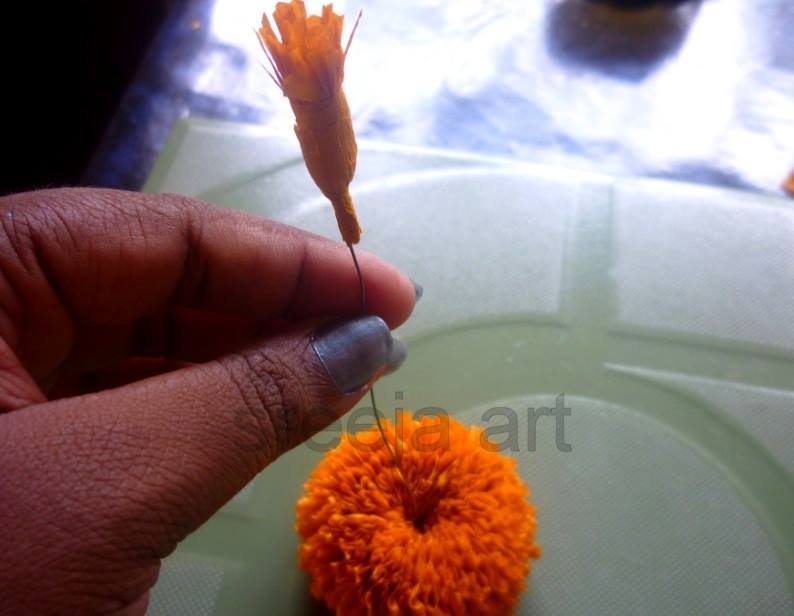
Marigolds are one of the most popular flowers used in weddings and other celebrations. In this tutorial, we’ll show you how to create a beautiful marigold bouquet using crepe paper. Crepe paper is a type of paper that is often used for making crafts. It is a thin paper that is easy to fold and has a slightly crinkled texture. Crepe paper is available in a wide range of colors, so it is a good choice for many different projects.

About Marigold flower

The marigold flower is a beautiful flower that is often used in decorative displays. The flower is native to North America and is a member of the Asteraceae family. The marigold flower is available in a variety of colors, including yellow, orange, and red. The flower has a long history of use in traditional medicine and is thought to have a variety of health benefits.

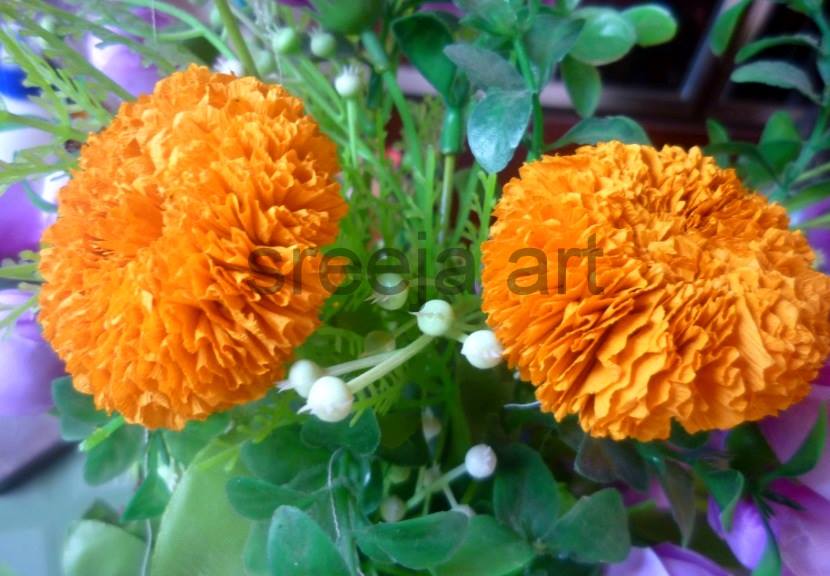
Beautiful marigold flower with crepe paper

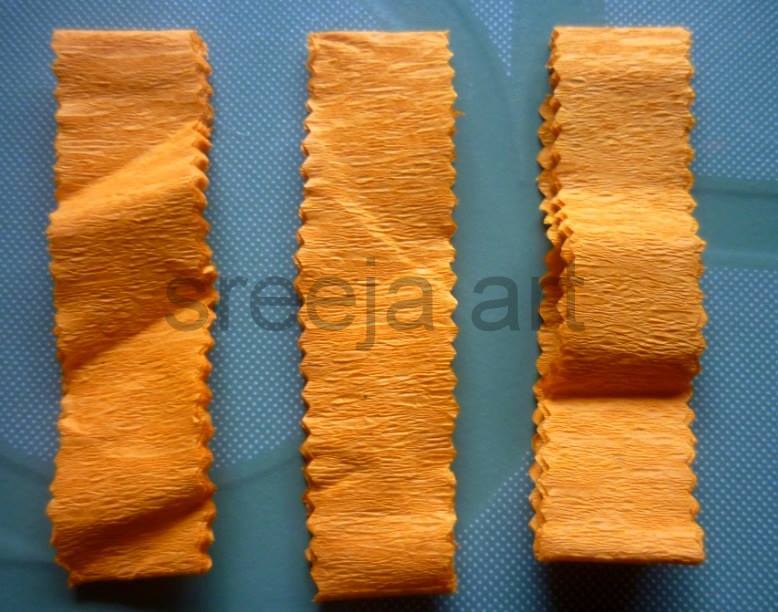
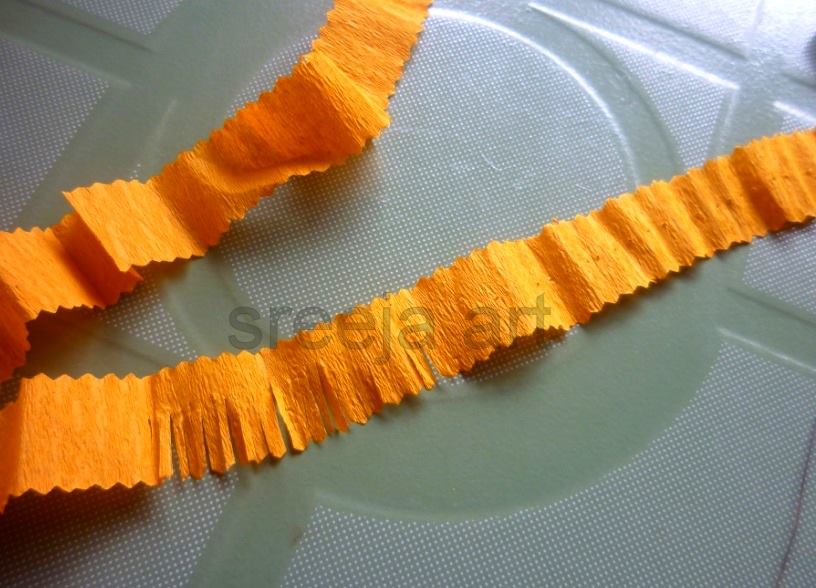
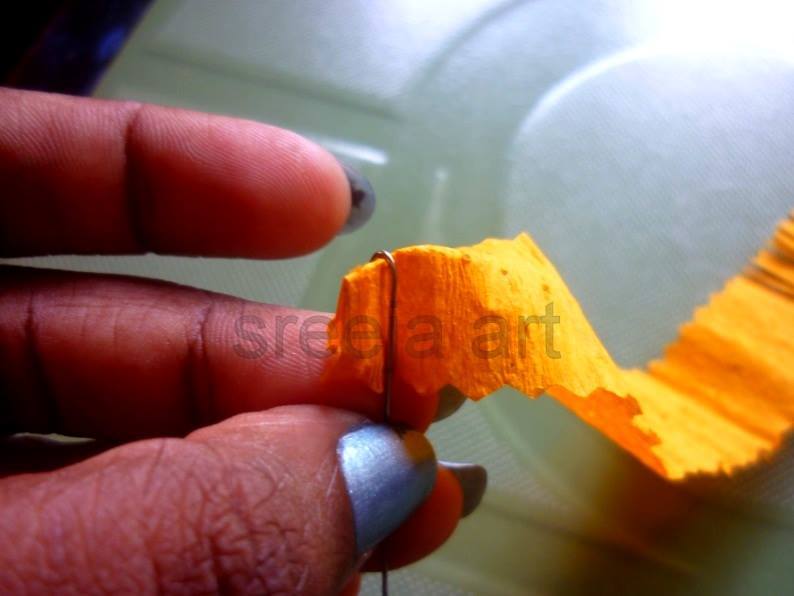
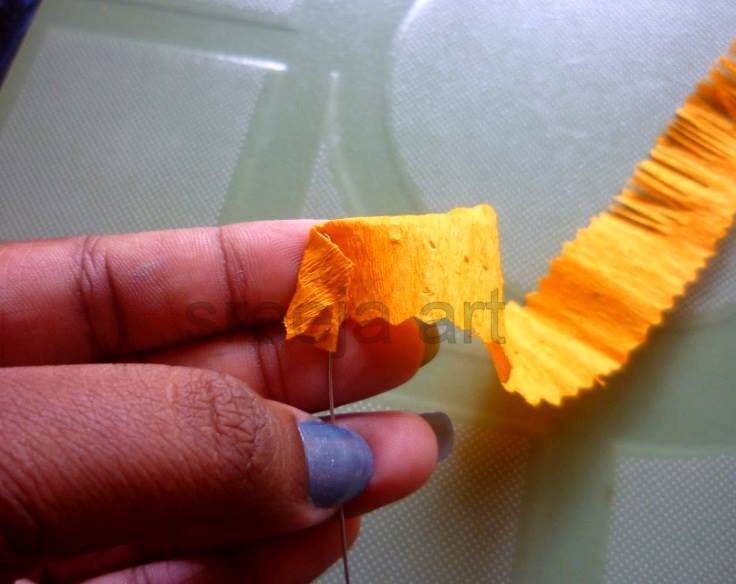
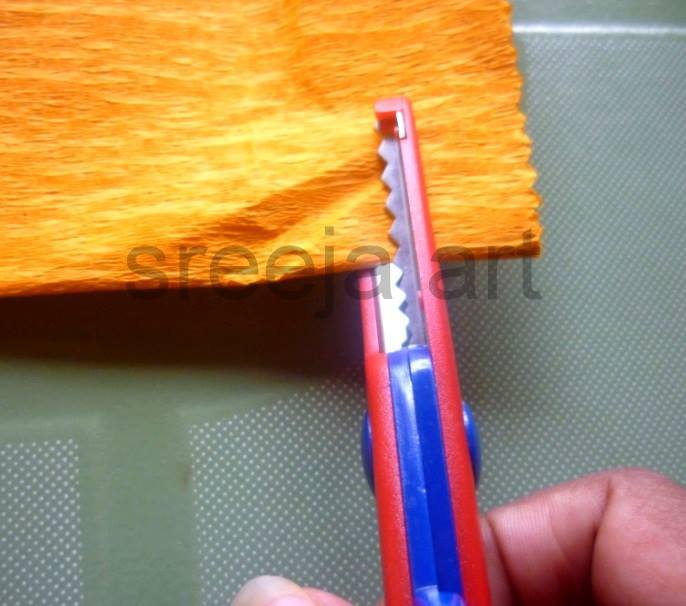
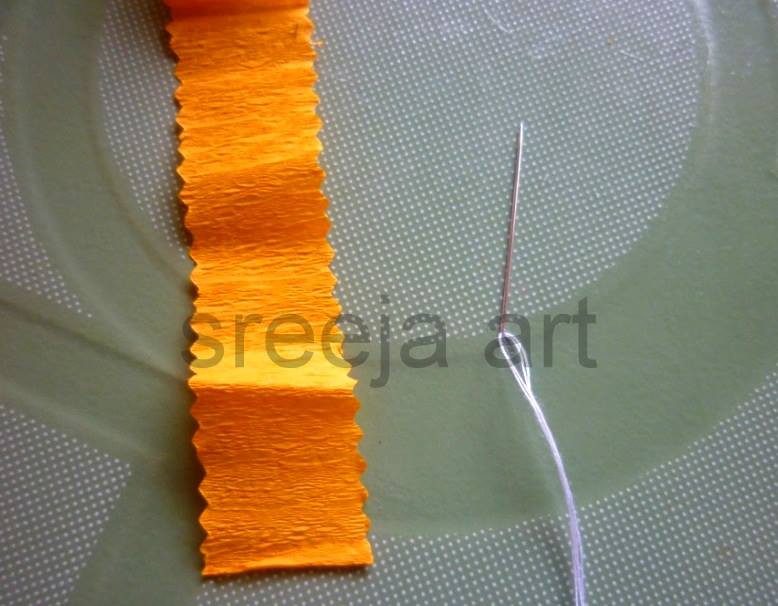
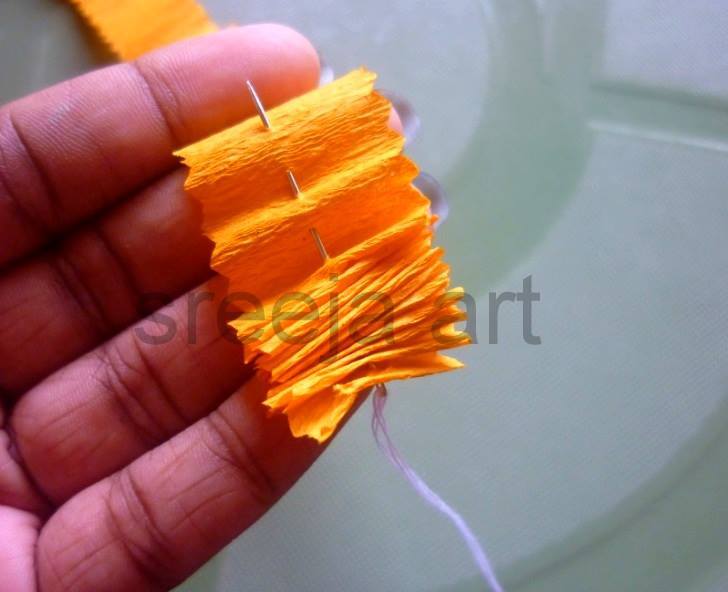
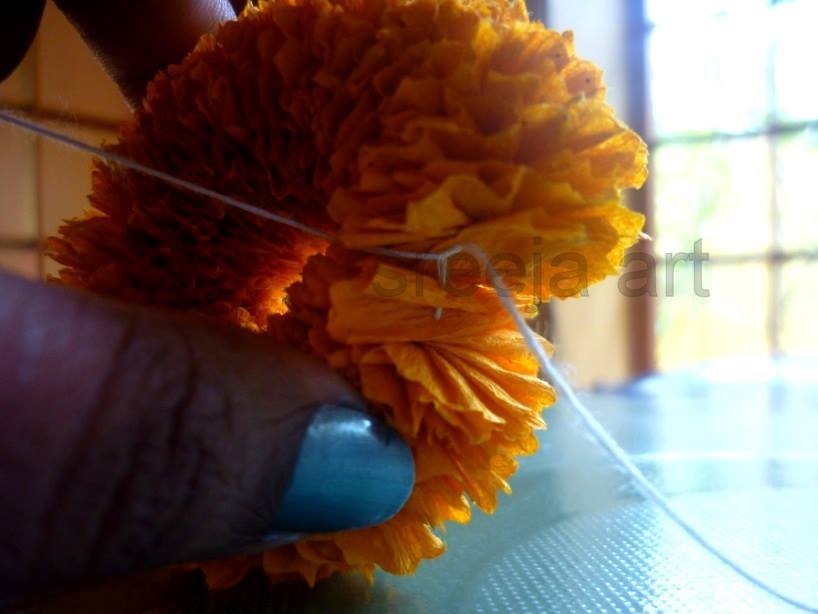
The Marigold flower is often associated with the crepe paper. This is because the Marigold flower is often used as a decoration for crepe paper. The Marigold flower is also used in other decorations, such as in bouquets. To make a marigold flower out of paper, you will need a sheet of orange construction paper, a sheet of yellow construction paper, a stapler, scissors, and a green pipe cleaner. First, cut the orange paper into a 6-inch by 6-inch square. Next, cut the yellow paper into a 6-inch by 6-inch square. Fold the orange paper in half, and then in half again. Next, do the same with the yellow paper. Staple the two folded pieces of paper together at the center. Once stapled, cut each side of the orange paper into a triangle, stopping about an inch from the center. Unfold the paper, and then refold it so the triangles are pointing inwards. Once again, staple the two pieces of paper together at the center. Next, cut the yellow paper into eight strips, each about an inch wide. Take four of the strips and staple them together at the center to create a cross. Repeat this step with the remaining four strips of yellow paper. Attach the yellow cross to the center of the orange flower. Finally, twist the green pipe cleaner around the center of the flower to create the stem. Courtesy- Sreeja K Achyuthan
FAQs

What flower looks like crepe paper?

The flower that looks like crepe paper is the poppy. The poppy is a beautiful flower that is often used in bouquets and other arrangements. The poppy has a delicate appearance and its petals are thin and fragile.

How long do crepe paper flowers last?

Crepe paper flowers are a beautiful and unique decoration for any event. They are also relatively easy to make. But how long do they last? Assuming they are made correctly and stored properly, crepe paper flowers can last quite a long time. They won’t wilt like real flowers, so you don’t have to worry about them drooping. However, the colors may fade over time if they are exposed to sunlight. Overall, crepe paper flowers are a great option if you’re looking for something that will last. Just be sure to keep them out of direct sunlight, and they should retain their beauty for many months.

Beautiful Leaf Craft Ideas for Kids

Useful Resources

K4 Craft Kidpid Kids Art & Craft K4 Fashion