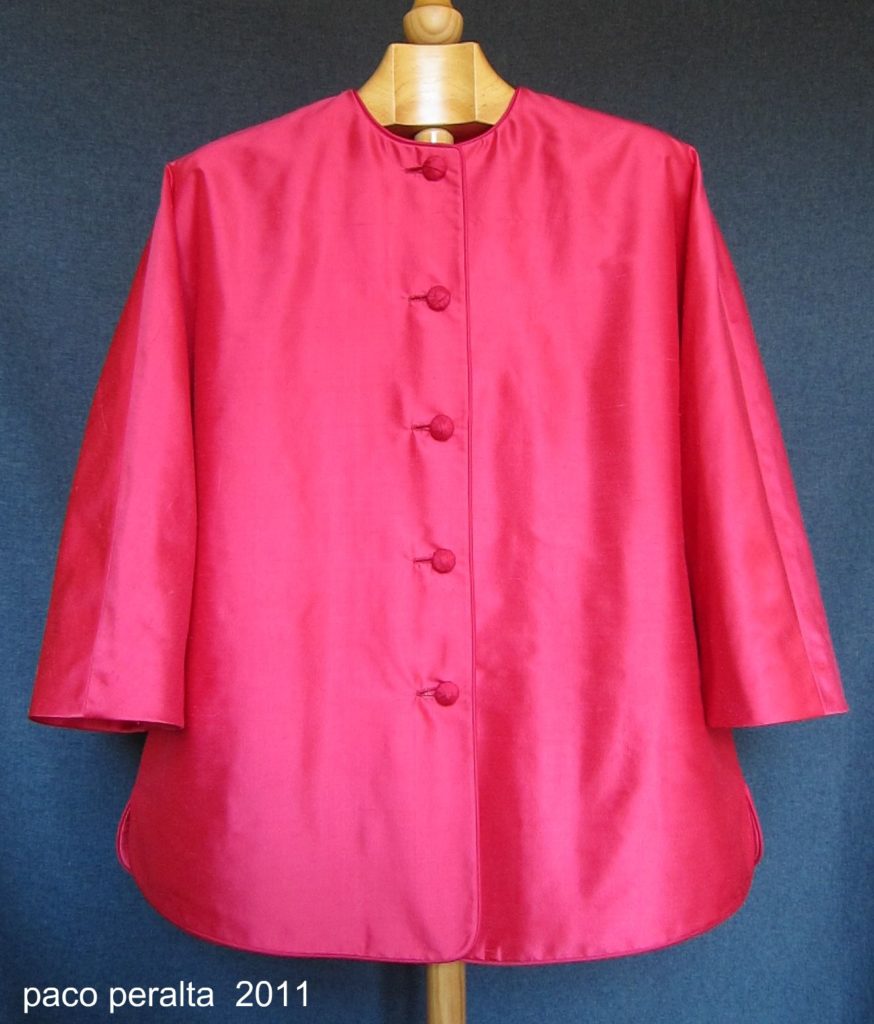
Posted onMarch 22, 2017November 19, 2022inEmbroidery And Sewing, Tutorial Sew Chinese-Style Jacket Button Ideas
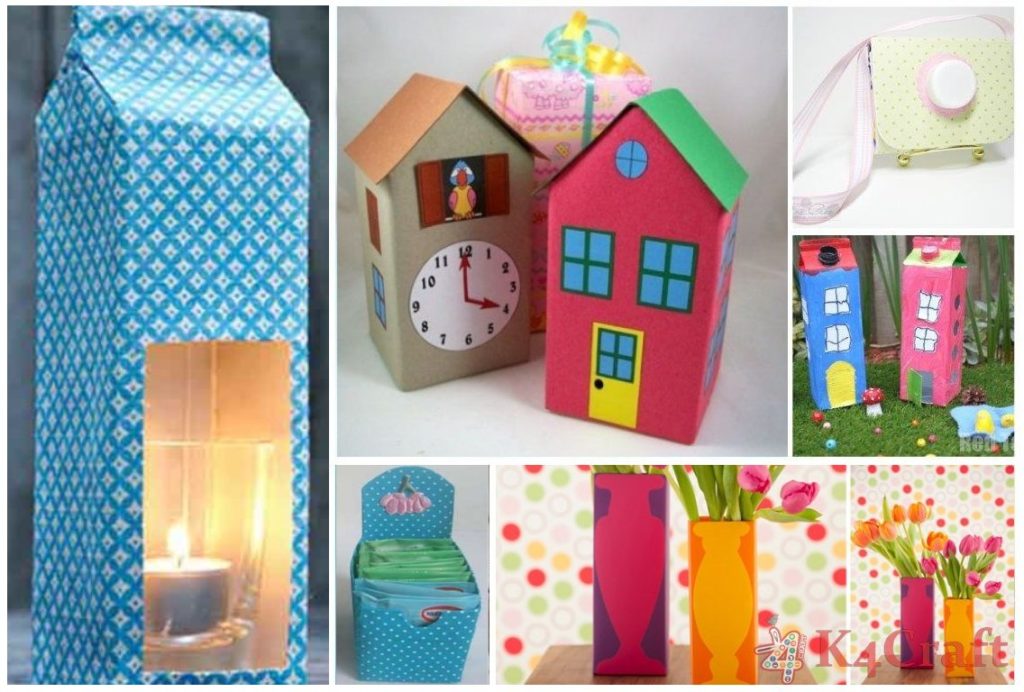
Posted onMarch 14, 2017March 14, 2017inBest out of Waste, Featured, Ideas, Kids Crafts, Video DIY Kids Crafts with Recycled Milk Cartons
Posted onMarch 12, 2017June 13, 2018inDIY, Foam Sheet Crafts, Tutorial Handmade DIY Glitter Cell Phone Case
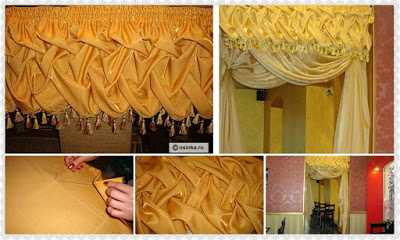
Posted onMarch 10, 2017inEmbroidery And Sewing, Home Decor, Patchwork Crafts, Tutorial How to make fancy curtains
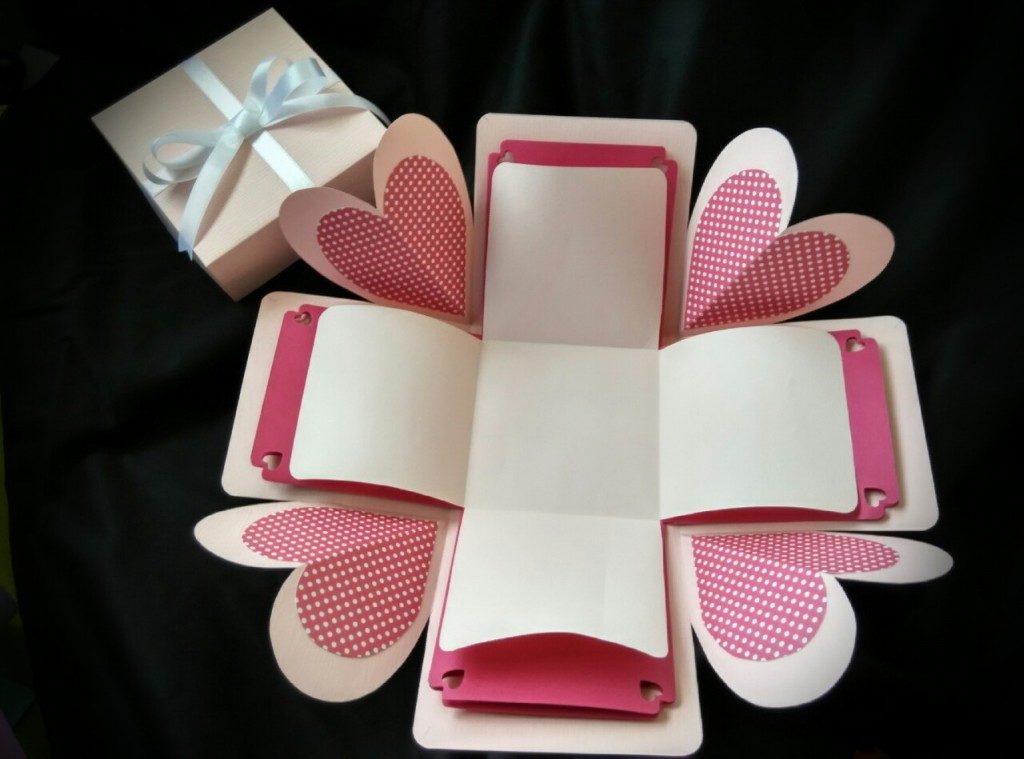
Posted onMarch 6, 2017March 6, 2017inDIY, Paper Crafts, Tutorial How to Make an Basic Explosion Gift Box
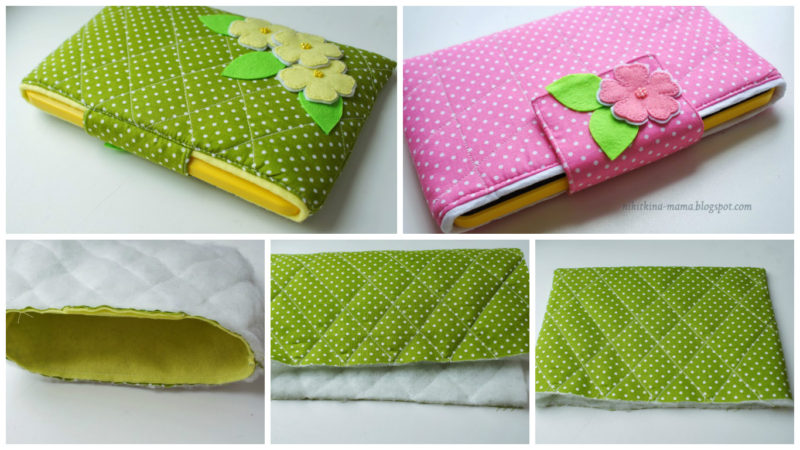
Posted onMarch 4, 2017inEmbroidery And Sewing, Patchwork Crafts, Tutorial DIY: Beautiful Mobile Cover