DIY: Valentine’s Day Rainbow Banner

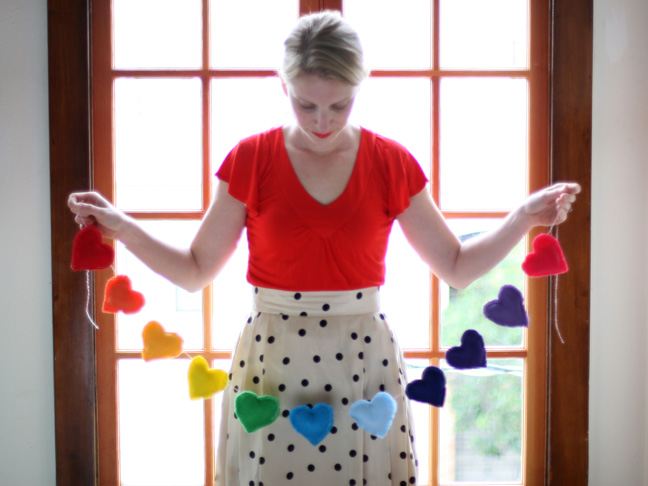
This is a fun little rainbow banner for Valentine’s Day make with felt and string. Keep reading to see how to make it!
Required Material:

  • Squares of craft felt in rainbow colors
  • Bakers twine
  • Sewing machine or needle and thread
  • Scissors
  • Chalk
  • Heart cookie cutter
  • Batting
  • Pins
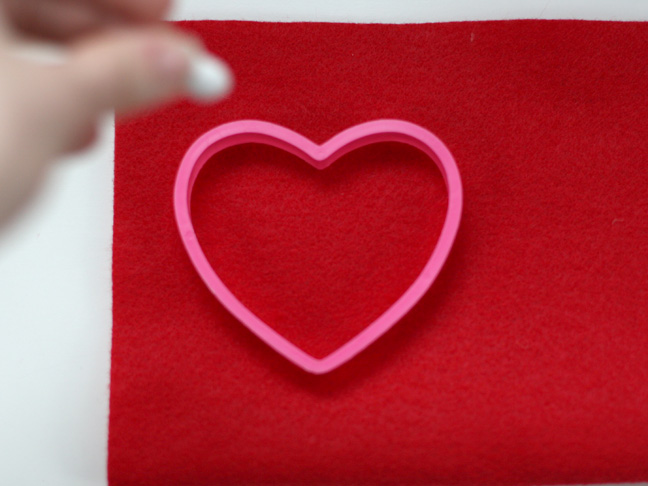
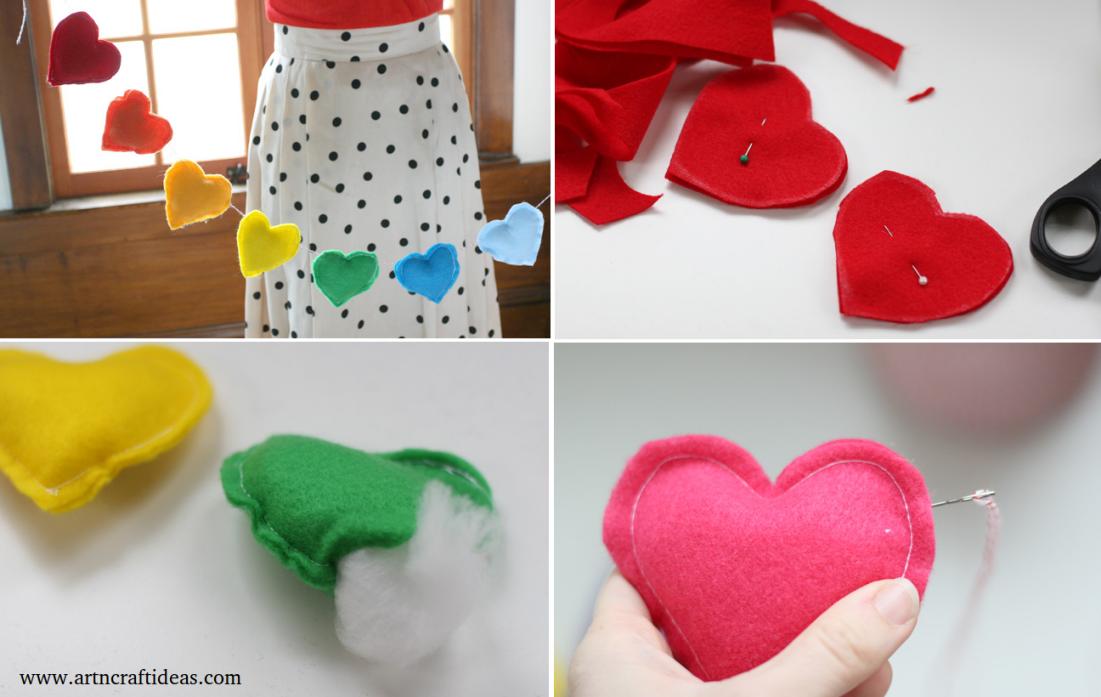
  • Start by tracing the heart shape onto a piece of felt folded in half
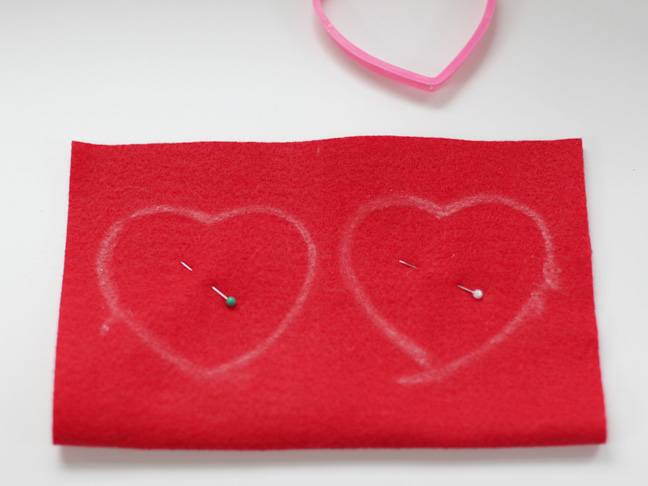
After it has been traced with chalk, pin the middle to keep both sides together.
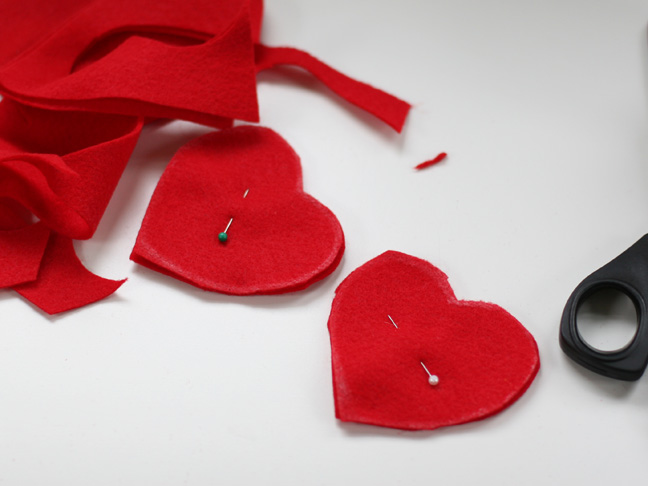
Cut out your hearts. Keep the pins in. Set pinned hearts aside.
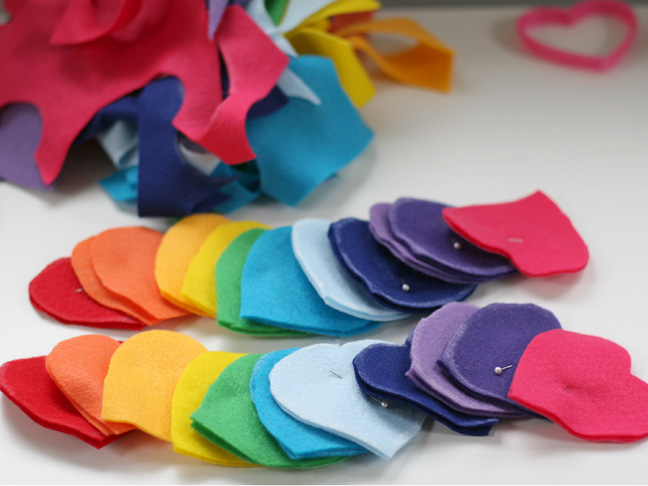
Do the same with the other rainbow colors.
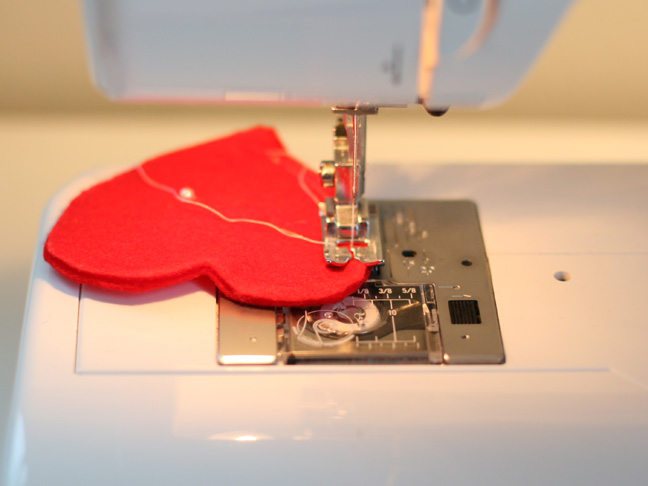
Now sew both pieces together along the edge in a extra wide stitch with contrasting thread. You could also handstitch these. Leave 2 inches open to add the batting.
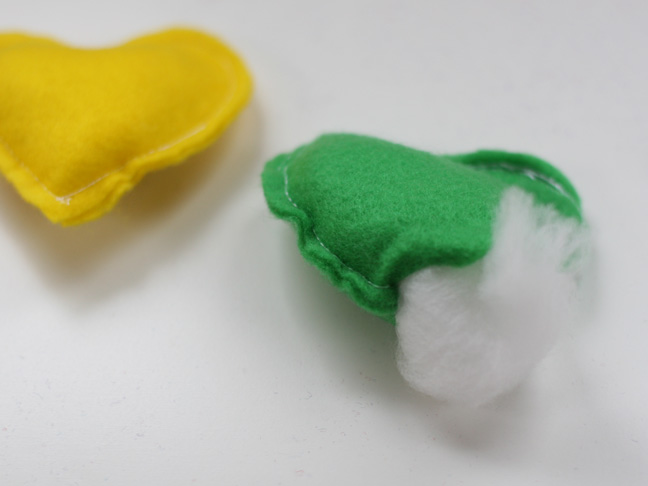
Stuff the batting into the heart and sew up the last inch.

Do the same with the other colors (I only ended up making one of each color as opposed to the two I had cut out).
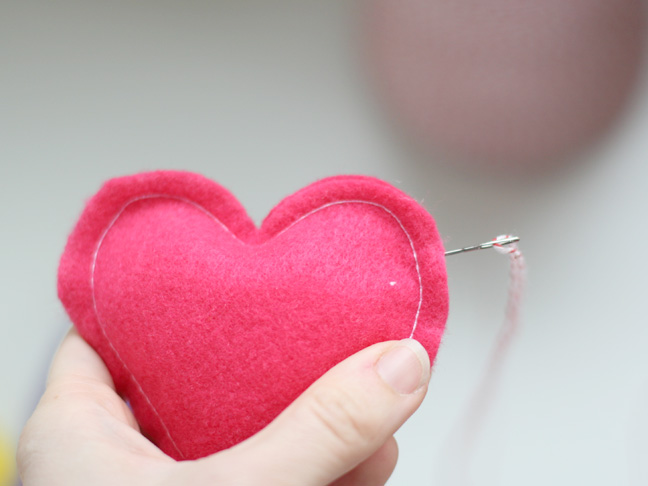
Thread some bakers twine into a embroidery needle and poke through the top end of one, threading it through to the other side. Make sure to put the hearts on in rainbow order.
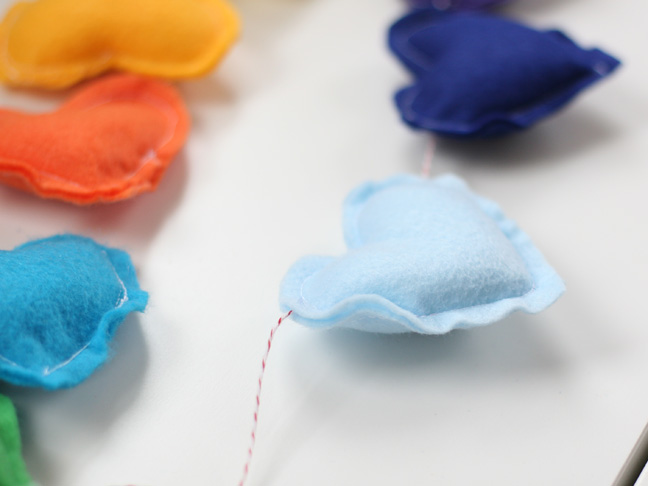
Keep adding to the thread until they’re all on.
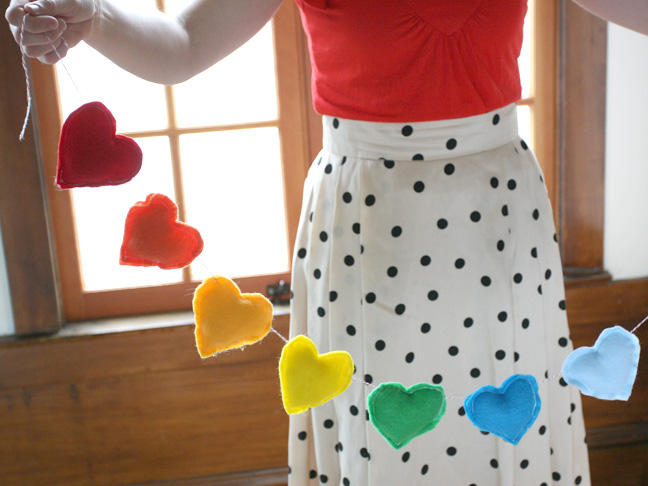
Hope you like this Rainbow Banner tutorial.

Image Source: momtastic

We would love to hear your thoughts in the comment section below. And be sure to like us Facebook for more ideas!

Thank you for visiting our website. Keep Creating with Art & Craft!
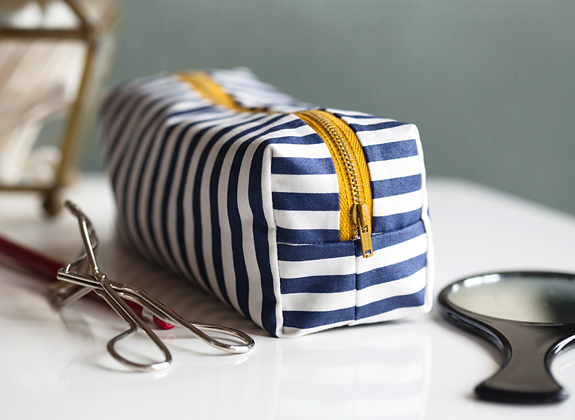
DIY Tutorial: Make Your Own Mini Boxy Makeup Bag

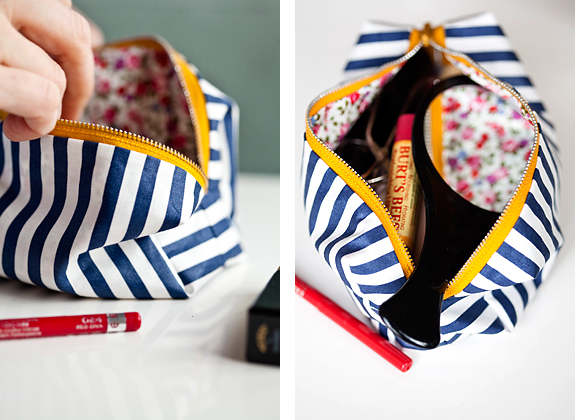
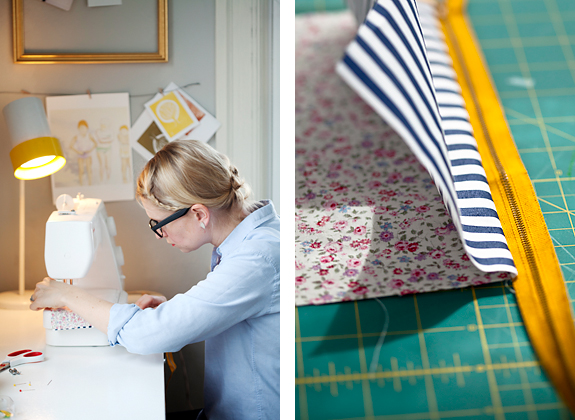
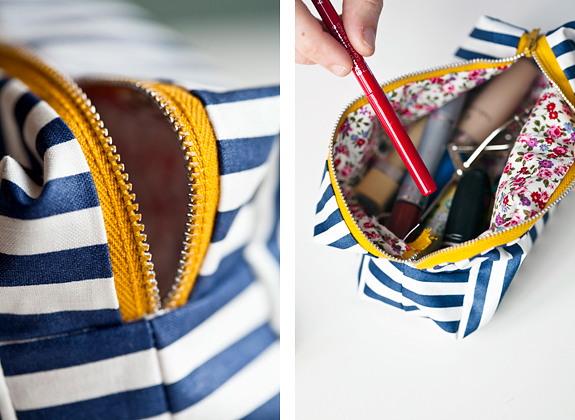
DIY today for creating this boxy mini makeup bag. Compact enough for your stylish purse but big enough to fit all your touch up supplies you may need for a party, evening out, or special event like a wedding.

If you’ve never worked with a zipper before, this will be a great project to learn on. I promise, it’s really easy!

Required Material:

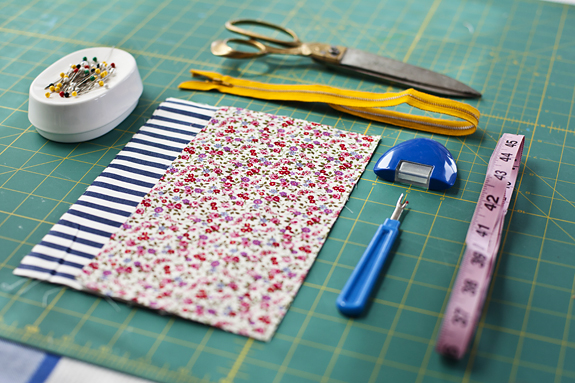
Two coordinating fabric (one is preferably upholstery weight), Zipper, Coordinating thread, Pins, Sewing Machine, Scissors, Ruler

Steps:

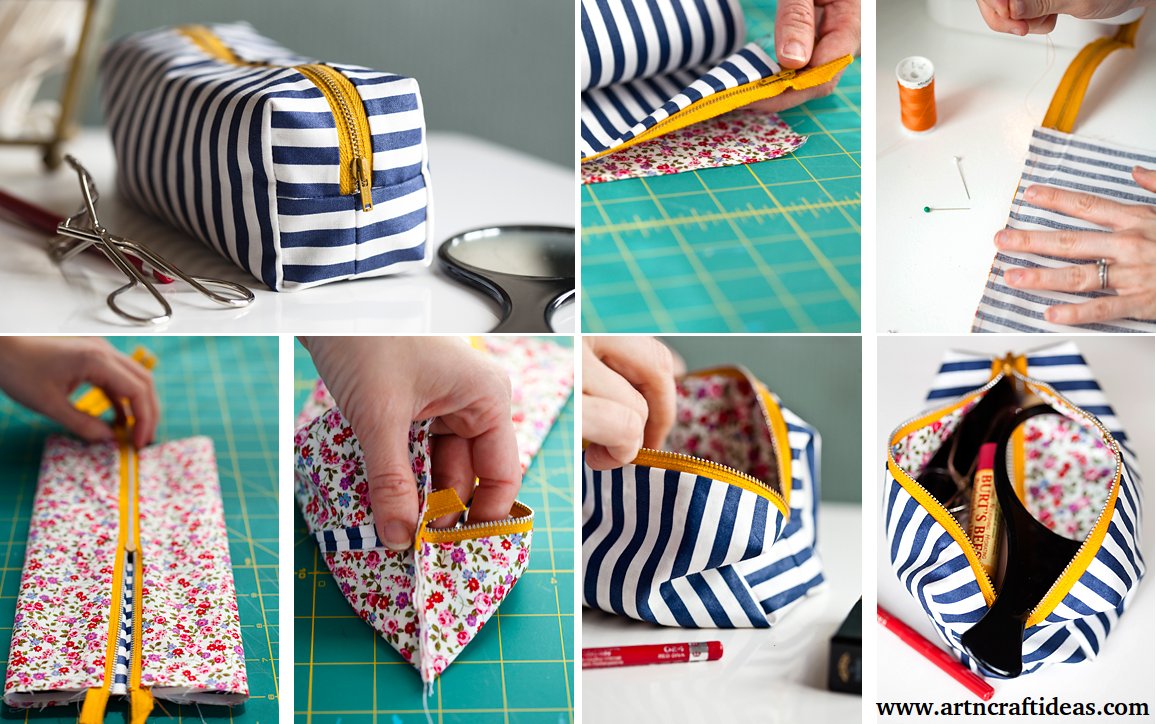
1. Cut two pieces of each fabric choice. Each piece should be 5 1/2 x 9 1/2

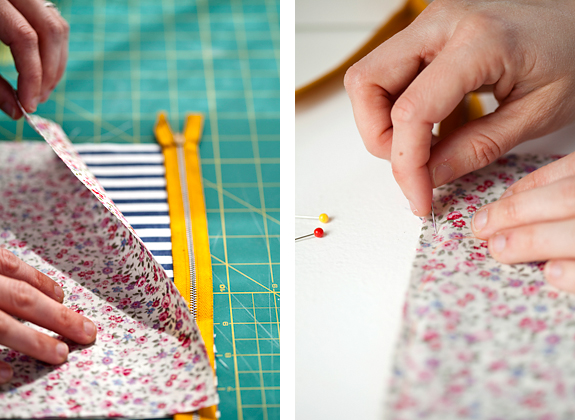
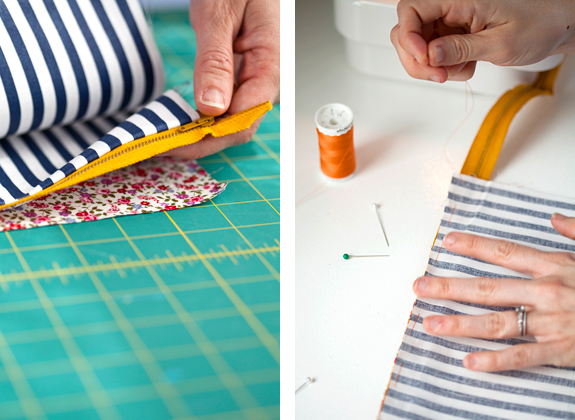
2. Lay one of the outer fabrics face up on your table, and set the zipper on top, face down so the top edge meets the top edge of the fabric. Then lay one of your lining pieces right side down to meet the top edge as well.

3. Pin along that top edge so all three pieces are attached.

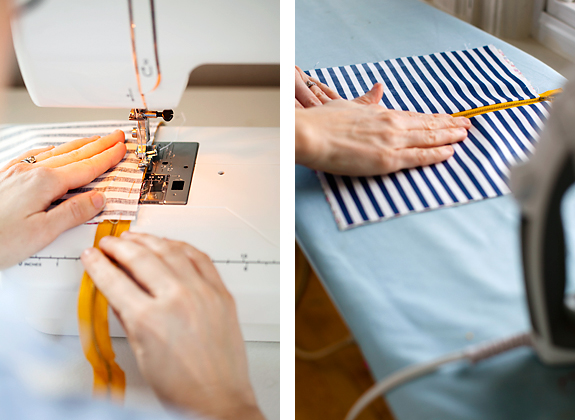
4. Baste with needle and thread and then sew with your zipper foot along that top edge. Move your outer fabric so it’s on the outside, right side up.

5. Now place the second lining fabric right side up on your table, then sandwich the pieces you just sewed in between, and finishing with the second outer piece right side down on top.

6. Pin, baste and sew with the zipper foot on the top edge like you did for the other side.

7. After sewing, iron the outer pieces flat, and then fold them together so the outer pieces are right side together and lining pieces sandwiching them.

8. Pin at the opposite side of the zipper and sew along that bottom edge.

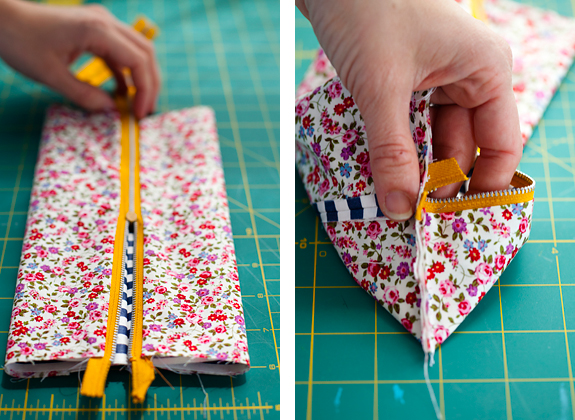
9. Move the zipper to the middle, unzip it halfway and sew along those two sides, through the zipper (pinch the zipper together when you’re sewing through it).

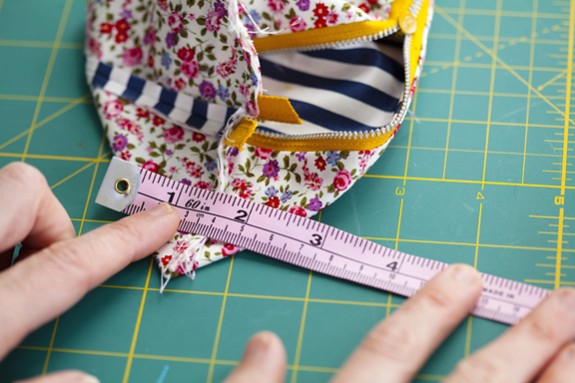
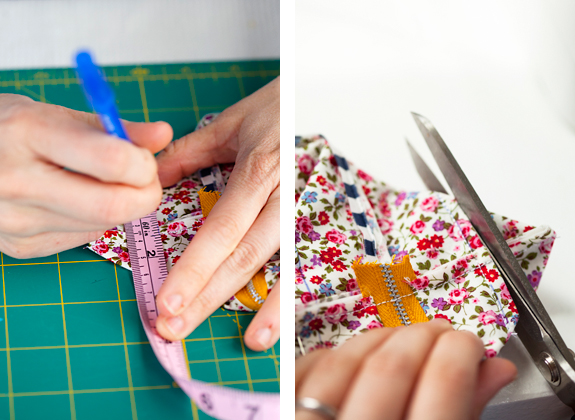
10. Pinch each edge in and measure with your ruler 2 1/2 inches across.

11. Mark with a pen that line and then pin next to the it. Sew along the line you drew and then snip off the triangle end. Do the same for all four sides.

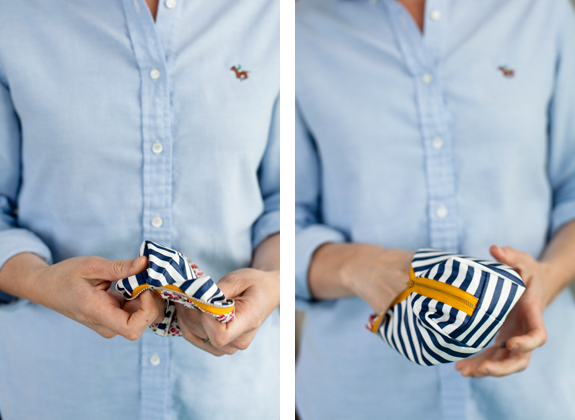
12. Fold it inside out, so the outer pieces are on top and you’re done!

Hope you like this tutorial.

Image by Liz Daly

We would love to hear your thoughts in the comment section below. And be sure to like us Facebook for more ideas!

Thank you for visiting our website. Keep Creating with Art & Craft!
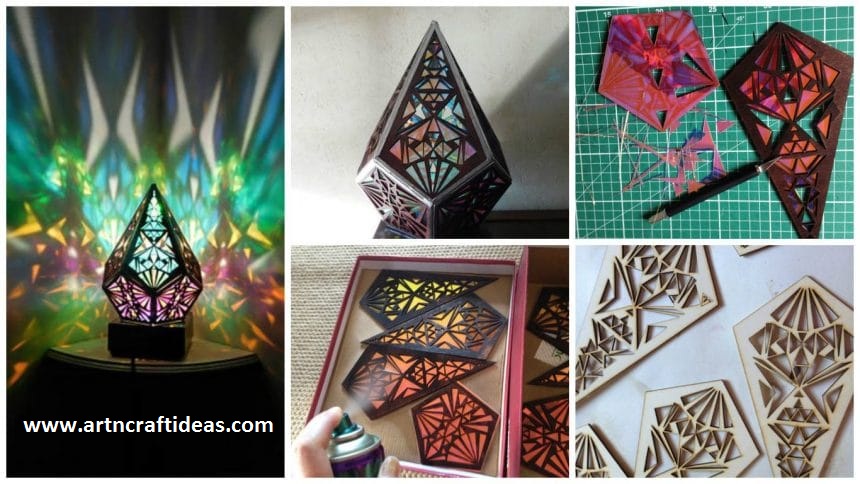
DIY Five Pointed Rainbow Prism Lamp

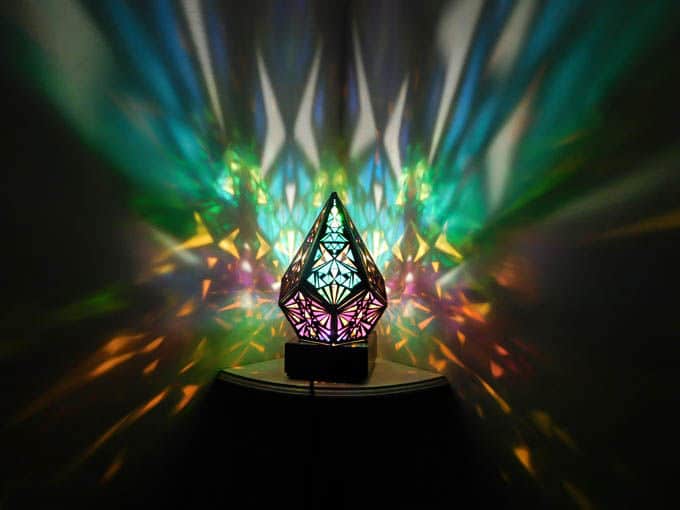
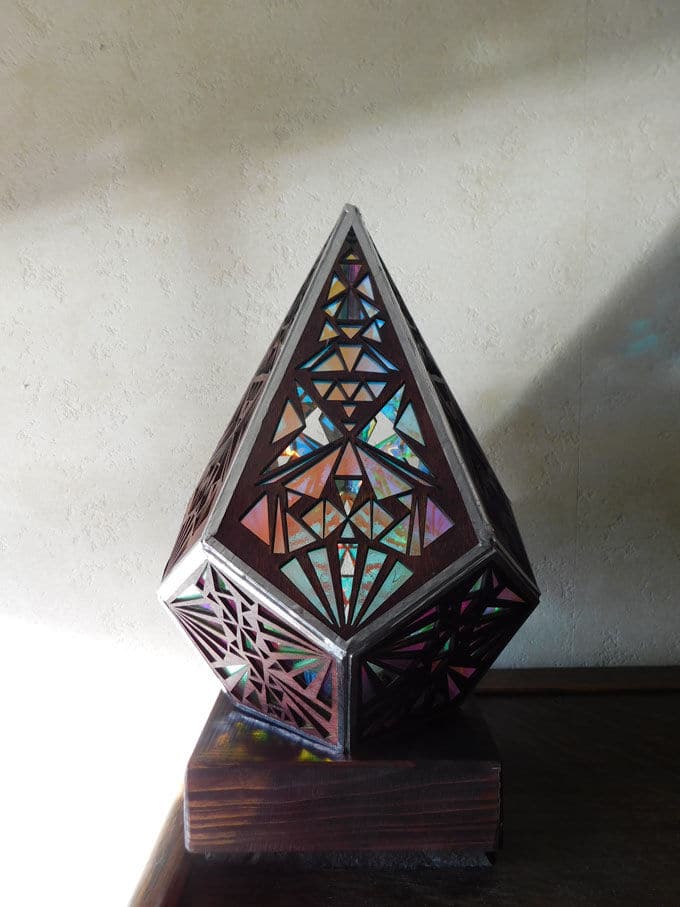
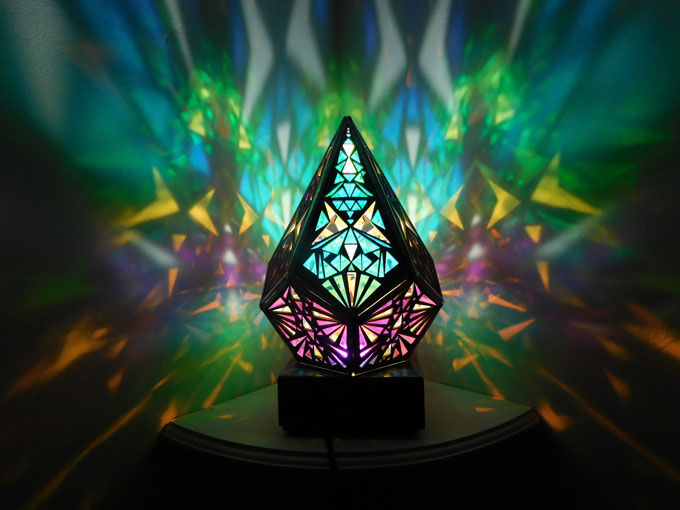
The Five Pointed Prism lamp is made up of ten geometrical panels, which makes a prism, displaying the same repeated pattern all the way through giving out beautiful rainbow colours around your chosen space

I use only LED lighting in my designs to contribute to keeping the environment friendly.

Step 1: Begin Drawing/Designing Geometric Shapes

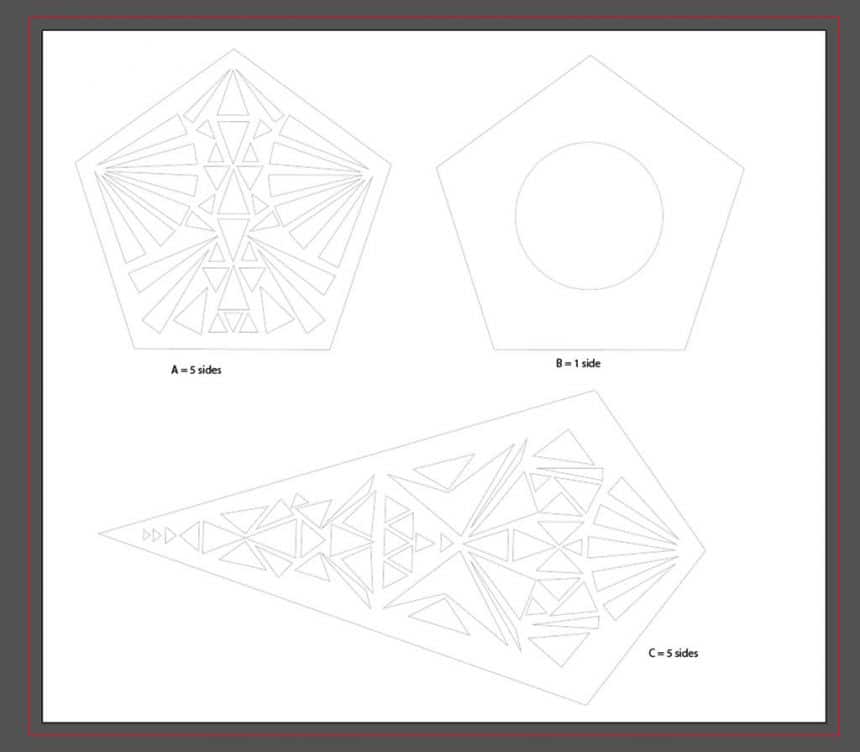
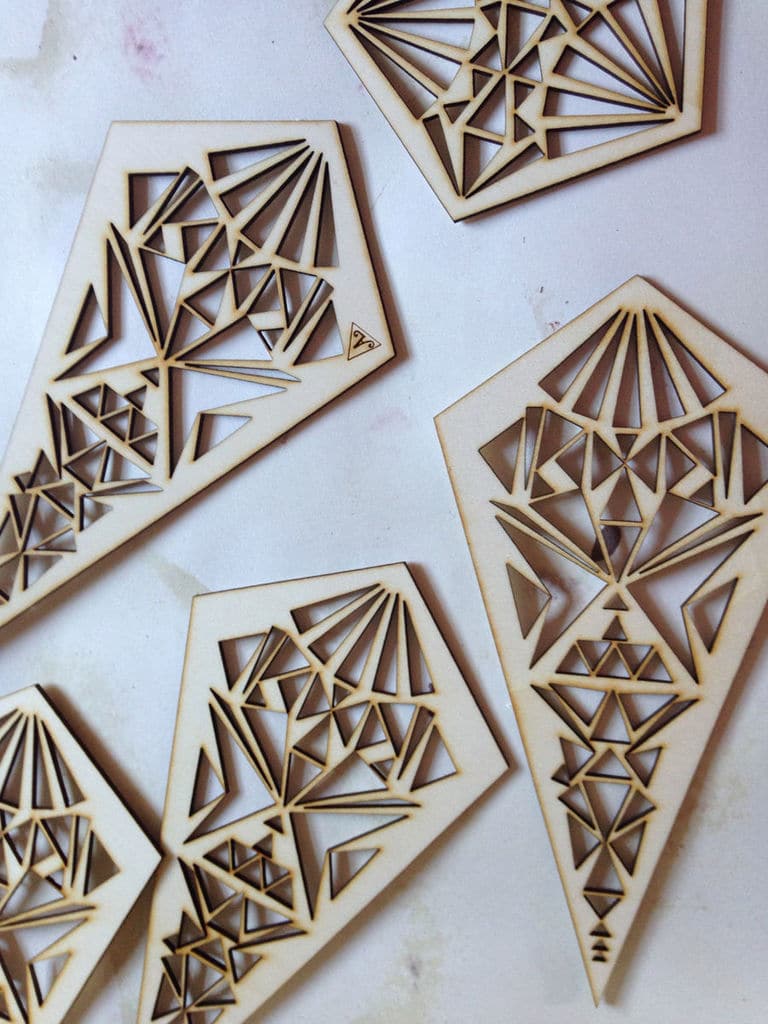
I begin by drawing my design on paper with rough sketches. I really enjoy geometrical shapes so I wanted to design one. I have had many failures on this design as I was not getting the mathematical measurements correct but I got there in the end. This is then drawn in illustrator to make this mathematically correct. I then send this file to a local laser cutter company to get these cut out of birch wood.
Step 2: Staining, Attaching Acrylic Film to Templates

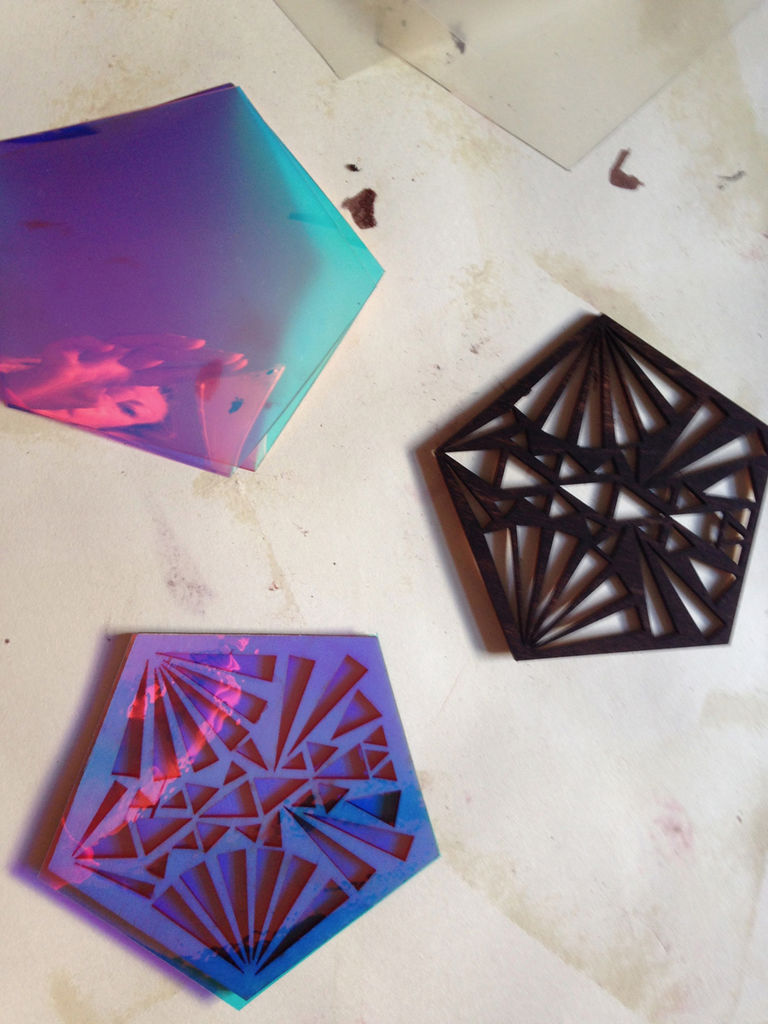
When the 10 templates have been cut (5 large and 5 small) to make a prism shape, I then stain the wood in a rich dark chocolate colour and leave to dry.

To get the wonderful colours, I use an acrylic iridescent fil.

Adding the acrylic film:

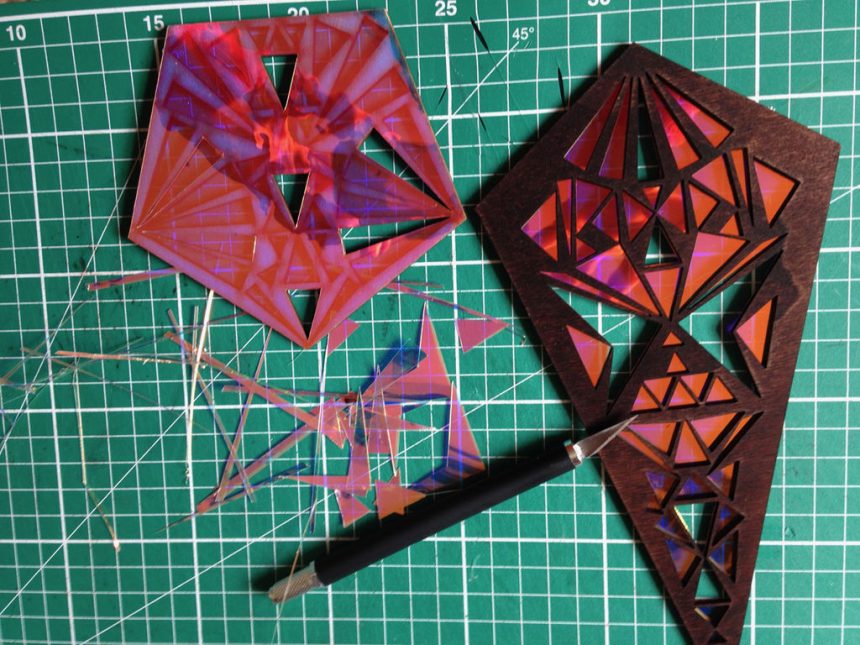
I then cut out the correct size shapes out of iridescent acrylic film by hand, This acrylic film is super colourful, covering the whole rainbow spectrum, purples, pinks, oranges, greens, blues and from metallic and copper colours, depending where you view the material from as this changes in an instance from one angle to the next

This is then stuck to one side of the wooden templates.

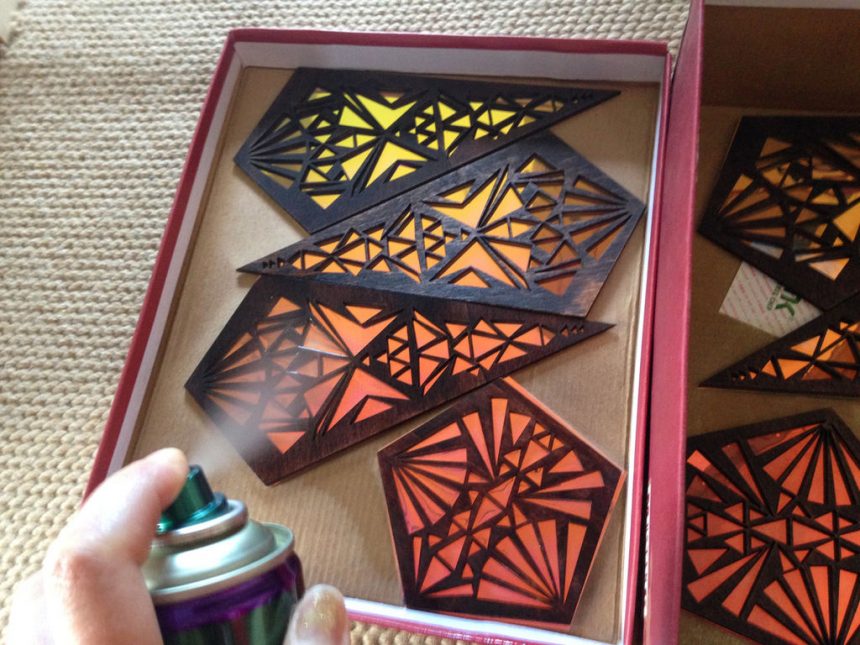
I have to spray the wooden template to set the film as it has an adhesive so this stops any dust attaching while its sticking to the wood.

As seen in the images, you can see the film gives out a real colourful coppers & metallic colours as well as blues/purples, this is the great thing about the material. While this is setting for 24 hours, I get to work with making the wooden base.

Step 3: Base Making

The wood varies from oak, ash, birch, rose, walnut, basically any thing I can get my hands on, from local saw mills, suppliers and wood merchants. Up cycled wood comes into my projects a lot as I like to use wood which people don’t require any more from tables, chairs, doors any thing really. I also find wood in forests.

You have to make sure the wood is air-dried for at least a good 18months other wise the wood splits.

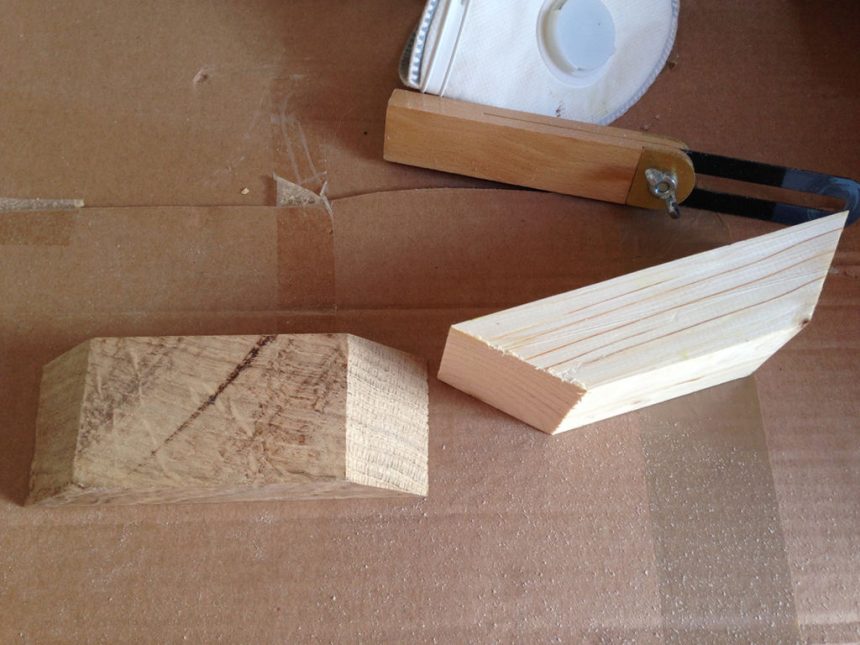
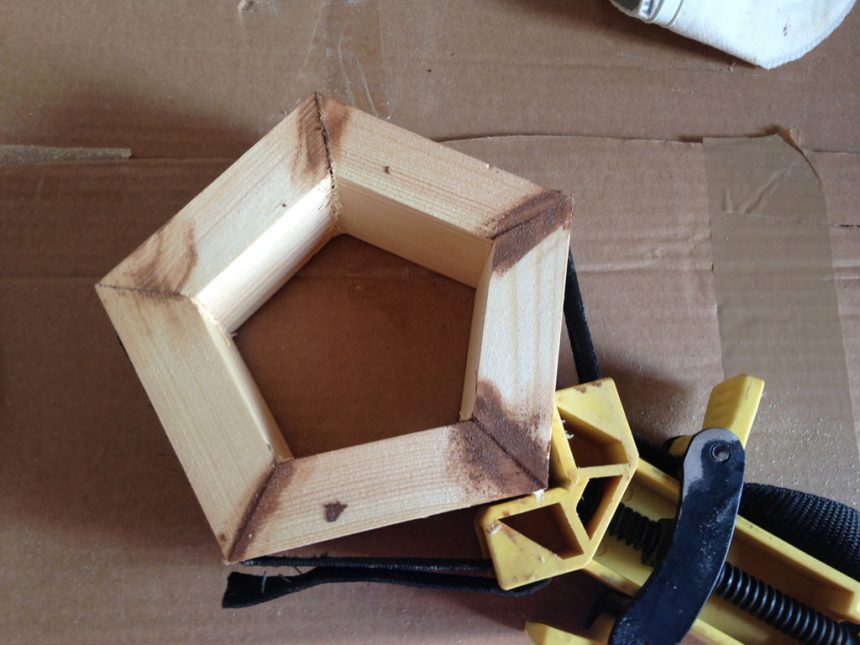
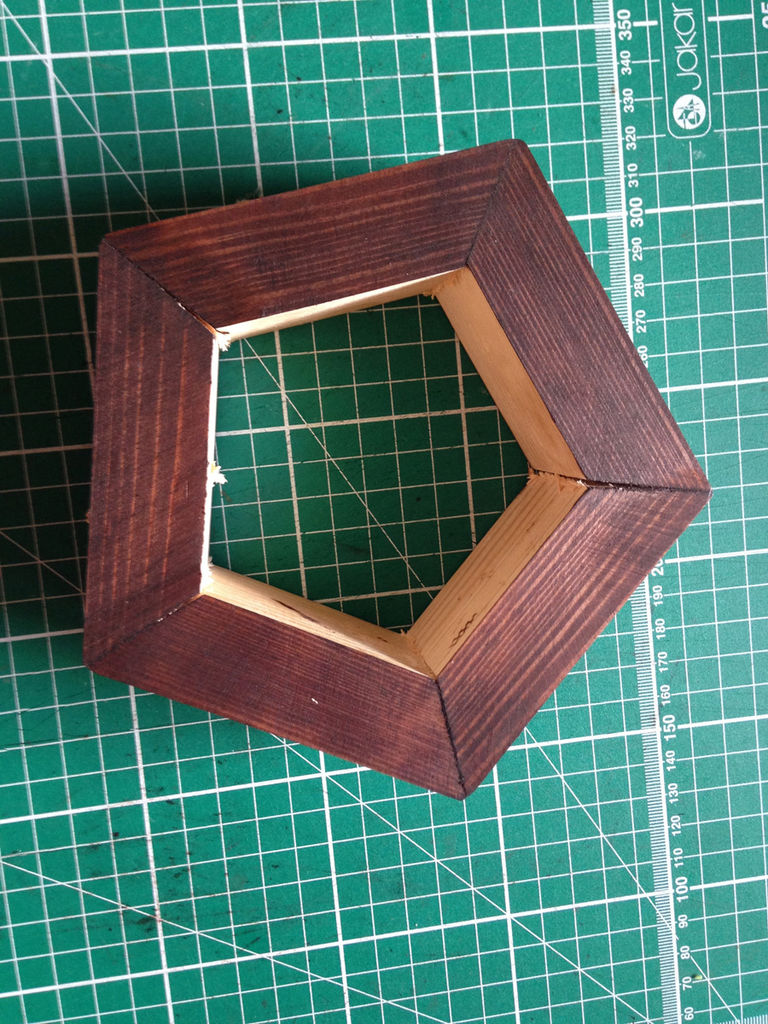
I then cut this to size on my a table saw. I then clamp 5 sides together and leave to set for 24 hours. When set, I then sand this down with 3 different grits to get a clean finish, leaving the wood smooth and soft.

I then stain the wood in the rich dark chocolate colour to match the wooden templates.

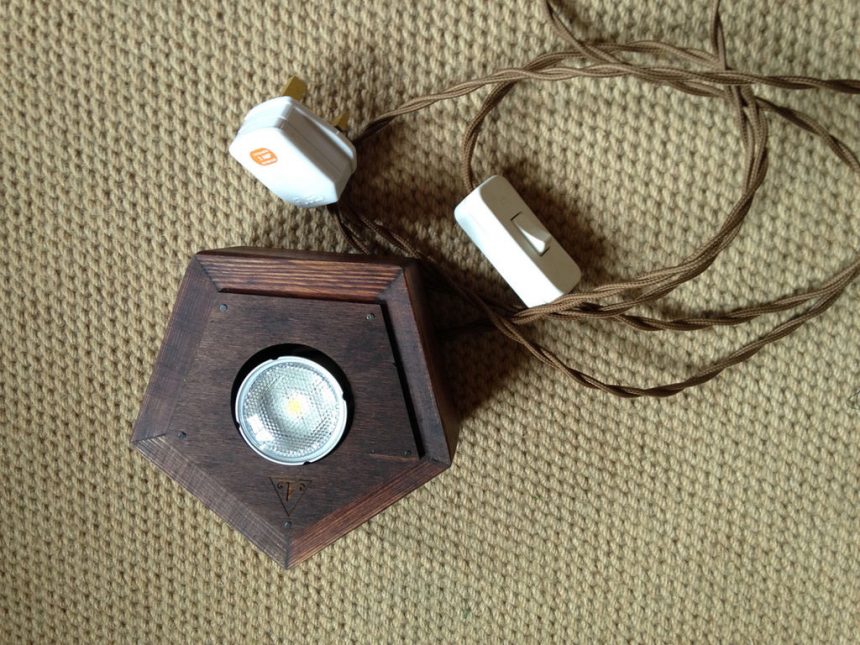
Next stage is wiring up the lamps. I use a vintage spiral cord and only use LED bulbs for my lamp.

Step 4: Back to Lampshade Making

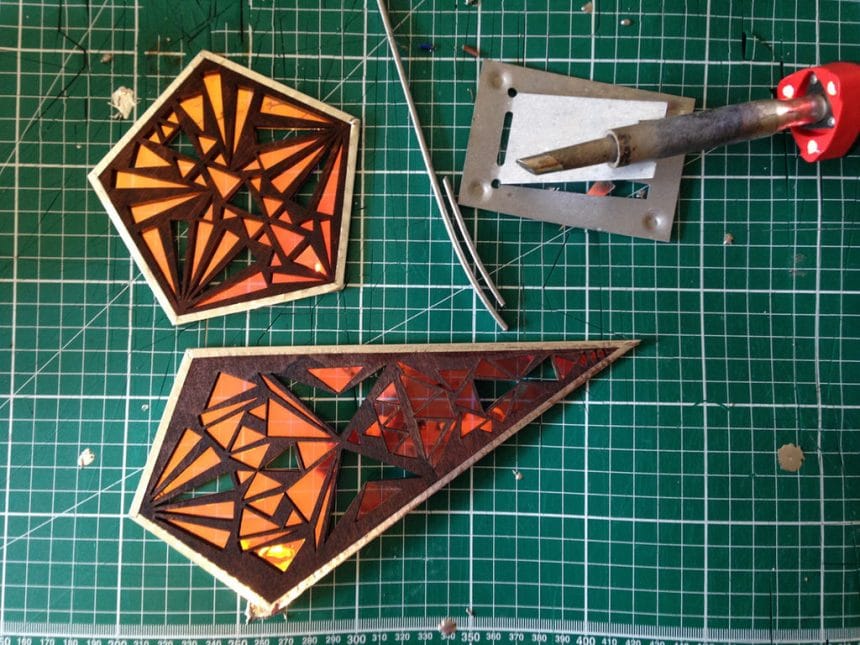
Now the acrylic film is set, I use my craft knife to cut out shapes with in the template. This takes time as I have to be vary careful to not cut where is not need as this will show through when light is projecting. Cutting the shapes out lets the natural light beam through.

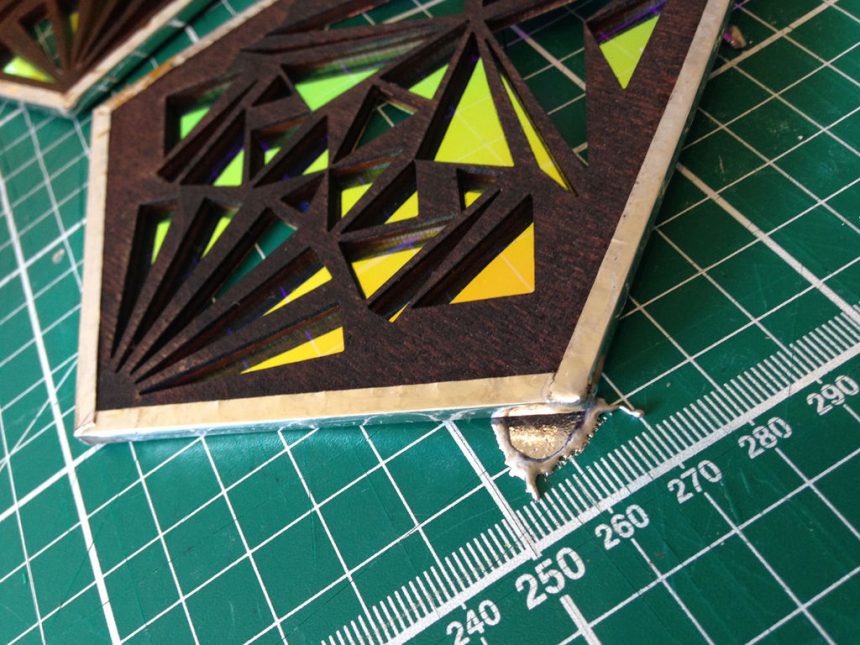
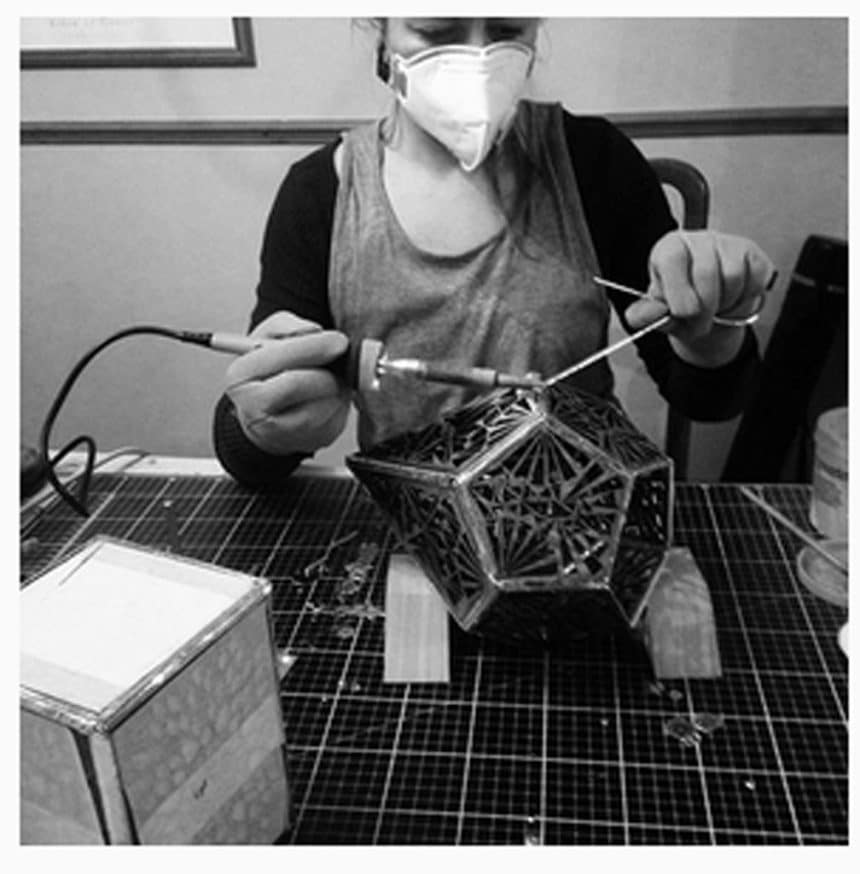
I then copper foil each template and the solder each template individually around both side with soldering iron. I found this to be the best way in constructing the lamp.

Step 5: Assembling the Lamp

To assemble my lamp:

This part is tricky, as I need two pairs of hands to do this so I ask fellow artists and my family to help me with this part. It’s very fiddly and getting the angles correct is challenging but well worth the finished out come. I do the soldering while I have an extra pair of hands to hold the templates to gather so I can pin them together with the solder. When the structure is complete, I then can go round the whole lamp and tidy up and fill all the gaps in with solder to make it neat and tidy with clean edges

The lamp sits at a height of 37cm and width 23 x 23 cm

I hope you have enjoyed my processes. If you have questions, then do ask.

courtesy: Amberlightsuk

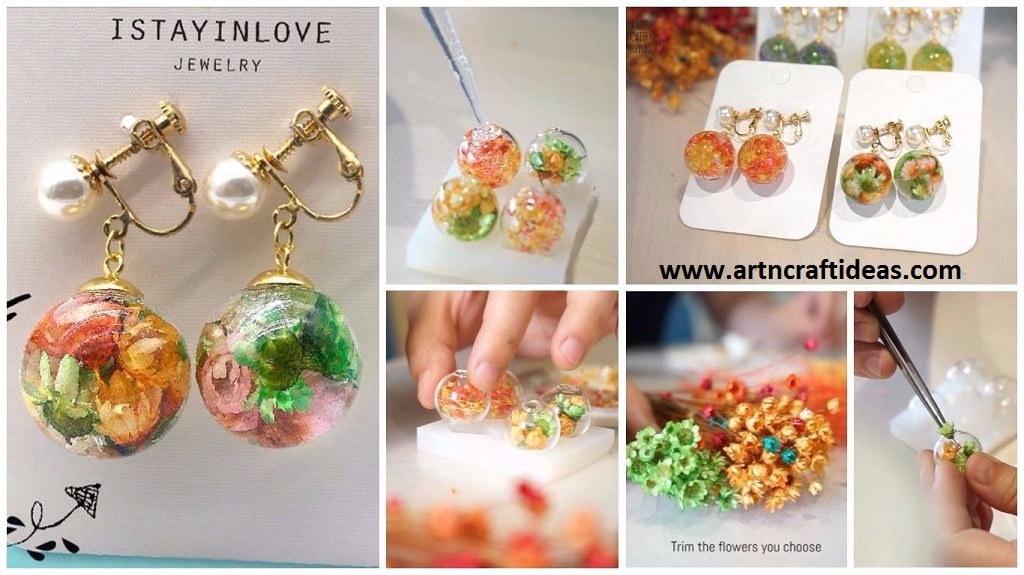
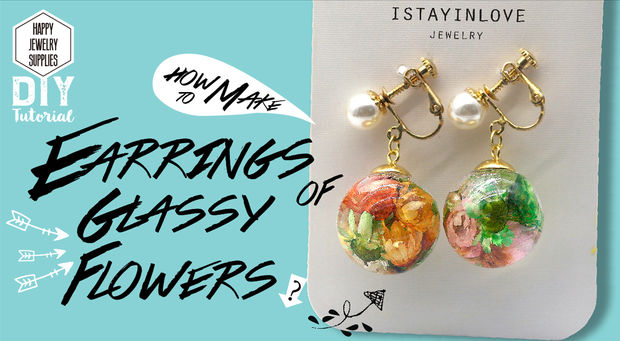
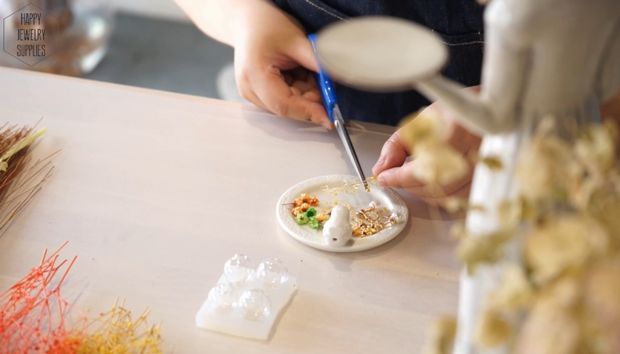
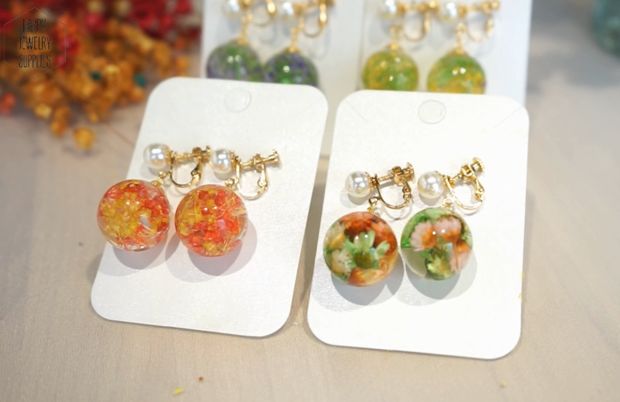
How to Make Beautiful Earrings of Glass Flower

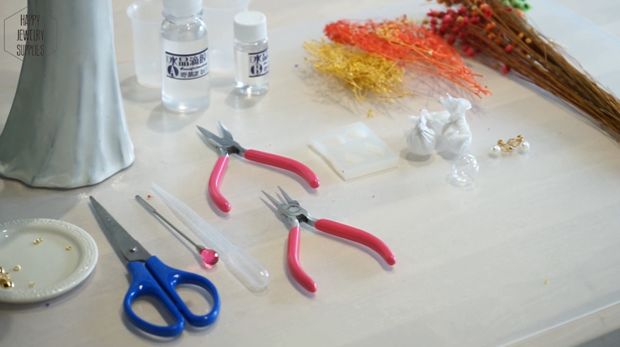
Required Materials:
Glass Bottle
Resin Glue
Dry Flower
Pearl Earrings Clip etc. Step 1: Balance

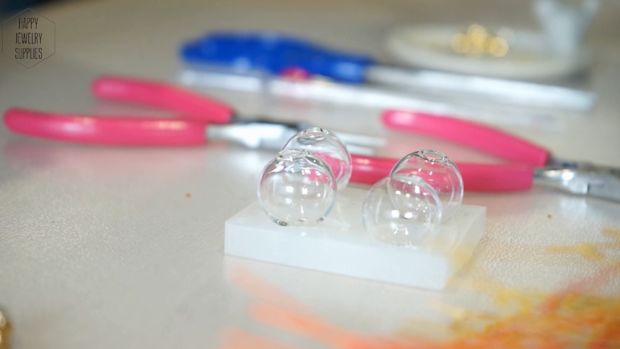
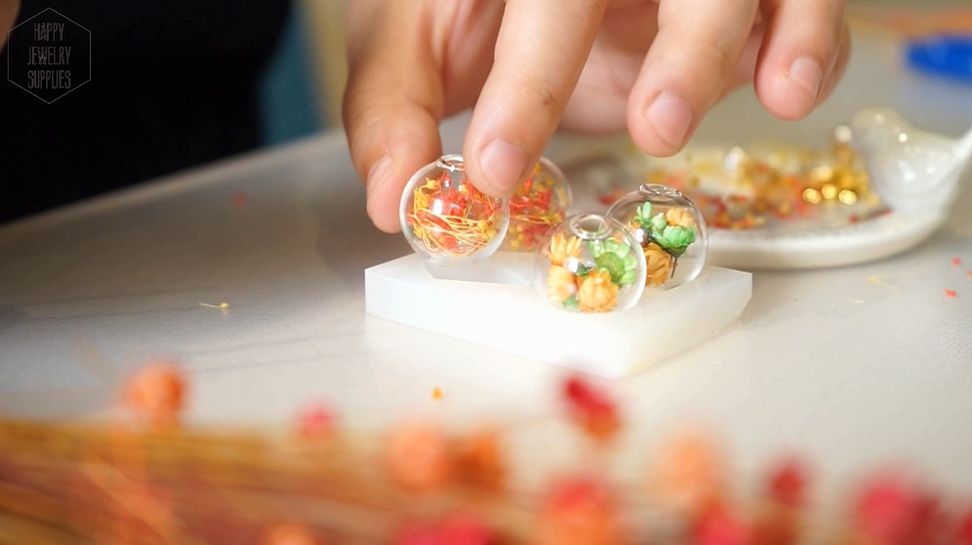
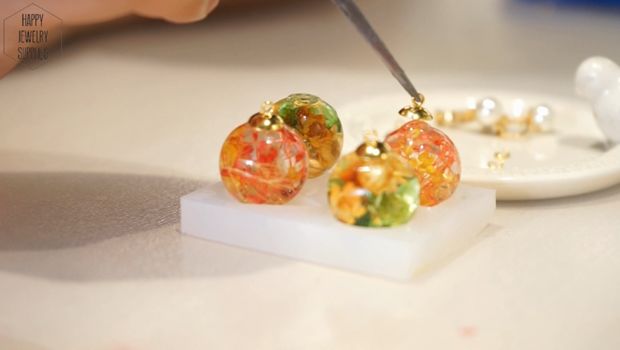
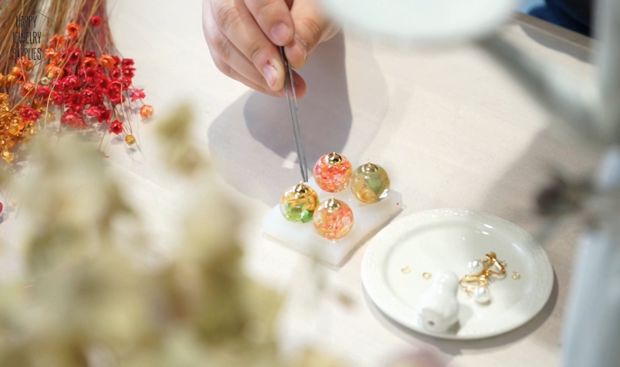
Put the 4 glass-shells on the silicone mold to keep it balanced during the producing process.

Step 2: Choose the Beautiful Flowers You Want

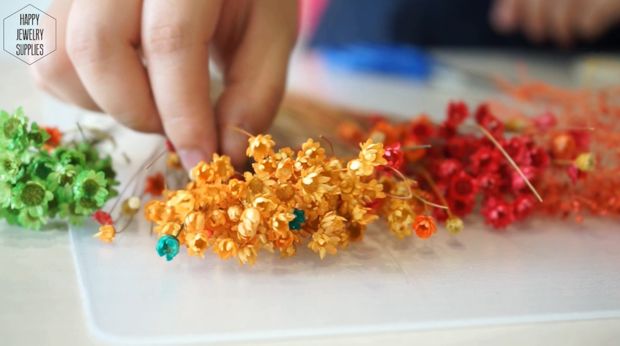
The selecting of flowers: Pick up the flowers you that are fond of and be careful about the matching of the colors. This action will help you make the color more astonishing.

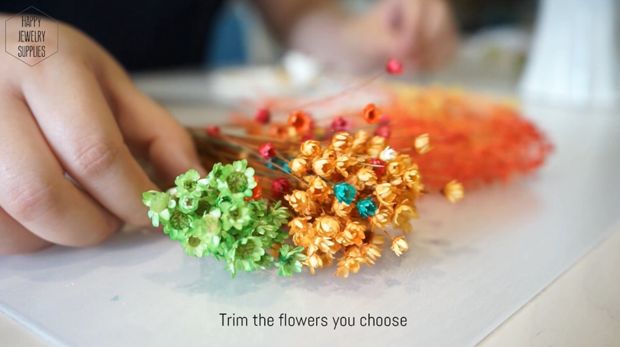
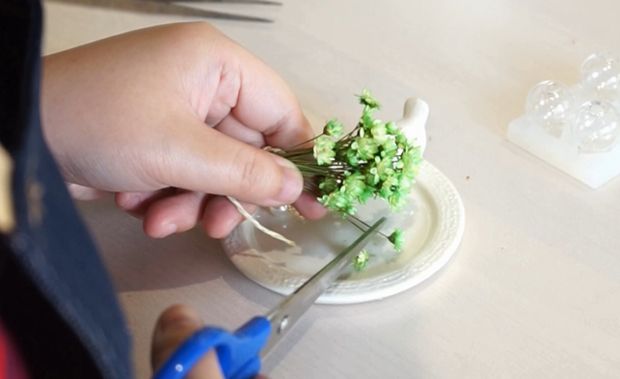
Step 3: Trim

Trim the flowers you pick. You shall decide the size and length of the flowers according to the size of the glass cover. Step 4: Fill

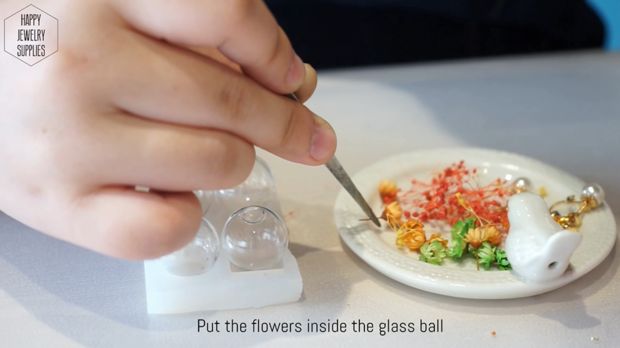
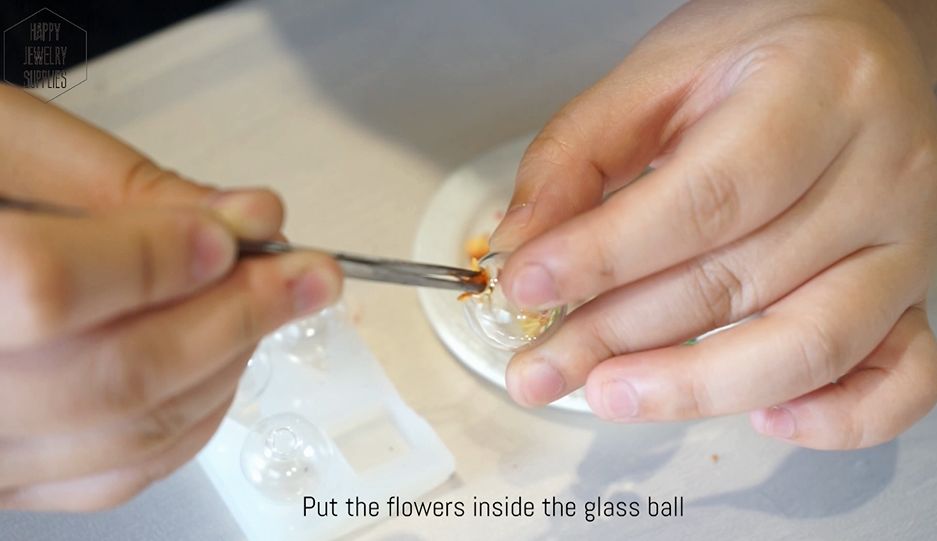
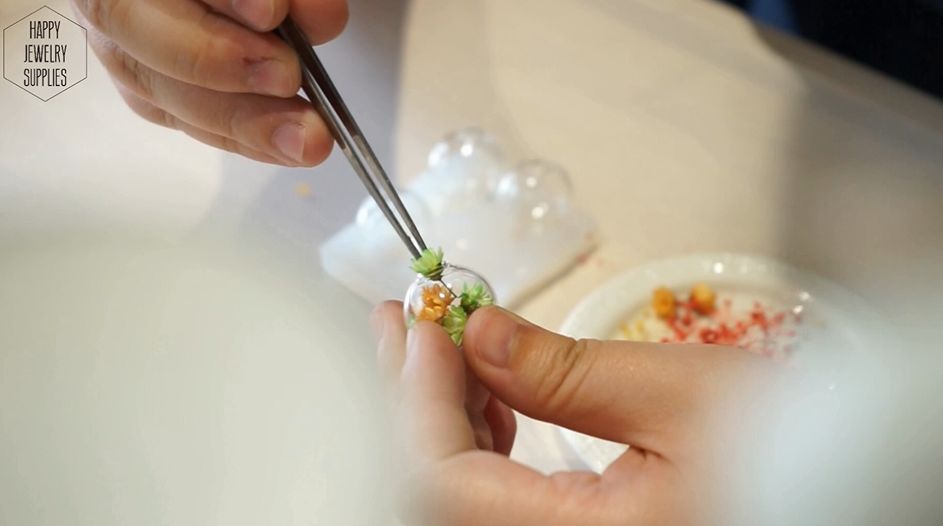
Use tweezers to fill up the glass cover with the colorful flowers you just picked and be careful about the matching of the colors. Step 5: To Prepare the Resin Glue

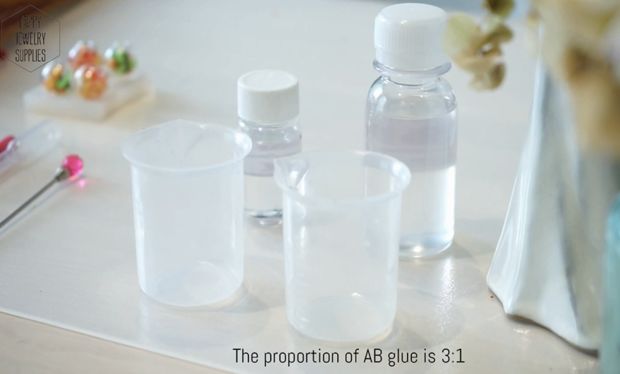
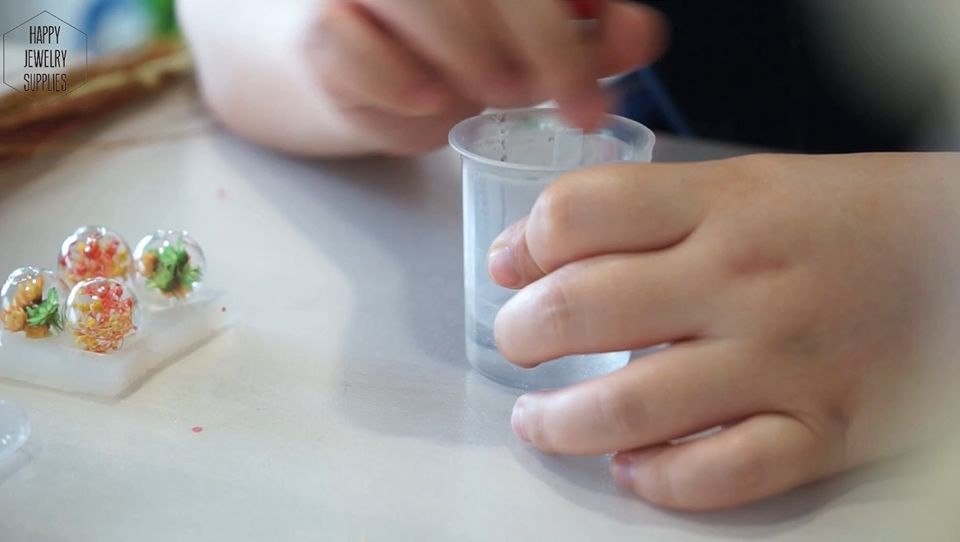
Prepare the resin glue as follow. The proportion of the A glue and B glue is 3:1. Usually, we will prepare 2 different cups and these 2 cups will be used for loading A glue and B glue. Mix up the 2 types of glue and make sure you stir it evenly. Wait till the bubbles are disappeared. Step 6: Fill the Resin Glue Into the Glass Bottle
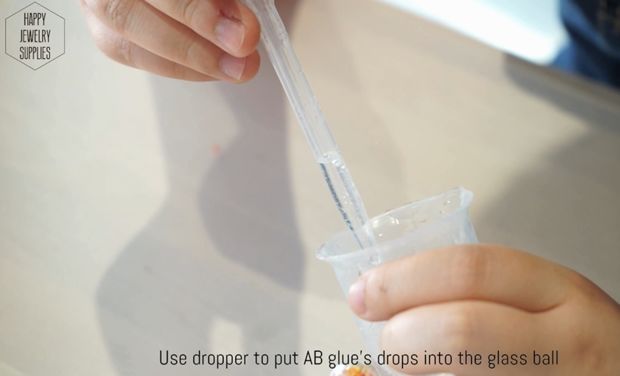
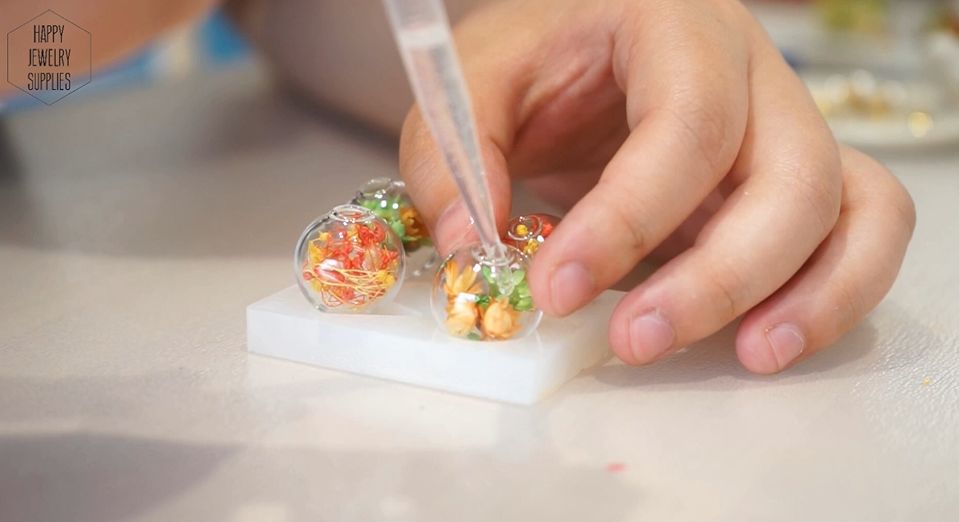
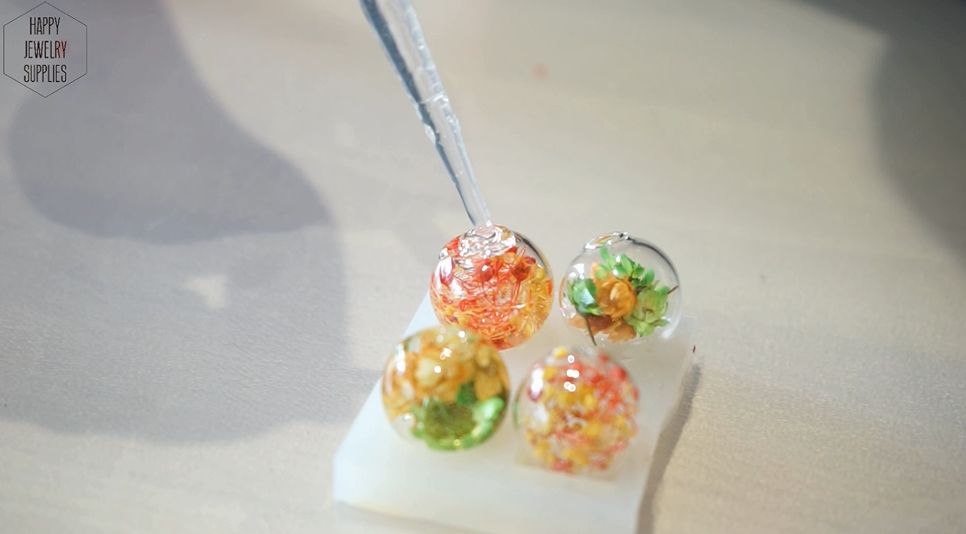
Now we will use a dropper to take some mixed resin glue and slowly fill it with the glass cover till the glass cover is completely filled up. Step 7: Put on the Top Cover

Put the metal cap onto the glass cover. Lay it away for 12 hours for the glue inside it to dry up. Step 8: Combination Resin Glass Bottle and Pearl Earrings Stud
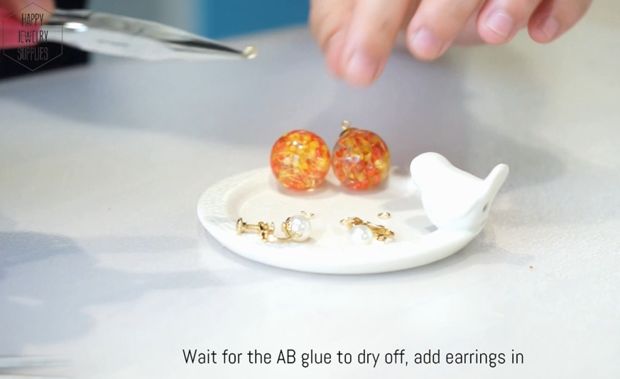
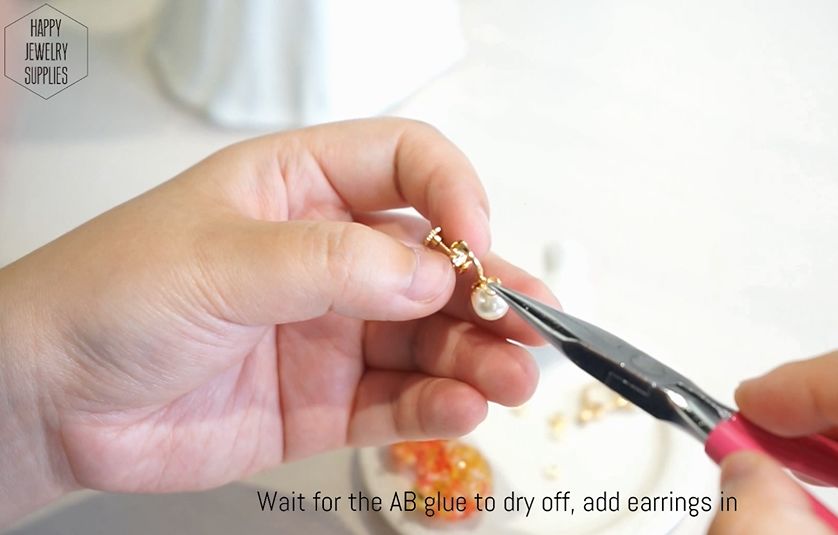
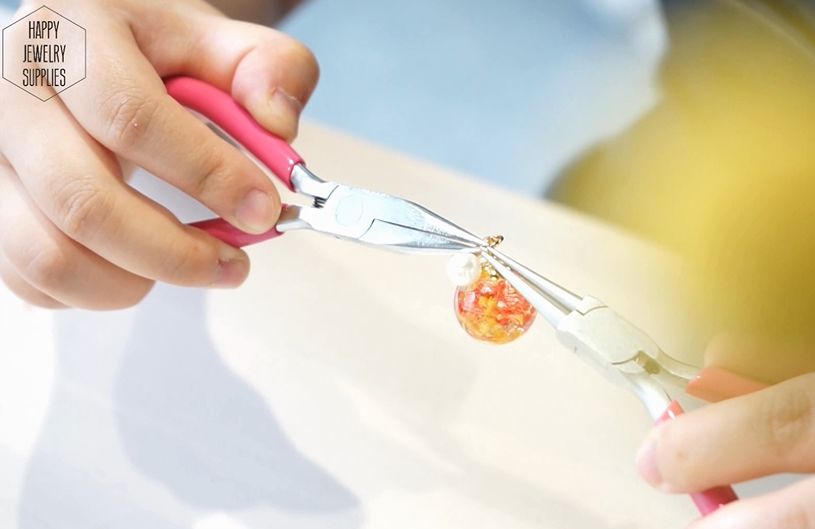
Match up the coagulated glass cover with the pearl ear studs. Step 9: Packaging

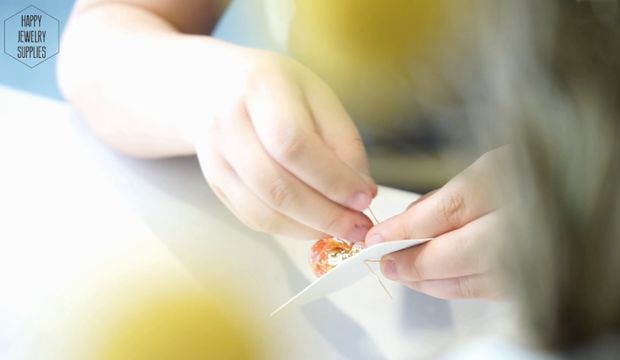
Attach the finished products onto the card tags. Step 10: Complete!!

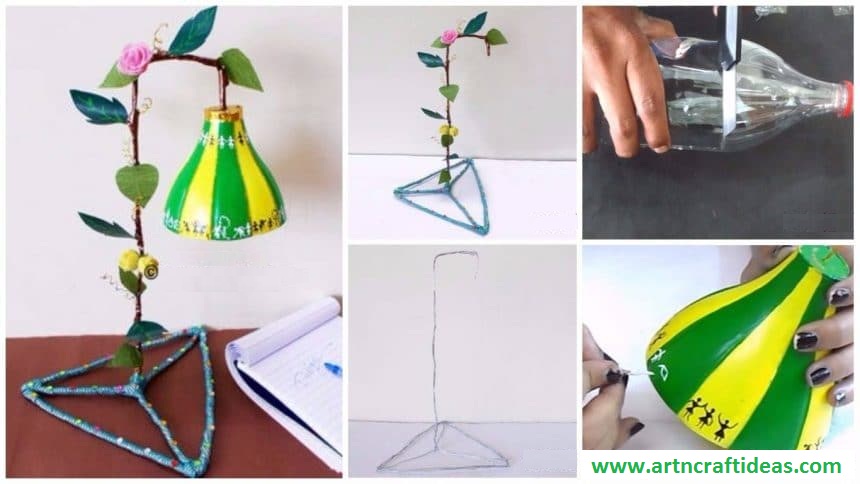
How to Make Lampshade Using Plastic Bottle

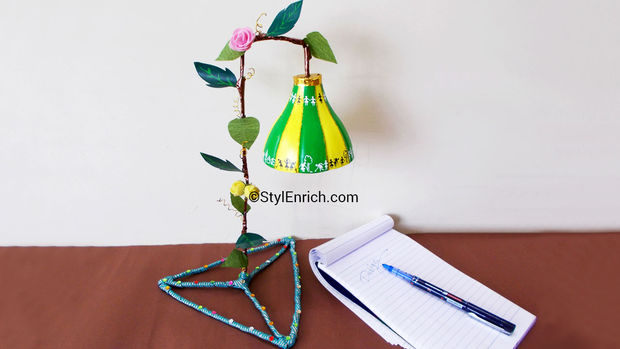
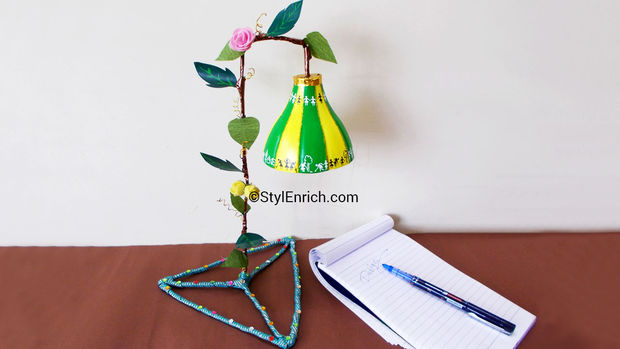
Lampshade made using plastic bottle

use your waste plastic bottles and make with them a beautifully recycled lampshade.

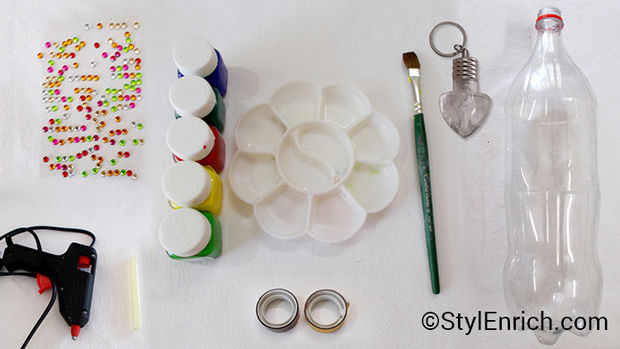
Required Material:

  • Brushes
  • Decorative light
  • Plastic Bottle
  • Aluminium Wire
  • Green craft tape
  • Scissors
  • Glitter
  • Lighter
  • Cutter
  • Pencil
  • Scale
  • Craft Wire
  • Crepe Paper
  • Decorative stones
  • Glue Gun
  • Acrylic Colors
  • Color Palette
  • Decorative Tape

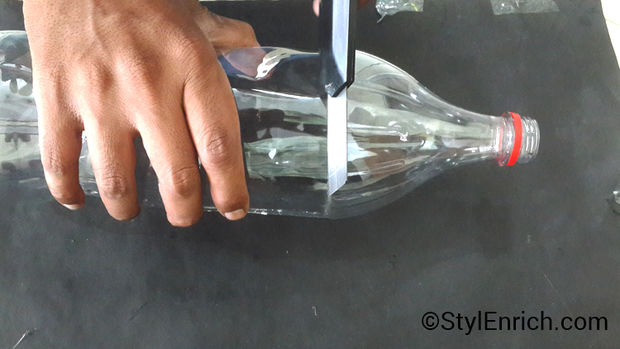
Step 1: Cut the Plastic Bottle
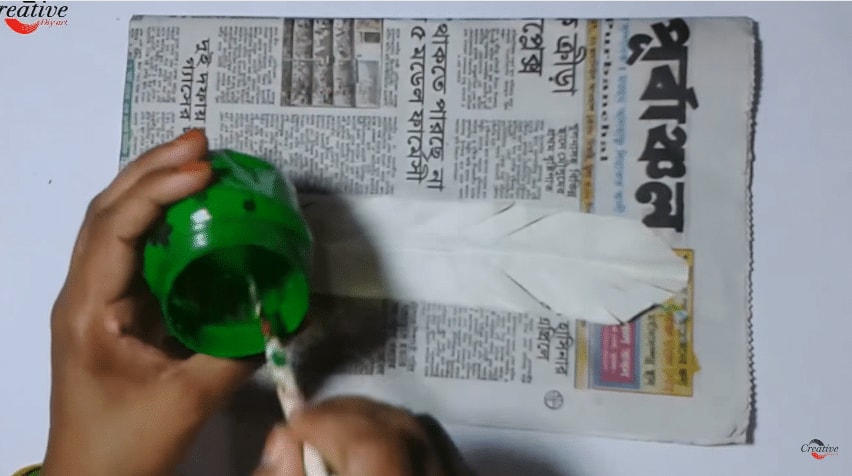
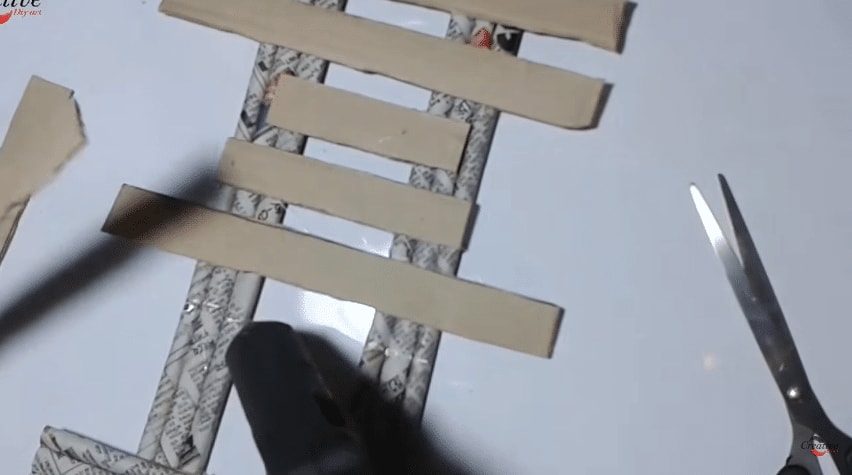
Take an empty plastic bottle and hold it horizontal. Cut the upper part of it carefully with a knife. This is to make the head of our lampshade.

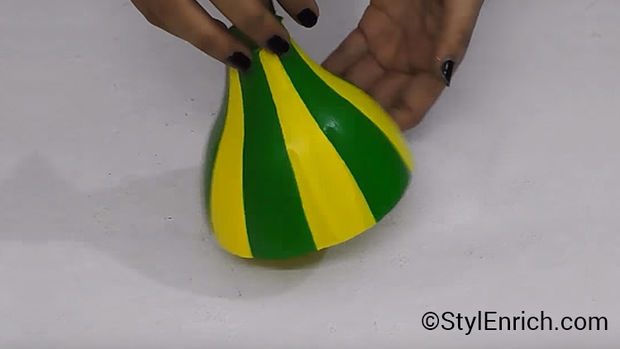
Step 2: Paint the Plastic Bottle
Now paint the plastic bottle with green and yellow color. You can use acrylic colors for this.
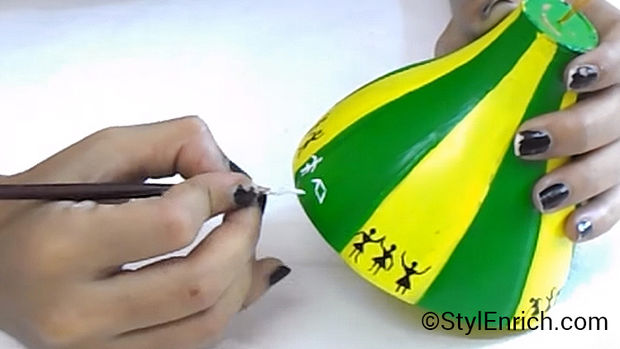
Step 3: Draw Characters

In order to decorate further draw some tribal characters on the plastic head using black color. This type of drawing is called “Warli” art which is an ancient drawing art form in one of the tribes living in the forests in India.

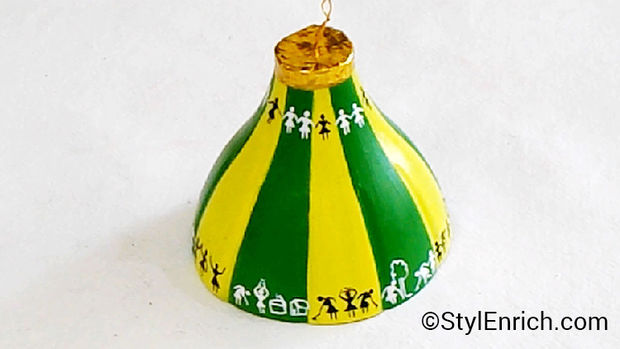
Step 4: Final Look of Lamphead

This is how your lampshade head will look like after drawing is done.

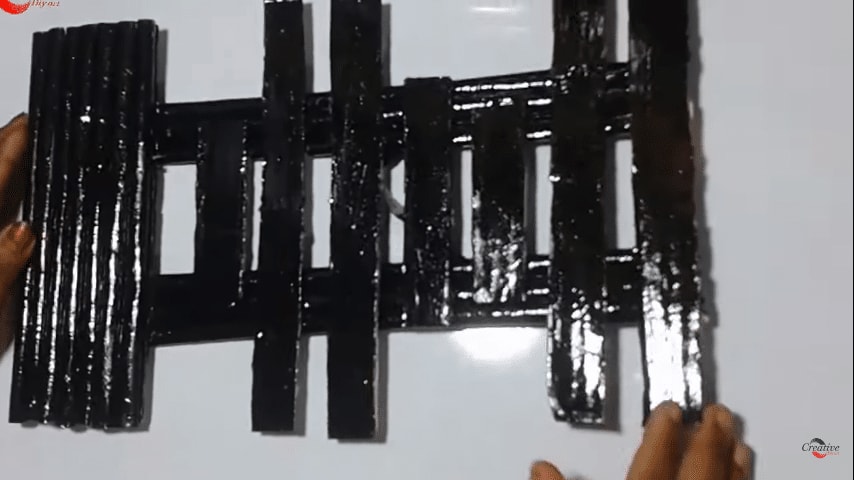
Step 5: Make Plastic Leaves

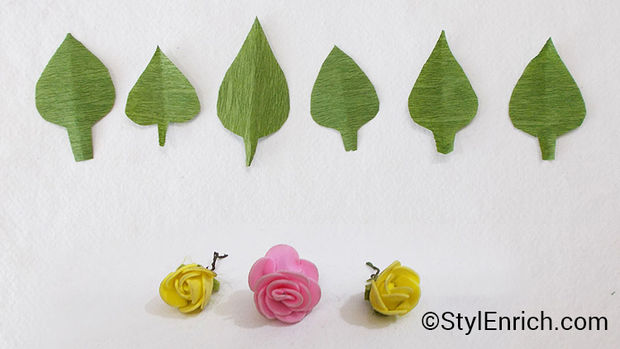
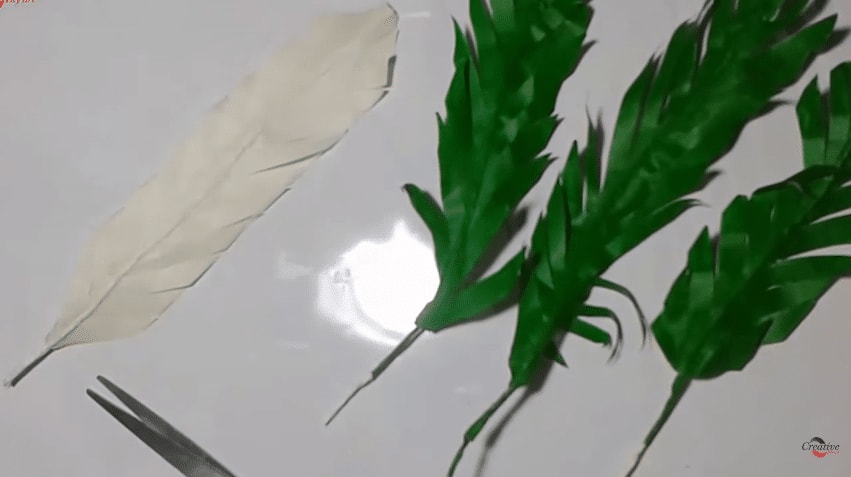
Now we will make some leaves. For this, cut a small plastic piece from rest of the bottle and cut it further in leaves shape. Paint and decorate these plastic leaves in green colors and add detailing.
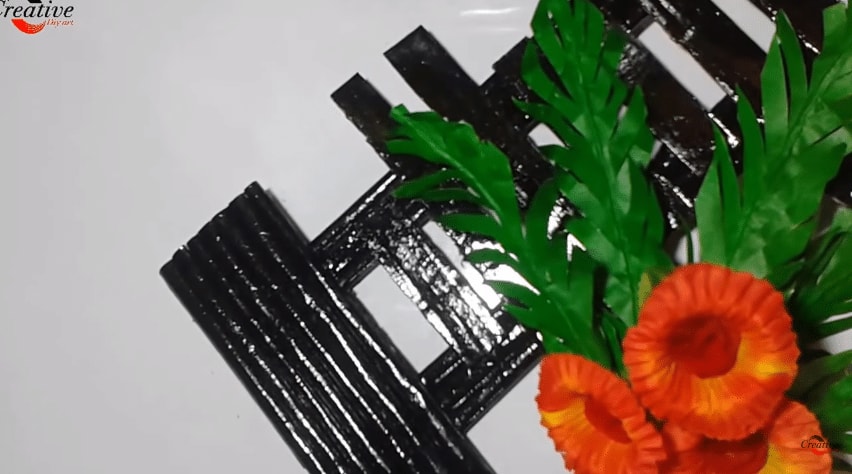
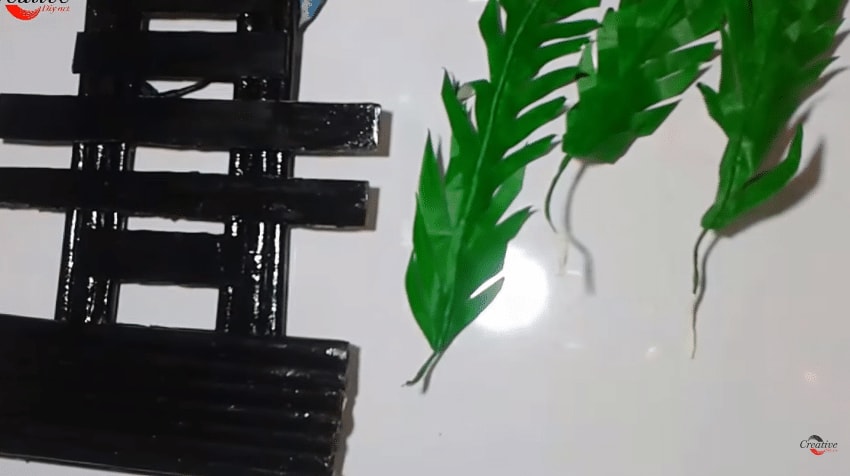
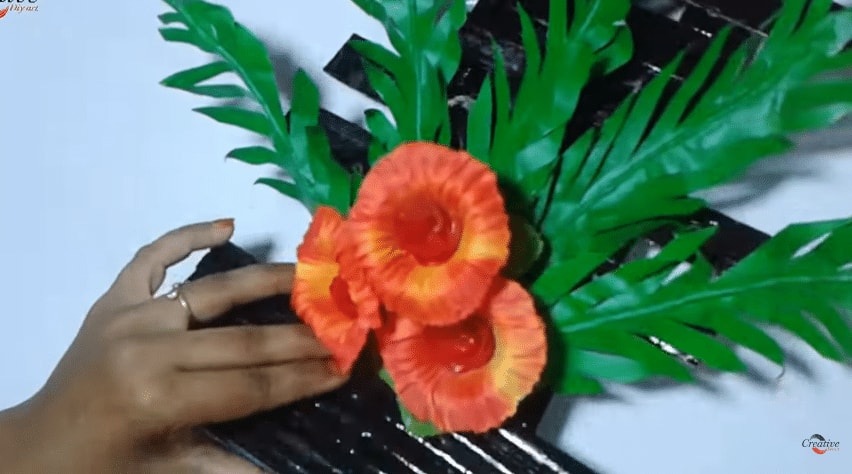
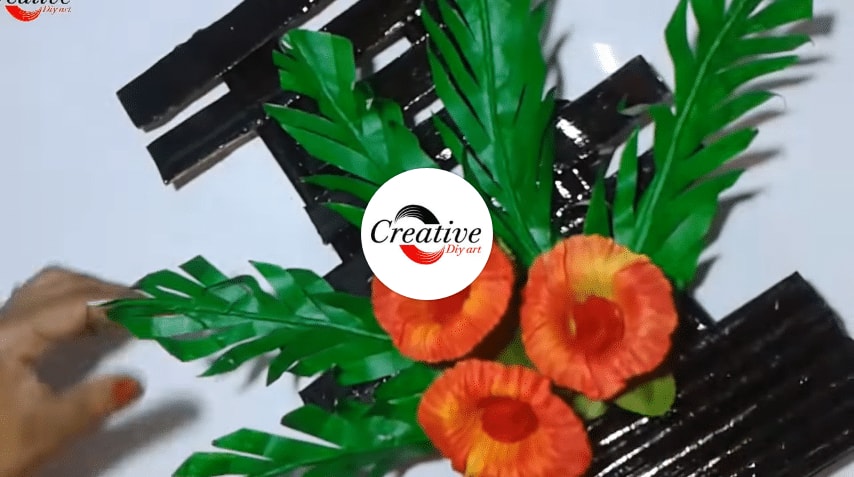
Step 6: Make Crepe Paper Leaves

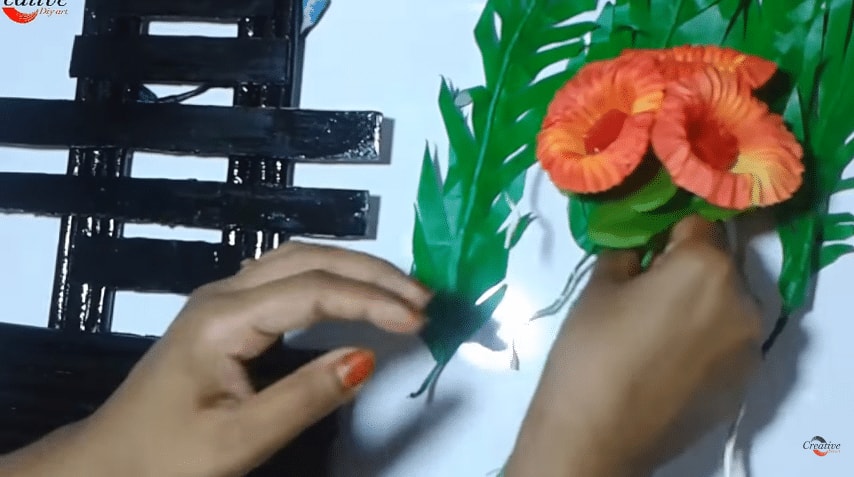
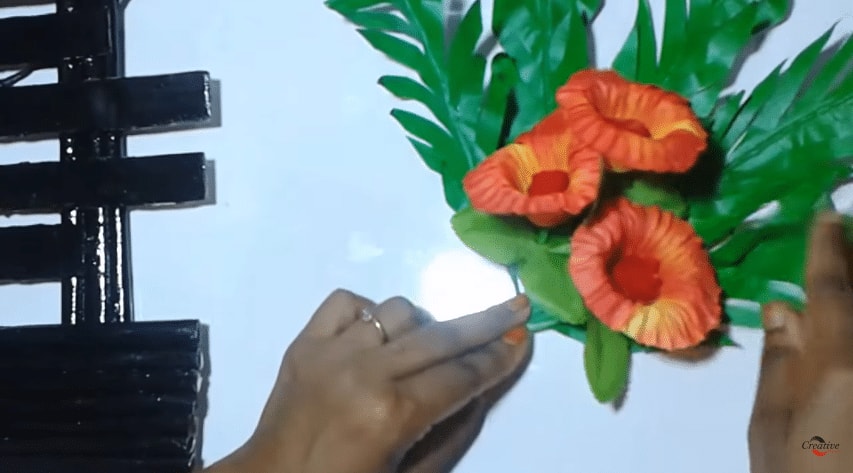
Next, take a crepe paper and create some leaves out of it. Also, collect some ready made flowers from the market.

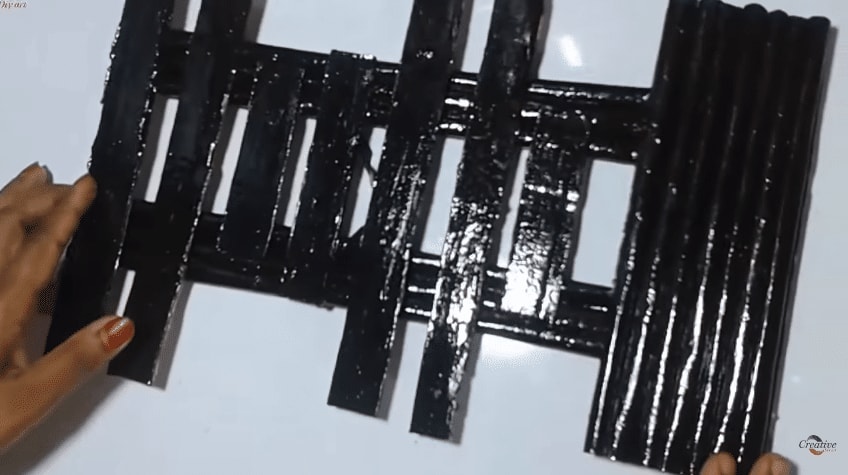
Step 7: Create a Wired Stand

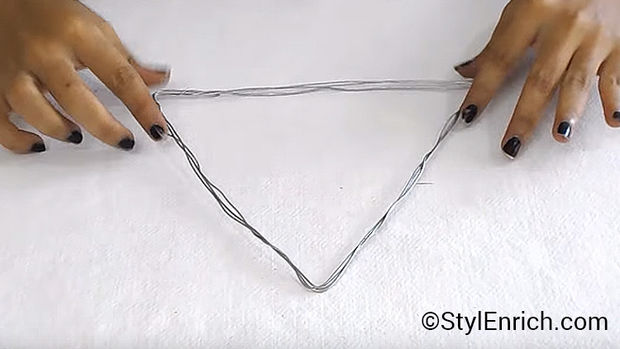
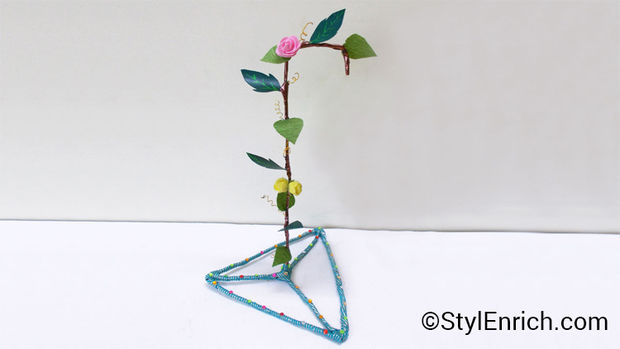
Now take the wire and form a triangular shape with it. This will form the base of the lampshade.

Step 8: Complete the Stand

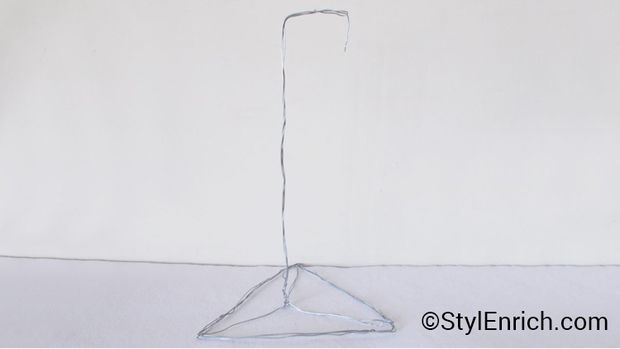
Erect the stand and it will look like this.

Step 9: Decorate the Stand

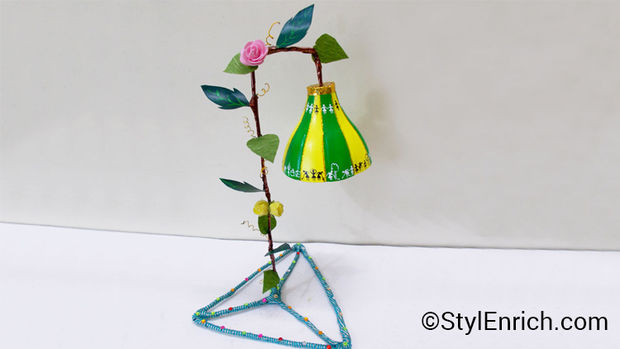
Now cover the stand with color tape and attach the plastic leaves and crepe paper leaves on it. It will start looking more beautiful!

Step 10: Fix the Lamphead to It

Now attach the lamp head to the stand at the top. Use glue gun to make it tight. Make a hole at the top of the lampshade and insert the stand shaft in it to fix it tight.

Step 11: Our Lampshade Is READY!

Finally, fix small torch light inside the lamp head with he help of glue gun. Now your lampshade craft is ready!

courtesy:  Ananvita

DIY No-Sew Felt Flower Bracelets

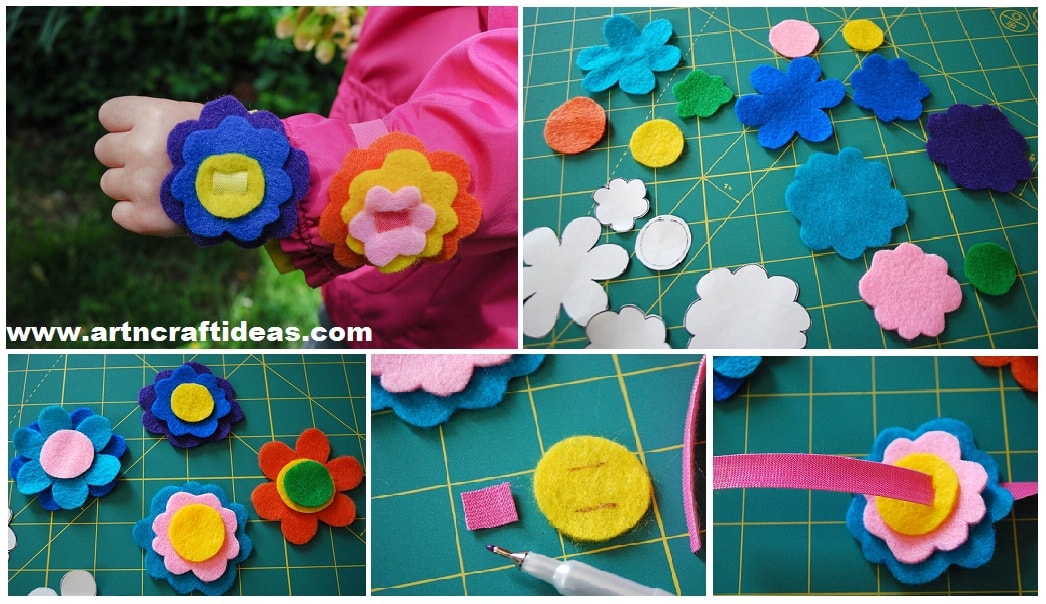
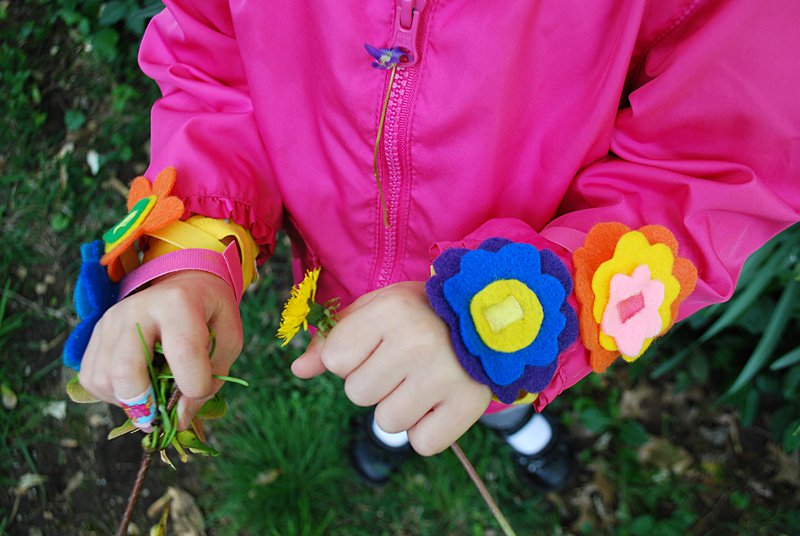
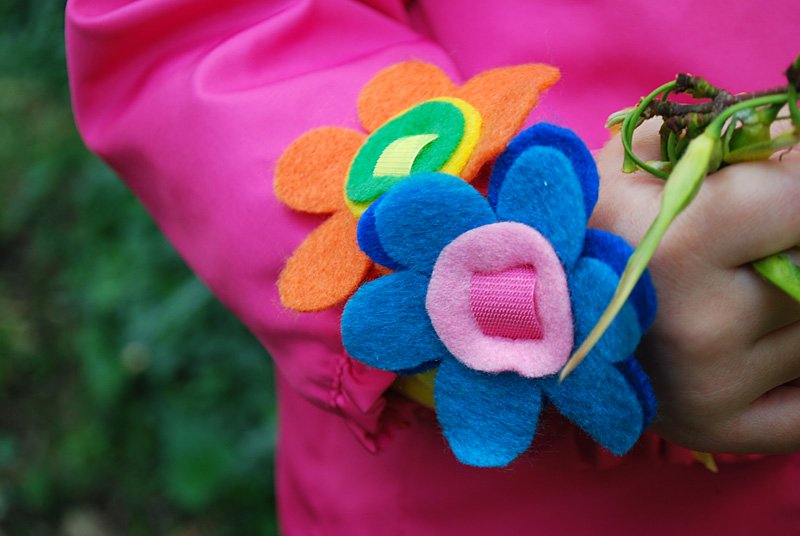
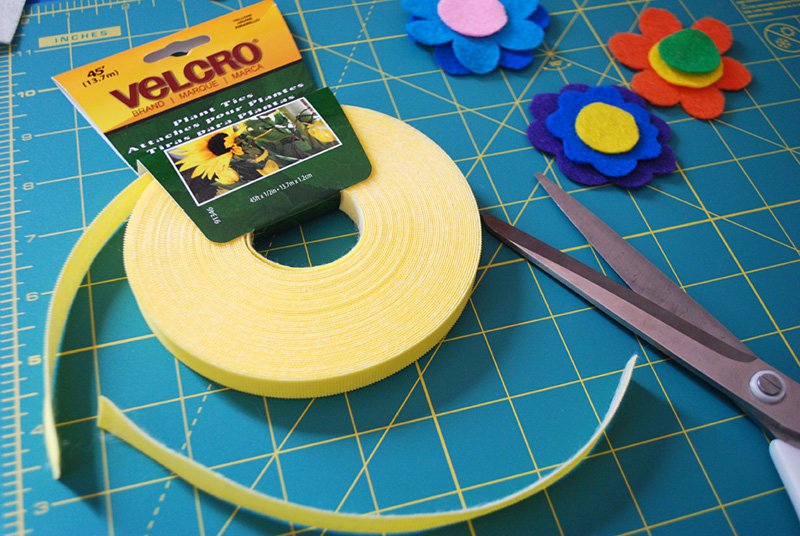
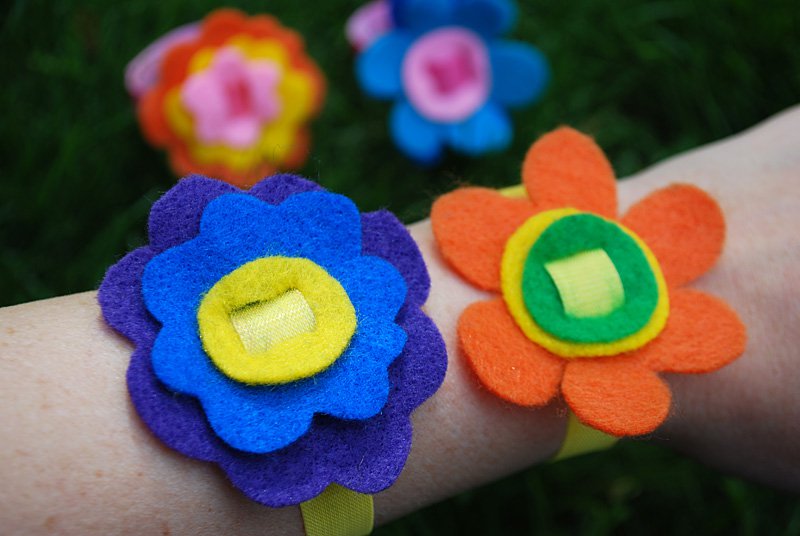
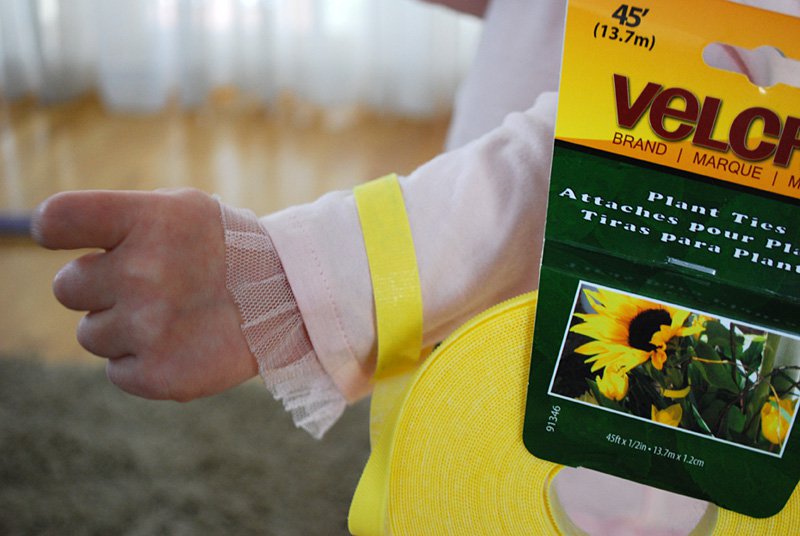
Here’s a super cute DIY spring and summer craft idea for kids that you can knock out in less than an hour: Easy no-sew felt flower bracelets. I love how cheery these no-sew felt flower bracelets look. And it’s nice to be able to make a cute project without having to drag out my sewing machine.The trick is VELCRO® Brand Plant Ties. So what are plant ties you ask? It’s basically a roll of colored thin VELCRO® Brand fasteners (I have these in yellow, pink, green and red and they also come in blue and black) that sticks to itself. Yep, IT STICKS TO ITSELF! So cool. You’re supposed to use to tie up your plants in the garden which I did last year to help my peas hang onto their trellis.I liked the VELCRO® Brand Plant Ties in the garden but I also thought it could make a great bracelet. It’s easy to cut and not the least scratchy on the back. You could also make this project using VELCRO® One-Wrap Straps OR VELCRO® Get A Grip Straps in Multi-Colored, which are basically the same stick-to-itself concept that are used to keep cords and wires looking neater. Either way it’s a kid-friendly, no-sew craft to brighten your spring and summer days exploring outside.

Easy DIY no-sew felt flower bracelets {free pattern}

How to make Easy DIY felt flower bracelets free no-sew pattern. Cute spring and summer craft activity to do with kids! [spring craft ideas| summer craft ideas | kids craft ideas | Easter craft for kids | no-sew crafts | felt crafts | DIY jewelry]

Here’s a super cute DIY spring and summer craft idea for kids that you can knock out in less than an hour: Easy no-sew felt flower bracelets.

Easter craft ideas for kids Spring craft ideas for kids Summer craft ideas for kids

I love how cheery these no-sew felt flower bracelets look. And it’s nice to be able to make a cute project without having to drag out my sewing machine.

Easter craft ideas for kids Spring craft ideas for kids Summer craft ideas for kids

The trick is VELCRO® Brand Plant Ties. So what are plant ties you ask? It’s basically a roll of colored thin VELCRO® Brand fasteners (I have these in yellow, pink, green and red and they also come in blue and black) that sticks to itself. Yep, IT STICKS TO ITSELF! So cool. You’re supposed to use to tie up your plants in the garden which I did last year to help my peas hang onto their trellis.

Easter craft ideas for kids Spring craft ideas for kids Summer craft ideas for kids

I liked the VELCRO® Brand Plant Ties in the garden but I also thought it could make a great bracelet. It’s easy to cut and not the least scratchy on the back.

Easter craft ideas for kids Spring craft ideas for kids Summer craft ideas for kids

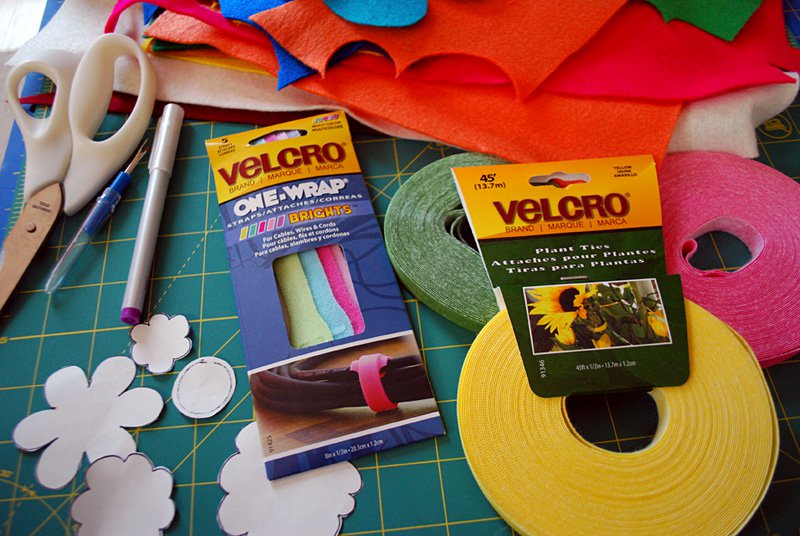
You could also make this project using VELCRO® One-Wrap Straps OR VELCRO® Get A Grip Straps in Multi-Colored, which are basically the same stick-to-itself concept that are used to keep cords and wires looking neater. Either way it’s a kid-friendly, no-sew craft to brighten your spring and summer days exploring outside.

Easter craft ideas for kids Spring craft ideas for kids Summer craft ideas for kids

Required Material:

  • Kathy’s free flower bracelet pattern
  • VELCRO® Brand Plant Ties – comes in pink, yellow, blue and green plus red at holiday time OR VELCRO® Brand ONE-WRAP Straps OR VELCRO® Brand Get A Grip Straps in Multi-Colored
  • Felt in assorted colors
  • Disappearing ink pen
  • Tape measure or clear plastic ruler
  • Paper scissors
  • Good fabric scissors
  • Seam ripper
  • Embroidery scissors

    How to make DIY no-sew felt flower bracelets:

    Gather your supplies. Print and cut out my free printable flower bracelet template. The free pattern is sized for kids so just increase the size on a copier if you’d like them larger.

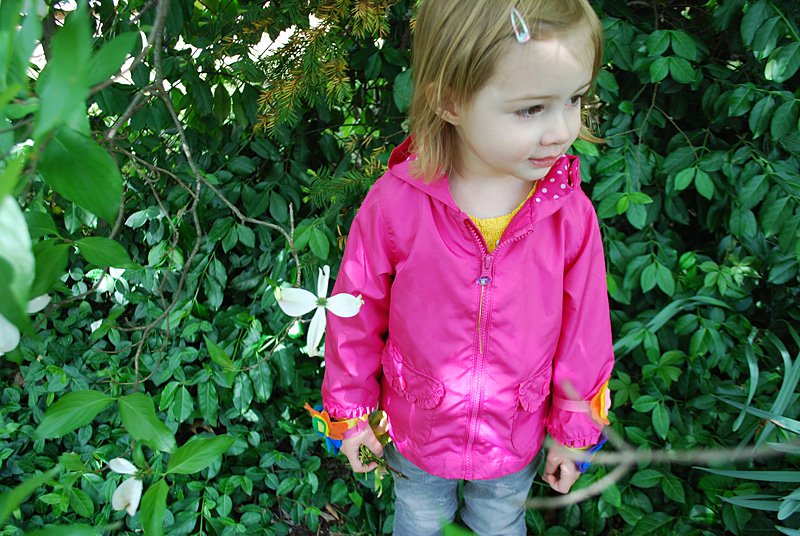
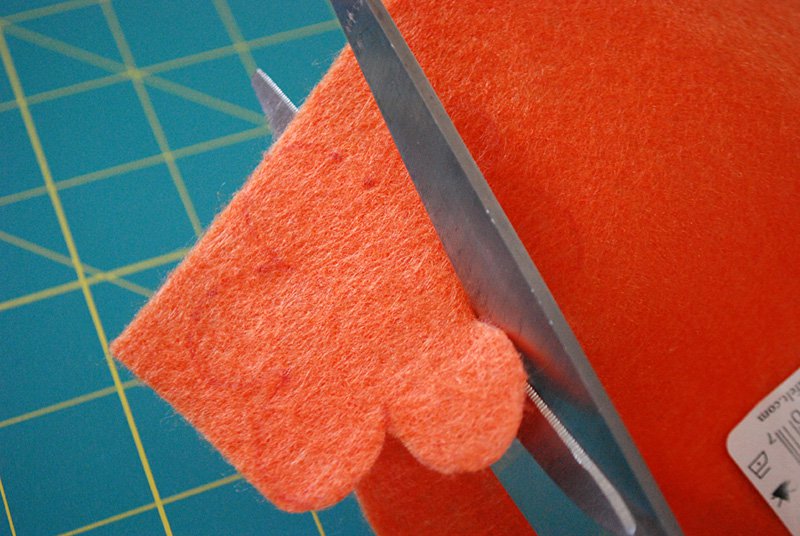
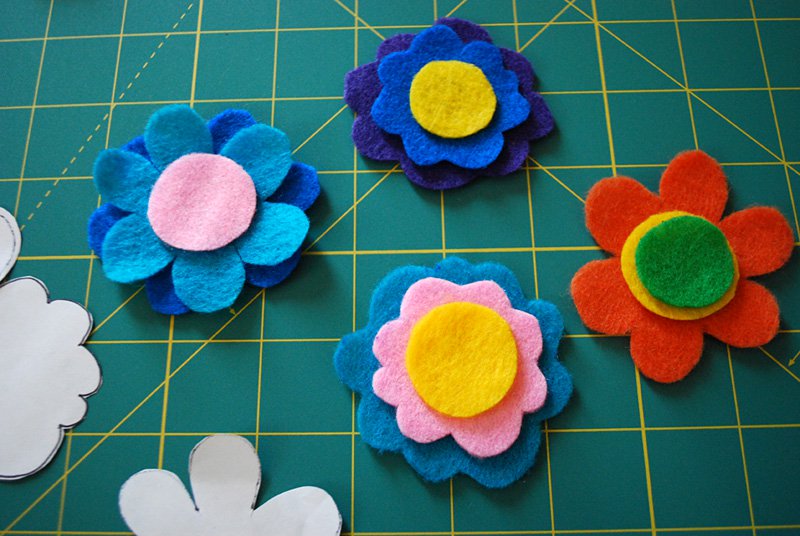
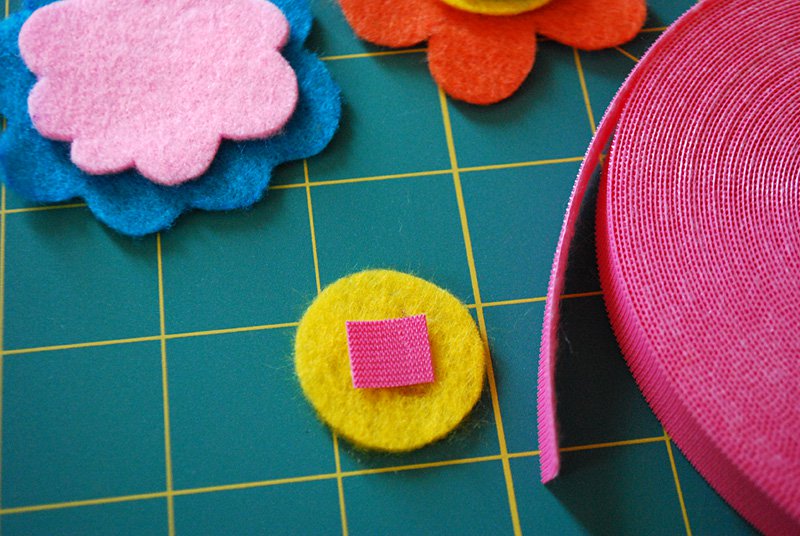
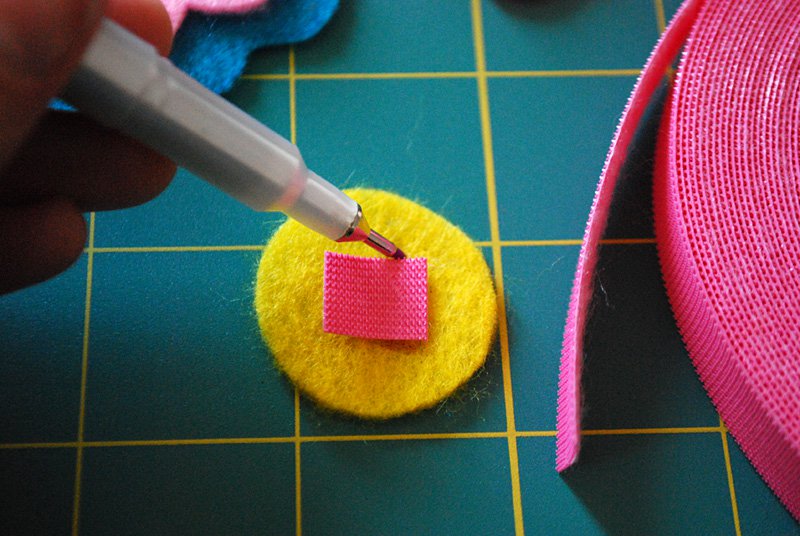
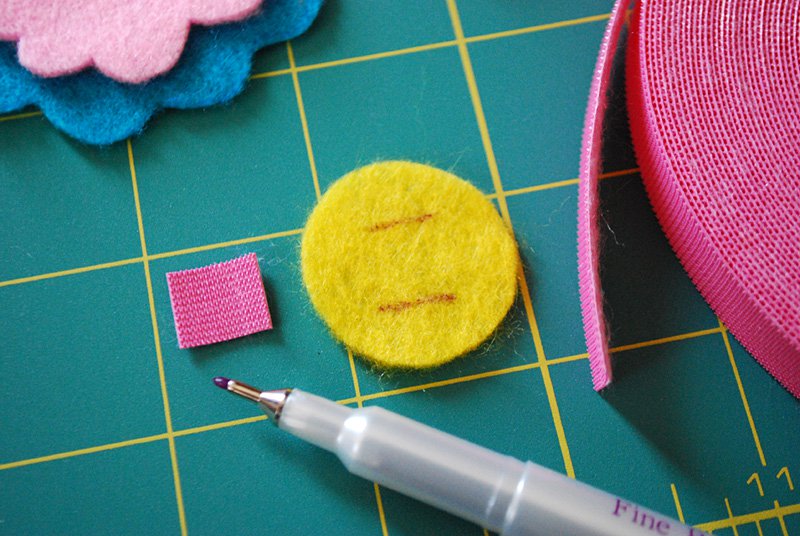
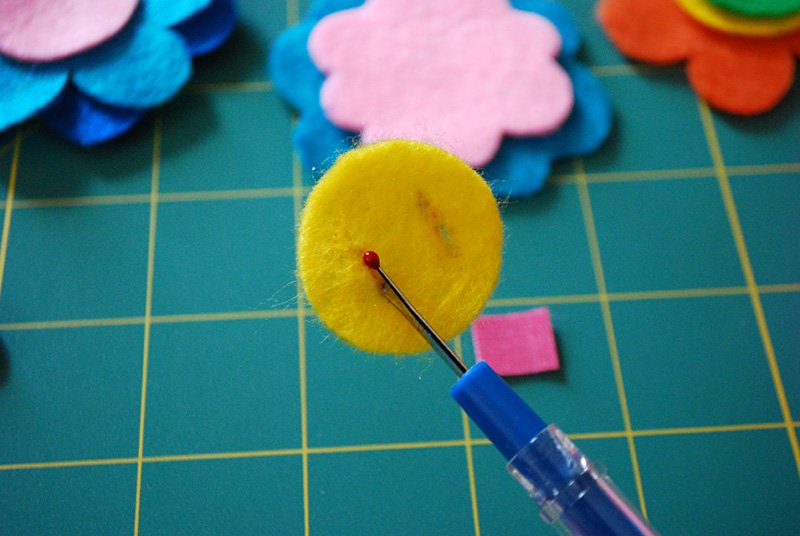
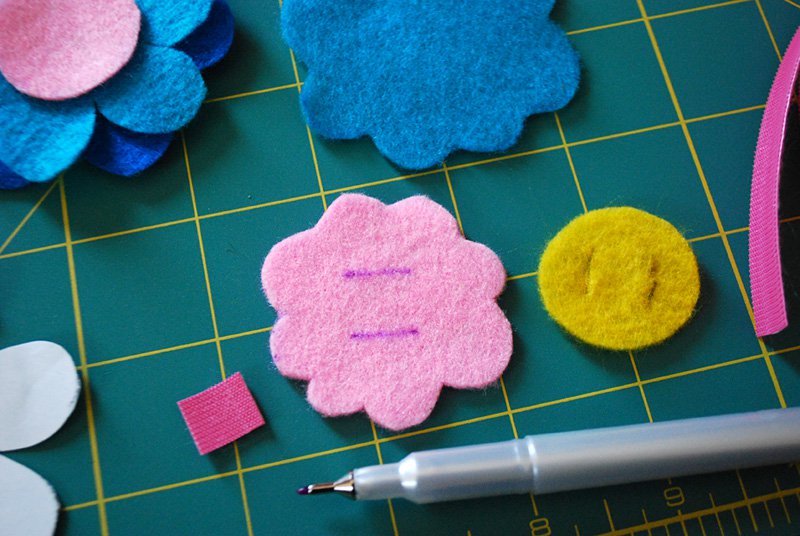
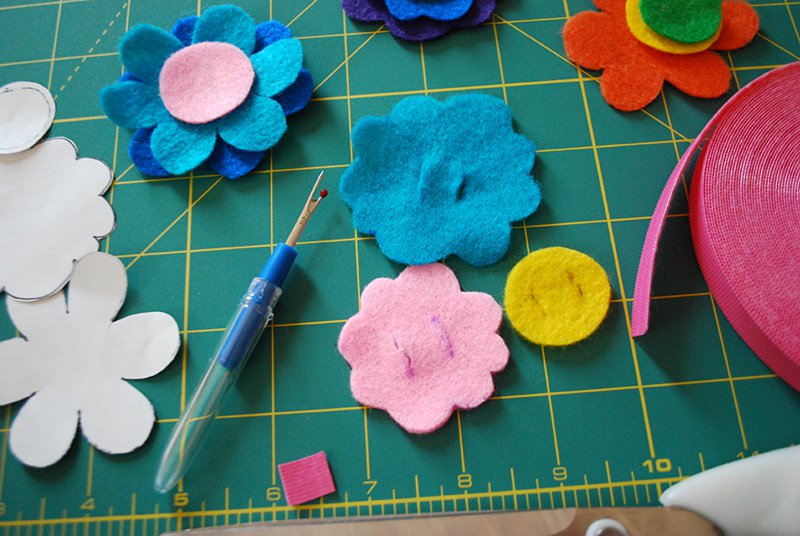
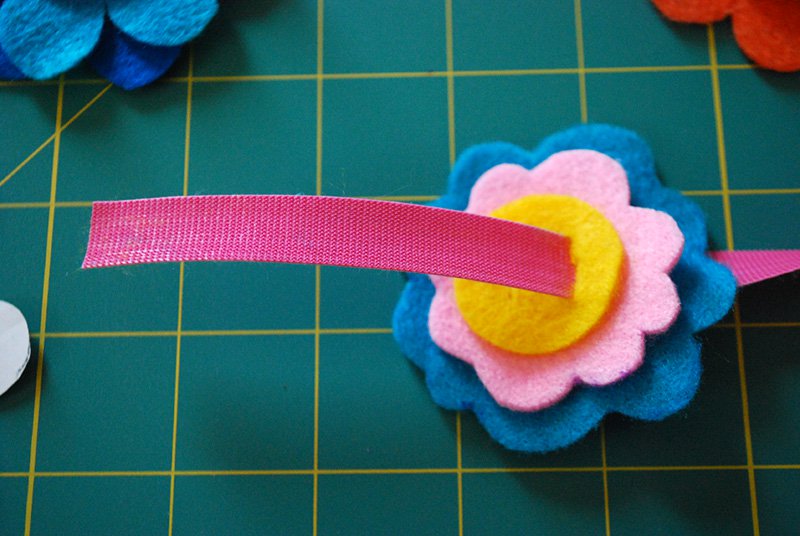
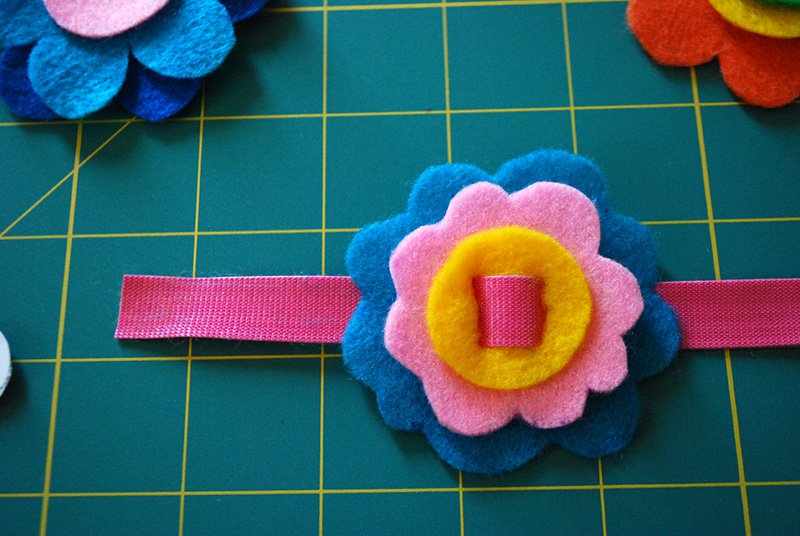
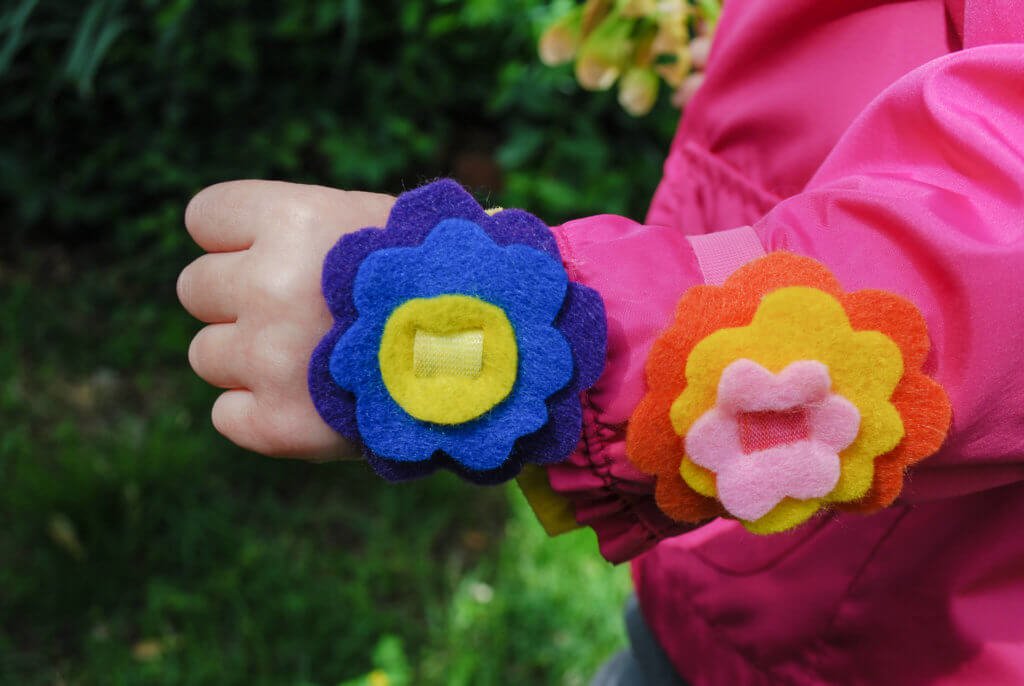
Cut out flowers pieces in assorted felt colors. You can trace the pattern using disappearing ink pen onto the lighter colors, and for darker colors, just hold the pattern tightly to the felt and cut. No need to be perfect. You can even free-hand some pieces without using a pattern at all. See all the cute felt flower pieces for the bracelets? Now just layer them up. Cut more as needed and play around to make the cute flower stacks for the bracelets. Cut a piece 3/8″ piece of VELCRO Plant Tie as a pattern for cutting slits in the felt flower pieces. Center it on your flower piece. Mark slits above and below the pattern using a disappearing ink pen.Now it’s time to cut the bracelet slits. First I tried using fabric scissors and I overshot big time – they’re just too big for me to handle on such a small cut. So then I used a seam ripper to get the bracelet slit started on each ends and followed up with tiny embroidery scissors to cut through the middle and it worked really well. Repeat on your other flower pieces. And here are three pieces ready to become a flower. Measure your wrist and add about 1.5″-2″ to it for threading through the flower and overlap to close on your wrist. This batch of flower bracelets were for my 2-year-old Elise. Cut a piece of VELCRO® plant tie to this length. Thread the end of the VELCRO® Plant Tie strip through the slit flower layers. Felt is naturally going to stick to the VELCRO® hook (scratchy) side, so when you thread it through, try to thread it so that the felt is touching the smooth side. Go slowly so to avoid tearing a bigger slit into your felt. Thread the flower onto the VELCRO® Plant Tie so that it’s almost in the middle of your Plant Tie — remember that you cut some extra for overlap so it should be slightly to one side. Now thread the end back through the other slit stack, which will make a cute little color in the middle of your flower. You can either try to match the color to your flower middle or choose a cute contrasting color. Now just wrap the felt flower bracelet around your wrist and overlap the VELCRO® Plant Tie to close. You can snip off any extra as needed.
courtesy: Merriment Design