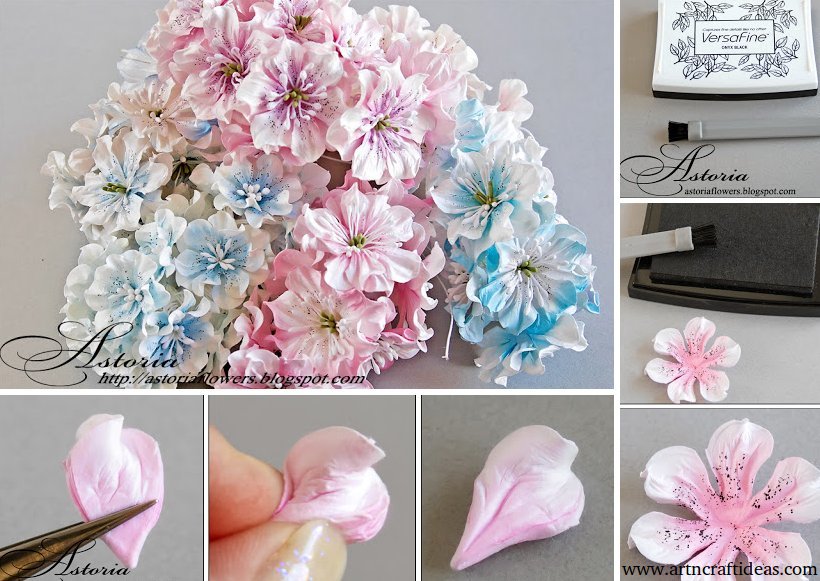
Posted onMay 15, 2017inDIY, Home Decor, Paper Crafts, Tutorial DIY Beautiful roses from watercolor paper – Step by step
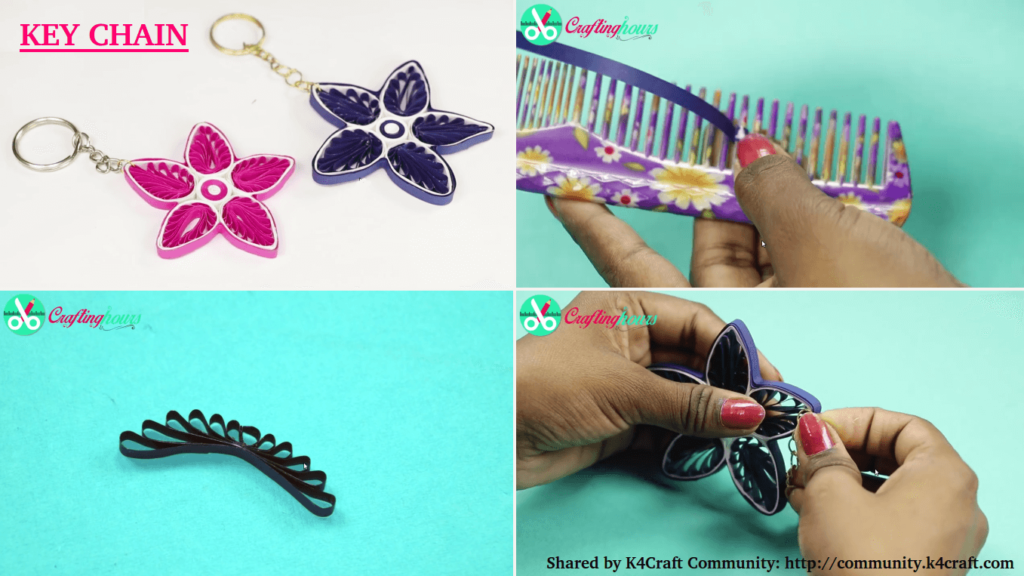
Posted onApril 25, 2017inQuilling, Step by step, Video Paper Quilling – How to Make Key chain from Quilling Art
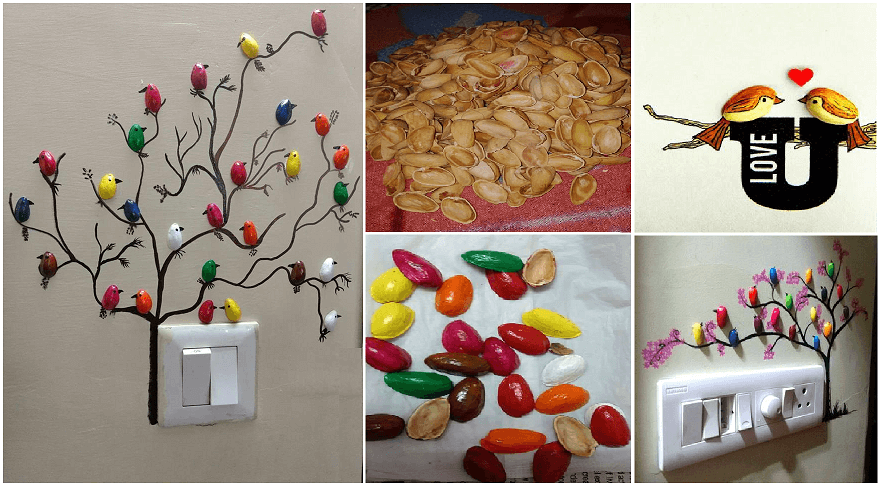
Posted onApril 8, 2017May 11, 2017inBest out of Waste, Featured, Home Decor, Tutorial Handmade pista shell bird for wall decoration
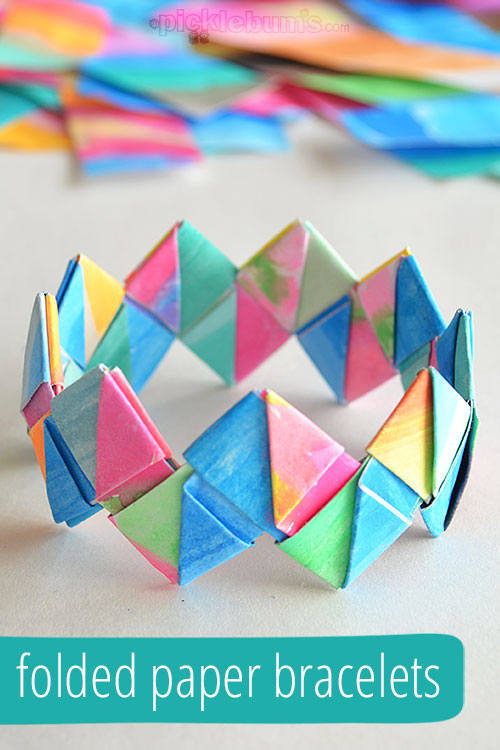
Posted onApril 5, 2017April 5, 2017inJewellery, Paper Crafts, Tutorial DIY Folded Paper Bracelets (Tutorial)
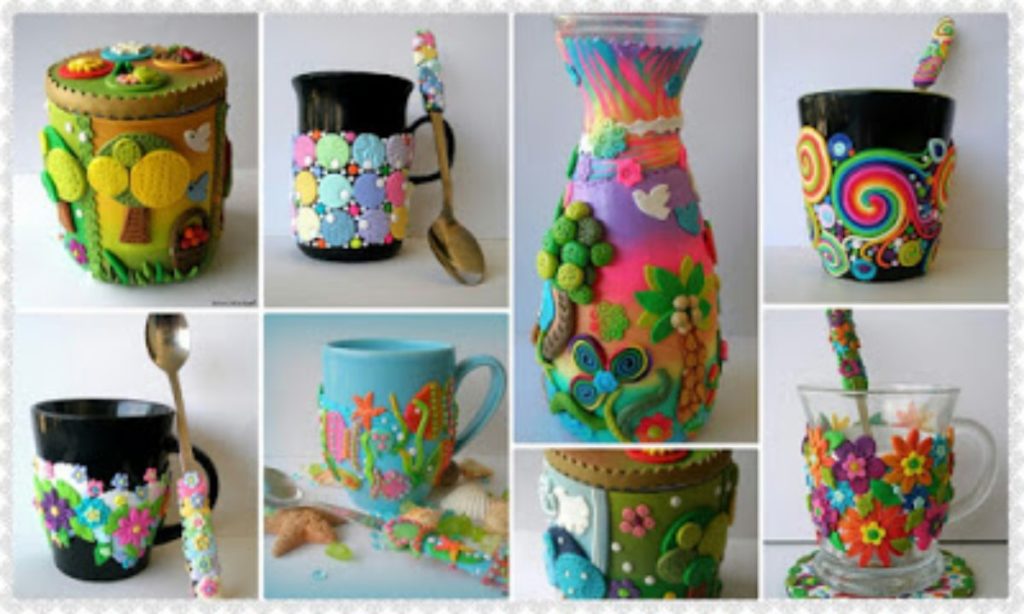
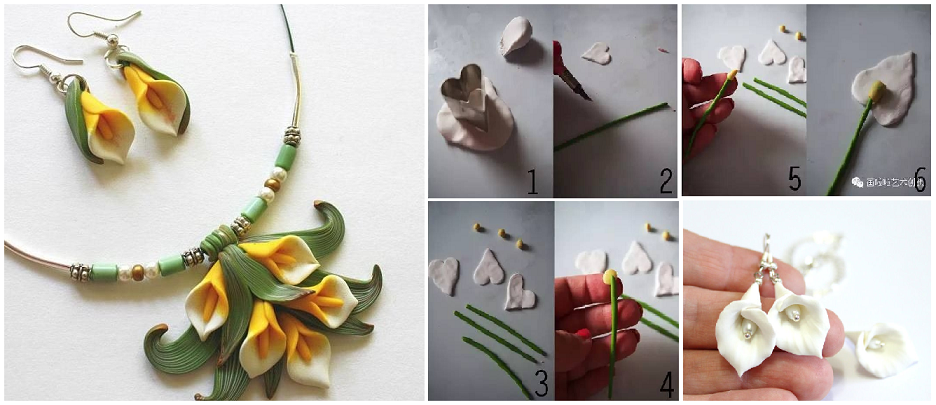
Posted onApril 1, 2017May 11, 2017inClay, Tutorial, Video How to decorate the vases, boxes elements of cold porcelain
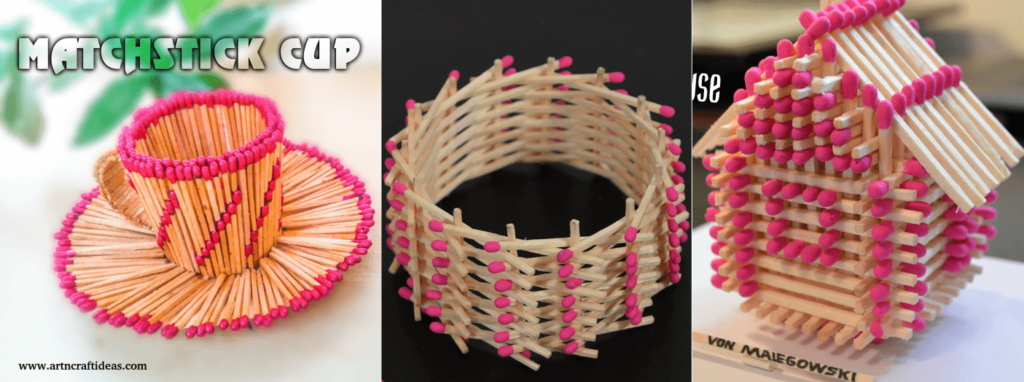
Posted onMarch 26, 2017April 13, 2018inDIY, Tutorial, Video Matchstick Craft tutorials – Matchstick House, Circle, Cup, Stars…