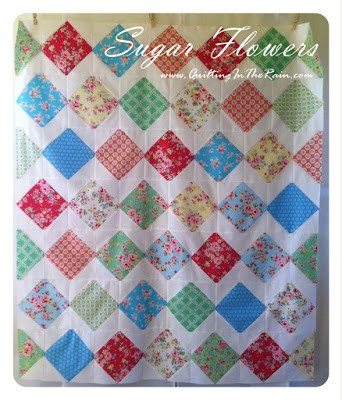
Posted onJanuary 10, 2017inDIY, Home Decor, Patchwork Crafts, Step by step, Tutorial Handmade Quilting
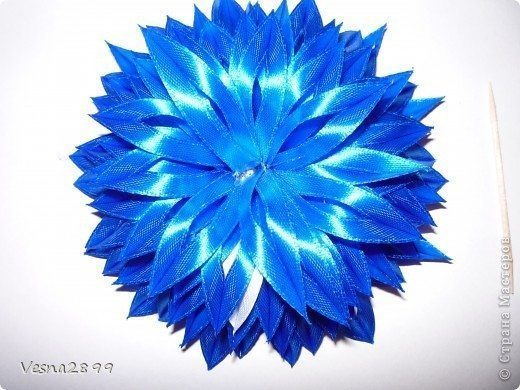
Posted onJanuary 10, 2017inDIY, Flower Crafts, Step by step, Tutorial Beautiful Flower of narrow ribbon
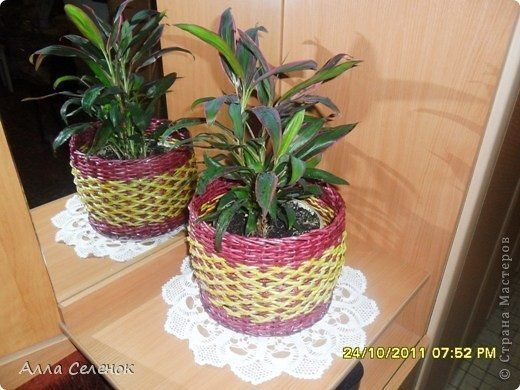
Posted onJanuary 10, 2017inBest out of Waste, DIY, Newspaper Crafts, Step by step, Tutorial DIY Wicker plant pots from newspaper
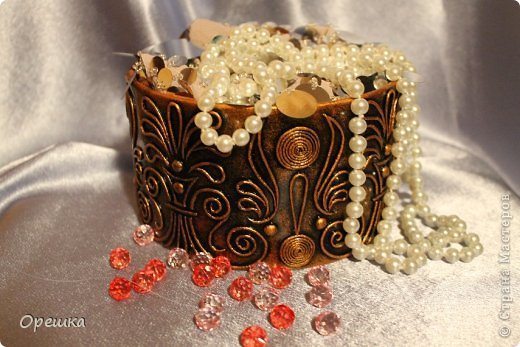
Posted onJanuary 10, 2017inBest out of Waste, DIY, Paper Crafts, Step by step, Tutorial Handmade Mini box of cardboard tube
Posted onJanuary 10, 2017inDIY, Embroidery And Sewing, Step by step, Tutorial DIY Embroidery pansy flower
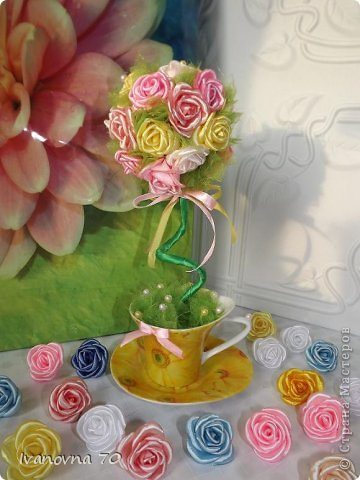
Posted onJanuary 10, 2017inDecorations, DIY, Step by step, Tutorial DIY Gentle topiary with beautiful roses
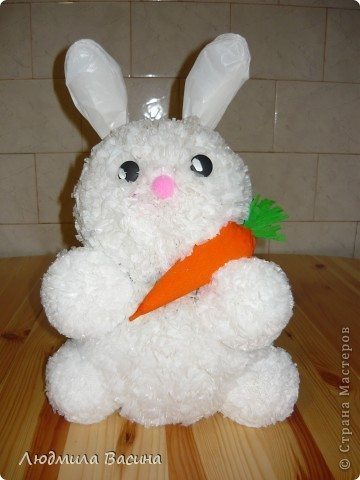
Posted onJanuary 9, 2017inChristmas, Decorations, DIY, Kids Crafts, Step by step, Tutorial DIY Making small bunny
Posted onJanuary 9, 2017inDIY, Mother's Day, Patchwork Crafts, Step by step, Tutorial Beautiful Chocolate poufs bag