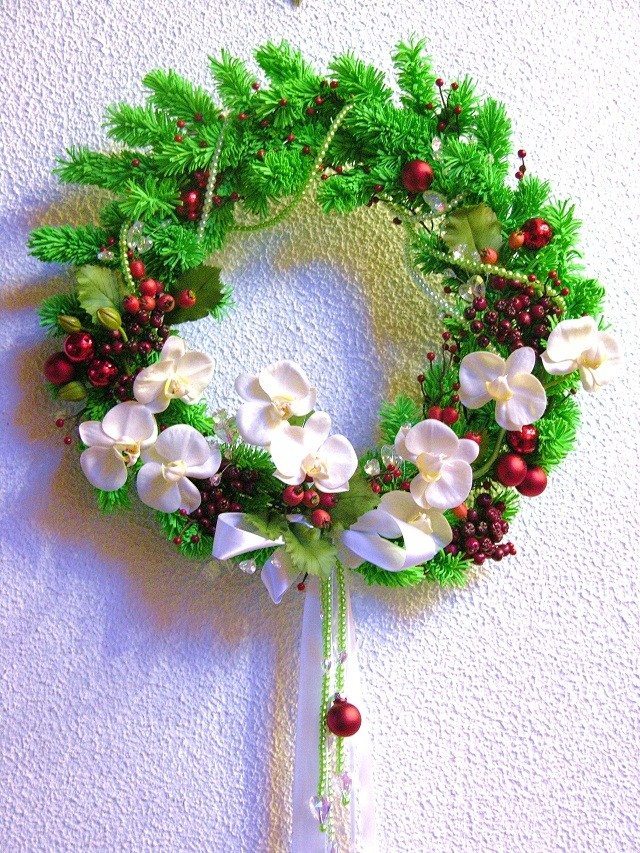
Posted onJanuary 9, 2017inChristmas, Decorations, DIY, Step by step, Tutorial Ceramic floristry Christmas wreaths
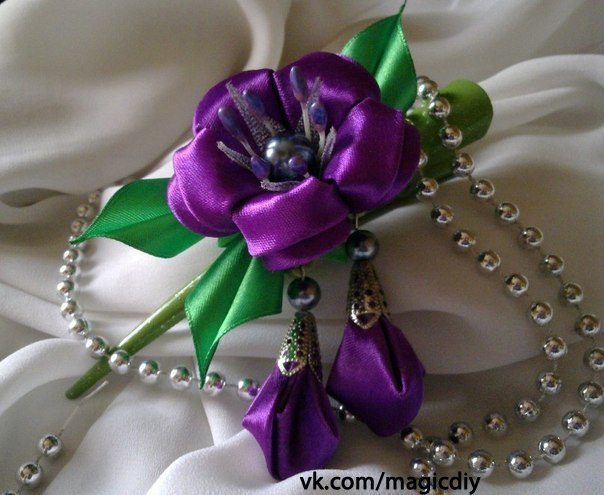
Posted onJanuary 9, 2017inDIY, Flower Crafts, Step by step, Tutorial Beautiful Tulips from satin ribbons
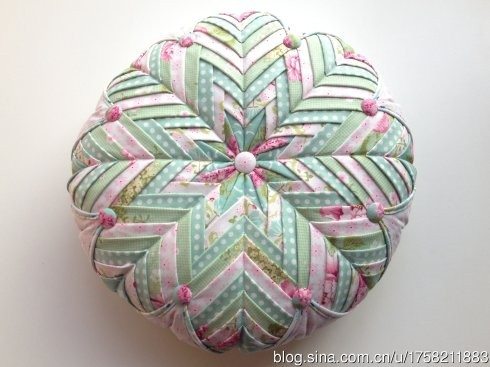
Posted onJanuary 9, 2017inDIY, Featured, Home Decor, Patchwork Crafts, Step by step, Tutorial DIY Handmade Cushion of patches
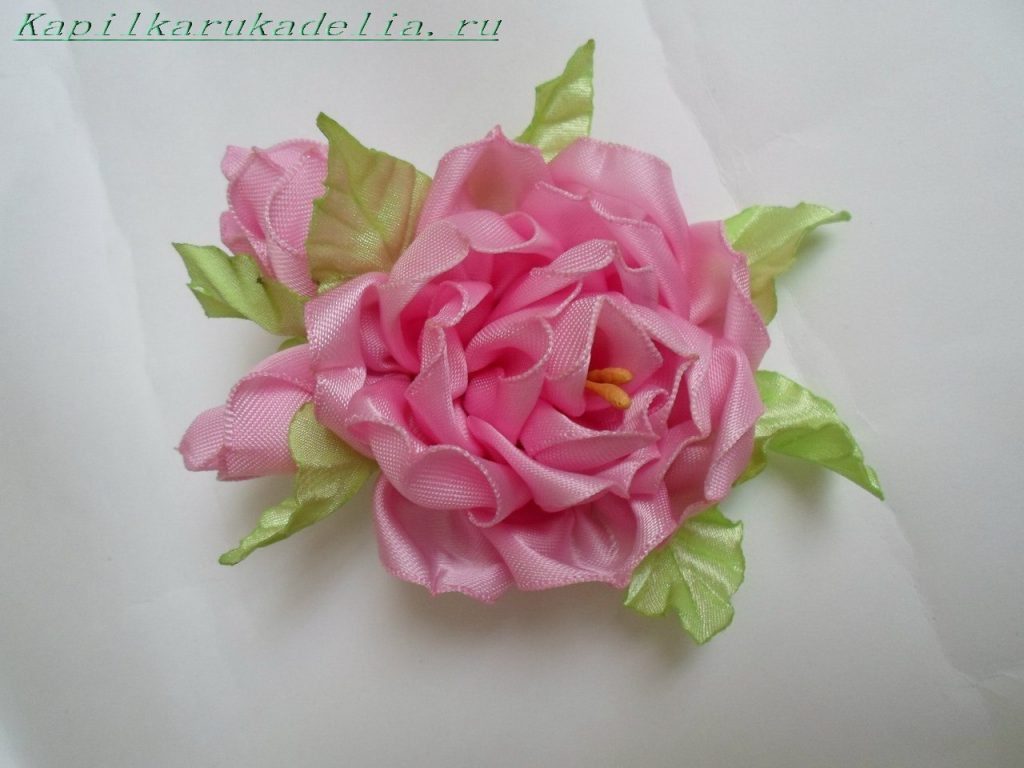
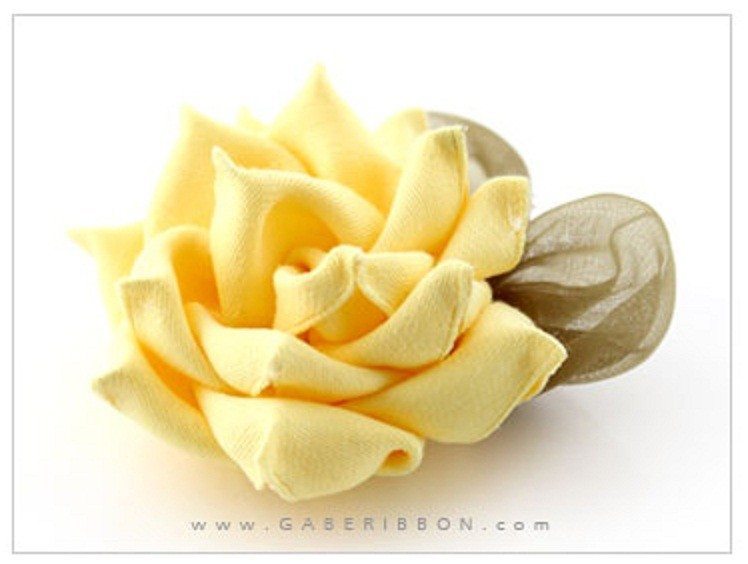
Posted onJanuary 9, 2017January 9, 2017inDIY, Flower Crafts, Step by step, Tutorial Beautiful Rose from satin ribbon
Posted onJanuary 9, 2017inDIY, Other, Step by step, Tutorial DIY Miniature casket made of plastic canvas