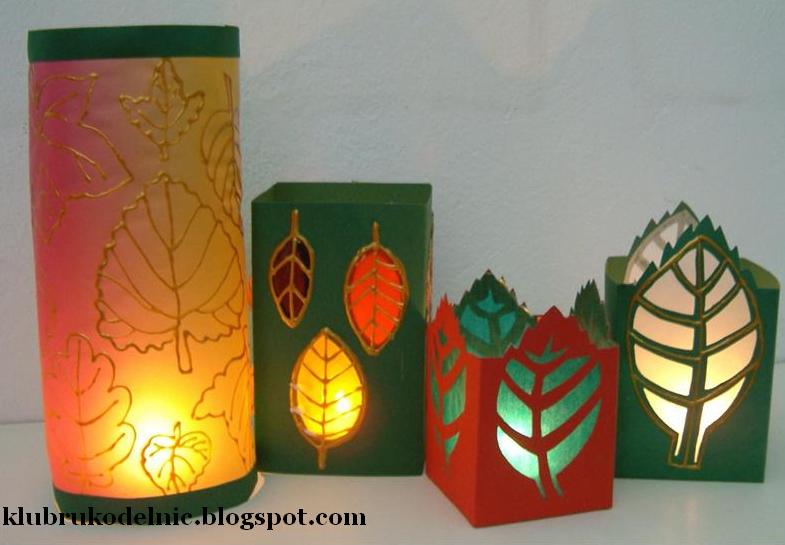
Posted onMarch 4, 2017inBest out of Waste, DIY, Home Decor, Tutorial DIY: Lanterns with autumn leaves create
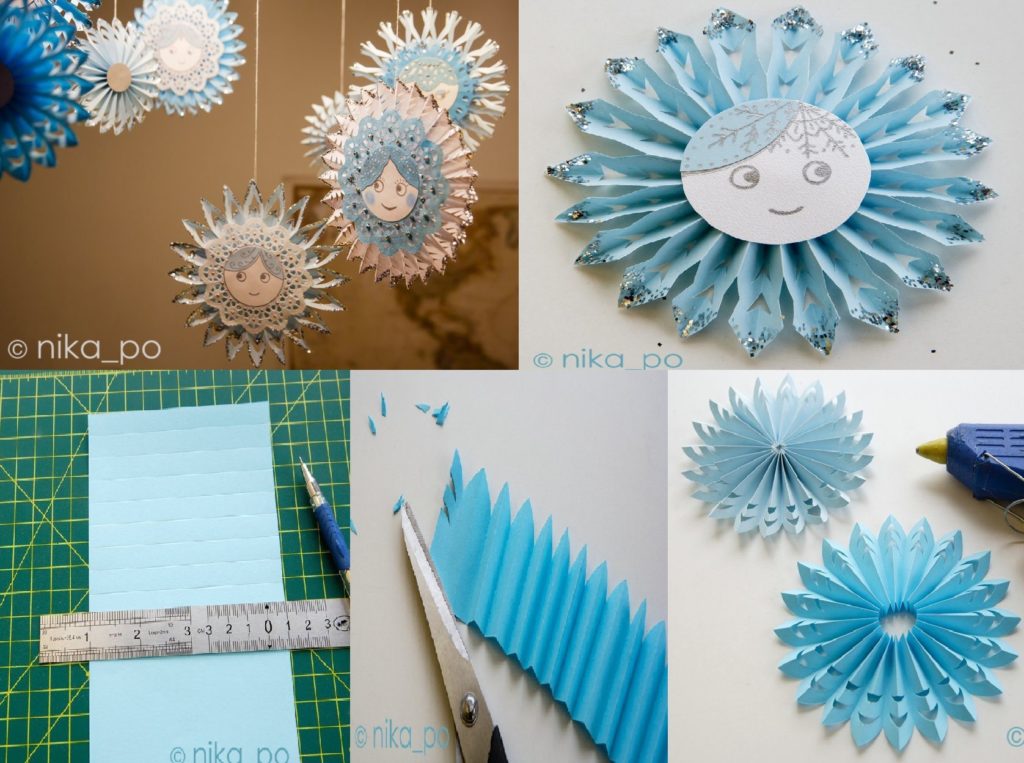
Posted onFebruary 24, 2017inDIY, Kids Crafts, Paper Crafts, Step by step, Tutorial DIY: Beautiful Snowflakes-Socket
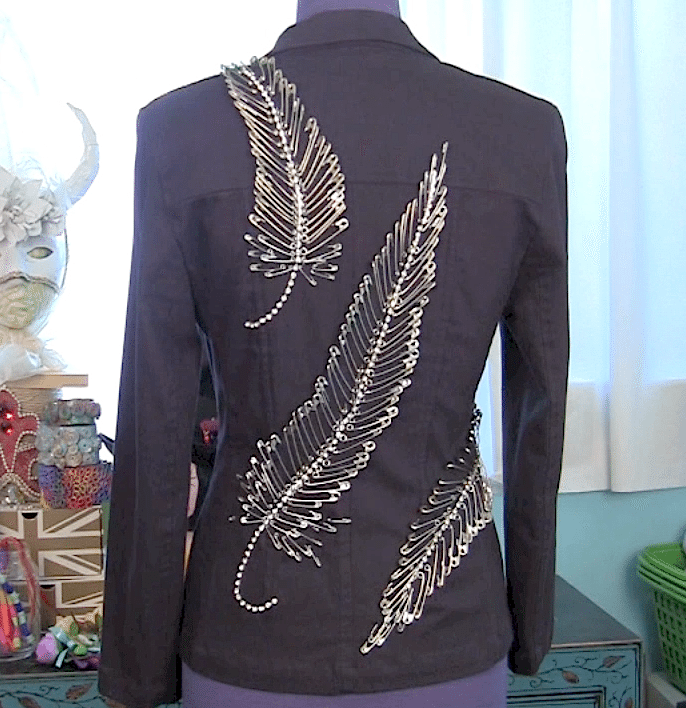
Posted onFebruary 22, 2017inBest out of Waste, Clothing, Step by step, Tutorial DIY: Safety pin feather jacket
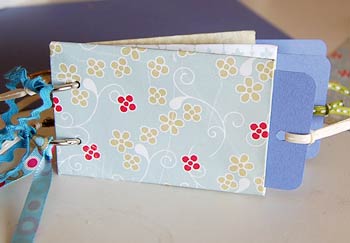
Posted onFebruary 22, 2017inBest out of Waste, DIY, Step by step, Tutorial Toilet Roll Mini Album Tutorial
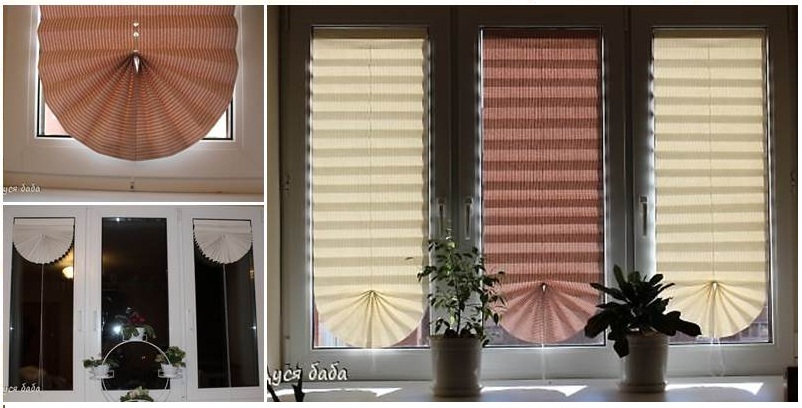
Posted onFebruary 21, 2017inDIY, Home Decor, Paper Crafts, Step by step, Tutorial DIY Pull up Window Shade Made of Paper
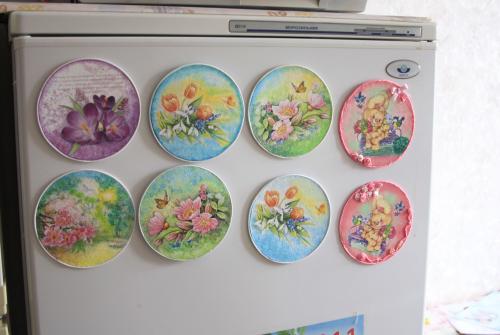
Posted onFebruary 21, 2017inBest out of Waste, DIY, Home Decor, Step by step, Tutorial Fridge magnets from CD’s