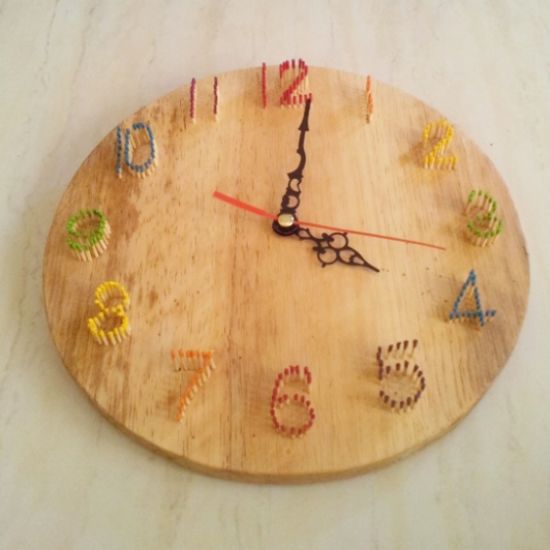
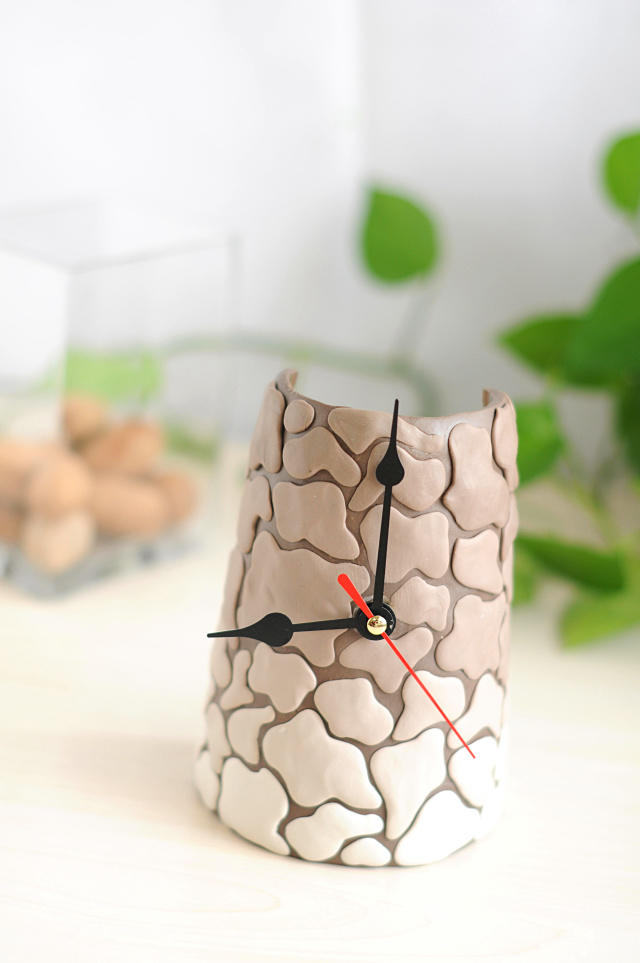
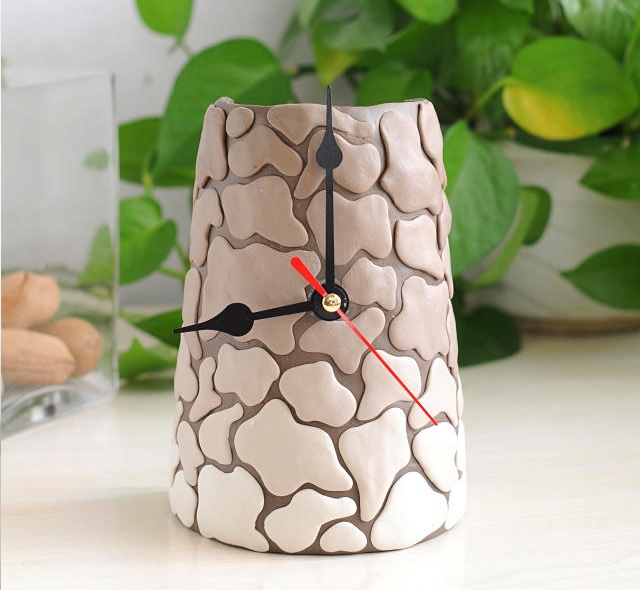
The main thing – the idea! You can make such a clock of any size, not just covered with clay cup, but any size jar, pot, bowl …
1. Choose a large ceramic cup on the big, down on the table.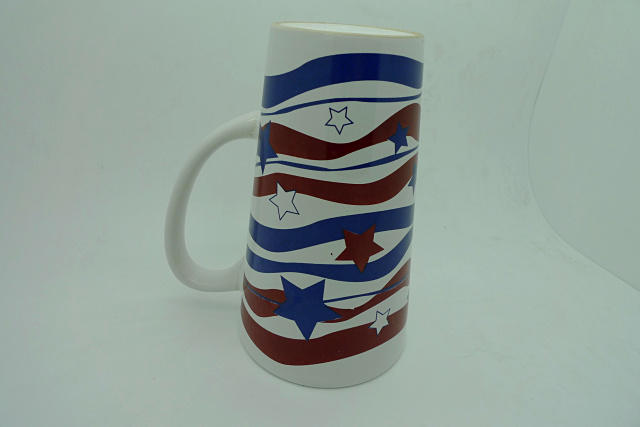 2. Take a piece of brown Taiwan Zhengguang soft clay, with rolling pin (or pressure machine) even carry out a slightly thick piece, wrapped in the cup outside the wall. (Note: Do not put the whole cup full, but more than 1/2 of the area, so as to ensure that the clock can be done after the stand.
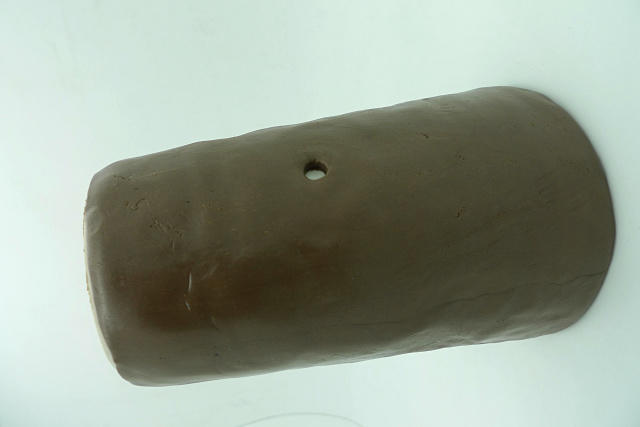
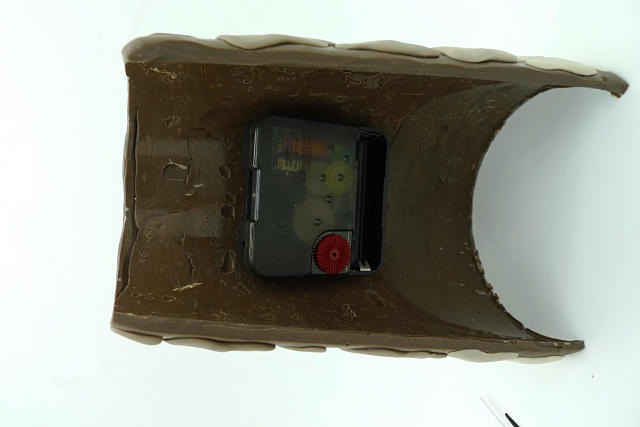
 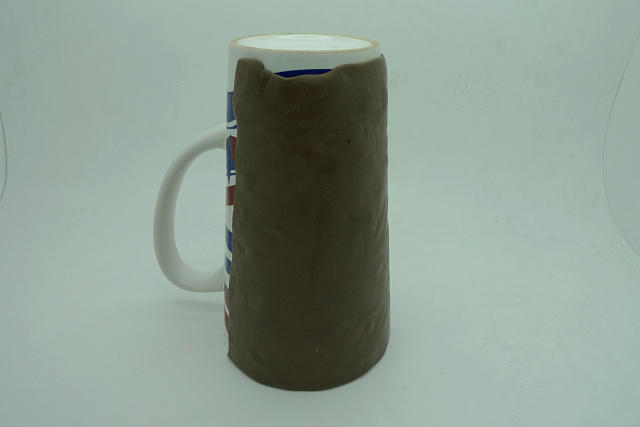 3. Wrap the cup wall, find a center point poke a round hole, the size of the round hole with the shape of the core size of the circle as much as possible.
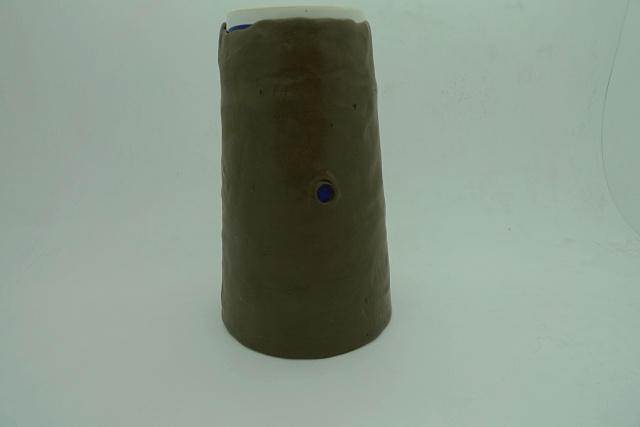 4. With scissors empty beer cans cut into about 3mm of the strip, around the outer wall of the soft clay, this is the use of aluminum toughness to prevent the soft clay in the dry nest after the deformation of the phenomenon.
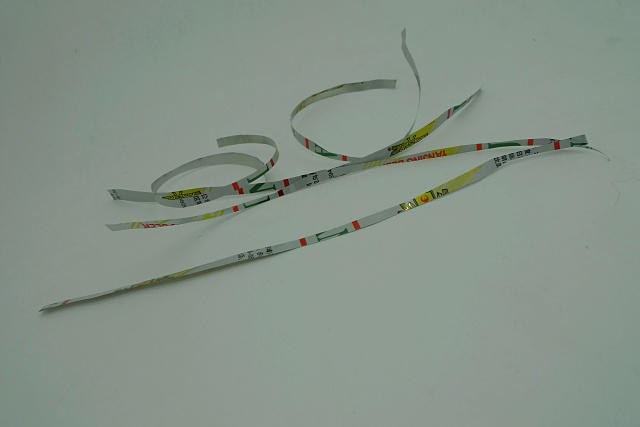
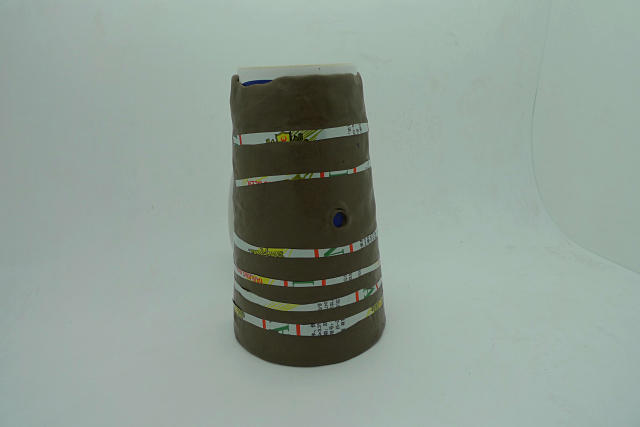 5. and then pressure a layer of the same size before the brown mud, the purpose is to cover the beer cans, pay attention to poke out the hole.
 6. Then, with some small mud in the brown mud surface to do the shape, small mud from the bottom to the formation of gradual color is more beautiful. (The second line, white plus two brown; the third line, white plus three brown, and so on until the whole cup wall.).
 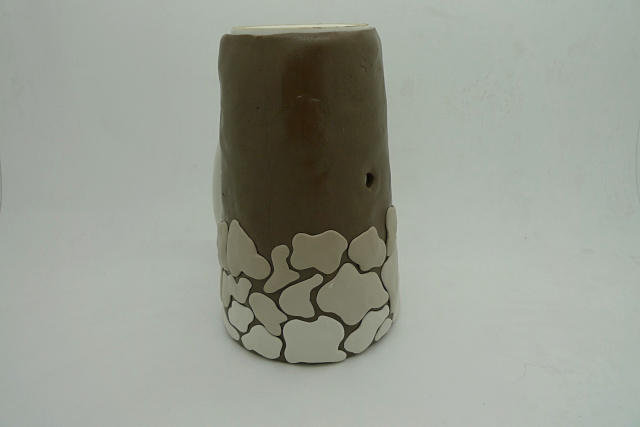 7. Put the affixed work into the oven and bake at a temperature of 120 ° C to 150 ° C for about 20 minutes. To be cooler oven, the work out, find a flat head long strip of the tool, slowly let the soft pottery from the porcelain surface.
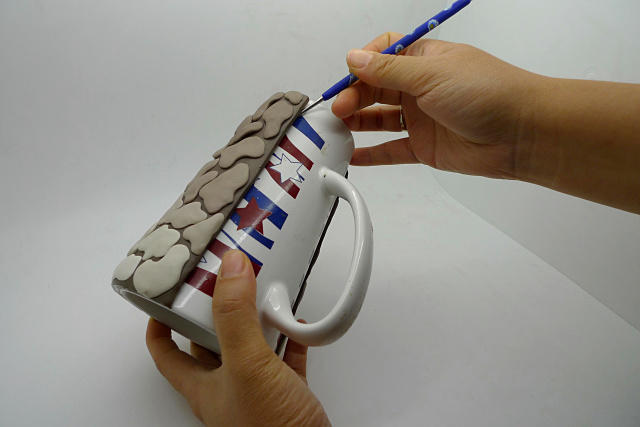 8. The general effect of the concept bell came out. Then please carefully observe the shape of the clock, the arc is greater than the cup 1/2, whether standing secure.
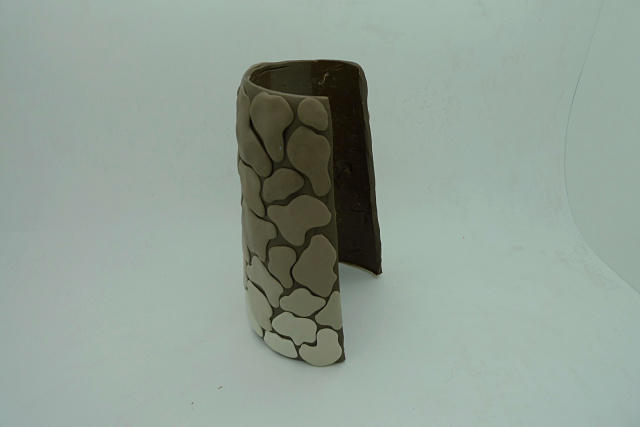 9. Prepare the watch core.
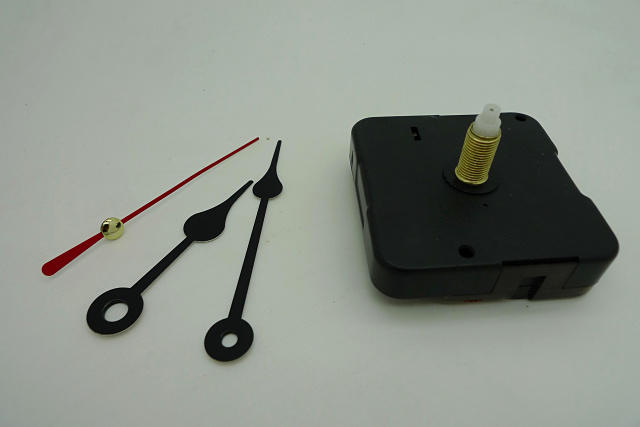 10. The core through the round hole, with a special screw on the back, the back into the battery will be able to time it!
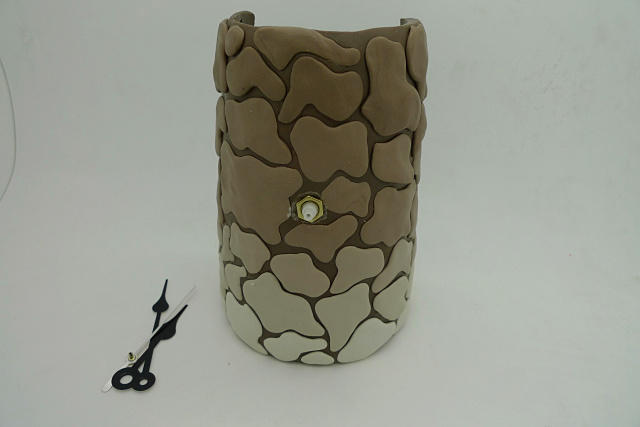



 3. Wrap the cup wall, find a center point poke a round hole, the size of the round hole with the shape of the core size of the circle as much as possible.
 4. With scissors empty beer cans cut into about 3mm of the strip, around the outer wall of the soft clay, this is the use of aluminum toughness to prevent the soft clay in the dry nest after the deformation of the phenomenon.
 5. and then pressure a layer of the same size before the brown mud, the purpose is to cover the beer cans, pay attention to poke out the hole.
 6. Then, with some small mud in the brown mud surface to do the shape, small mud from the bottom to the formation of gradual color is more beautiful. (The second line, white plus two brown; the third line, white plus three brown, and so on until the whole cup wall.).
  7. Put the affixed work into the oven and bake at a temperature of 120 ° C to 150 ° C for about 20 minutes. To be cooler oven, the work out, find a flat head long strip of the tool, slowly let the soft pottery from the porcelain surface.
 8. The general effect of the concept bell came out. Then please carefully observe the shape of the clock, the arc is greater than the cup 1/2, whether standing secure.
 9. Prepare the watch core.
 10. The core through the round hole, with a special screw on the back, the back into the battery will be able to time it!


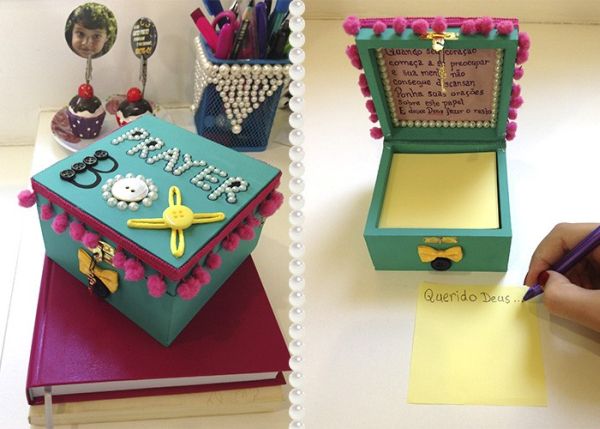
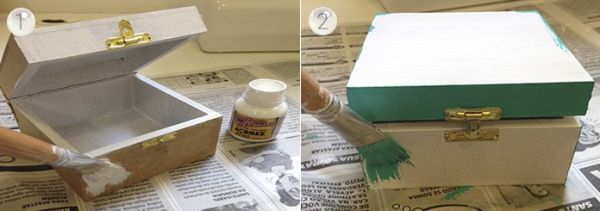
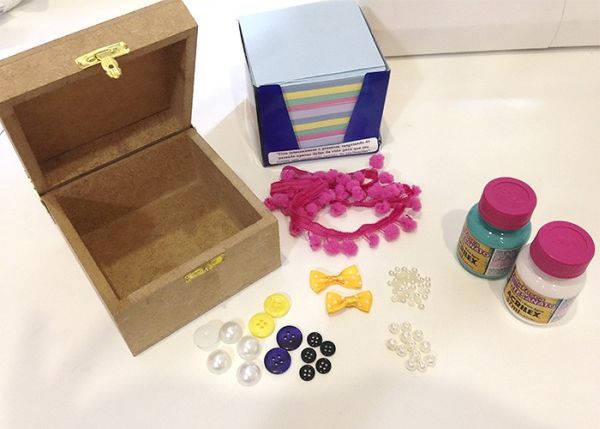 Then line the place where you will work with your piece, with old newspaper, old paper, cardboard or plastic. Paint your wooden or MDF box first with the white color if you want. Allow to dry and then apply the chosen color. If you want a stronger and stronger color, apply two or even three layers of paint, but always let the paint dry very well between layers. Let the paint dry very well before handling your part again and continue to make your work.
 Soon after, write a prayer or message, glue on the inside of the lid of your box and start pearl necklace around.
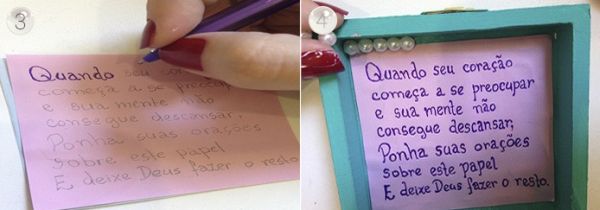 Now, finish pasting the pearls inside the box lid and begin decorating the outside of your box.
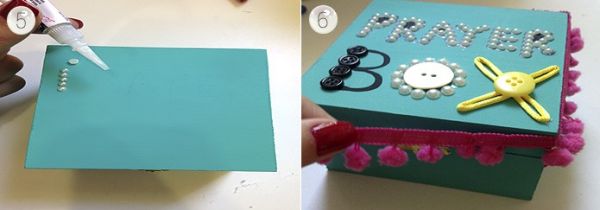 Then, to finish your piece, just finish decorating your box, with the trimmings you wish. And it’s ready!
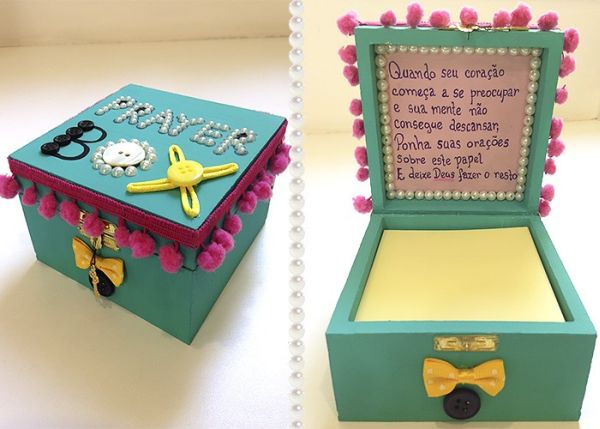 (Photo: stephania.com.br)
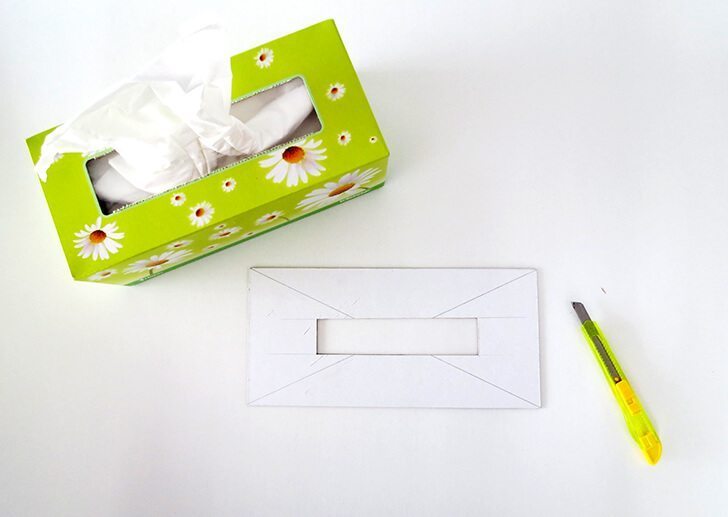 Measure, scratch and also trim the sides of the tissue box. Also with a little leftover for this part assembled by you to fit in the tissue box.
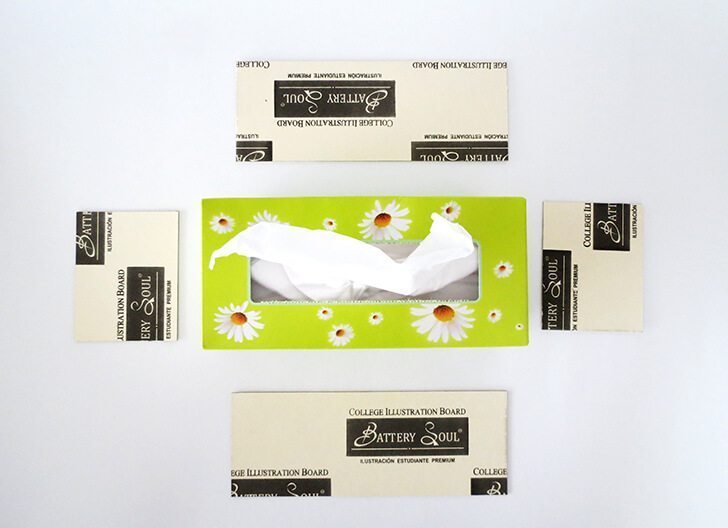 Mount your carton with the aid of a piece of adhesive tape being positioned inside and out of the carton.
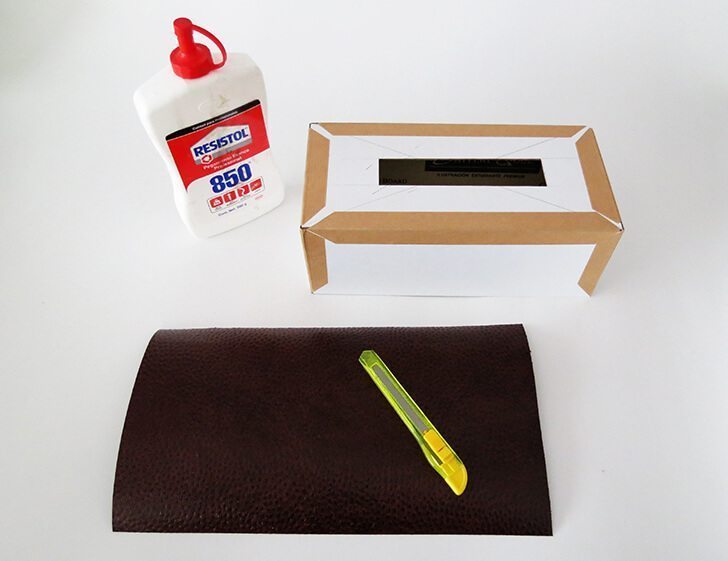
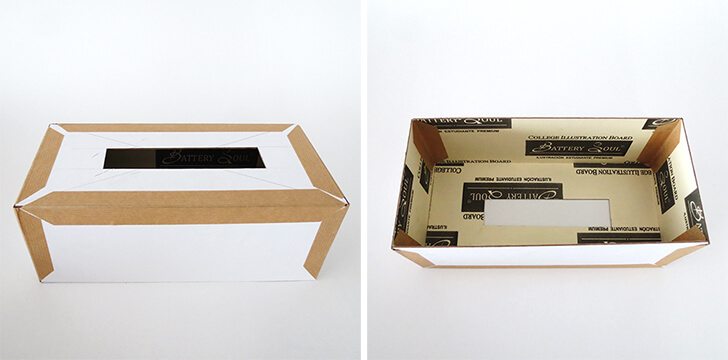 Cut a piece of textured paper to the top of your carton.
 Cut the corners and position on the box.
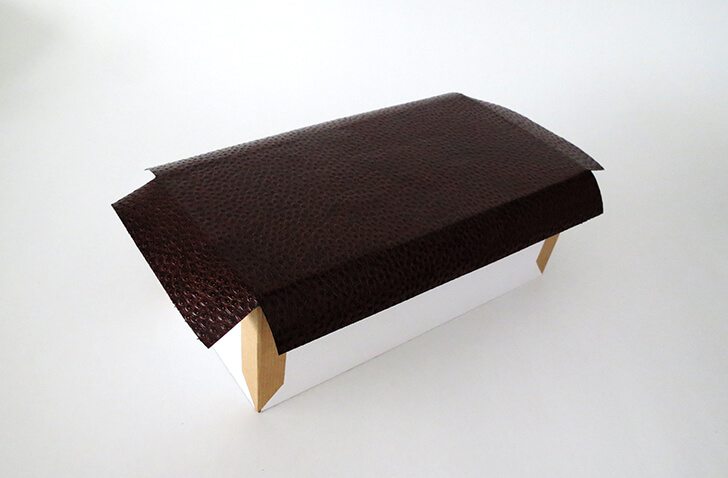 Cut the inside of the opening and turn the paper envelope in, pasting them.
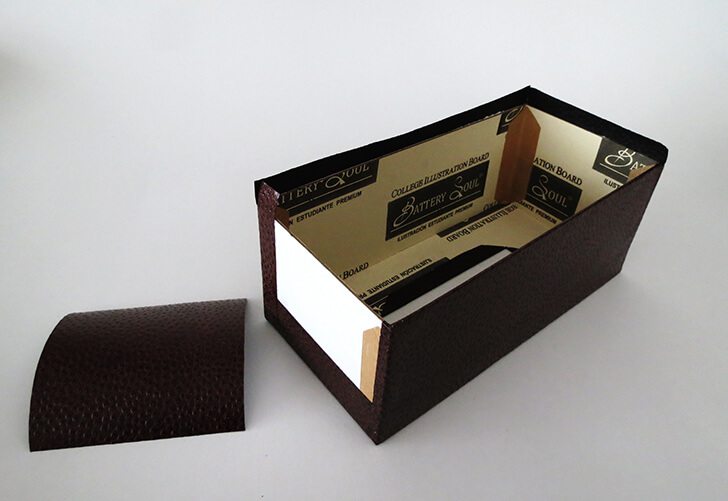
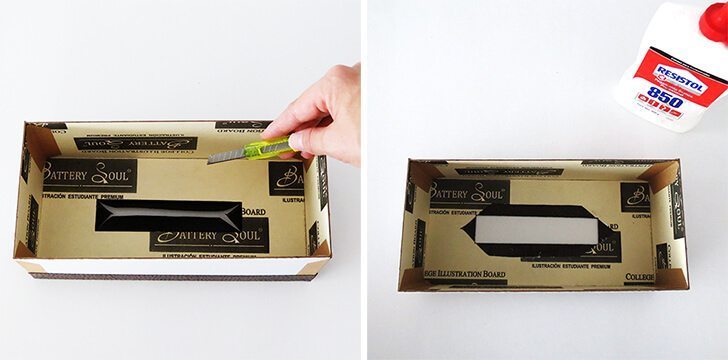 Cut and glue the sides.
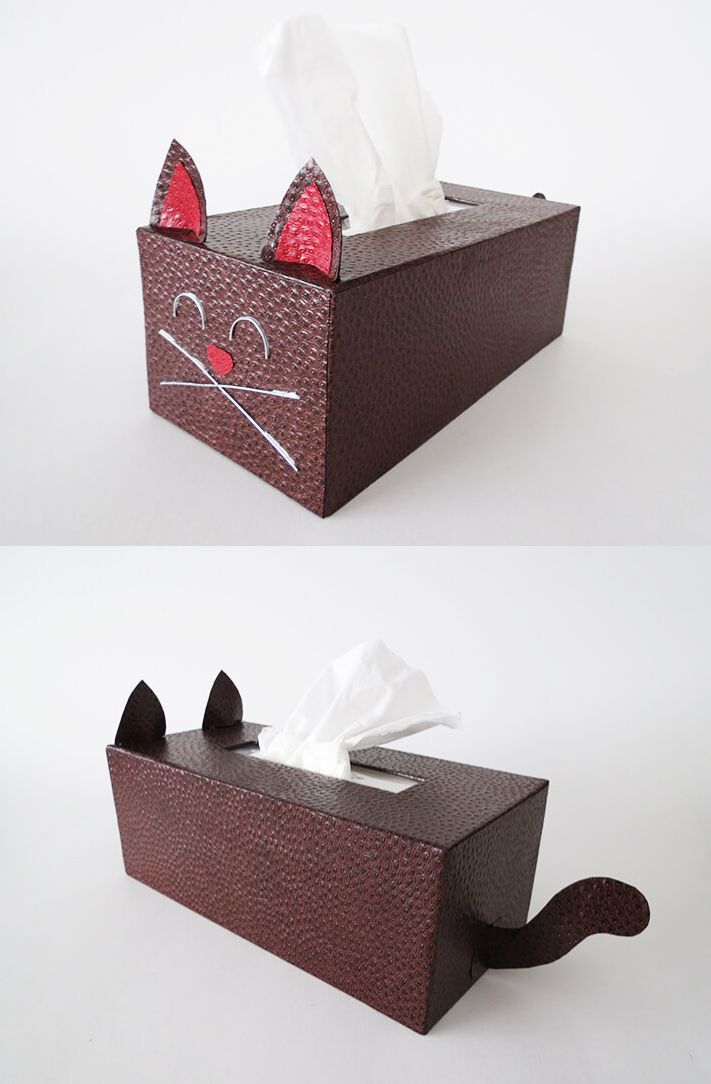
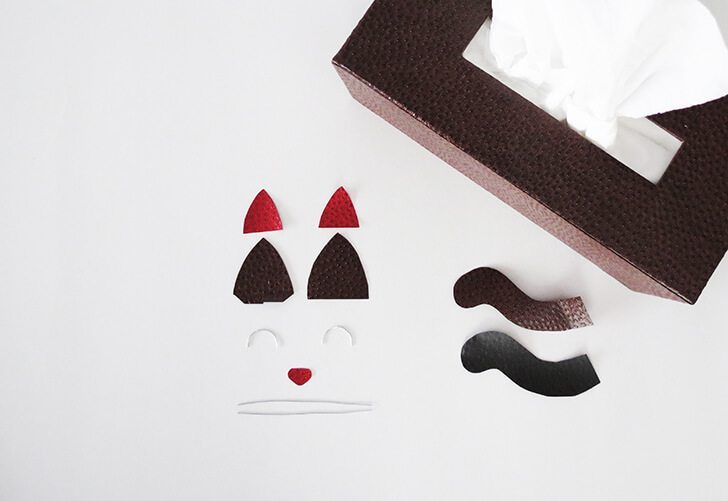
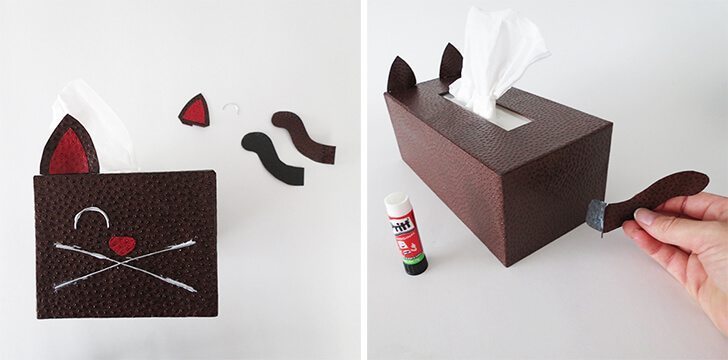
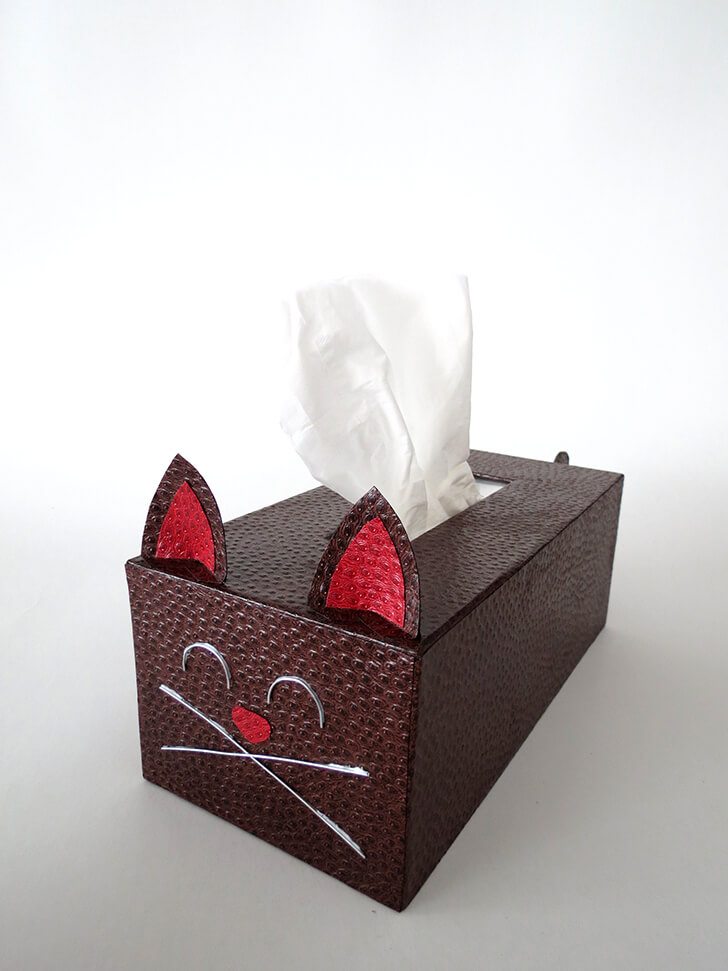
 Cut the cat’s tail, muzzle and ears into the papers. Also cut the whiskers and eyes on the waxed wire.
 Glue the inside of the ear, cut and fold the base, curving it, and glue it to one end of the box.
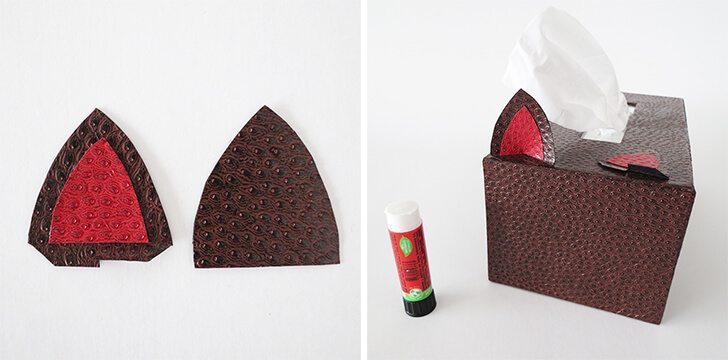 To finalize your piece, glue the eyes, whiskers, muzzle and tail of the kitten. And it’s ready! Because this piece is removable, whenever the tissue box is finished you can remove the part of the kitten from above and position it in another tissue box.
 (Photo: dreamalittlebigger.com)
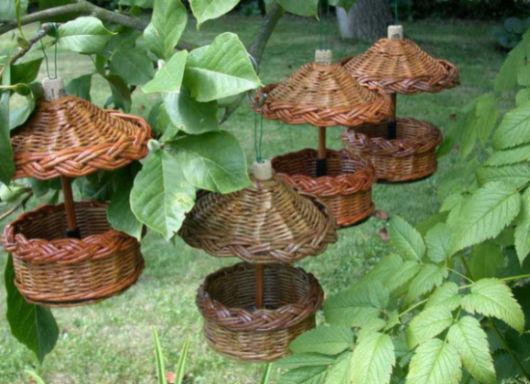
 To make this beautiful piece you will need:
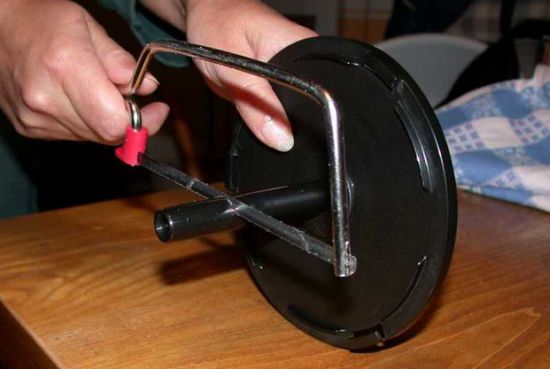
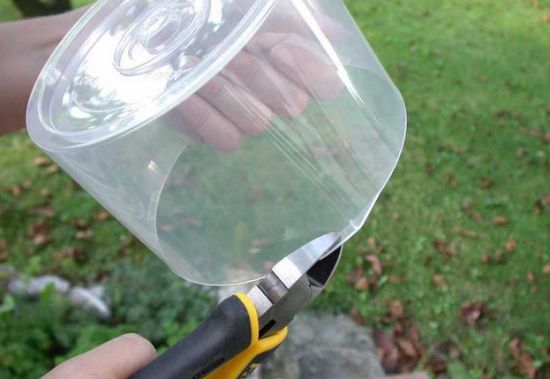
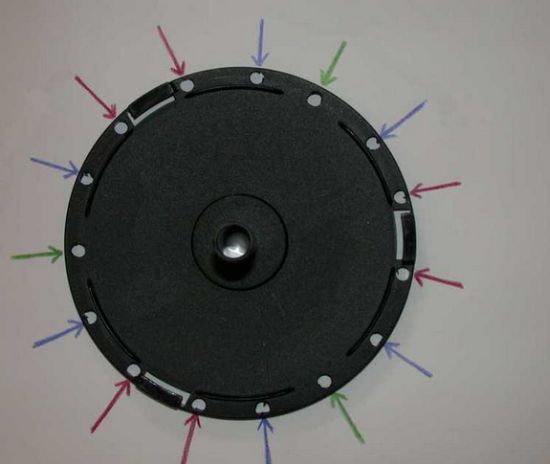 Then, using the pliers, remove the spare edges of the CD case.
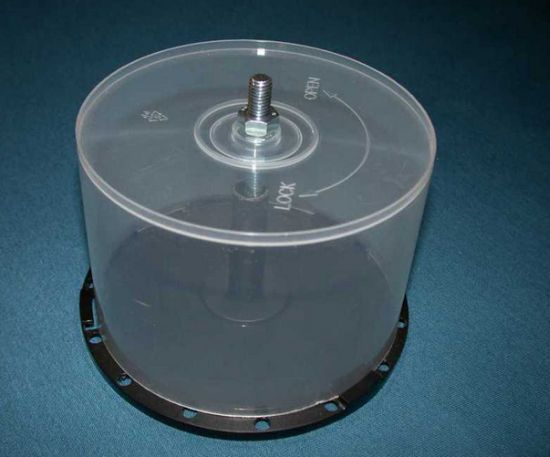
 Now, position the large screw on the carton tube and screw the nut on the outside of the carton.
 Then make newspaper straws and position on the lid of the box forming double.
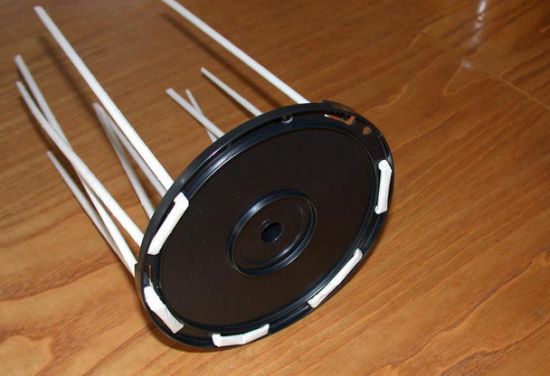 Soon after, trance other newspaper straws for the doubles previously achieved.
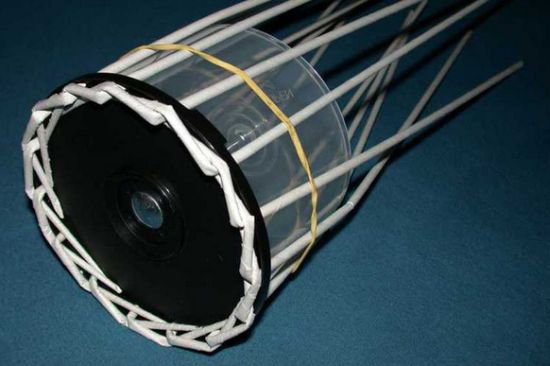 Now, with other newspaper straws, trance the body part of the feeder, using the CD box as a base.
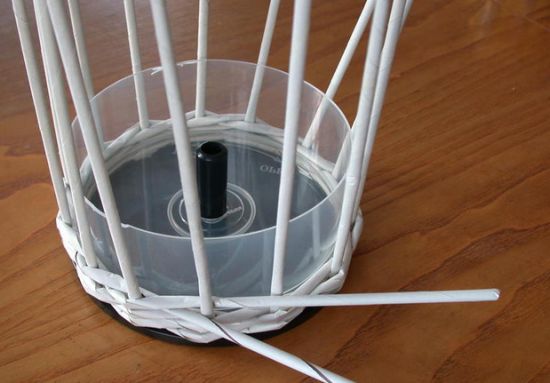 Then, remove the CD box and finish the newspaper straws at the edge.
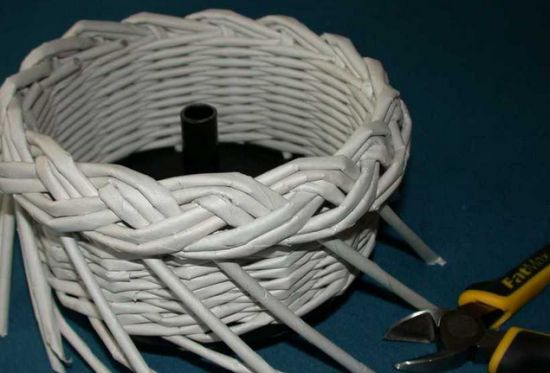 Afterwards, make a very wide cone with the piece of cardboard, pasting the ends. Attach the cap of the pet bottle with the plastic nail on the tip of the cone. Position newspaper straws and trance these straws.
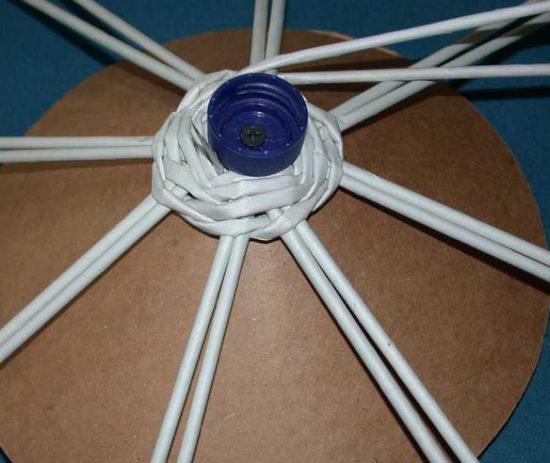 Now, trance up to the size you want and do the finishing on the edge.
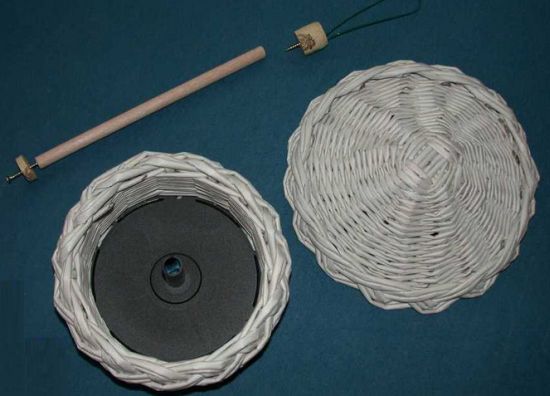 Then, secure the wooden cylinder with the smaller screws and the stopper on the top of the “roof” of the feeder.
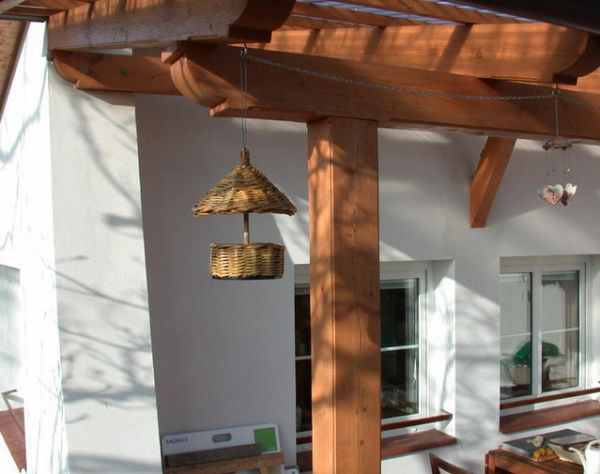
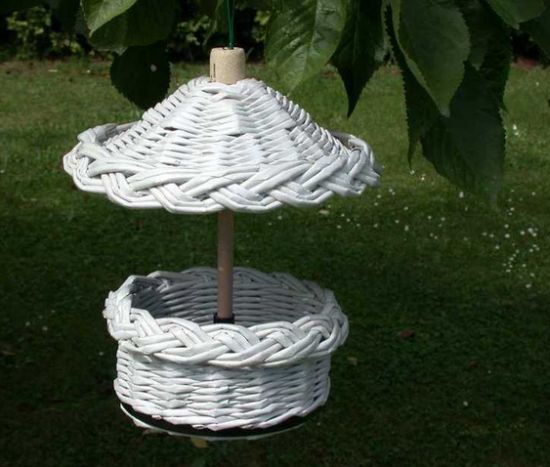 Then, to finalize your piece, paint with your paintbrush and brown paint all its feeder and when the paint is dry, spray the spray varnish. And it’s ready! Now just put the cord and hang your feeder.
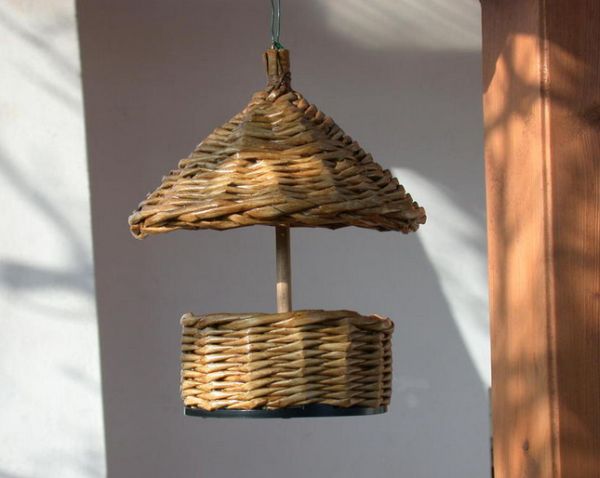 (Image Source: geteasyfreshideas.com)
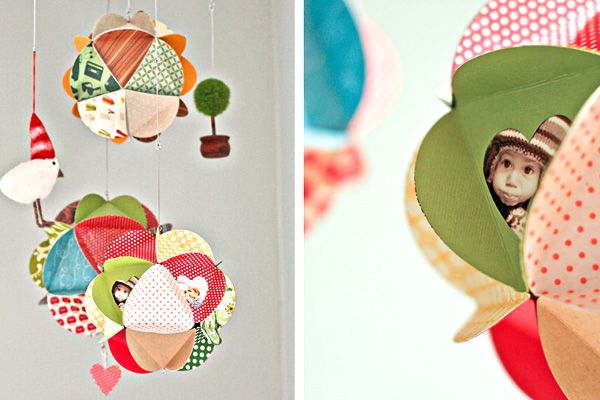
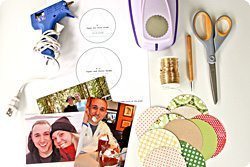
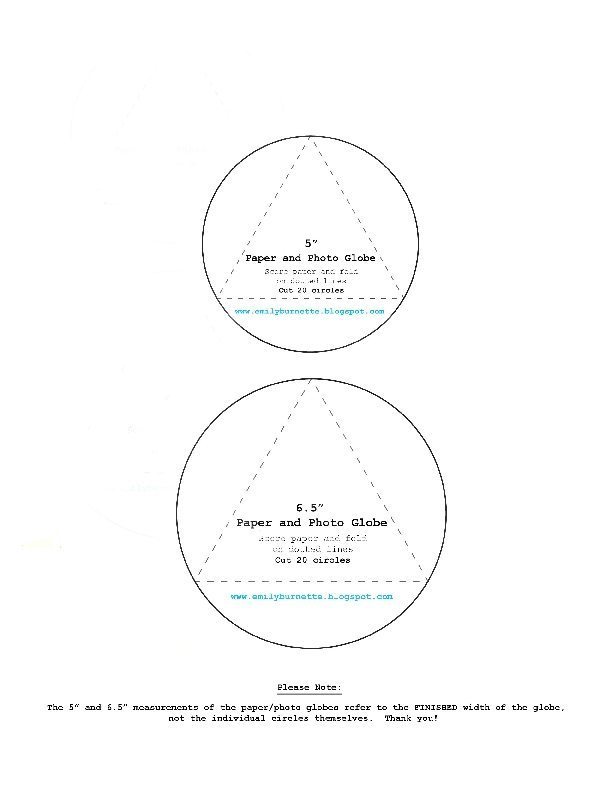 Start by separating all the materials you will use in your photo globe step by step .
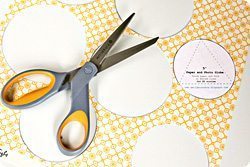
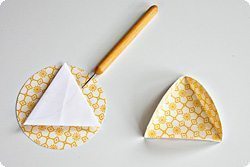
 Transfer the mold parts to the chosen structured papers. Cut out all marked parts.
 Glue all the central parts of the mold with the aid of a spatula or other object of your choice.
 Glue the photos inside each piece of structured paper, using double-sided adhesive tape, and in a very centralized way. If you want, you can crop around the photos in different formats, such as heart, star or letter format formats.
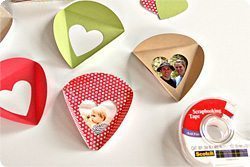 Glue one piece of paper to the other, alternately, creating a long strip.
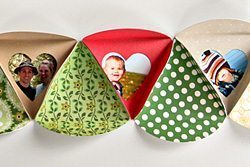 To finalize your piece, simply join the parts of the ends, forming a sphere, with the parts of the photos out. And it’s ready! You can also use only one color or a paper print to make this craft.
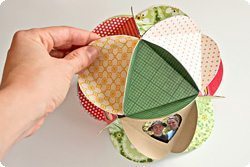 (Image Source: content.photojojo.com)
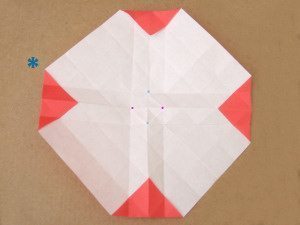 Fold the corner inside.
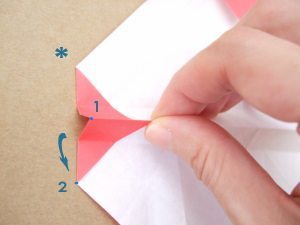 Win the song.
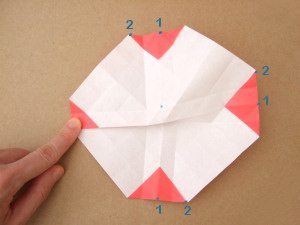 Do the same with the other songs.
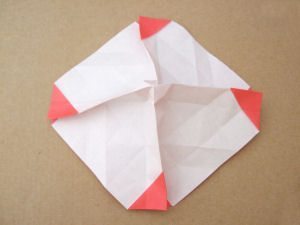 Raise the center of the part.
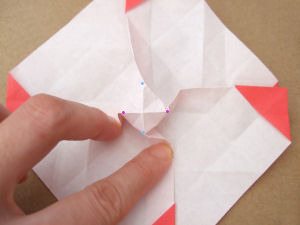 Also link the center.
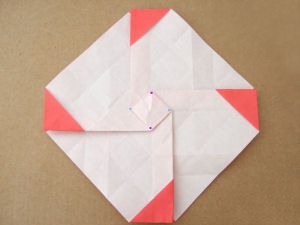 Part behind the piece.
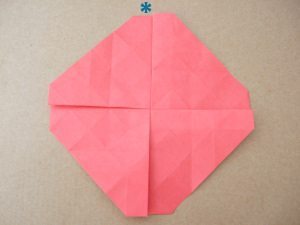 In one corner, take the center and some side folds.
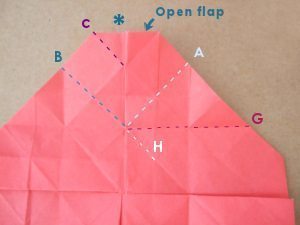
 Raise the other part.
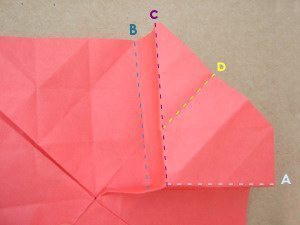 Do the same with all the songs.
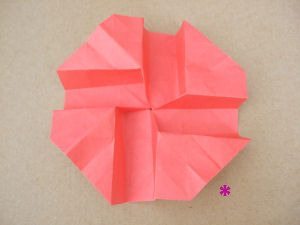 Take the recessed part of one of the corners.
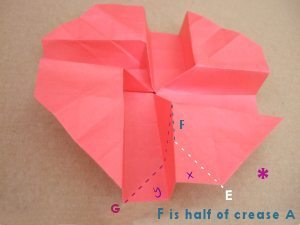 Fold this part.
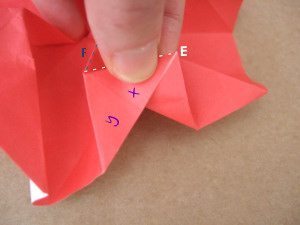 Tape the bent part.
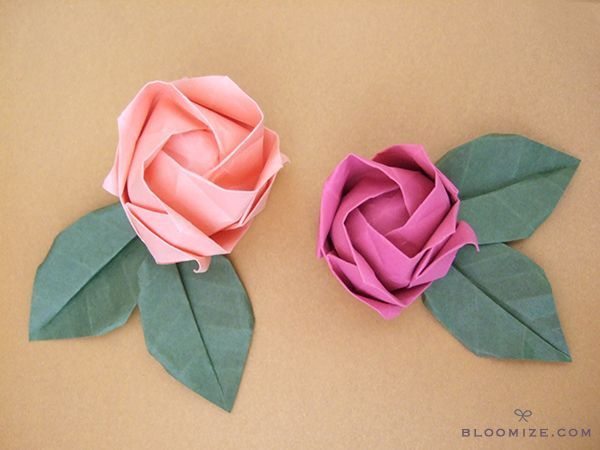
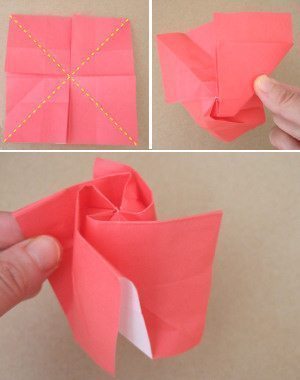
 Do the same with all the corners and “twist” the piece. Your rose is created. The leaves for your roses can have the template you want and you can glue the leaves at the base of your roses with the aid of ordinary white glue, double-sided tape or stick glue, depending on your preference for glue to work With paper.
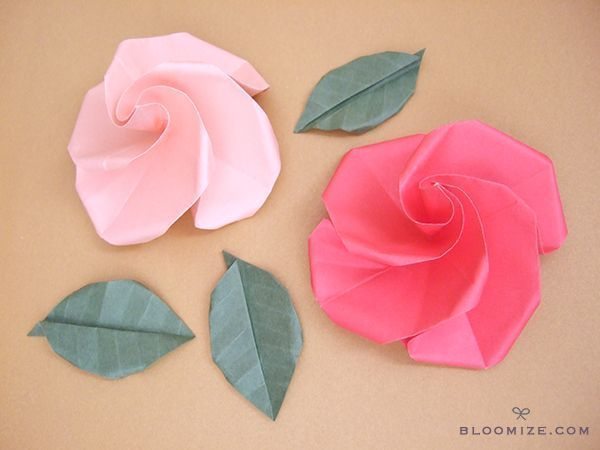 To make the button, fold another square of paper, but with smaller size, wring the sides, raise the center and twist.
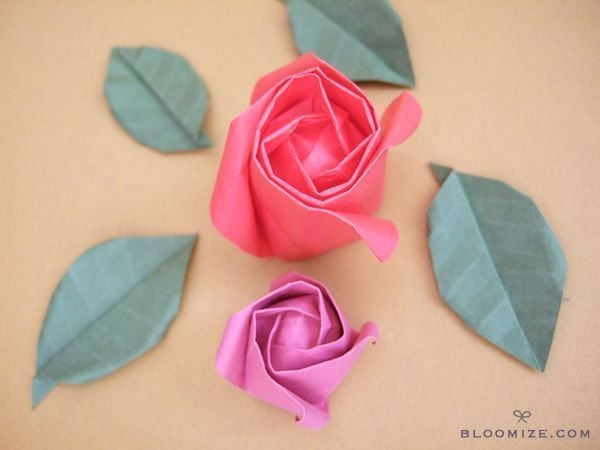 (Photo: bloomize.com)
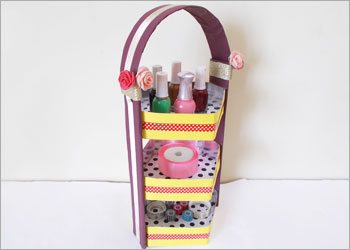
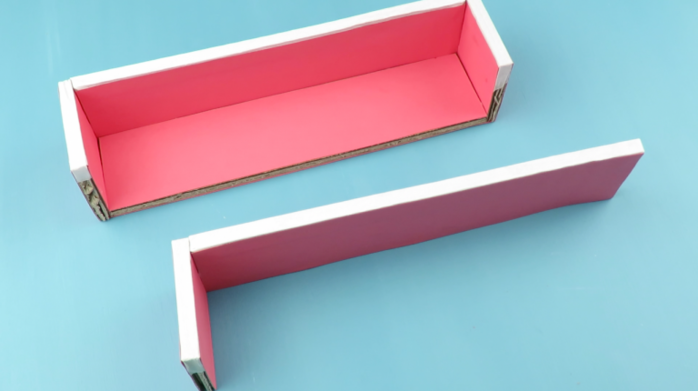
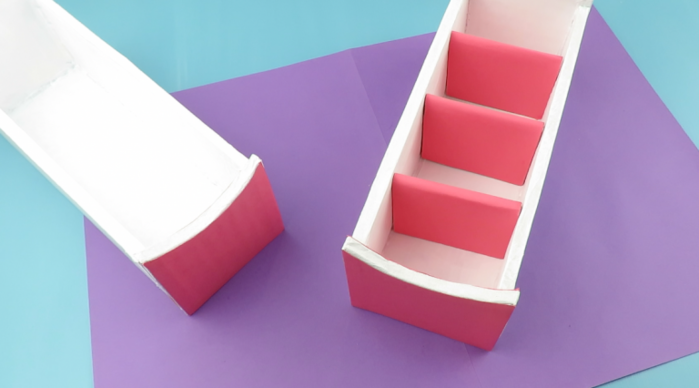
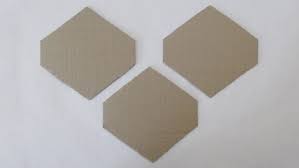
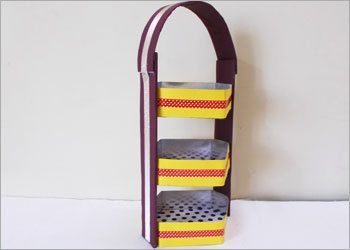
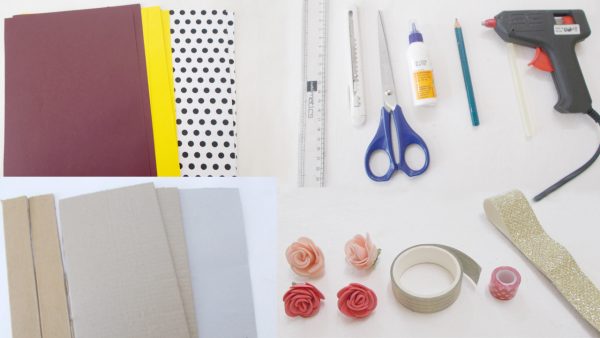 Cut diamonds on the cardboard, to the size of your preference, to be the dividers of your organizer. Cut two opposing spikes from your diamonds.
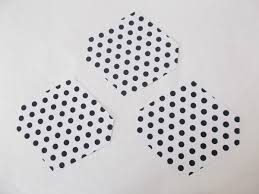
 Cut into one of the chosen papers the same amount of diamonds cut into the cardboard. Glue the paper lozenges to the cardboard lozenges.
 Continuing with the preparation of your vertical organizer step by step , cut strips into another structured paper.
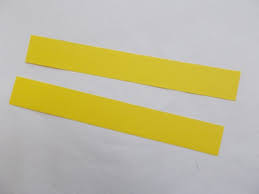 Glue the paper strips to the bottom of the dividers.
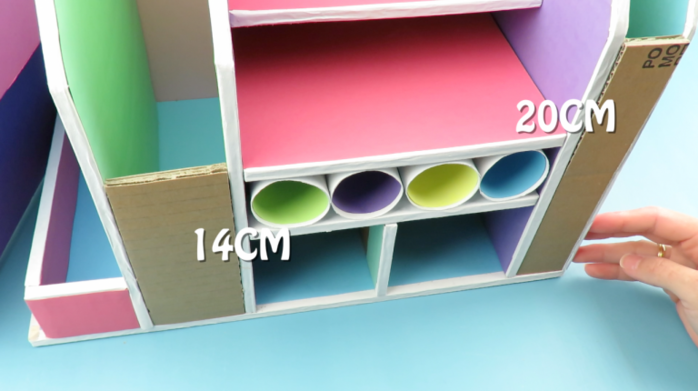
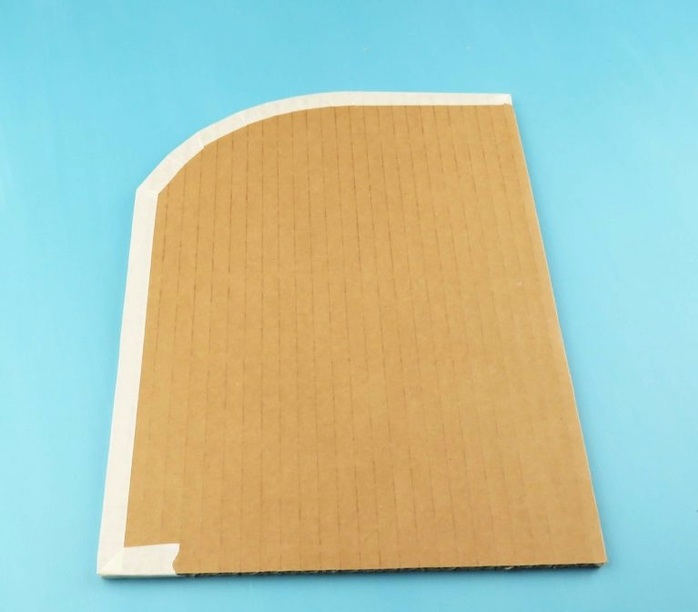
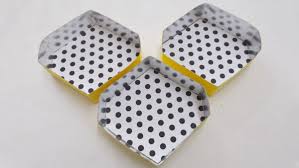 On cardboard, cut strips with the width of the cut nozzle of the dividers and glue these strips on the sides of the pieces, creating the structured one of your organizer. Coat the paper strips with a paper of your choice.
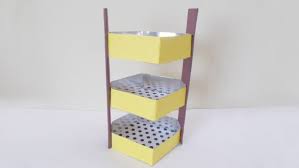 Cut another strip onto the cardboard, cover it – and glue it to the top of your organizer.
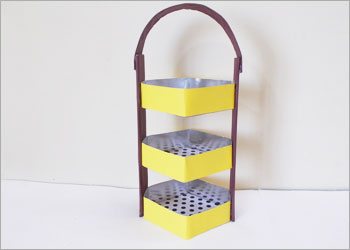 Pass pieces of adhesive tapes through the dividers and the handle of your organizer. To finalize your piece, decorate your organizer with the materials you want. And it’s ready!
 (Photo: recyclart.org)
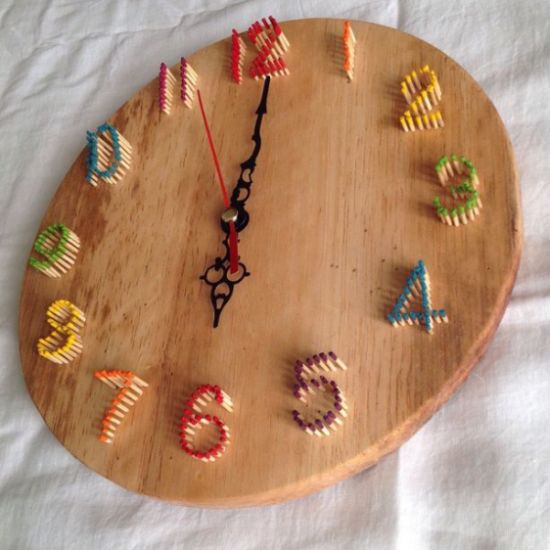
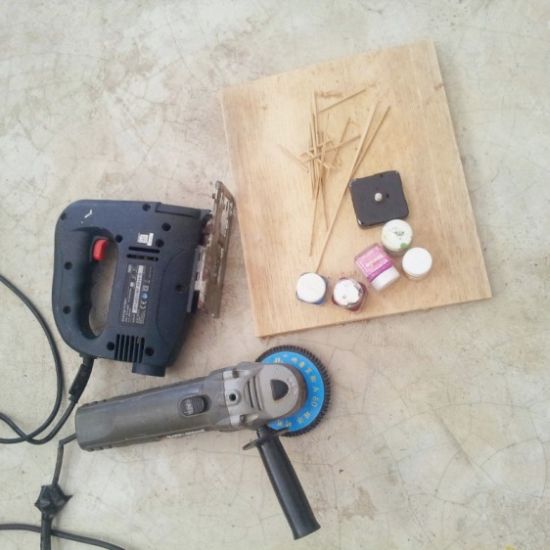 Then draw on your wooden board or MDF board the shape you want for your watch, with the aid of the joiner’s pencil and a ruler.
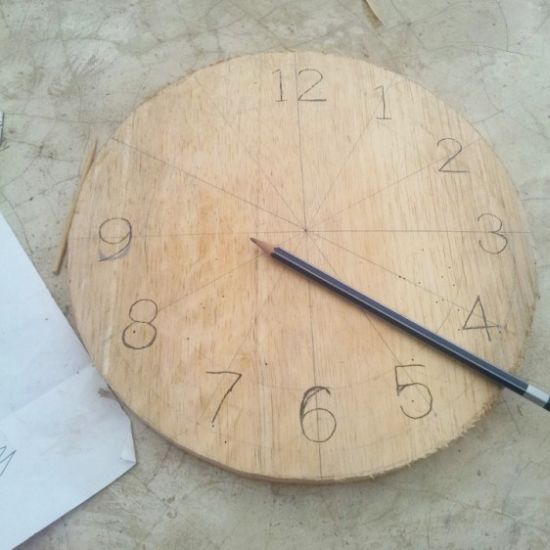
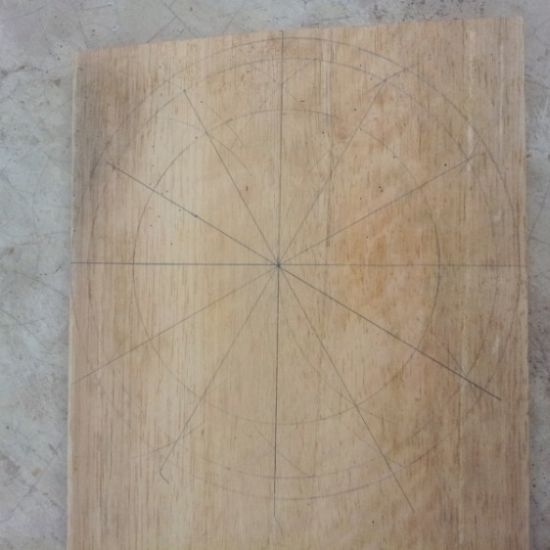 Afterwards, serrate around the contour drawn, in a round shape or in the format you want, and draw the numbers of your watch.
 Now drill your watch numbers with the aid of a drill with a specific drill to drill wood.
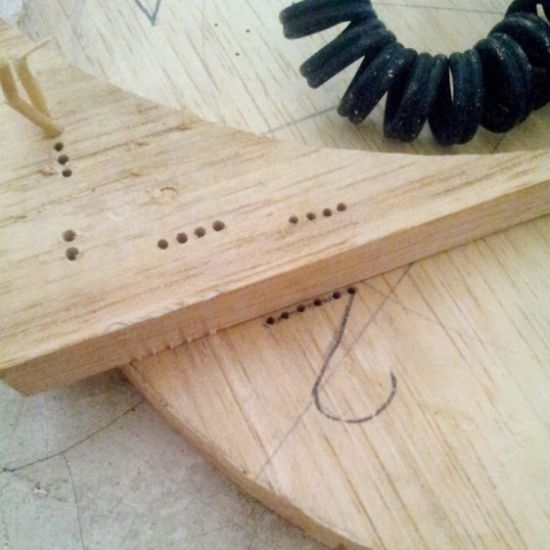 Then keep drilling the numbers.
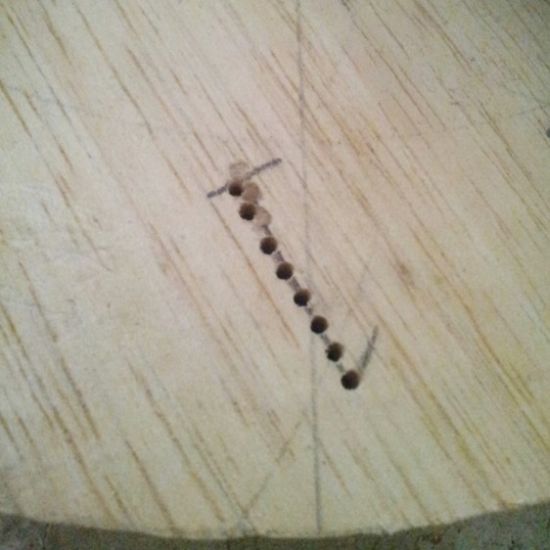 Just after you’ve drilled all the numbers, scratch your watch. And drill a hole in the middle of the piece.
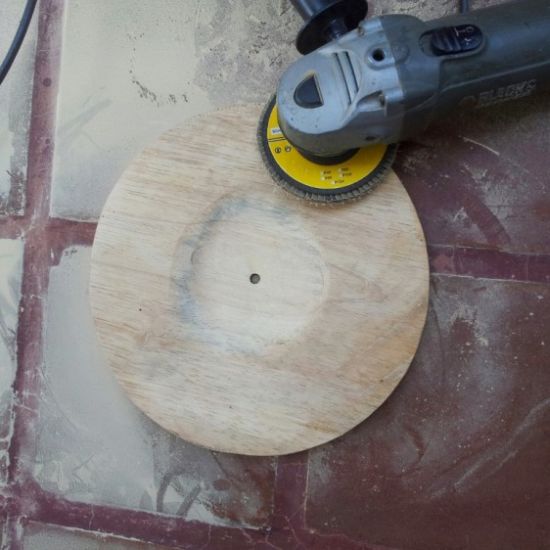 Now, clean your part immediately afterwards with the cleaning cloth, very clean and dry, to remove all dust.
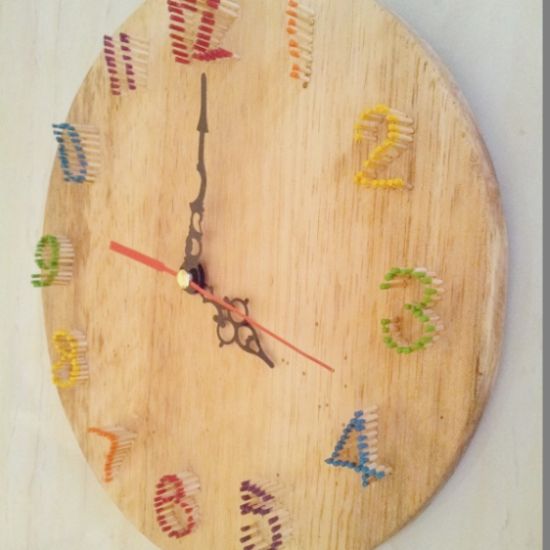
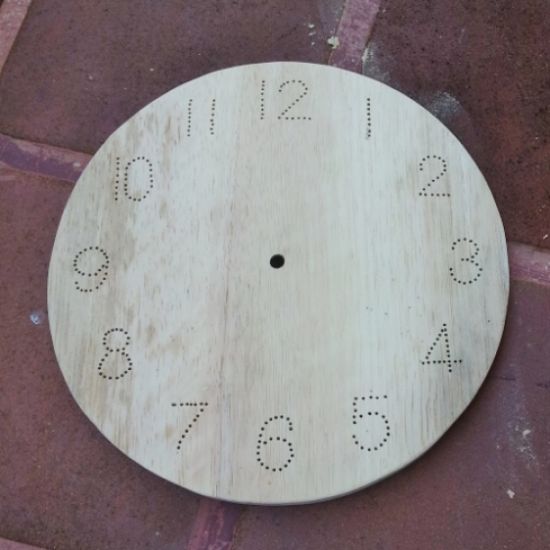 Then place wooden sticks in the number holes. And mark where you are going to cut them.
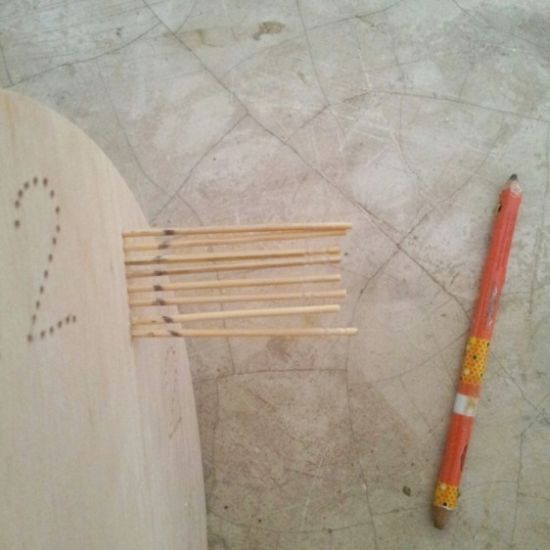 Then cut the wooden sticks.
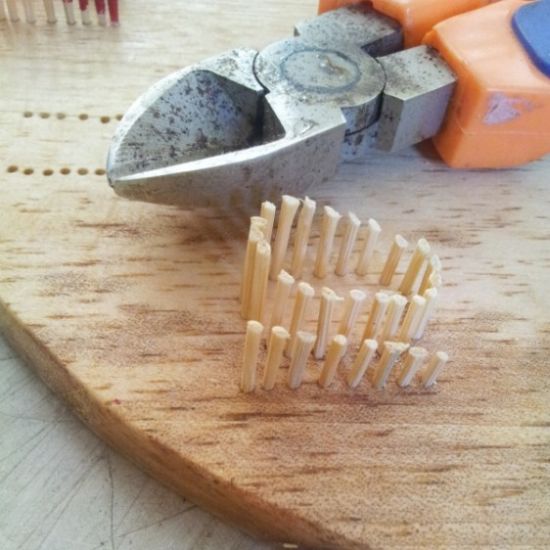 Now, paint the tips of the wooden sticks with the colors you want.
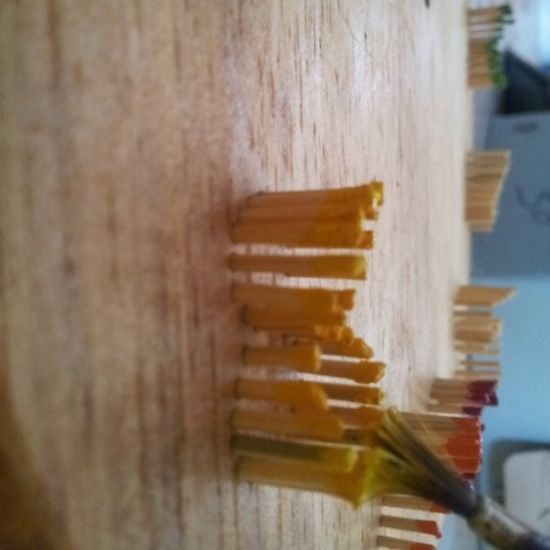 Then, to finalize your piece, simply attach the wall clock machine with hands. And it’s ready!