Posted onMay 20, 2017May 16, 2017inBest out of Waste, DIY, Home Decor, Ideas, Kids Crafts 20+ Easy DIY Toilet Paper Roll Craft Ideas
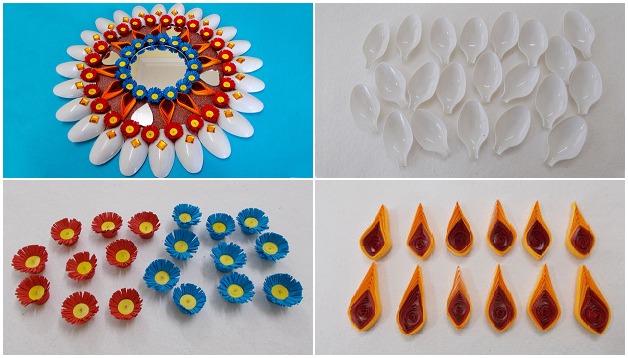
Posted onMay 19, 2017inBest out of Waste, Home Decor, Tutorial, Video DIY Plastic Spoons & Mirror Wall Decor
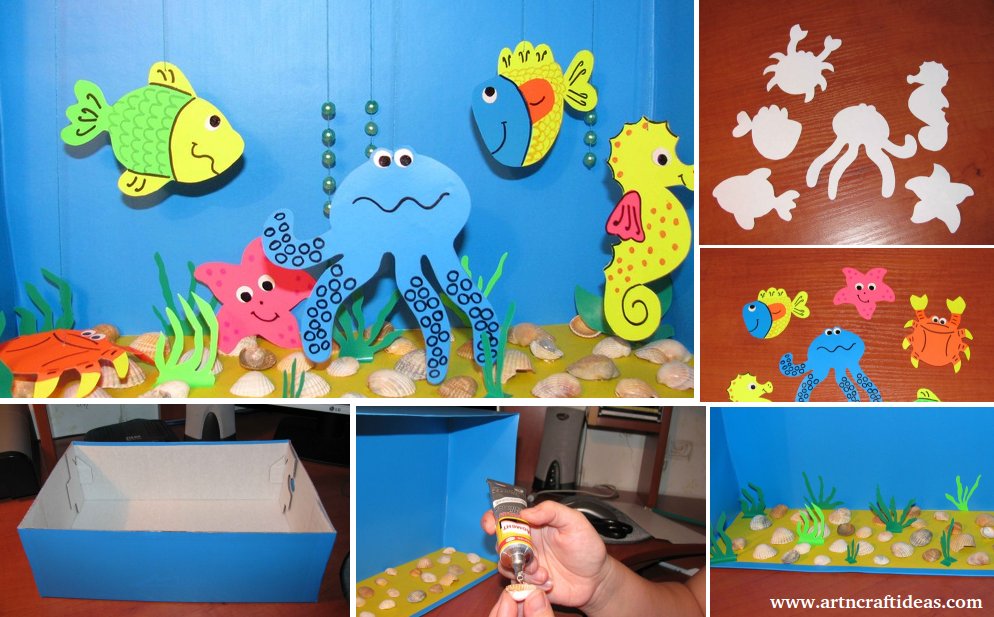
Posted onMay 19, 2017May 19, 2017inCardboard Crafts, DIY, Step by step, Tutorial Aquarium – Crafts for children from the box and color paper
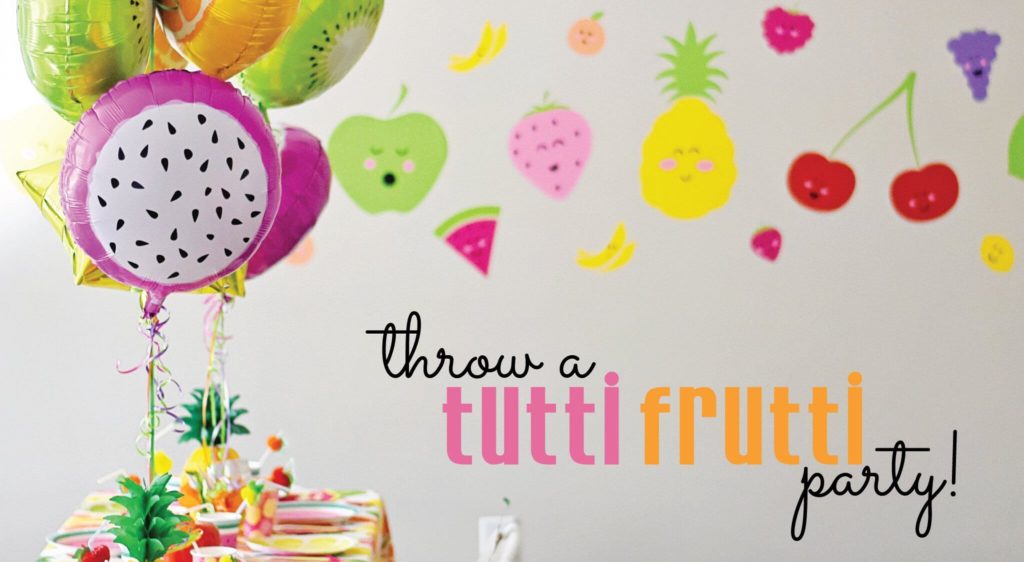
Posted onMay 18, 2017inBirthday, Decorations, Ideas, Kids Corner DIY Cute and Colorful Tutti Frutti Birthday Party Decoration Ideas
Posted onMay 16, 2017May 16, 2017inBest out of Waste, DIY, Ideas, Kids Crafts 25+ Creative DIY Toilet Paper Roll Craft Ideas
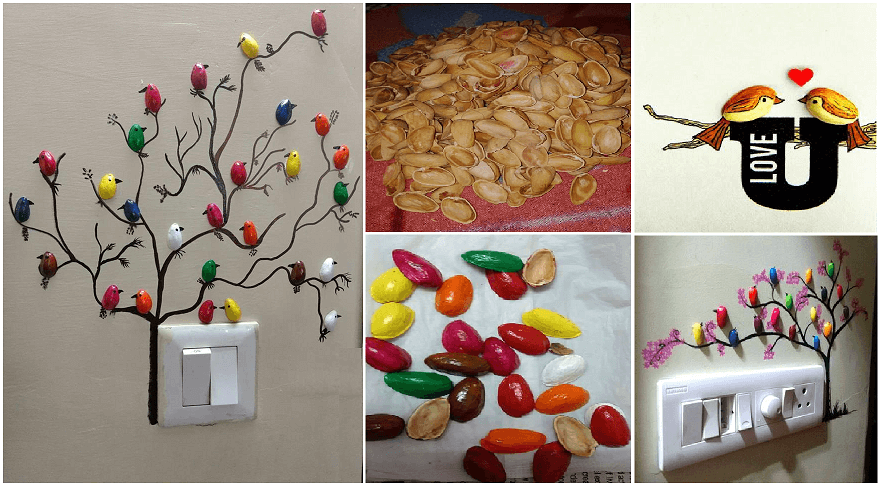
Posted onApril 8, 2017May 11, 2017inBest out of Waste, Featured, Home Decor, Tutorial Handmade pista shell bird for wall decoration
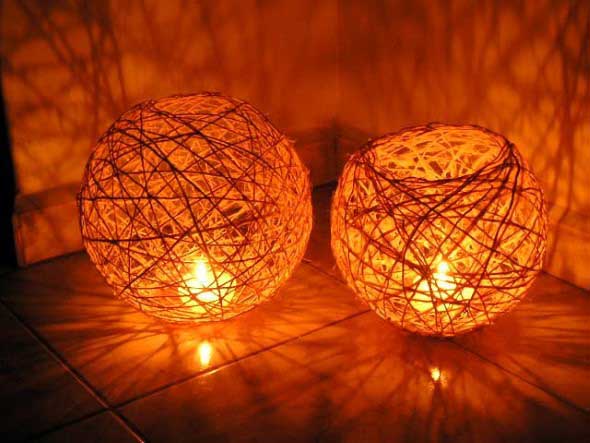
Posted onMarch 14, 2017inDIY, Home Decor, Tutorial Awesome DIY String Pendant Light Ideas & Tutorials