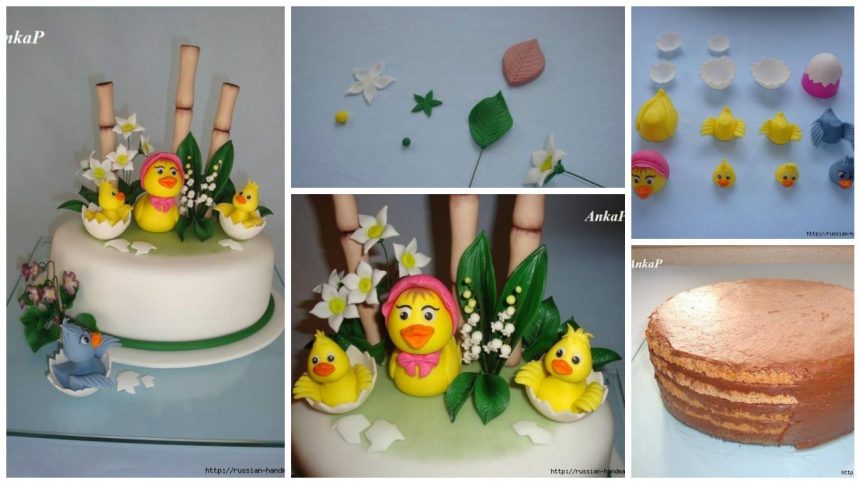
Posted onJanuary 12, 2017inBirthday, DIY, Kids Corner, Step by step, Tutorial How to make funny cake for children – Step by Step
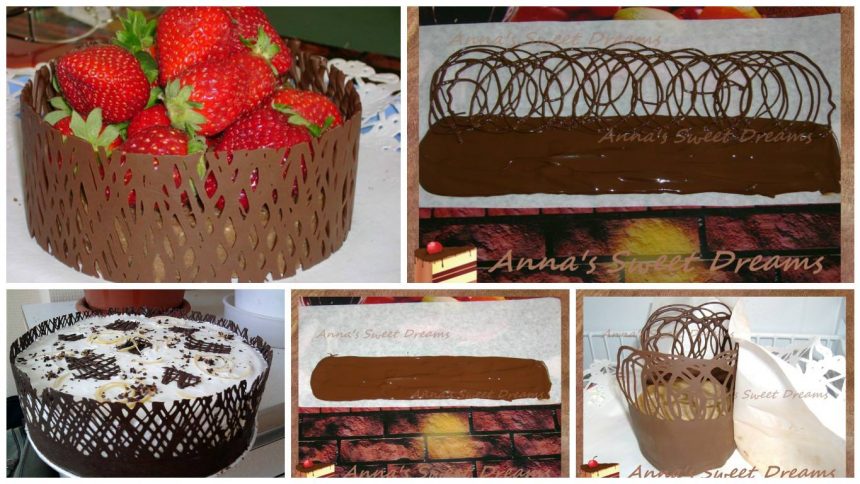
Posted onJanuary 12, 2017inBirthday, Food Decoration, Step by step, Tutorial How to make chocolate lace – Step by sytep
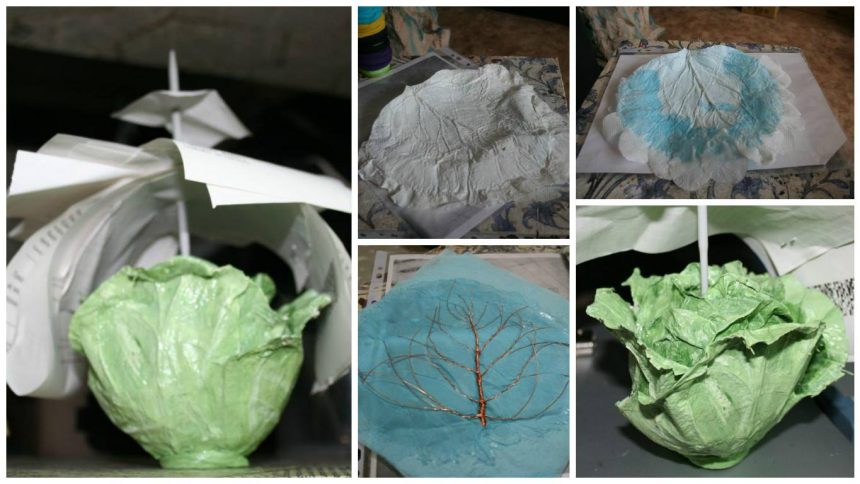
Posted onJanuary 12, 2017inDIY, Home Decor, Paper Crafts, Step by step, Tutorial DIY Beautiful cabbage leaf organizer
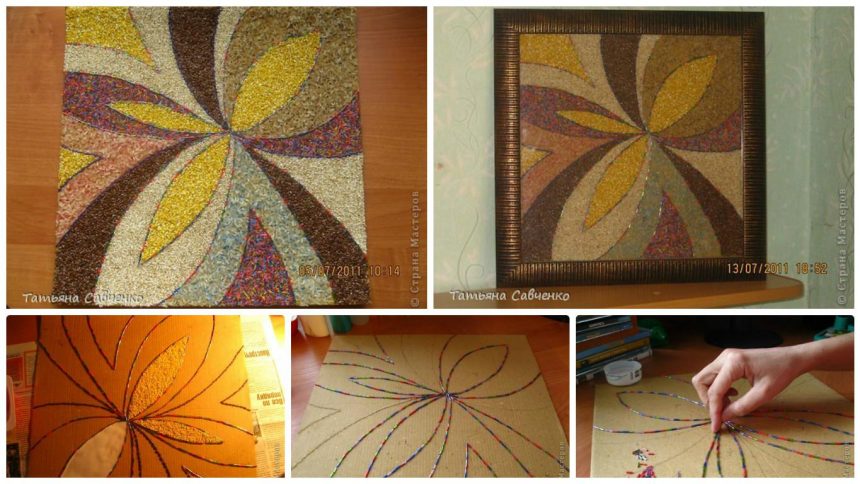
Posted onJanuary 11, 2017January 11, 2017inDIY, Home Decor, Step by step, Tutorial DIY Coffee bean clock
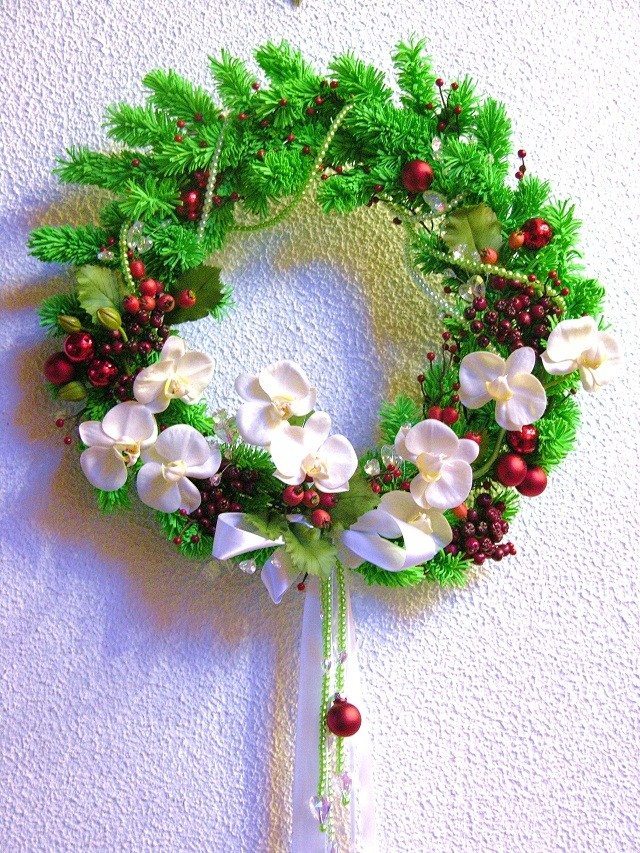
Posted onJanuary 9, 2017inChristmas, Decorations, DIY, Step by step, Tutorial Ceramic floristry Christmas wreaths
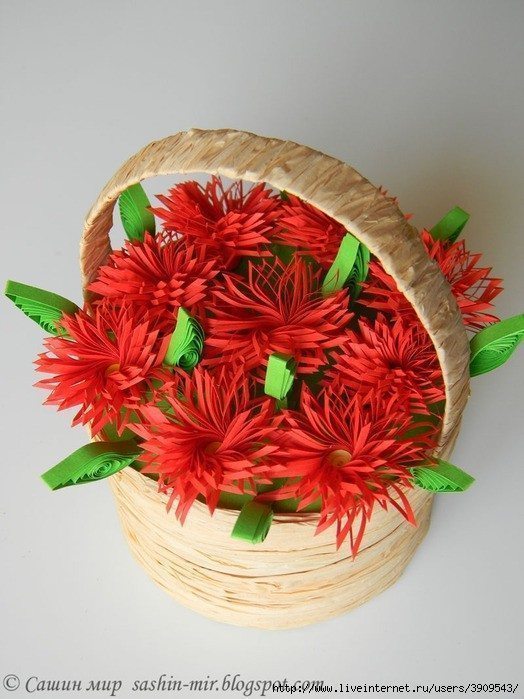
Posted onJanuary 8, 2017January 8, 2017inDIY, Paper Crafts, Step by step, Tutorial Beautiful Spring Basket
Posted onJanuary 7, 2017July 7, 2017inDIY, Flower Crafts, Step by step, Tutorial Beautiful Crochet Yarn Flower
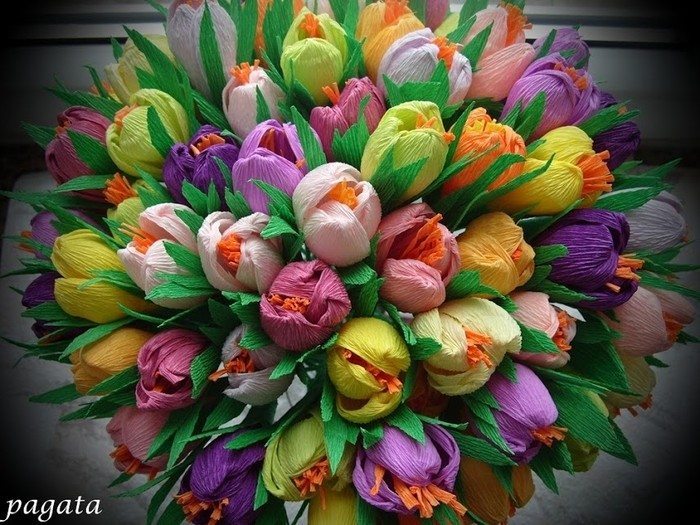
Posted onJanuary 7, 2017inDecorations, DIY, Paper Crafts, Step by step, Tutorial Spring crocuses of corrugated paper step by step