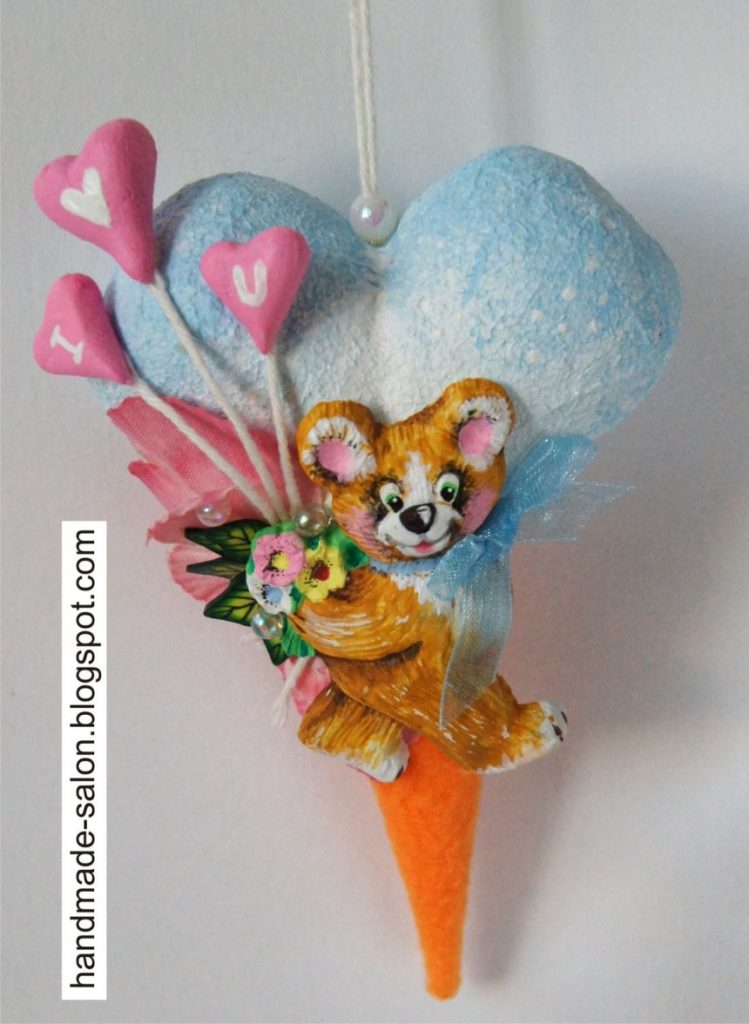
Posted onJanuary 15, 2017inHome Decor, Step by step, Tutorial How to make heart of kinder – Step By Step
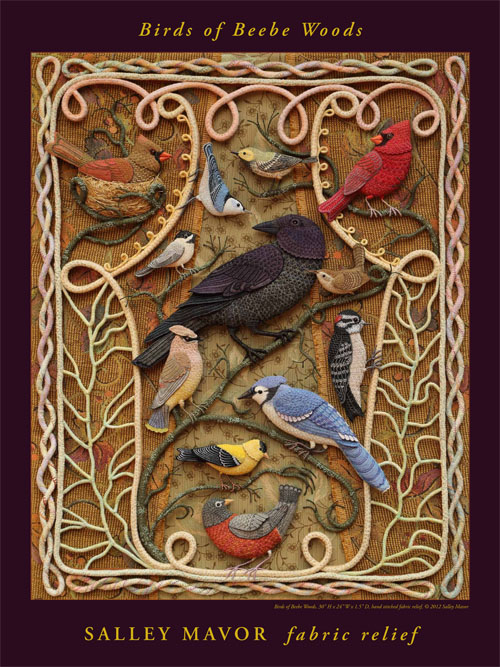
Posted onJanuary 15, 2017inEmbroidery And Sewing, Step by step, Tutorial How to make beautiful birds of paradise felt with embroidery
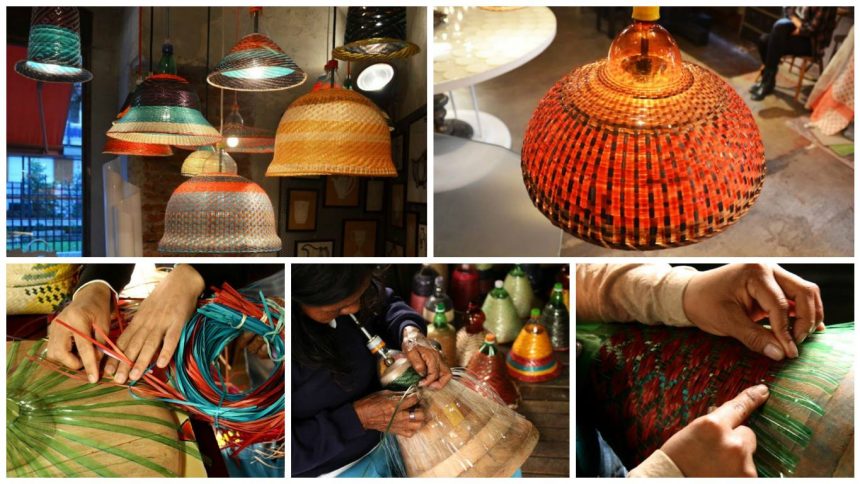
Posted onJanuary 15, 2017inHome Decor, Step by step, Tutorial Beautiful Chandeliers and lampshades made of plastic bottles
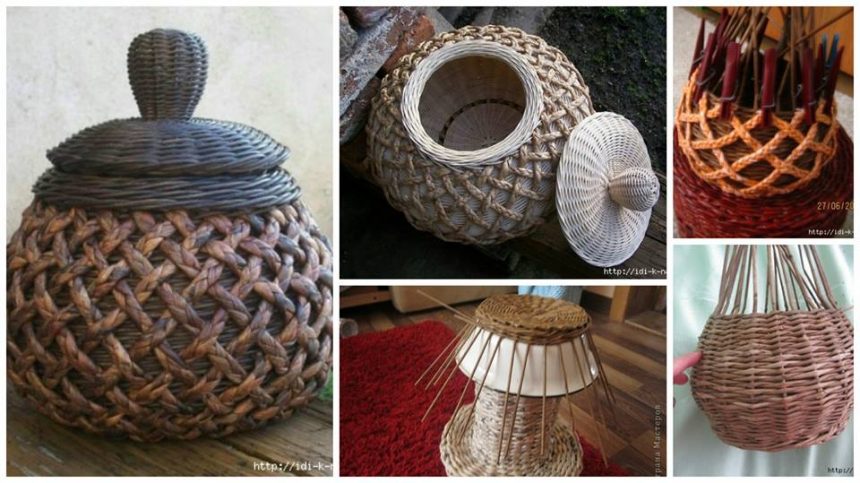
Posted onJanuary 13, 2017inNewspaper Crafts, Step by step, Tutorial How to make pot from newspaper tubes – Step by Step
Posted onJanuary 13, 2017March 13, 2017inDIY, Home Decor, Ideas, Step by step How to make fabulous night lamp
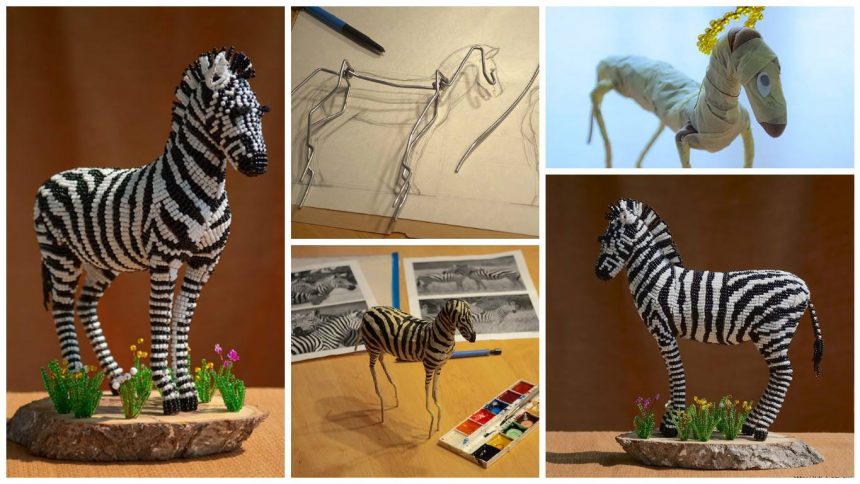
Posted onJanuary 12, 2017January 12, 2017inBest out of Waste, Featured, Home Decor, Tutorial How to make zebra from bead
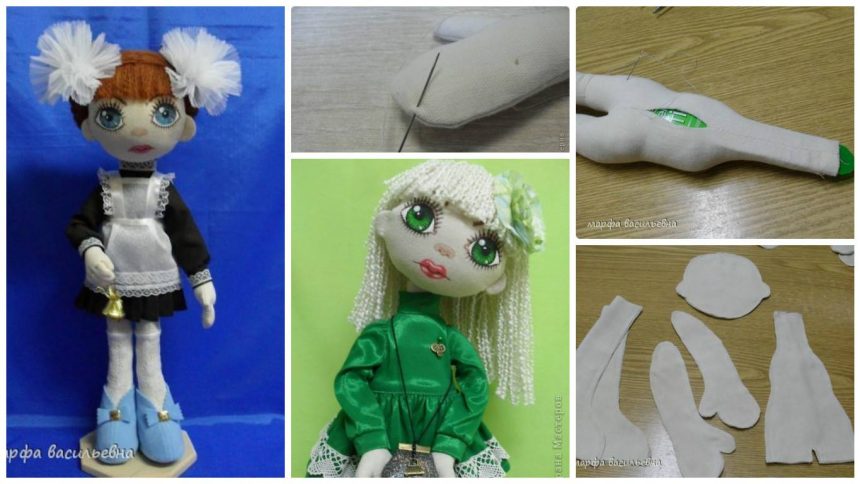
Posted onJanuary 12, 2017March 13, 2017inBest out of Waste, Ideas, Tutorial How to make cute textile doll
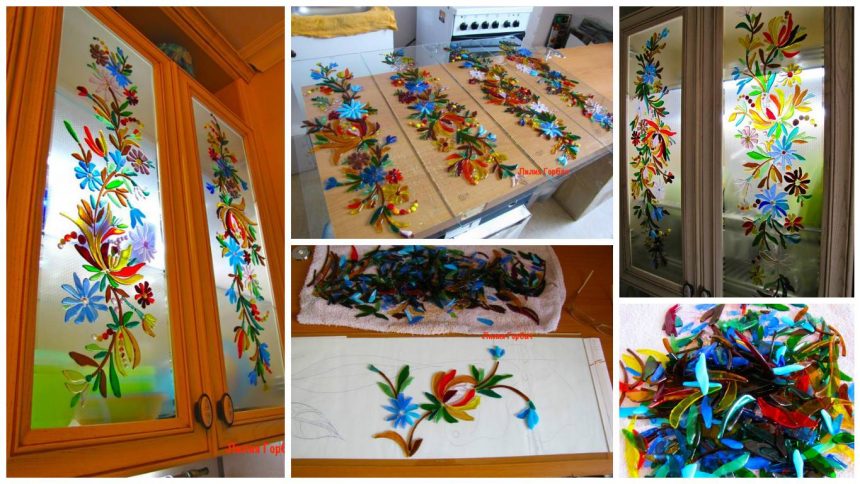
Posted onJanuary 12, 2017inBest out of Waste, DIY, Home Decor, Tutorial How to working with glass for cabinet doors
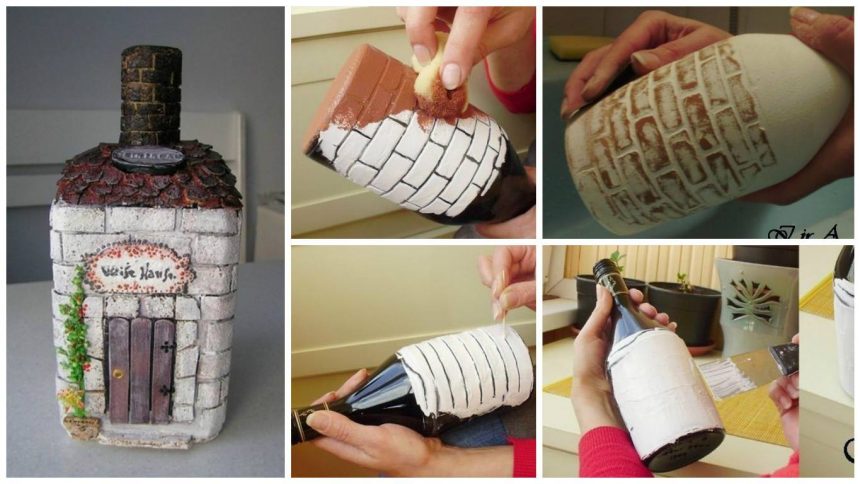
Posted onJanuary 12, 2017inBest out of Waste, DIY, Step by step, Tutorial How to make imitation bricks on the bottle – Step by Step