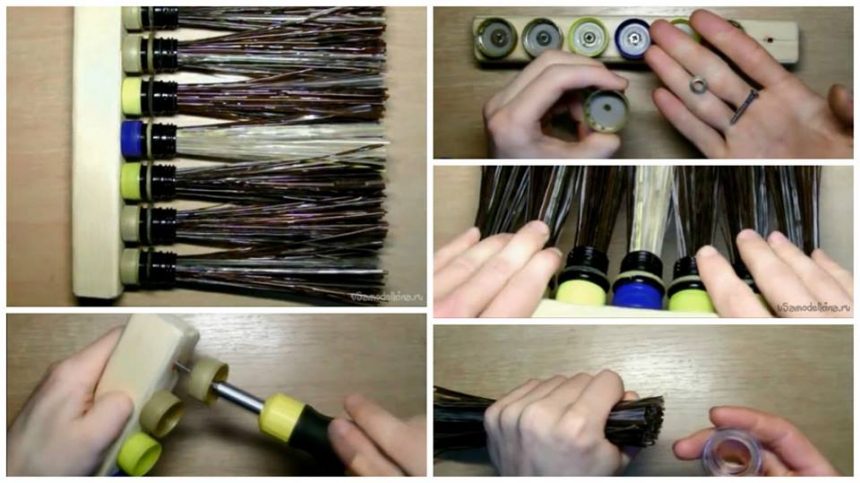
Posted onJanuary 13, 2017inBest out of Waste, DIY, Step by step, Tutorial How to make broom out of plastic bottles
Posted onJanuary 13, 2017March 13, 2017inDIY, Home Decor, Ideas, Step by step How to make fabulous night lamp
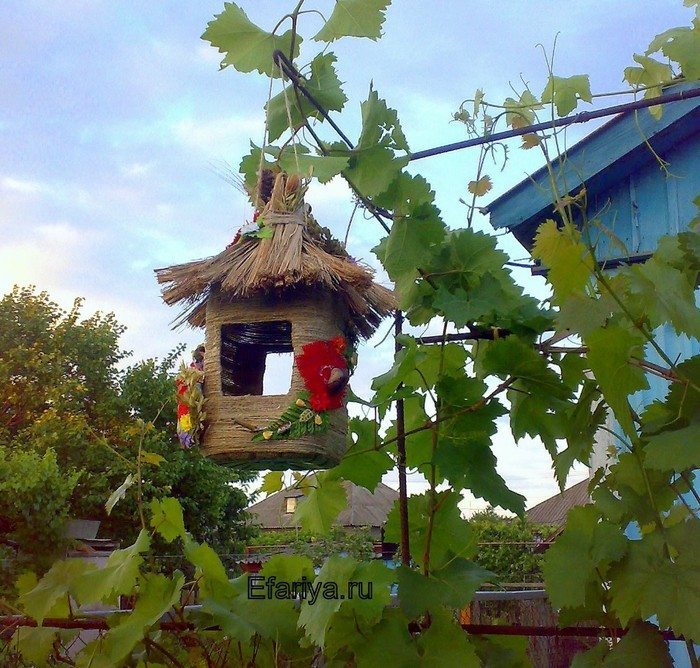
Posted onJanuary 10, 2017inBest out of Waste, DIY, Step by step, Tutorial DIY Bird feeder out of scrap materials
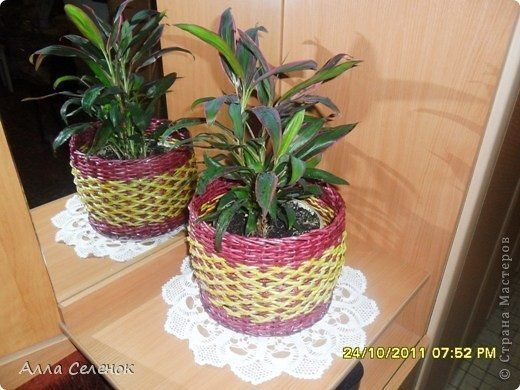
Posted onJanuary 10, 2017inBest out of Waste, DIY, Newspaper Crafts, Step by step, Tutorial DIY Wicker plant pots from newspaper
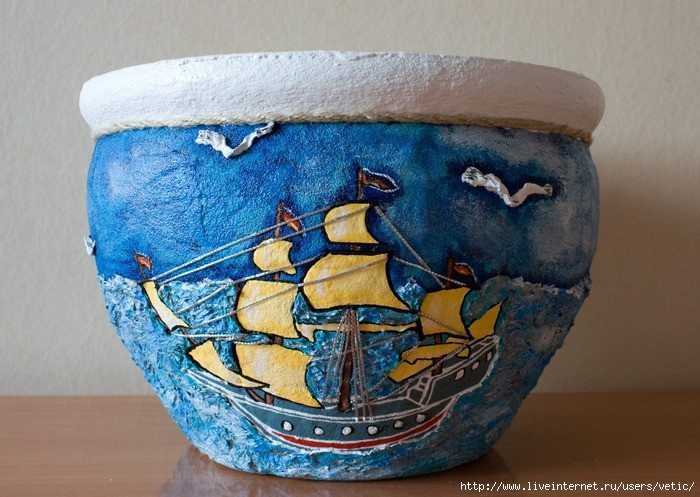
Posted onJanuary 7, 2017January 7, 2017inDIY, Featured, Flower Crafts, Home Decor, Step by step, Tutorial How to decorate flower pot
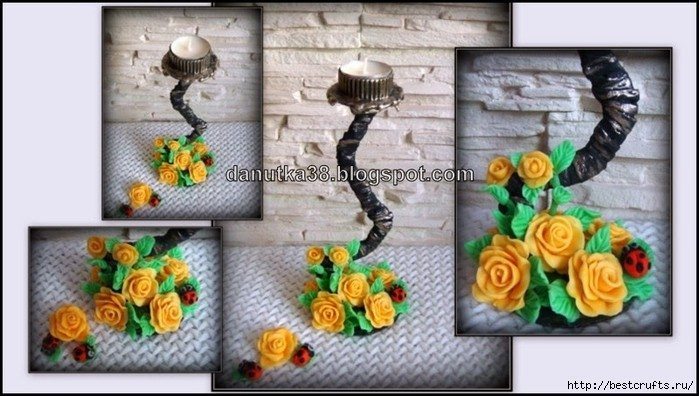
Posted onJanuary 6, 2017inBest out of Waste, Decorations, DIY, Home Decor, Ideas, Step by step, Tutorial DIY Candlestick made from cardboard
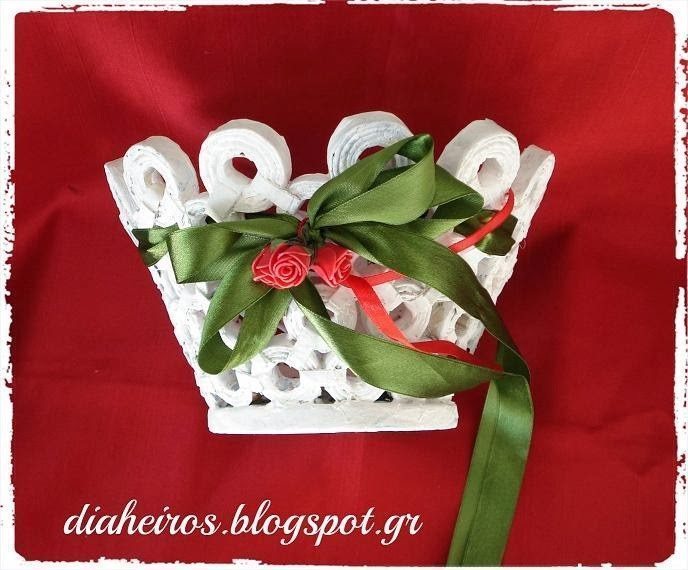
Posted onJanuary 6, 2017inBest out of Waste, DIY, Ideas, Newspaper Crafts, Step by step, Tutorial Beautiful DIY Weave vase for Easter eggs
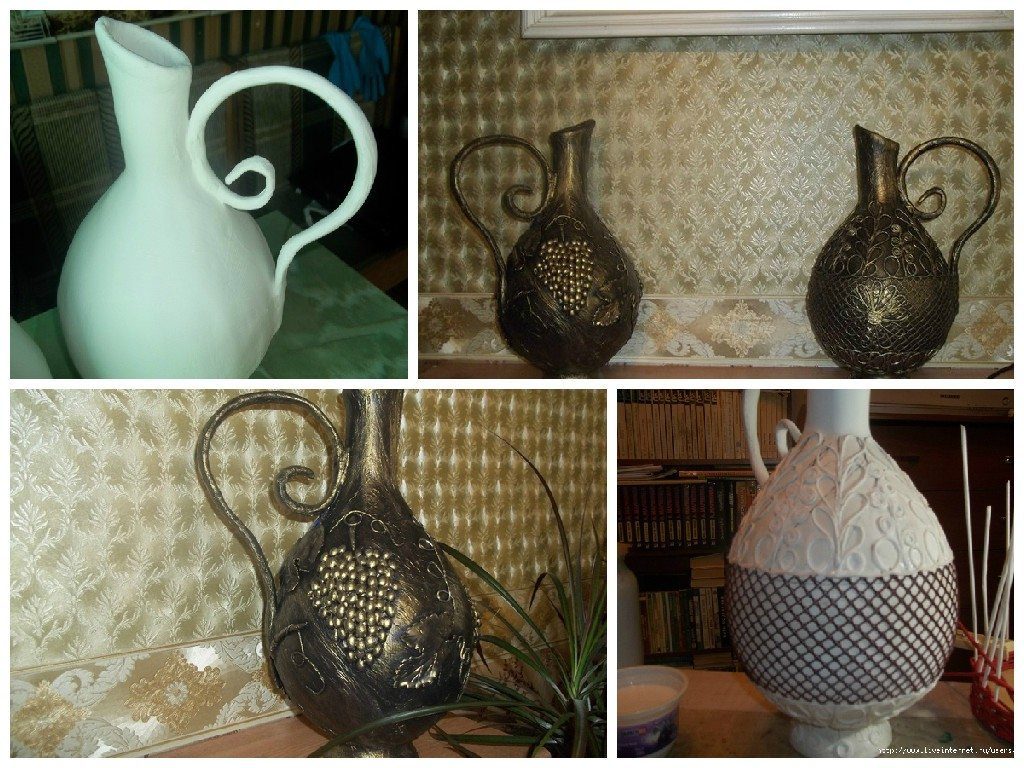
Posted onJanuary 6, 2017inBest out of Waste, DIY, Home Decor, Step by step, Tutorial DIY Pitcher for the fireplace Craft Idea -Step by step
Posted onJanuary 5, 2017June 10, 2018inBest out of Waste, DIY, Embroidery And Sewing, Flower Crafts, Home Decor, New Year, Step by step, Tutorial Daisies of twine – Flower Craft
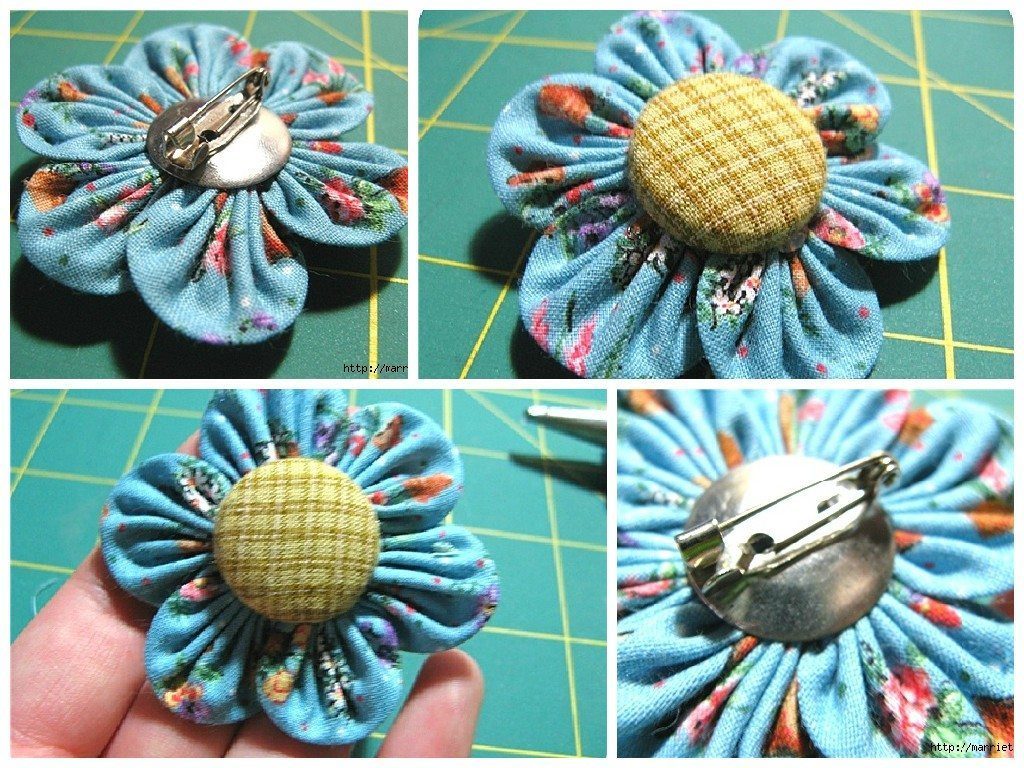
Posted onJanuary 5, 2017inBest out of Waste, Clothing, DIY, Flower Crafts, Step by step, Tutorial DIY Beautiful Brooch flower – Step by step