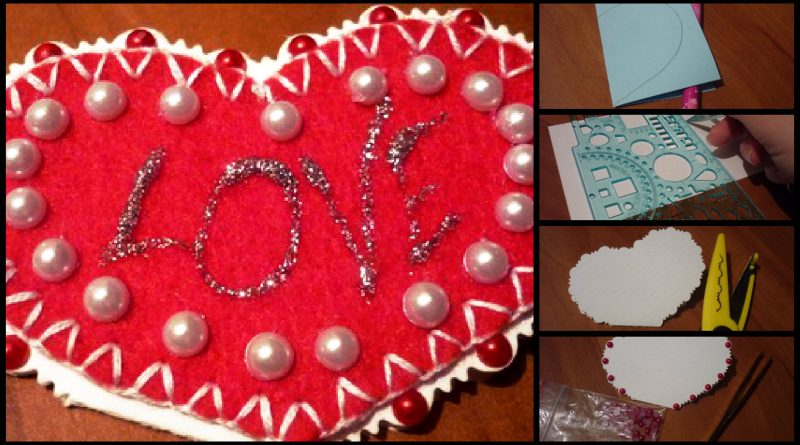
Posted onFebruary 1, 2017February 1, 2017inKids Crafts, Paper Crafts, Step by step, Tutorial, Valentine’s Day Simple and beautiful idea about felt hearts
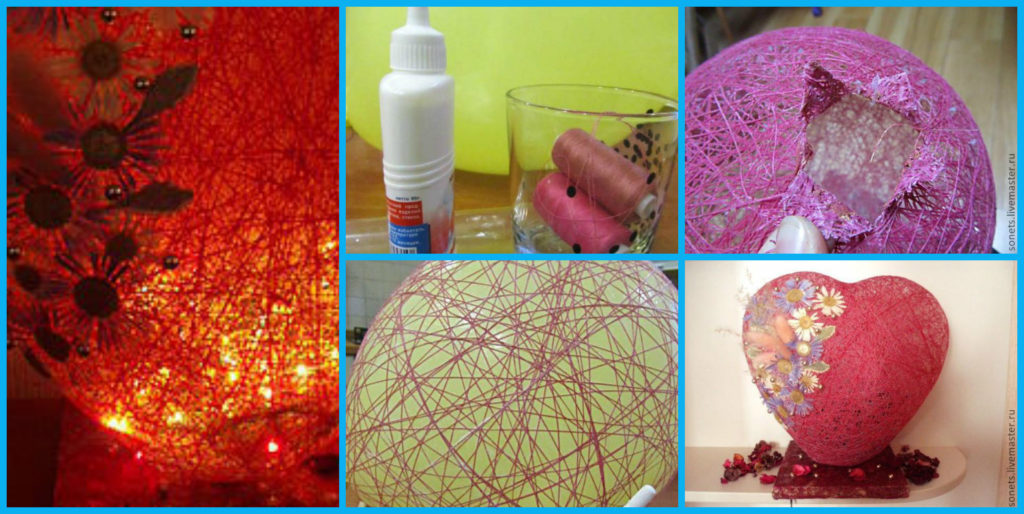
Posted onFebruary 1, 2017February 1, 2017inBest out of Waste, DIY, Home Decor, Step by step, Tutorial, Valentine’s Day DIY: Beautiful (Night Lamp) Heart ball of thread
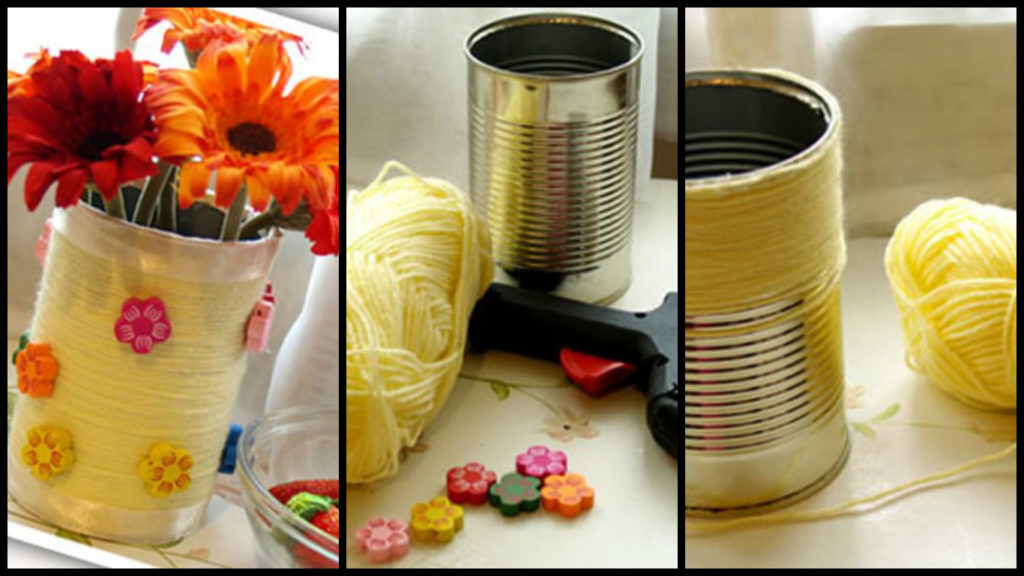
Posted onJanuary 31, 2017inBest out of Waste, DIY, Kids Crafts, Step by step, Tutorial Beautiful crafts with milk can
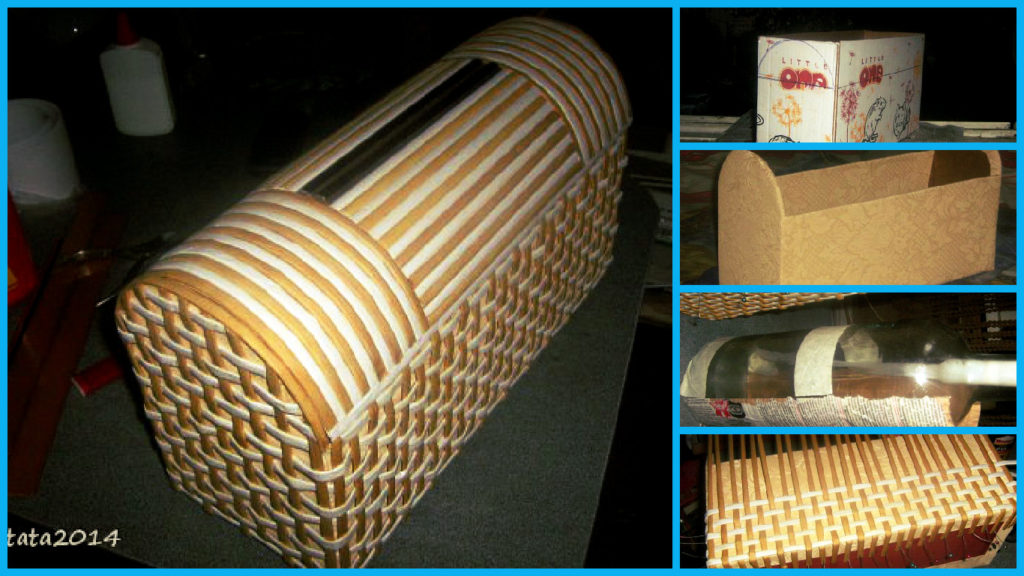
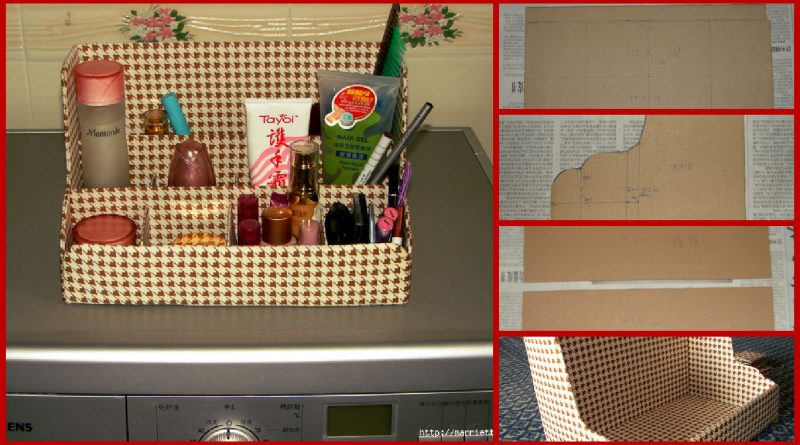
Posted onJanuary 31, 2017inBest out of Waste, DIY, Newspaper Crafts, Step by step, Tutorial Beautiful and simple cardboard chest
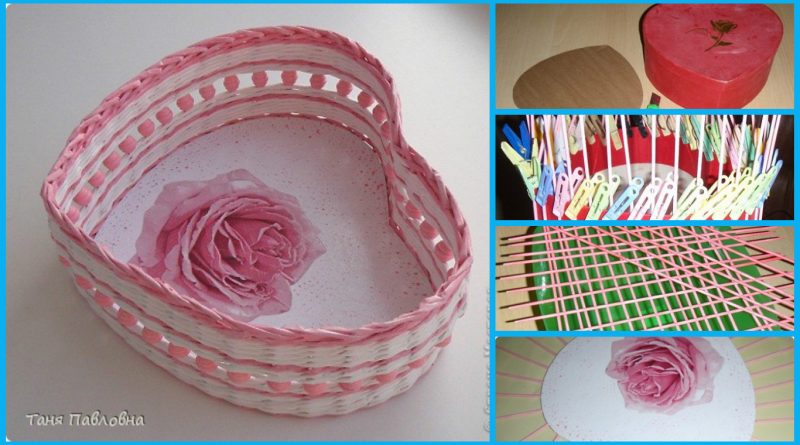
Posted onJanuary 31, 2017inBest out of Waste, DIY, Newspaper Crafts, Step by step, Tutorial How to make casket in a heart shape
Posted onJanuary 28, 2017inBest out of Waste, DIY, Step by step, Tutorial How to make shelves of cardboard for the bathroom
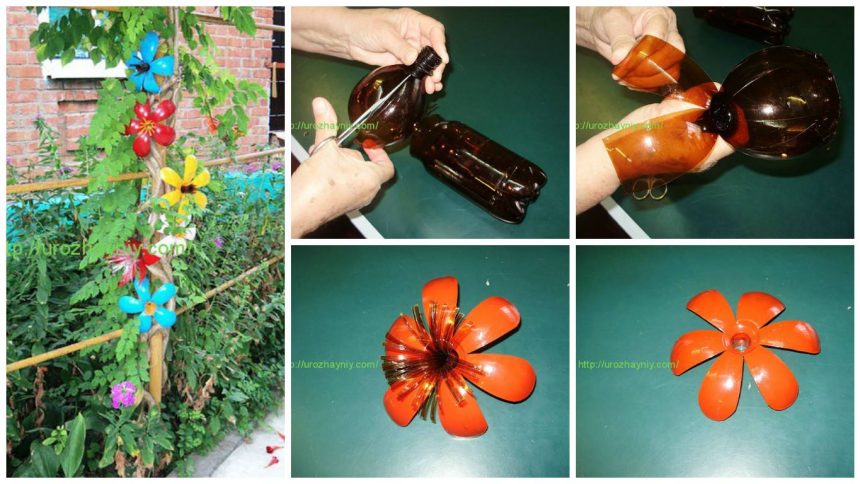
Posted onJanuary 19, 2017inFlower Crafts, Step by step, Tutorial How to make beautiful garden flowers from plastic bottles
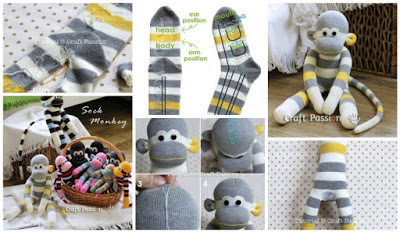
Posted onJanuary 17, 2017inBest out of Waste, DIY, Step by step How To Make Monkeys From Old Socks – Step bye step
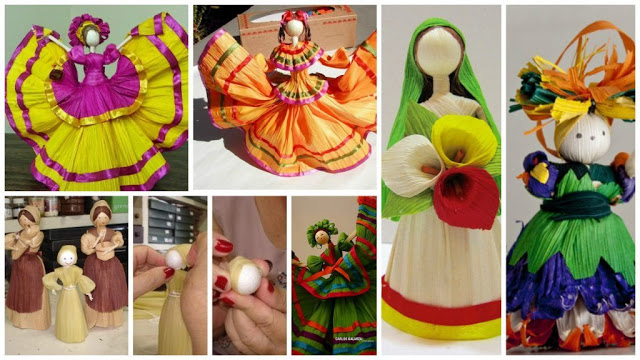
Posted onJanuary 16, 2017inBest out of Waste, Decorations, DIY, Kids Corner, Tutorial How to make doll of boiled corn leaves