To make this cute and different craft you will need:
- Structured papers of your choice and with the colors or prints also of your preference;
- Ruler;
- Common scissors;
- Pencil;
- Hot glue pistol;
- Double-sided tape;
- Small photos of your choice;
- Spatula (optional);
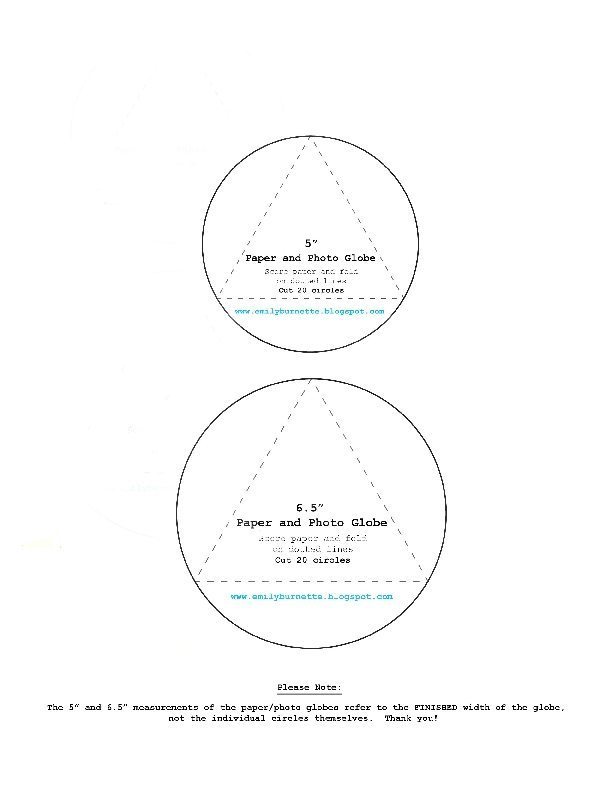
- Template (image below).
 Start by separating all the materials you will use in your photo globe step by step .
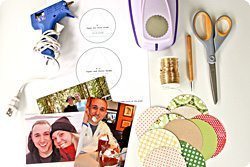 Transfer the mold parts to the chosen structured papers. Cut out all marked parts.
 Glue all the central parts of the mold with the aid of a spatula or other object of your choice.
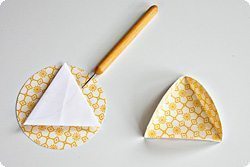 Glue the photos inside each piece of structured paper, using double-sided adhesive tape, and in a very centralized way. If you want, you can crop around the photos in different formats, such as heart, star or letter format formats.
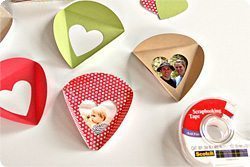 Glue one piece of paper to the other, alternately, creating a long strip.
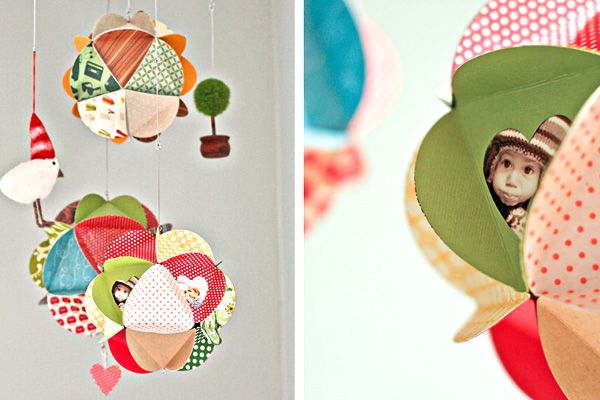
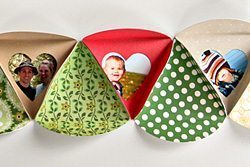 To finalize your piece, simply join the parts of the ends, forming a sphere, with the parts of the photos out. And it’s ready! You can also use only one color or a paper print to make this craft.
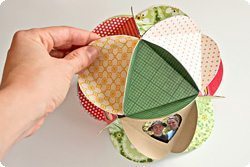 (Image Source: content.photojojo.com)