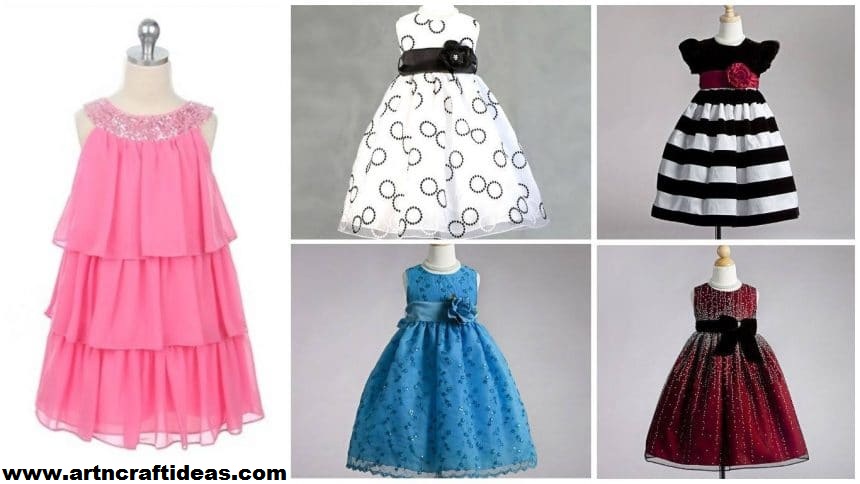
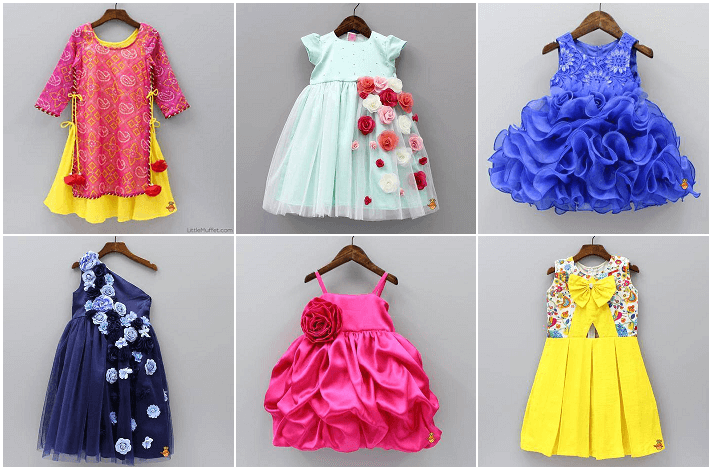
Posted onJune 29, 2017inClothing, Embroidery And Sewing, Kids Corner 25 Different types of frock designs for kids
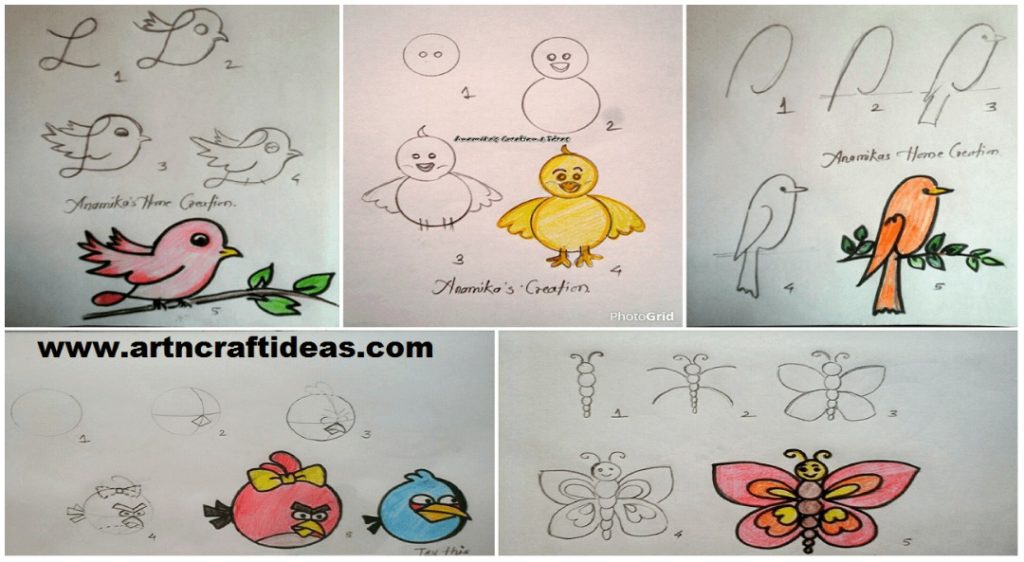
Posted onJune 24, 2017September 8, 2025inKids Activities, Kids Corner, Step by step How to teach drawing to kids step by step
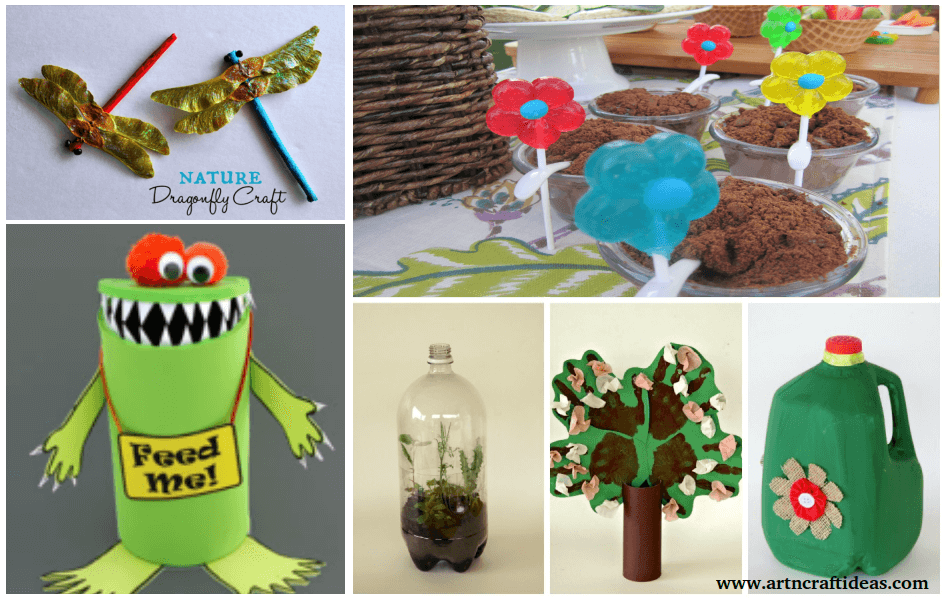
Posted onJune 3, 2017September 8, 2025inBest out of Waste, Kids Crafts, Tutorial, World Environment Day RECYCLED Craft for World Environment Day
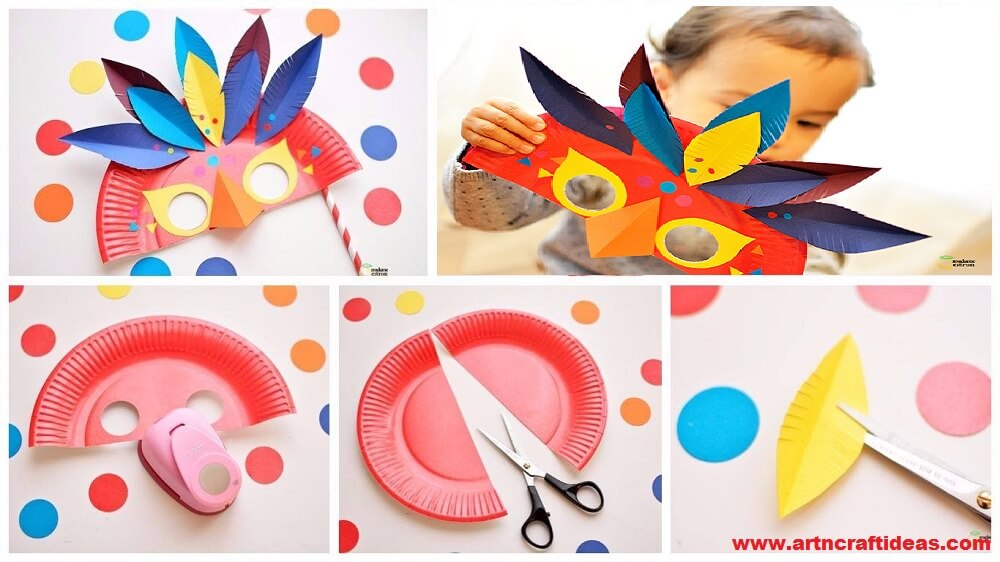
Posted onJune 2, 2017inBest out of Waste, Kids Crafts, Paper Crafts, Tutorial How to make feathered carnival mask
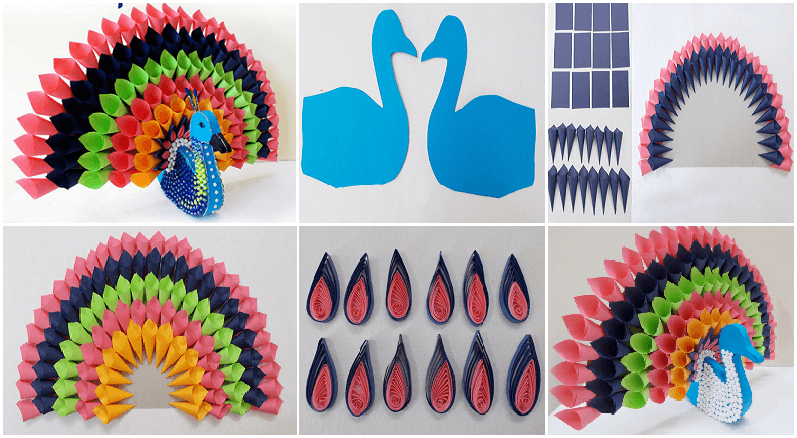
Posted onMay 28, 2017inKids Crafts, Paper Crafts, Step by step, Tutorial DIY Multicolored Paper Peacock
Posted onMay 20, 2017May 16, 2017inBest out of Waste, DIY, Home Decor, Ideas, Kids Crafts 20+ Easy DIY Toilet Paper Roll Craft Ideas
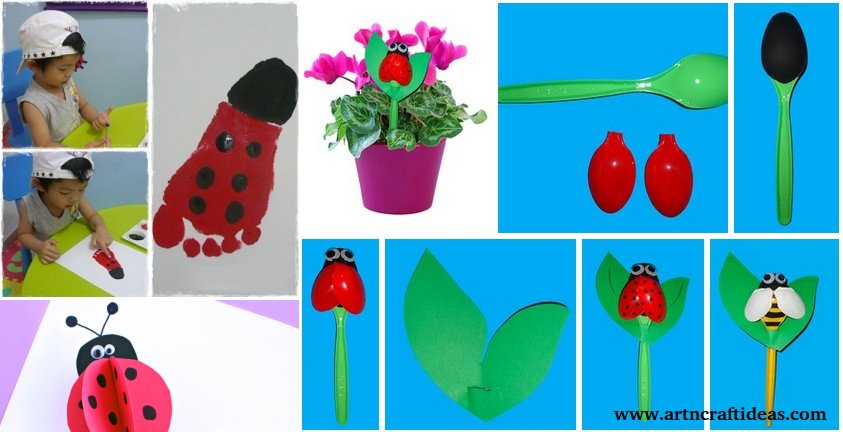
Posted onMay 18, 2017inKids Crafts, Paper Crafts, Spring Crafts, Tutorial Spring Crafts: How to make a ladybug with their hands
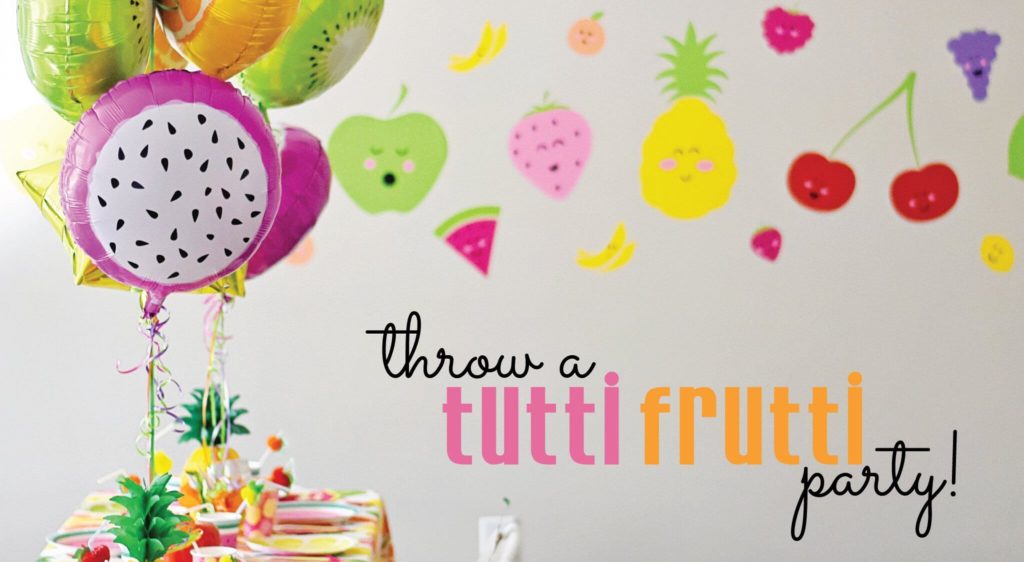
Posted onMay 18, 2017inBirthday, Decorations, Ideas, Kids Corner DIY Cute and Colorful Tutti Frutti Birthday Party Decoration Ideas