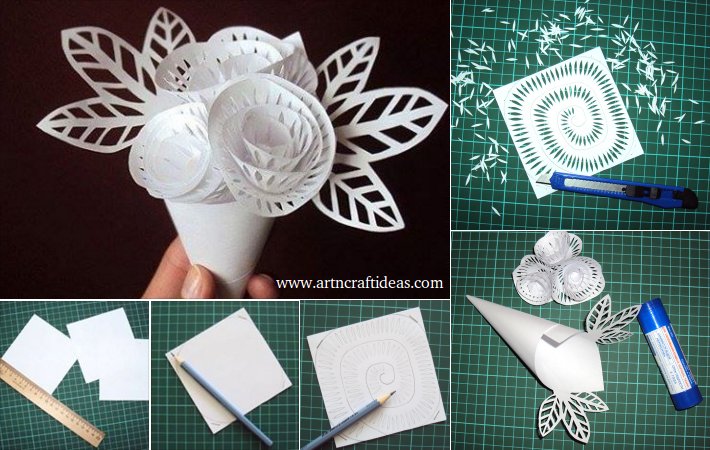
Posted onMay 15, 2017inMother's Day, Paper Crafts, Tutorial How to make a bouquet for mom – Step by step
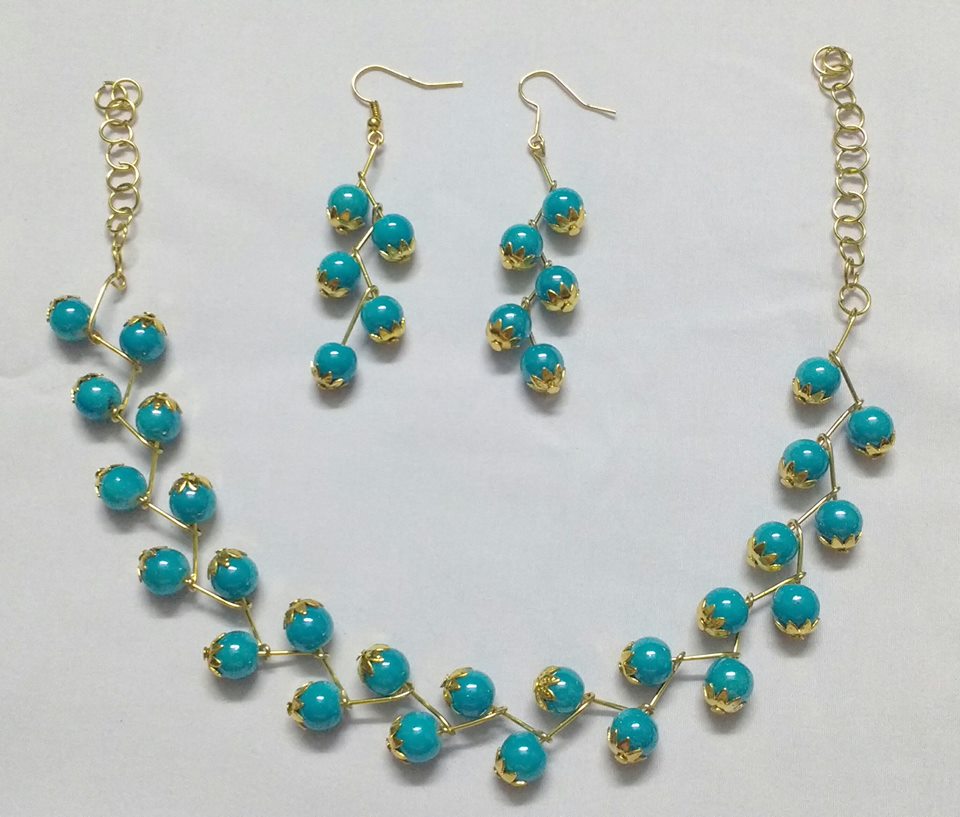
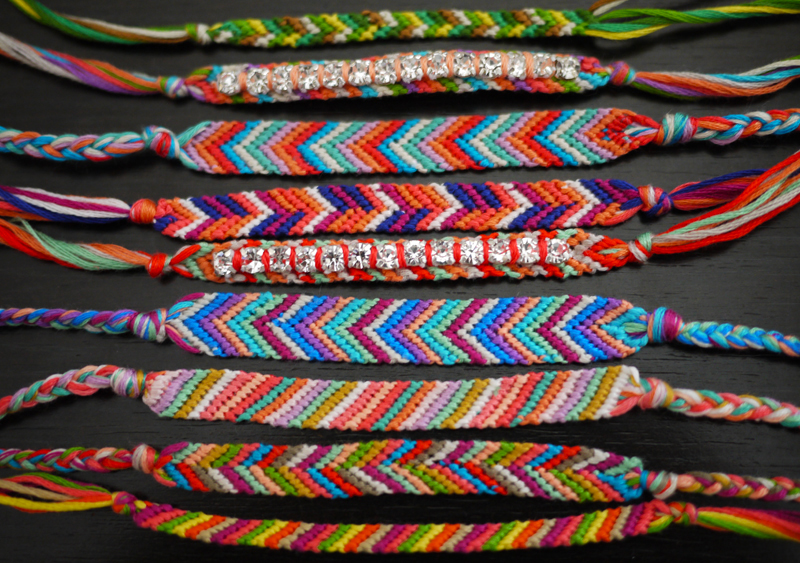
Posted onFebruary 25, 2017February 25, 2017inDIY, Friendship Day, Jewellery, Step by step, Tutorial DIY Beautiful Friendship Bracelet
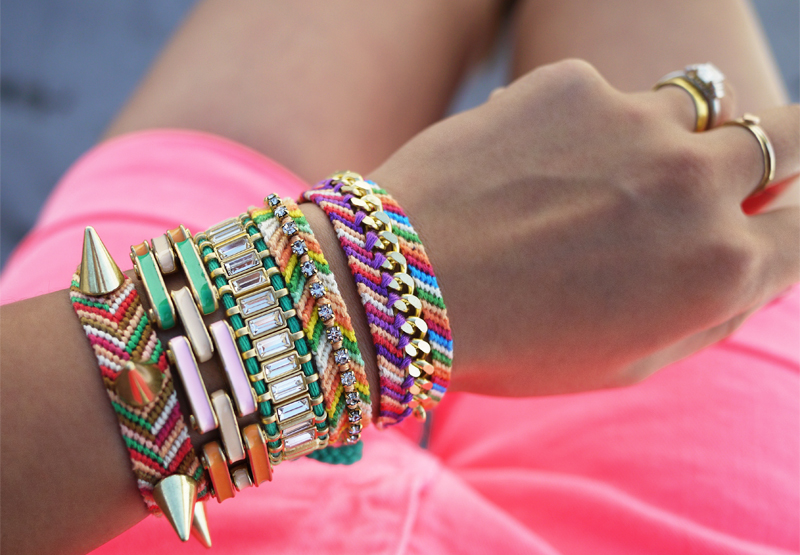
Posted onFebruary 25, 2017February 25, 2017inDIY, Featured, Friendship Day, Jewellery, Step by step, Tutorial DIY Decorate Friendship Bracelets
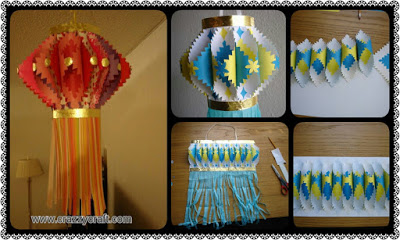
Posted onFebruary 25, 2017April 24, 2018inBest out of Waste, DIY, Kids Crafts, Step by step, Tutorial, Valentine’s Day DIY: Hearts from waste material
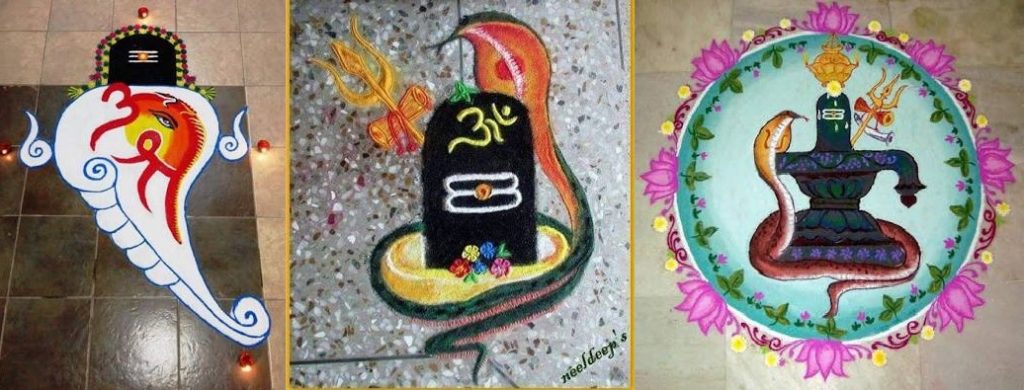
Posted onFebruary 23, 2017February 23, 2017inFeatured, Ideas, Rangoli, Shivaratri Shivaratri Rangoli Designs
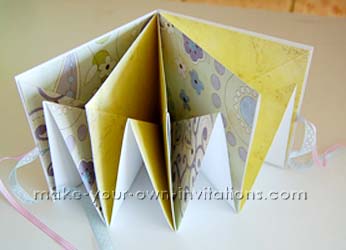
Posted onFebruary 21, 2017inBirthday, DIY, Step by step, Tutorial A Square around mini scrapbook step by step