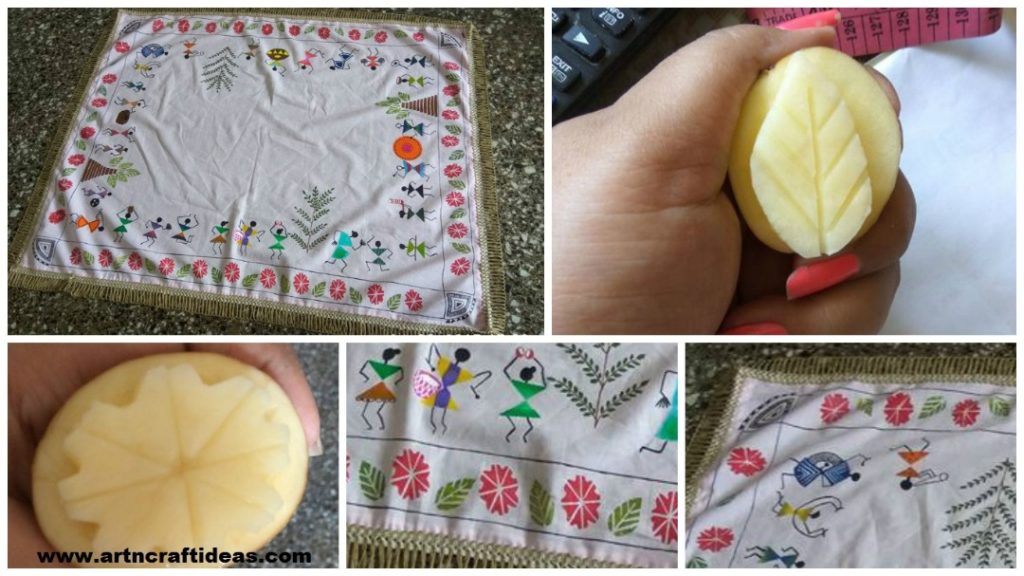
Posted onJune 9, 2017November 20, 2018inBest out of Waste, Craft, Tutorial DIY warli art table cover using potato stamps
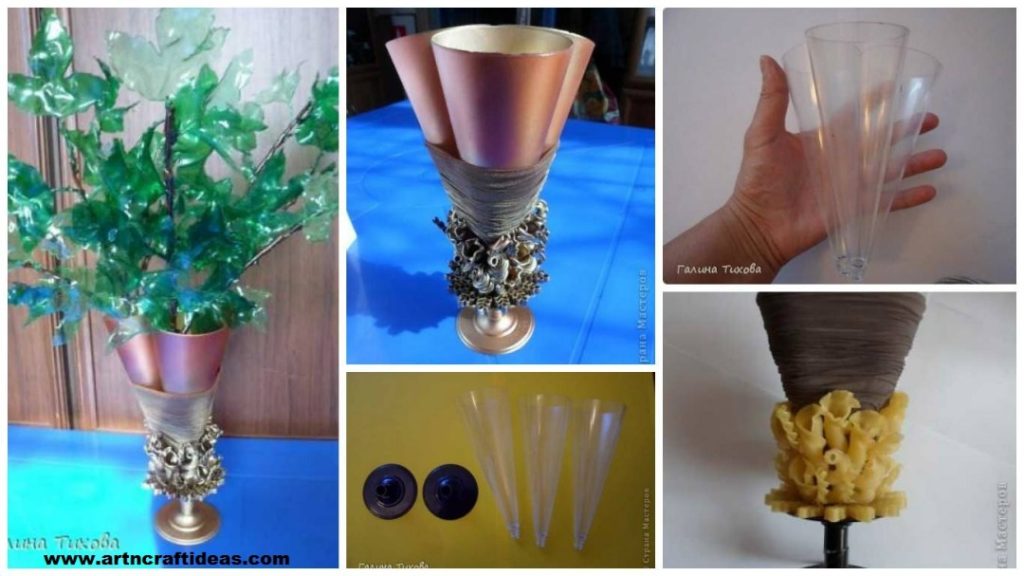
Posted onJune 9, 2017inBest out of Waste, Craft, Tutorial DIY Vase of branches made from plastic bottles
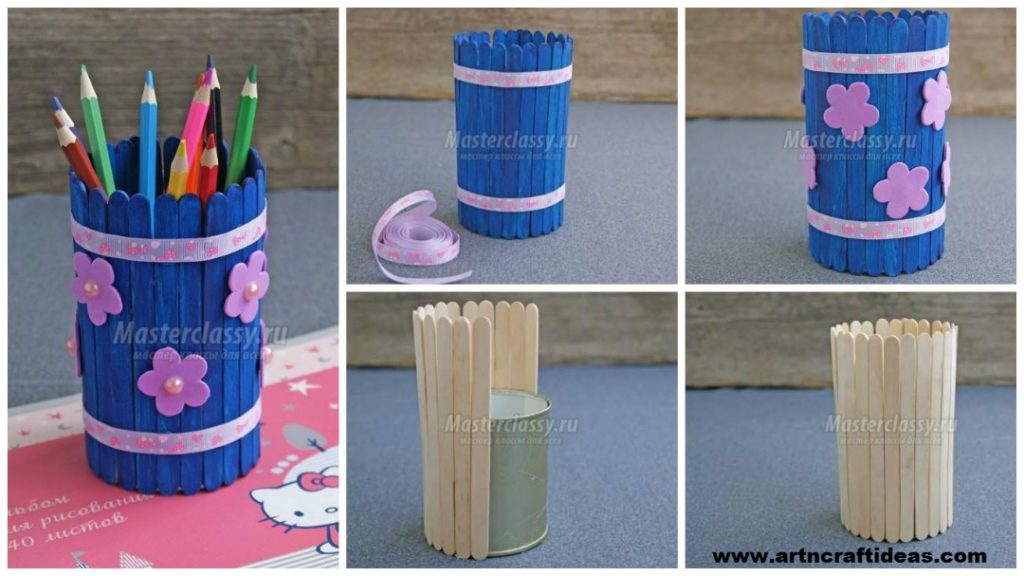
Posted onJune 9, 2017inBest out of Waste, Craft, Tutorial How to Make a Pencil Holder with Popsicle Sticks
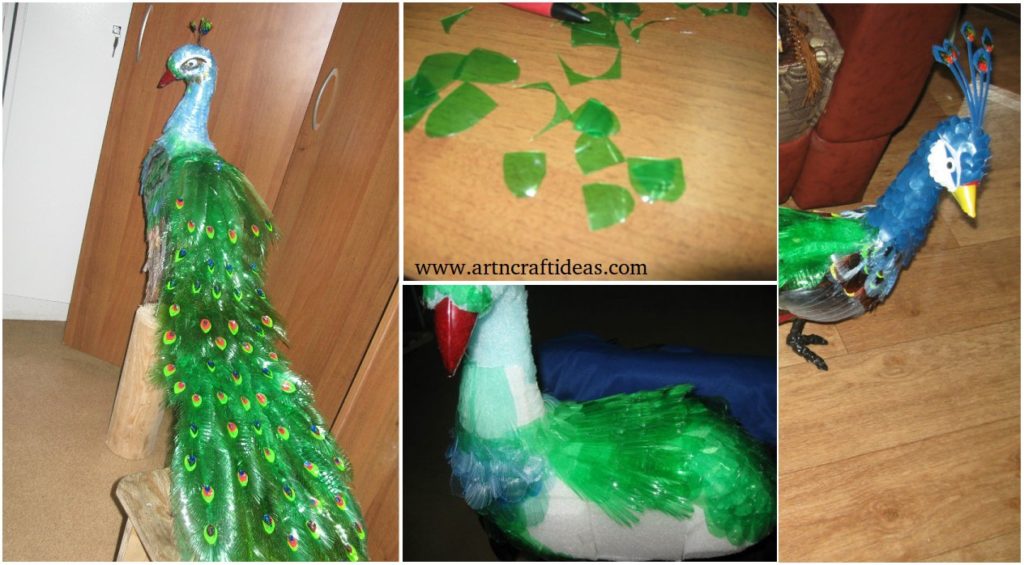
Posted onJune 4, 2017inBest out of Waste, DIY, Tutorial DIY Beautiful Peacock Design from plastic bottles
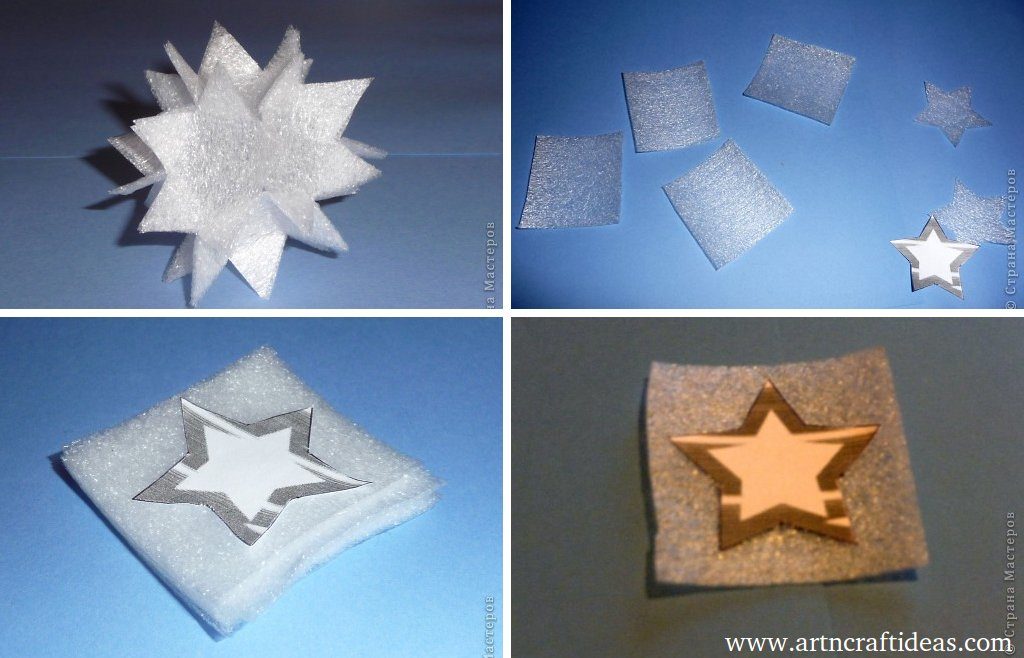
Posted onJune 4, 2017inBest out of Waste, Christmas, Decorations, Tutorial Recycled Craft: Snowflake foam hands (Tutorial)
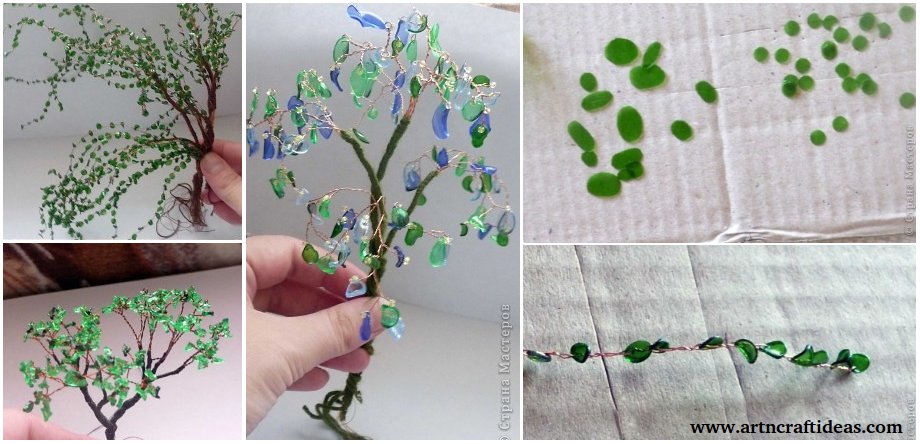
Posted onJune 4, 2017June 4, 2017inBest out of Waste, Home Decor, Tutorial DIY RECYCLED CRAFT: Bonsai Made Of Plastic Bottle (Tutorial)
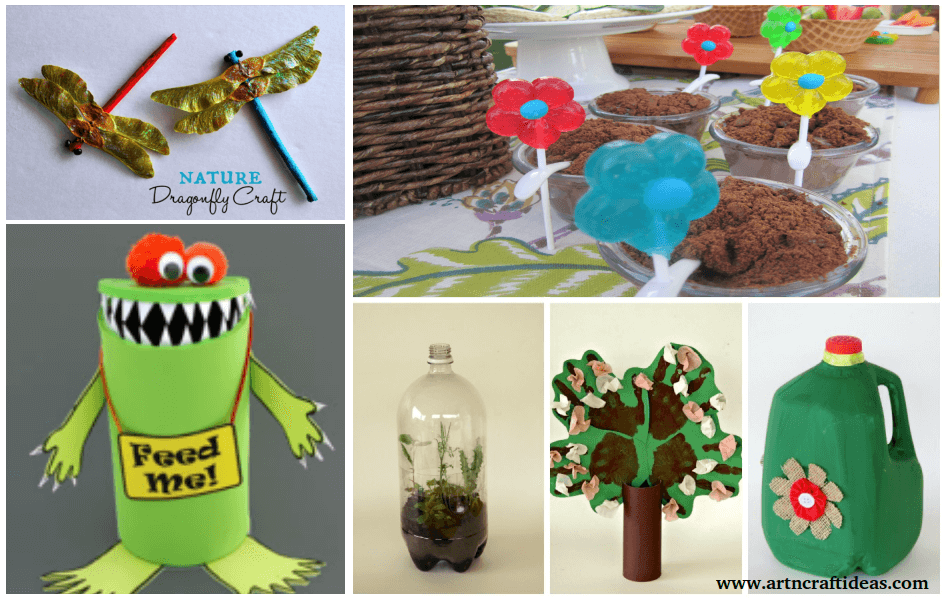
Posted onJune 3, 2017September 8, 2025inBest out of Waste, Kids Crafts, Tutorial, World Environment Day RECYCLED Craft for World Environment Day
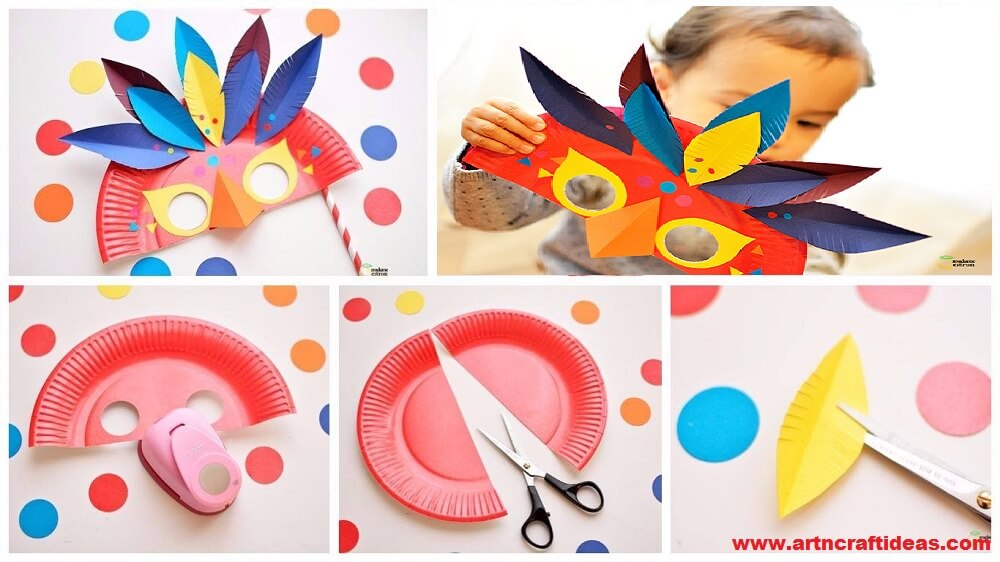
Posted onJune 2, 2017inBest out of Waste, Kids Crafts, Paper Crafts, Tutorial How to make feathered carnival mask
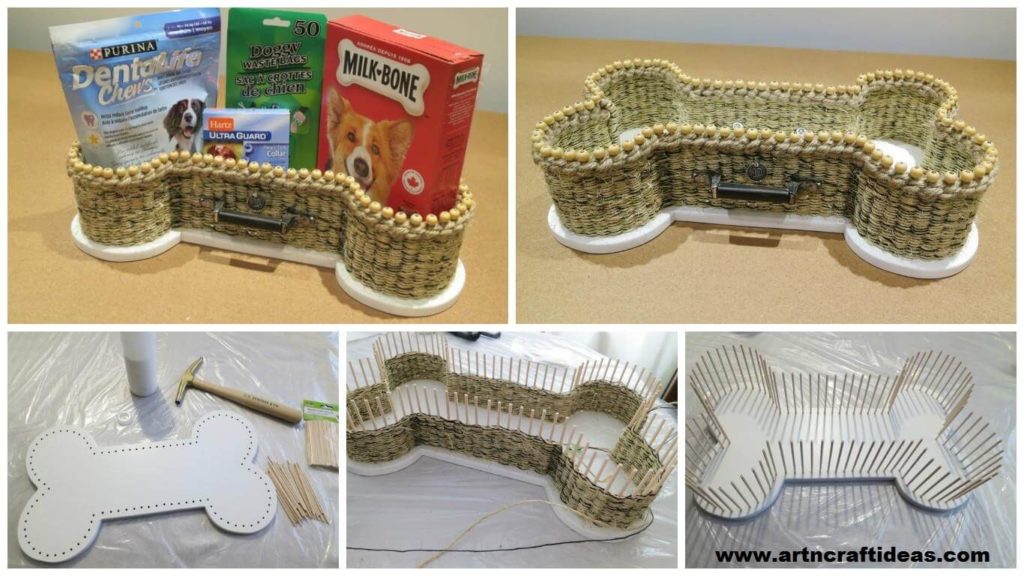
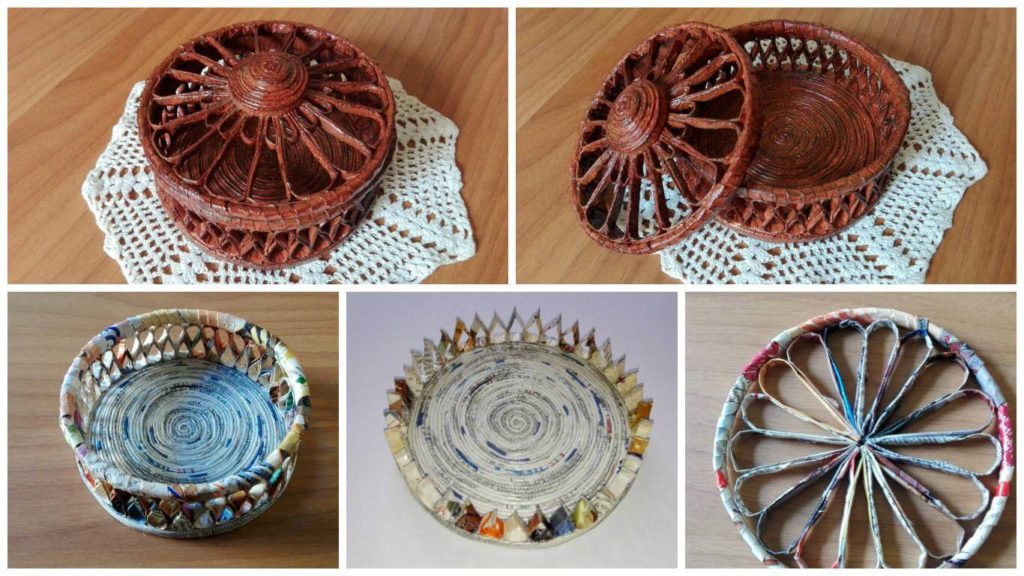
Posted onJune 2, 2017inBest out of Waste, Newspaper Crafts, Tutorial How to make round box with newspaper tubes