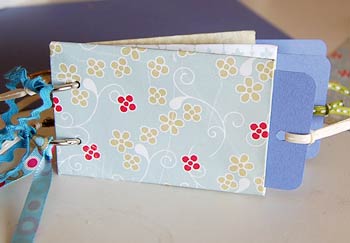
Posted onFebruary 22, 2017inBest out of Waste, DIY, Step by step, Tutorial Toilet Roll Mini Album Tutorial
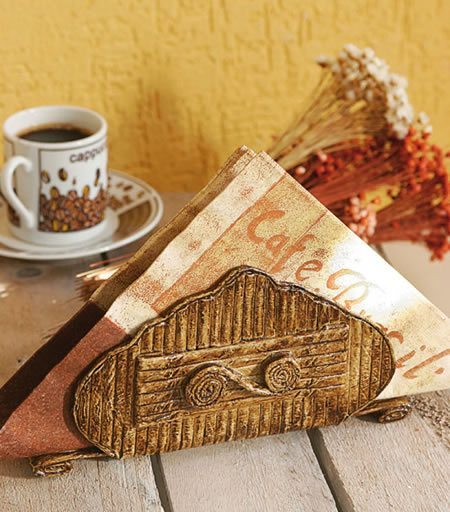
Posted onFebruary 21, 2017inBest out of Waste, DIY, Newspaper Crafts, Step by step, Tutorial Newspaper Napkin Holder Step By step
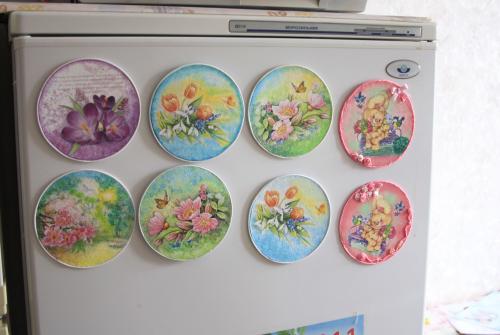
Posted onFebruary 21, 2017inBest out of Waste, DIY, Home Decor, Step by step, Tutorial Fridge magnets from CD’s
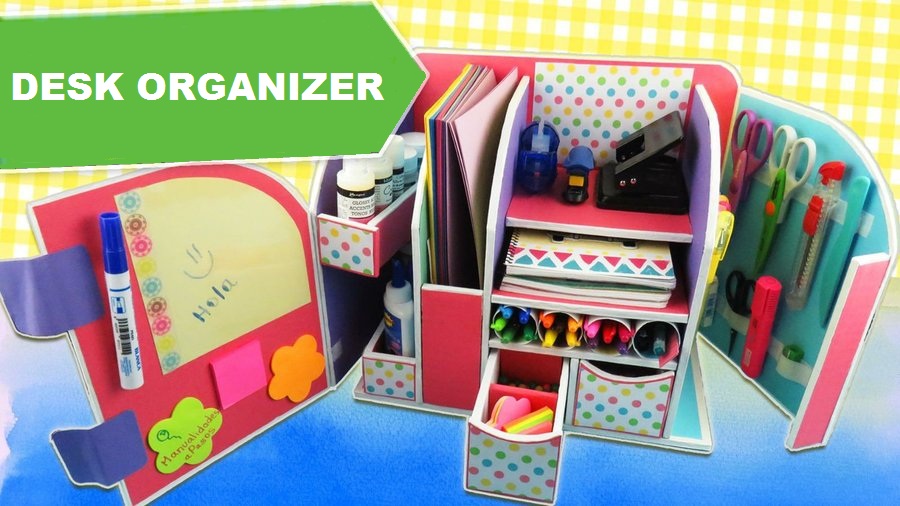
Posted onFebruary 20, 2017February 20, 2017inBest out of Waste, Cardboard Crafts, DIY, Featured, Step by step, Tutorial DIY: Beautiful Desk Organizer from Cardboard
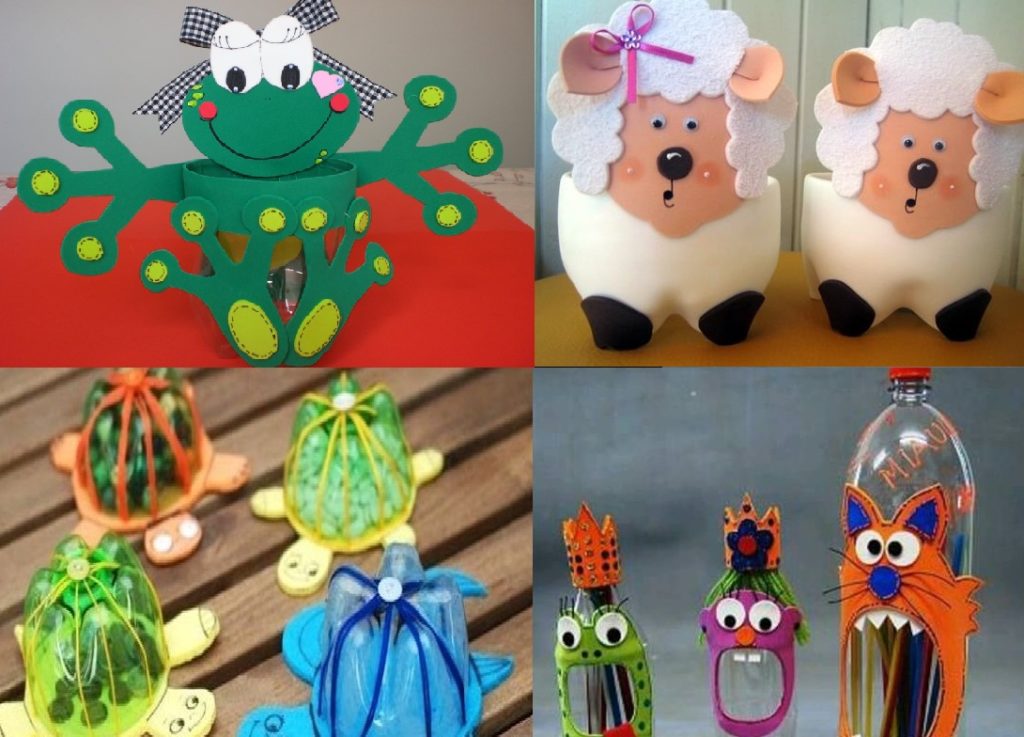
Posted onFebruary 18, 2017inBest out of Waste, DIY, Ideas, Kids Crafts 22 crafts made with EVA and Plastic bottle
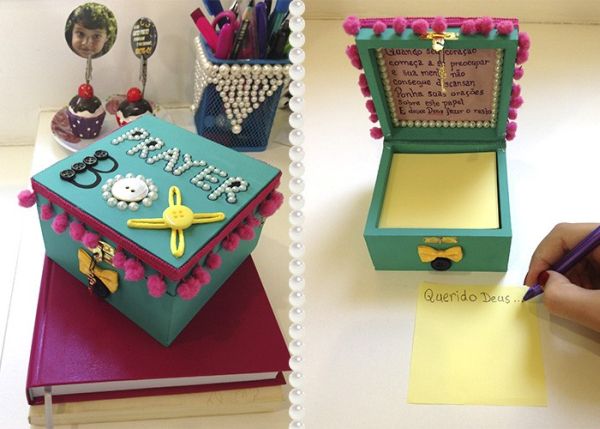
Posted onFebruary 18, 2017February 18, 2017inBest out of Waste, Decorations, Step by step, Tutorial How To Decorated Prayer Box
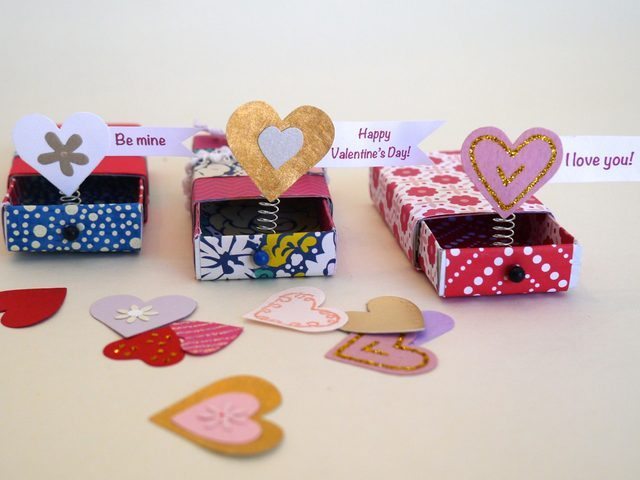
Posted onFebruary 16, 2017inBest out of Waste, DIY, Step by step, Tutorial, Valentine’s Day DIY: Surprise Messages Hidden In Little Matchboxes
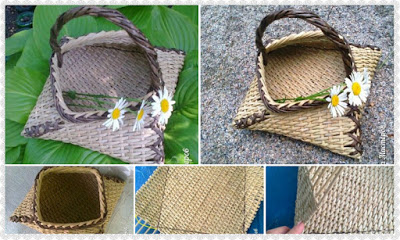
Posted onFebruary 16, 2017inBest out of Waste, DIY, Newspaper Crafts, Step by step, Tutorial DIY: Weaving Newspapers Basket
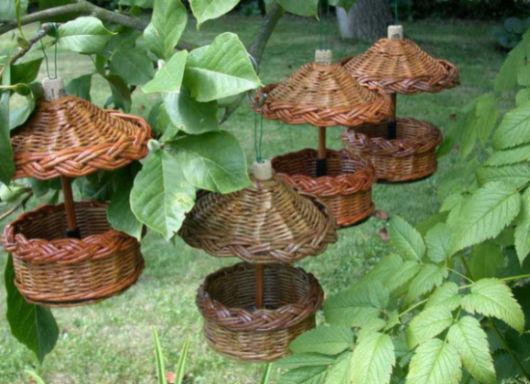
Posted onFebruary 16, 2017inBest out of Waste, DIY, Newspaper Crafts, Step by step, Tutorial How to Make Bird Feeder with a Newspaper