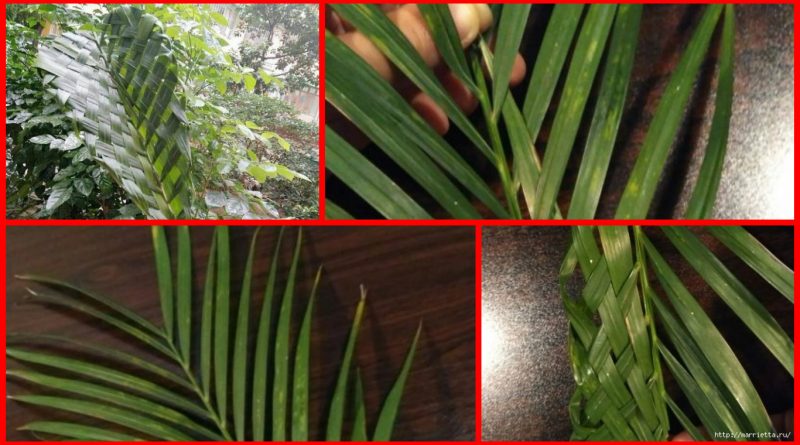
Posted onFebruary 12, 2017inBest out of Waste, DIY, Home Decor, Step by step, Tutorial How to Braid a Palm Leaf
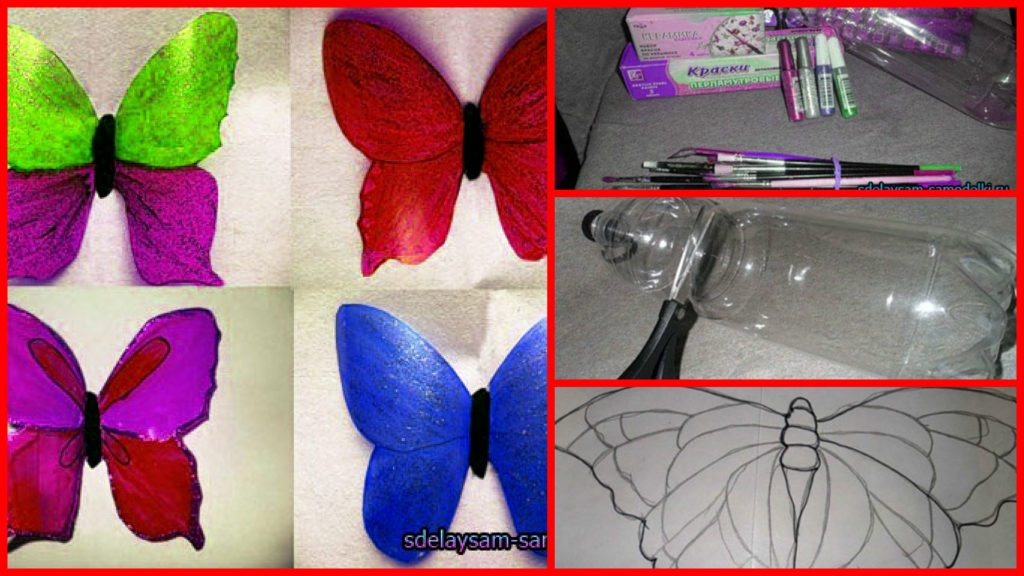
Posted onFebruary 12, 2017February 12, 2017inBest out of Waste, DIY, Home Decor, Step by step, Tutorial How to make beautiful plastic butterfly
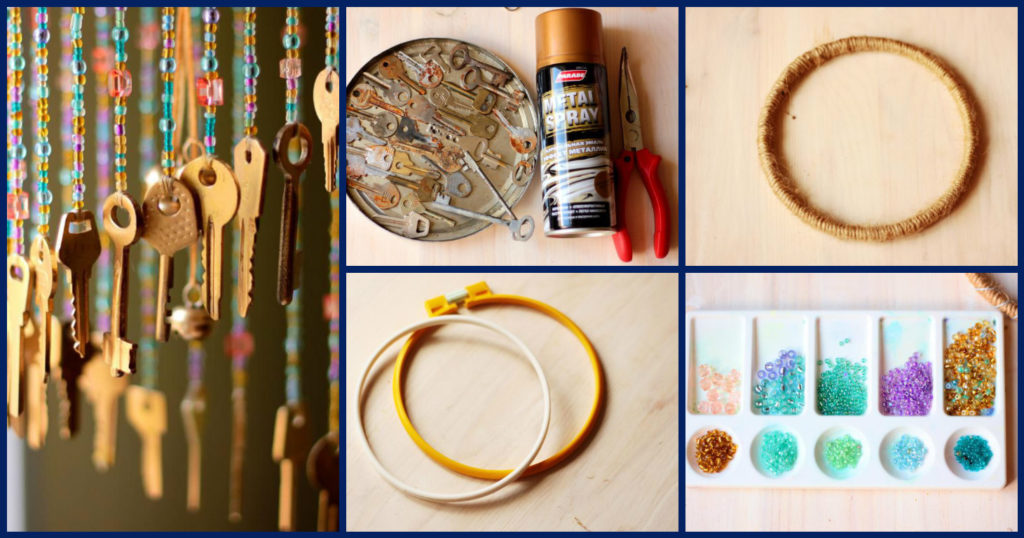
Posted onFebruary 10, 2017inBest out of Waste, DIY, Home Decor, Step by step, Tutorial Wind Chime Using Old Keys
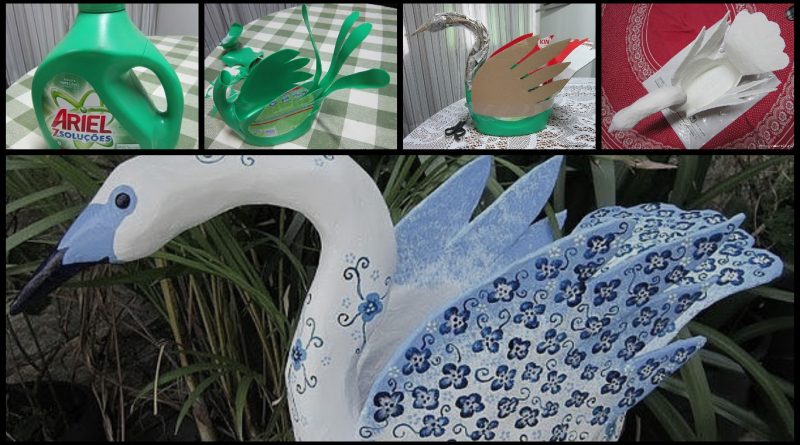
Posted onFebruary 9, 2017inBest out of Waste, DIY, Home Decor, Step by step, Tutorial How to make swan of plastic bottle
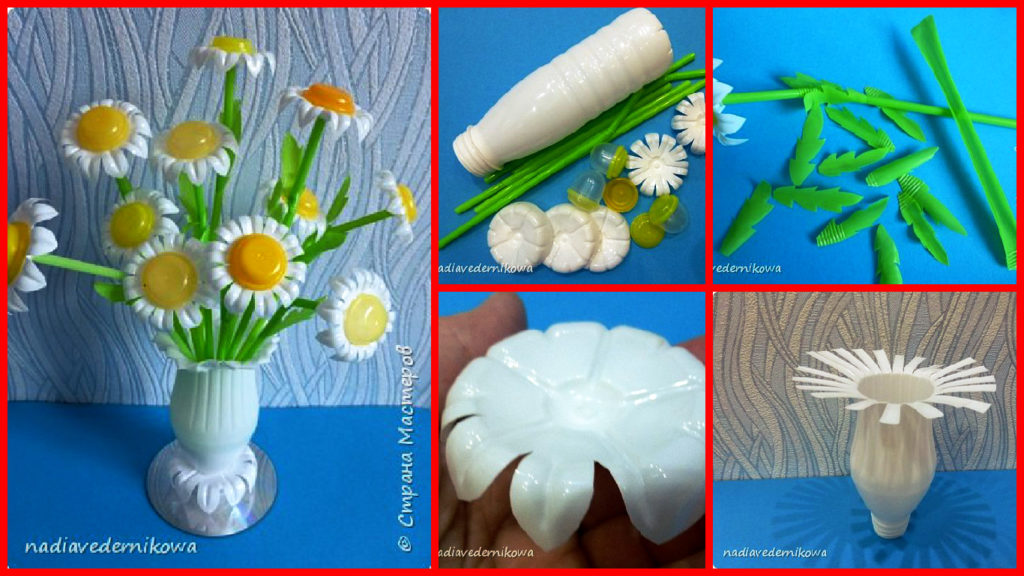
Posted onFebruary 7, 2017inBest out of Waste, DIY, Flower Crafts, Home Decor, Step by step, Tutorial Creating daisies with plastic bottles Tutorial
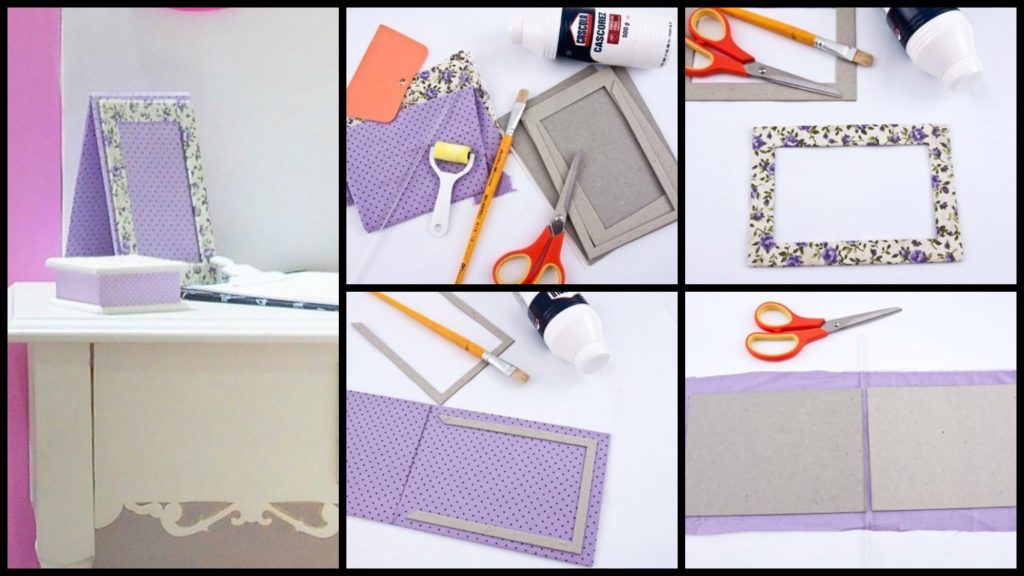
Posted onFebruary 7, 2017inBest out of Waste, DIY, Home Decor, Step by step, Tutorial How To Make a Cardboard Photo Frame
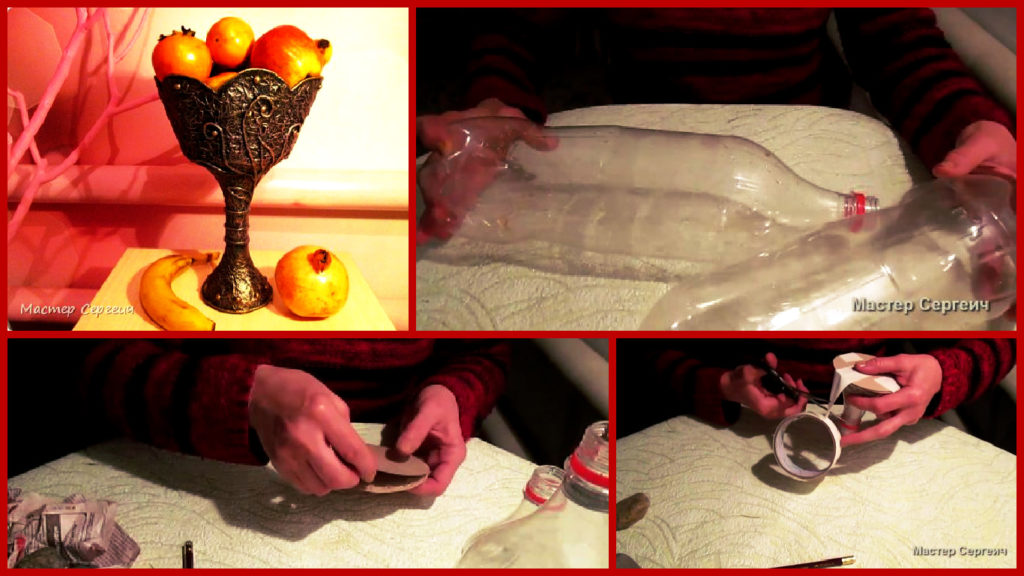
Posted onFebruary 7, 2017inBest out of Waste, DIY, Home Decor, Step by step, Tutorial DIY: Hamdmade vase of plastic bottles for fruit
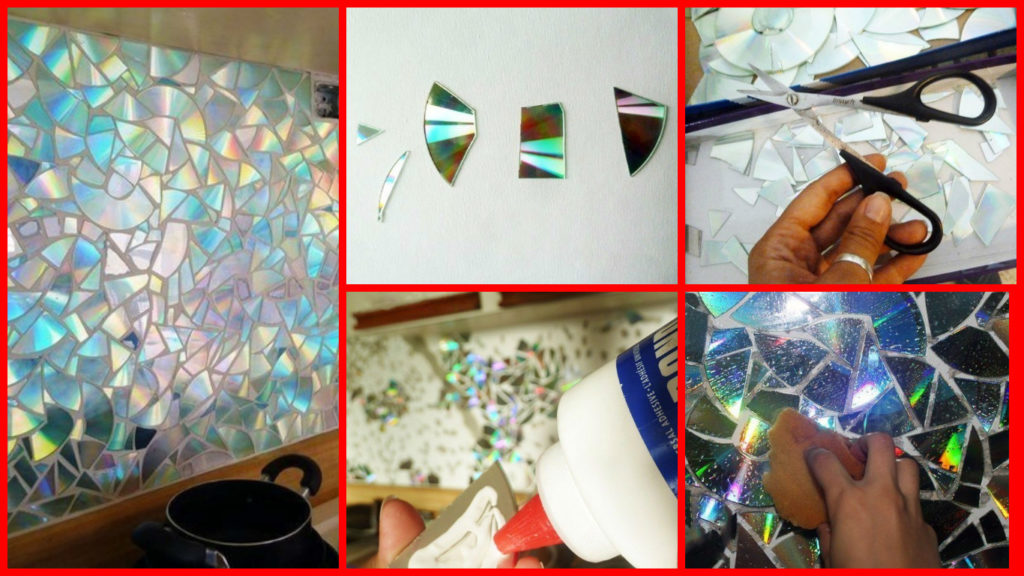
Posted onFebruary 7, 2017inBest out of Waste, DIY, Home Decor, Step by step, Tutorial How To Make Recycled CD Wall Decoration
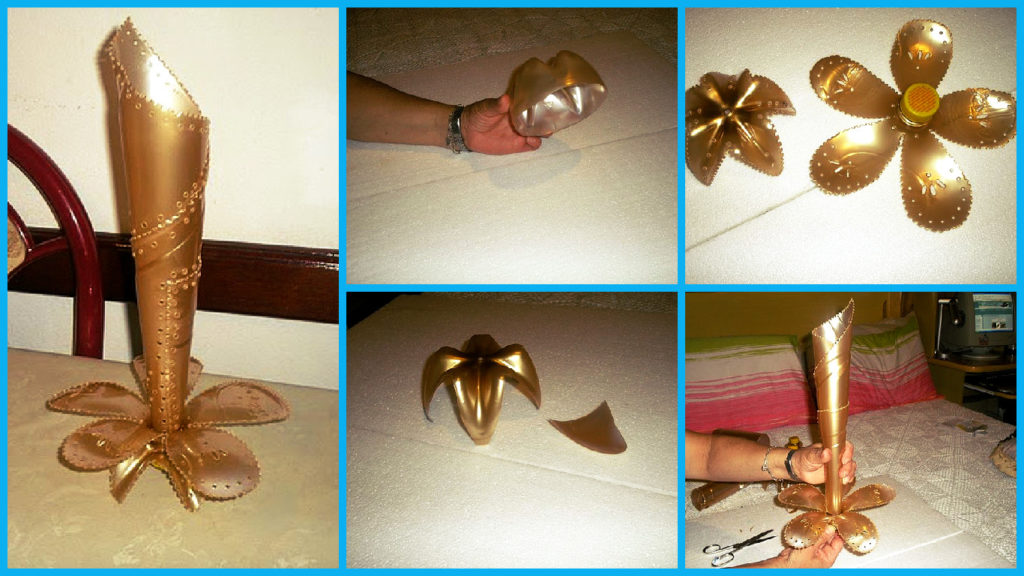
Posted onFebruary 6, 2017inBest out of Waste, DIY, Home Decor, Step by step, Tutorial Beautiful vase from plastic bottles
Posted onFebruary 5, 2017February 6, 2017inBest out of Waste, DIY, Step by step, Tutorial DIY: Decorative art Paper-art: Sac