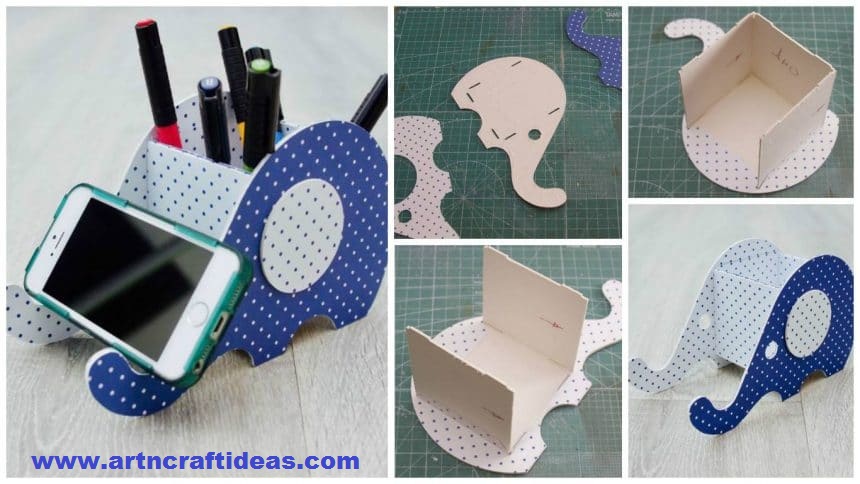
Posted onJuly 2, 2017inBest out of Waste, Cardboard Crafts, Craft, Paper Crafts, Step by step, Tutorial How to make paper and cardboard stand-organizer “Elephant” for the tablet
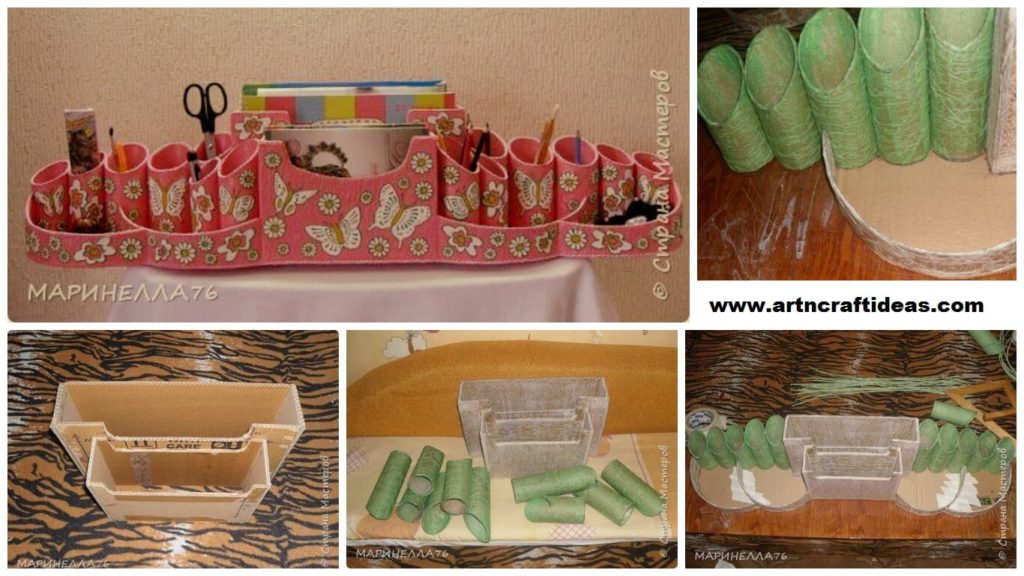
Posted onJune 20, 2017inBest out of Waste, Cardboard Crafts, Craft, Tutorial How to Make Cardboard Mega Organizer
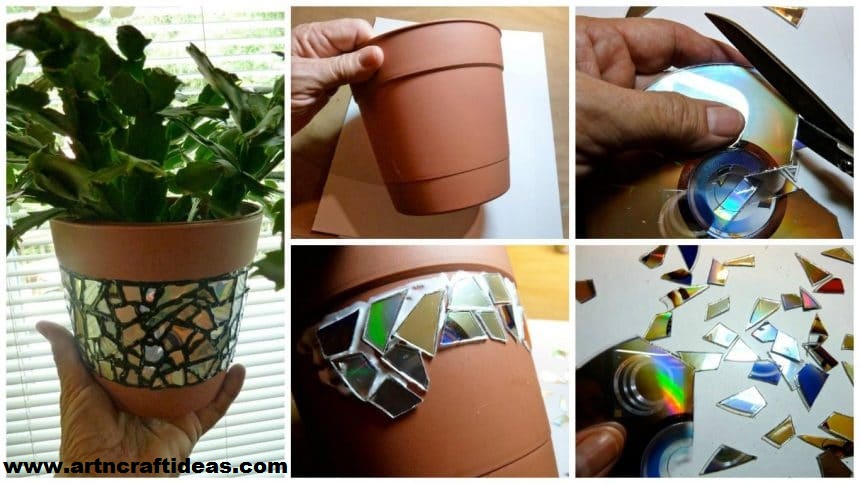
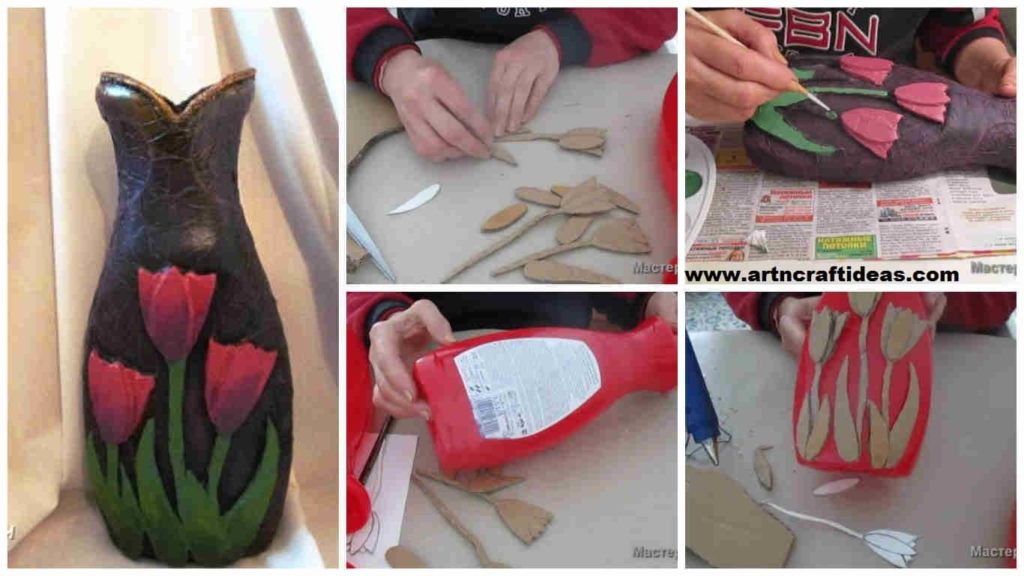
Posted onJune 20, 2017inBest out of Waste, Cardboard Crafts, Tutorial How to make vase from plastic bottle
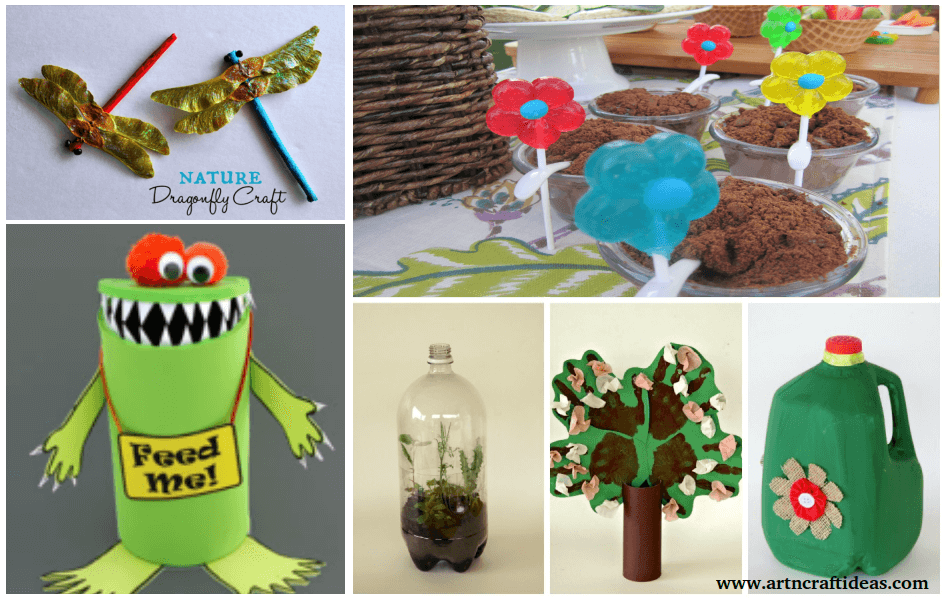
Posted onJune 3, 2017September 8, 2025inBest out of Waste, Kids Crafts, Tutorial, World Environment Day RECYCLED Craft for World Environment Day
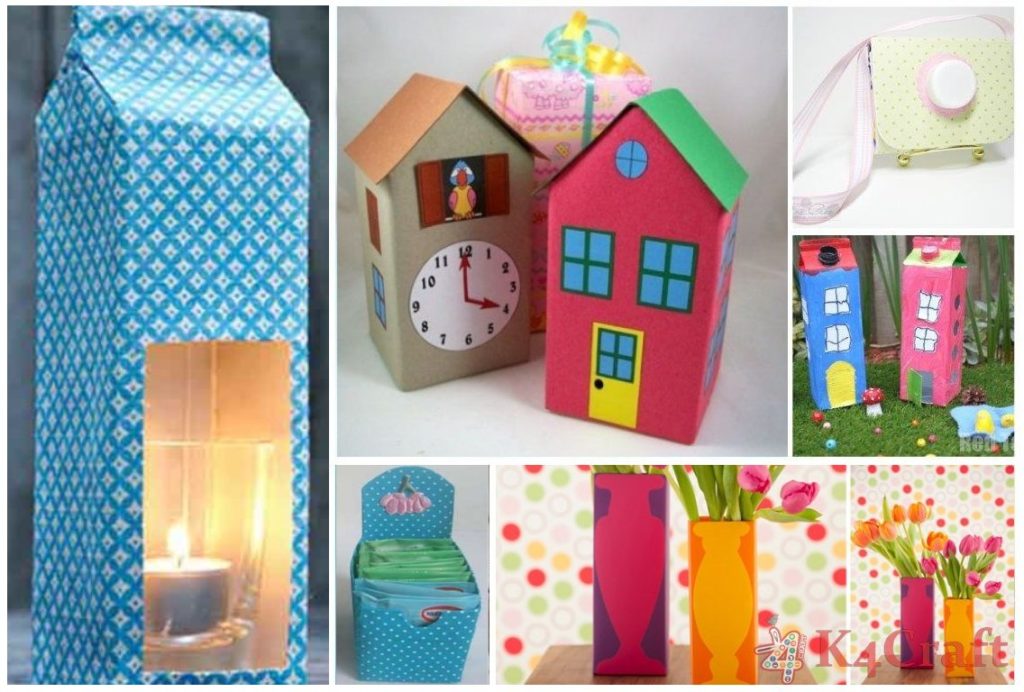
Posted onMarch 14, 2017March 14, 2017inBest out of Waste, Featured, Ideas, Kids Crafts, Video DIY Kids Crafts with Recycled Milk Cartons
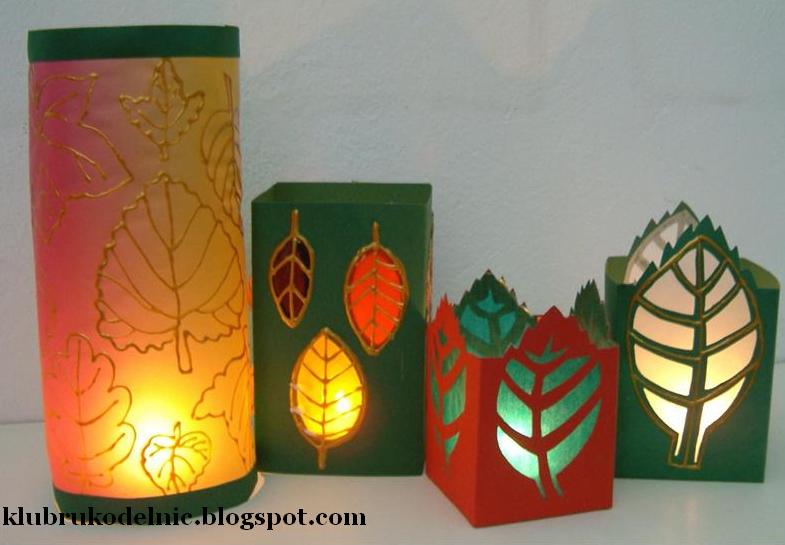
Posted onMarch 4, 2017inBest out of Waste, DIY, Home Decor, Tutorial DIY: Lanterns with autumn leaves create
Posted onFebruary 25, 2017April 24, 2018inBest out of Waste, DIY, Kids Crafts, Step by step, Tutorial, Valentine’s Day DIY: Hearts from waste material
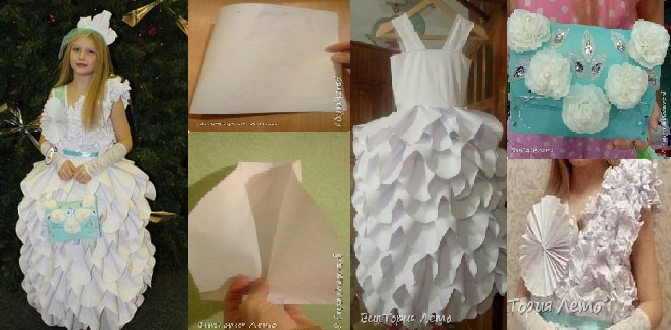
Posted onFebruary 24, 2017inBest out of Waste, Clothing, DIY, Kids Crafts, Step by step, Tutorial Handmade paper frock for fancy dress competition
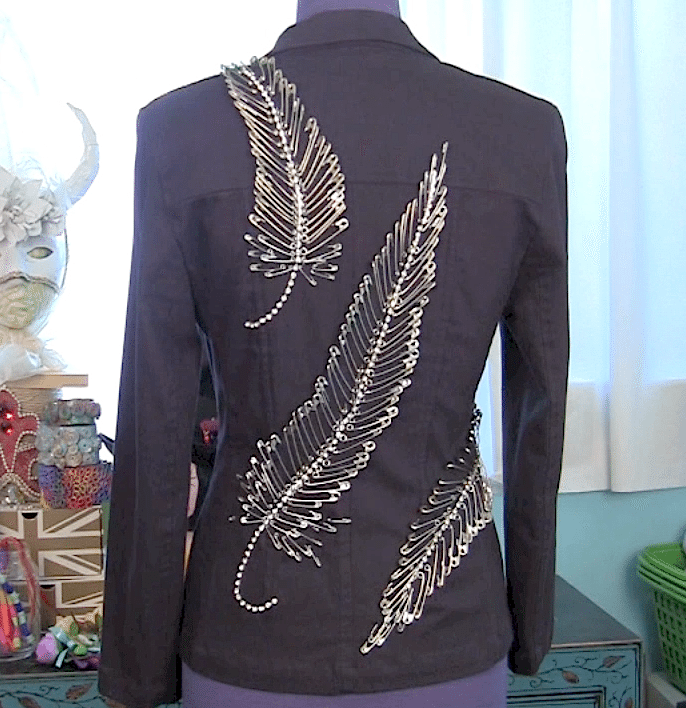
Posted onFebruary 22, 2017inBest out of Waste, Clothing, Step by step, Tutorial DIY: Safety pin feather jacket