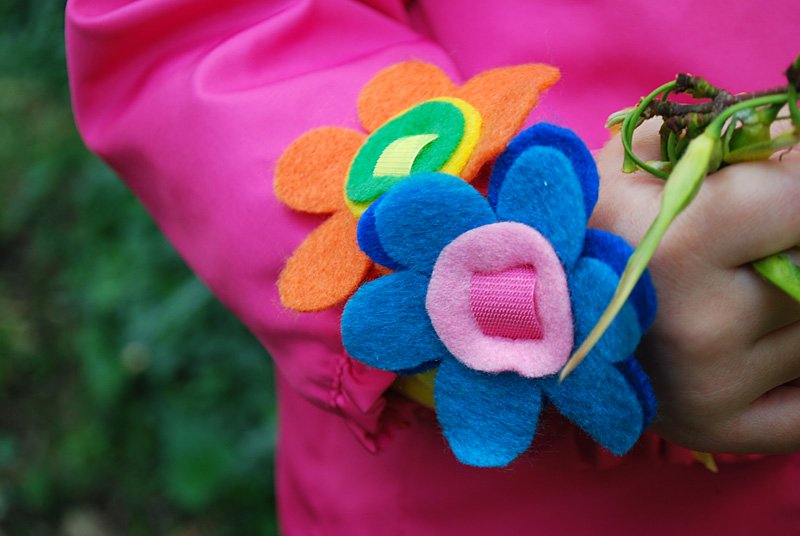
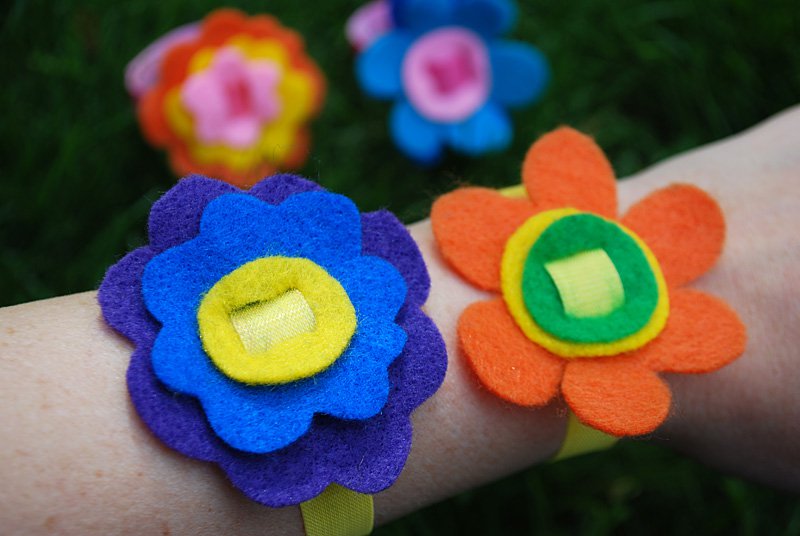
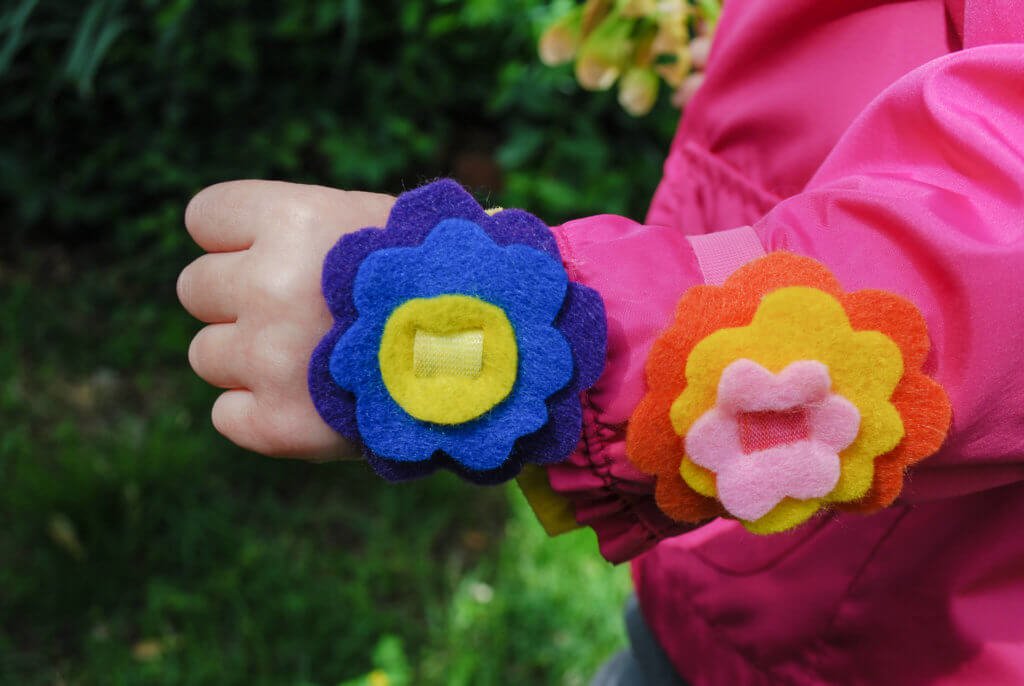
Here’s a super cute DIY spring and summer craft idea for kids that you can knock out in less than an hour: Easy no-sew felt flower bracelets.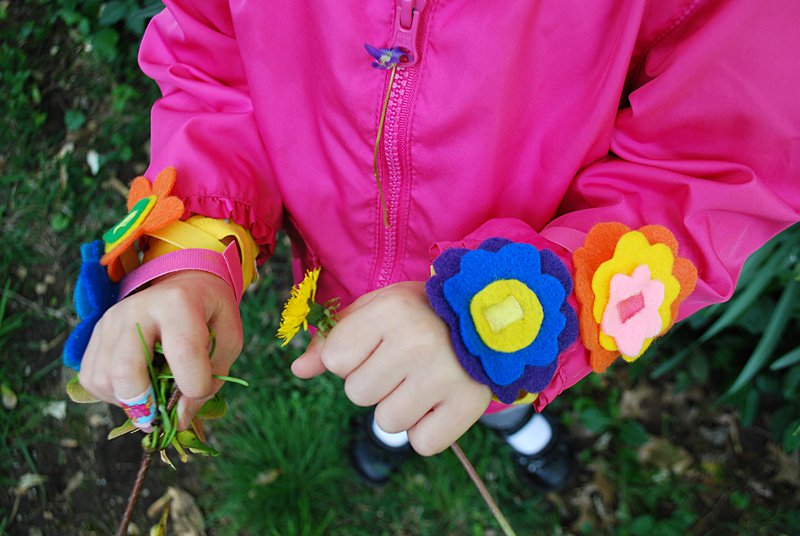 I love how cheery these no-sew felt flower bracelets look. And it’s nice to be able to make a cute project without having to drag out my sewing machine.
 The trick is VELCRO® Brand Plant Ties. So what are plant ties you ask? It’s basically a roll of colored thin VELCRO® Brand fasteners (I have these in yellow, pink, green and red and they also come in blue and black) that sticks to itself. Yep, IT STICKS TO ITSELF! So cool. You’re supposed to use to tie up your plants in the garden which I did last year to help my peas hang onto their trellis.
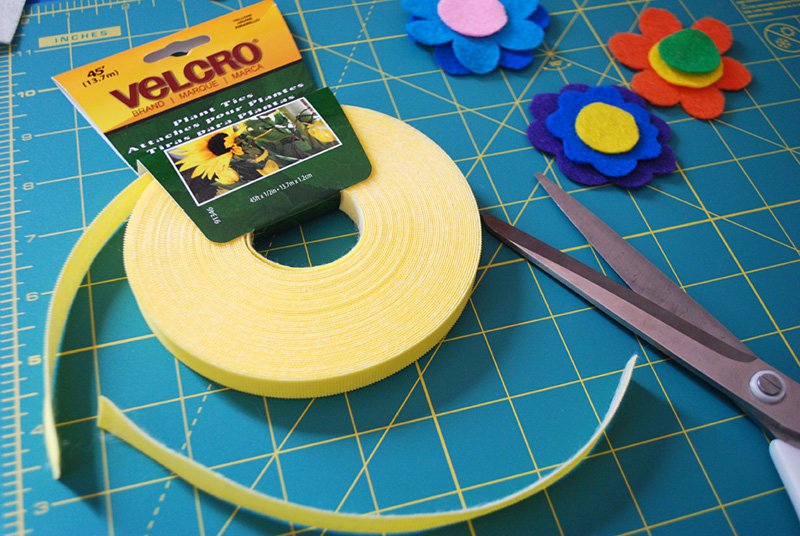 I liked the VELCRO® Brand Plant Ties in the garden but I also thought it could make a great bracelet. It’s easy to cut and not the least scratchy on the back.
 You could also make this project using VELCRO® One-Wrap Straps OR VELCRO® Get A Grip Straps in Multi-Colored, which are basically the same stick-to-itself concept that are used to keep cords and wires looking neater. Either way it’s a kid-friendly, no-sew craft to brighten your spring and summer days exploring outside.
Easy DIY no-sew felt flower bracelets {free pattern}
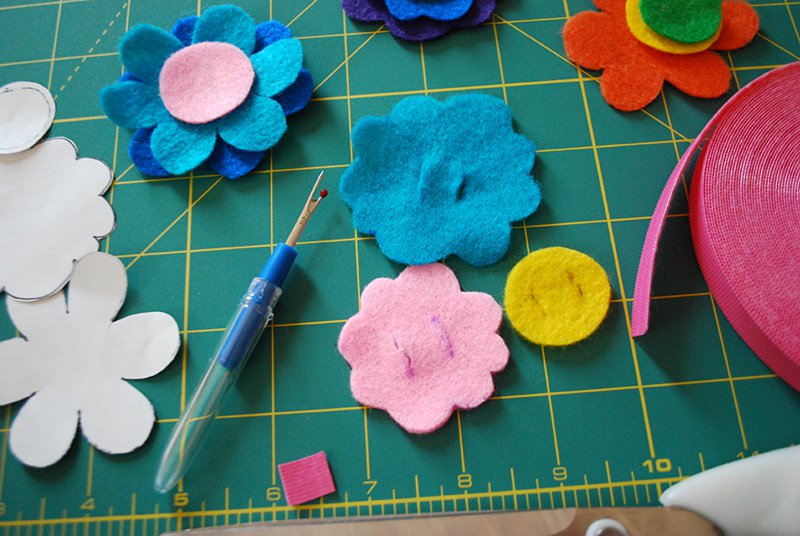
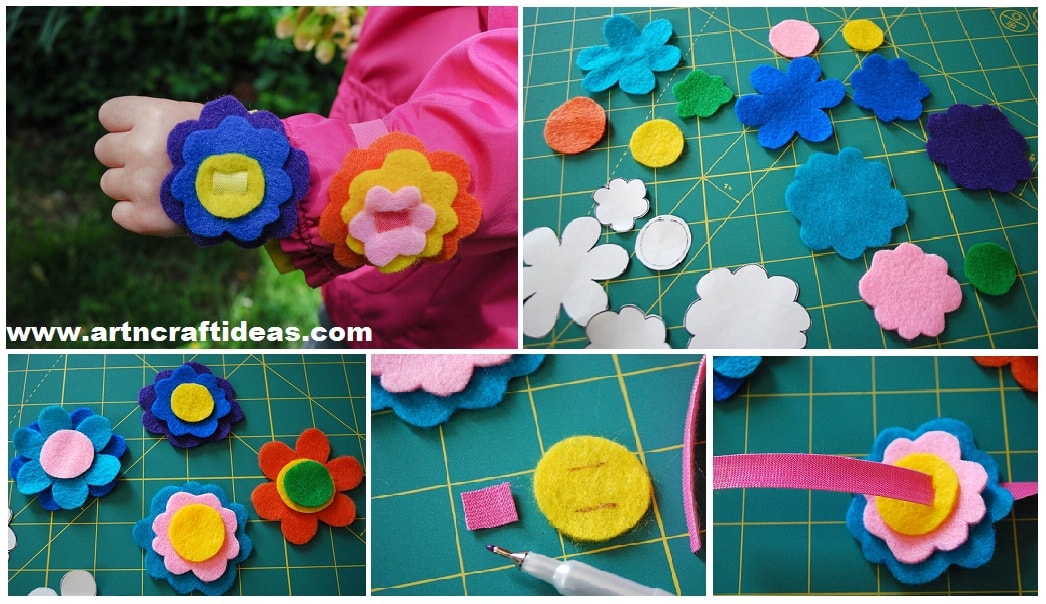
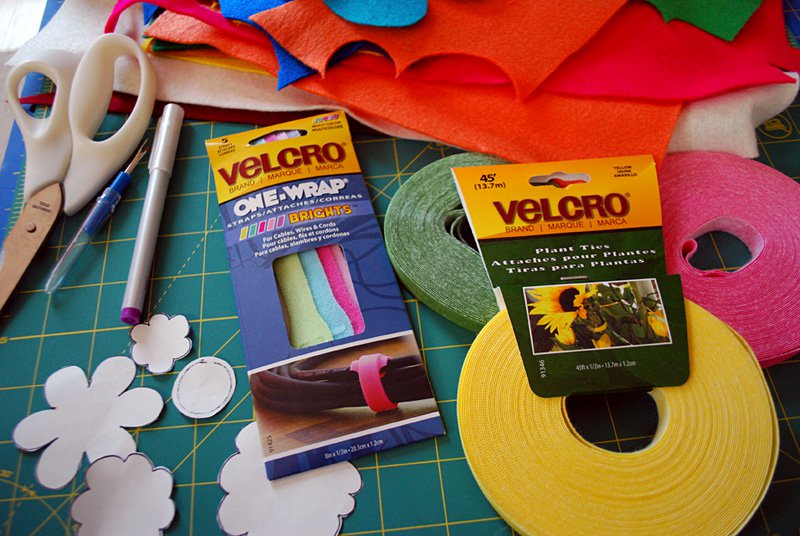 Cut out flowers pieces in assorted felt colors. You can trace the pattern using disappearing ink pen onto the lighter colors, and for darker colors, just hold the pattern tightly to the felt and cut. No need to be perfect. You can even free-hand some pieces without using a pattern at all.
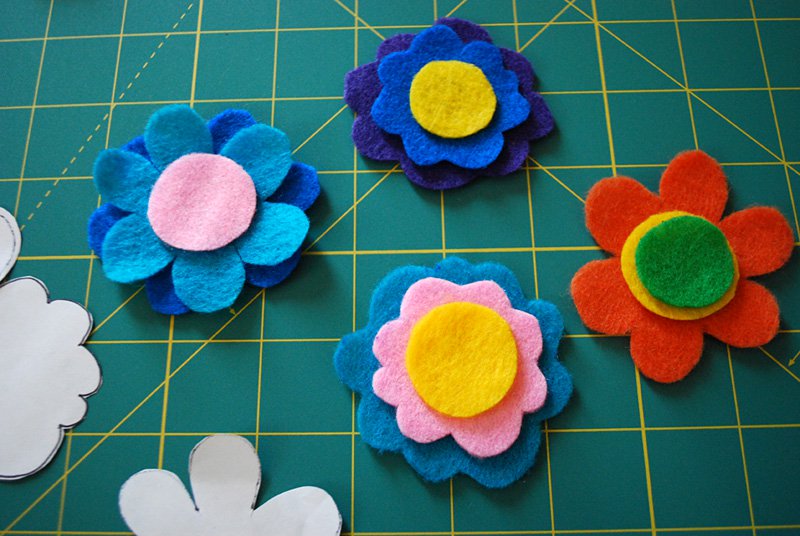
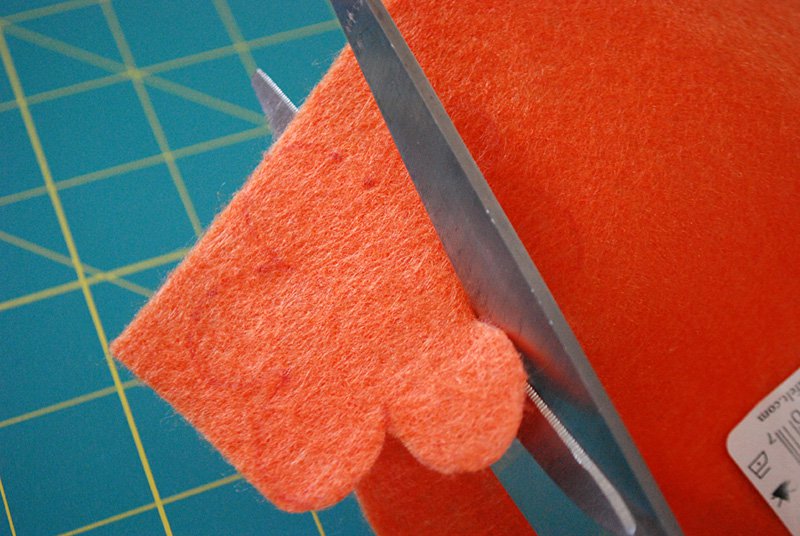 See all the cute felt flower pieces for the bracelets?
 Now just layer them up. Cut more as needed and play around to make the cute flower stacks for the bracelets.
 Cut a piece 3/8″ piece of VELCRO Plant Tie as a pattern for cutting slits in the felt flower pieces. Center it on your flower piece.
 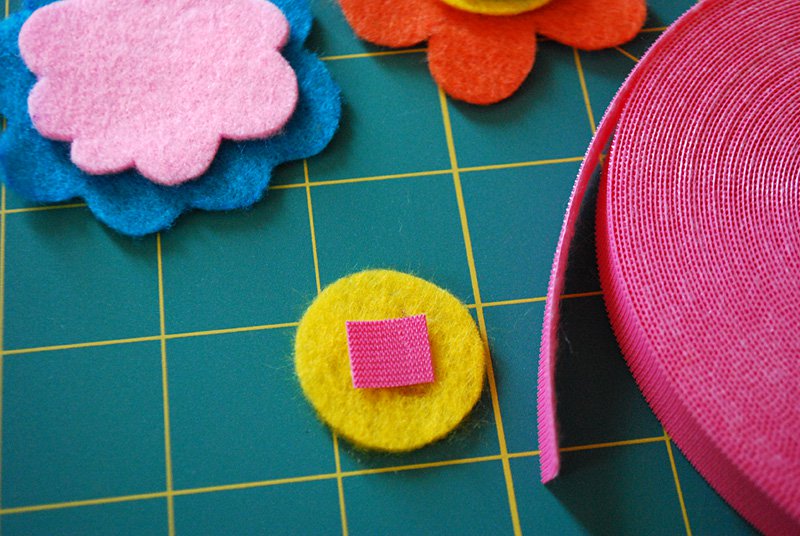 Mark slits above and below the pattern using a disappearing ink pen.
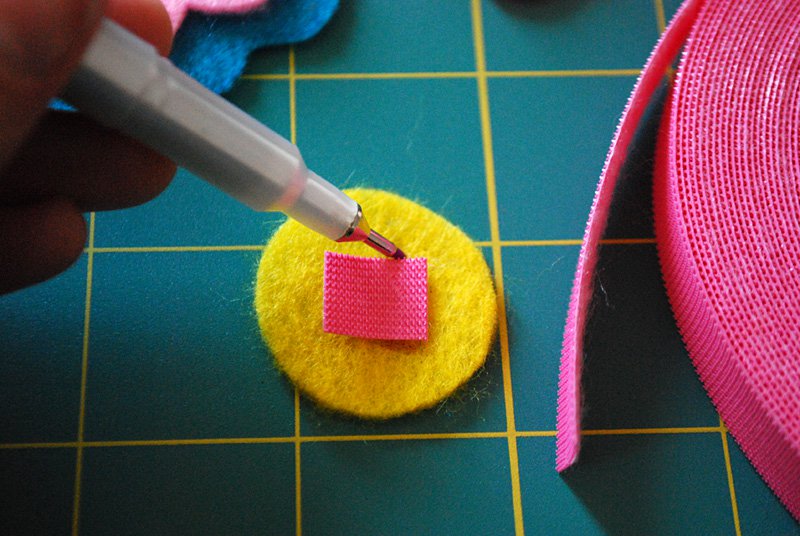 Now it’s time to cut the bracelet slits. First I tried using fabric scissors and I overshot big time – they’re just too big for me to handle on such a small cut.
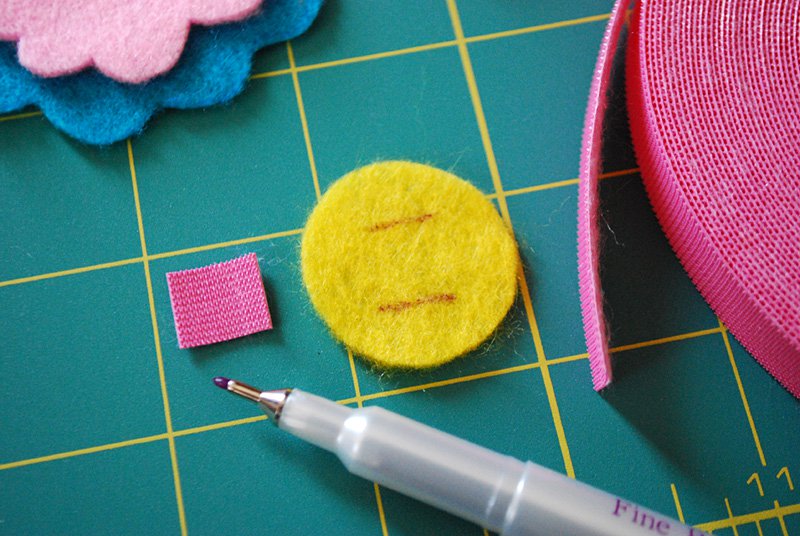 So then I used a seam ripper to get the bracelet slit started on each ends and followed up with tiny embroidery scissors to cut through the middle and it worked really well.
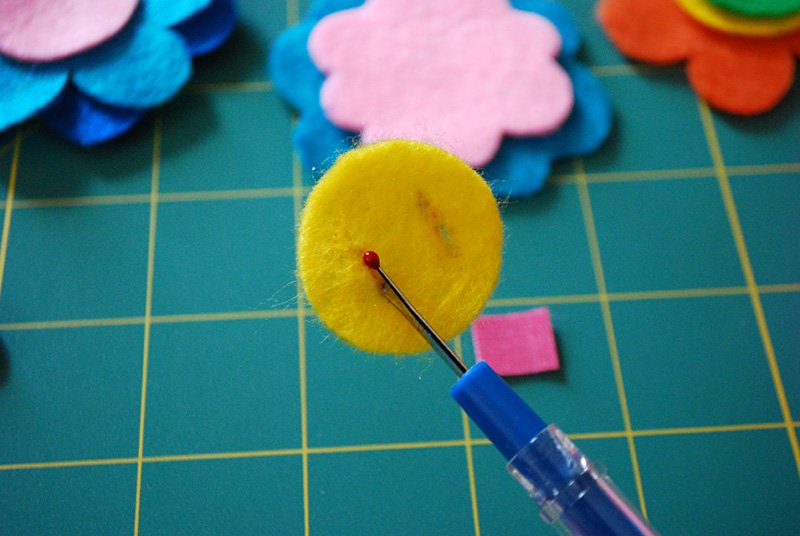 Repeat on your other flower pieces.
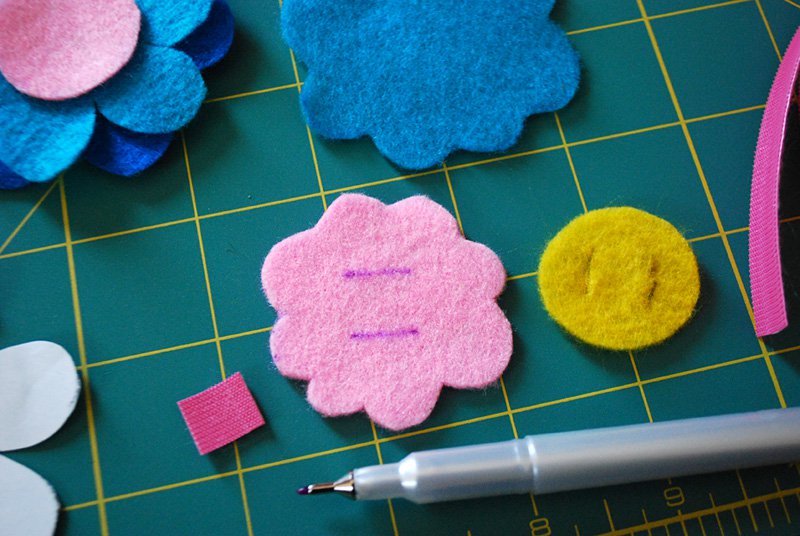 And here are three pieces ready to become a flower.
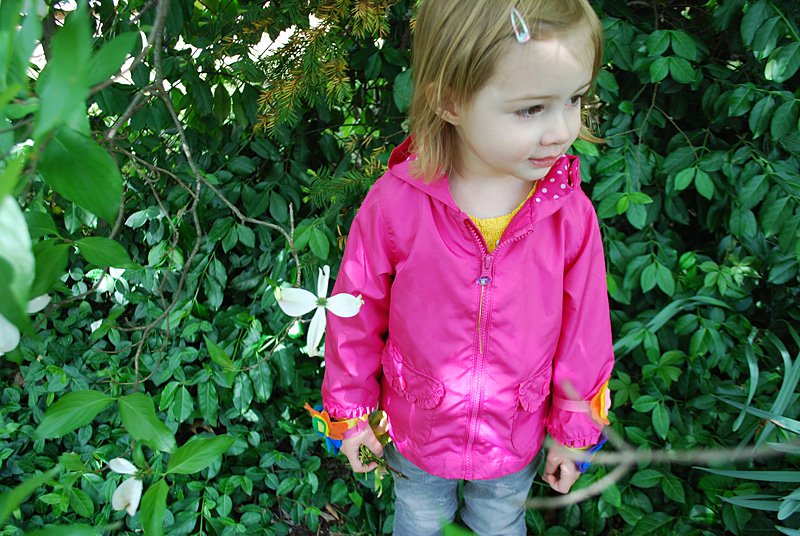
 Measure your wrist and add about 1.5″-2″ to it for threading through the flower and overlap to close on your wrist. This batch of flower bracelets were for my 2-year-old Elise.
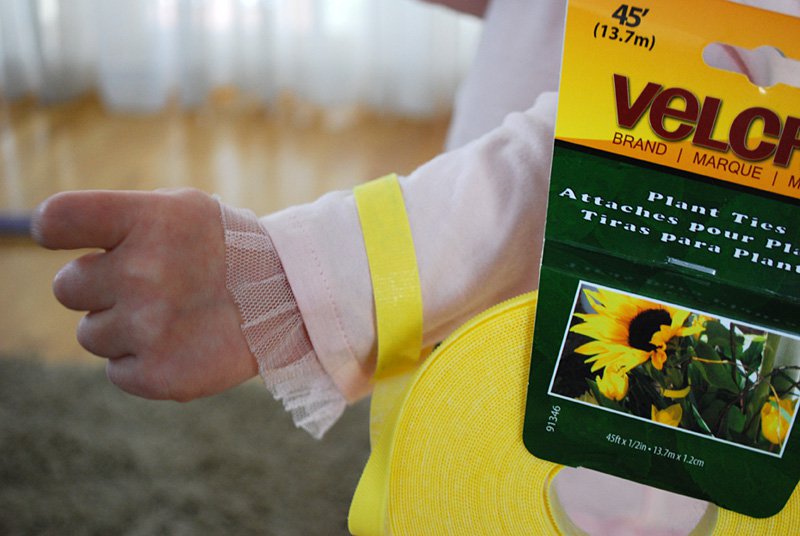 Cut a piece of VELCRO® plant tie to this length.
 Thread the end of the VELCRO® Plant Tie strip through the slit flower layers. Felt is naturally going to stick to the VELCRO® hook (scratchy) side, so when you thread it through, try to thread it so that the felt is touching the smooth side. Go slowly so to avoid tearing a bigger slit into your felt. Thread the flower onto the VELCRO® Plant Tie so that it’s almost in the middle of your Plant Tie — remember that you cut some extra for overlap so it should be slightly to one side.
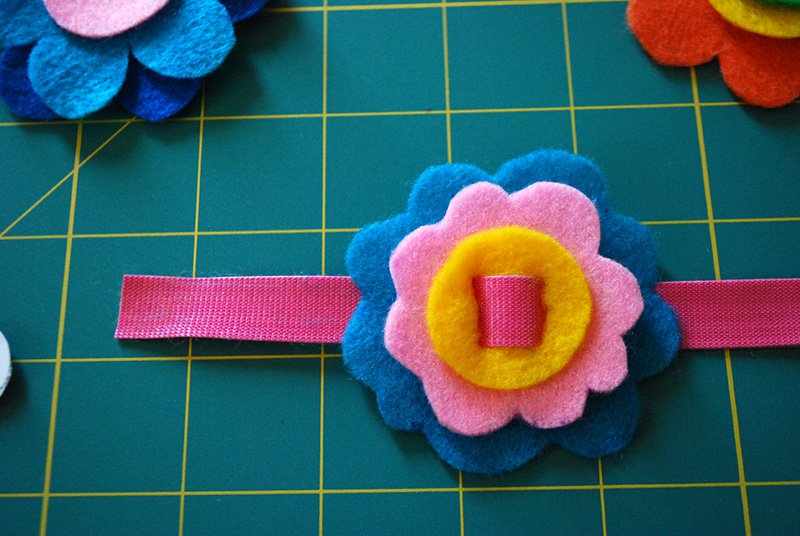
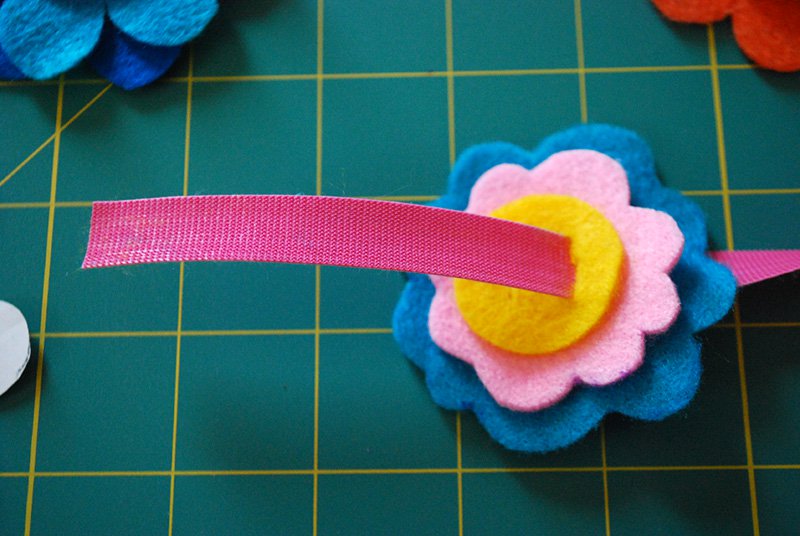 Now thread the end back through the other slit stack, which will make a cute little color in the middle of your flower. You can either try to match the color to your flower middle or choose a cute contrasting color. Now just wrap the felt flower bracelet around your wrist and overlap the VELCRO® Plant Tie to close. You can snip off any extra as needed.
![How to make Easy DIY felt flower bracelets free no-sew pattern. Cute spring and summer craft activity to do with kids! [spring craft ideas| summer craft ideas | kids craft ideas | Easter craft for kids | no-sew crafts | felt crafts | DIY jewelry] How to make Easy DIY felt flower bracelets free no-sew pattern. Cute spring and summer craft activity to do with kids! [spring craft ideas| summer craft ideas | kids craft ideas | Easter craft for kids | no-sew crafts | felt crafts | DIY jewelry]](http://www.merrimentdesign.com/images/easy-diy-no-sew-felt-flower-bracelets-free-pattern-2-1024x686.jpg)


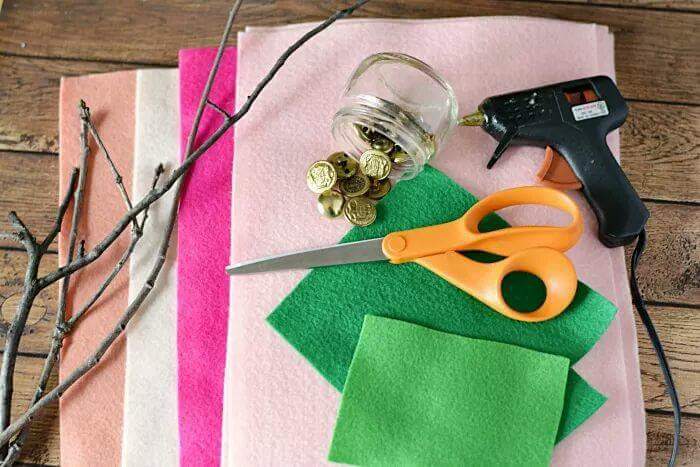
 Required Material:
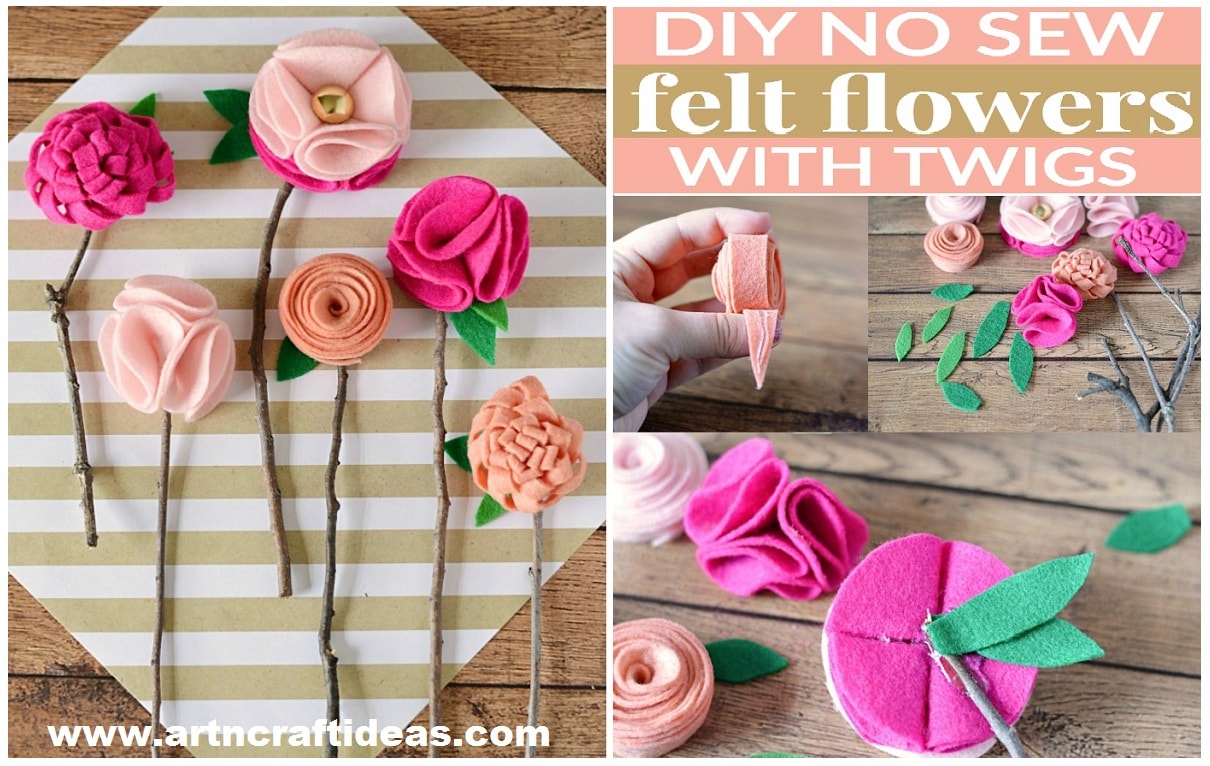
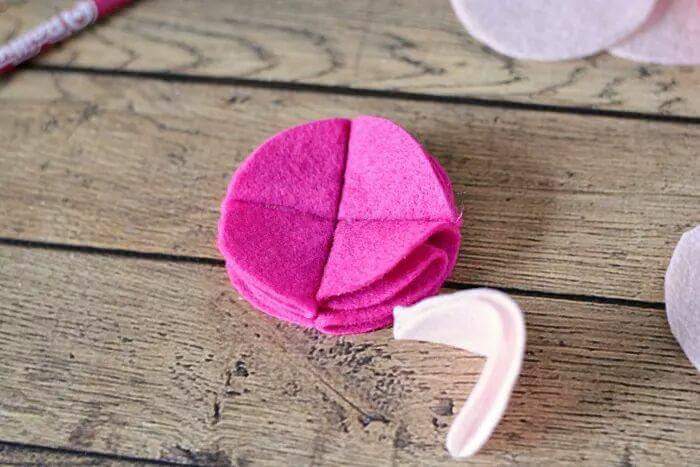
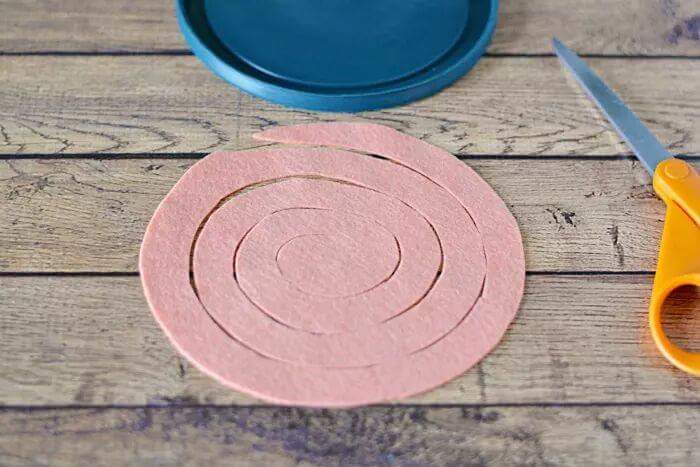
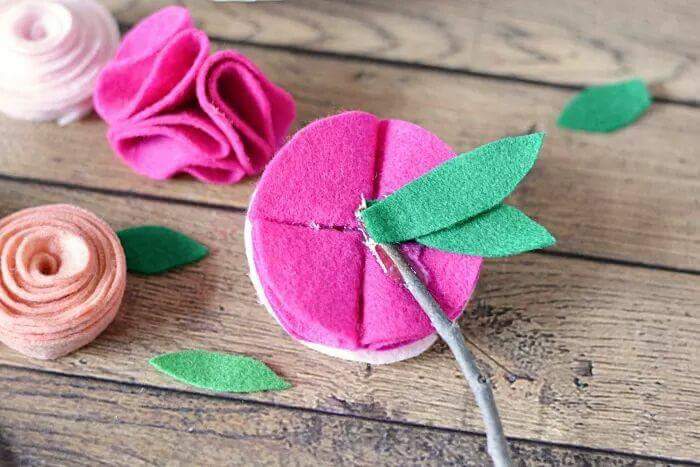
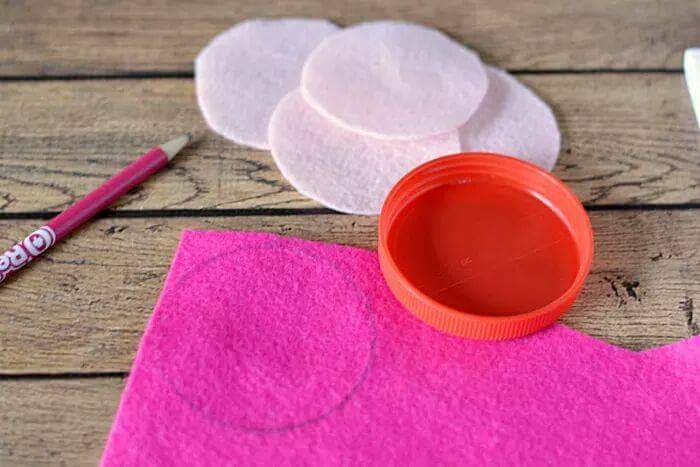 Fold the circle in half and in half again to create a quarter circle. Apply hot glue to the folded edges of one circle and attach it to the folded edge of another circle. Repeat until all four quarter circles are connected to create one circle.
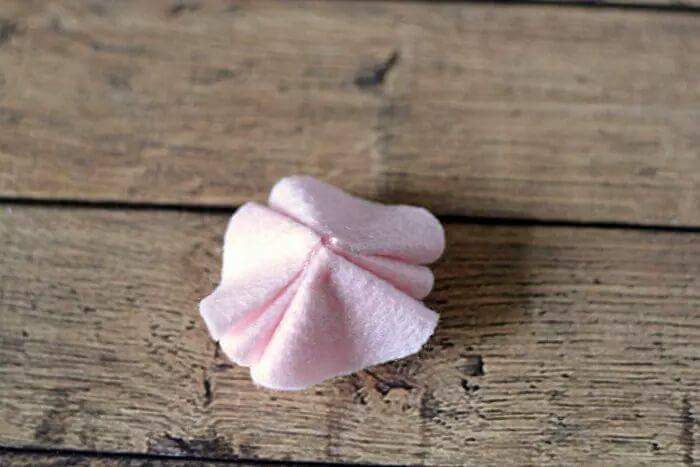
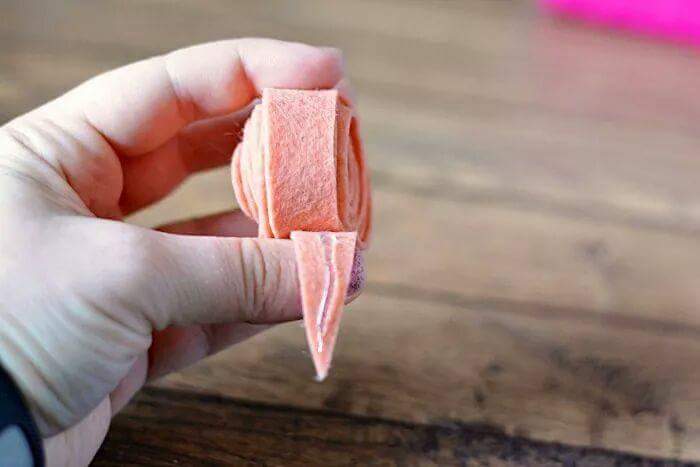
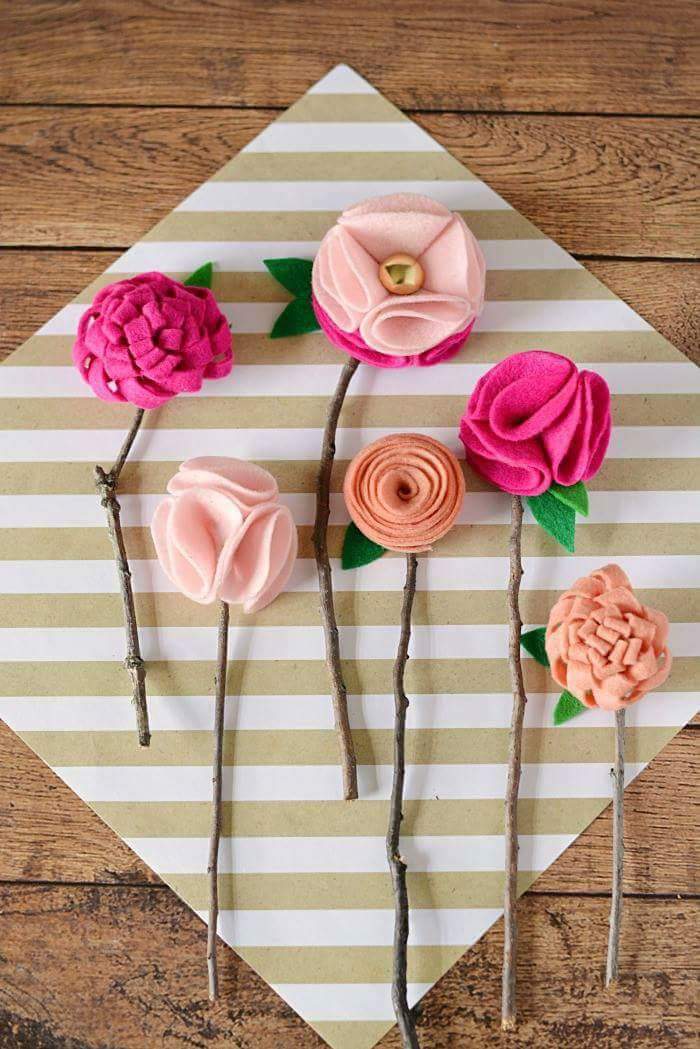
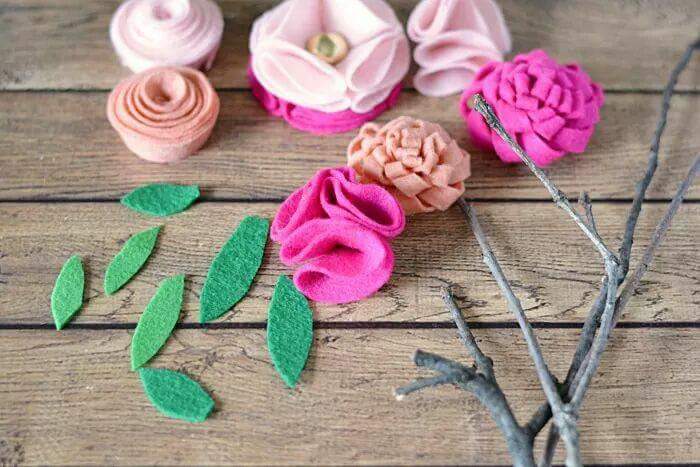 Fold 9×2 or 12×2.5 rectangle in half lengthwise. Like a hot dog bun. Cut slits into the fold. About 3/8″ apart but not going all the way through the fold. Kind of like making fringe. But it’s on the fold.
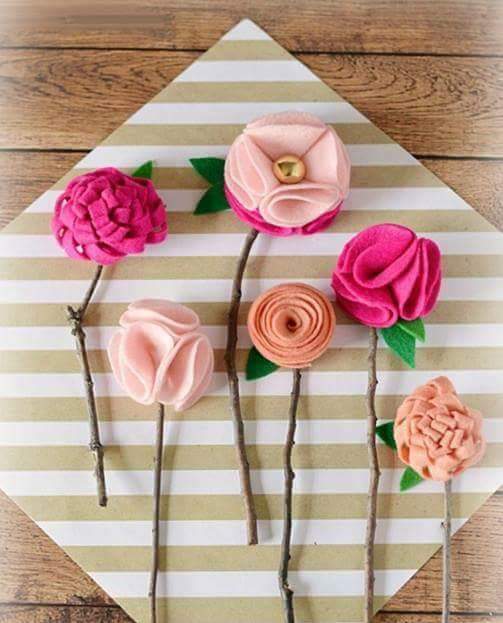
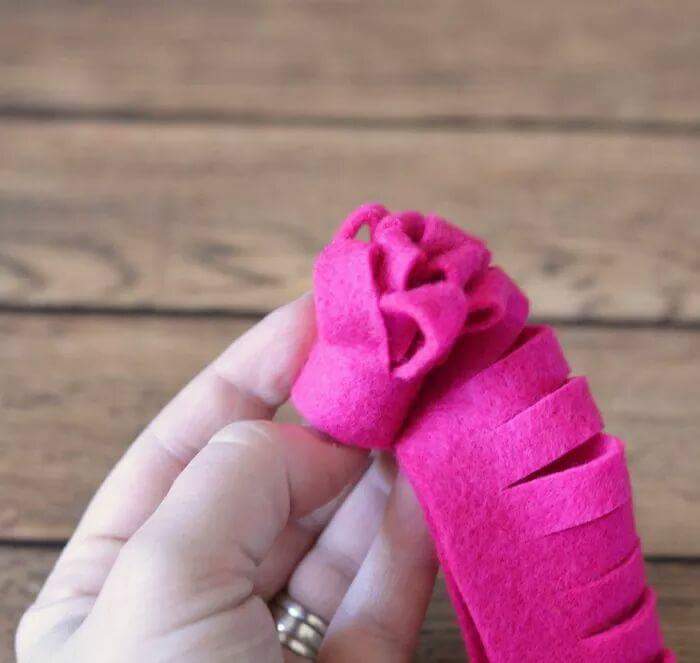 When finished making flowers, cut out leaf shapes. Affix to flowers with hot glue. Add stick stems.
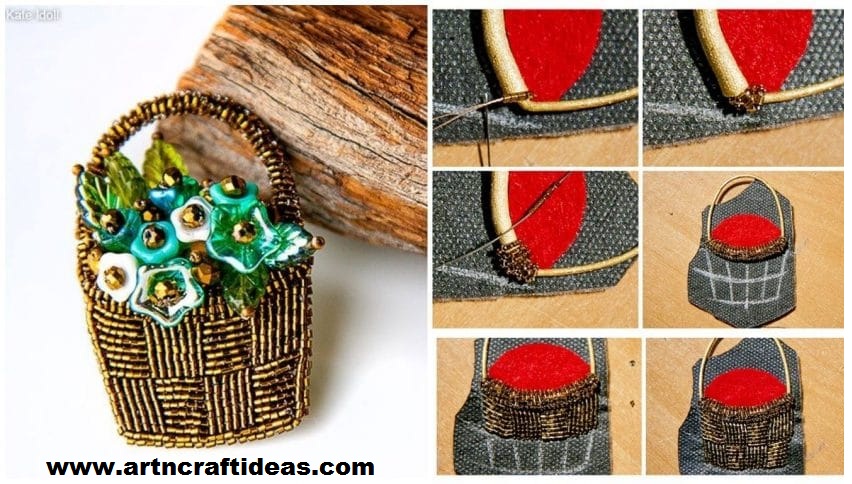
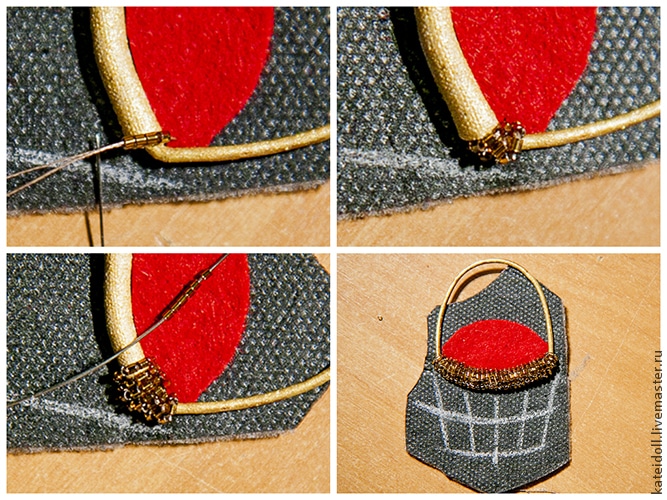
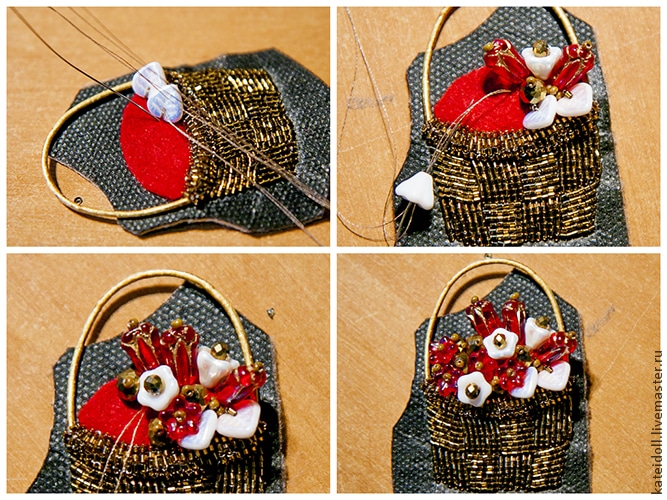
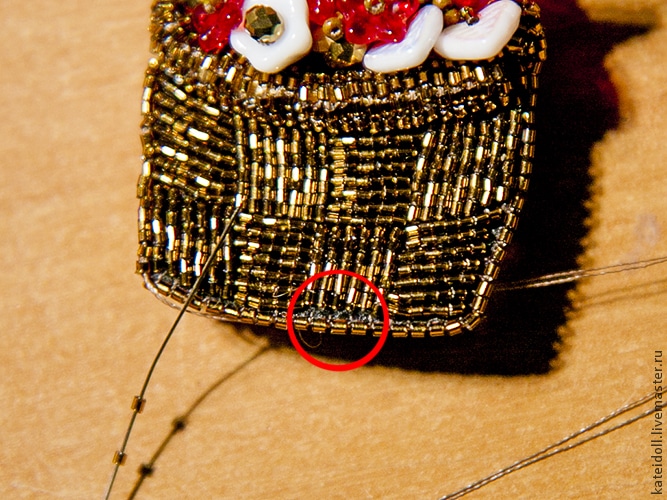
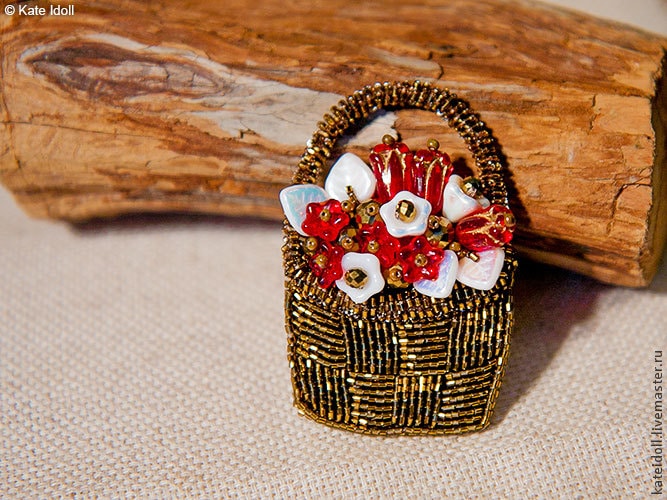
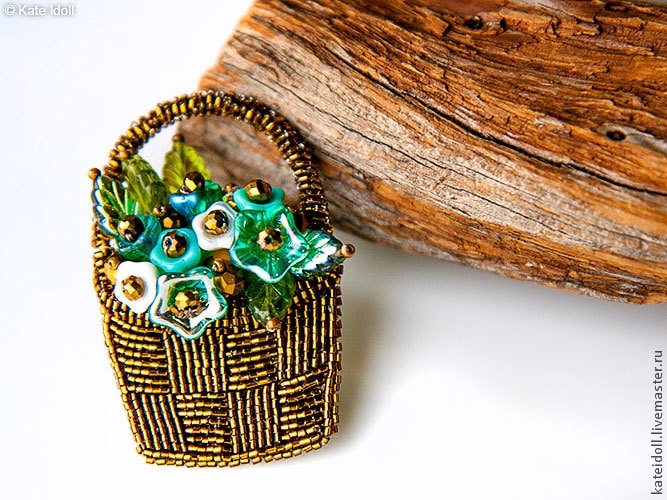
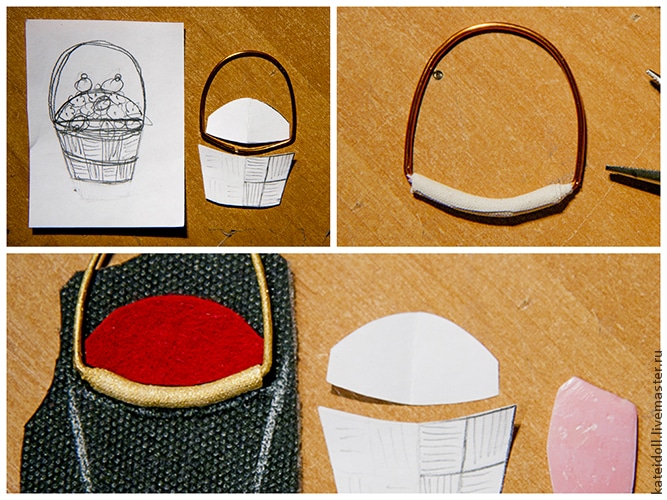 Sheathe small beads basket handle, starting from the bottom corner ledge surround is obtained
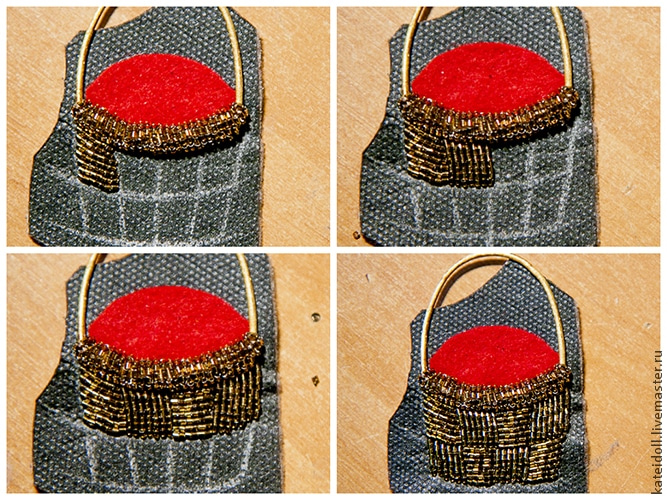 Now fill the basket leaves, flowers and crystal beads
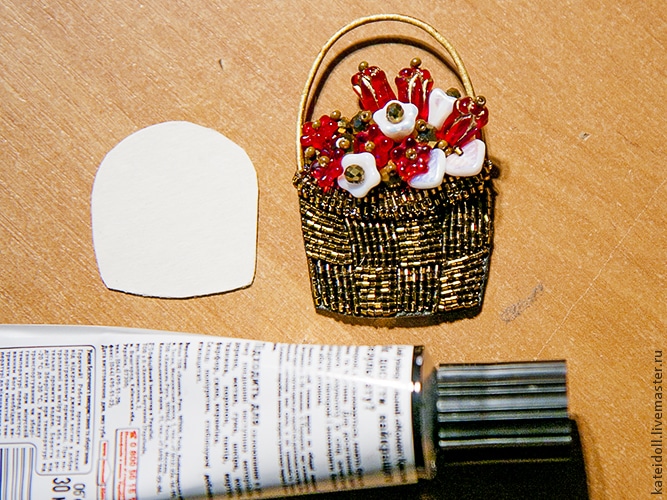
 Carefully cut off the excess felt. Sticking a piece of cardboard inside out – for rigidity.
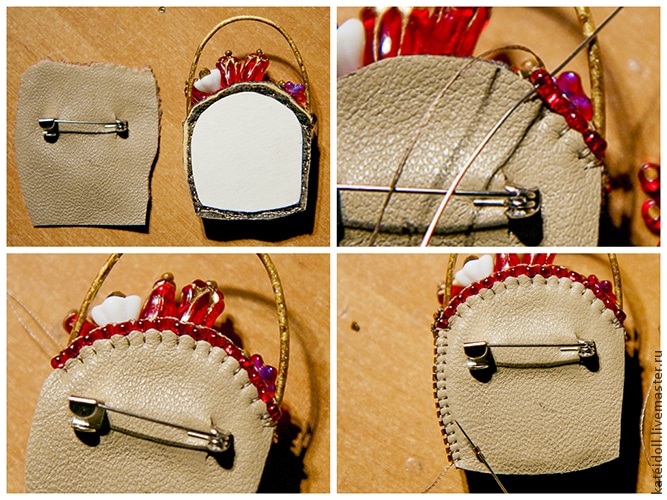

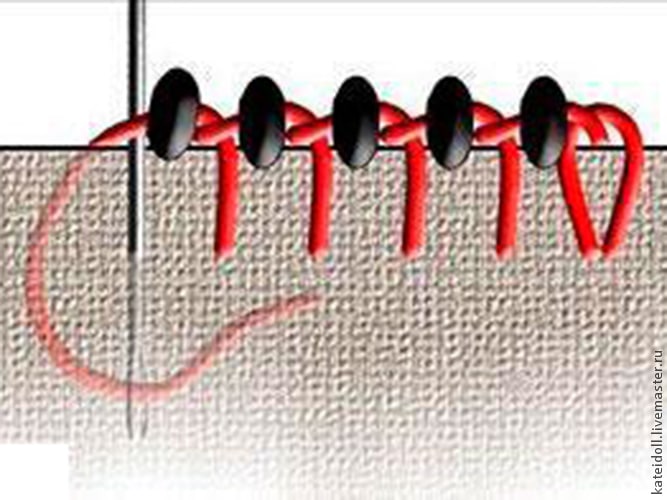 Between embroidery and edge I stayed clearance.
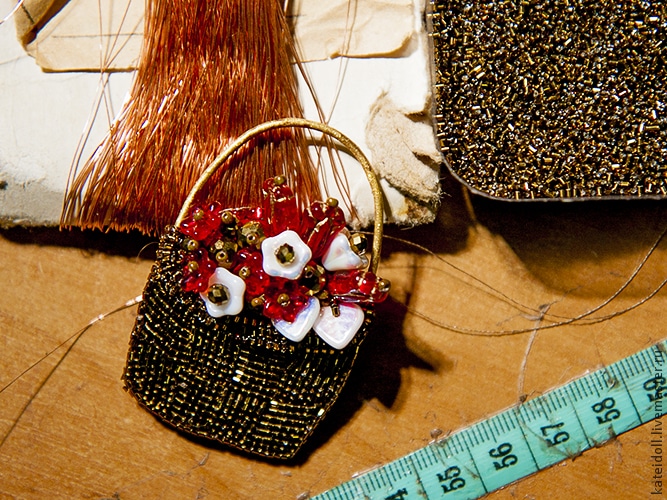
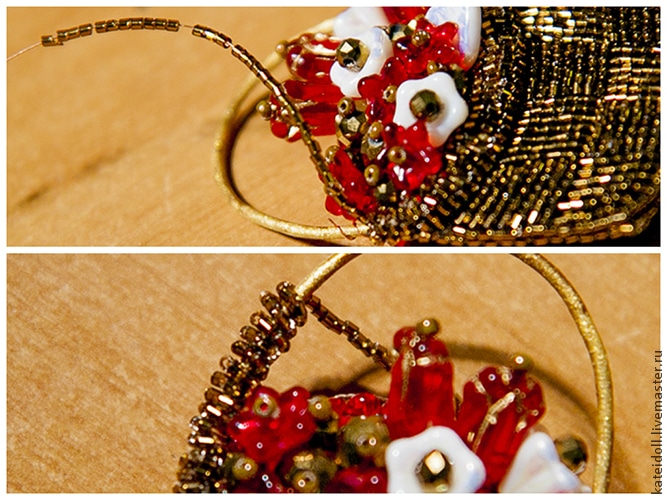 And the final touch – add a few leaves on top.
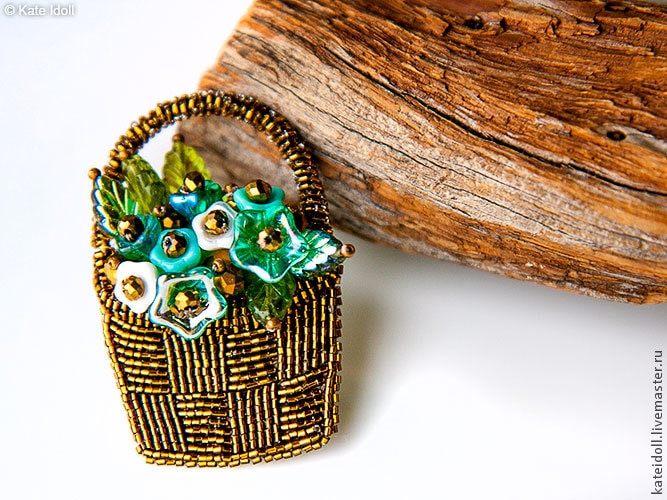
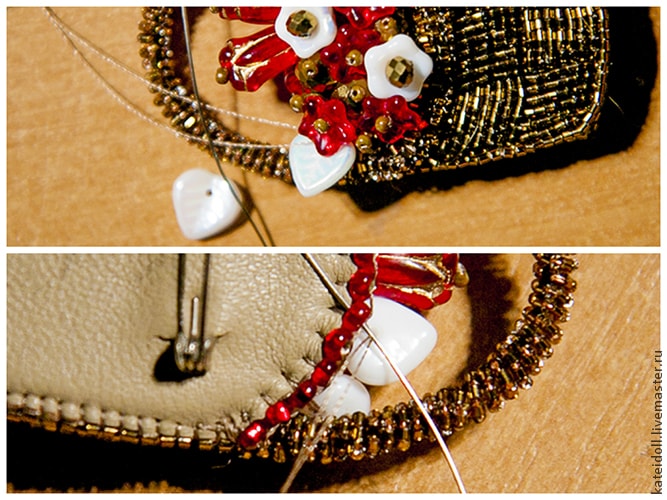 Brooch ready.
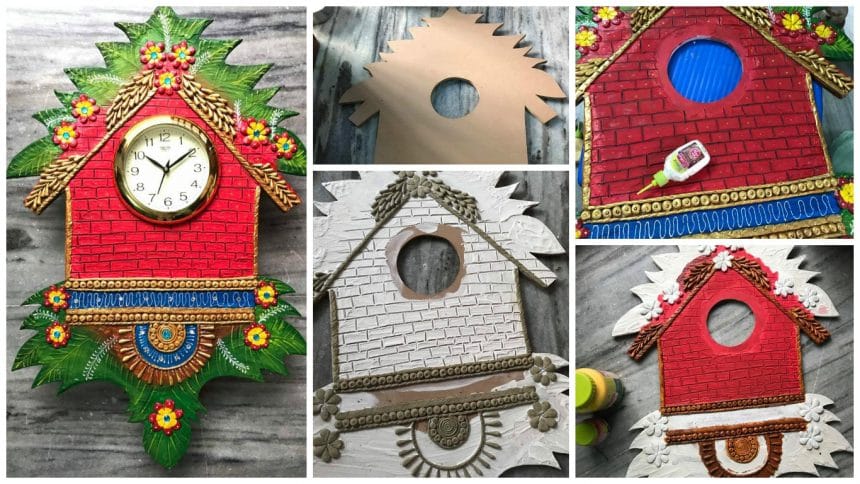
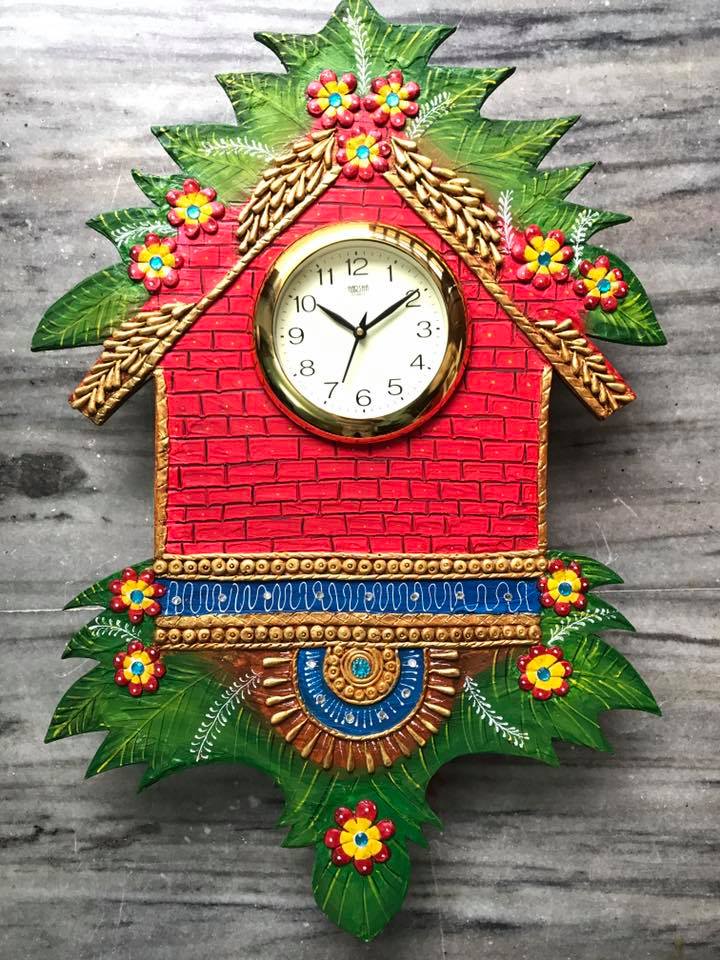 Take the desired clock base
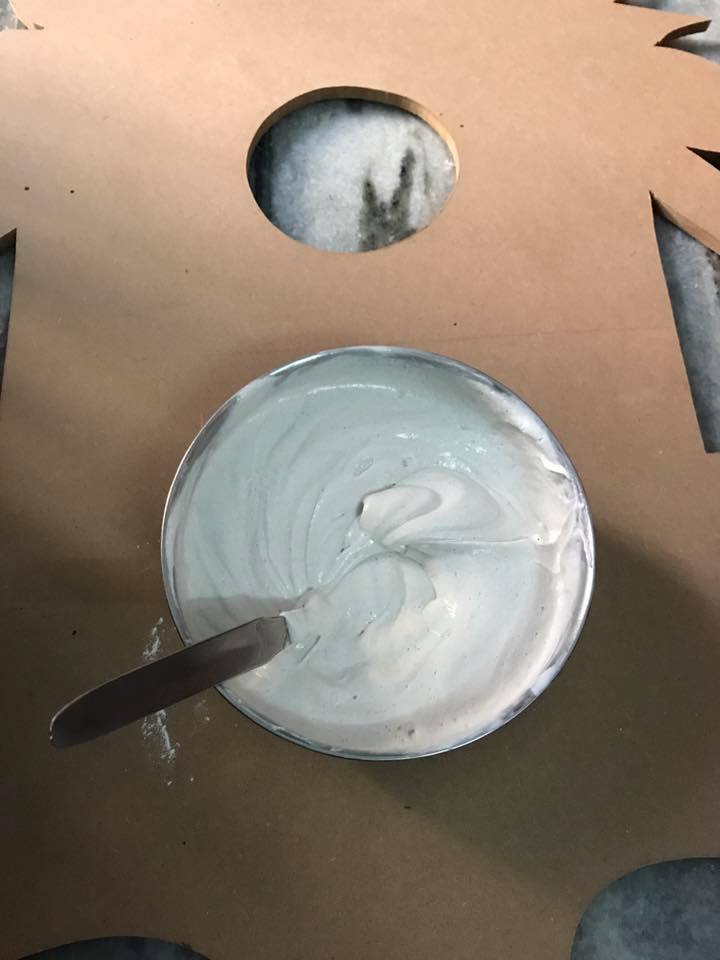
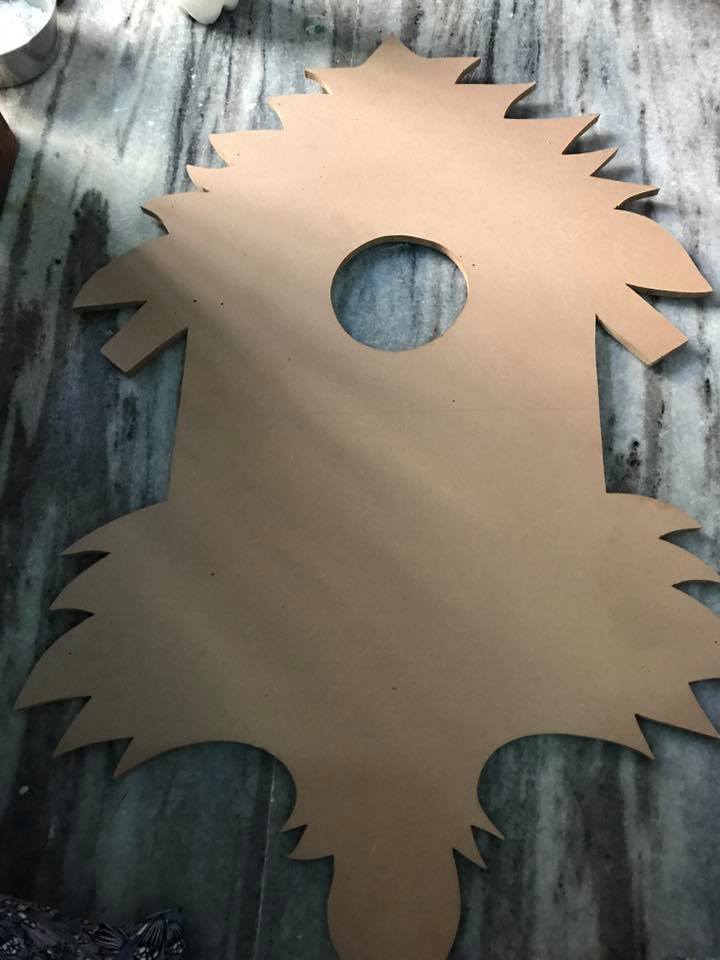 Prepare marble powder mixture
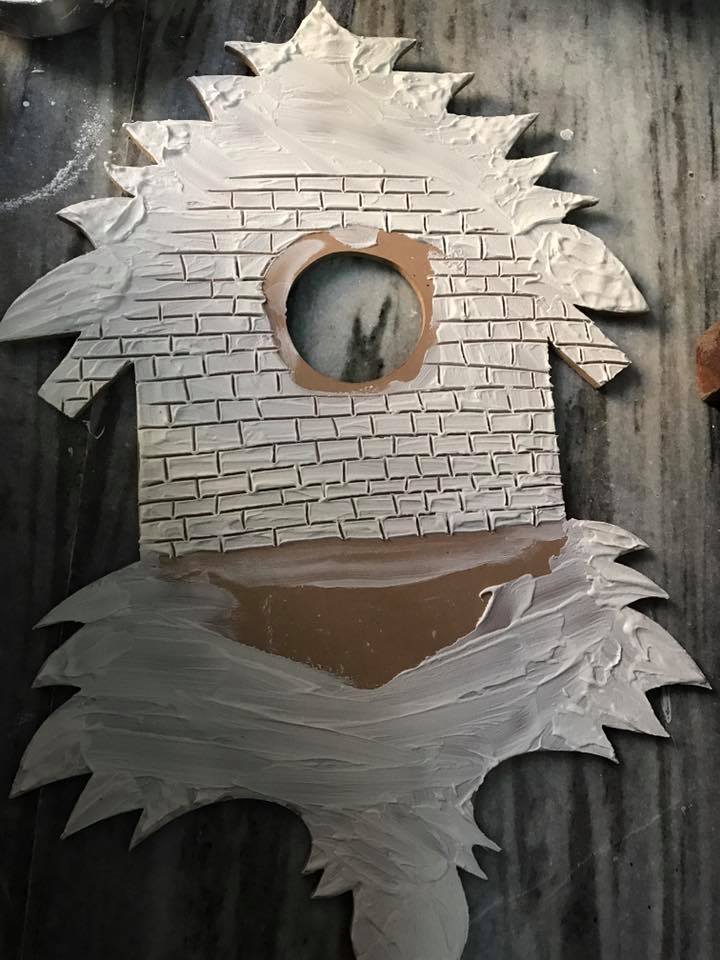
 Apply the mixture and give texture
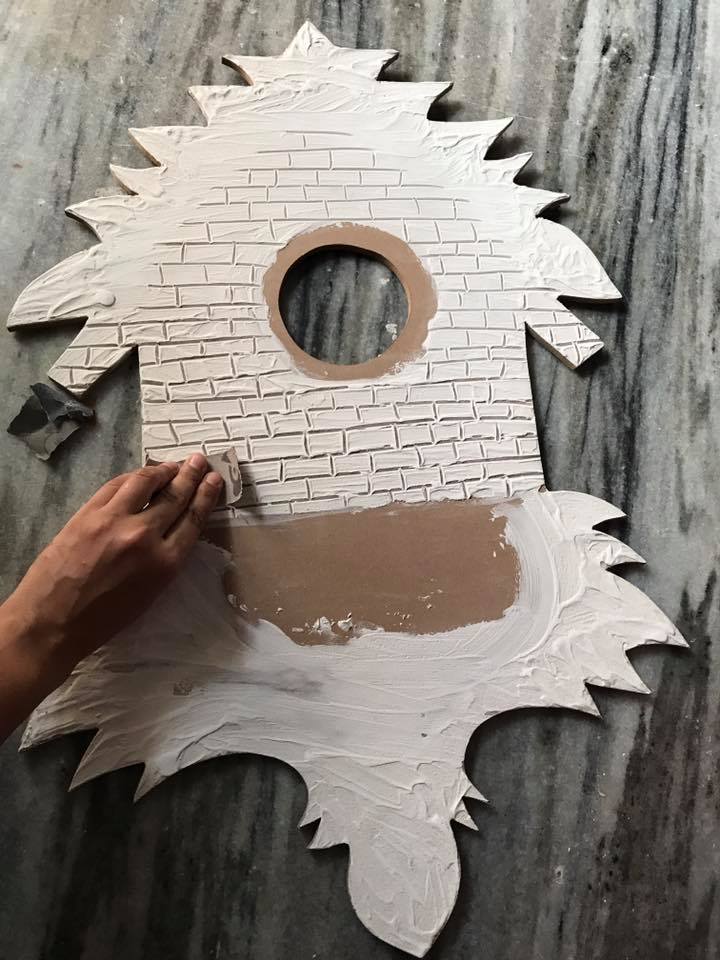
 After it dries smoother the surface by a sand paper
 Make design with paper mache
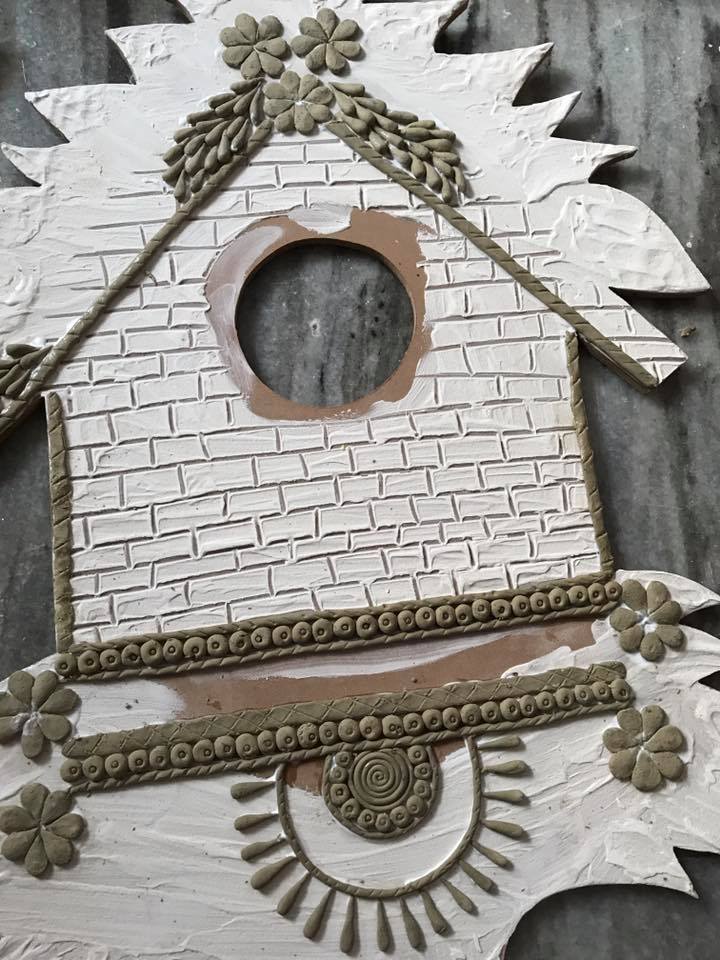 Apply primer on clay
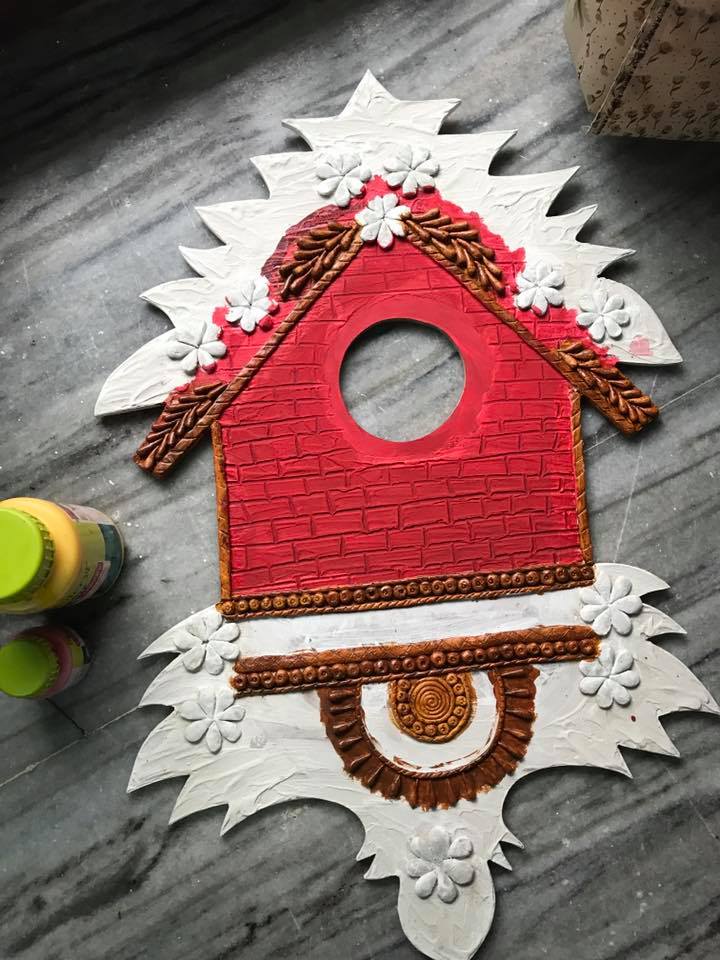
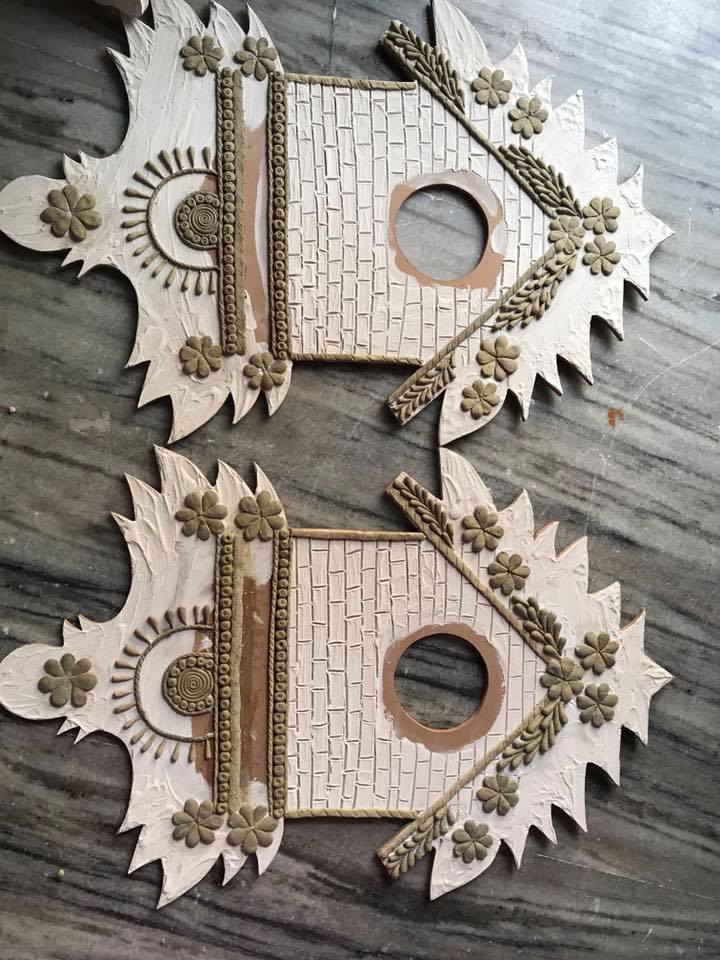 Add base colour
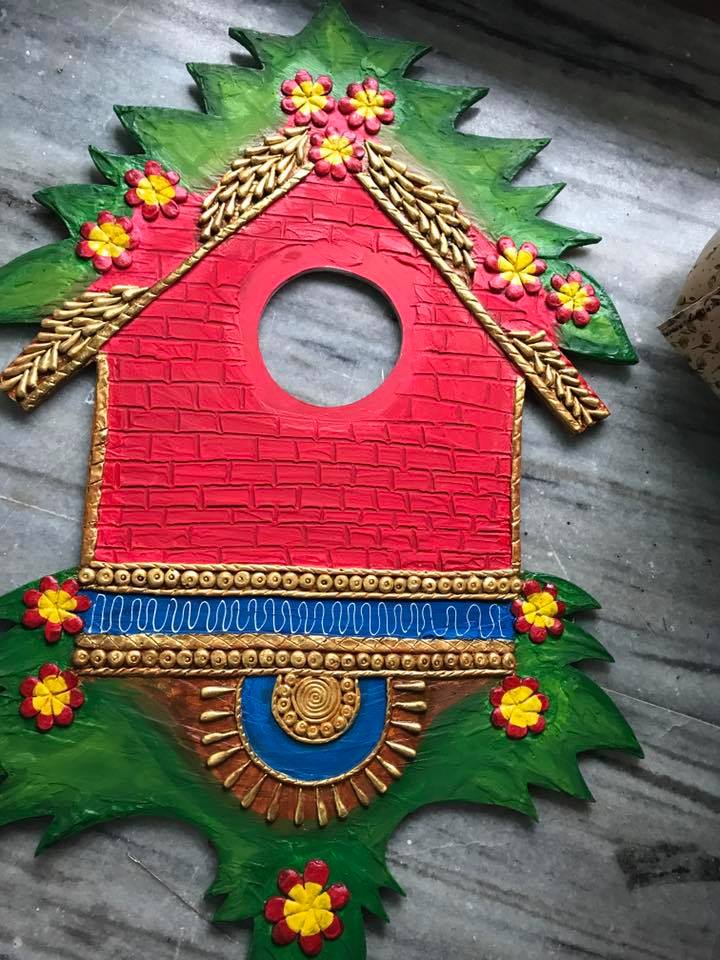 Do the details by outliner
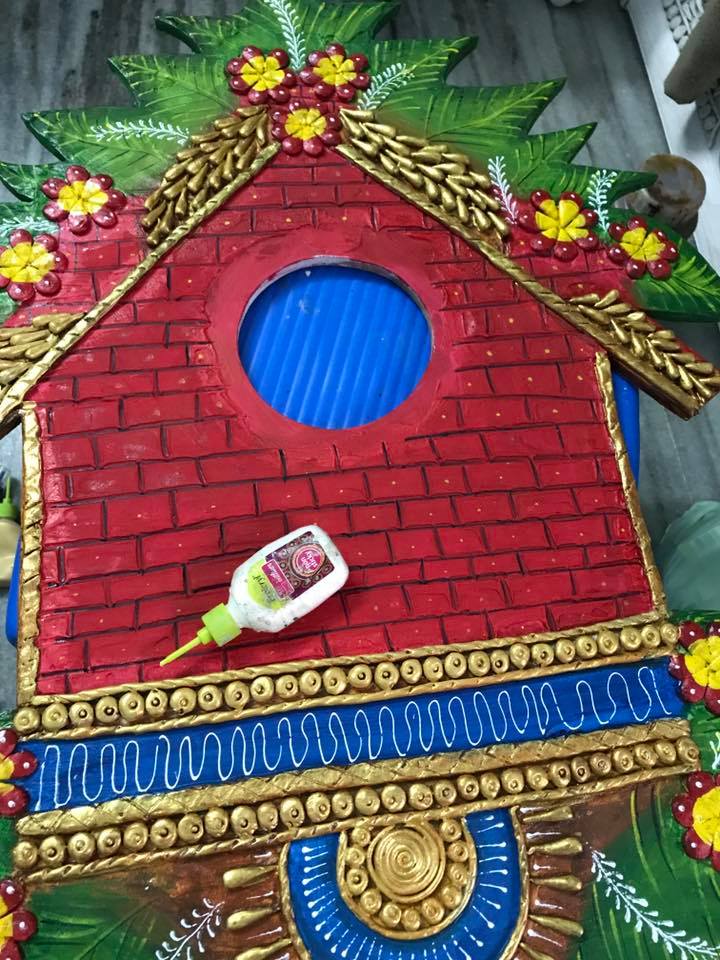 Apply varnish
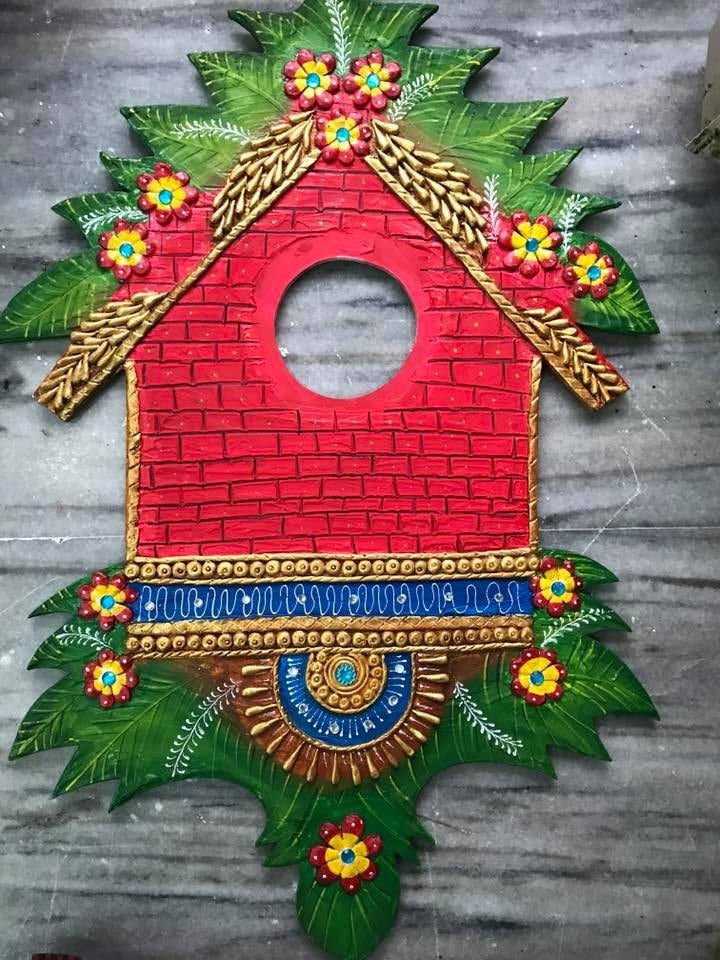 Paste the clock on the board
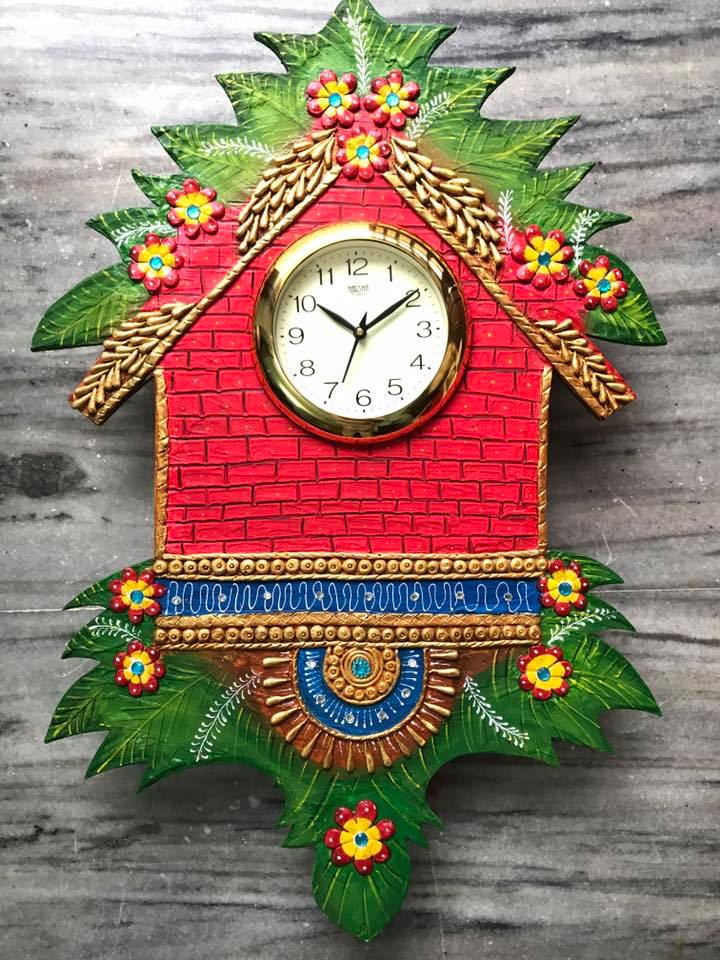
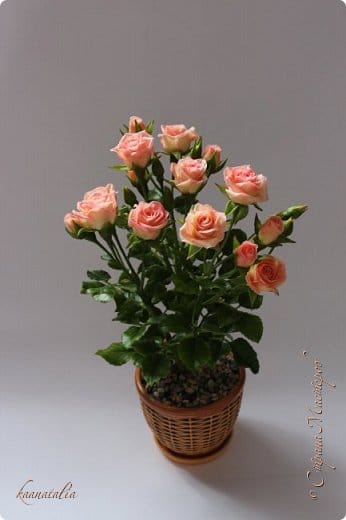
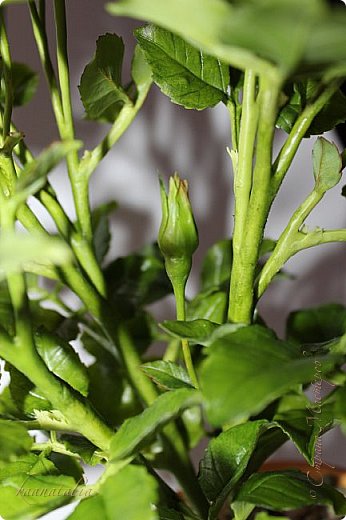
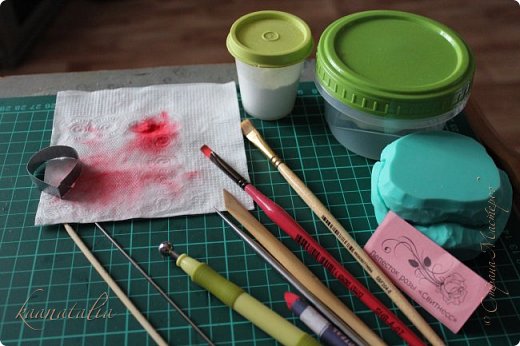
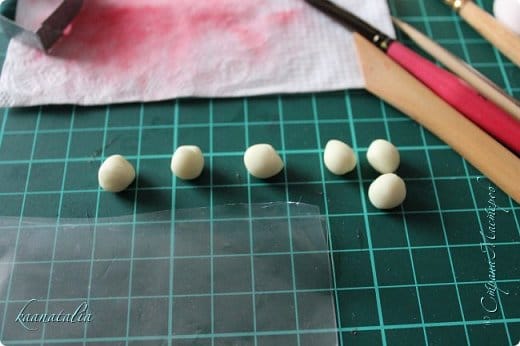
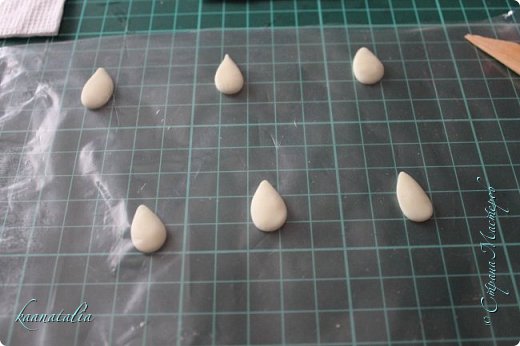
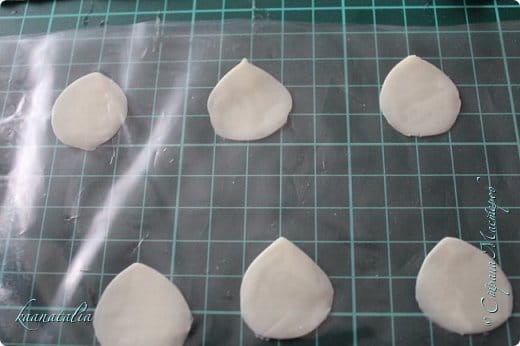
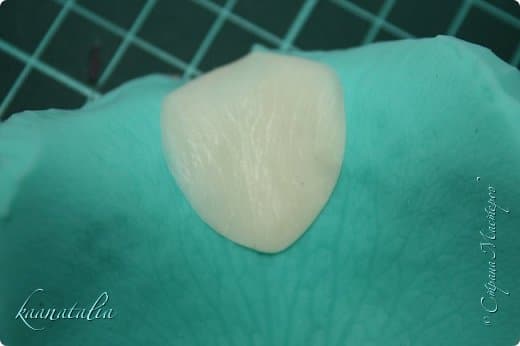
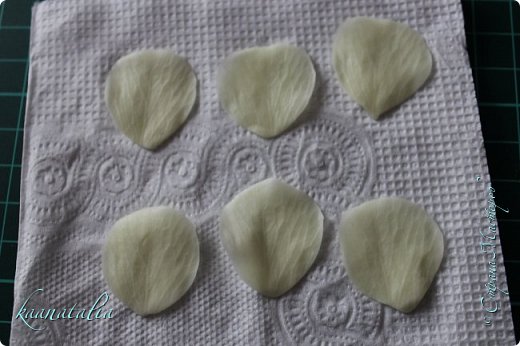
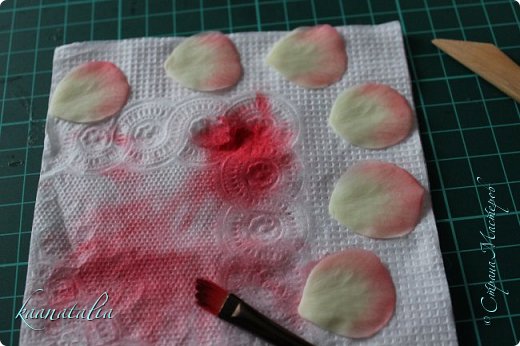
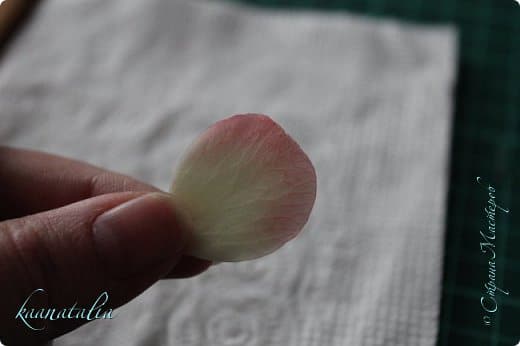
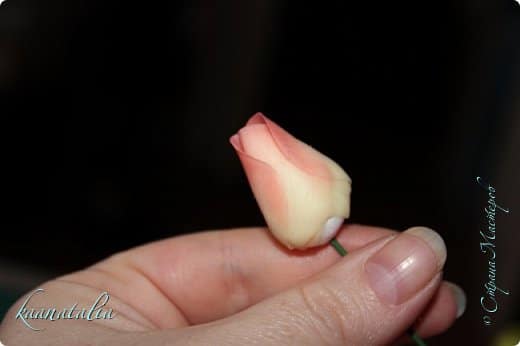
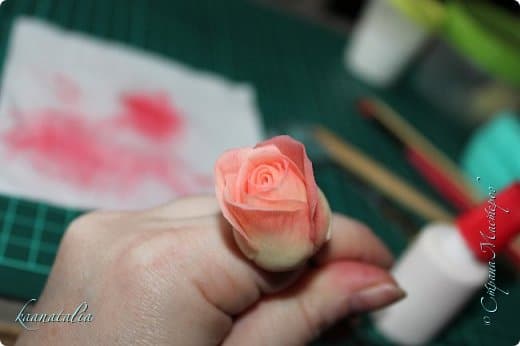
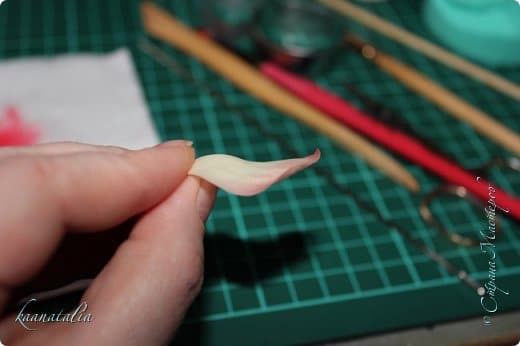
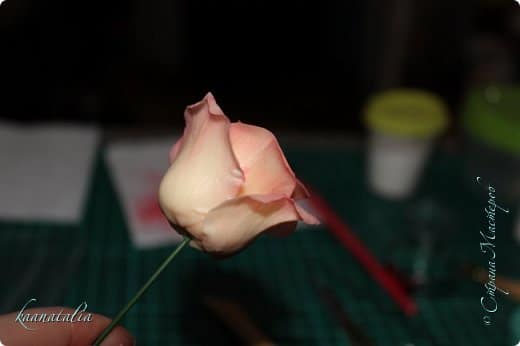
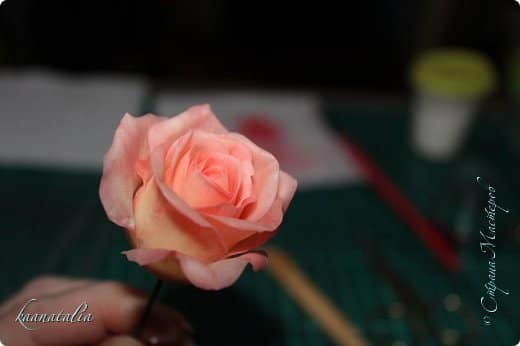
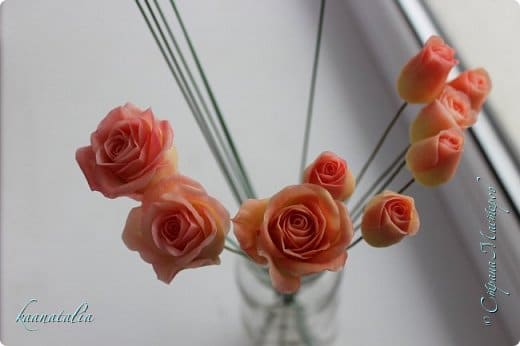
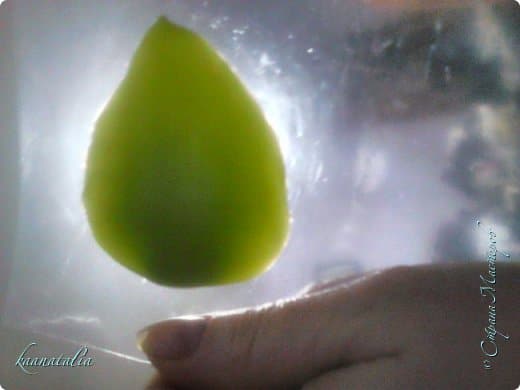
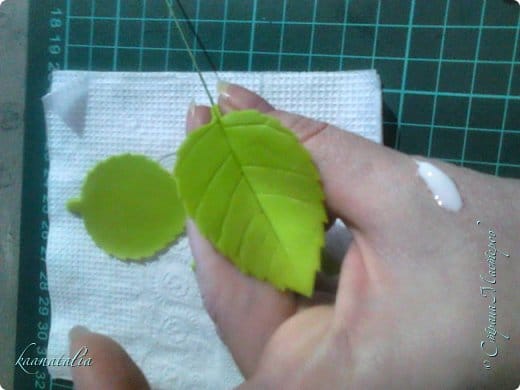
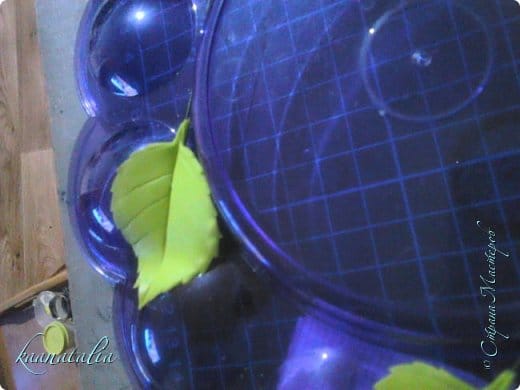
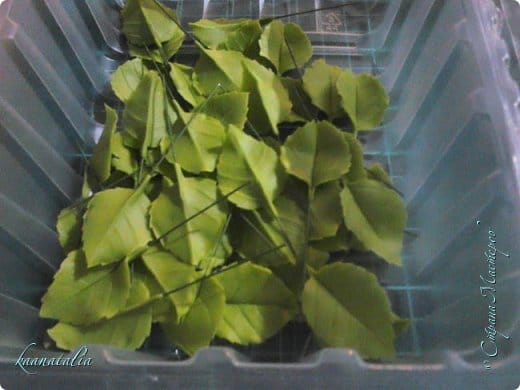
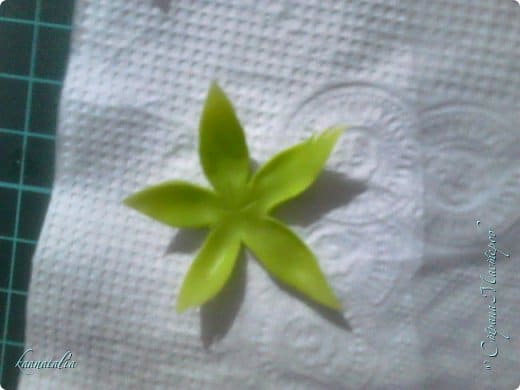
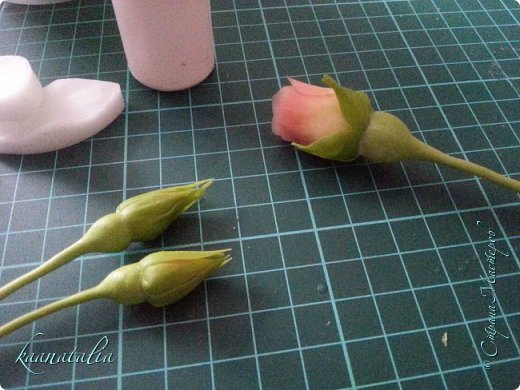
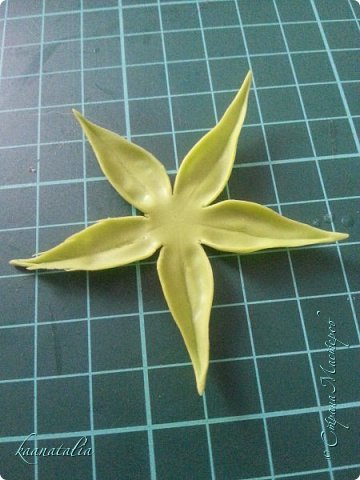
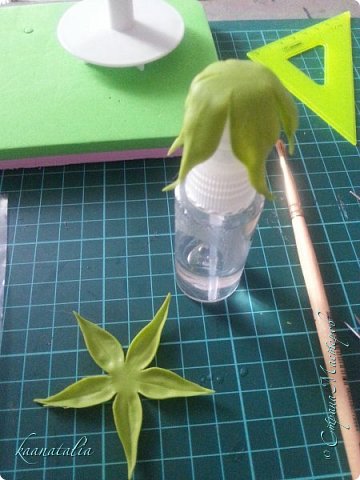
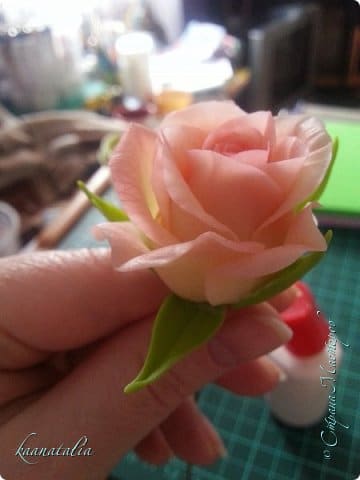
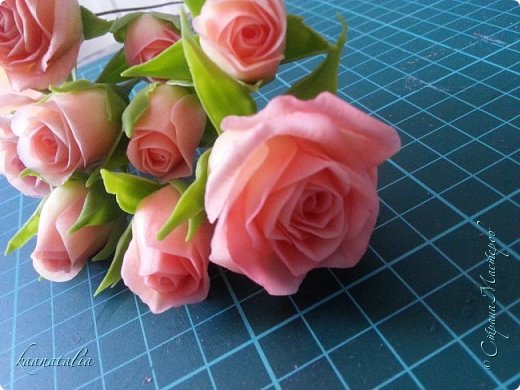
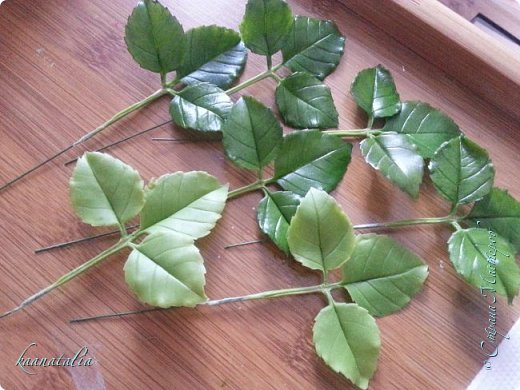
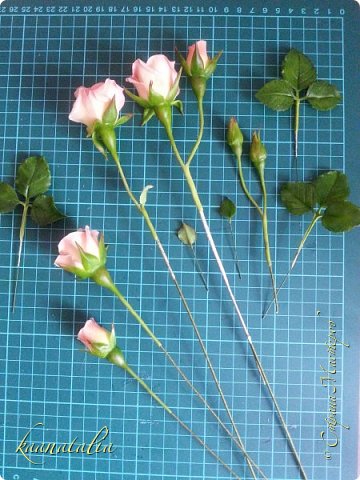
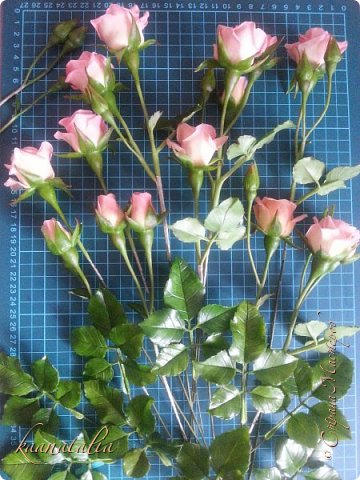
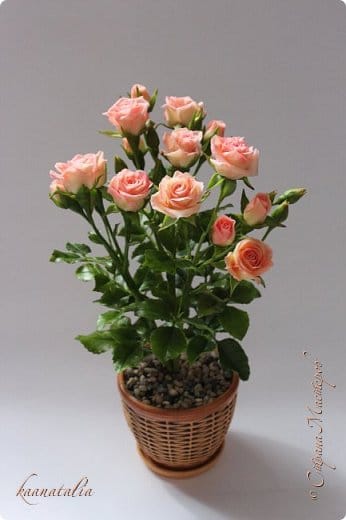
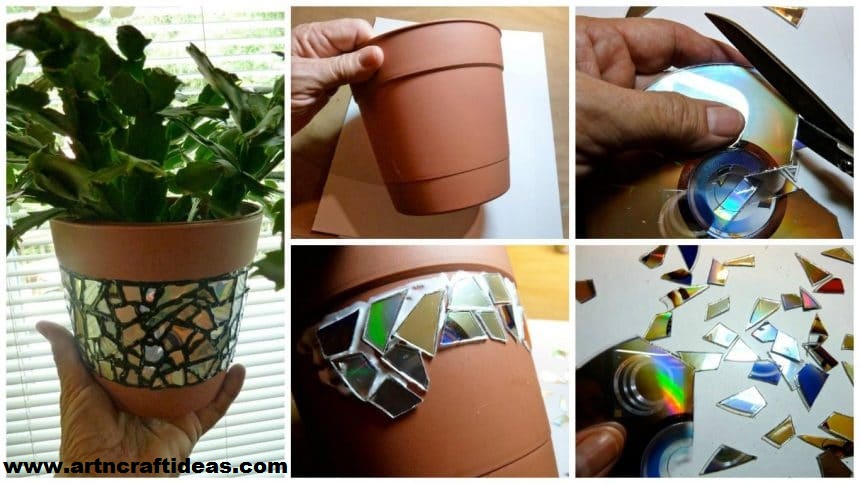
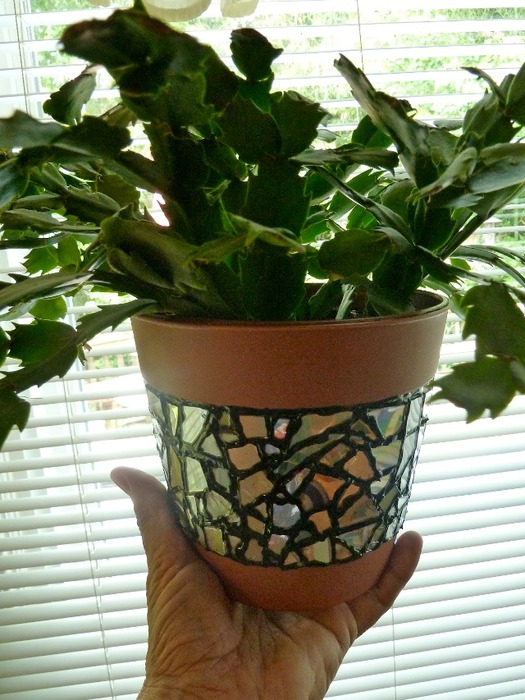
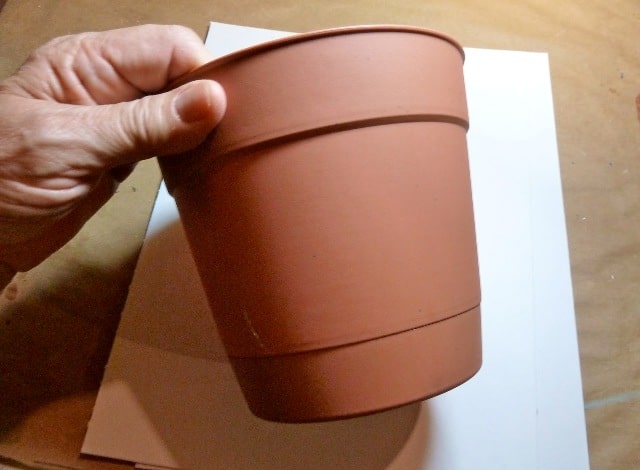
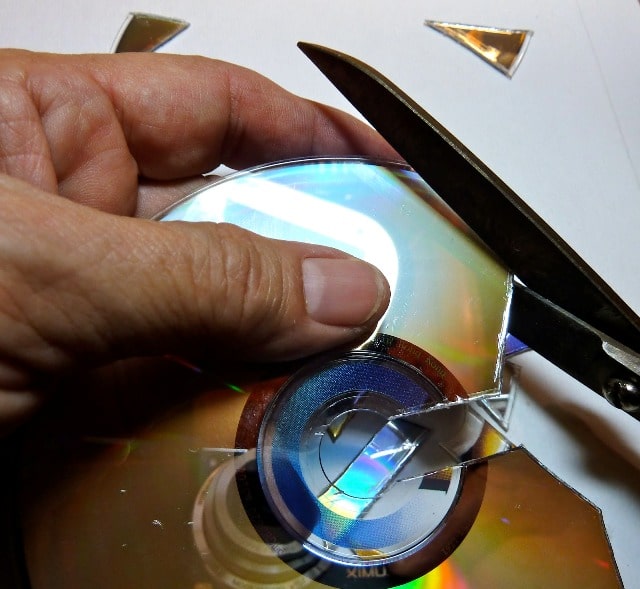
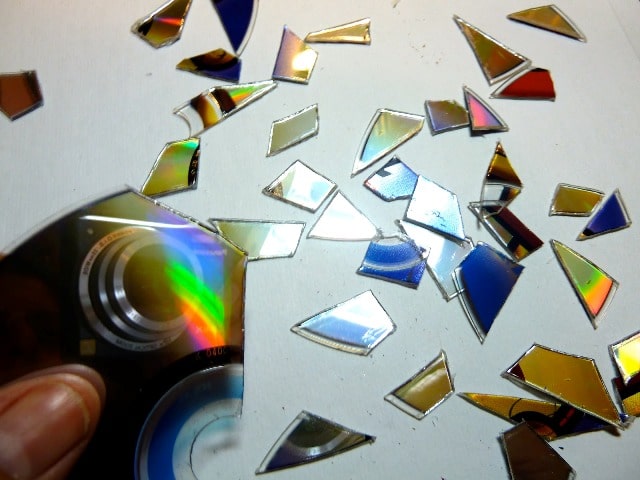
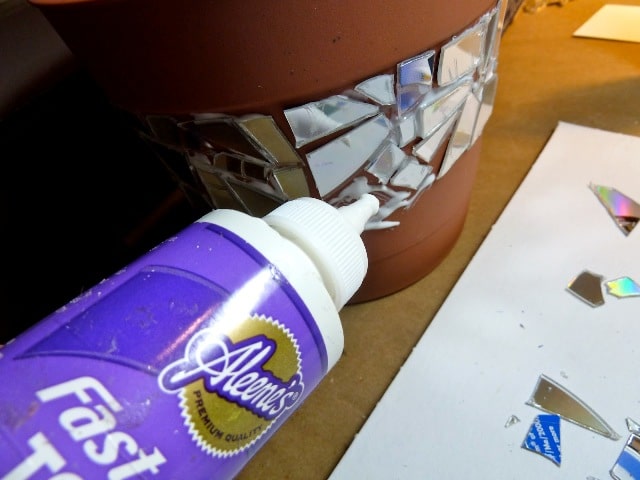
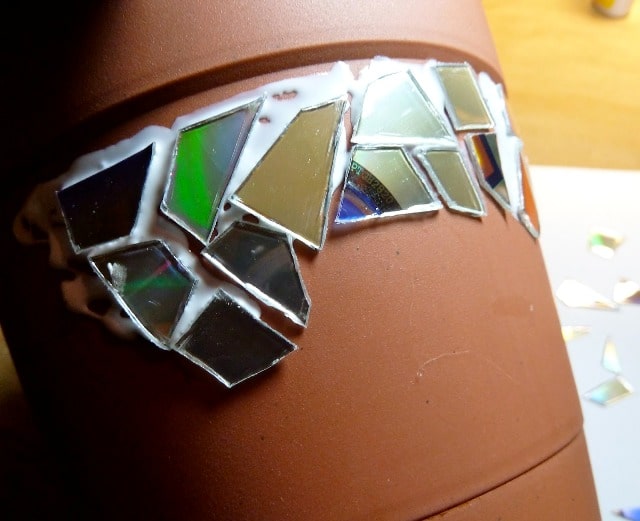
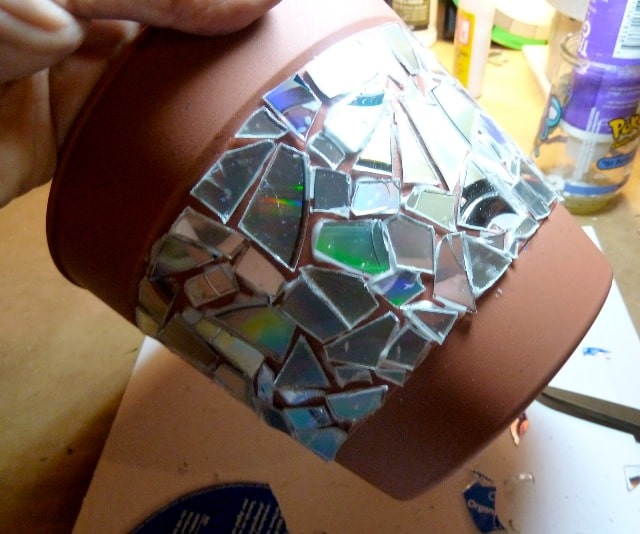
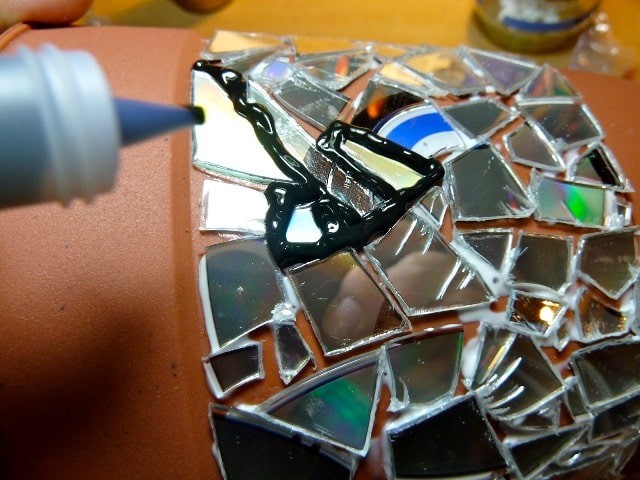
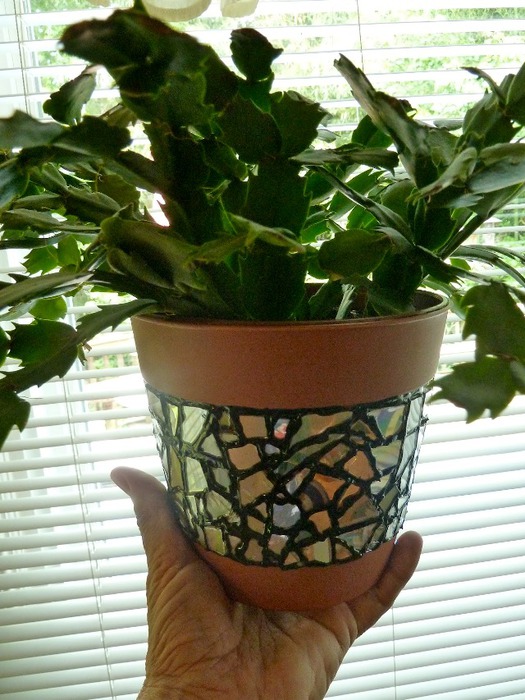
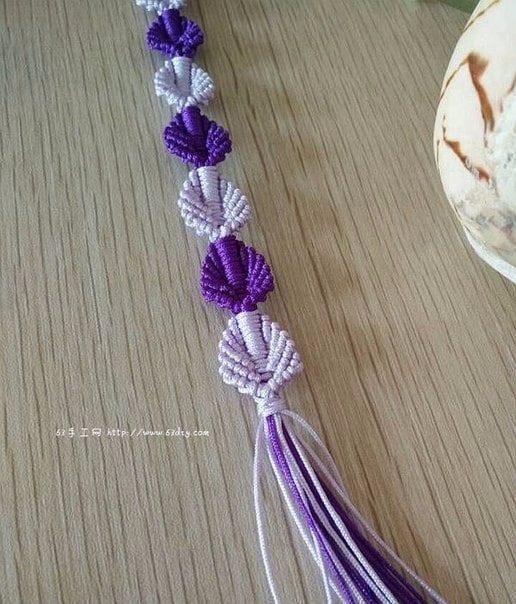
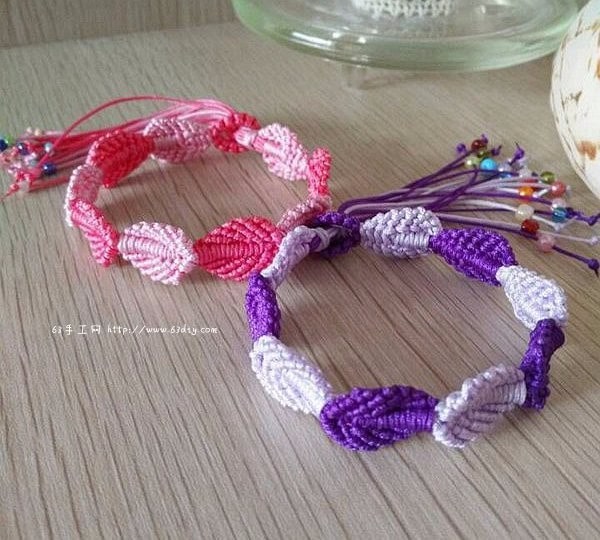
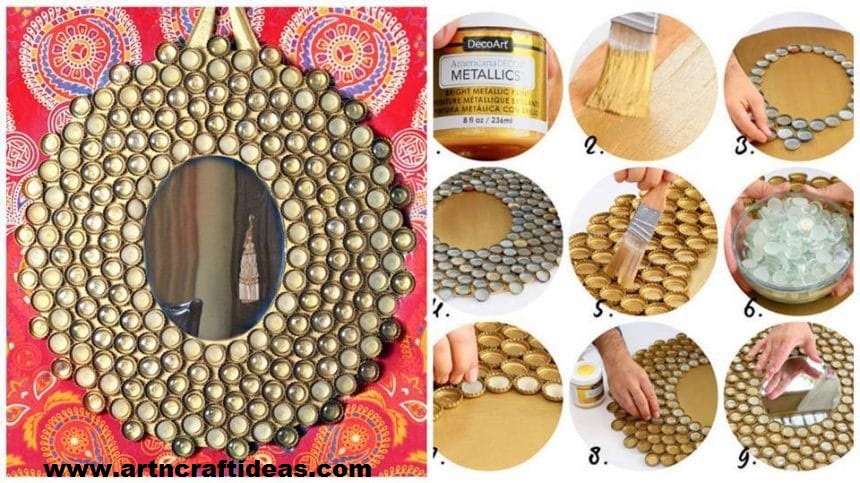
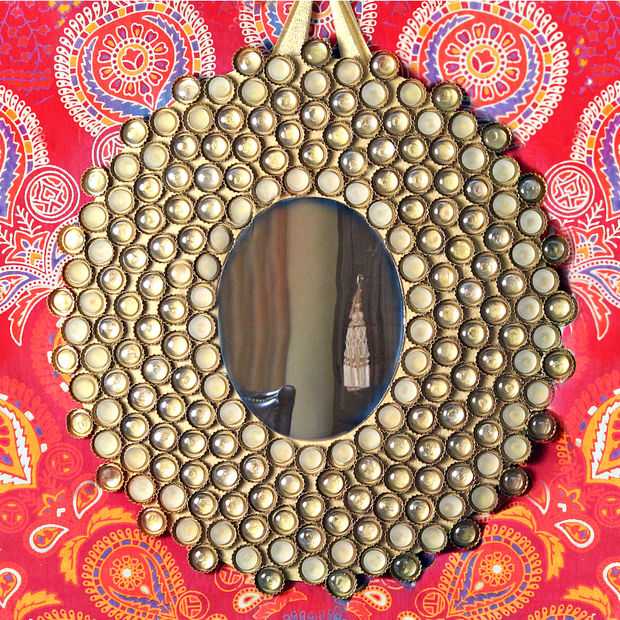
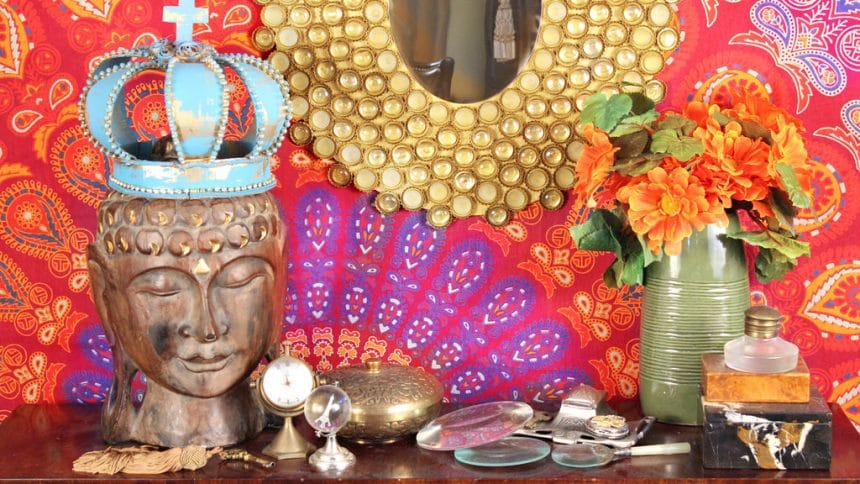 Required Material:
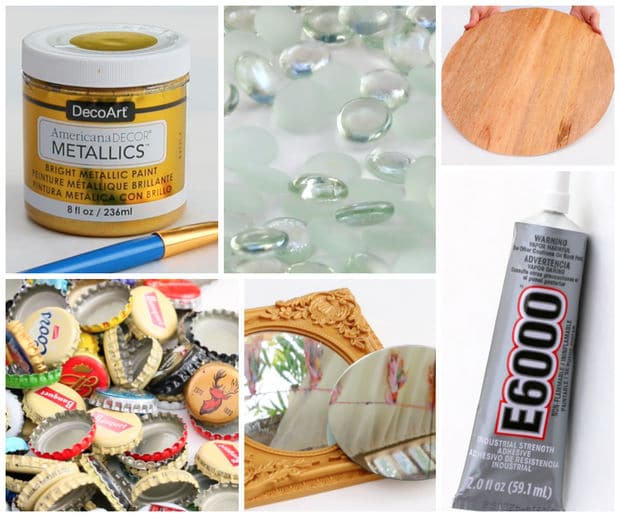
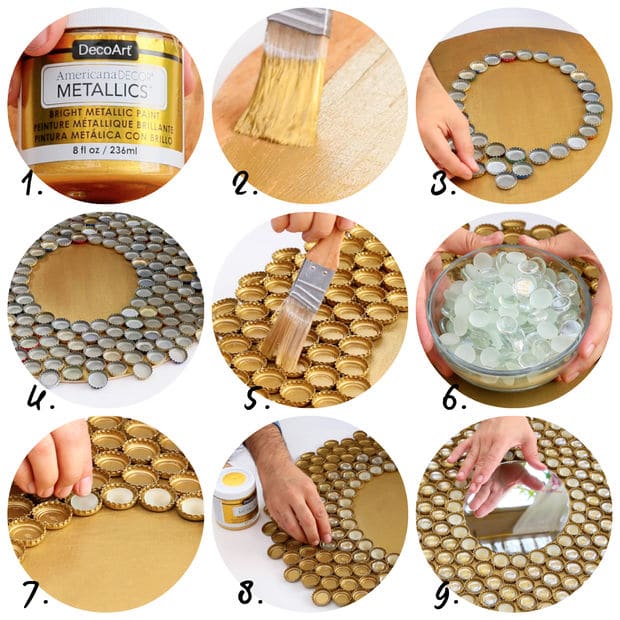
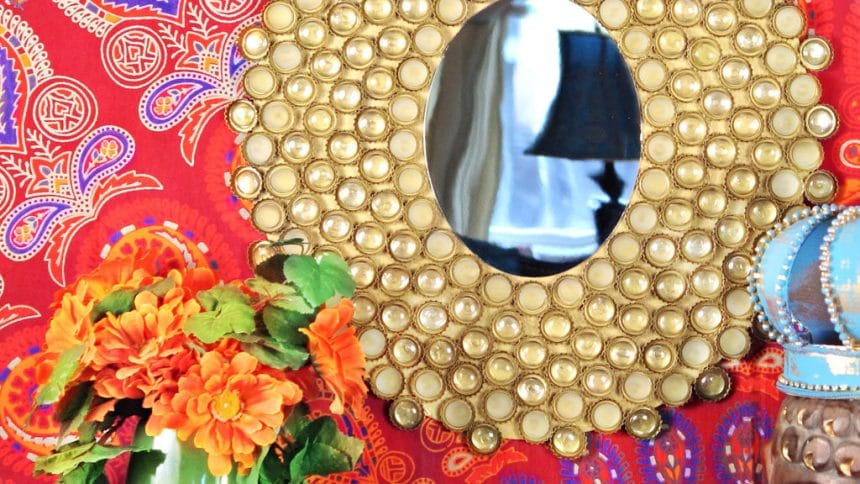
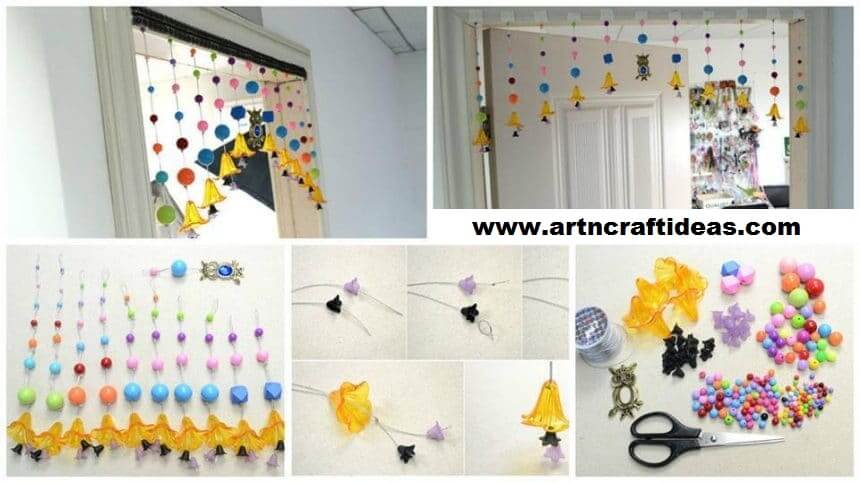
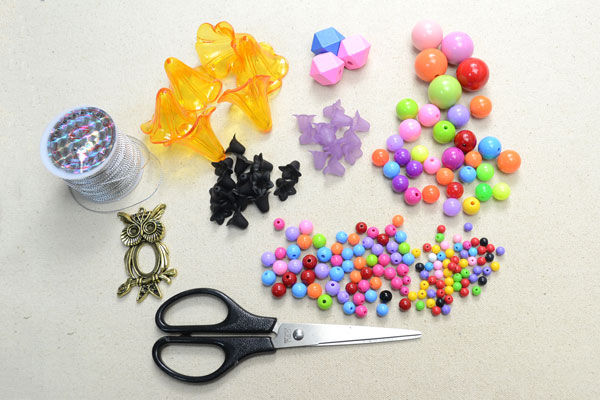
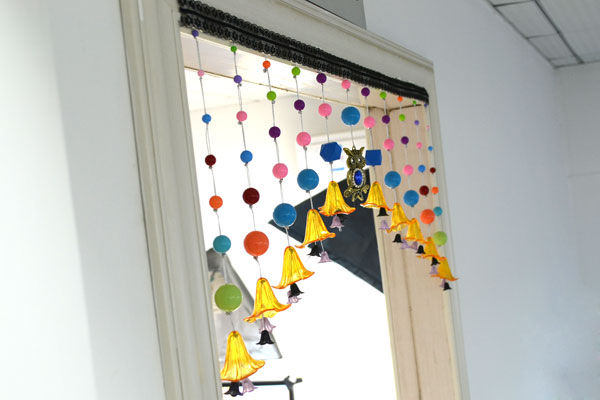 Required Material:
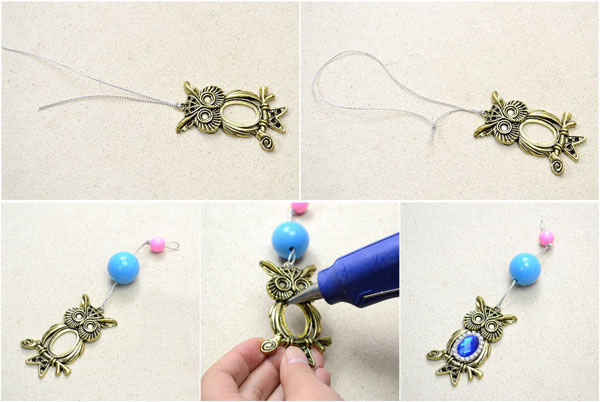
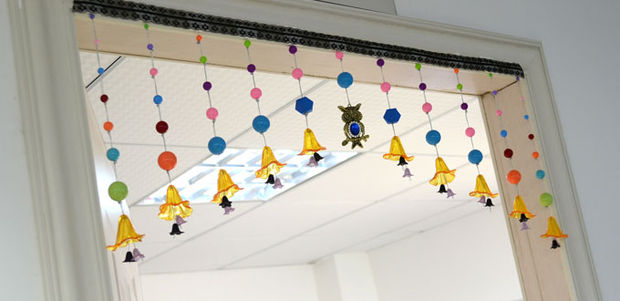
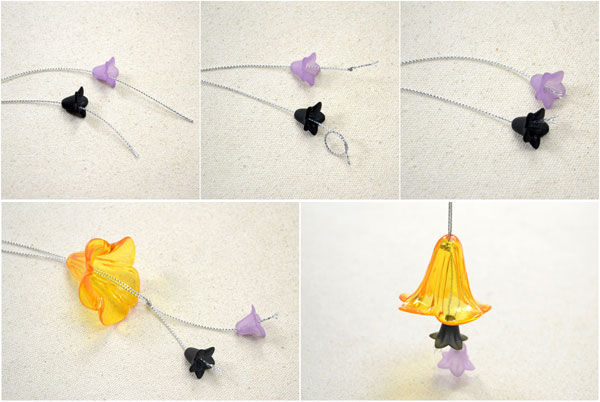 4th, in the following work, you’ll just need to repeat tying Overhand Knots to stop right beads in proper place. In my beads curtain design, I made five couples of beaded bunches extra and the lengths of needed cords are: 68cm, 76cm, 84cm, 92cm and 100cm.
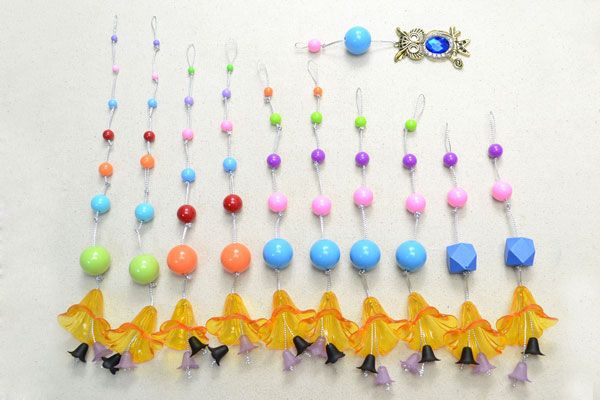
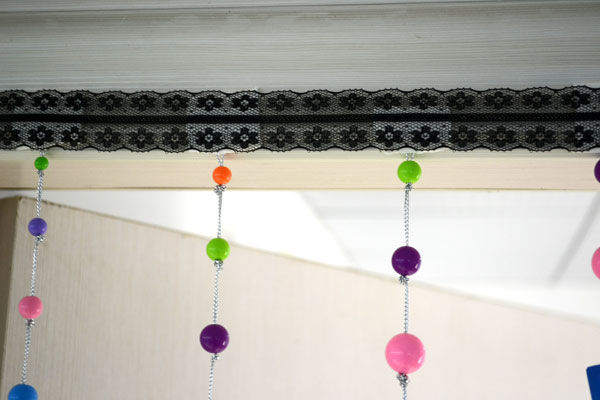
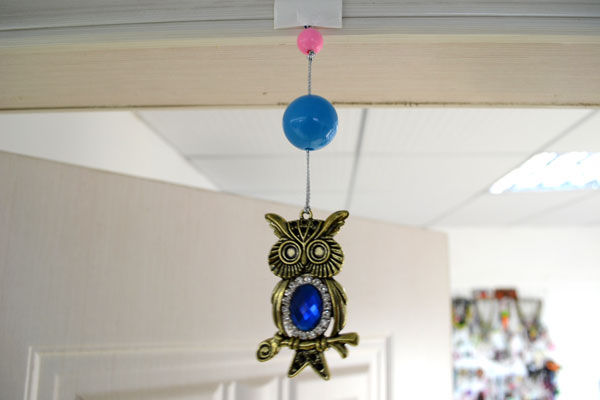 2nd, divide both sides into 5 equal parts and then attach the rest bunches by using double faceted adhesive tape;
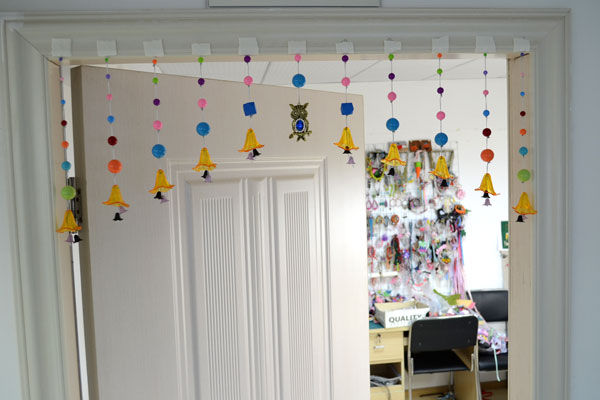 3rd, cover the other face of tape with a lace trim.