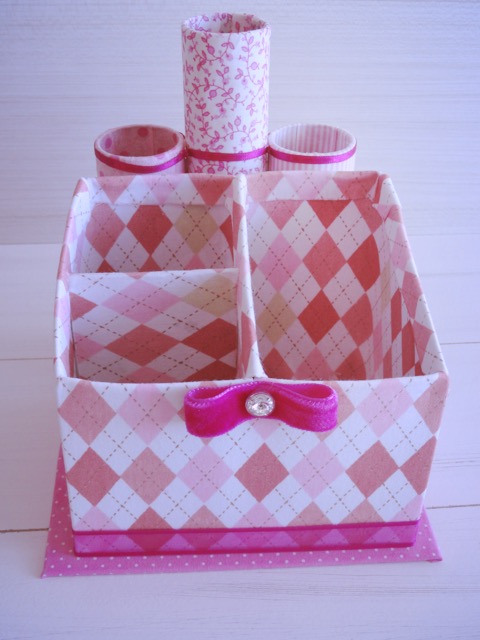
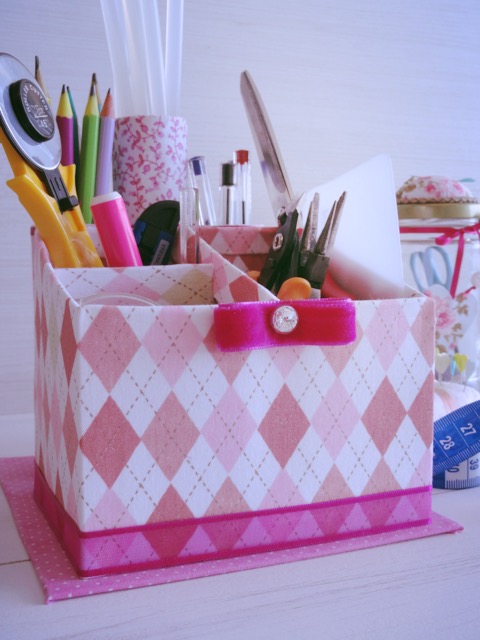
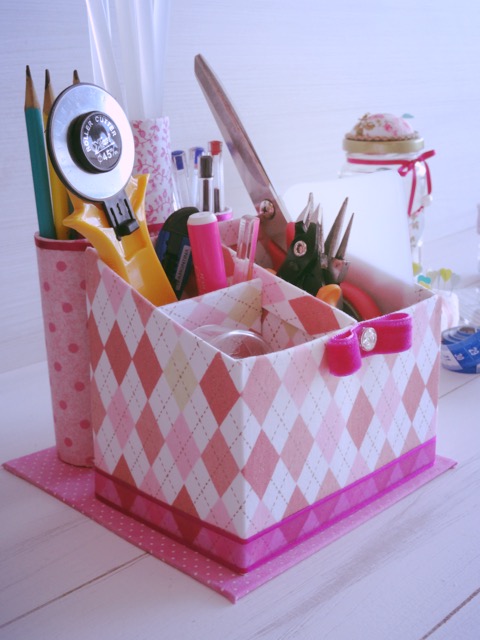
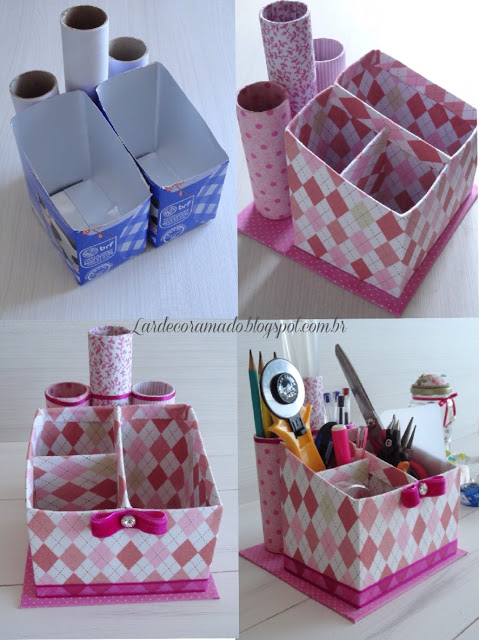
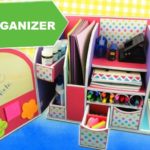
Make a Desk Organizer From a Milk Carton:
This post is about an old idea … But, good ideas deserve to be replicated always!
I myself had done some things with a box of milk a few years ago. And I showed you here. a little house I made to camouflage an outlet …
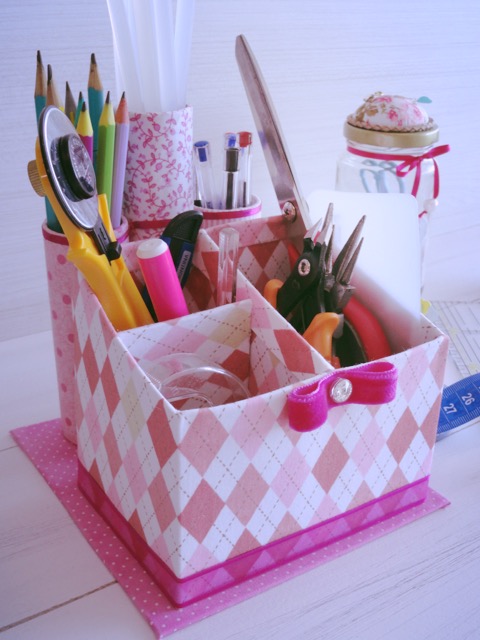
I needed to arrange my pliers, hot glue, stiletto … So I used the boxes and rolls of paper towel to create a very personalized trunk door.
I love recycling! And this is a very versatile option with infinite possibilities.
You can do it with one box or several. The height of the rollers you also choose according to your need.
Required Material:
- 2 rolls of paper towel,
- 2 milk cartons,
- white glue,
- hot glue,
- ruler,
- pencil,
- thicker paper to wrap the boxes and finish the edges,
- thick cardboard to make the base,
- crepe tape,
- fabric,
- decorative ribbons.
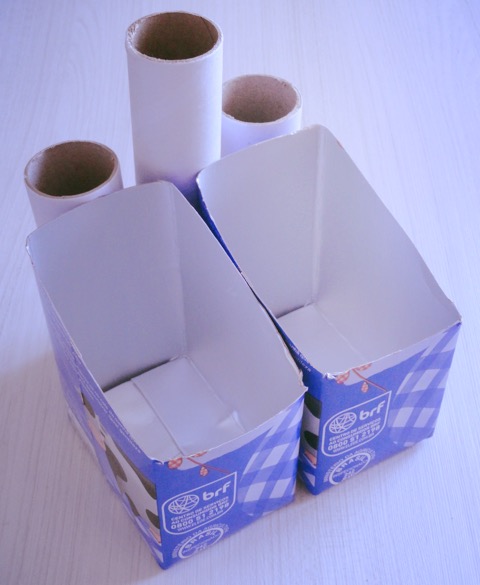
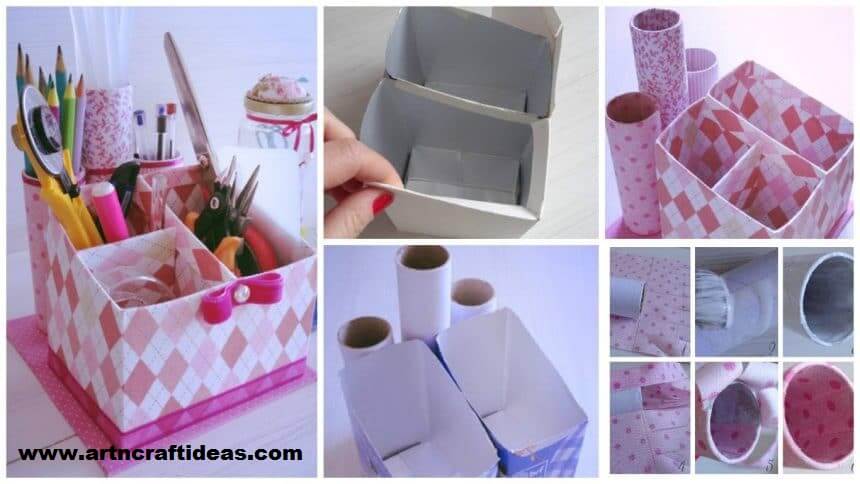
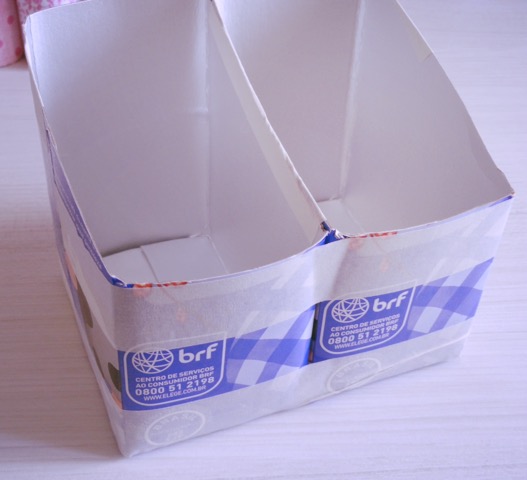
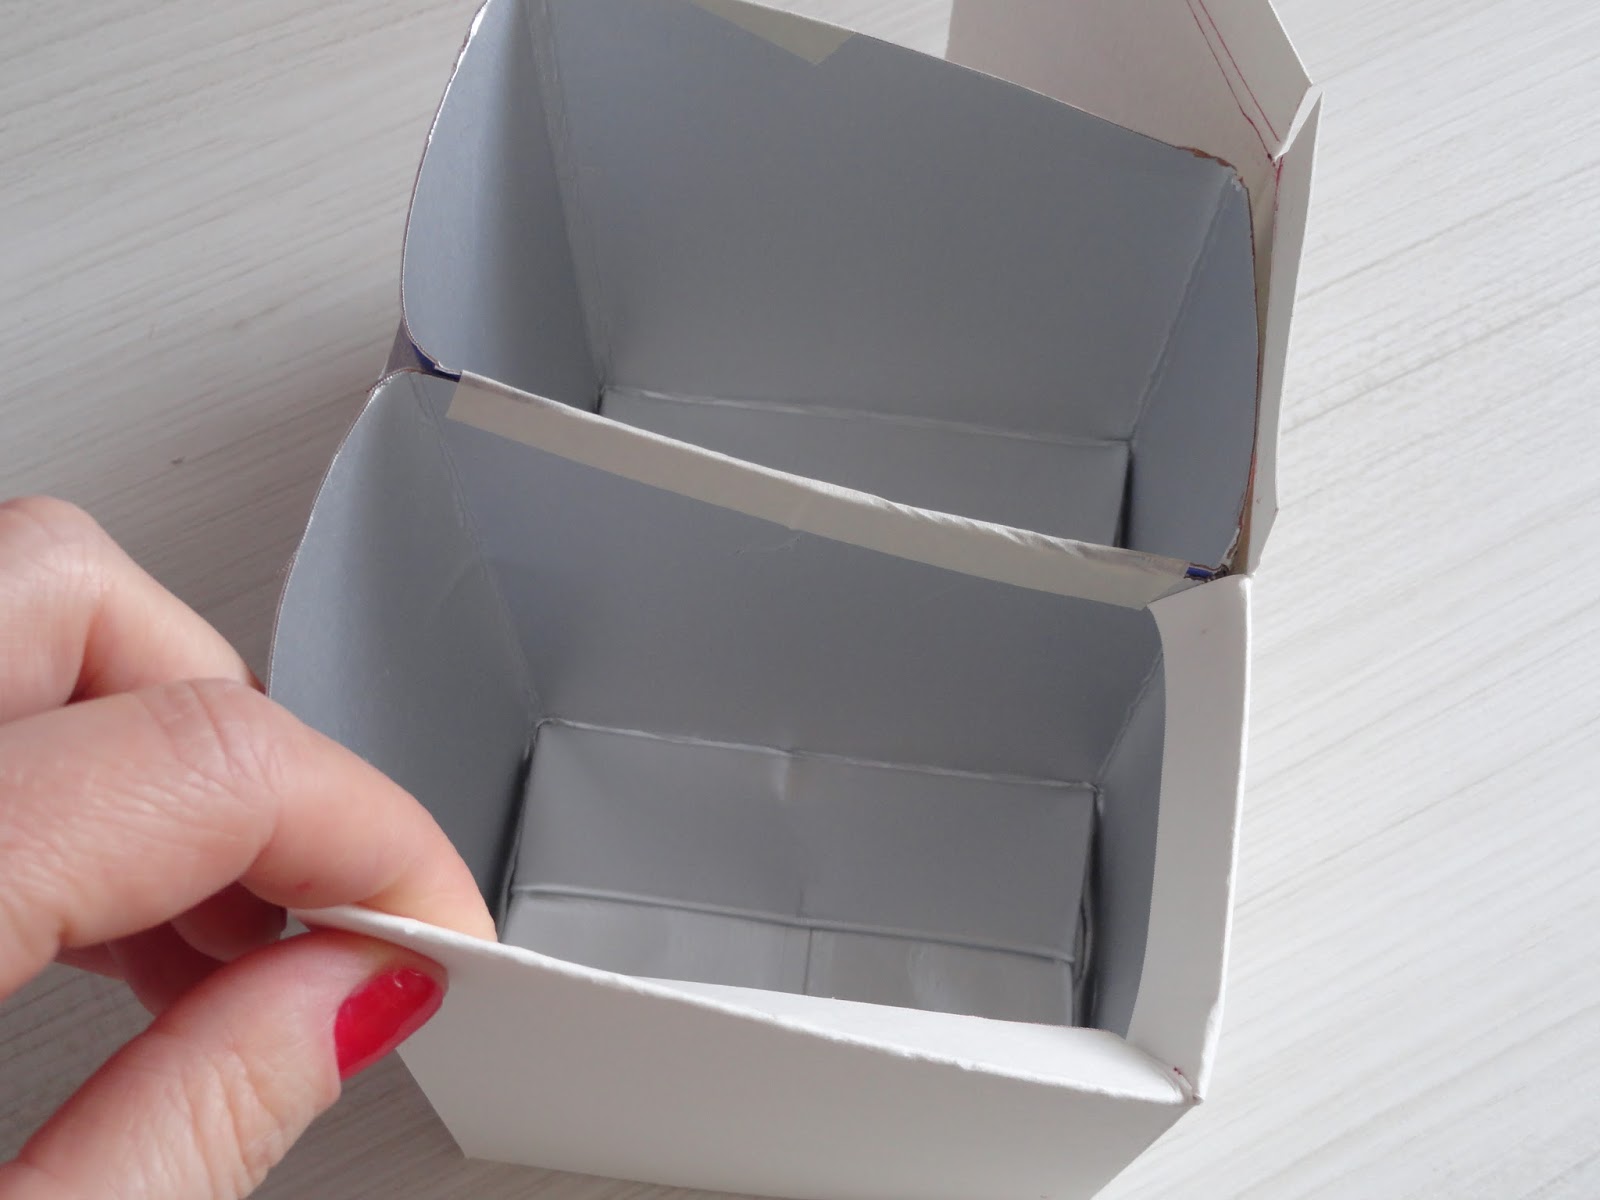
Cut the boxes with the desired angulation and tape them together.
Also, cut the rollers at any time.
To line the boxes, cut out the thicker paper ( a type of notebook cover), leaving 1.5 cm left over in height. Make all the folds and creases.
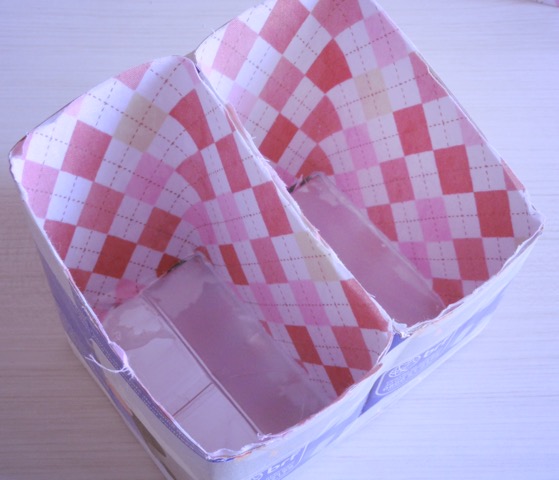
Put white glue on the paper and wrap it with fabric. Then line the boxes.
In the inner part of the boxes is only to pass glue and to cover with cut fabric in the measure.
Do this before you wrap it out!
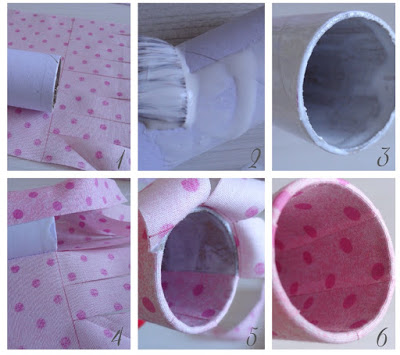
To cover the rollers, cut a piece of fabric 7 cm larger than the roll. Leave about 2 cm on one side and 5 cm on the other. Mark with pen on fabric.
Cut the fabric 2 by 2 cm until marking, as in figure 1.
Pass glue on the rollers, even inside.
Line the rollers and then fold the excess fabric inwards, as in figure 5.
This makes the fabric not wrinkled and the finish looks more beautiful.
Cover with fabric, a very thick piece of cardboard to make the base where the boxes and rollers will be glued.
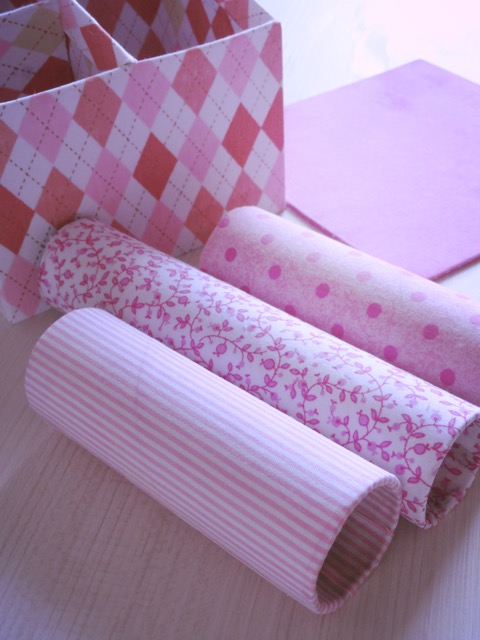
In the part that divides the boxes, line a piece of paper and glue to finish. If you want, you can make an extra partition, like the one I did!
Glue all the pieces with hot glue to the base.
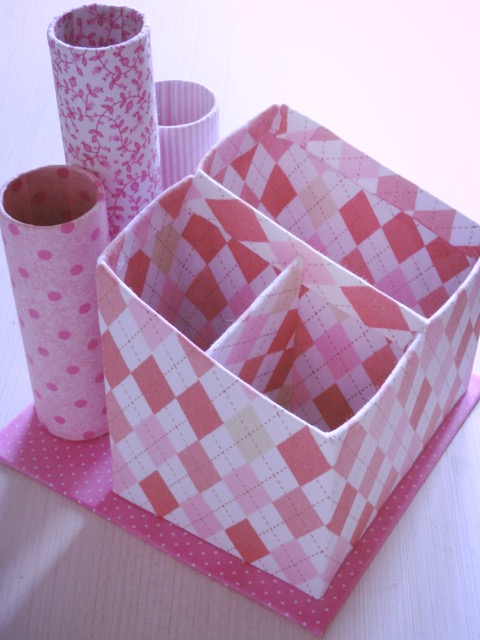
Then, just decorate with ribbons, lace …
