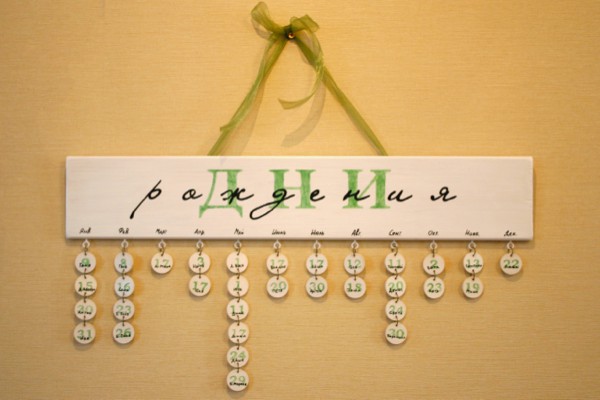
Posted onJanuary 26, 2017inBirthday, Step by step, Tutorial DIY Calendar a reminder of birthdays step by step
Posted onJanuary 26, 2017inBest out of Waste, Other, Step by step, Tutorial How to organize your craft tools (Tutorial)
Posted onJanuary 25, 2017inPatchwork Crafts, Step by step, Tutorial How to Make Kids Backpack Step by Step
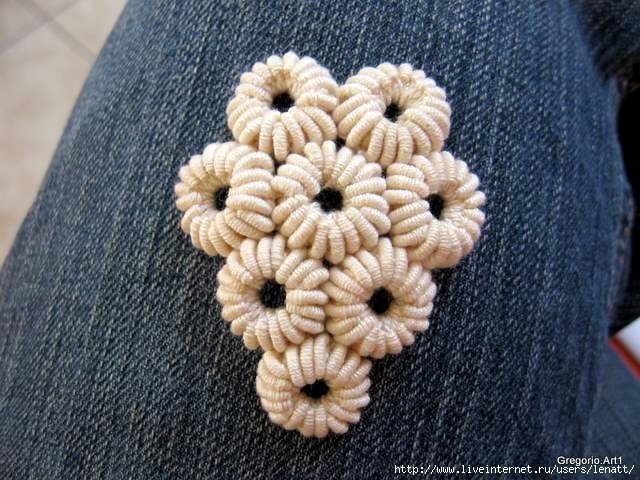
Posted onJanuary 25, 2017inFlower Crafts, Step by step, Tutorial DIY: Handmade Beautiful Nylon Flower