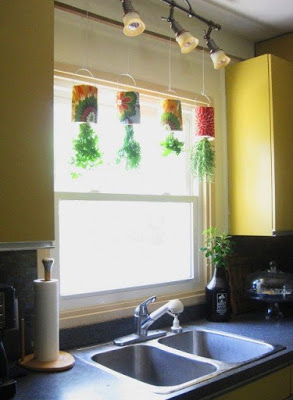
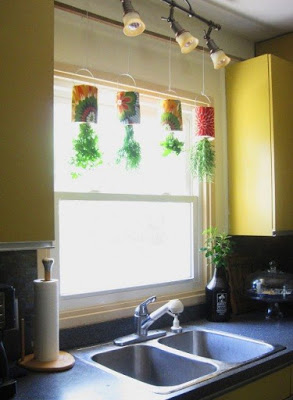
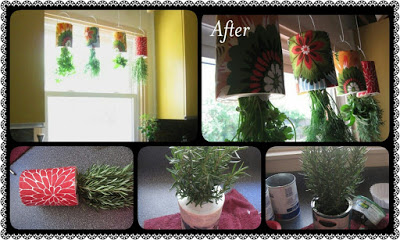
Growing your own herbs at home – a great way to save money, always have fresh herbs for salad and green the kitchen interior. Especially if the kitchen garden hung from the ceiling by organizing their own hanging vertical gardens with their own hands .
We Need:
- cans with plastic cap from tea, cocoa, coffee or other products
- herbs (basil, rosemary, parsley, dill, coriander) with the ground
- wire or rope for fixing
- scissors, knife, nail, hammer
- adhesive tape or adhesive tape
- coffee filter or similar material
- cloth, paint and glue for decor
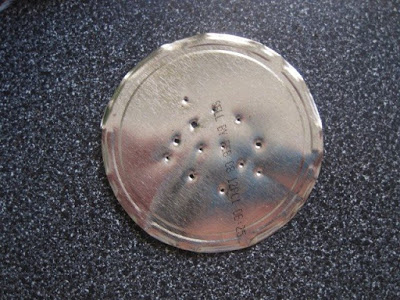
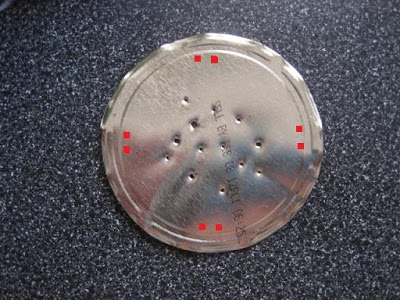
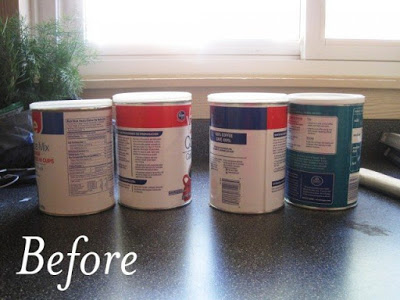 Once you have cleared the bank, remove the bottom of the opener and with the help of a nail and a hammer, tamp it 10-15 holes.
 Then place the bottom back to the bank holding the other side. Adhesive tape stick to the edges of the bedplate so that a couple of centimeters to the left edge, as shown in the photos. On both sides of another two punch holes, through which the entire structure is suspended from the ceiling.
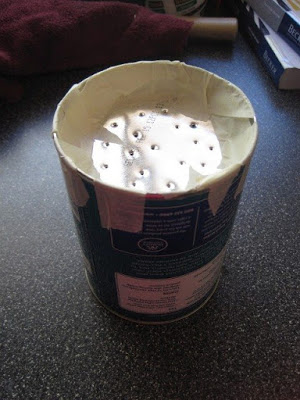
I think you can not complicate the whole crafts thus cutting out the bottom and sticking it back. All this is intended by the author, apparently in order to penetrate the two holes for further fastening.
Alternatively, it is easier and faster to break through the 10-15 nail holes for drainage, while not cutting bedplate, and two holes on opposite sides, closer to the edge, so that through them you can thread the rope or wire for hanging. So (in red):
 Turn the jar and carefully place to bush grass with soil.
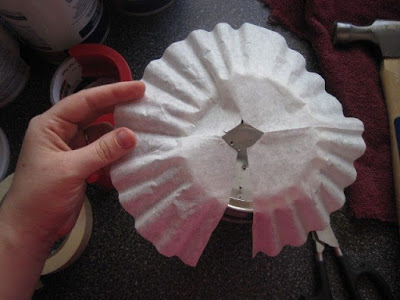
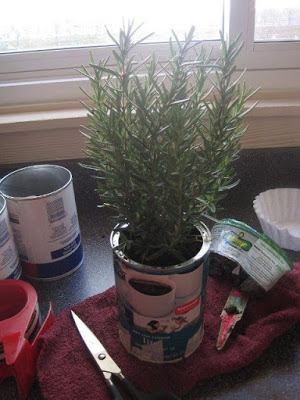 Then you need to cover the top soil so that when you turn the jar, the land is not drizzled on the table. To do this, the authors use a coffee filter, but I think that for such purposes will suit whatever breathable material. Cut a small hole in it with a cut to the end, Wrap around grass and good seal with tape or duct tape.
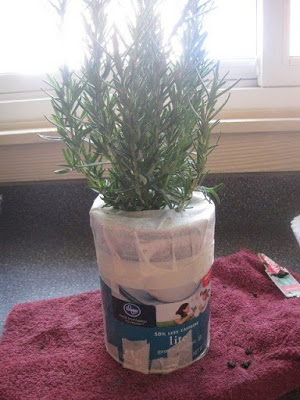 That, so to speak, to consolidate the success and the soil in place, use the rest of the plastic cover from the banks, also cut a hole in it the size of the corresponding bush. Carefully miss the grass through a hole in the lid and put it firmly.
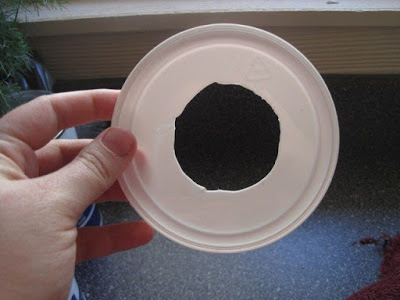
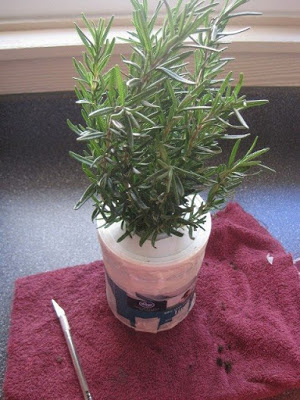 In general, the main work is done. Turn the jar and check whether the open under the weight of the soil cover, and whether the land is on the table, not getting enough sleep. To decorate a pot, you can use paint or a piece of cloth.
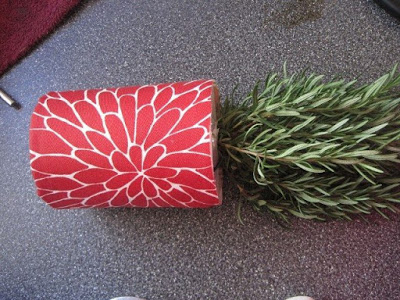 And the final touch – hanging from the ceiling, cornice or a bar. That’s what we need, and are pre-punched holes. Through them you can skip rope or wire, then the whole latter-day flower pot with herbs, spices hang up roots.
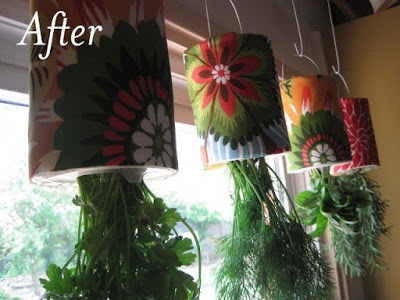 Watering neatly on top of small portions that remained green longer fresh, pleasing to the eye, and then the stomach and as a seasoning and garnish.
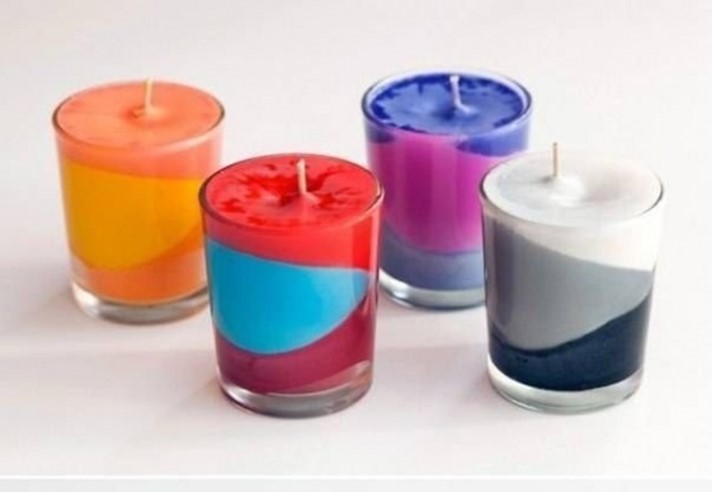
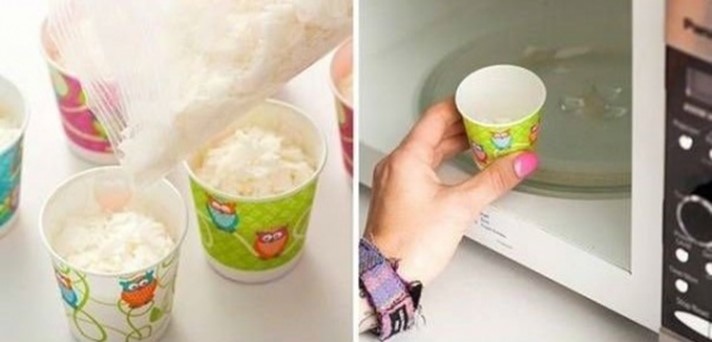
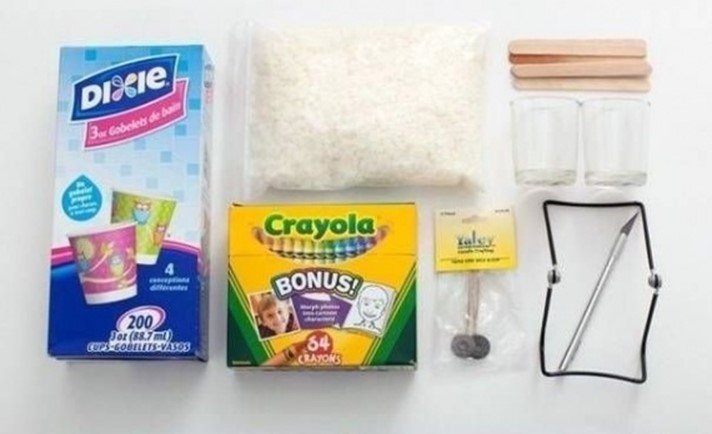 Take a transparent wax, pour in a little paper cup and put it in the microwave for about 45 seconds. During this time, the wax should melt if it did not happen — wait another 30 seconds.
 In the center of the glass cup place the wick and pour a little on the bottom of the molten wax.
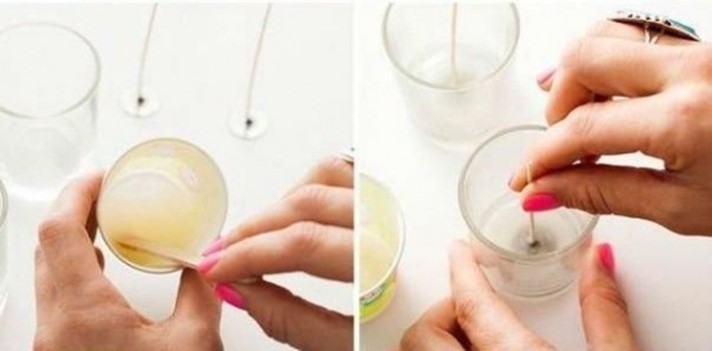 Add wax crayons. You can rub them on a grater or chop by hand. Previously you need to clear the paper of wax crayons. Mix one color at a time.
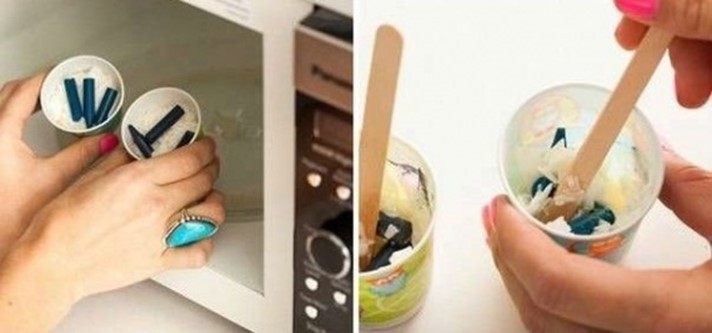 Melt the wax. Thoroughly mix the solution to the wax has acquired a uniform color. Melted wax is poured into a colored candle tipped. So we will receive not just horizontal layers and the original uneven pattern. Before that, you can drop a little aromatic oil in the wax.
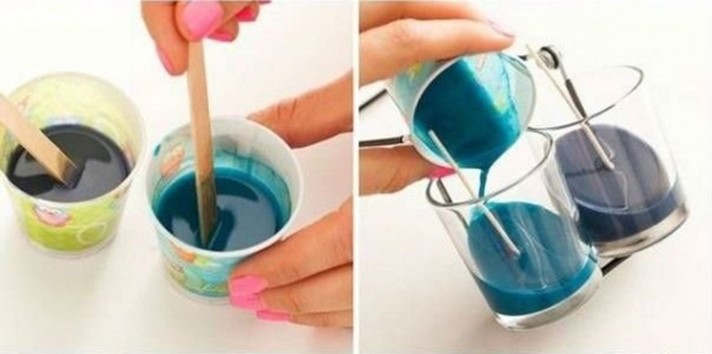 Repeat this procedure until the candle is not yet been filled to the top.
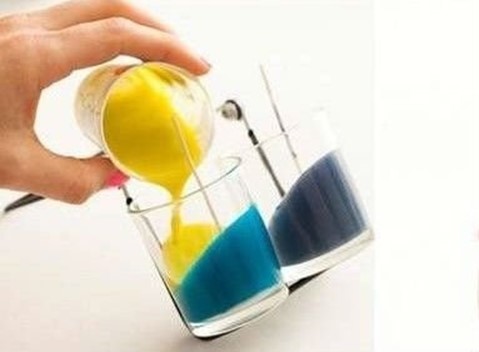
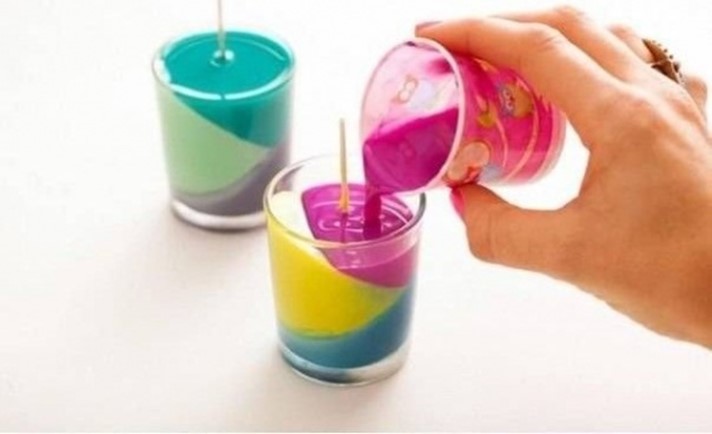 Now you can light homemade aromatic candles. Good for you
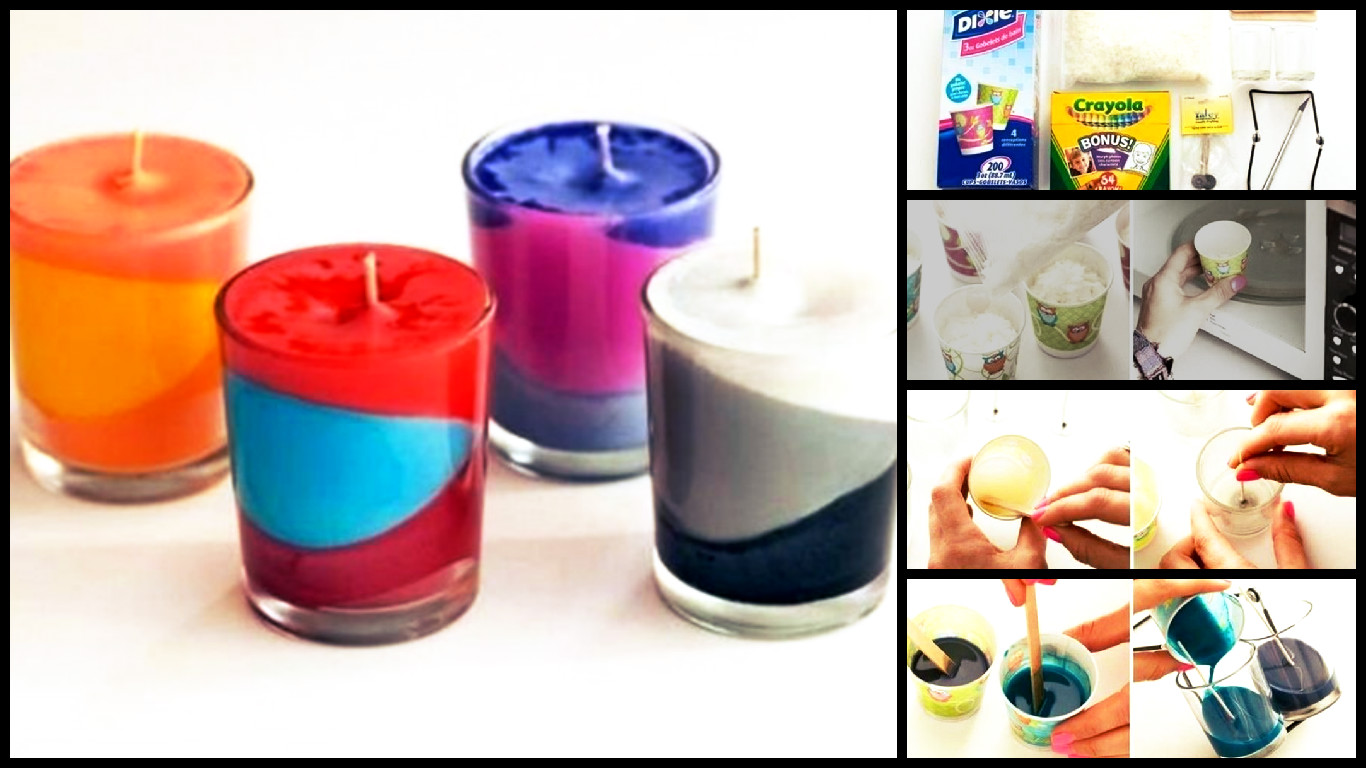
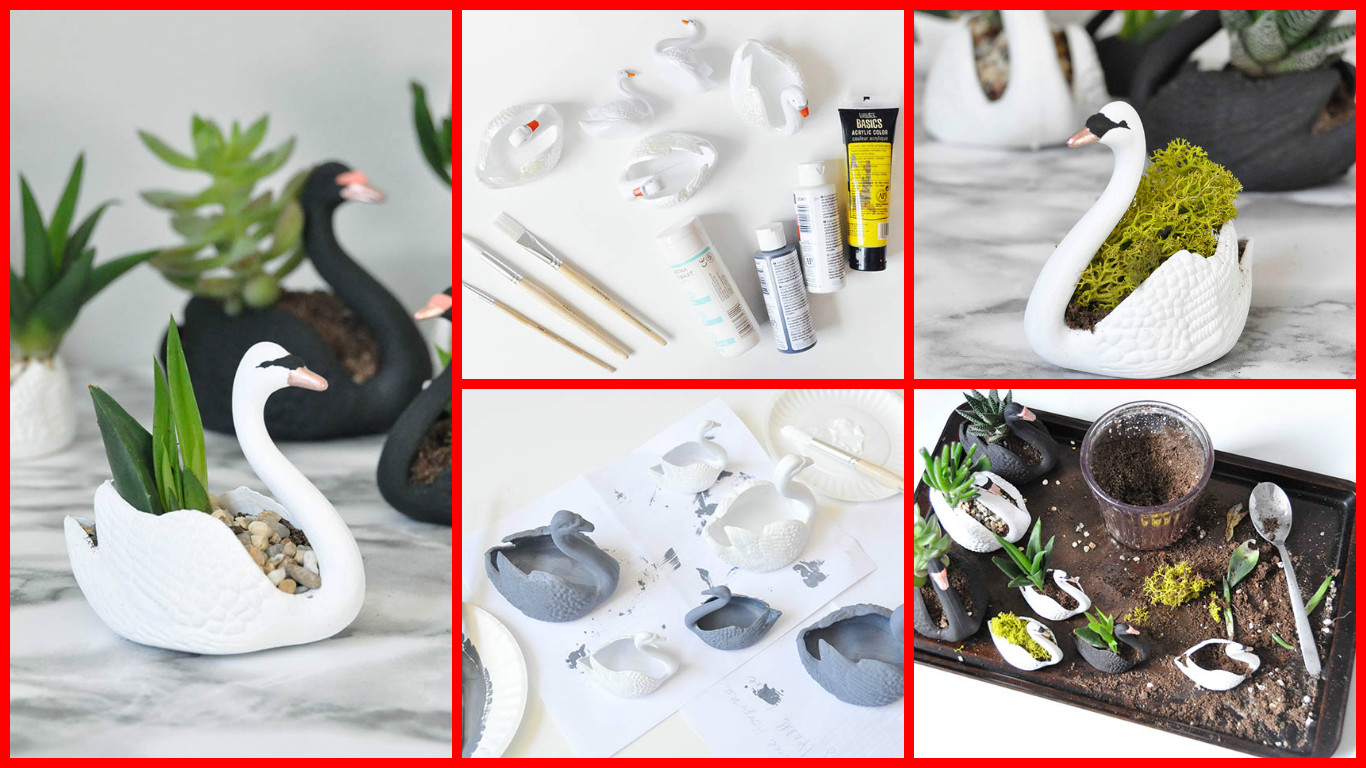
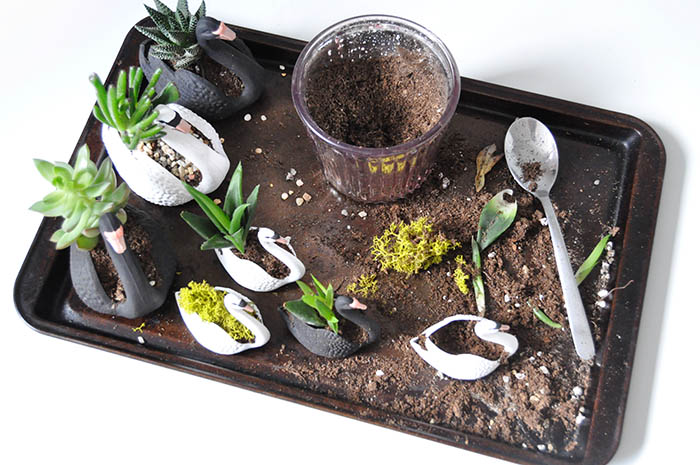
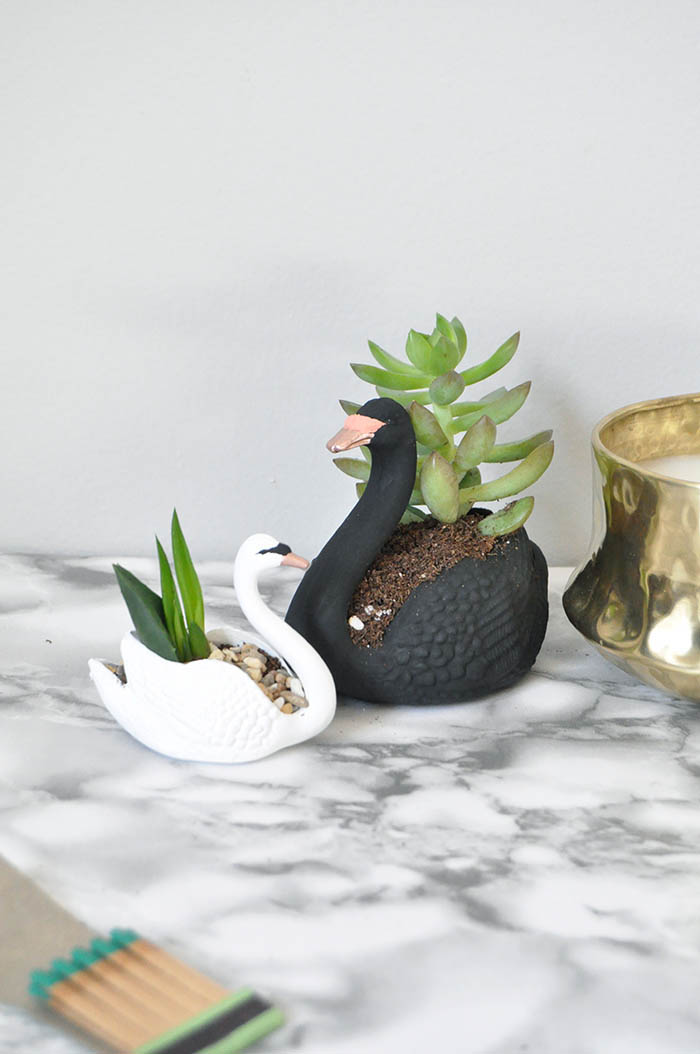
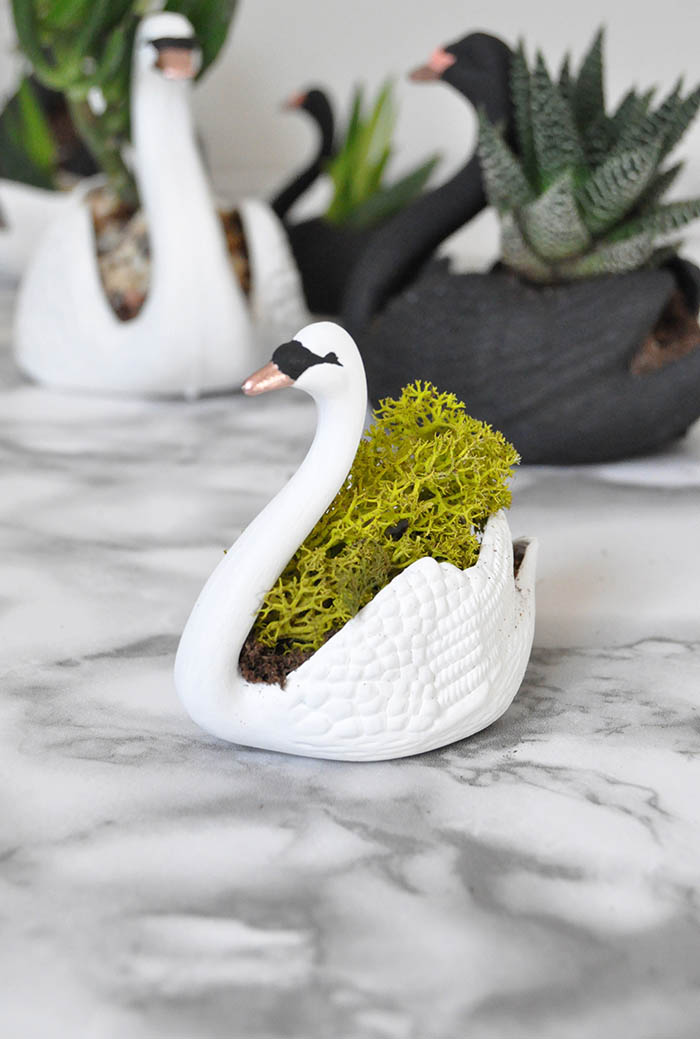
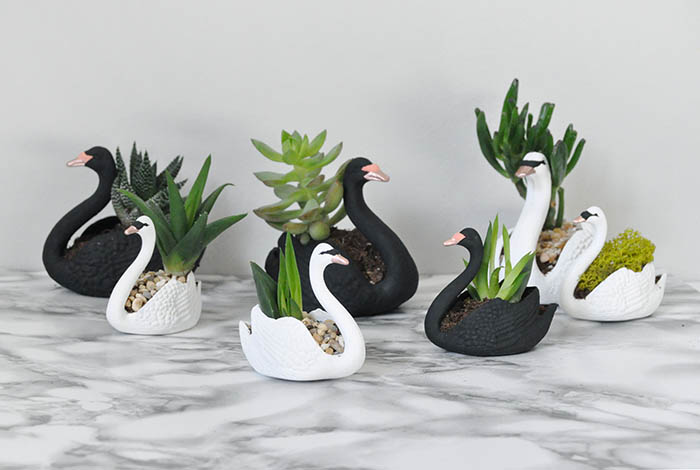 Right now, I have these lined up along my windowsill, but they’re perfect centerpieces for a spring gathering, too. Or keep them as favors and give them as gifts to your party guests!
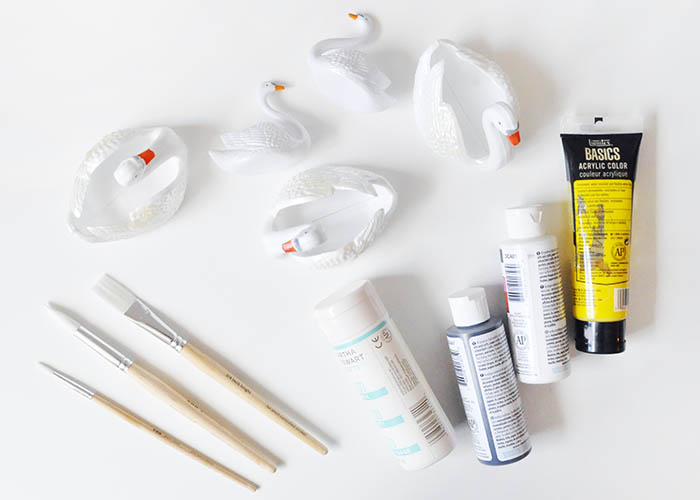
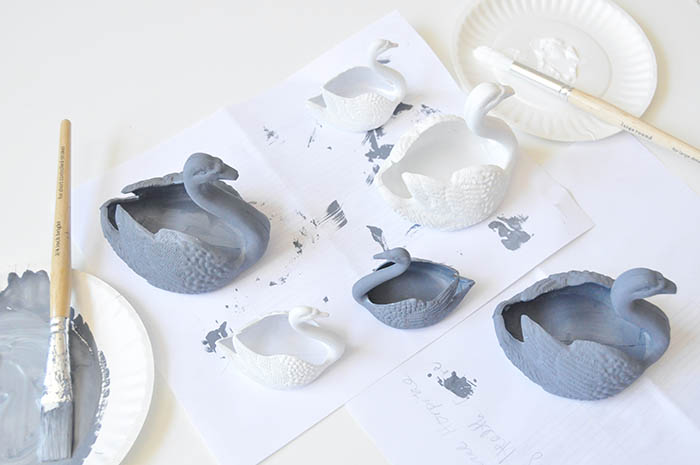 Step 2: Paint the swans black or white over the primer and let dry.
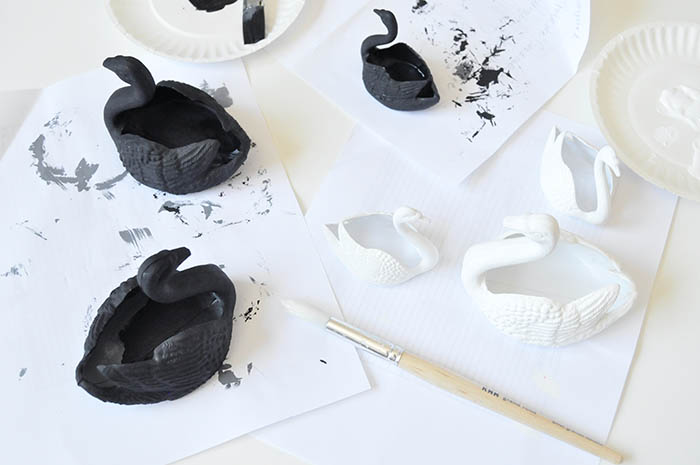 Step 3: Use a fine paintbrush to paint in the beak and eye details. I used metallic nail polish for the beaks. Let dry.
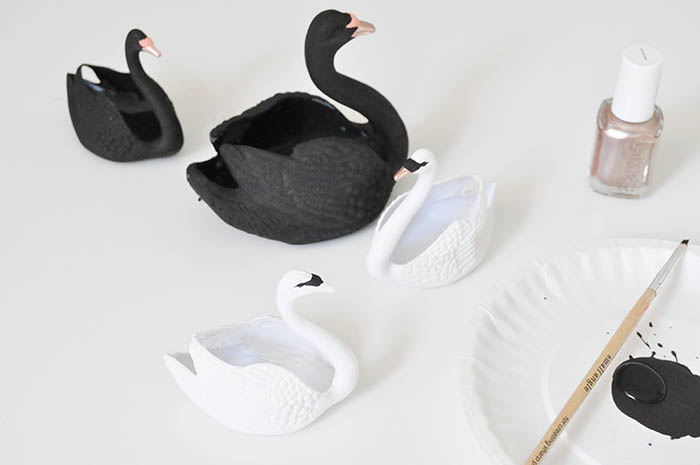 Step 4: Pot your succulents into the planters. I used a piece of foil to line the cavity so that the succulent wouldn’t be sitting on a painted interior. You could also use a small vessel like a disposable plastic shot glass and poke holes in the bottom if your plants need more drainage. Or just poke holes in the bottom with a needle or thumb tack. Or if you don’t have a green thumb, fake succulents would work, too!

 Once you have cleared the bank, remove the bottom of the opener and with the help of a nail and a hammer, tamp it 10-15 holes.
 Then place the bottom back to the bank holding the other side. Adhesive tape stick to the edges of the bedplate so that a couple of centimeters to the left edge, as shown in the photos. On both sides of another two punch holes, through which the entire structure is suspended from the ceiling.
 Turn the jar and carefully place to bush grass with soil.
 Then you need to cover the top soil so that when you turn the jar, the land is not drizzled on the table. To do this, the authors use a coffee filter, but I think that for such purposes will suit whatever breathable material. Cut a small hole in it with a cut to the end, Wrap around grass and good seal with tape or duct tape.


 And the final touch – hanging from the ceiling, cornice or a bar. That’s what we need, and are pre-punched holes. Through them you can skip rope or wire, then the whole latter-day flower pot with herbs, spices hang up roots.
 Watering neatly on top of small portions that remained green longer fresh, pleasing to the eye, and then the stomach and as a seasoning and garnish.
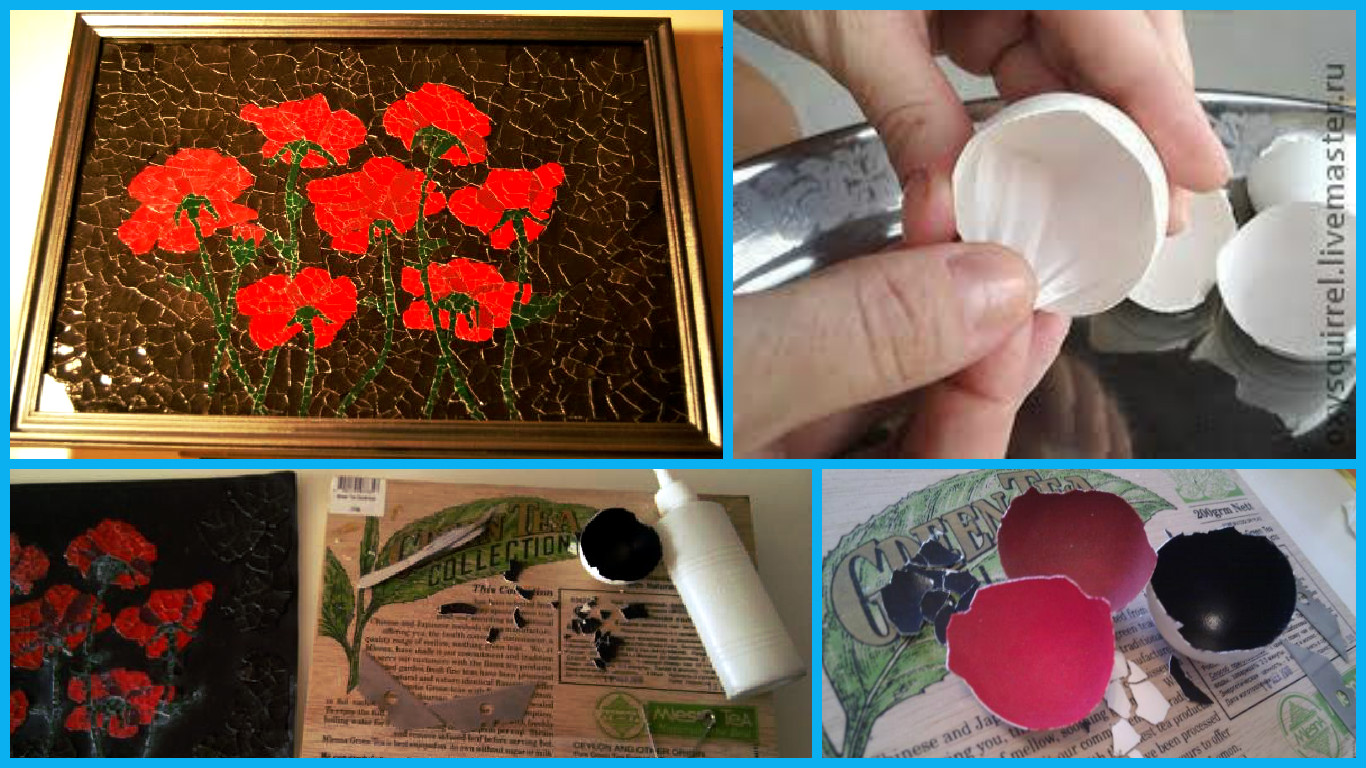
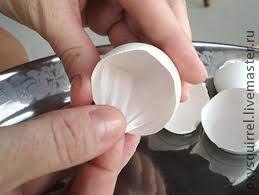
 1. So, to start to take eggshells. About 12 eggs. Wash, separate the film.
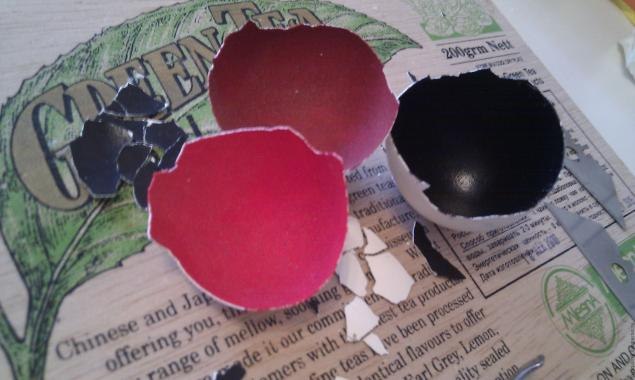 5. Most of the work – mosaic.Nachinaem spread with flowers, finish coating the background for the most accurate study of the figure. The size of the pieces will affect the accuracy of the figure and the relief depth (the smaller, the smoother). For thorough adjusting, elements can form knife. This step takes the most time.
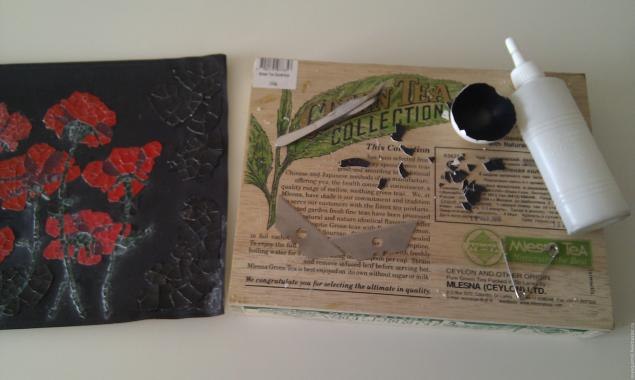
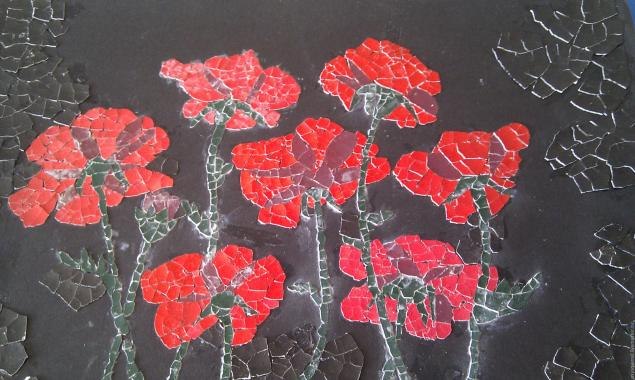 6. Remove the excess glue, if they spoil the picture.
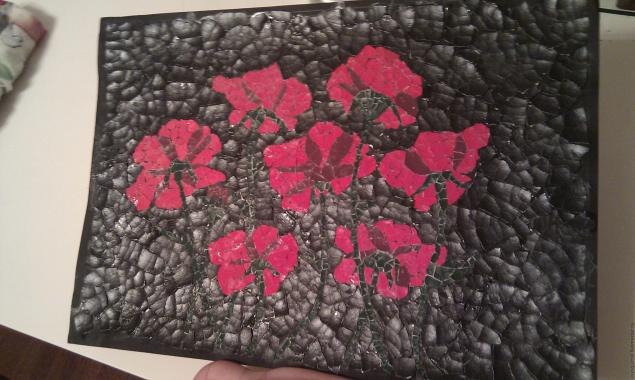 7. We cover a colorless varnish to give shine and more acrylic automotive spray. Layers are applied with an interval of 15 minutes.
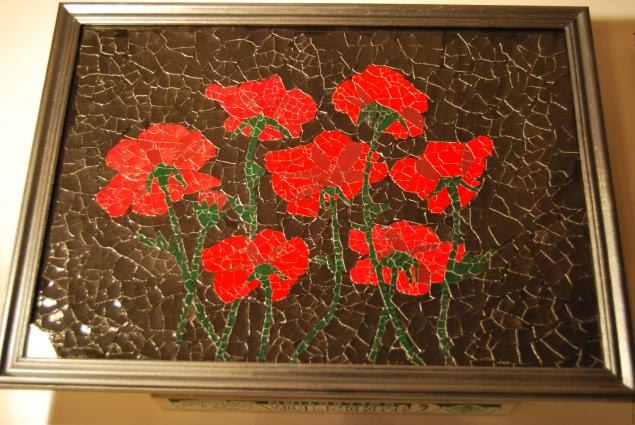
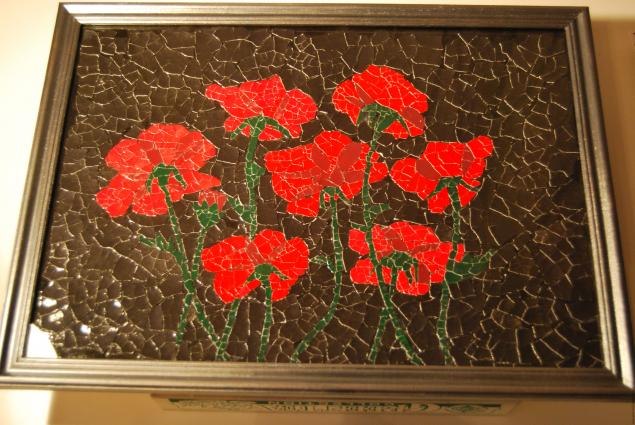
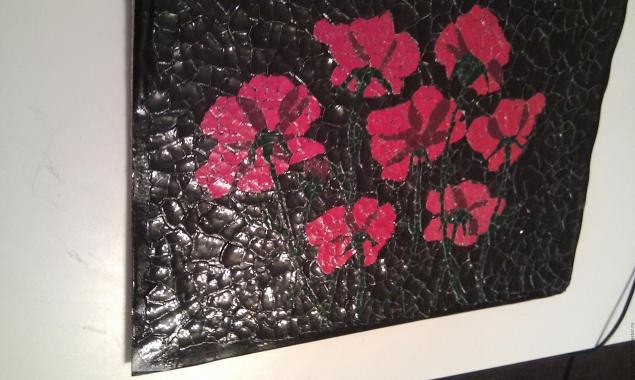 mosaic and looking for a decent place for her!
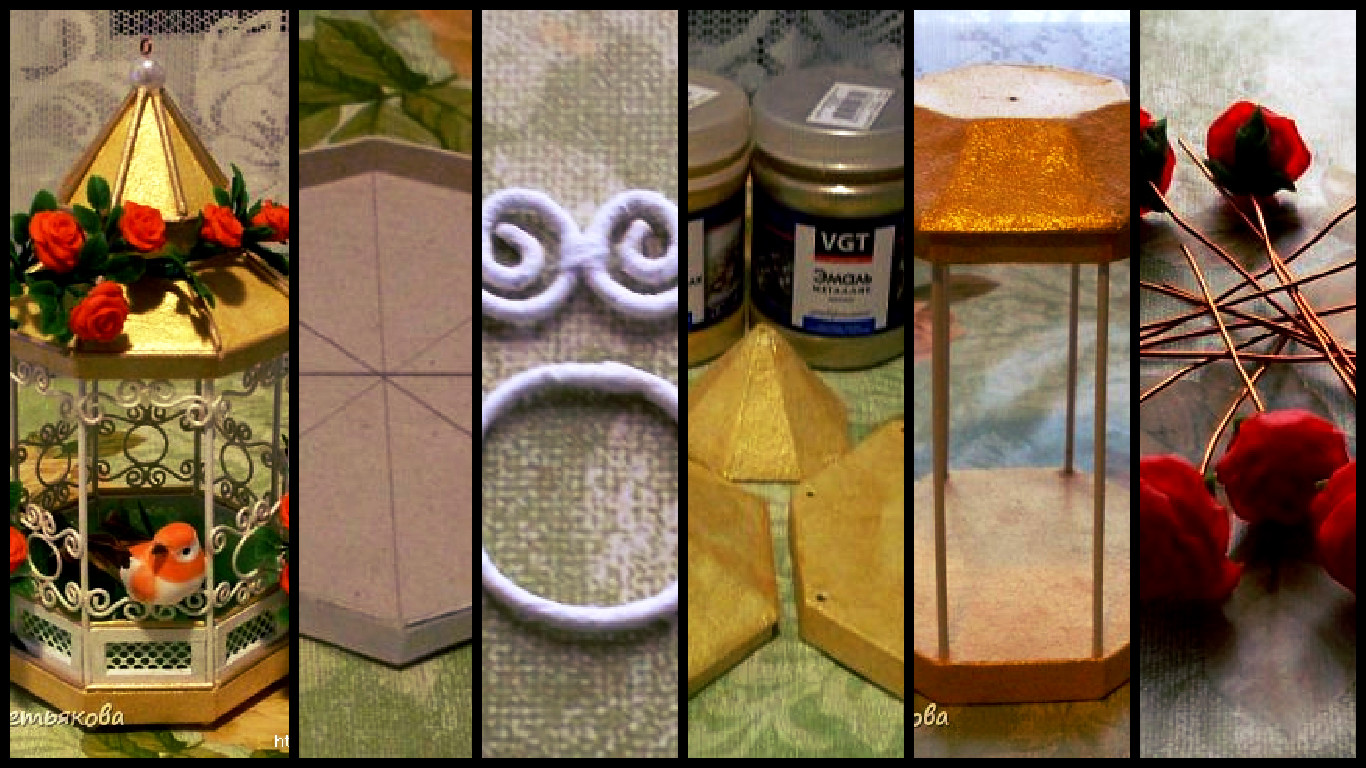
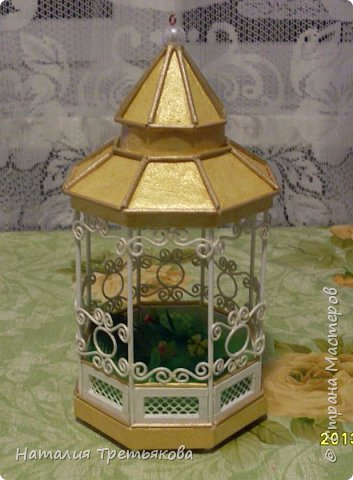
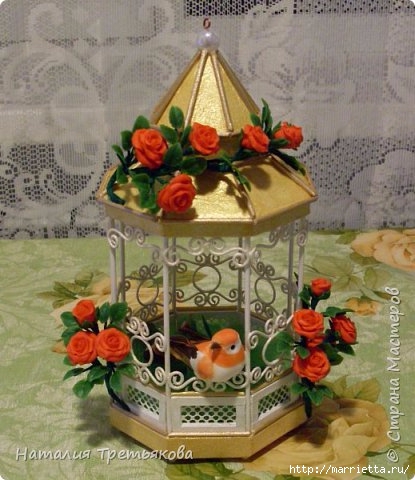
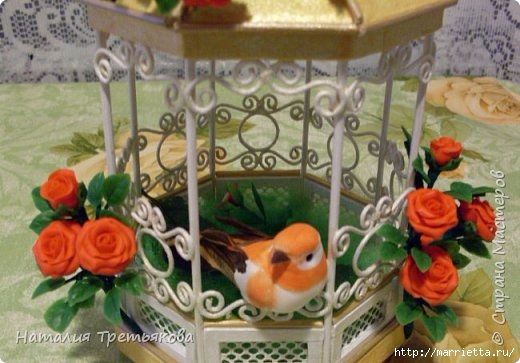
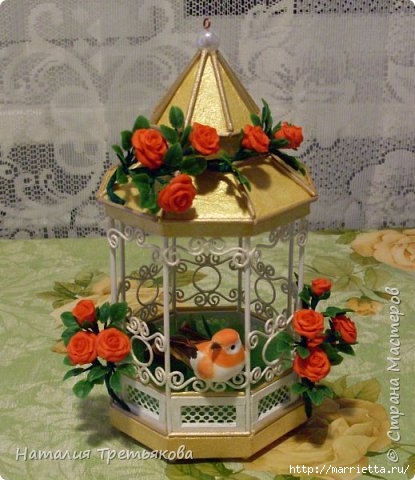 We need: a simple cardboard (again I took a box of cakes and sweets), a thick boxboard to impart structural strength, bamboo sticks (skewers), wire, crepe paper, putty, paint, glue, Titan, PVA glue, homemade cold porcelain for molding of flowers, and of a decorative bird cage that was not empty.
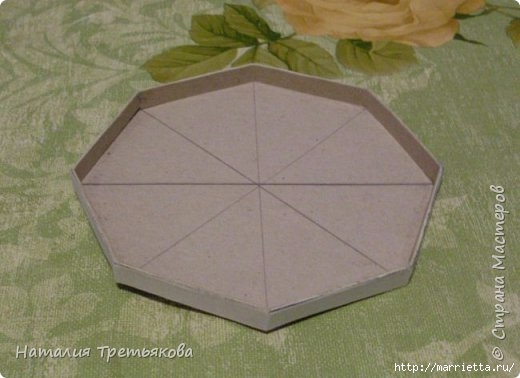 It has been plastered and primed blank roof.
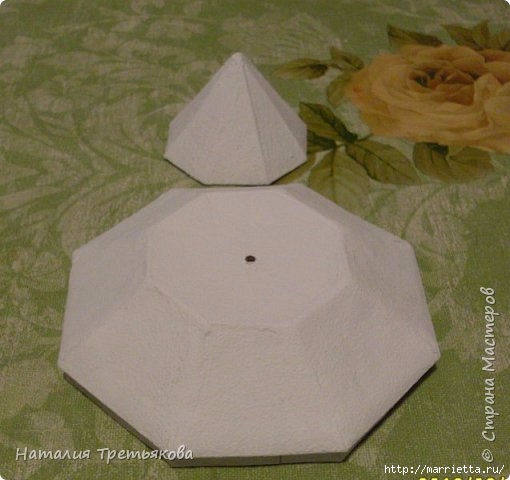 Here are a few not in compliance with the order of work. The roof had already been primed and glued blank with bumpers to the bottom of a large roof.
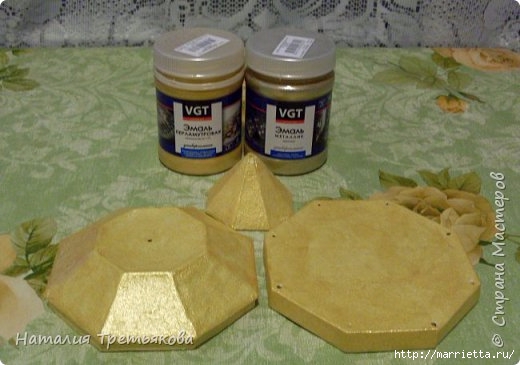
 It has been finished parts foundation and roof, painted in gold
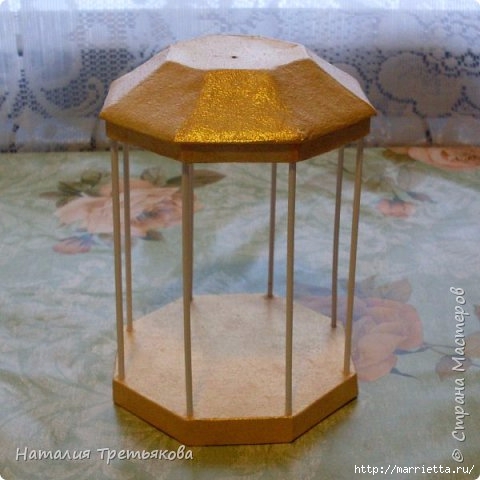
 Paint skewers with white paint and glue to the base and the bottom of the roof.
 Then we do here are cardboard frames with mesh material on the size of the opening between the skewers.
 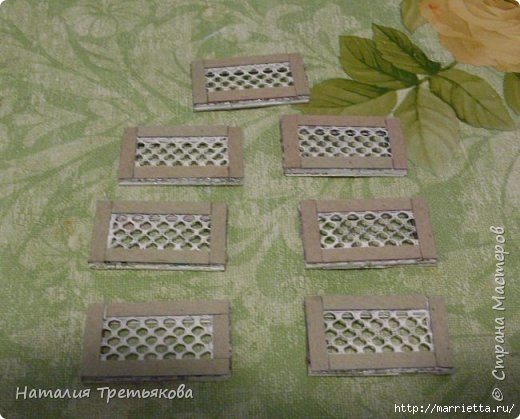 Frames with mesh painted first with white paint, and then gold Interferential paint to give a gold metallic hue (as painted all white cells details) But it can not do.
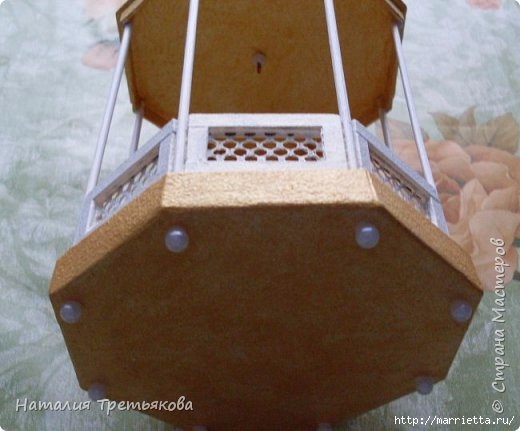
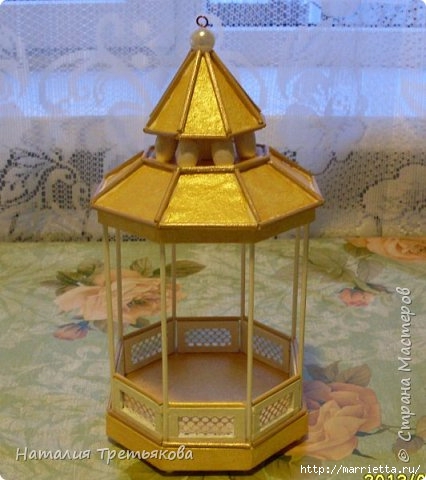 It stretches the wire through all parts of the roof and secures it from both sides of beads. The previous photo shows the upper bead with a wire hook and the next – lower. As well as using beads made little feet in the cells.
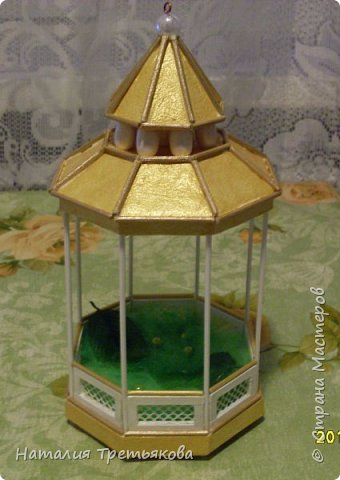
 Decorate space within the cell, as later we will be difficult to do anything inside.
 Wire wrapped white crepe paper and here are Gnehm Circuits, of which our grill will be.
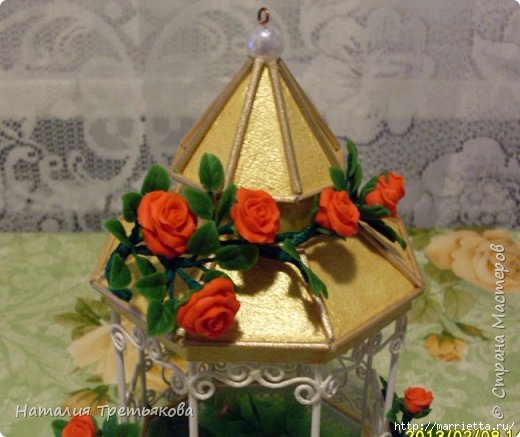
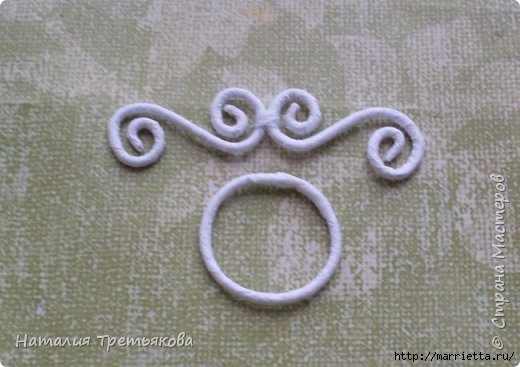 Then it has a very long and laborious work, and we have just such a decorative on the cage. All parts are glued to the grating Moment PVA carpenter (he is very durable). I decided that the decor inside the cell is not enough and even taped plastic flowers before creating . Immediately as such a delicate twisted was ready, I realized how not written here these huge wooden beads on the roof and I immediately has stuck their strip of cardboard. Sometimes it happens that you have to think out and redo some things on the fly.
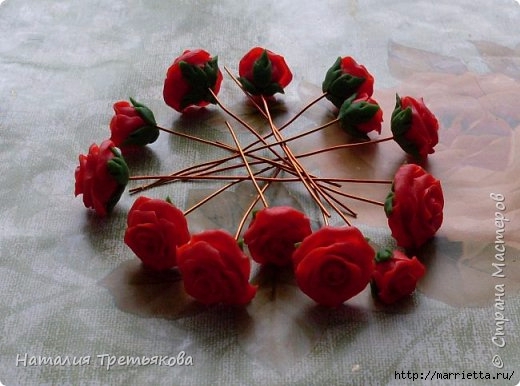
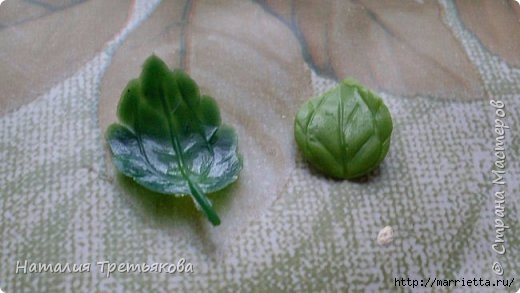
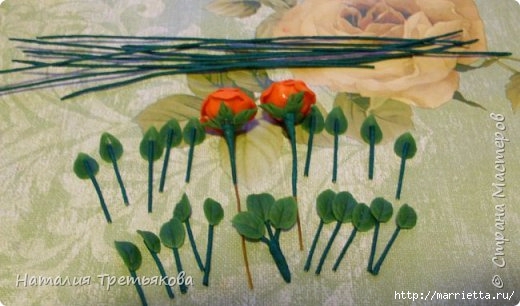
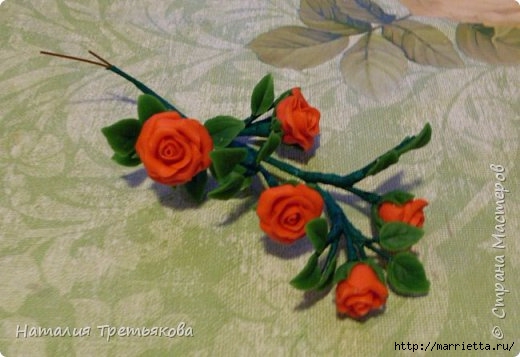
 roses and leaves. To create roses do not use any Molde and boats, and for leaves using plastic leaves from the branches purchased. Very much I liked that the leaves can be quickly and easily to stick in this way.
 I collect it all in the form of roses twine.

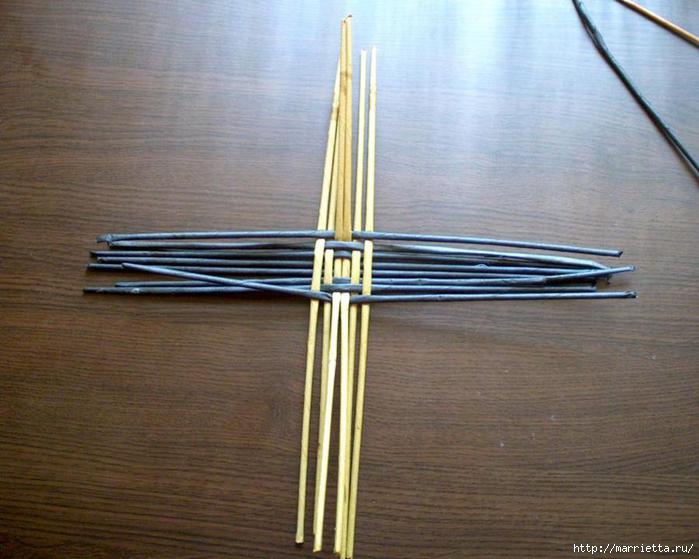
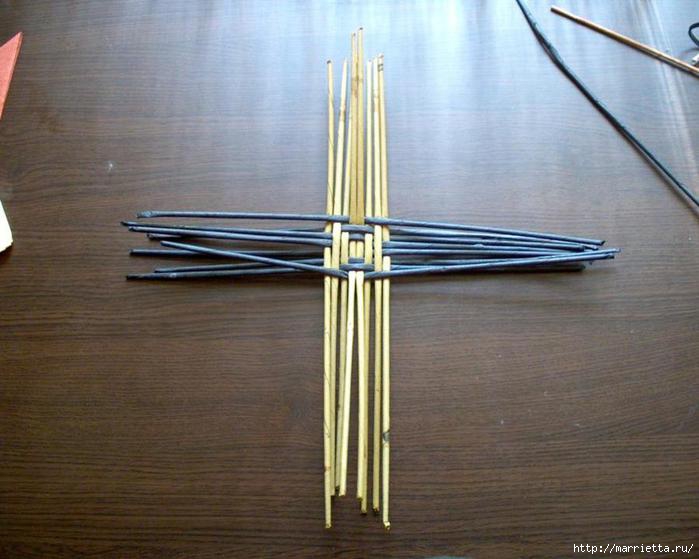
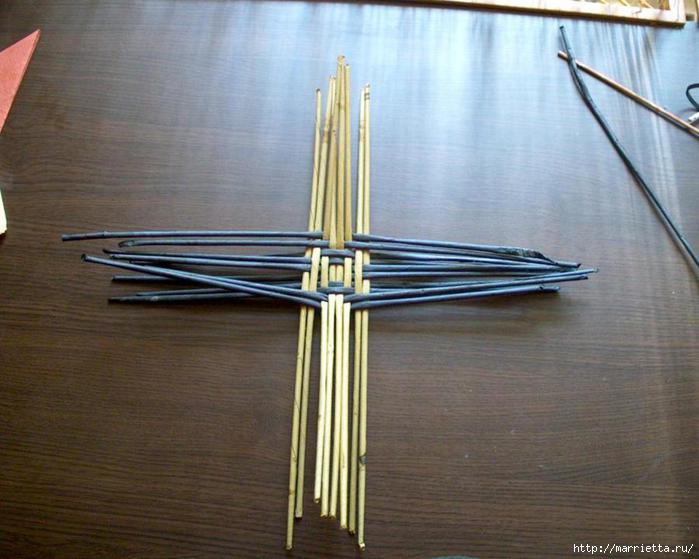
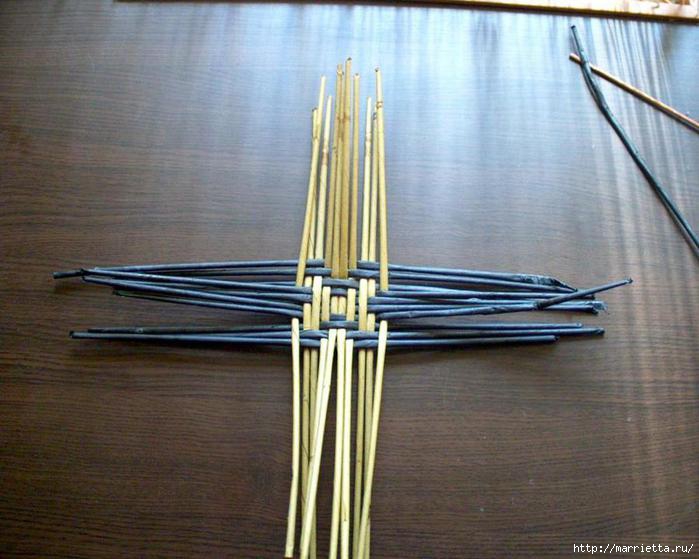
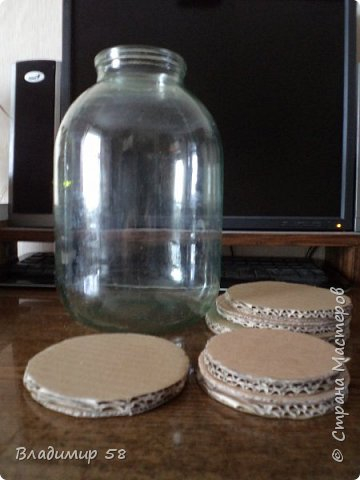
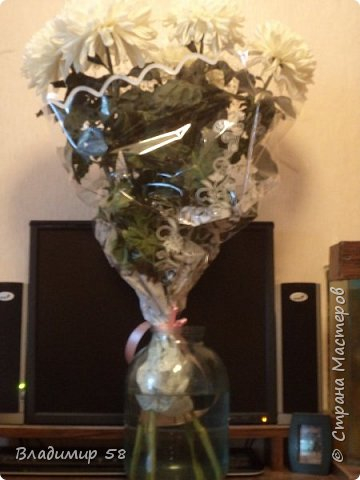 Take the jar tighter and cardboard discs.
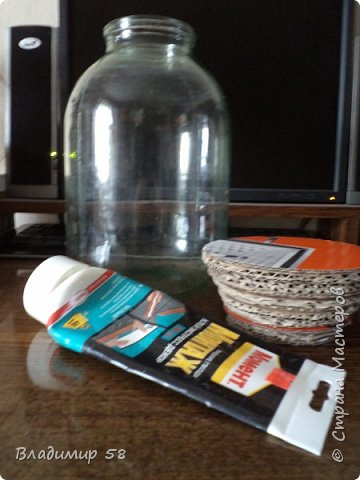
 Merge truncated cone.
 When the cone test and help make the bank above
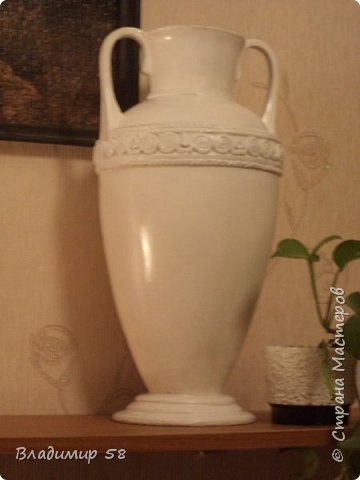
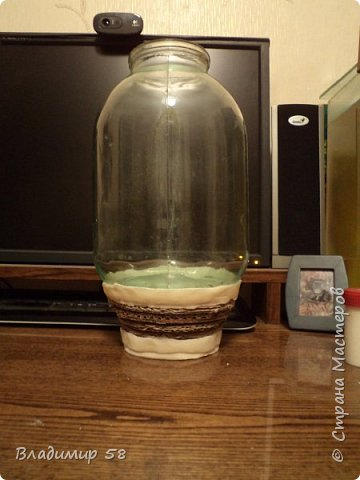 With the help of a plaster bandage begin forming the shape of our amphora.
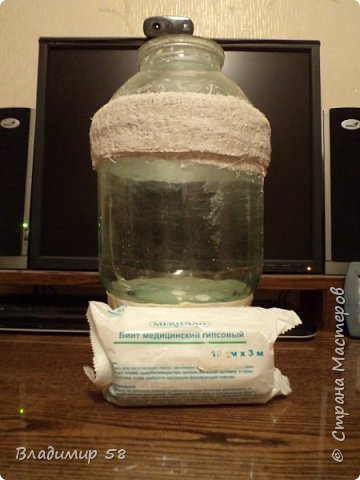
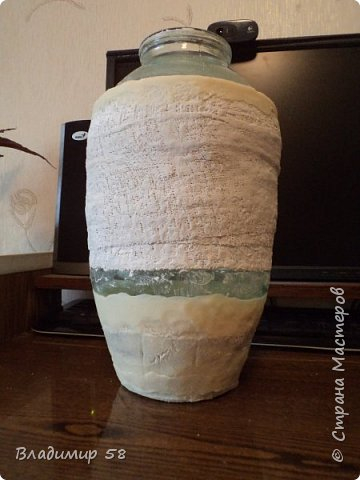 Most Bank of mayonnaise is ideal for the formation of the neck.
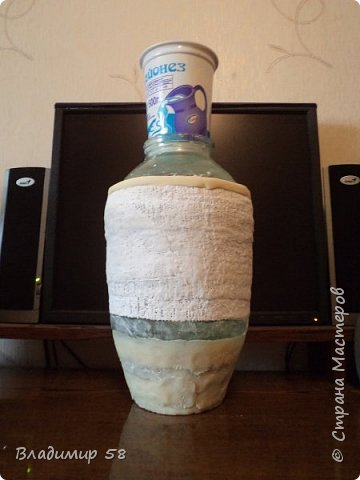 From cardboard collect the bottom of the vase.
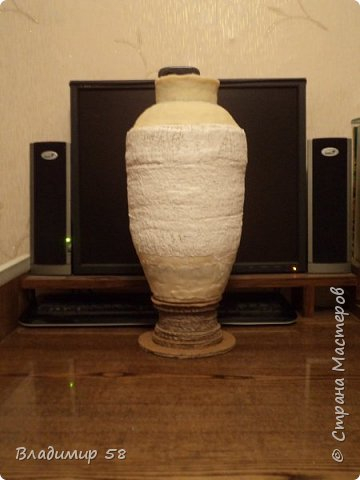 Fashioned treat and plastered putty.
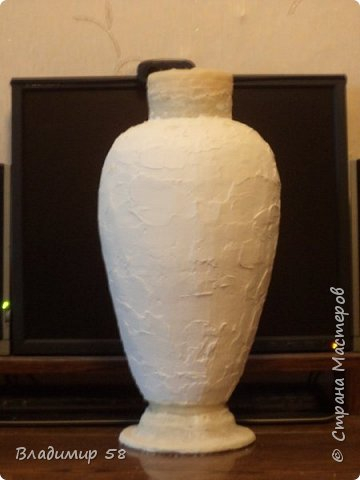 Vase turns so hard cardboard discs except for the reliability of the adhesive is twisted screws.
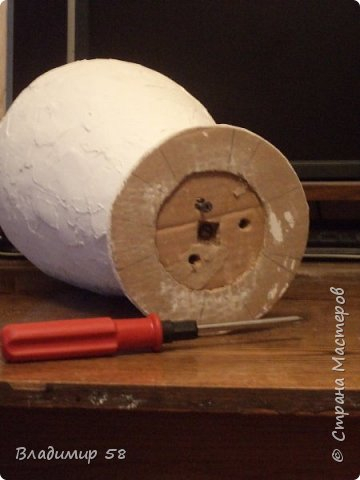 give us the necessary forms.
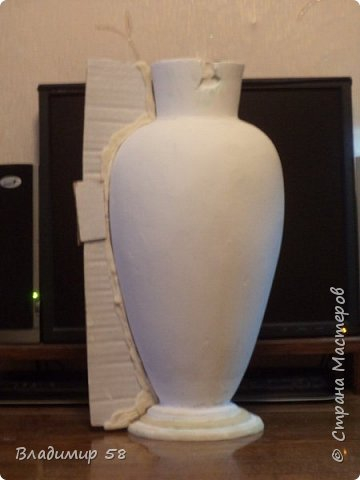 Preparations for pens.
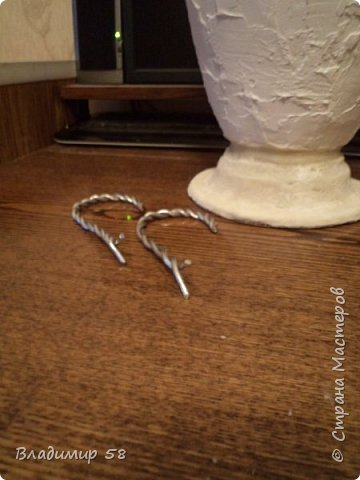 Fashioned from the test pen.
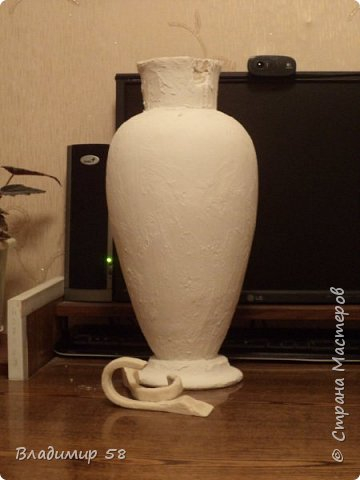 Glue Pens.
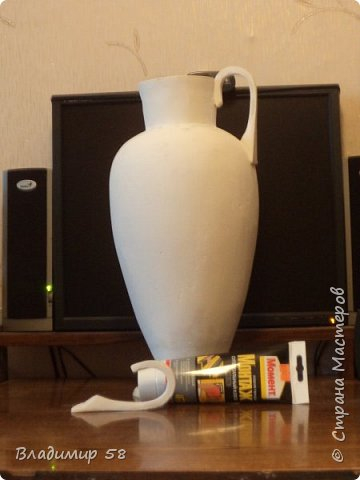 Make a rim under the ornament.
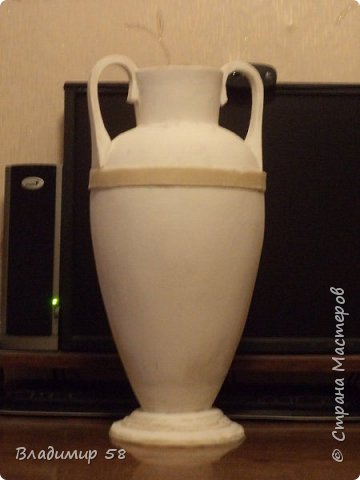
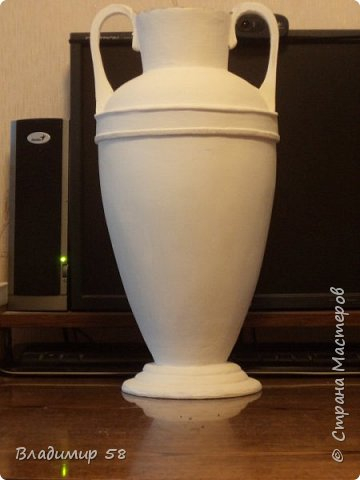 Lepim ornament.
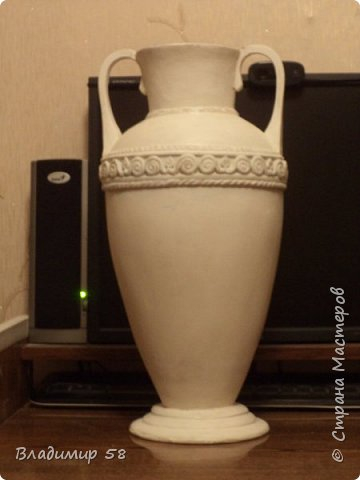 Neck cover several epoxy resin.
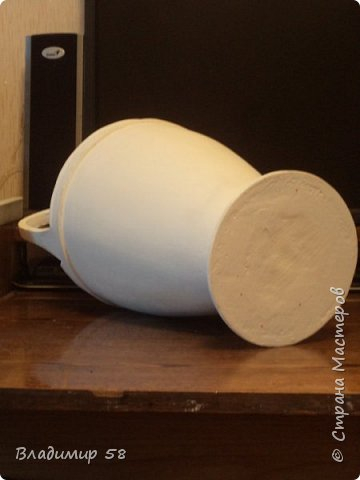
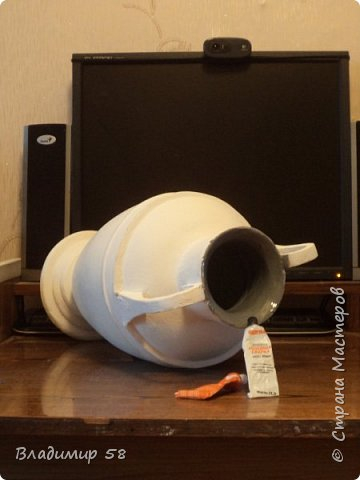 Prepare for painting the bottom of the vase.
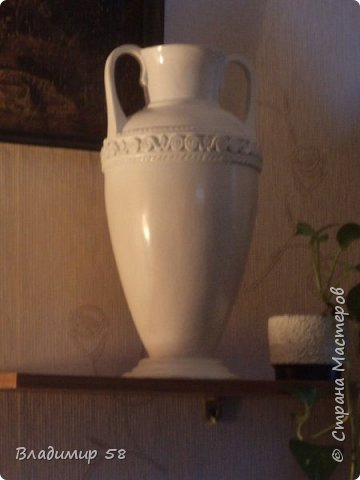
 Vase after painting with enamel.
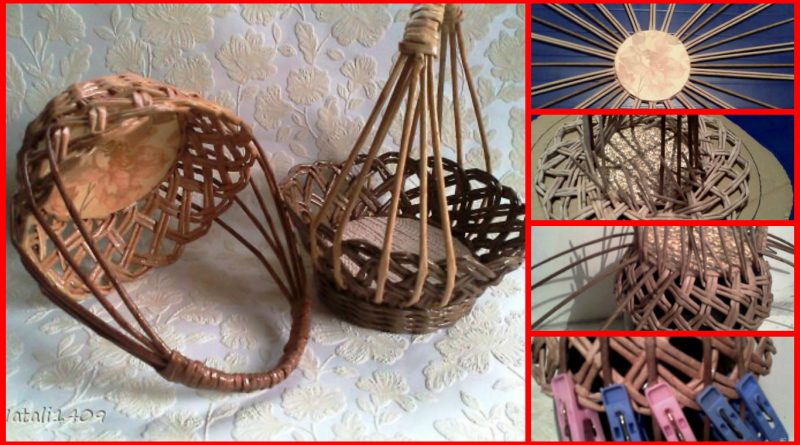
 we need:
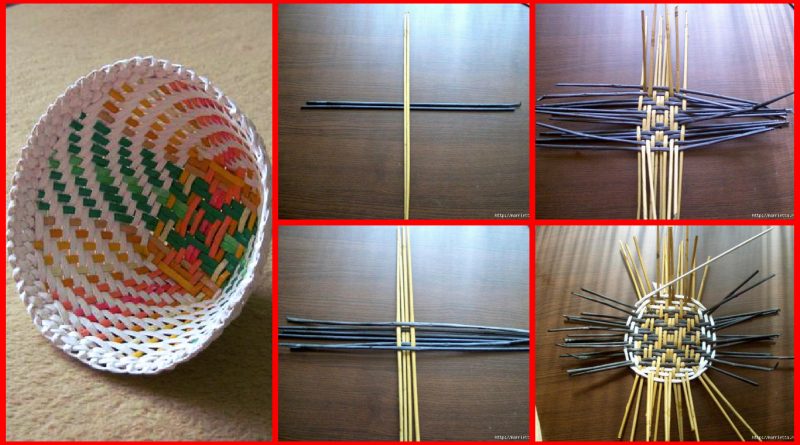
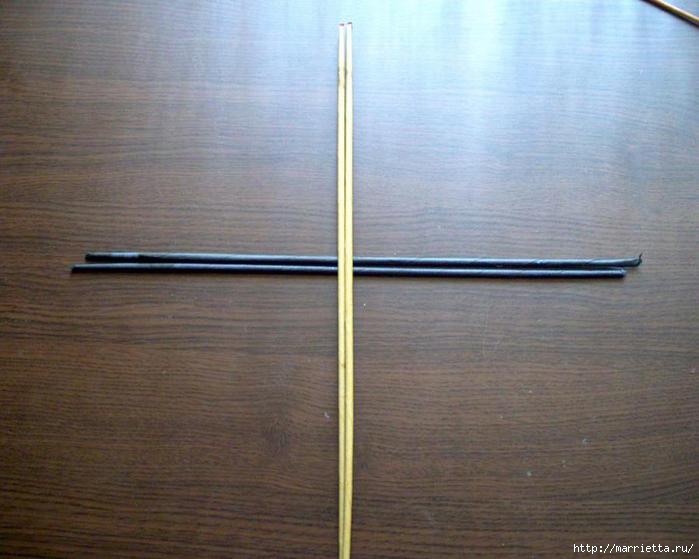
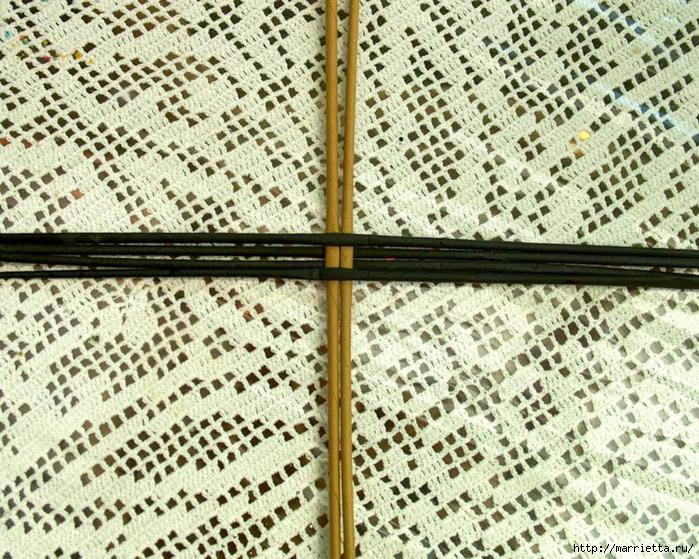
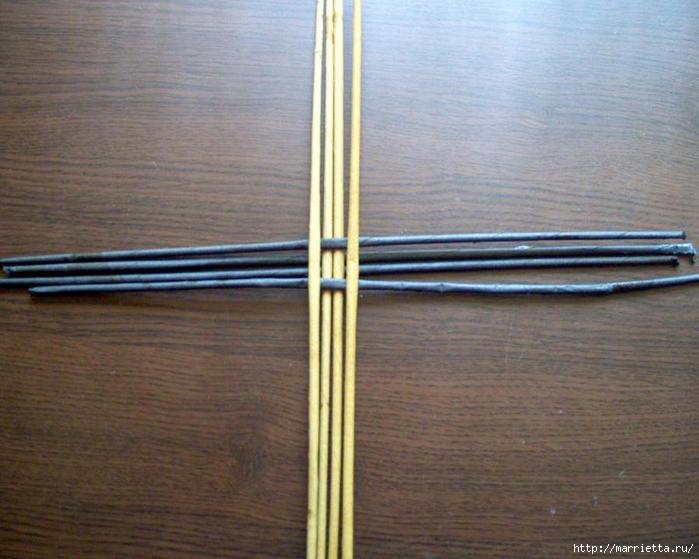
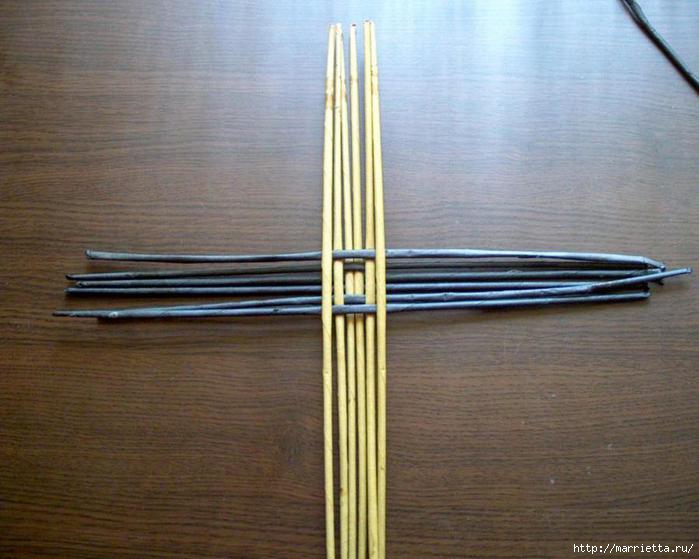
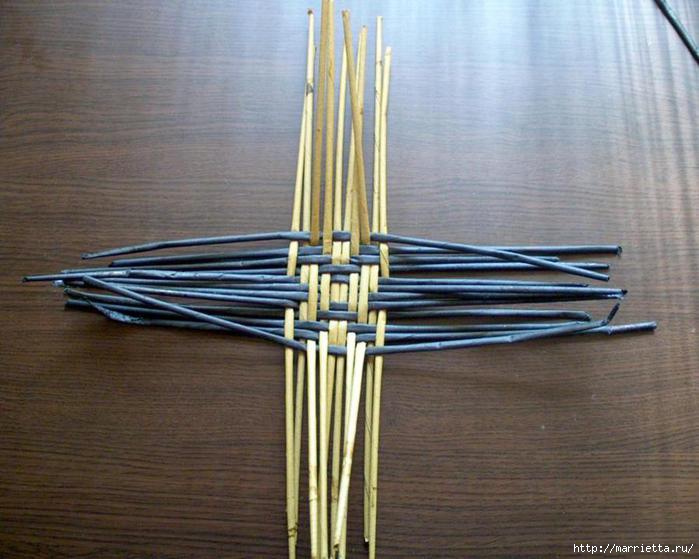
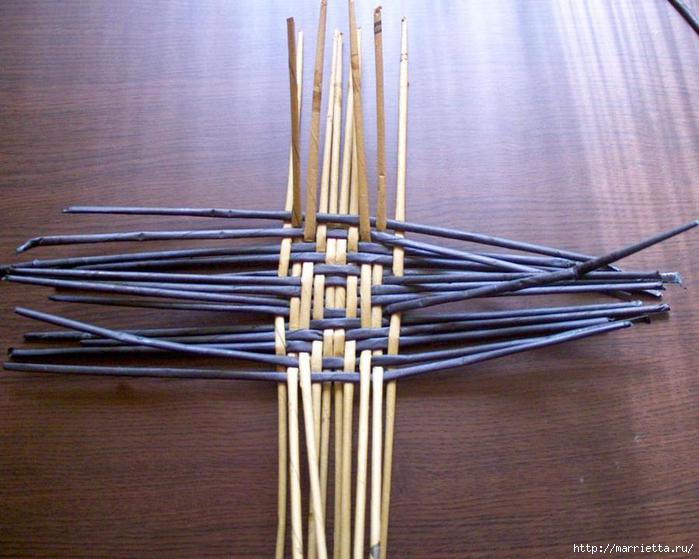
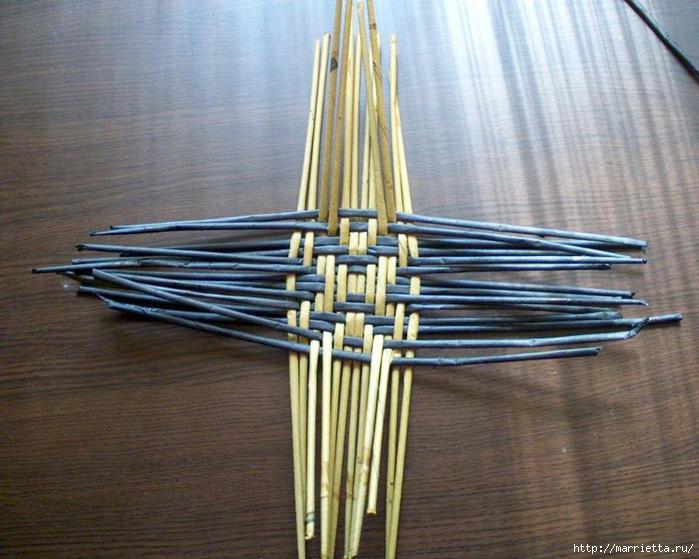
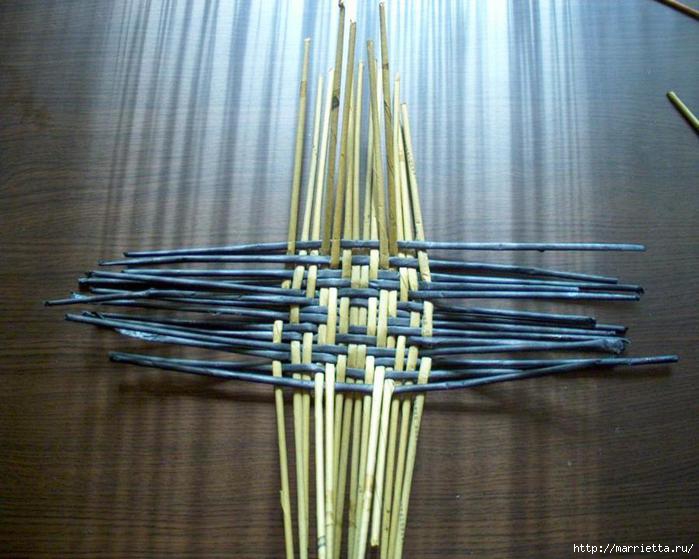
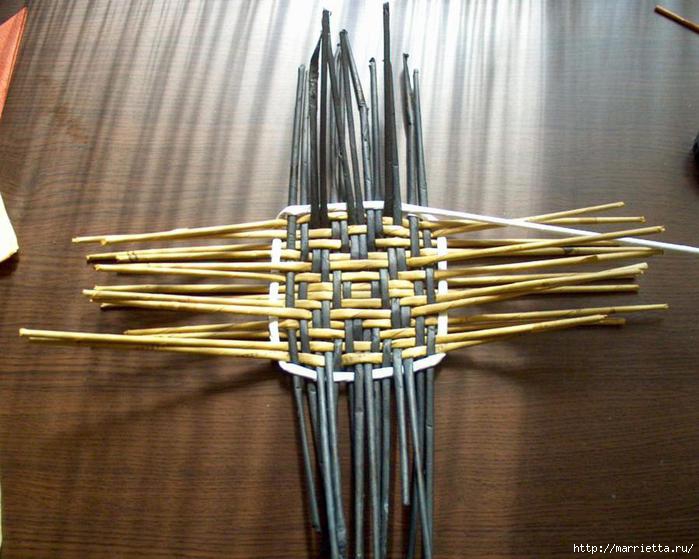
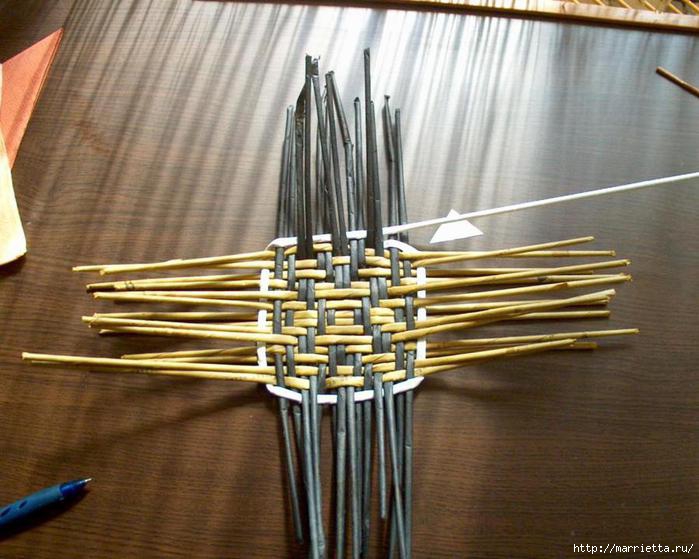
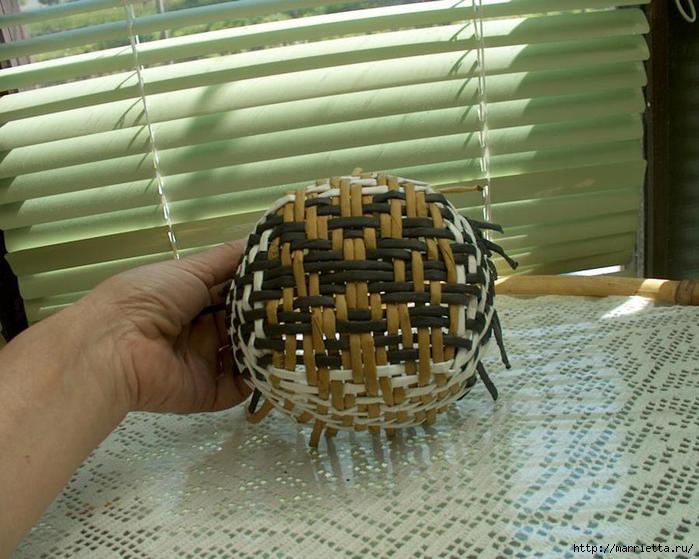
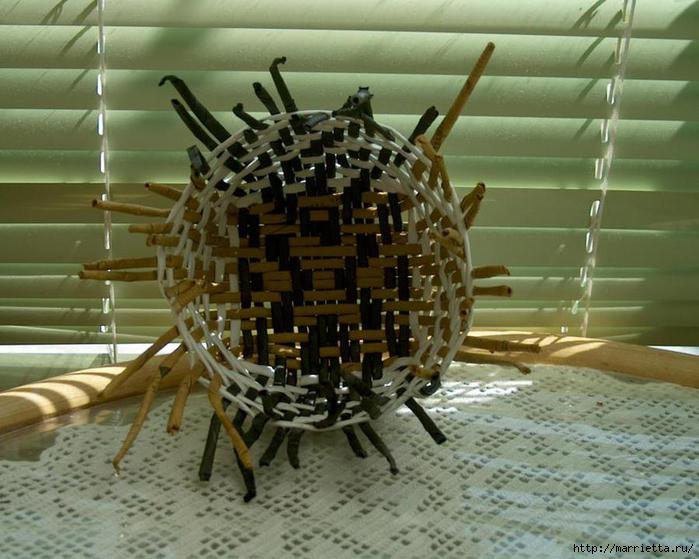
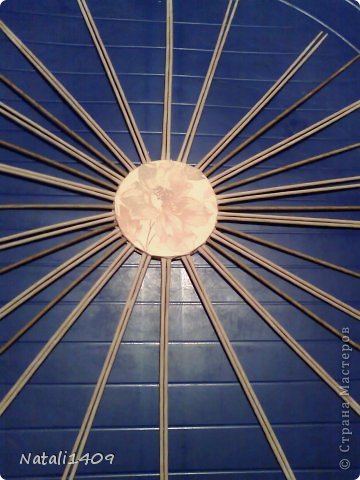
 Between cartons, wallpapered (I) insert 18 pairs of tubes (photo light) and 5 tubes for pins, placing them between pairs at a time. (5 tubes between the pairs, 4 pairs missing and another 5 tubes). I have them slightly darker.
 We raise our tubes for pens up and fastening a pin. The product is face down.
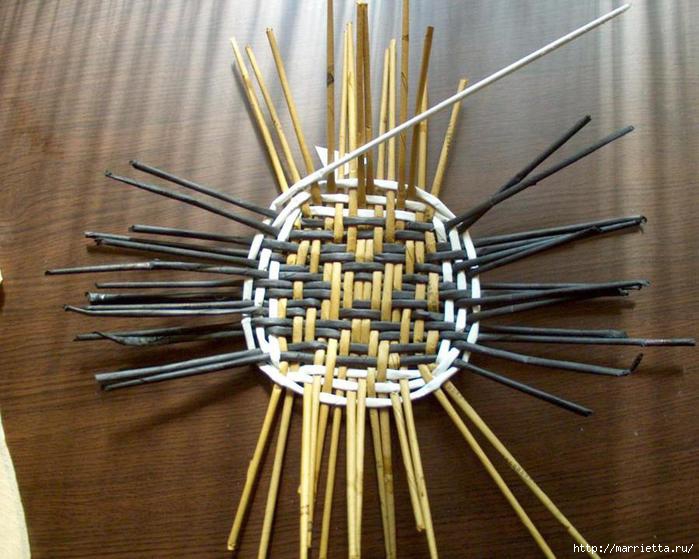
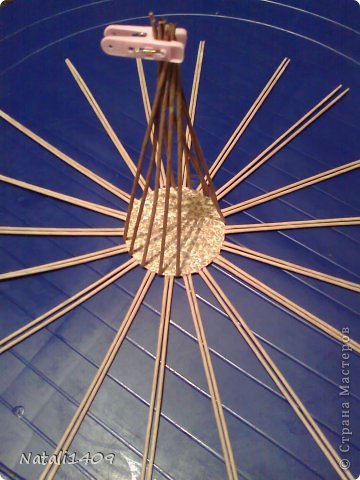 In our working pairs propel pigtails, ponytails from workers remove the tubes in the middle.
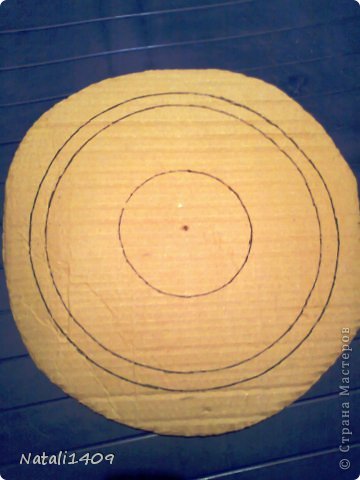
 For simplicity and convenience, I drew on the defective cardboard concentric circles. Small in diameter as our bedplate, and two others of your choice. 6-8cm on their radius greater than the radius of the smaller circle. It depends on how high you want to get candy.
 Set in the center at the bottom of a small circle, and our anchoring its masking tape.
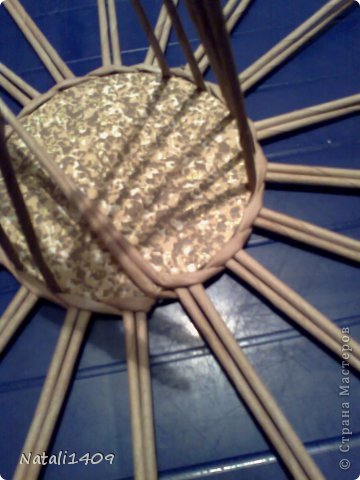
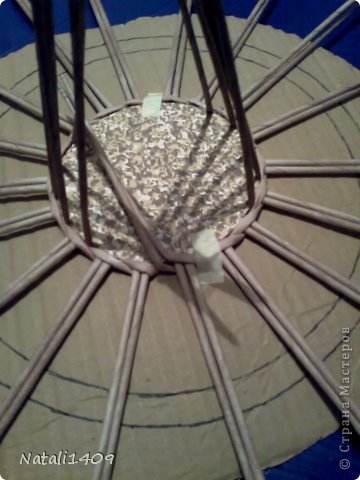 Now we carry out any trouble. I have a couple of tubes over the first, under the second, over the third, a fourth, and displayed on the top. The main requirement is that the tubes were wetted and after the last binding went up.
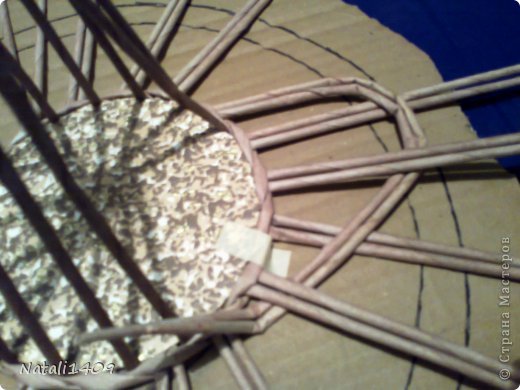 I moved counterclockwise. To do so with all the pairs. At the same time, we look to the fold height touched our circle. In this basket, I chose a smaller circle.
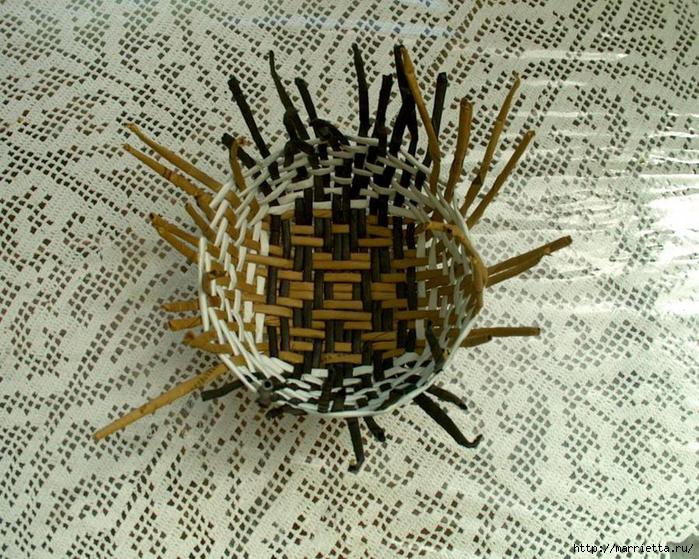
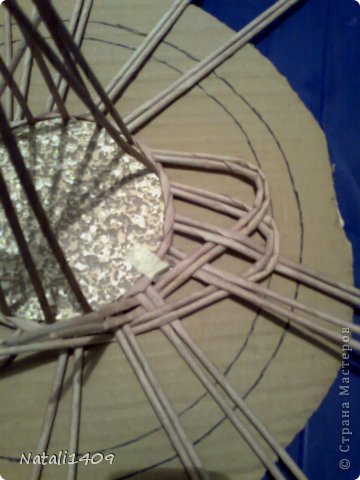 This is what happens when we have completely stranded all pairs of tubes. Now you are all good provisos, pull, etc.
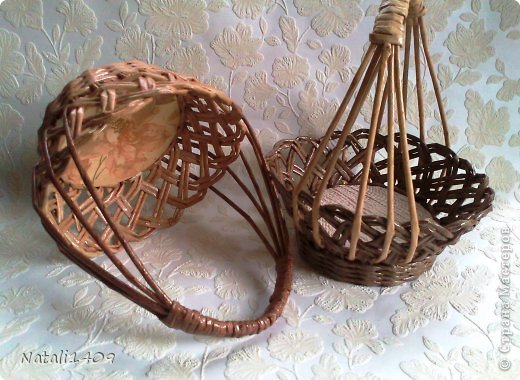
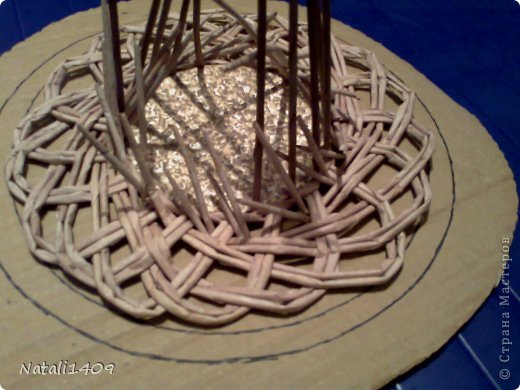 Next, remove the masking tape and our entire structure is placed upside down on a 3-liter. Carefully drop the cover down, clutching. Our tails raising up- and tubes to the handle go down.
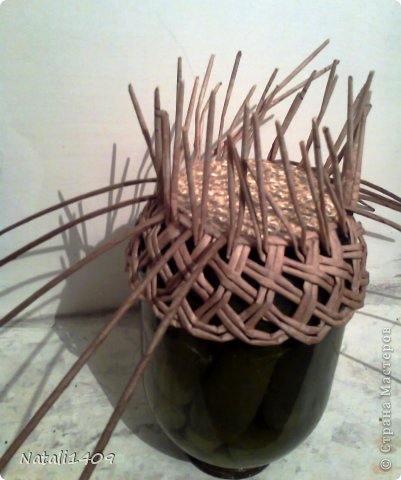 Ducts for the handles are glued to the binding and fixing pegs. And our 3-series ponytail weave rope. The tubes are cut off. Flips the product and make out the handle.
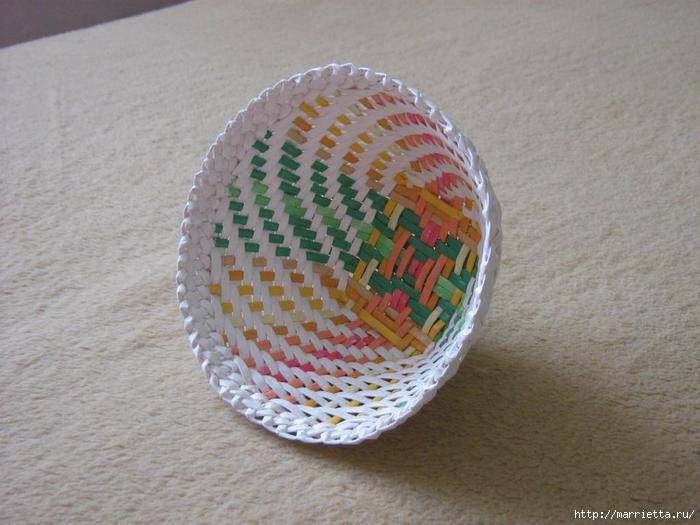
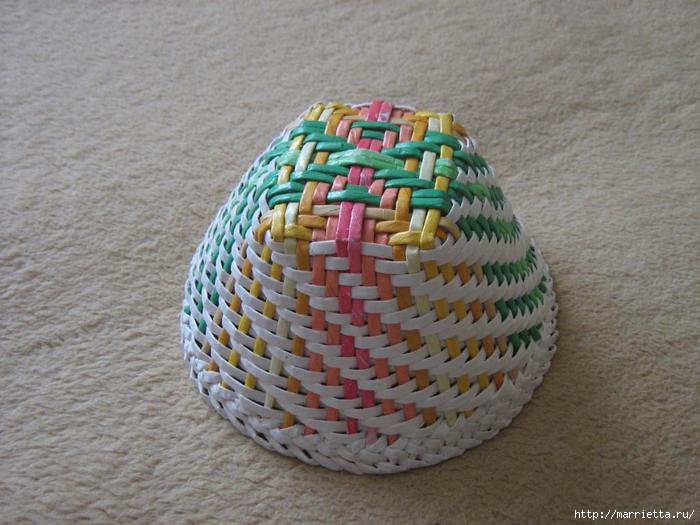
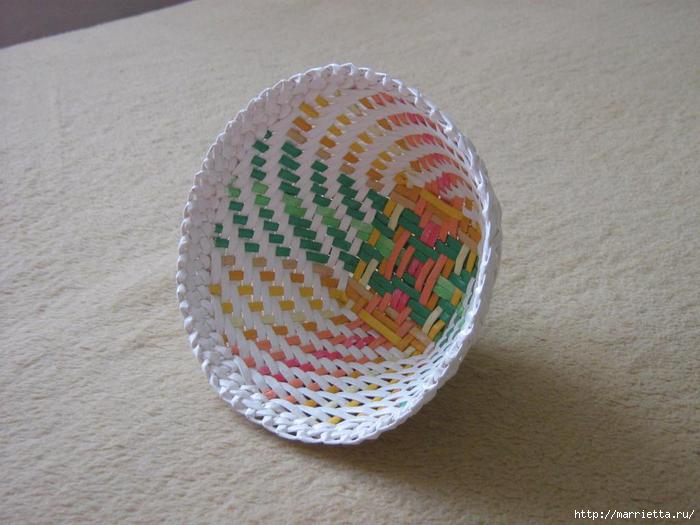
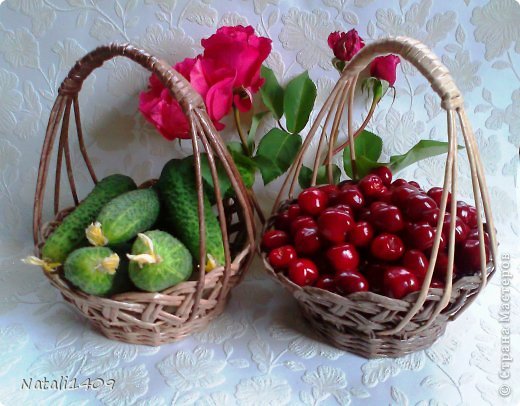
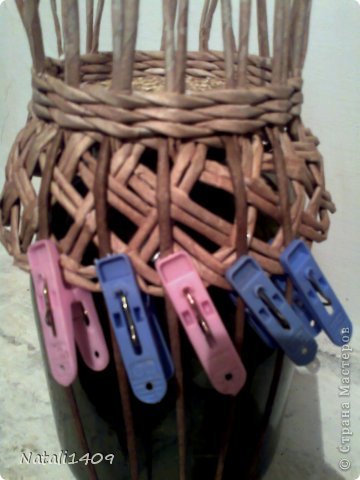 Handle simple. it does not bear the load. Because simply I gathered her tubes and wrapped them. Korzinulka ready.
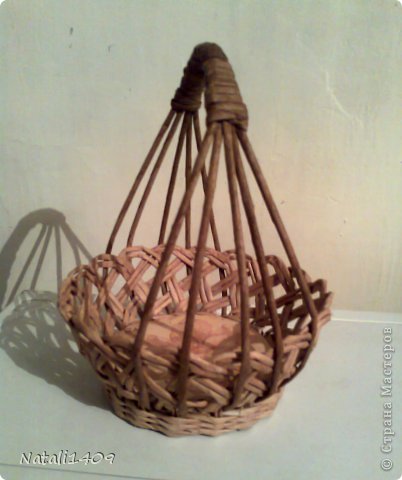 That’s about what happens.
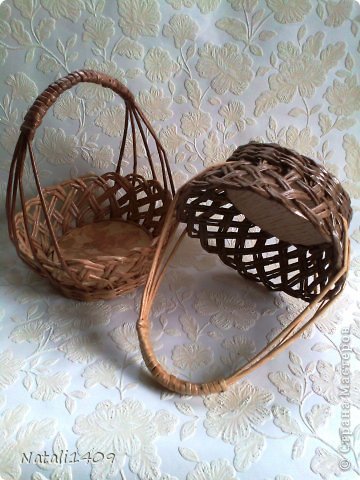 Since the candy in the country (for some reason) do not grow, you have to use them in other ways.