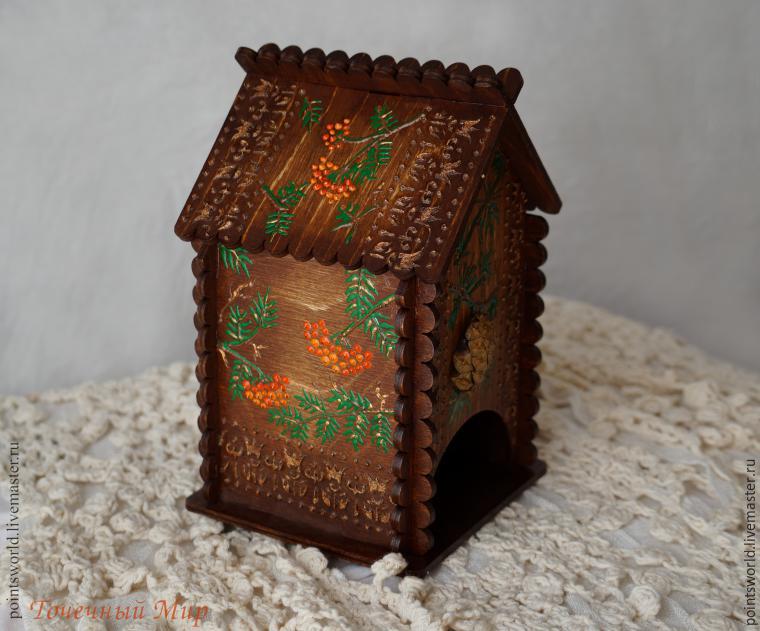
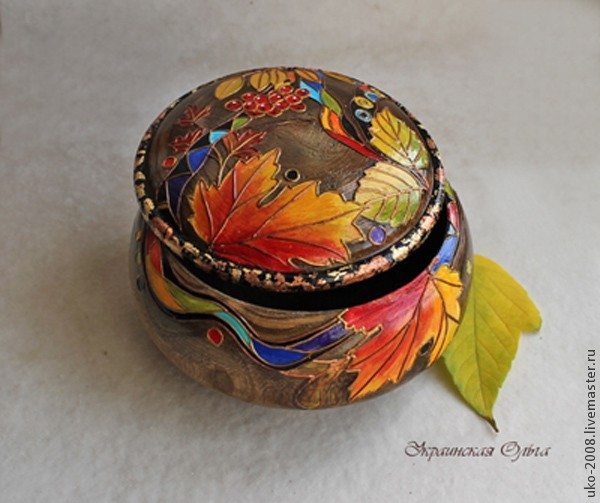
Posted onJanuary 11, 2017inDecorations, DIY, Other, Step by step, Tutorial How to make beautiful tea house
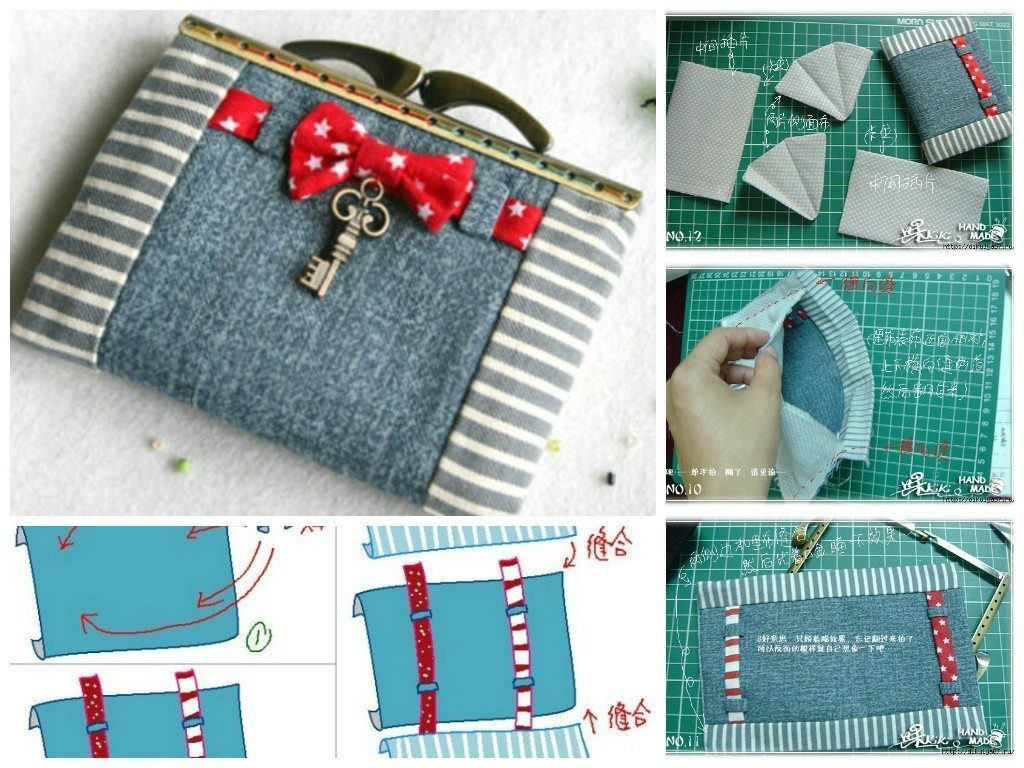
Posted onJanuary 9, 2017inDIY, Other, Step by step, Tutorial DIY Miniature casket made of plastic canvas