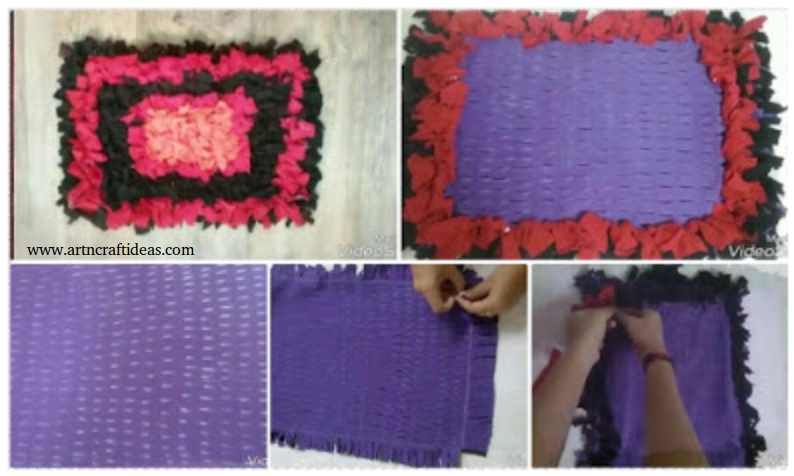
Posted onJune 1, 2017inBest out of Waste, DIY, Tutorial, Video DIY Shag rug from old T-Shirt (No Sew)
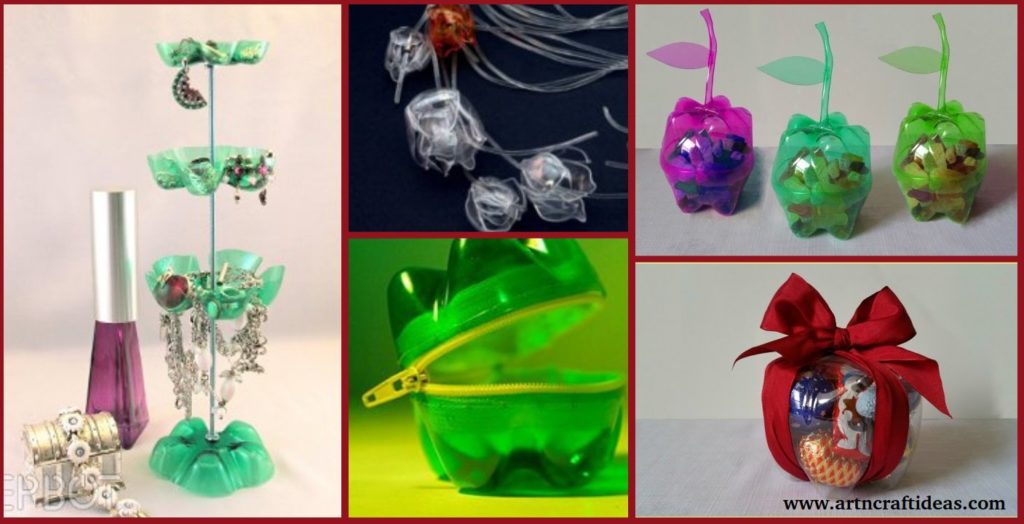
Posted onMay 25, 2017inBest out of Waste, DIY, Tutorial DIY Creative Ways To Reuse Old Plastic Bottles
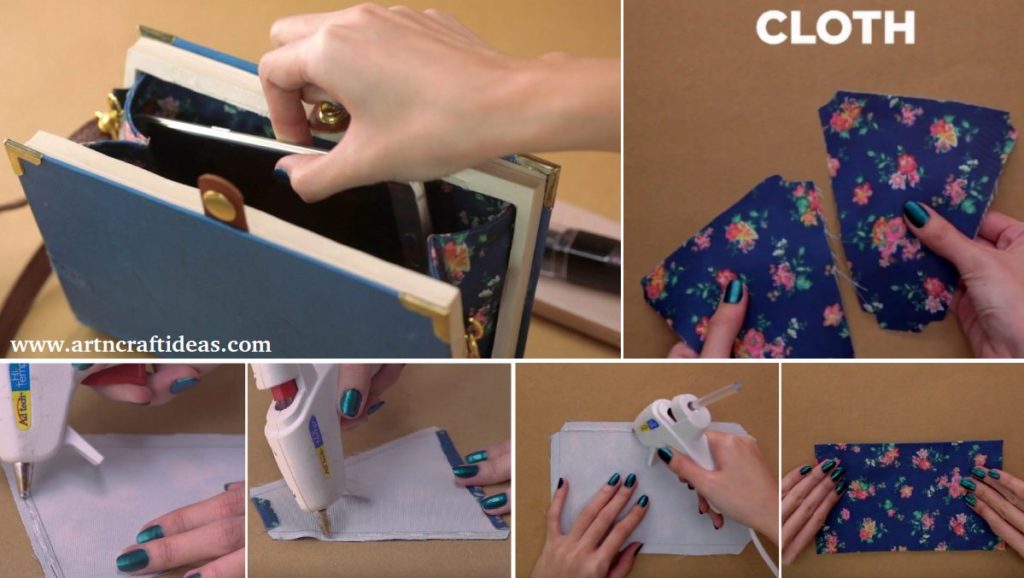
Posted onMay 21, 2017May 21, 2017inBest out of Waste, DIY, Step by step, Tutorial How To Make A DIY Book Clutch Tutorial – Step by step
Posted onMay 20, 2017May 16, 2017inBest out of Waste, DIY, Home Decor, Ideas, Kids Crafts 20+ Easy DIY Toilet Paper Roll Craft Ideas