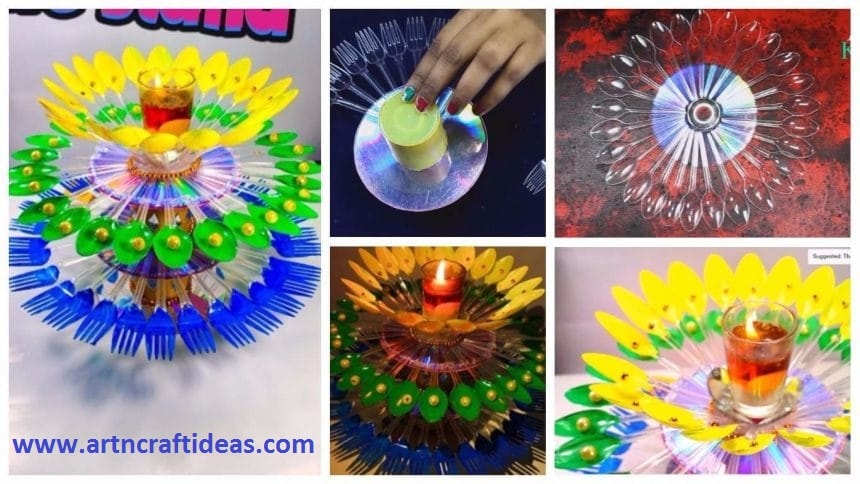
Posted onJuly 6, 2017July 6, 2017inBest out of Waste, Christmas, Craft, Diwali, DIY, Home Decor, Tutorial How to Decorate Candle Holder/Stand from Plastic Spoons
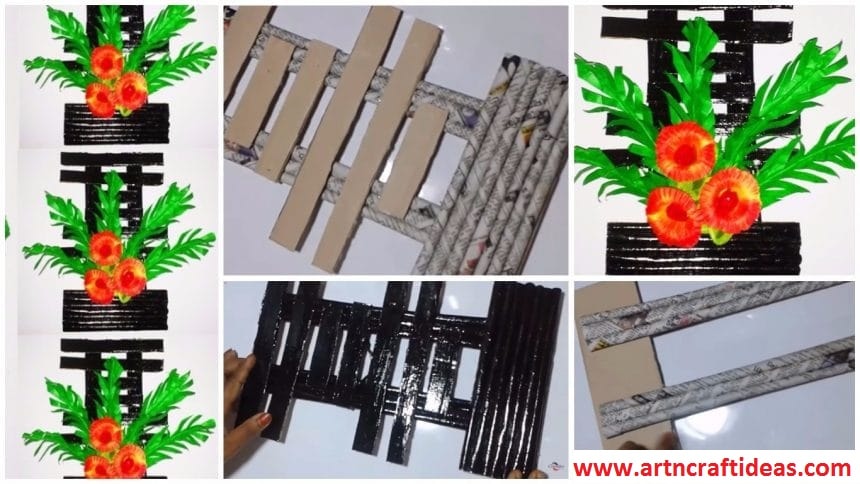
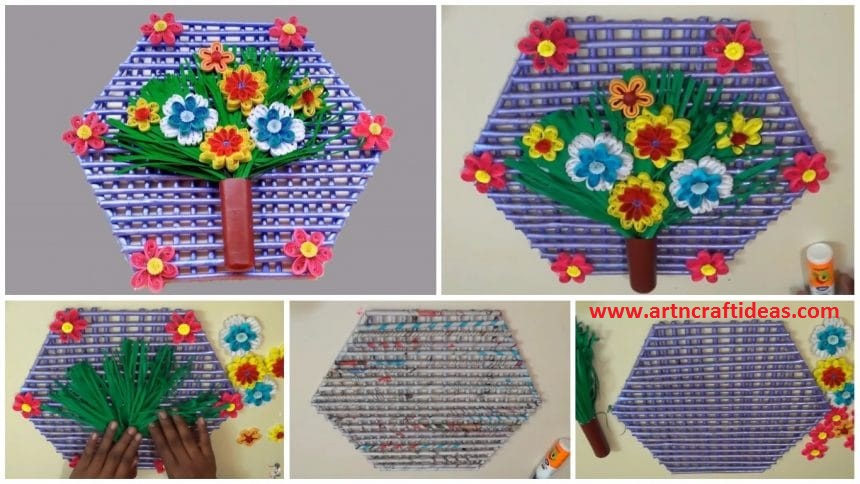
Posted onJuly 6, 2017inBest out of Waste, Craft, Home Decor, Newspaper Crafts, Tutorial How to Make Handmade Newspaper Wall Hanging
Posted onJuly 6, 2017inBest out of Waste, Craft, Newspaper Crafts, Quilling, Tutorial Paper quilling wall hanging design for room decoration
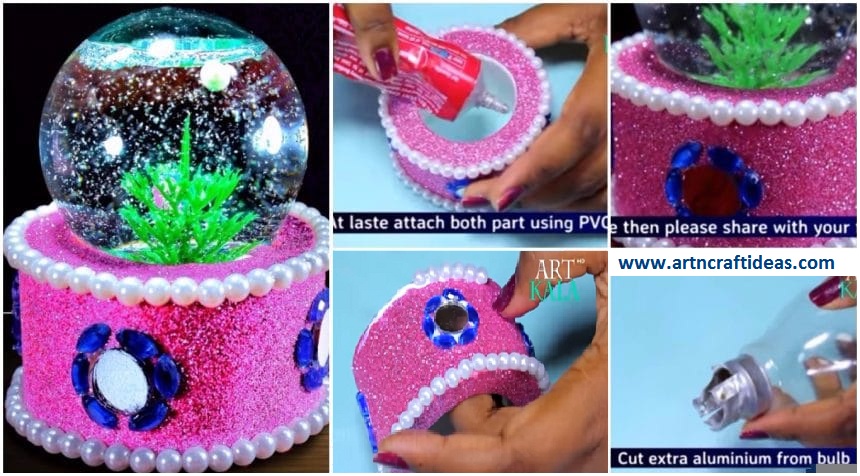
Posted onJuly 5, 2017July 5, 2017inBest out of Waste, Craft, DIY, Tutorial How to make snow globe from waste fuse bulb best out of waste
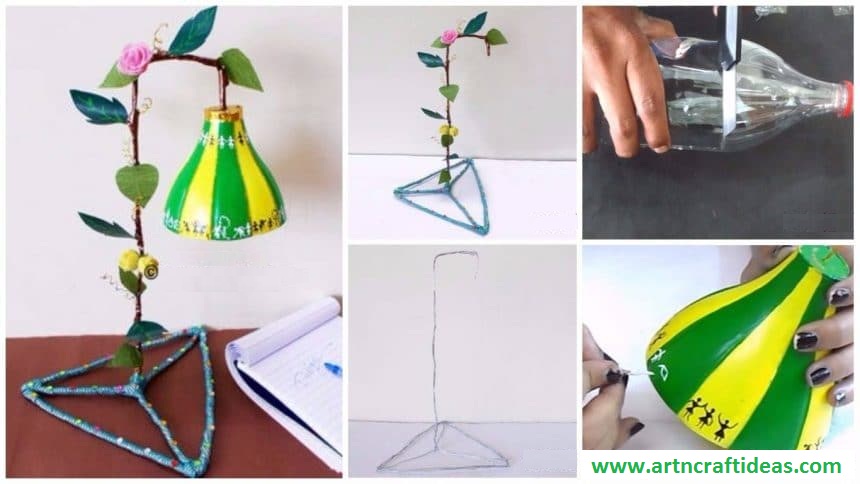
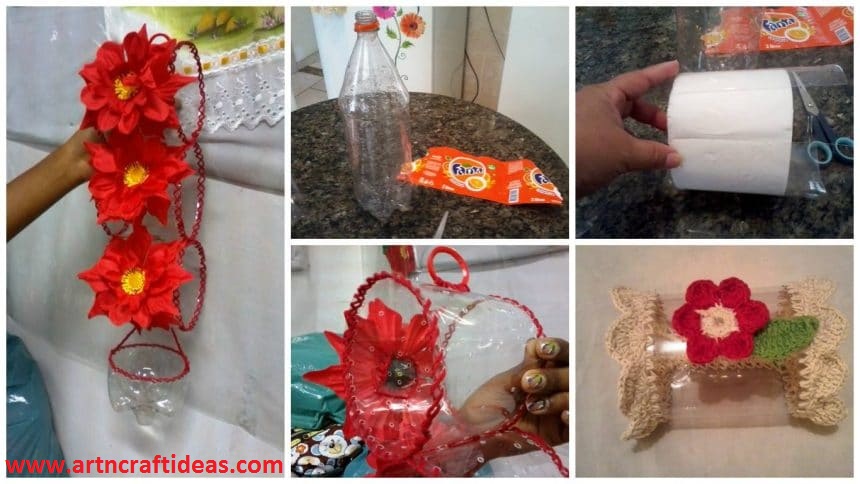
Posted onJuly 5, 2017inBest out of Waste, Craft, DIY, Tutorial How to Make Toilet Paper Roll Holder from Plastic Bottle
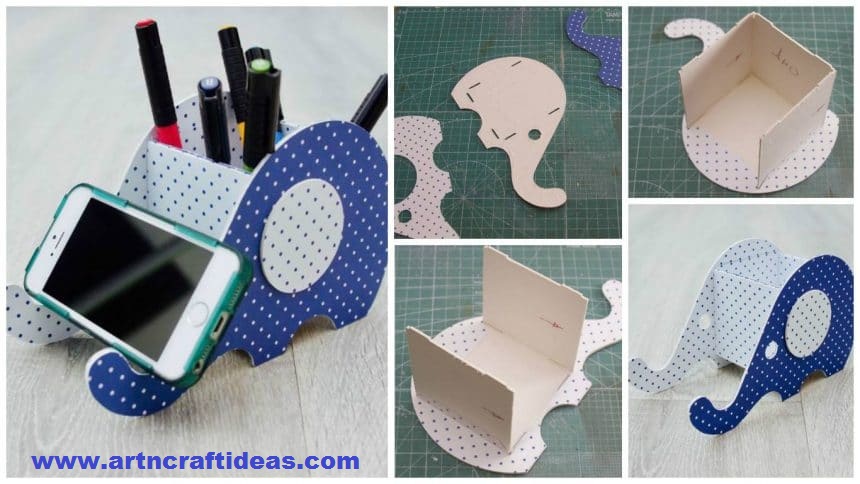
Posted onJuly 2, 2017inBest out of Waste, Cardboard Crafts, Craft, Paper Crafts, Step by step, Tutorial How to make paper and cardboard stand-organizer “Elephant” for the tablet
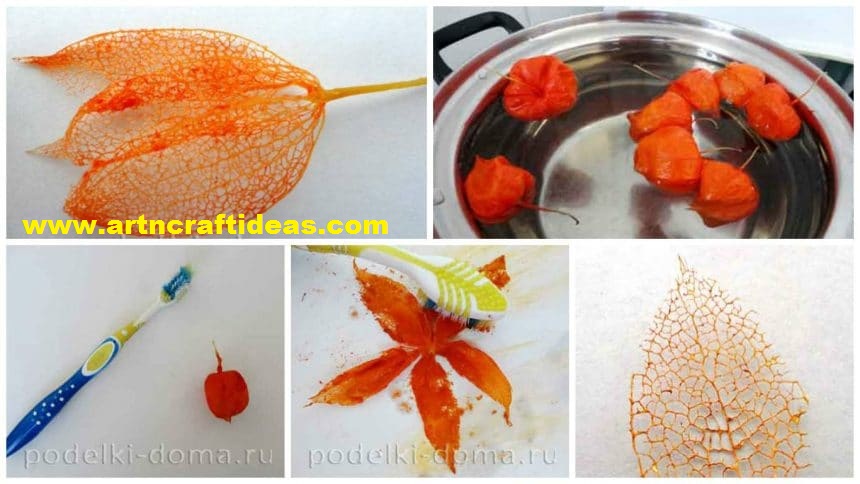
Posted onJuly 1, 2017inBest out of Waste, Craft, Tutorial How to make a skeletonization of leaves at Home
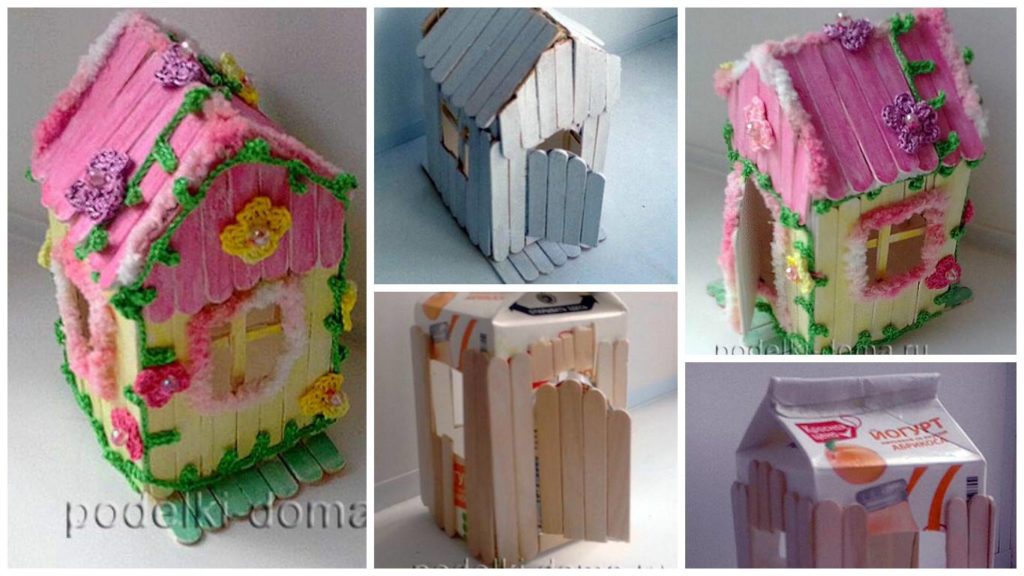
Posted onJuly 1, 2017July 1, 2017inCraft, Kids Corner, Tutorial How to Make a Ice Cream Stick House for Baby Doll