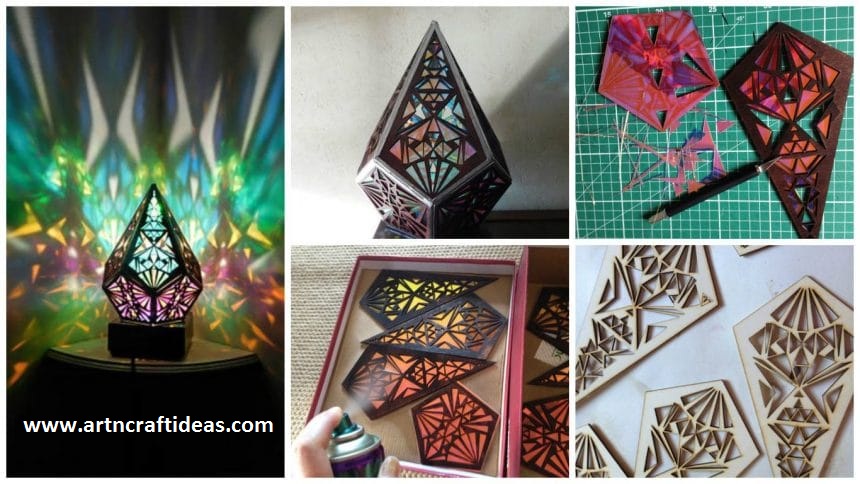
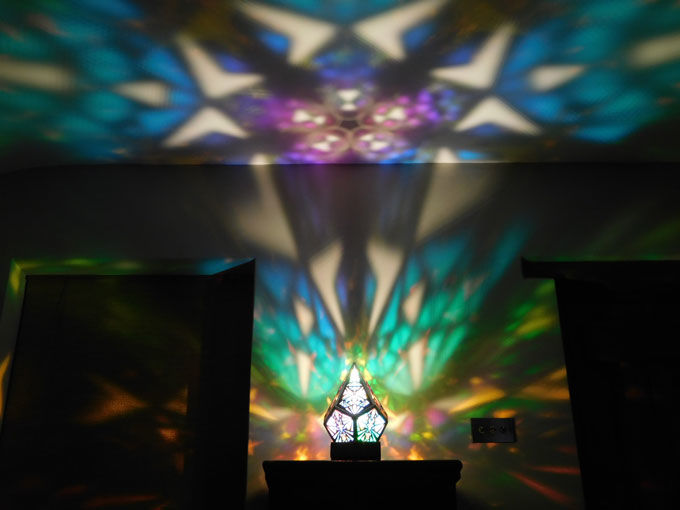
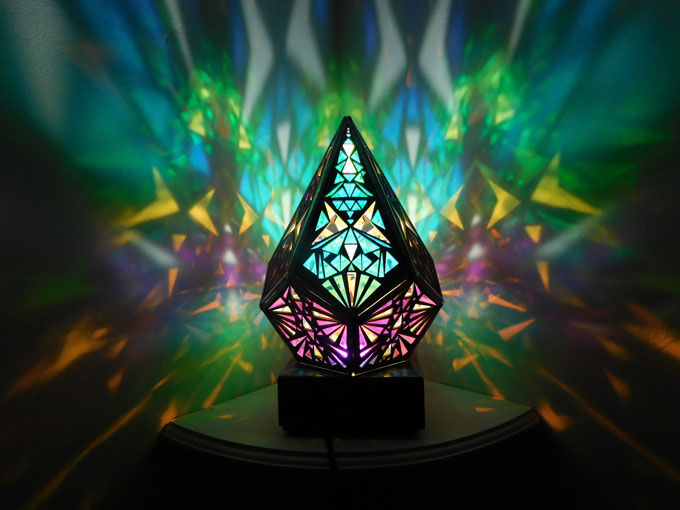
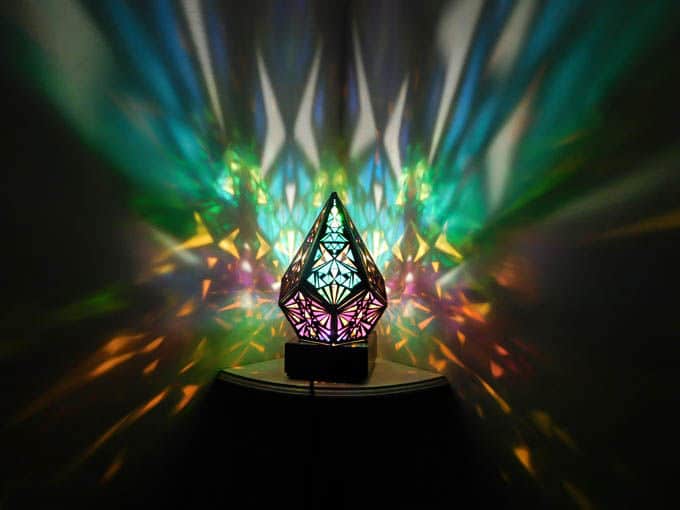
The Five Pointed Prism lamp is made up of ten geometrical panels, which makes a prism, displaying the same repeated pattern all the way through giving out beautiful rainbow colours around your chosen space
I use only LED lighting in my designs to contribute to keeping the environment friendly.
Step 1: Begin Drawing/Designing Geometric Shapes
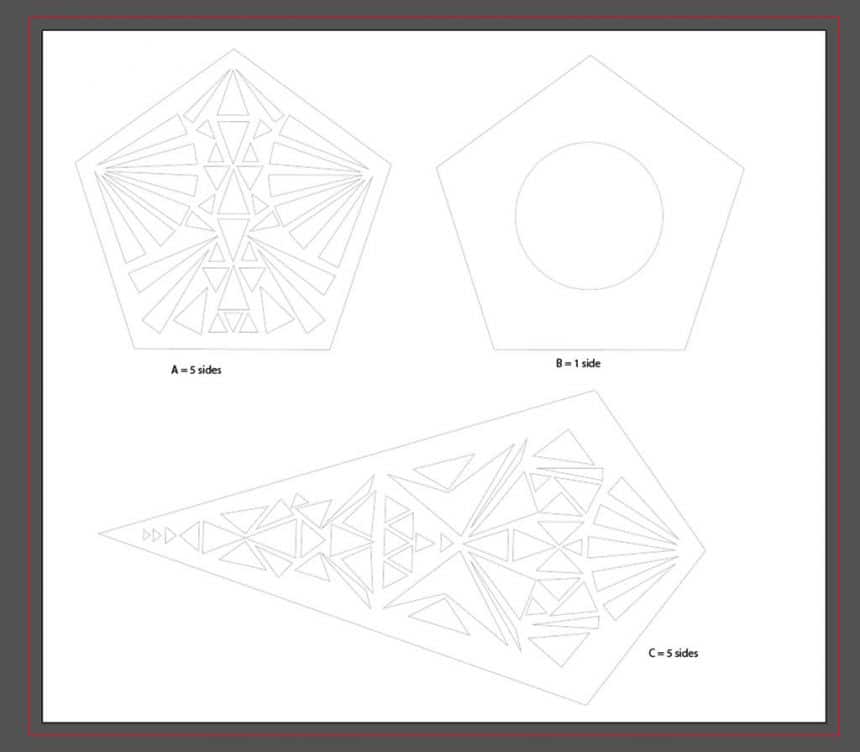 I begin by drawing my design on paper with rough sketches. I really enjoy geometrical shapes so I wanted to design one. I have had many failures on this design as I was not getting the mathematical measurements correct but I got there in the end. This is then drawn in illustrator to make this mathematically correct. I then send this file to a local laser cutter company to get these cut out of birch wood.
Step 2: Staining, Attaching Acrylic Film to Templates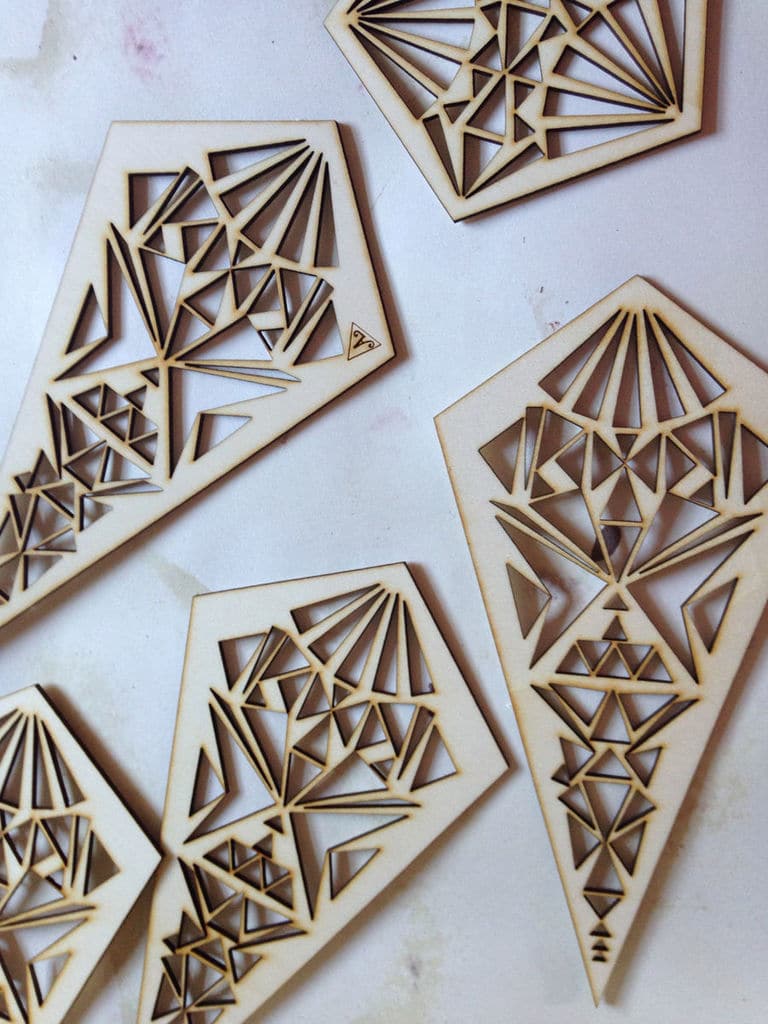
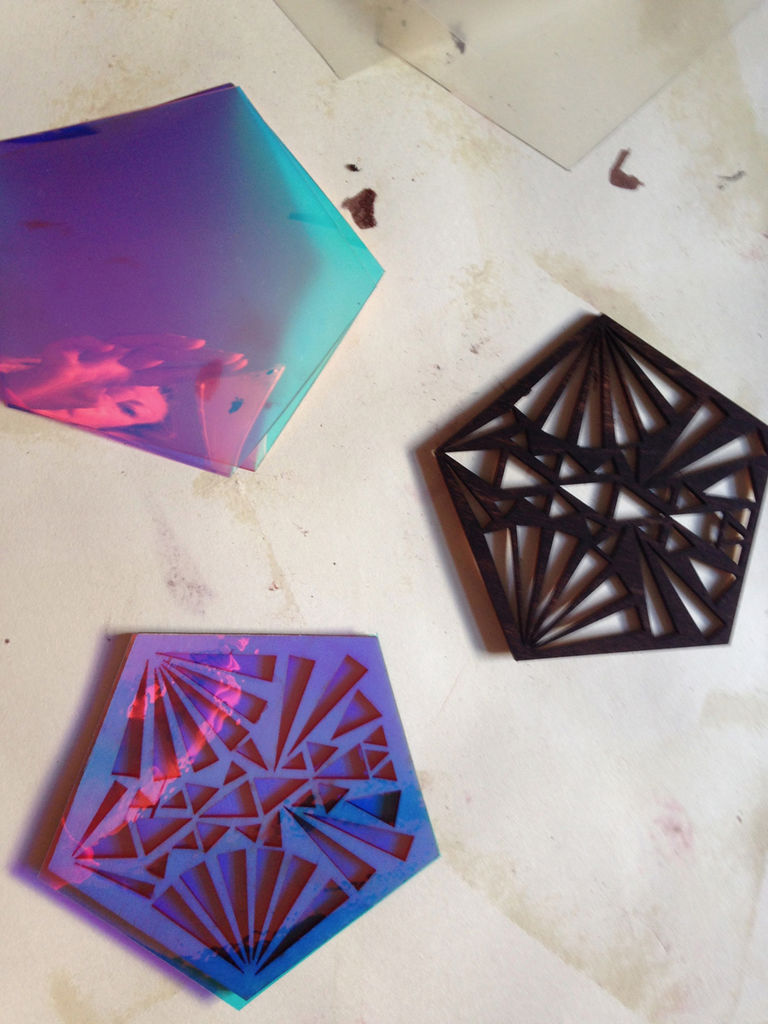
When the 10 templates have been cut (5 large and 5 small) to make a prism shape, I then stain the wood in a rich dark chocolate colour and leave to dry.
To get the wonderful colours, I use an acrylic iridescent fil.
Adding the acrylic film:
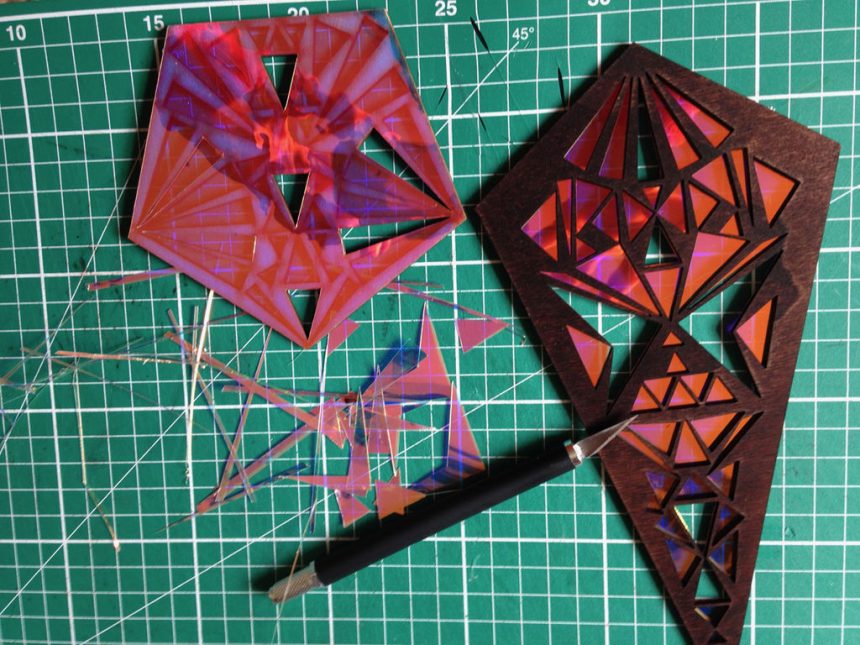
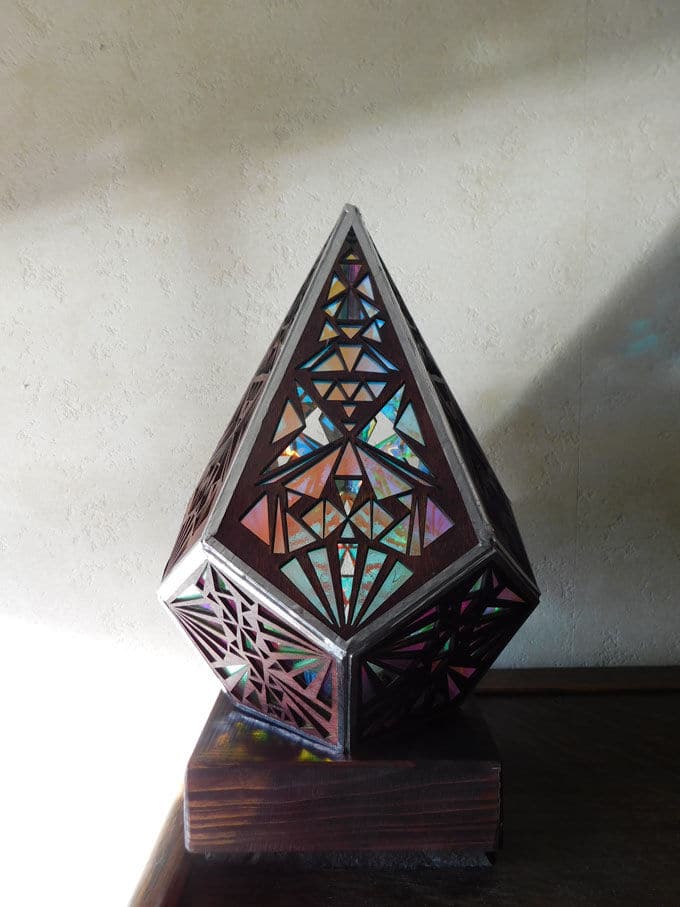
I then cut out the correct size shapes out of iridescent acrylic film by hand, This acrylic film is super colourful, covering the whole rainbow spectrum, purples, pinks, oranges, greens, blues and from metallic and copper colours, depending where you view the material from as this changes in an instance from one angle to the next
This is then stuck to one side of the wooden templates.
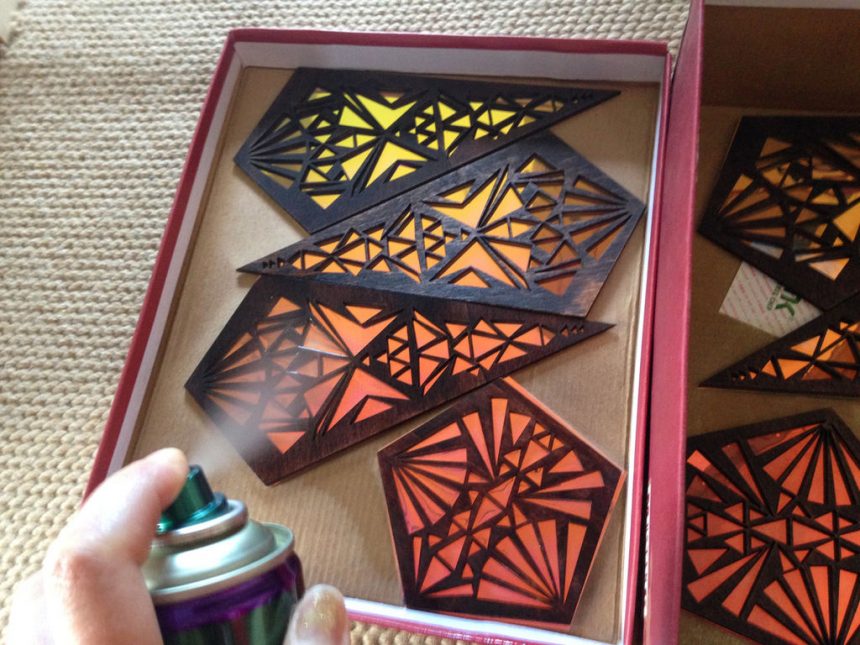
I have to spray the wooden template to set the film as it has an adhesive so this stops any dust attaching while its sticking to the wood.
As seen in the images, you can see the film gives out a real colourful coppers & metallic colours as well as blues/purples, this is the great thing about the material. While this is setting for 24 hours, I get to work with making the wooden base.
Step 3: Base Making
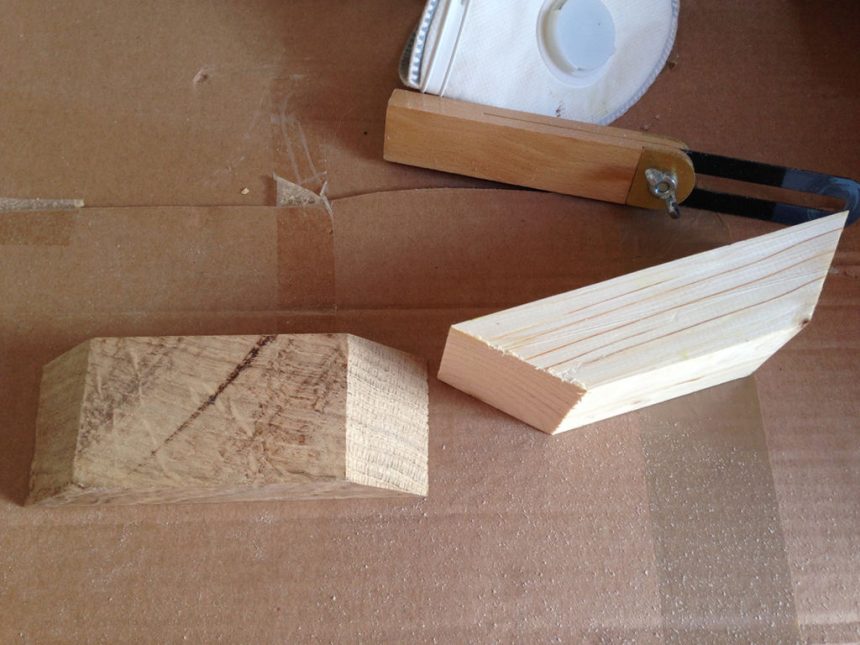
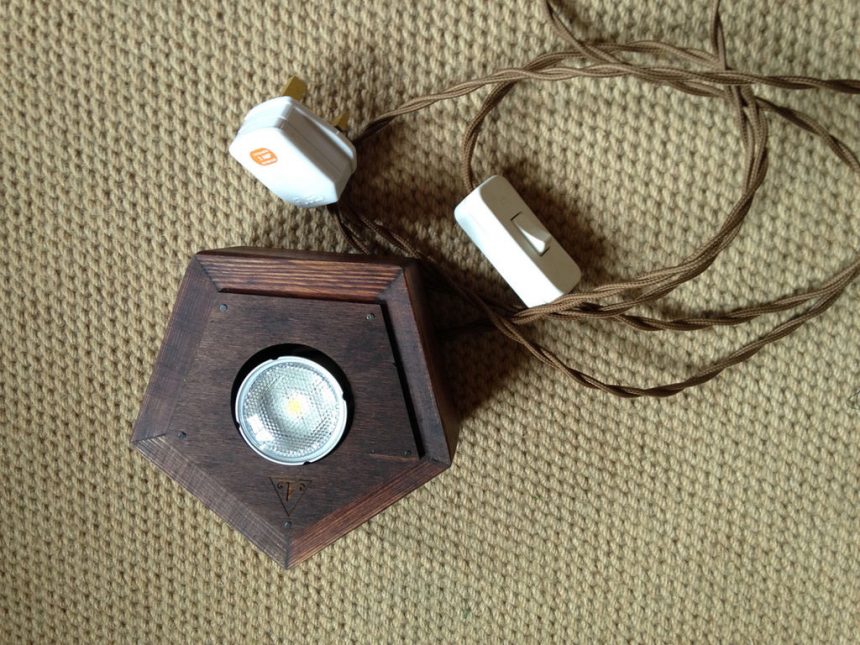
The wood varies from oak, ash, birch, rose, walnut, basically any thing I can get my hands on, from local saw mills, suppliers and wood merchants. Up cycled wood comes into my projects a lot as I like to use wood which people don’t require any more from tables, chairs, doors any thing really. I also find wood in forests.
You have to make sure the wood is air-dried for at least a good 18months other wise the wood splits.
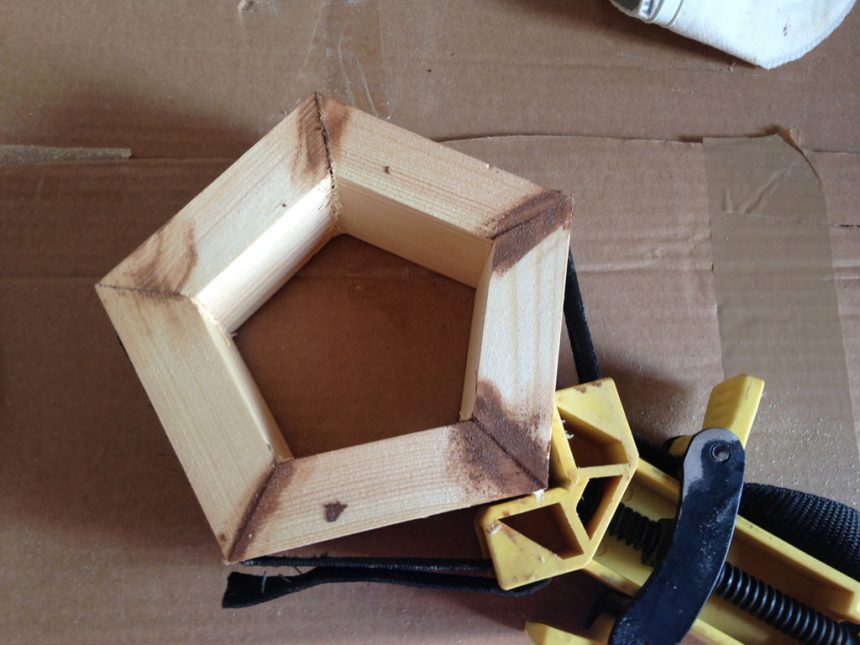
I then cut this to size on my a table saw. I then clamp 5 sides together and leave to set for 24 hours. When set, I then sand this down with 3 different grits to get a clean finish, leaving the wood smooth and soft.
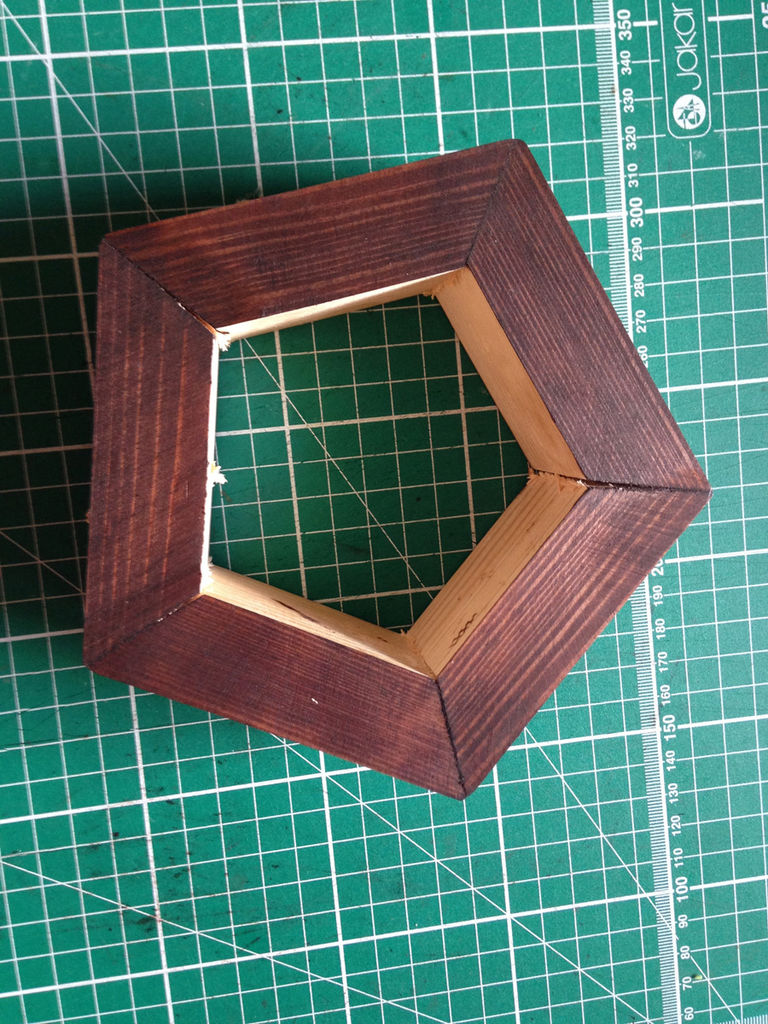
I then stain the wood in the rich dark chocolate colour to match the wooden templates.
Next stage is wiring up the lamps. I use a vintage spiral cord and only use LED bulbs for my lamp.
Step 4: Back to Lampshade Making
Now the acrylic film is set, I use my craft knife to cut out shapes with in the template. This takes time as I have to be vary careful to not cut where is not need as this will show through when light is projecting. Cutting the shapes out lets the natural light beam through.
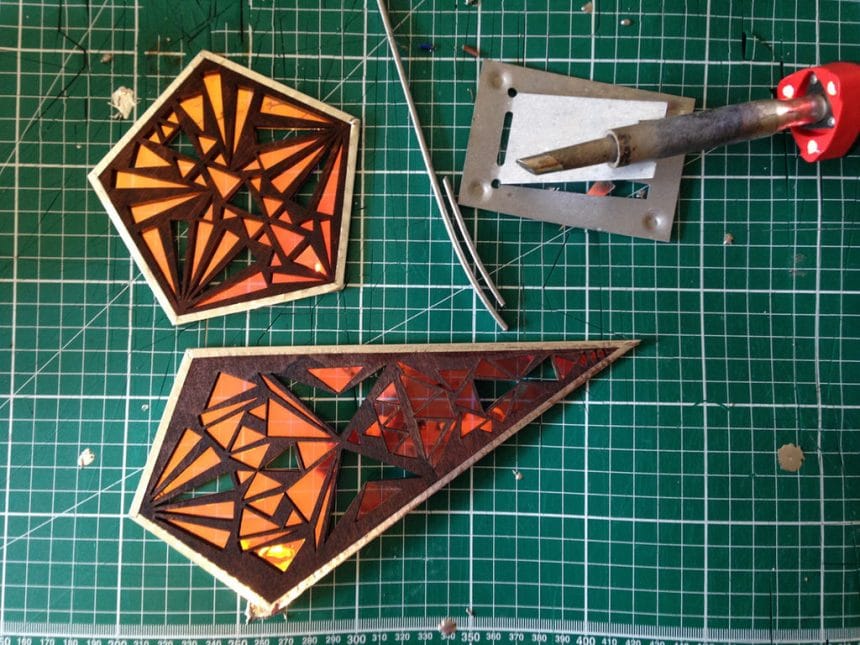
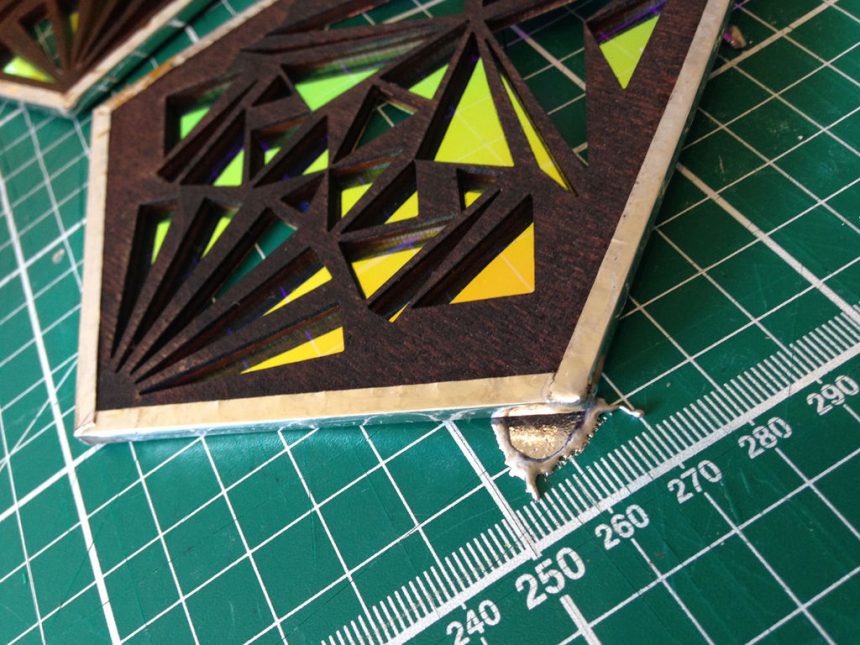
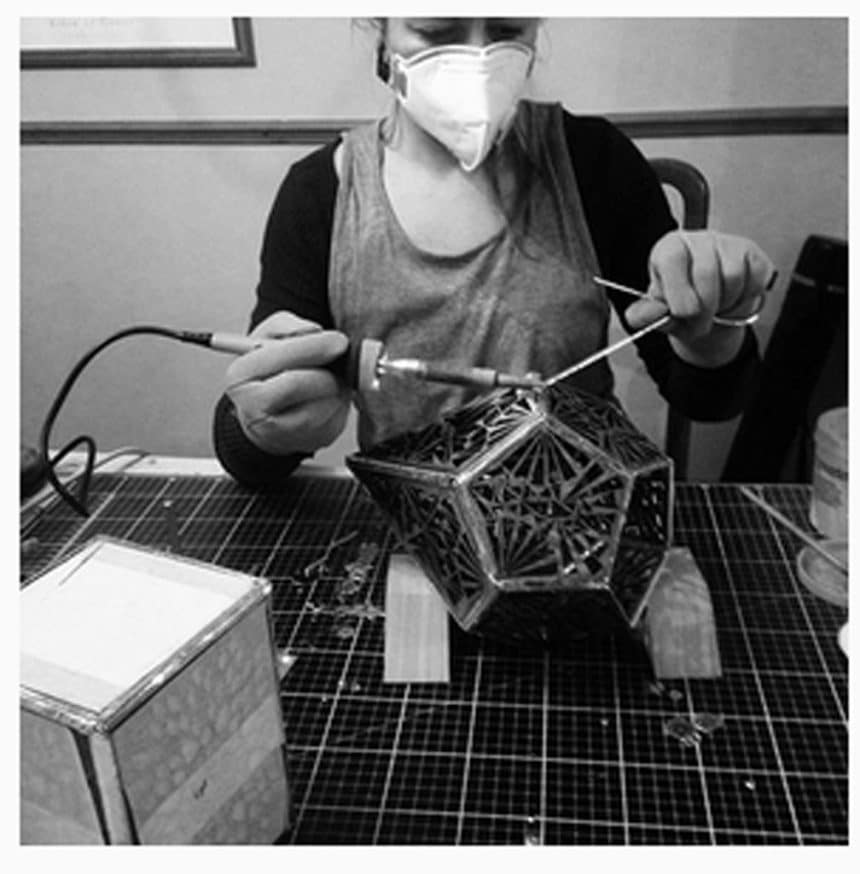
I then copper foil each template and the solder each template individually around both side with soldering iron. I found this to be the best way in constructing the lamp.
Step 5: Assembling the Lamp
To assemble my lamp:
This part is tricky, as I need two pairs of hands to do this so I ask fellow artists and my family to help me with this part. It’s very fiddly and getting the angles correct is challenging but well worth the finished out come. I do the soldering while I have an extra pair of hands to hold the templates to gather so I can pin them together with the solder. When the structure is complete, I then can go round the whole lamp and tidy up and fill all the gaps in with solder to make it neat and tidy with clean edges
The lamp sits at a height of 37cm and width 23 x 23 cm
I hope you have enjoyed my processes. If you have questions, then do ask.
courtesy: Amberlightsuk
