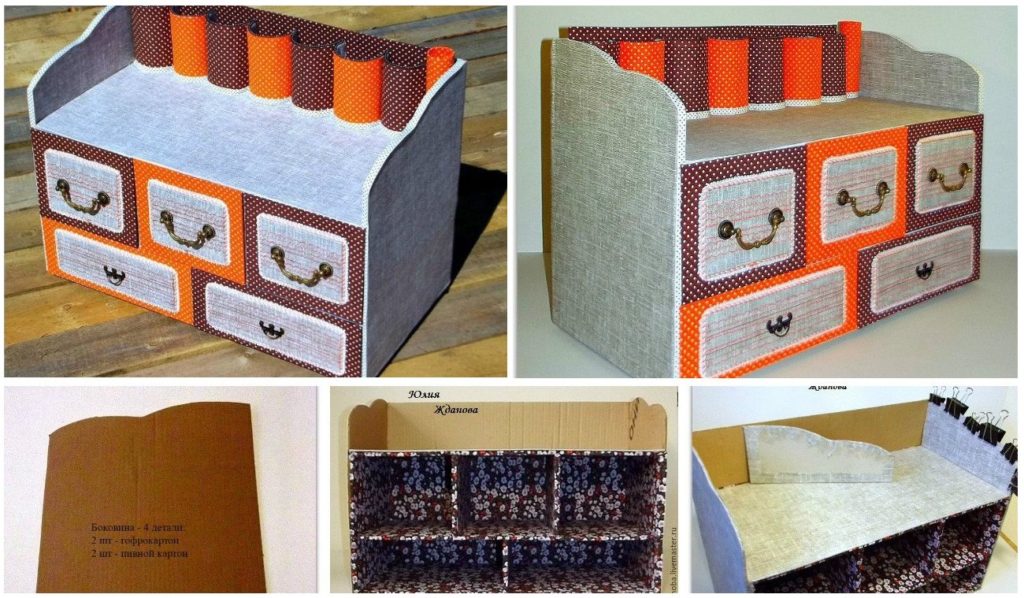
Posted onMay 7, 2017July 15, 2017inCardboard Crafts, DIY, Home Decor How to make a cardboard room dresser with drawers
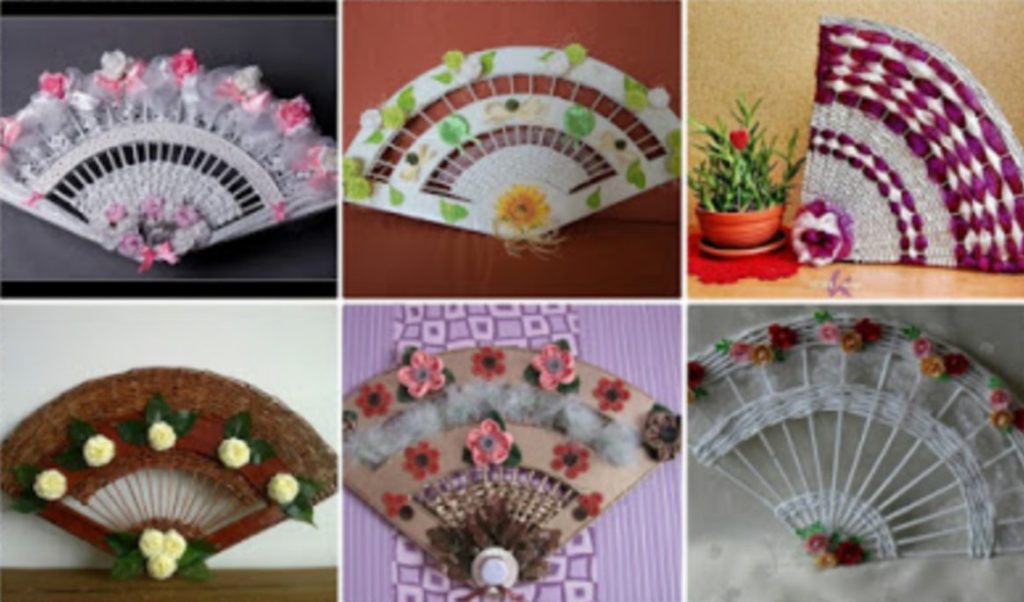
Posted onApril 1, 2017May 19, 2017inBest out of Waste, Cardboard Crafts, Newspaper Crafts, Tutorial How to Make Fan of Cardboard and Newspaper Tubes
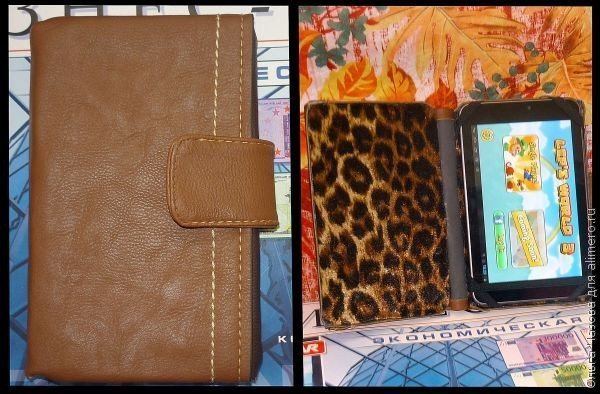
Posted onFebruary 22, 2017inCardboard Crafts, DIY, Step by step, Tutorial How to make case book tablet
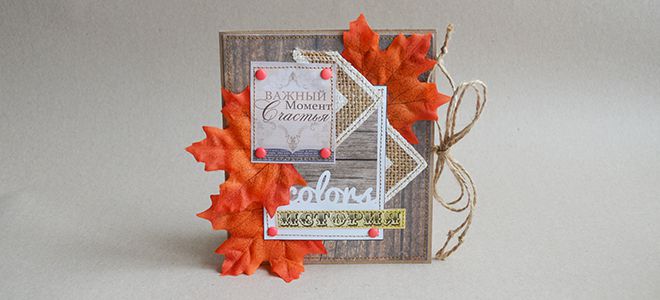
Posted onFebruary 21, 2017inCardboard Crafts, DIY, Step by step, Tutorial Autumn scrapbooking-postcard
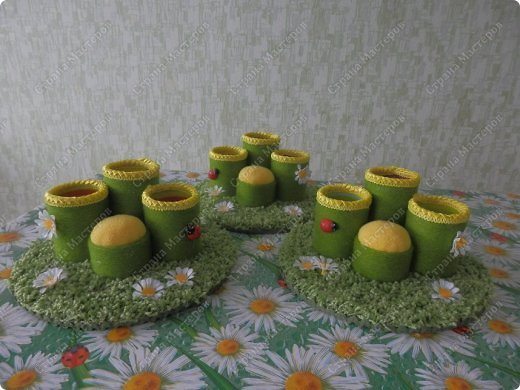
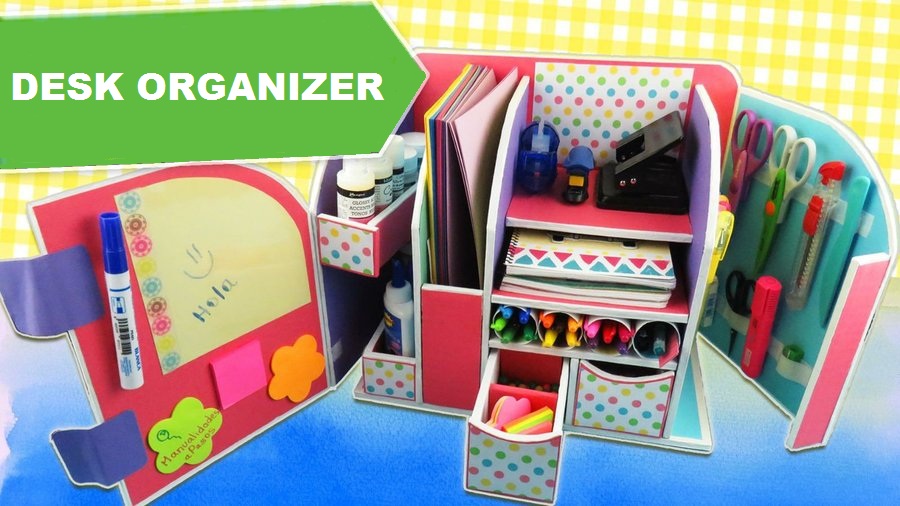
Posted onFebruary 20, 2017February 20, 2017inBest out of Waste, Cardboard Crafts, DIY, Featured, Step by step, Tutorial DIY: Beautiful Desk Organizer from Cardboard
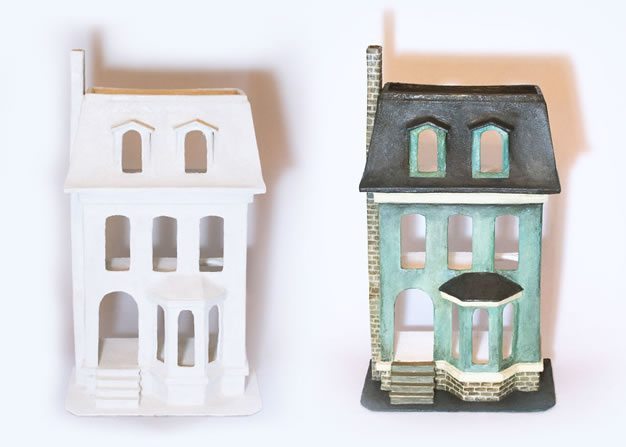
Posted onFebruary 11, 2017February 11, 2017inBest out of Waste, Cardboard Crafts, Step by step, Tutorial How to make a recycled cardboard dollhouse